Live Edge Table
This is my first table! Let’s first cover the basics:
- Start: March 30, 2016
- End: December of 2018
- Wood Species: Monterey Pine
- Wood Supplier: Ponderosa Millworks1
- Table Type: live-edge wood slab
This project began as a result of a friend’s and my interest in all things DIY and our desire to spruce up our respective homes. So we visited Ponderosa Millworks1 to check out their inventory of live-edge slabs. As we soon found out there are several factors that go into picking an appropriate wood slab, which I’ll go over in a future tutorial. However, we finally decided on splitting a completely dried 9’x3' California Pine slab that we’d then cut into 4 sections:
- two 3.5’x3' sections
- two 1’x3' sections
The two larger sections would provide me and my buddy our respective slabs for coffee tables and the two smaller sections would provide smaller end-tables or bed-size tables ( end tables).
Let’s dive into the chronology of the project with some images to help us understand the workflow along the way!
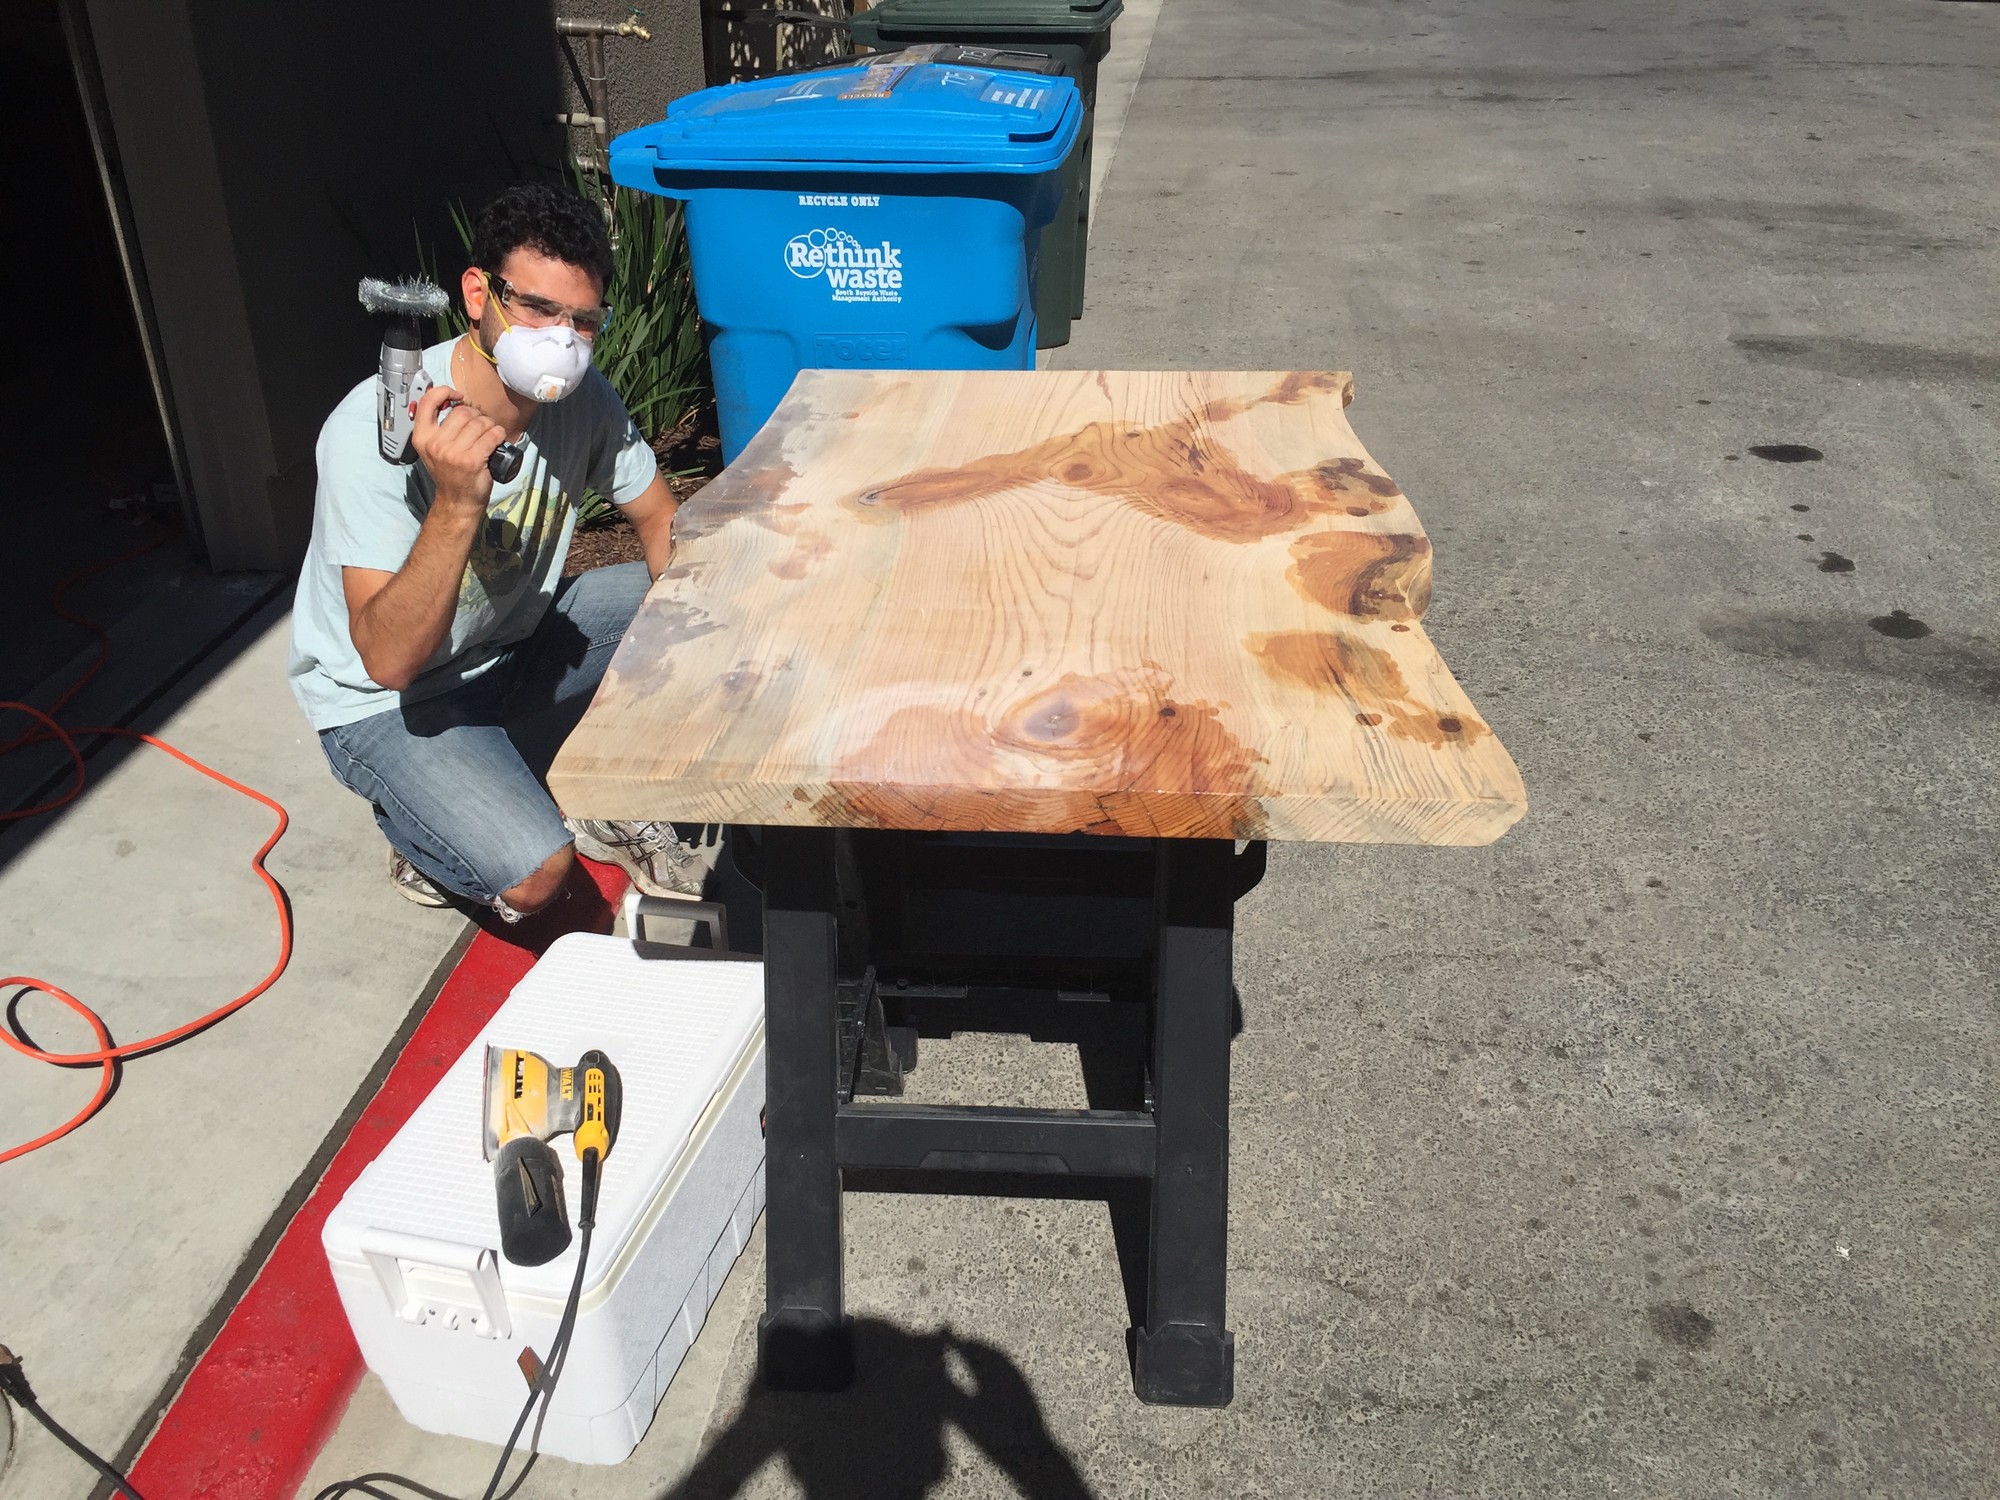
The first step was to gradually sand to a tactilely smooth finish. We orbital sanded using: 80, 150 and 220.
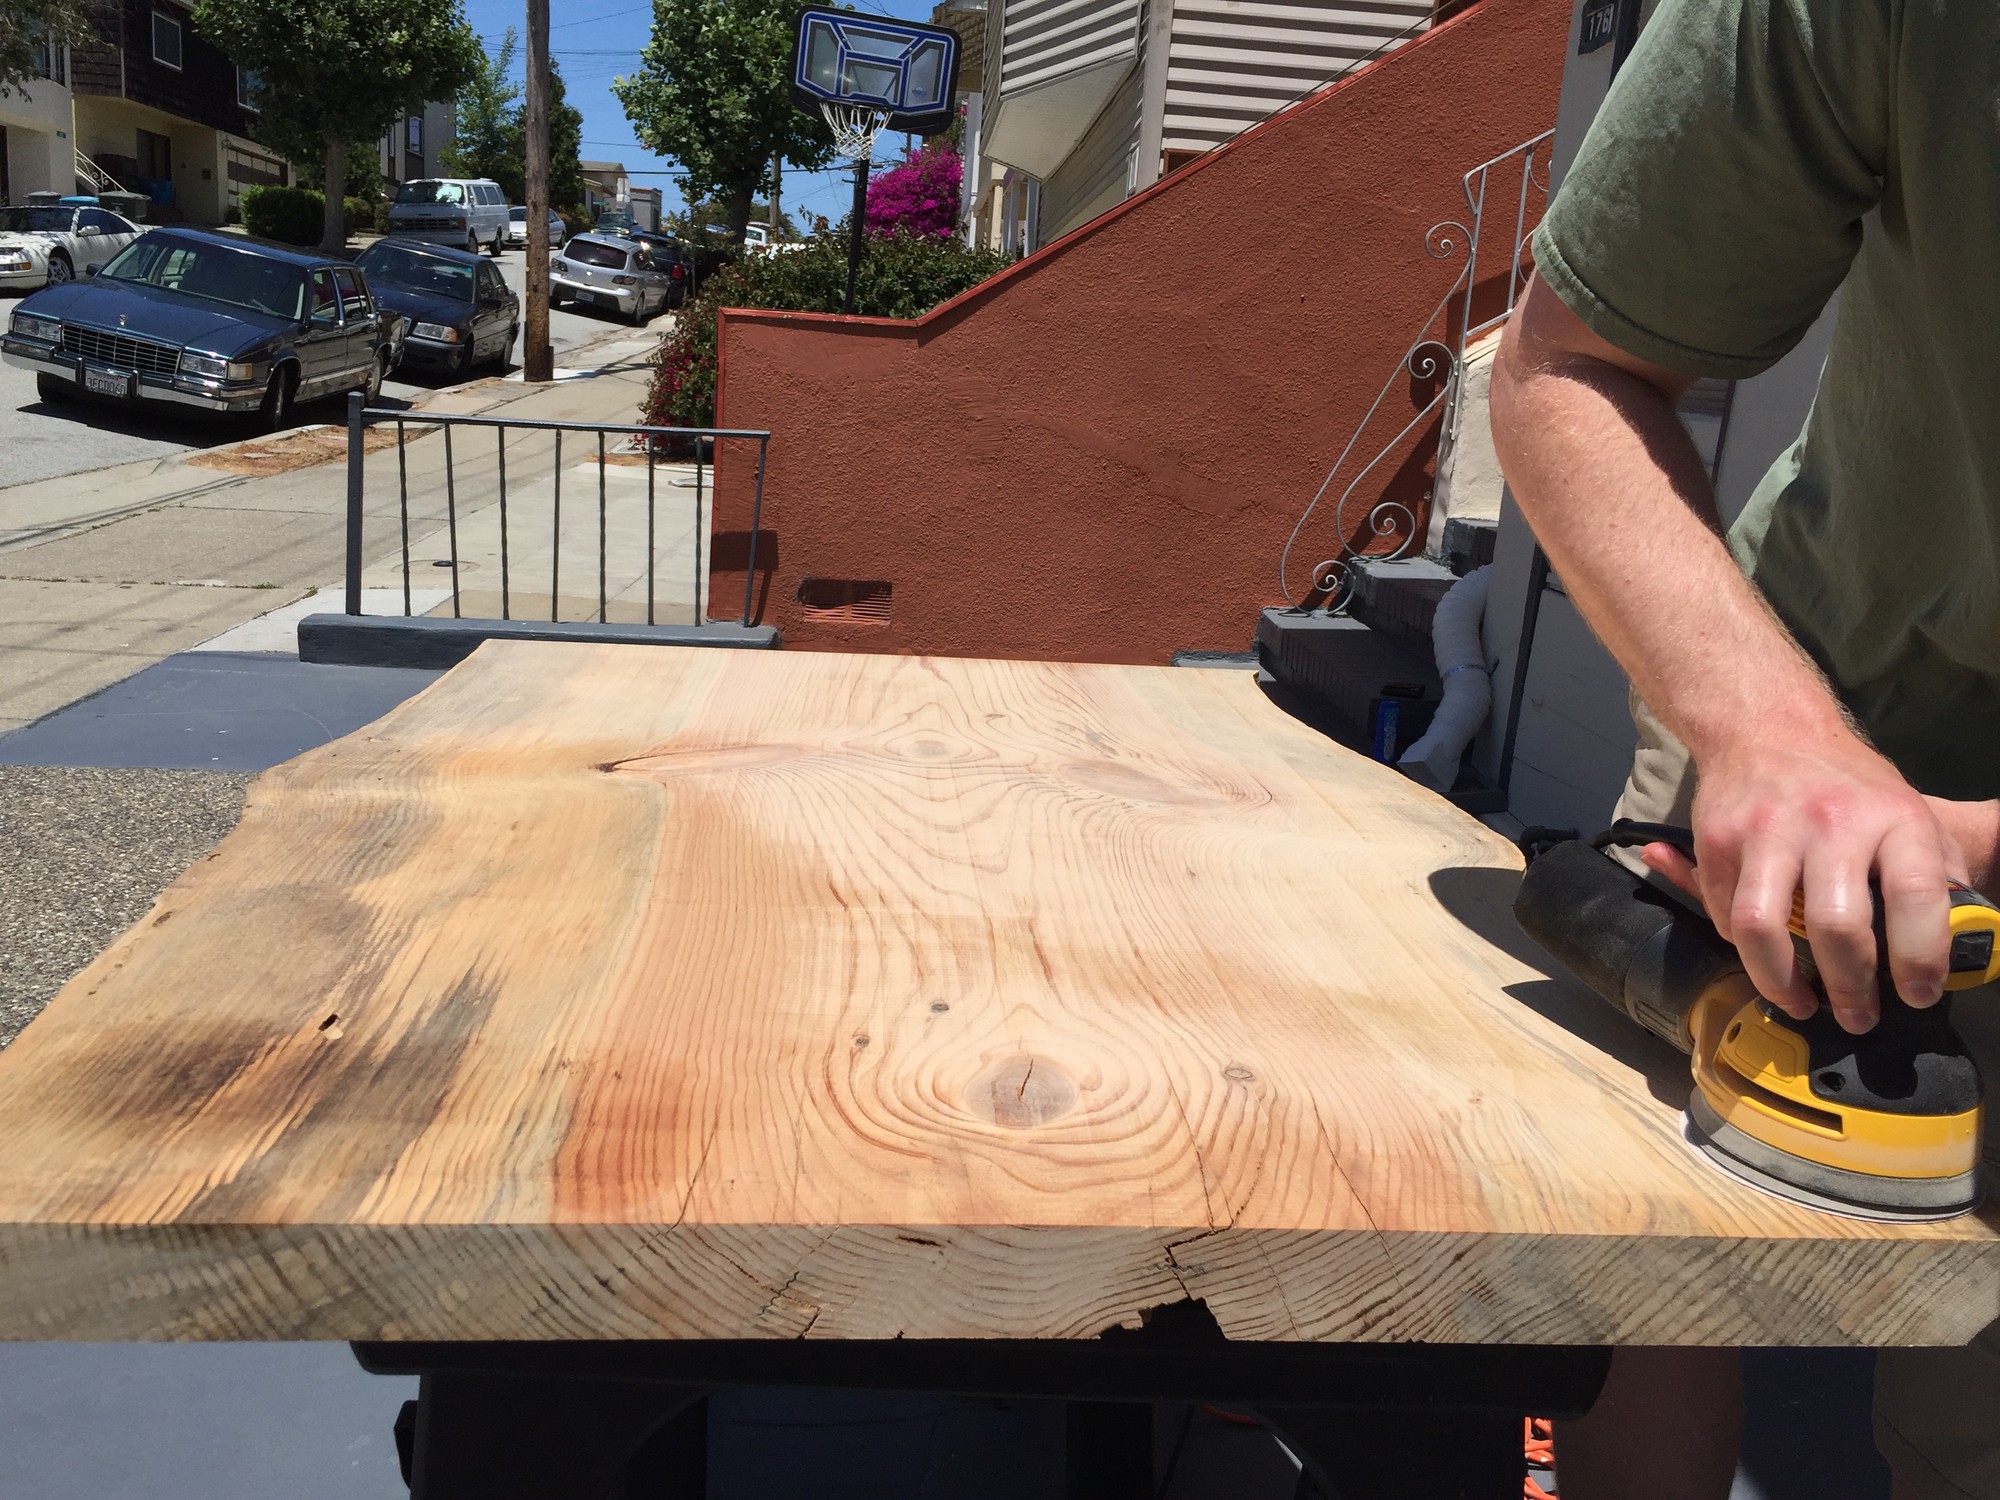
As is seen above, the orbital sanding removed the sun-damaged fibers at the top layer of the slab revealing whiter, less “dirty” fibers below (important for staining later). The orbital sanding goes by relatively fast and only took about 4 hrs.
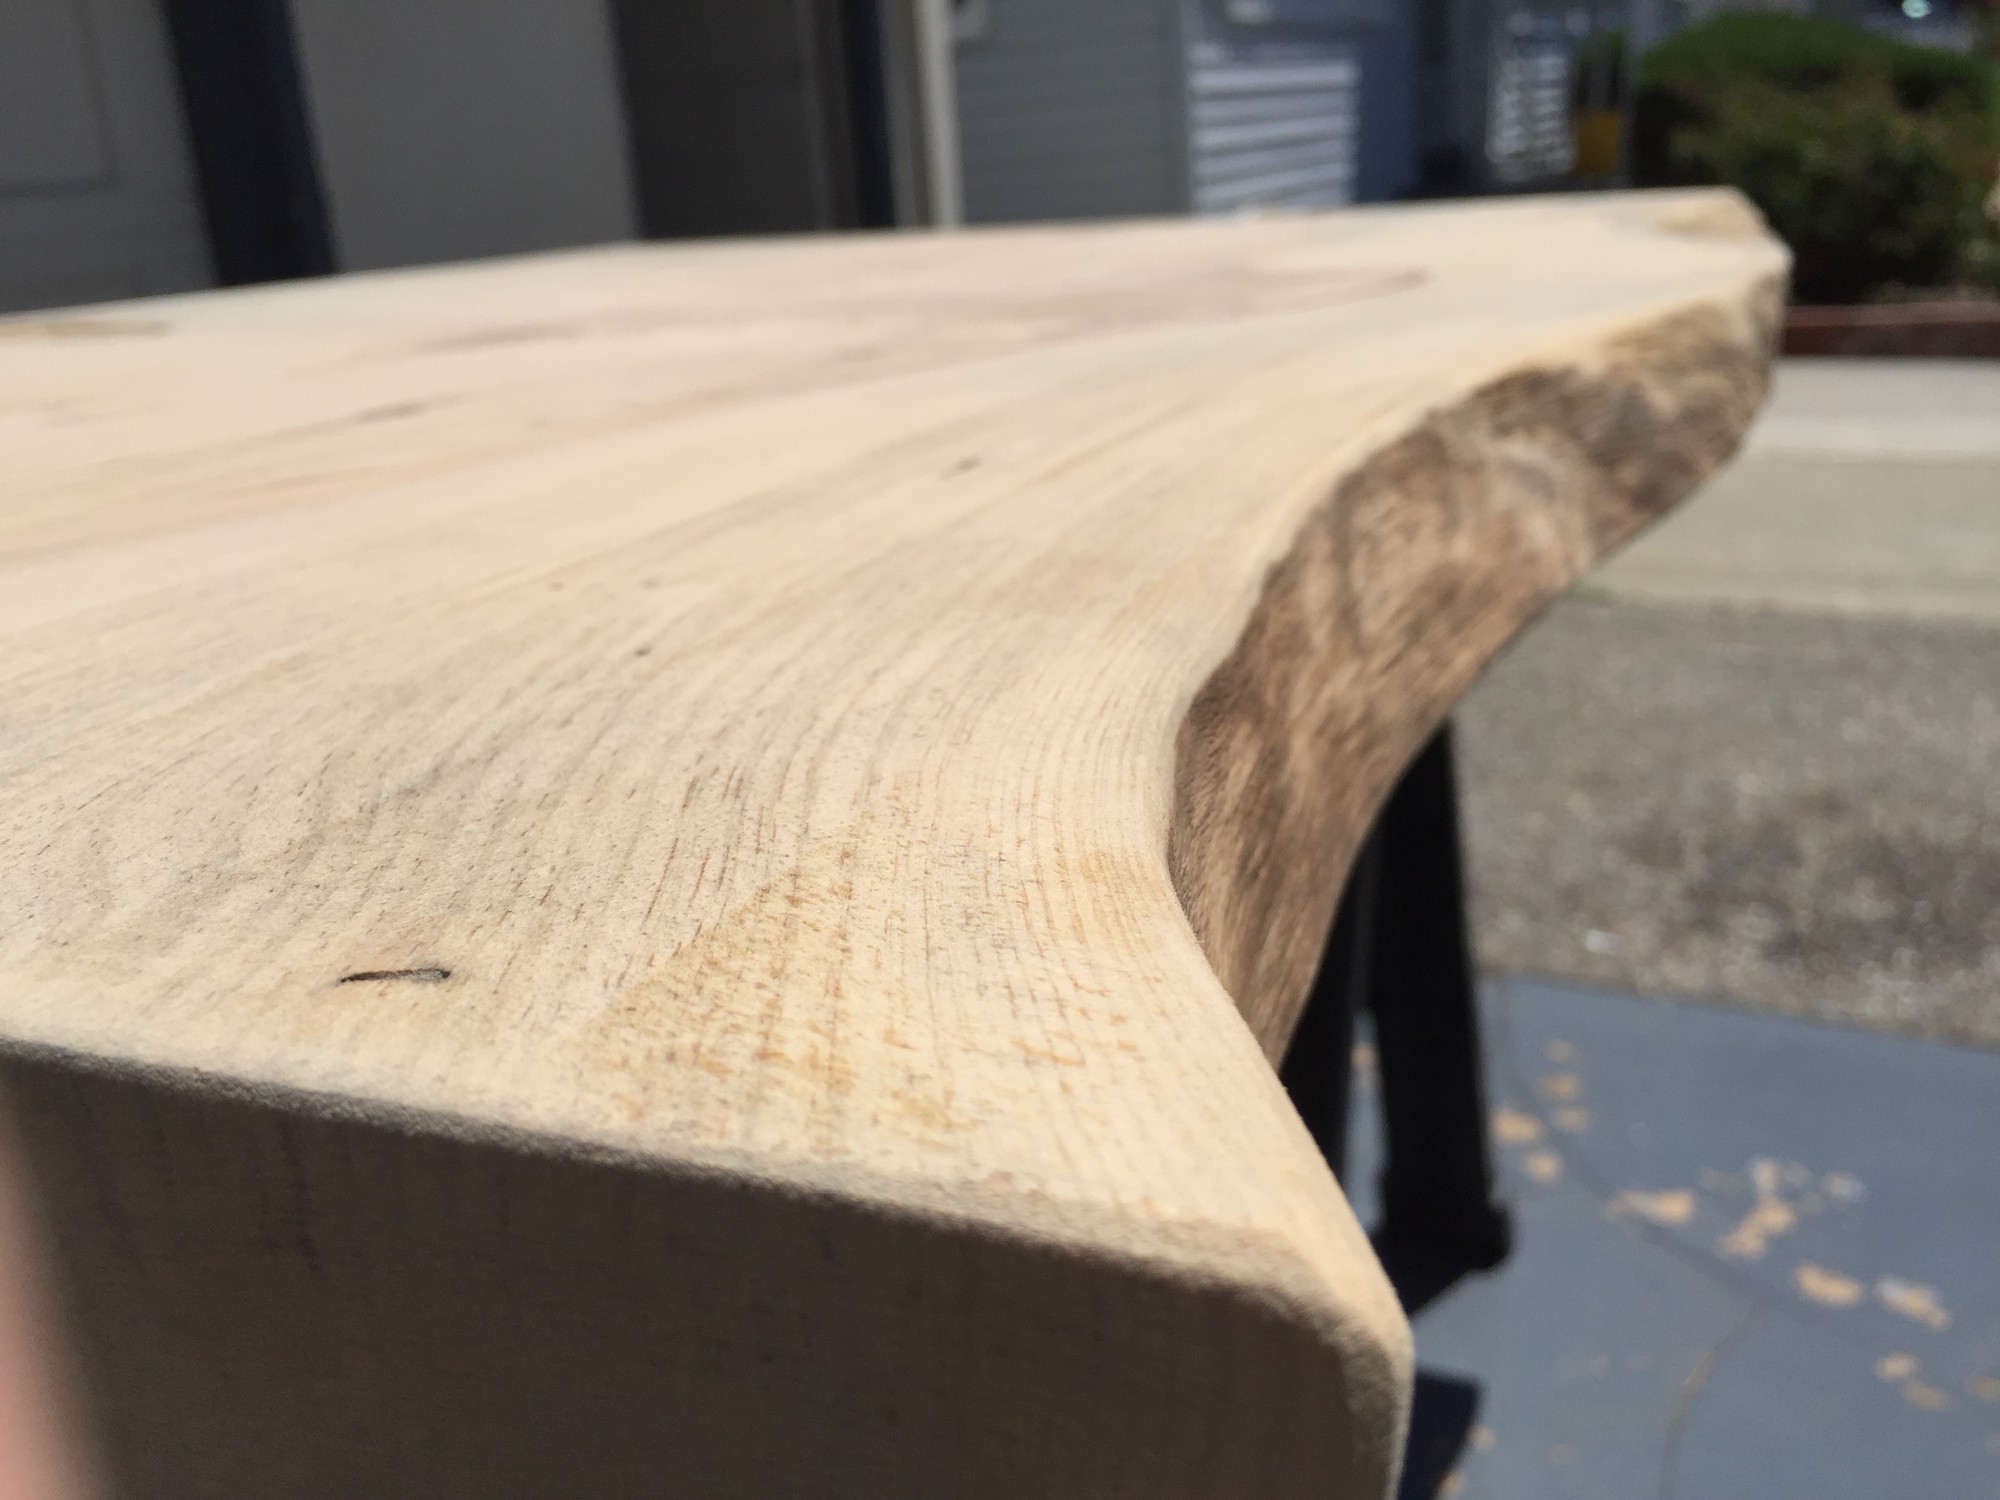
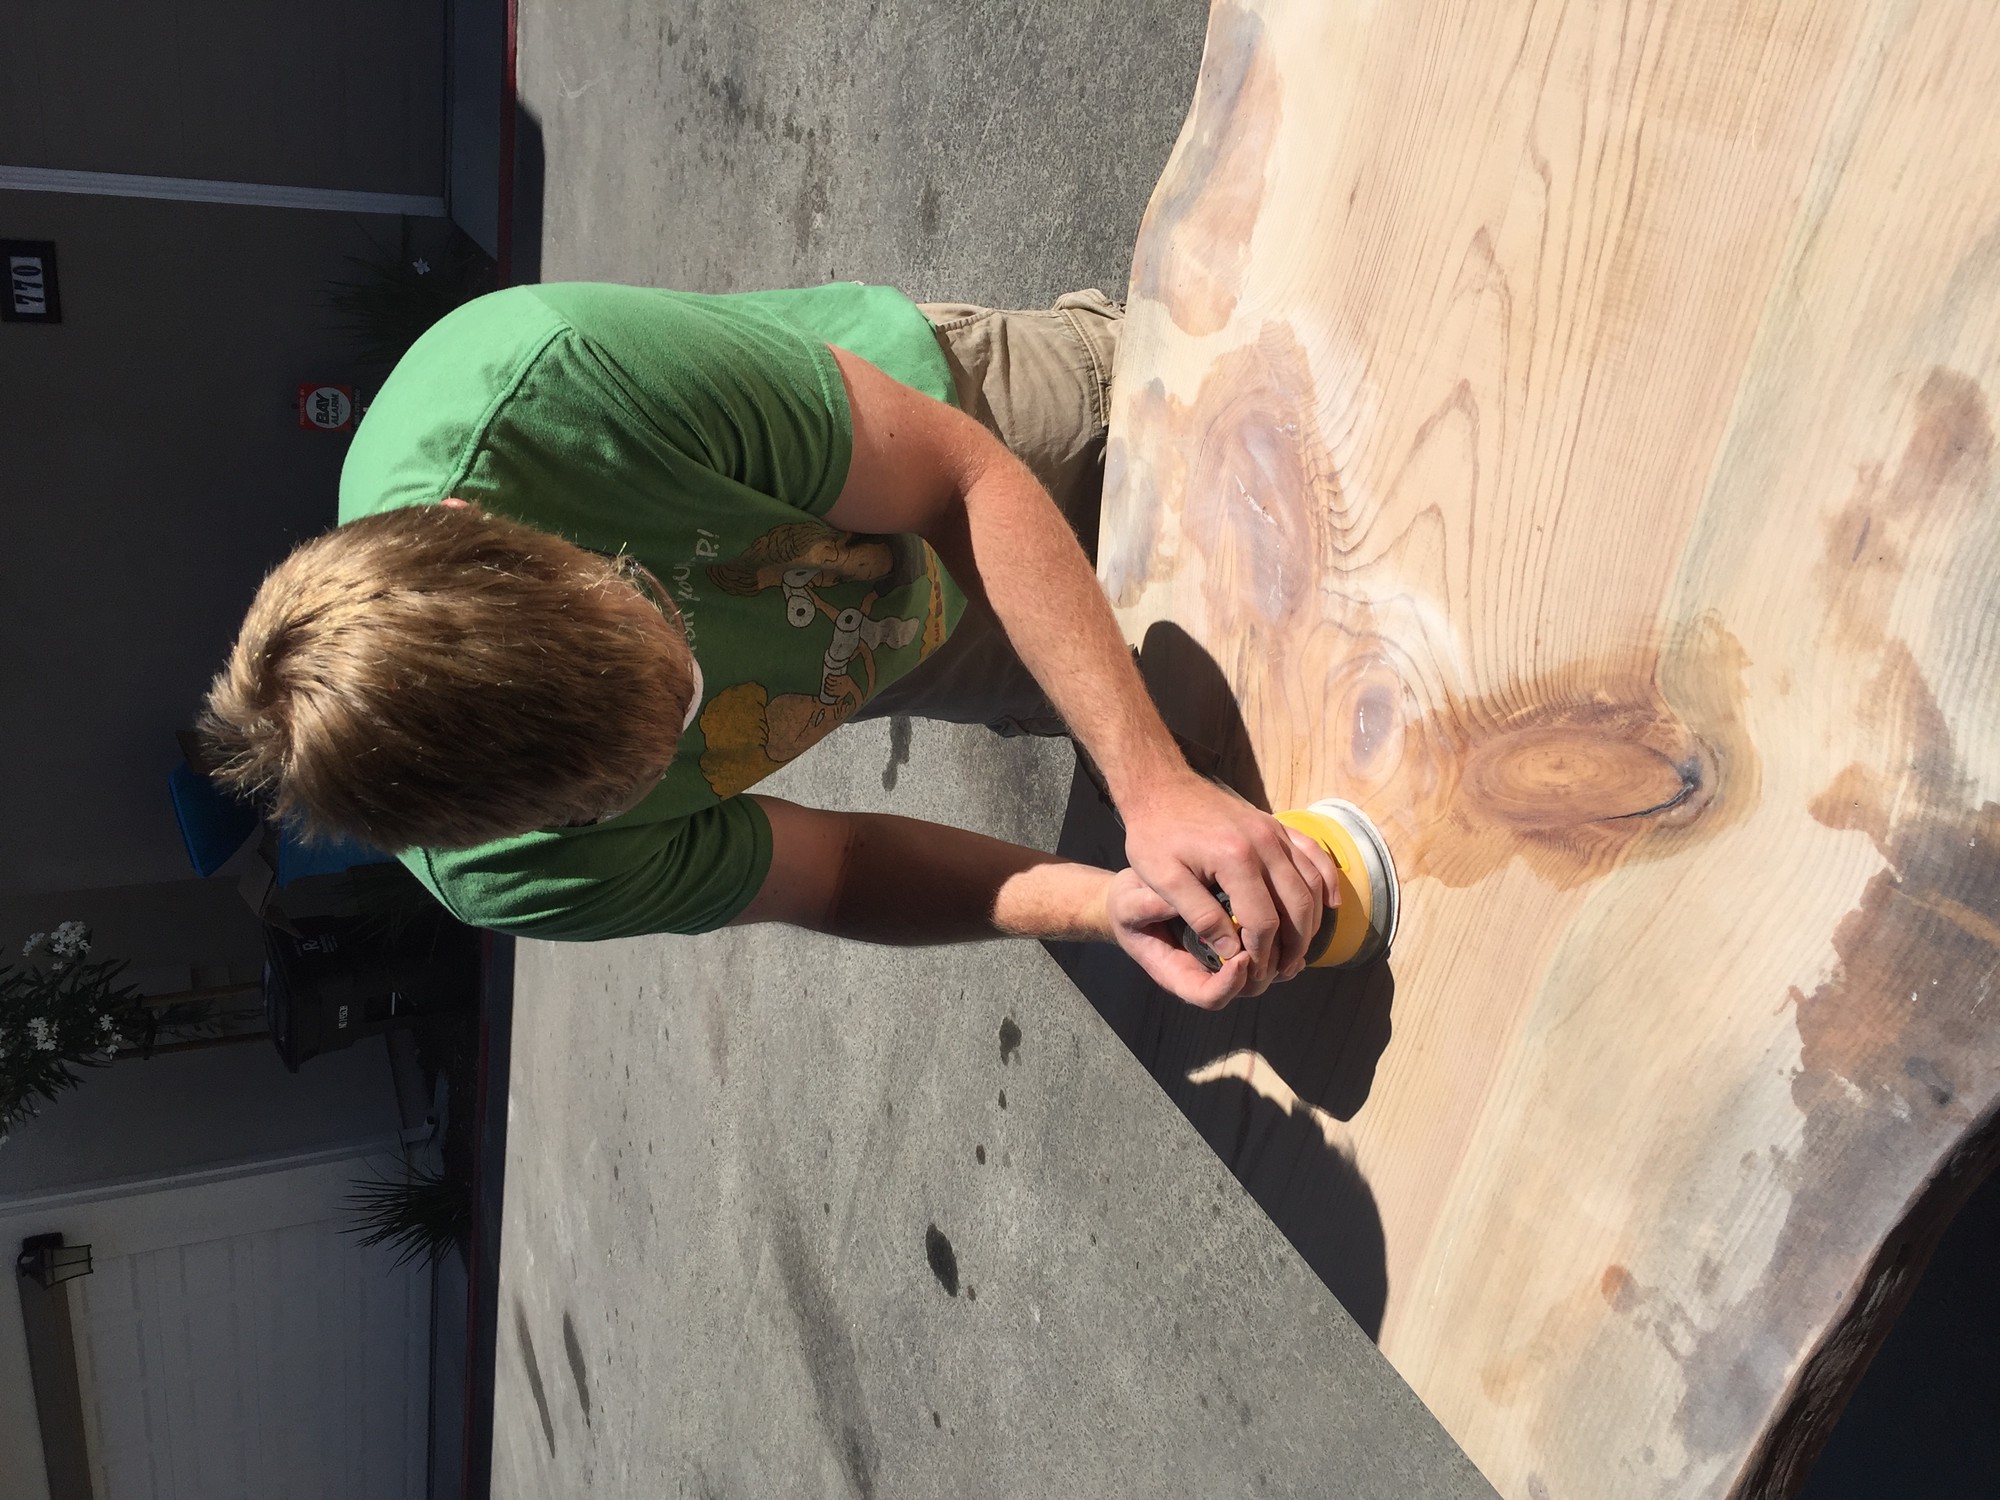
Then we moved on to hand/block sanding with 400 and 1200 grit sandpaper and brushing the live-edge of the slab with a steel brush on a hand drill.
We specifically focused on rounding the edges of the slab to give them a softer appearance as well as reduce their cutting action if one were to brush the table with a leg by accident.
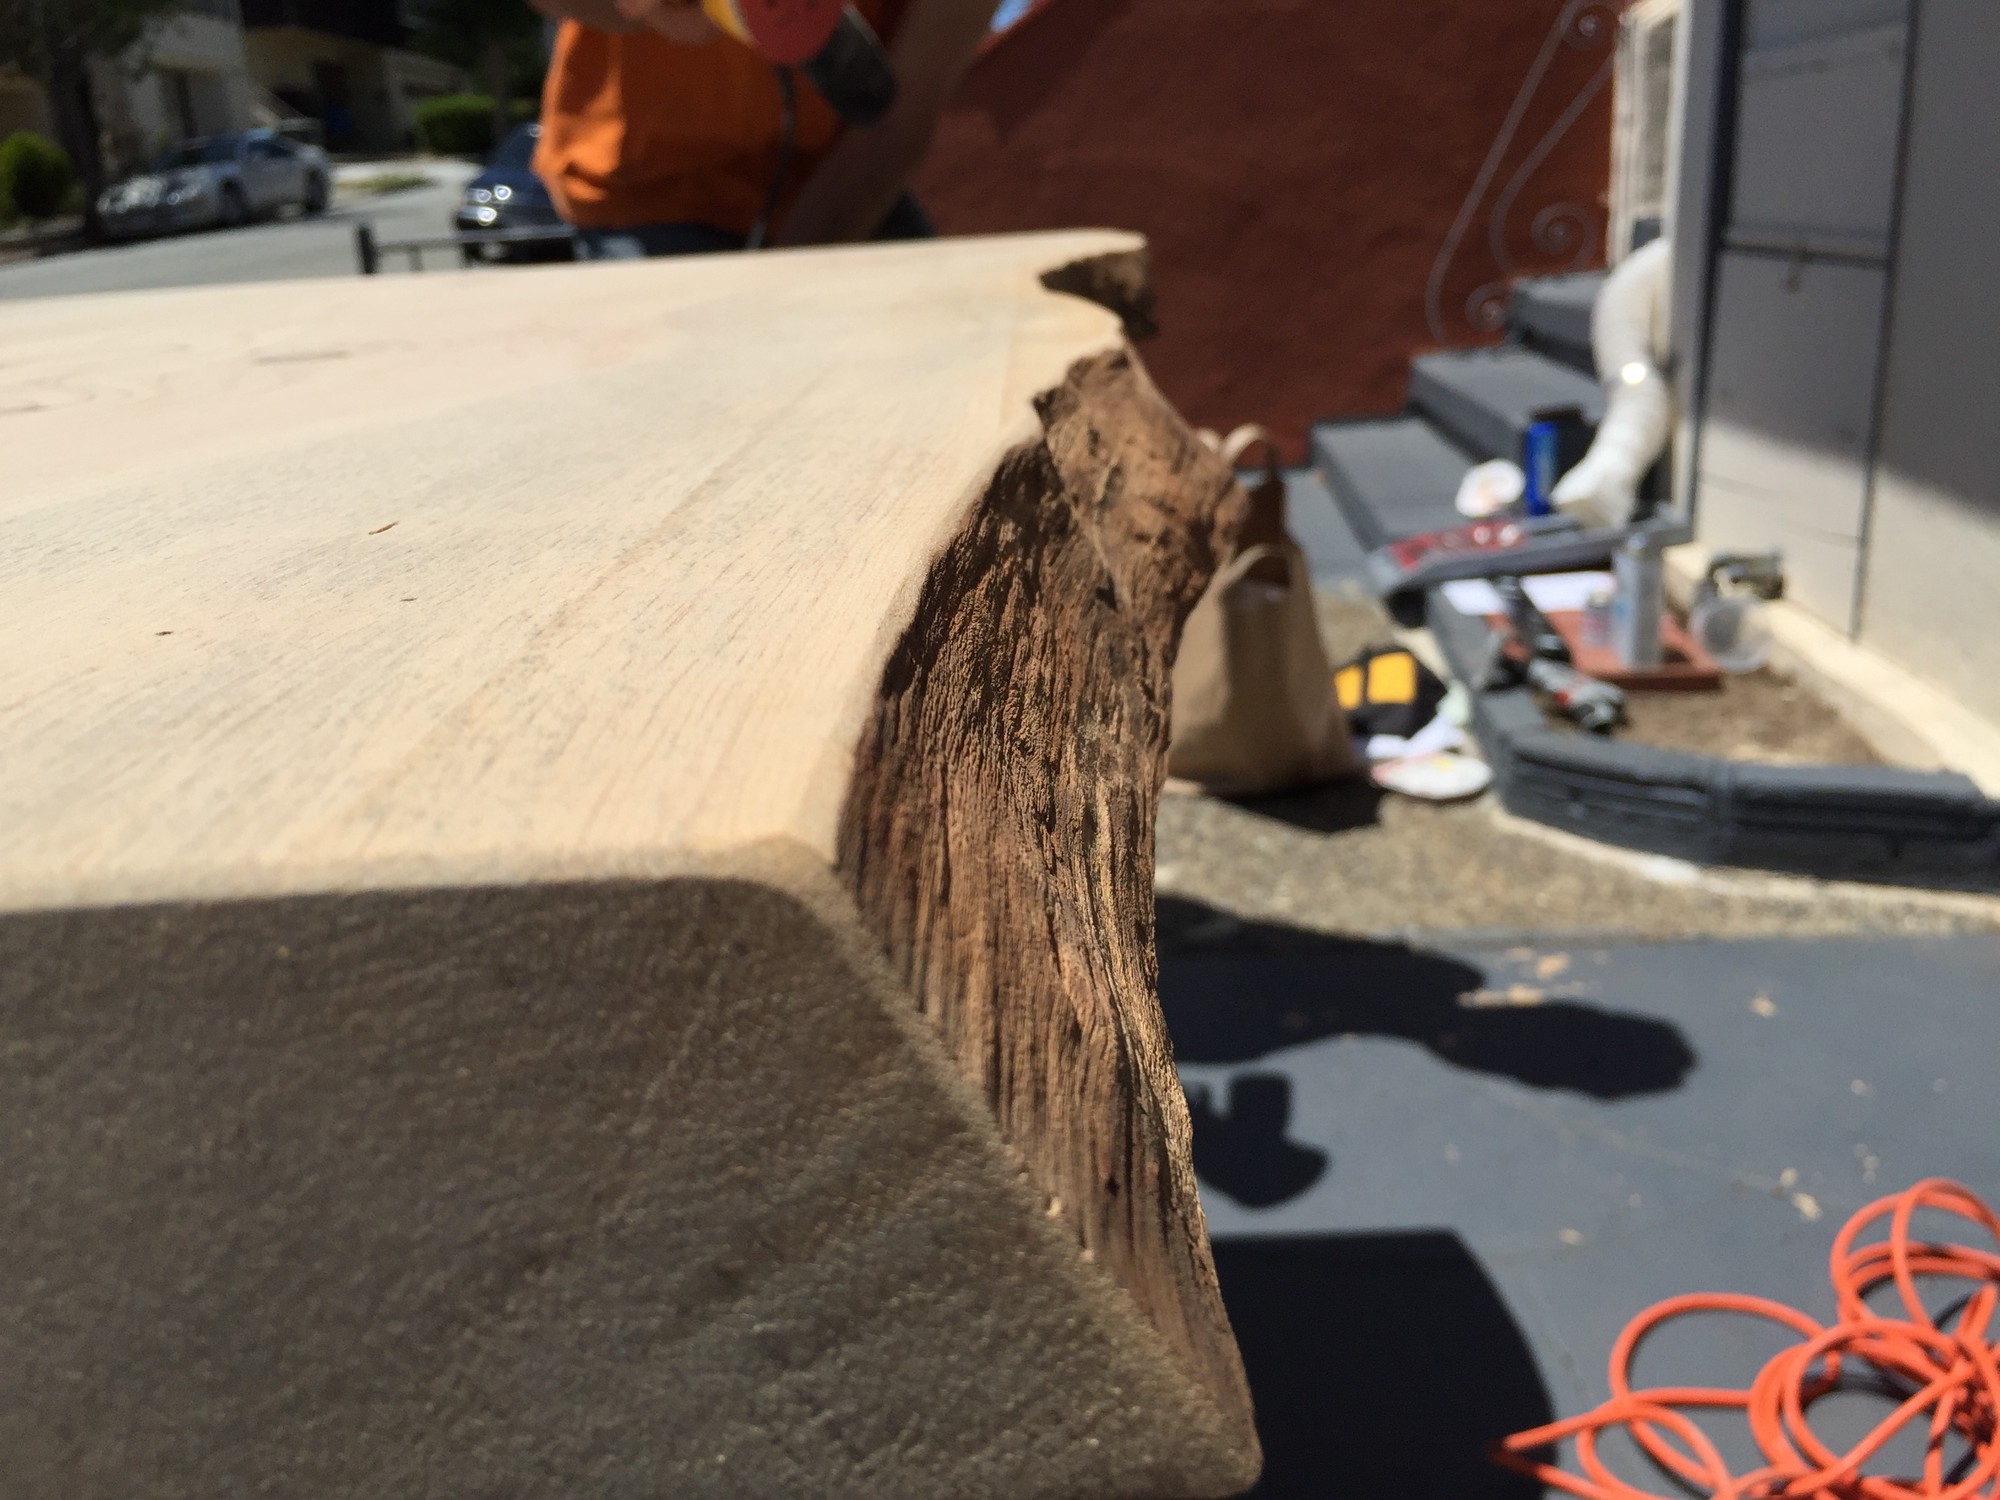
Sharp grooves as well as clingy fibers/grit left from the outer/inner bark were found after removing the bark from the live-edges. Brushing with a steel wheel attached to hand drill cleaned up the left-over mess as well as smoothed out the grooves.
This preserved the natural live-edge texture and didn’t remove the cambium cell layer.

Next we chose to fill any structurally or otherwise unnappealing defects/cracks/voids in the wood.
To do this we used West Systems 105 Epoxy Resin with West Systems 207 Hardener.
The process of using this particular technique to fill defects, as we discovered, is challenging.
It sets quickly (< 10 min depending on the ratio used) and provides a substantial amount of harmful fumes and heat.
So care was needed when working with it. Due to the heat and its interaction with the fibers in the wood, bubbles are created that if not dealt with as the resin cures, will remain permanently embedded in it.
We simply remained vigilant with toothpicks on hand for about 15 min after applying the resin to pop any forming bubbles.

Once the resin had been allowed to fully cure (about 24hrs), we were able to begin sanding off any excess resin around the filled defects. We discovered that our previous sanding work in the areas of the defects was for naught because a heavy grit (e.g. 80) was needed to remove the cured resin. It’s very durable! Thus, in these areas, we had to redo all of the sanding steps from before.
Sanding cured resin takes considerable time as the resin is much more durable than the underlying wood. We taped around the defects that would be filled in order to mitigate any resin overflow.
Once the resanding had been completed we were able to apply finishing.
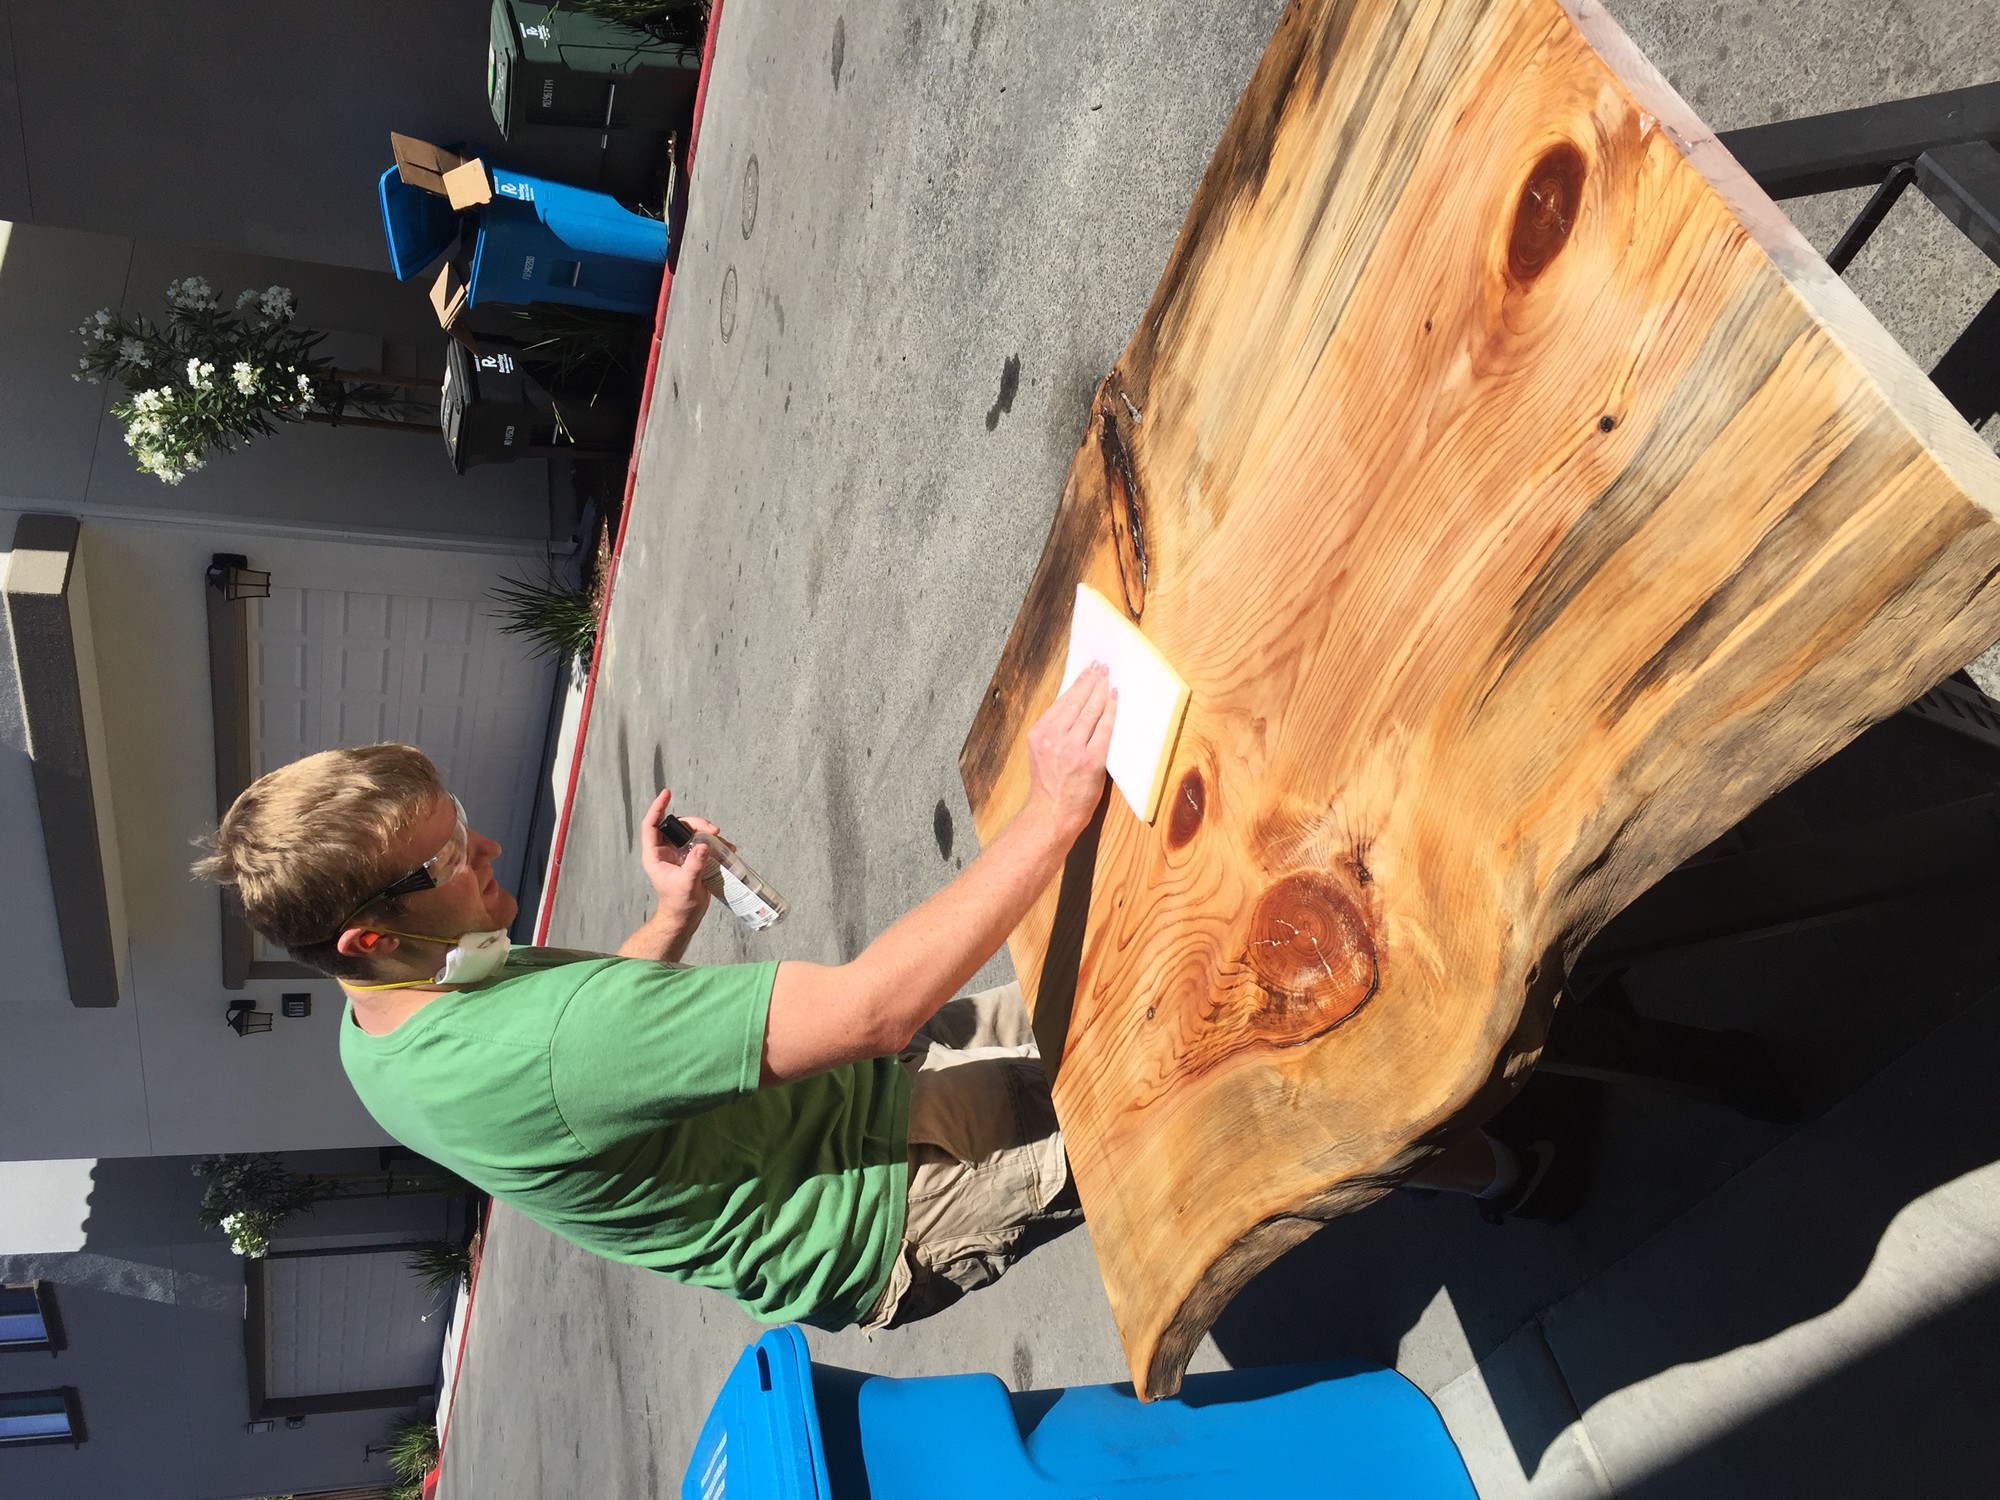
For this step, we chose to use wood block oil from Home Depot to add extra vibrance and minimal stain to the wood.
The application is easy.
Simply wipe on and then wipe off any excess.
It dries within hours and provides a reasonable in-grain finish that offers some protection against the elements while retaining an earthy, natural look.
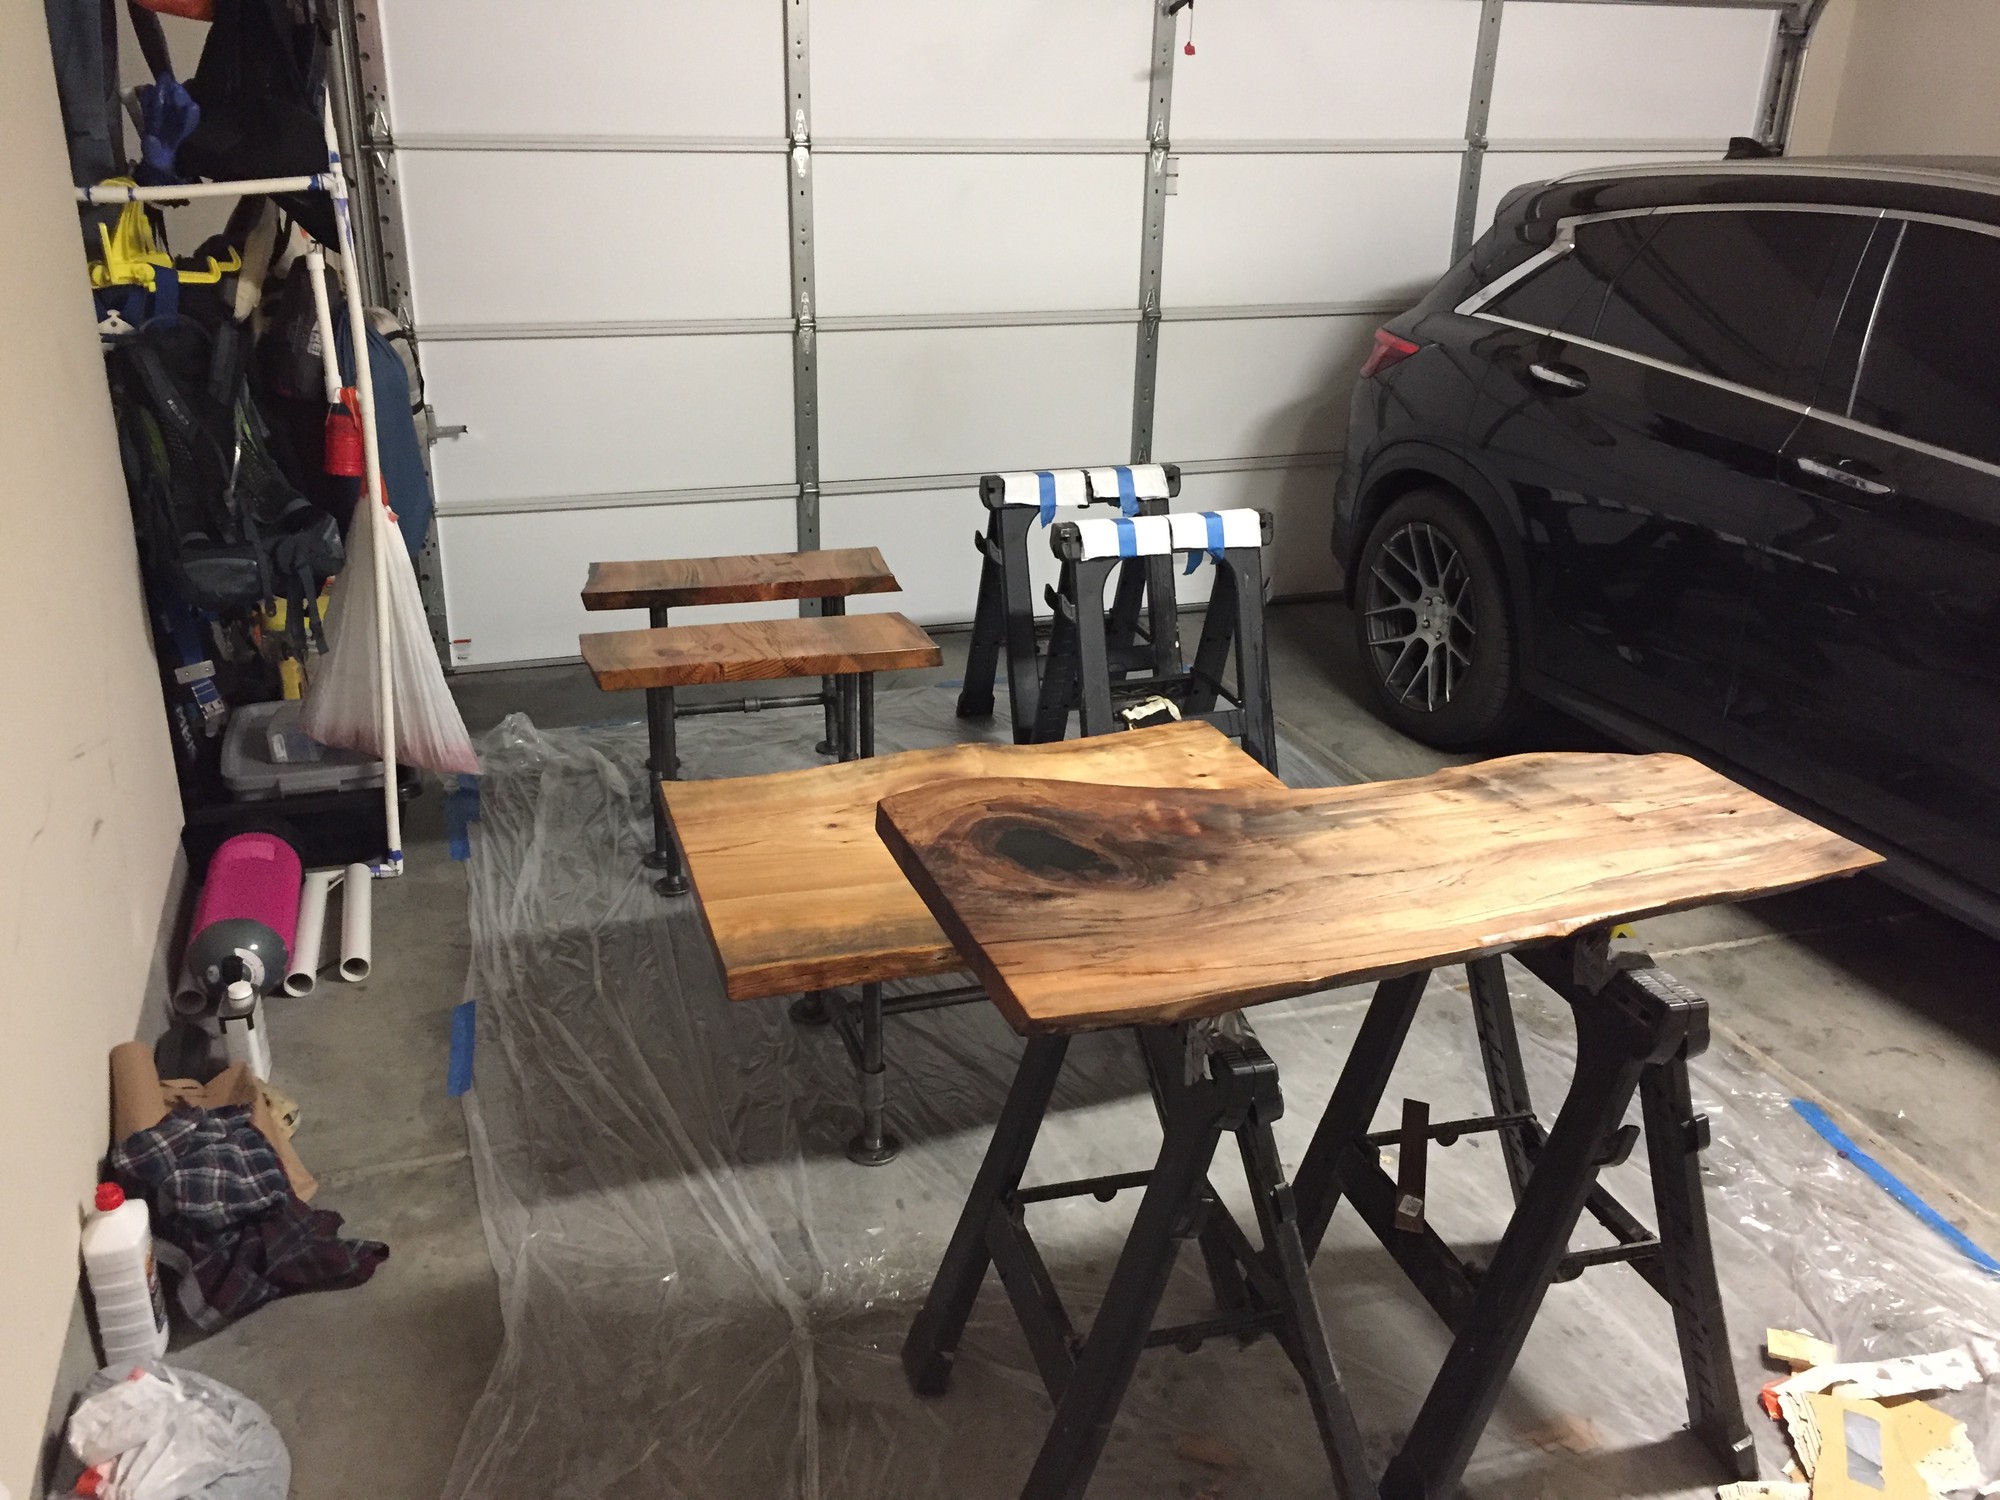
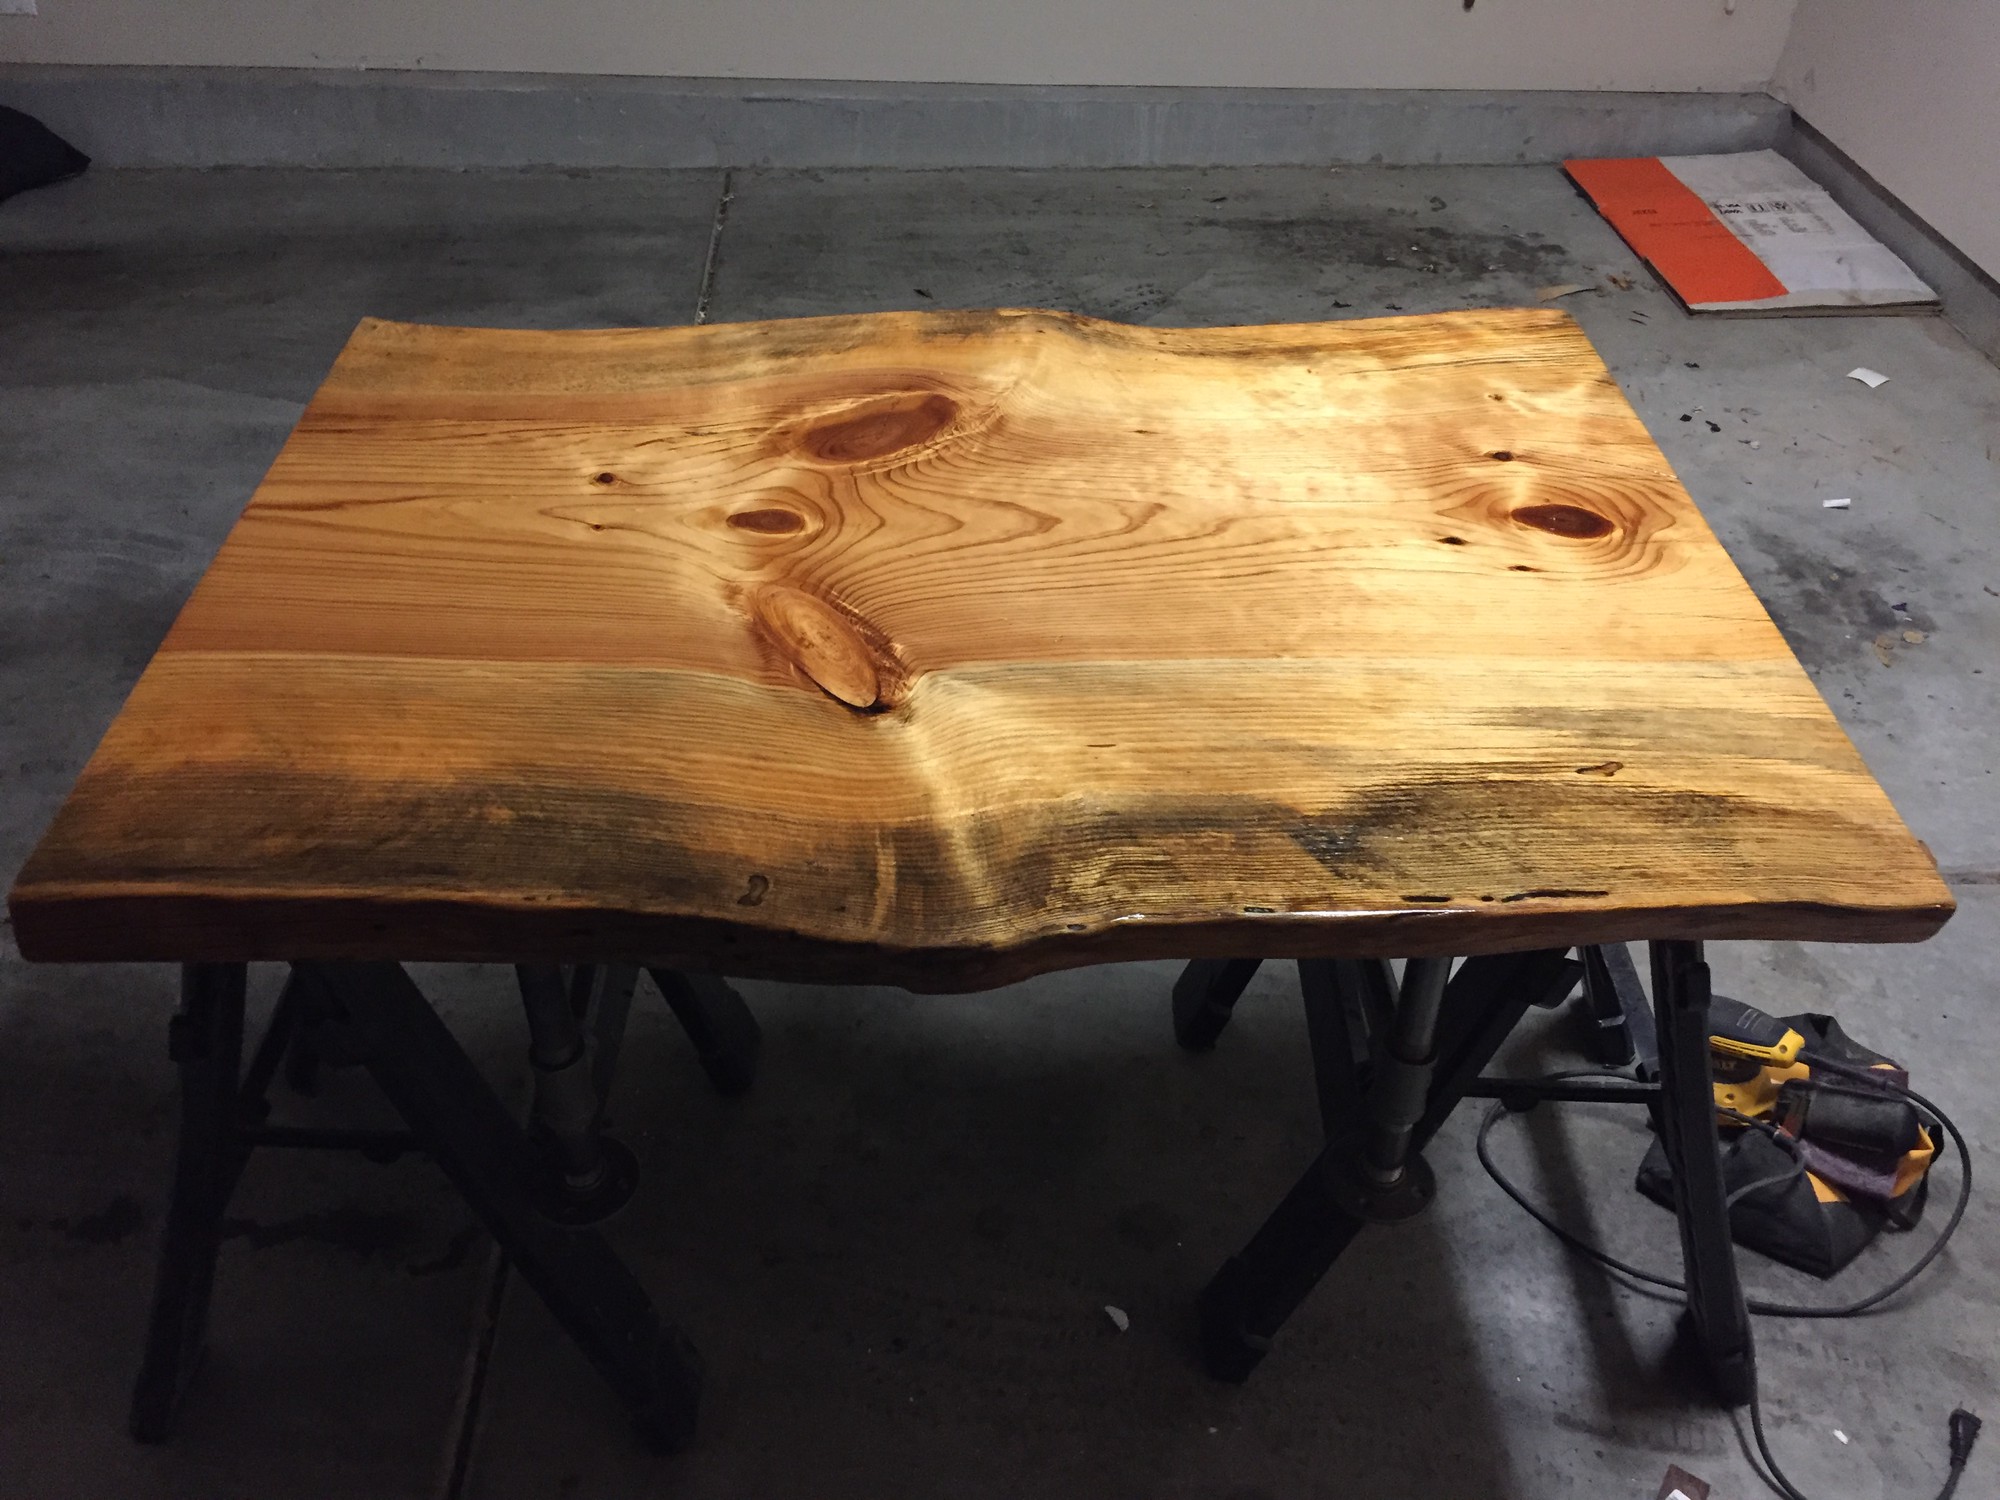
The final step was to find a suitable base for the table.
I settled on fabricating the table base using 1" black steel piping from Home Depot.
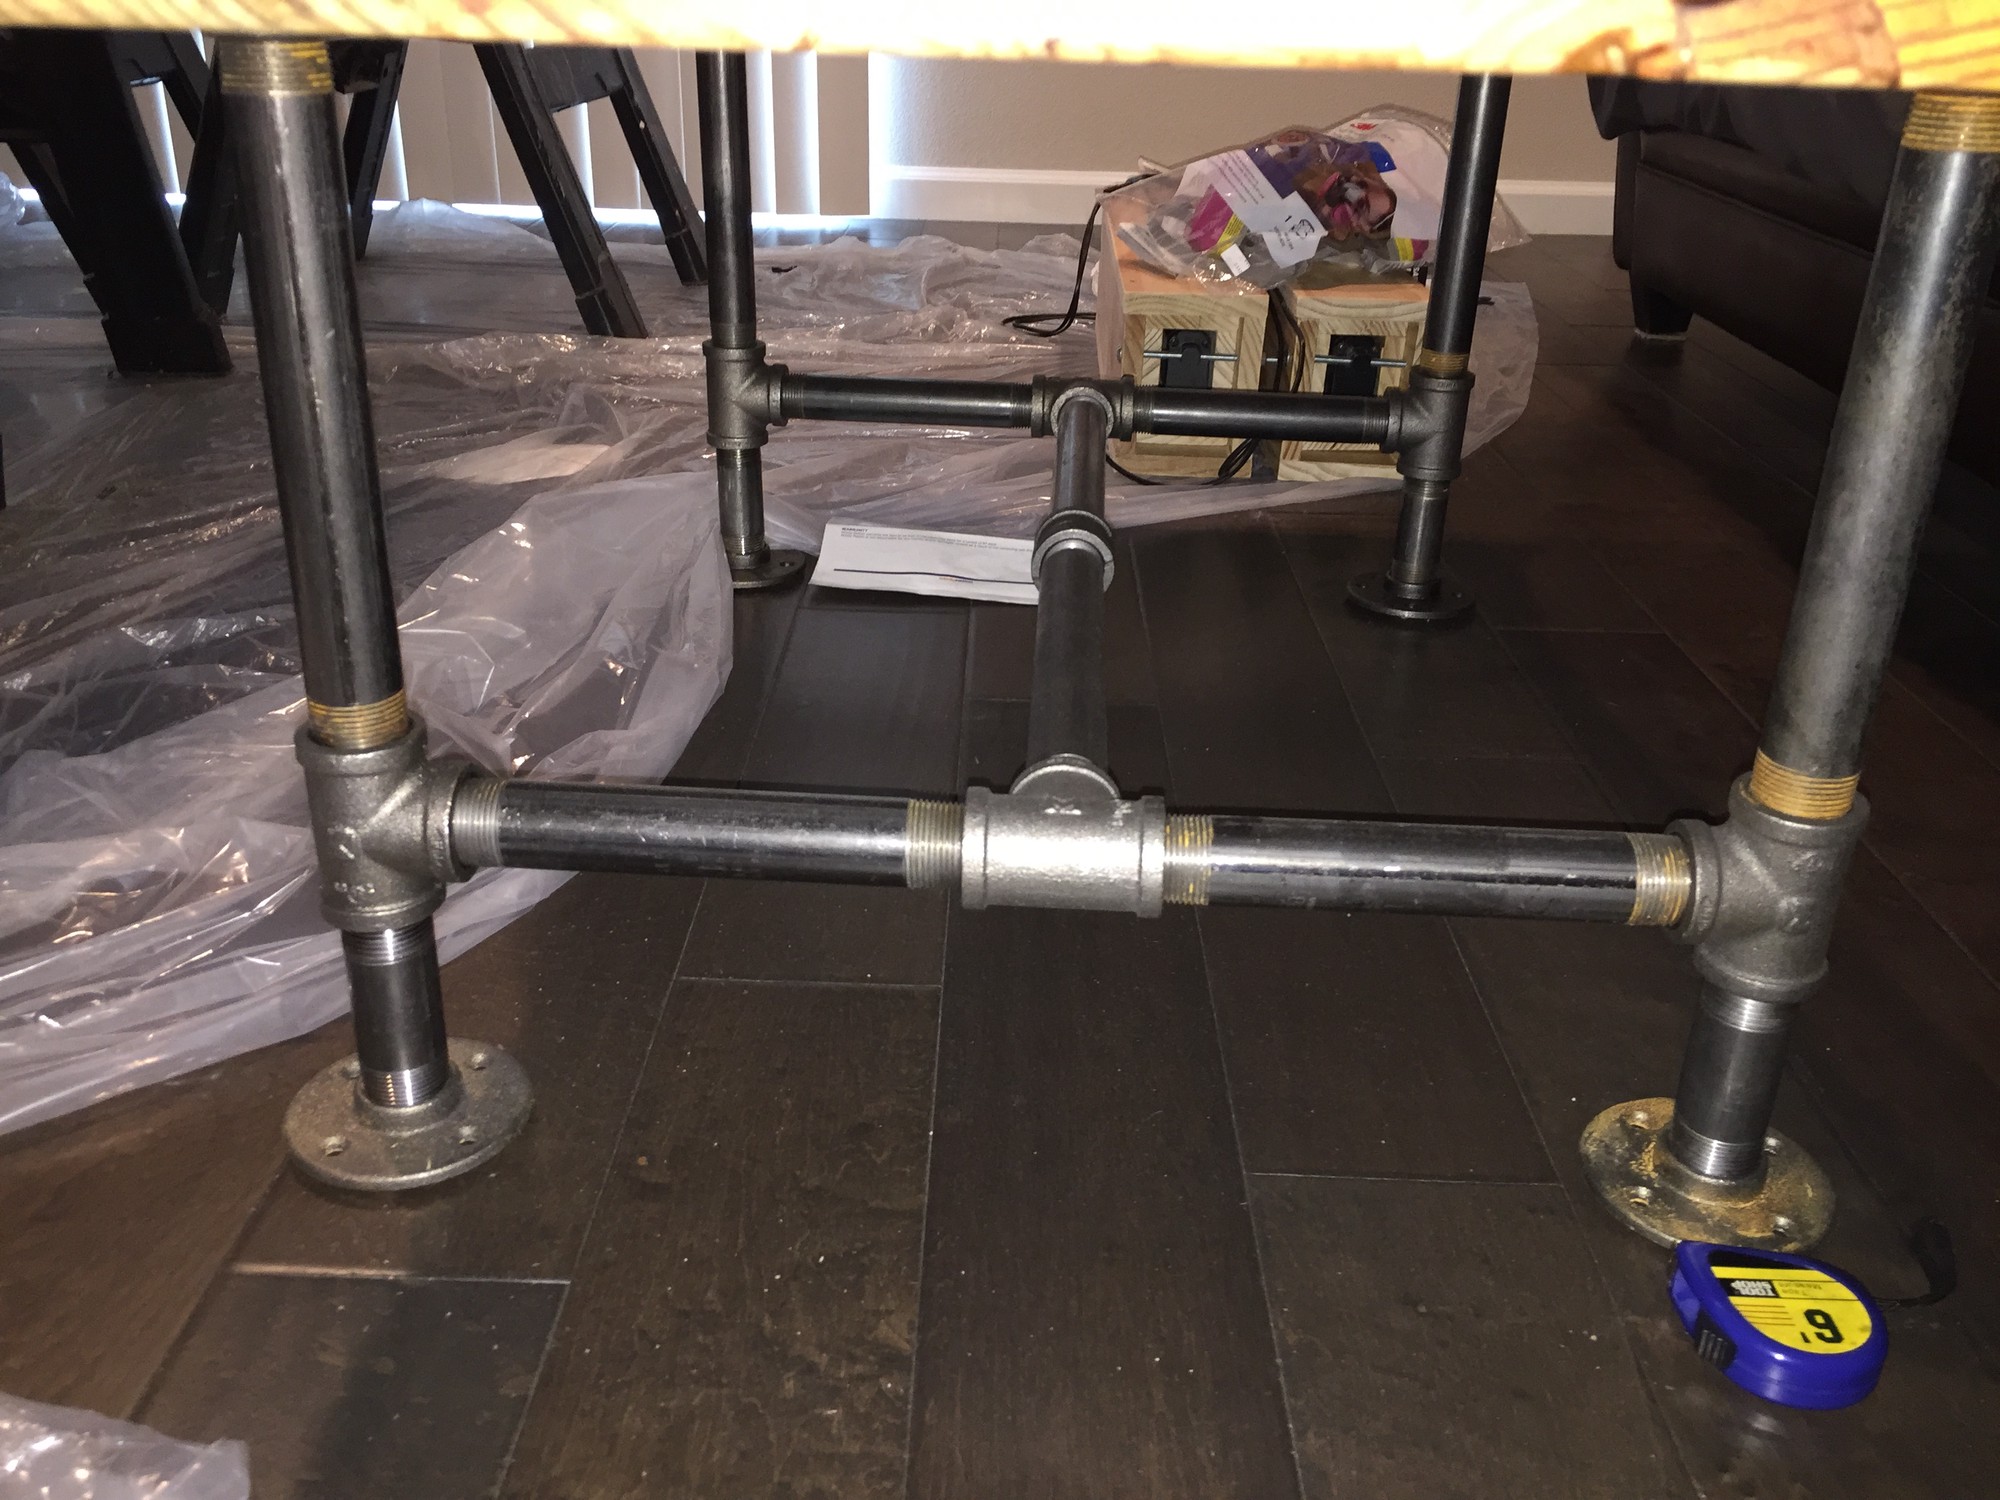
To prepare the steel pipe, I scrubbed and washed off any stickers and oil that the pipe ships with.
This exposes the steel to oxygen which then causes it to naturally form an oxidation layer as can been in the image above.
I didn’t mind the rust and found it to pair nicely with the rustic nature of the wood slab.
One could clear coat the pipe to thwart the oxidation.
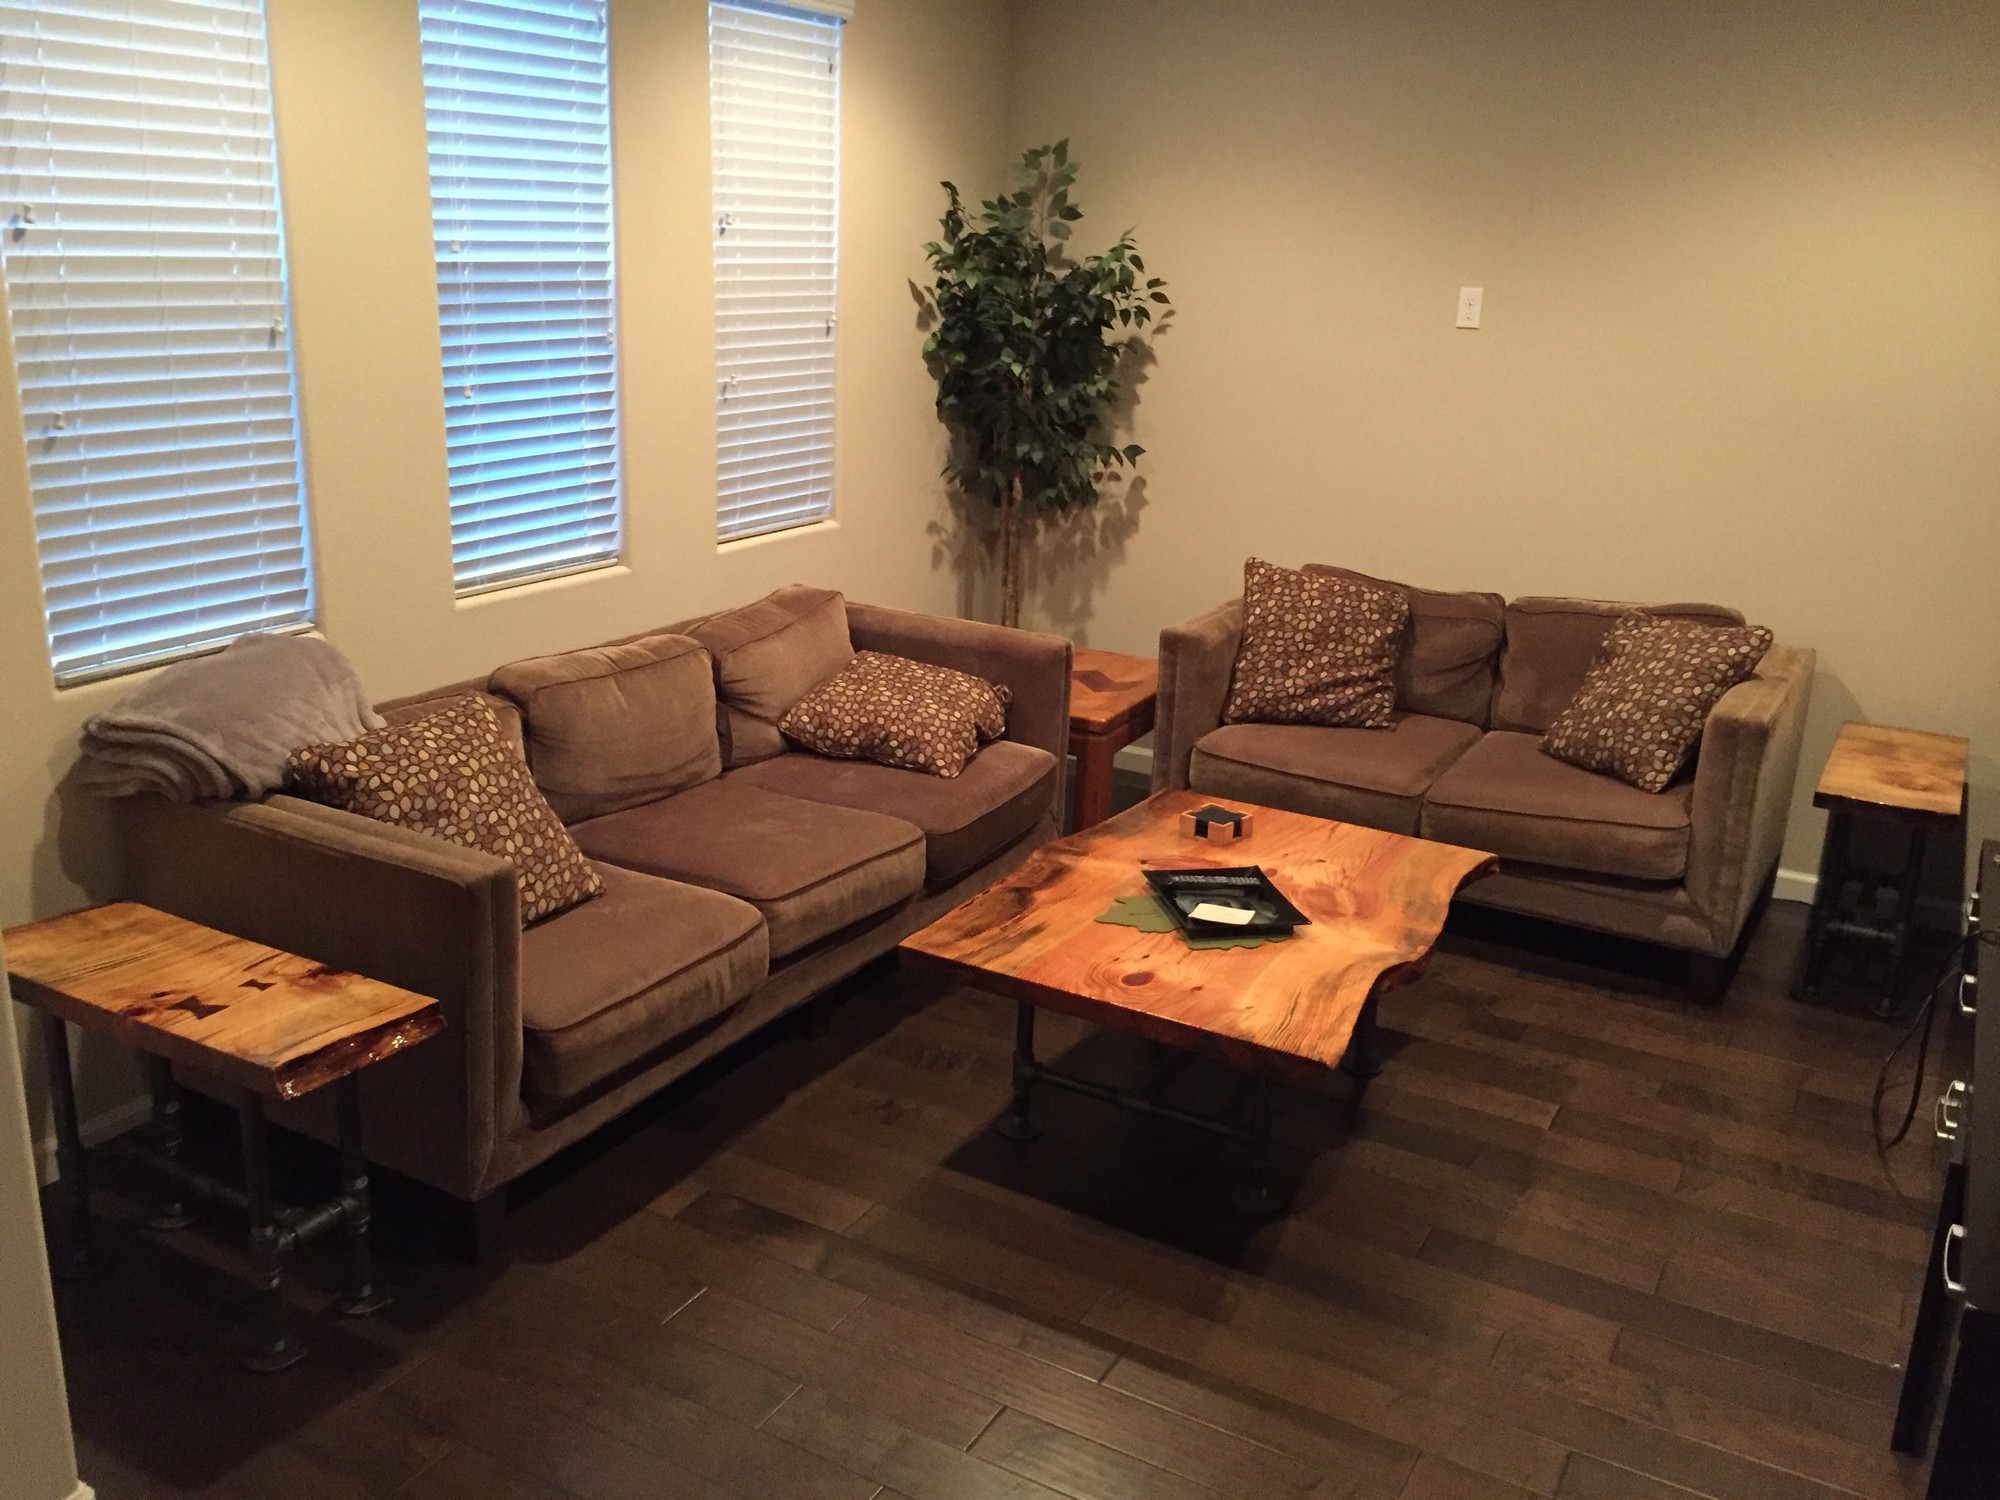
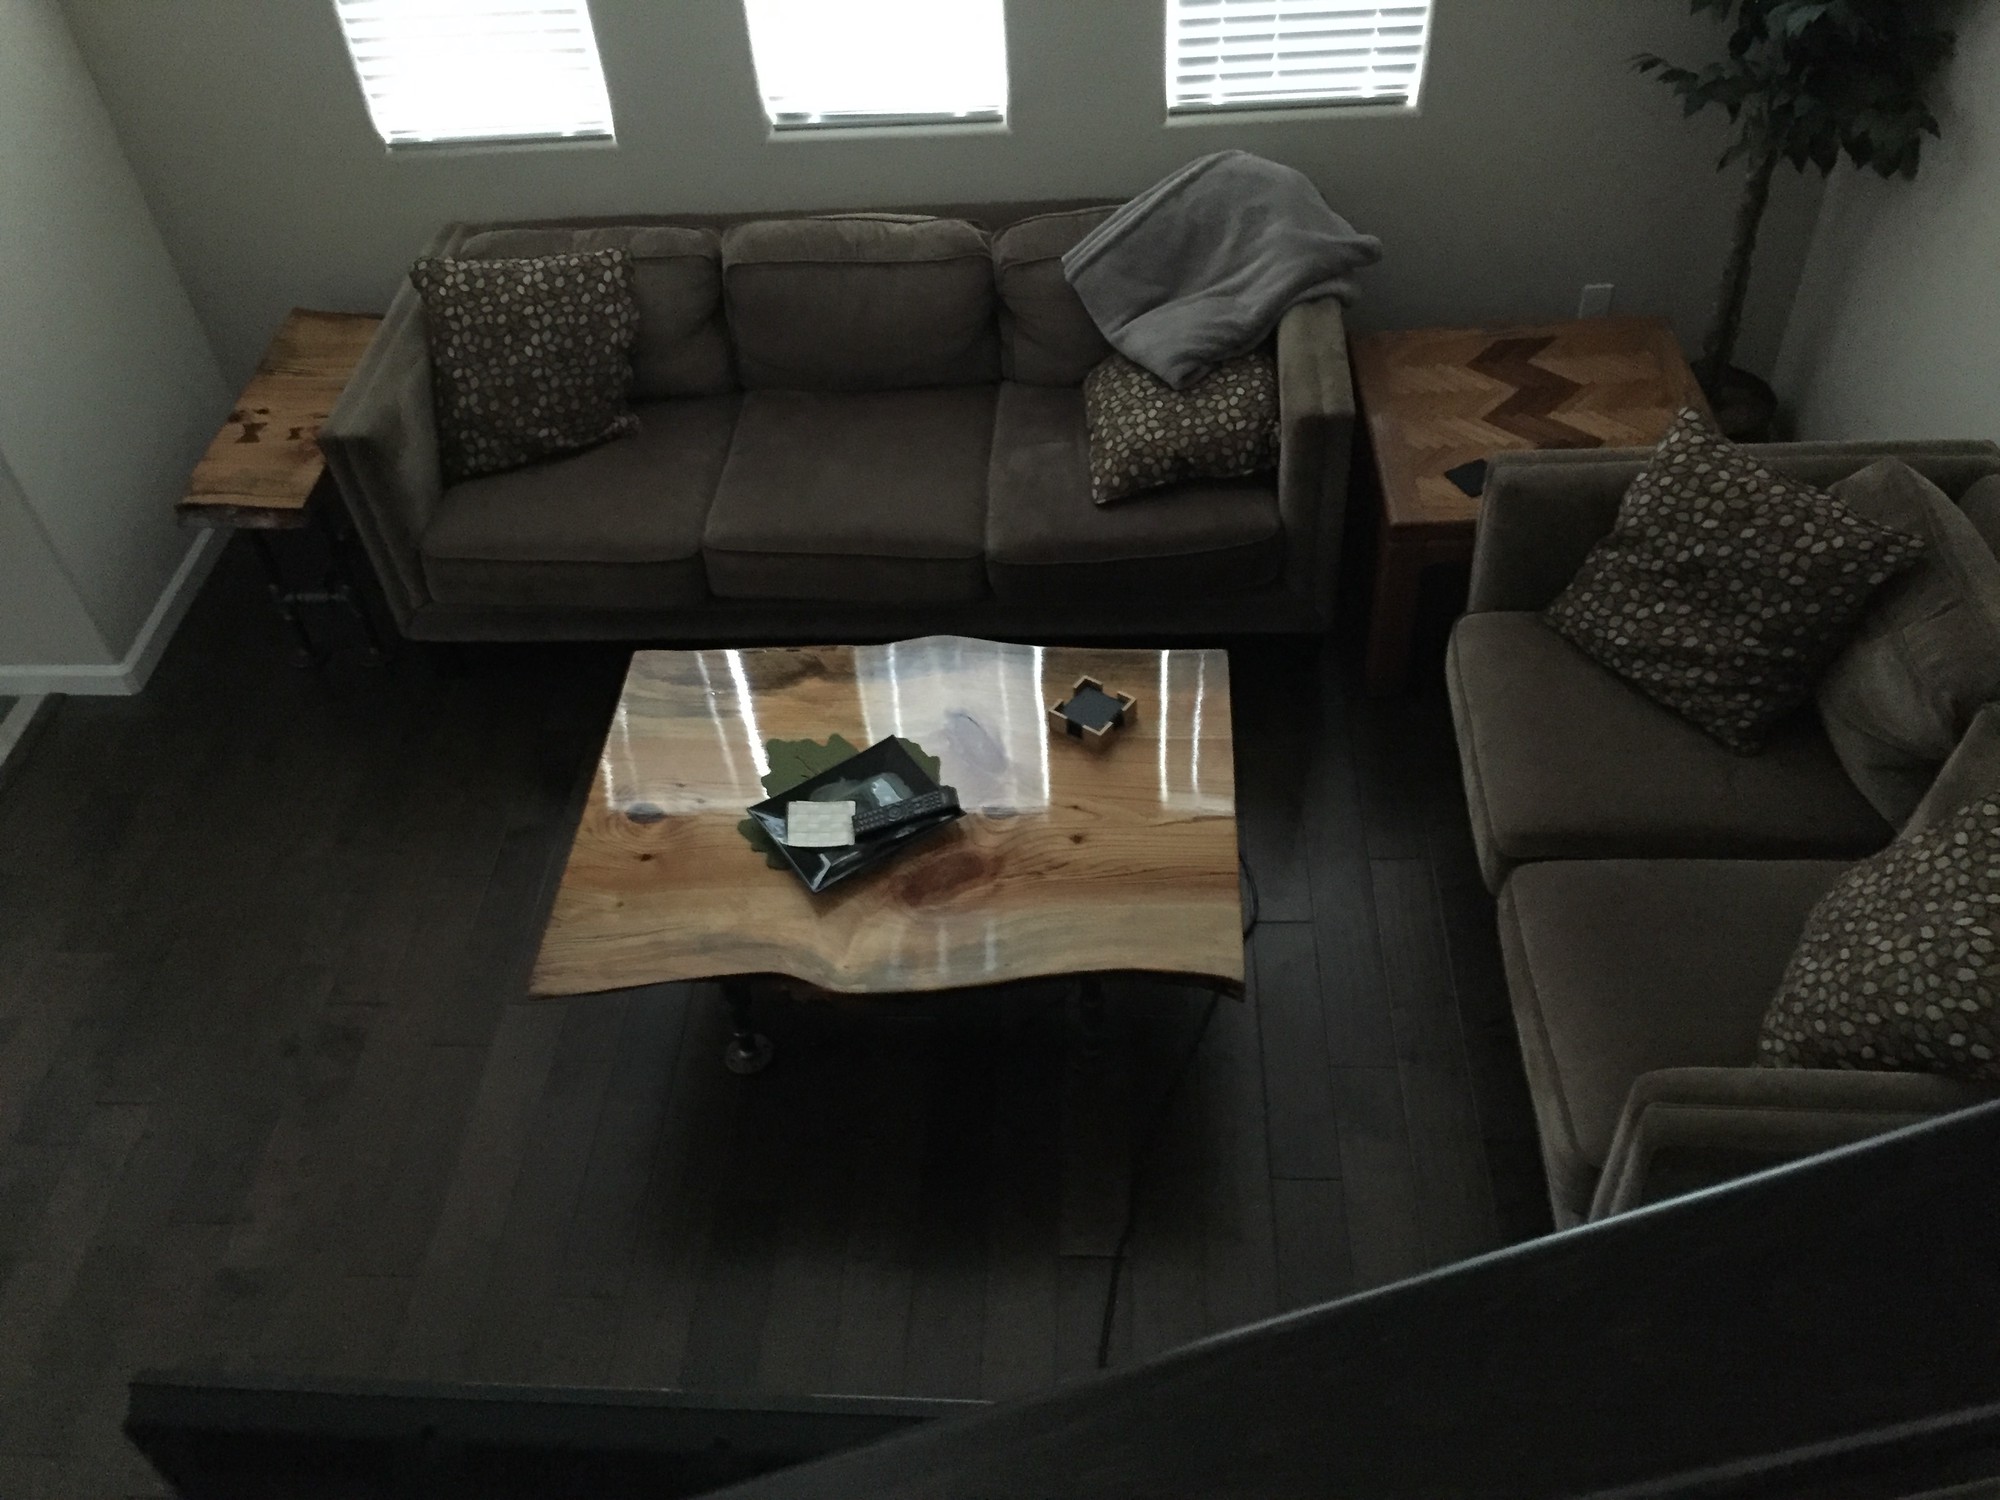
This was the final state of my table for several months, until I began other table projects (see other projects!) and found through my experiences in those endeavors my finish work on this table to be lacking. This is demonstrated in a side-by-side comparison below.
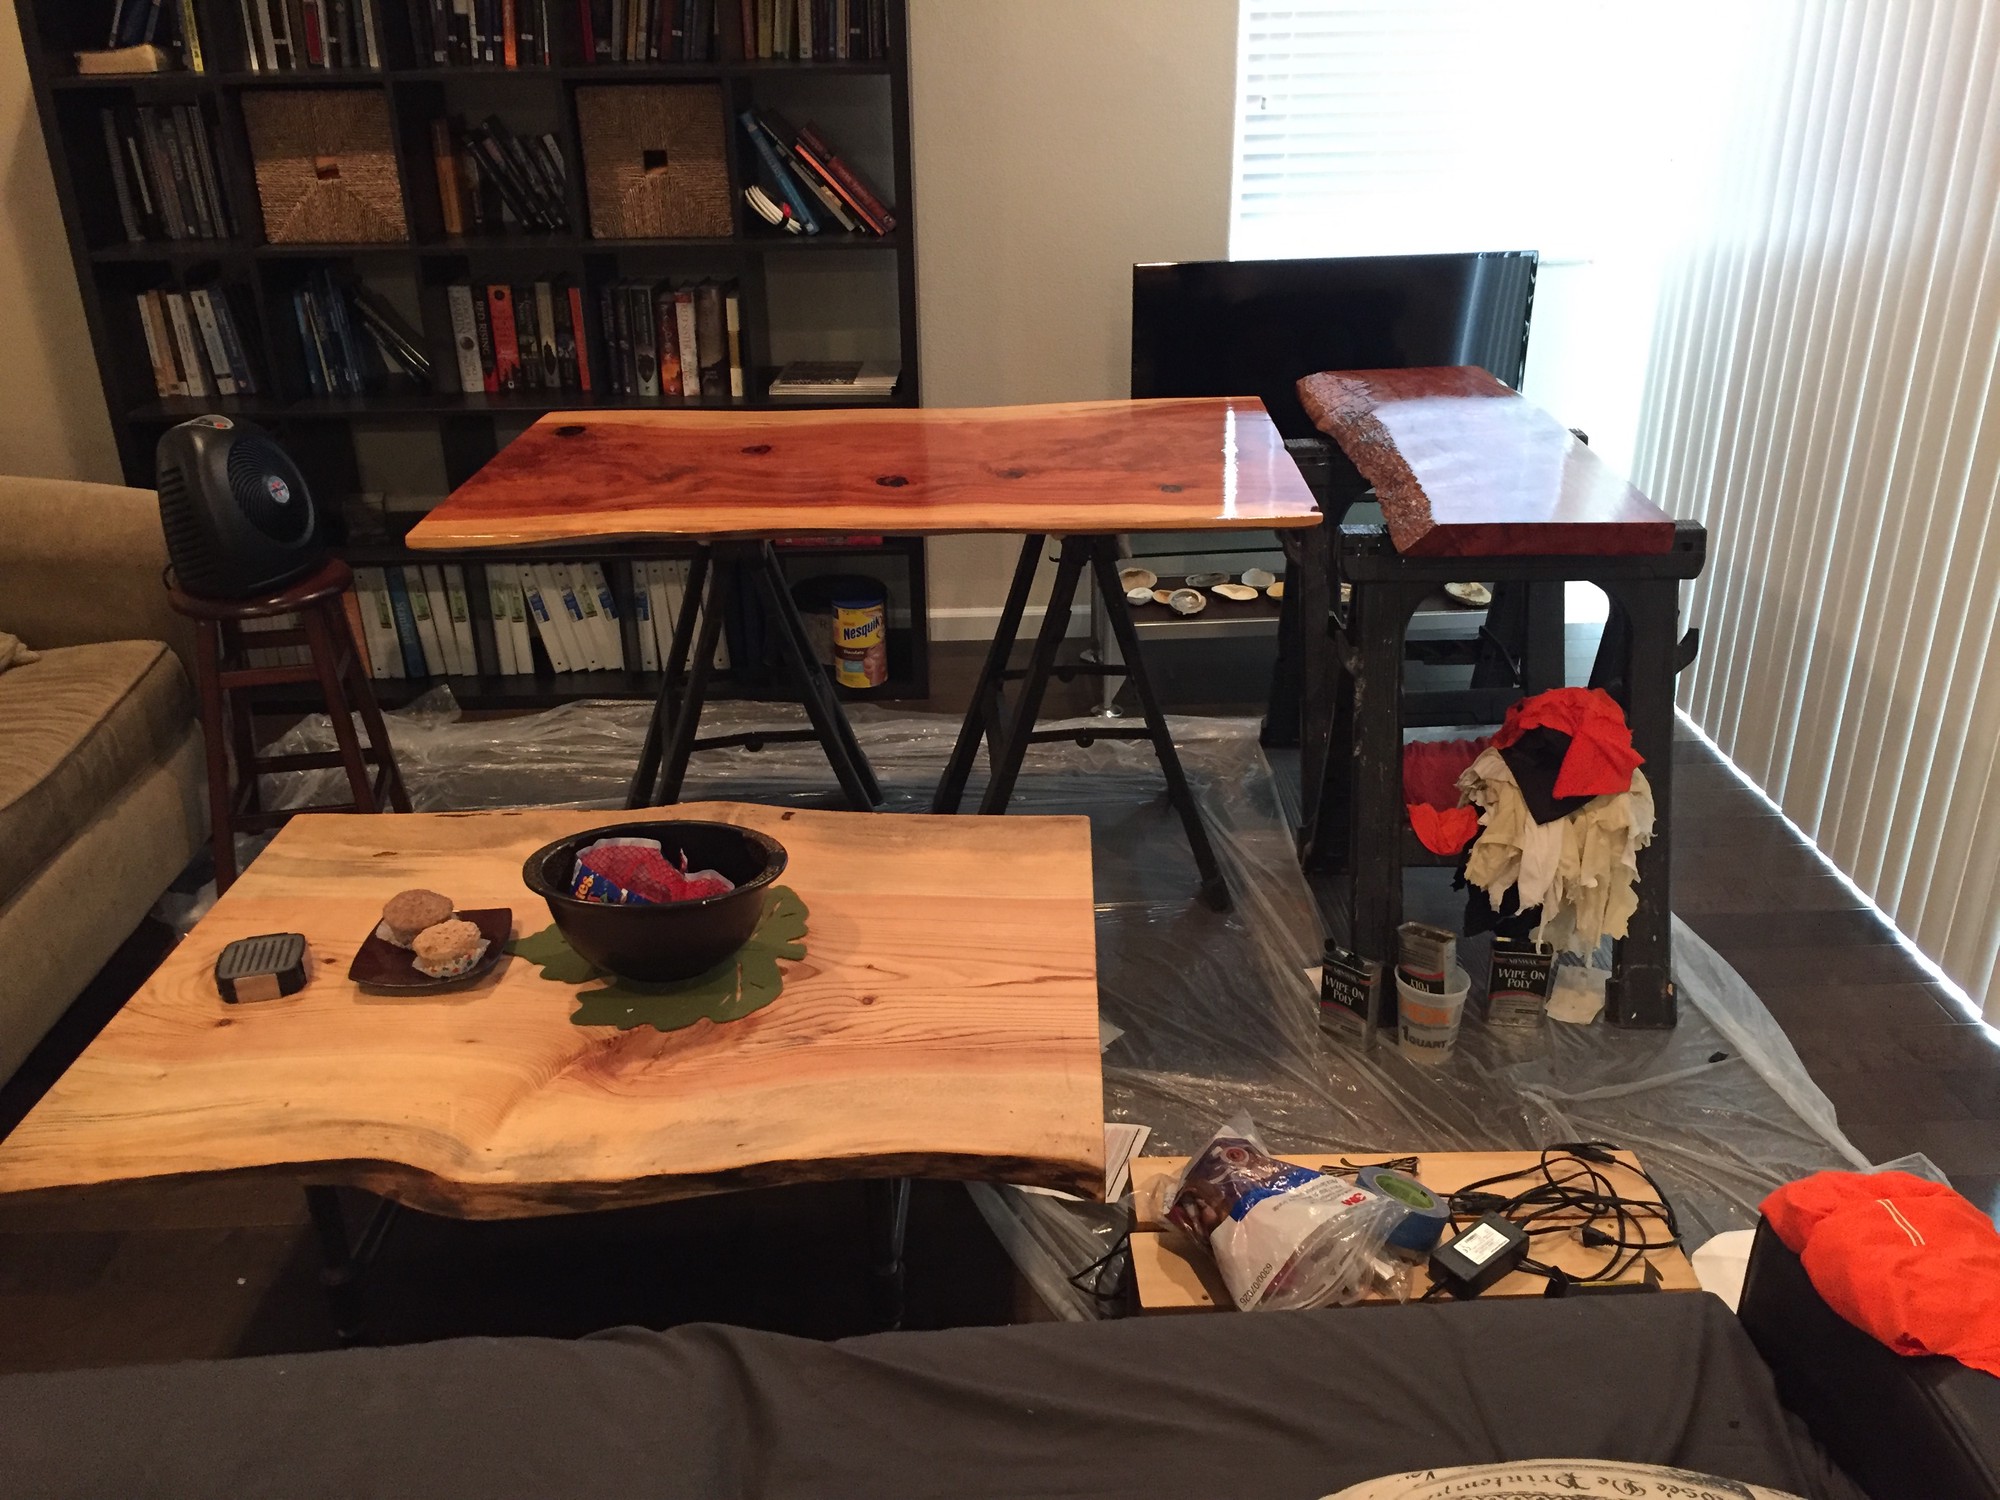
The tables you see in the image above include the one of main focus in this post and two others (
redwood table and
forest red gum table) I more recently finished.
As can bee seen, those other two tables differed in two major ways in their finish:
Even though the other two tables were different wood species, I enjoyed the darker coloration and glossier visual of the above finishing steps applied to them and decided to redo the finish on this table using the above method.
I first applied the Watco Danish Oil2 and let that dry for it’s recommended time of 3 days (recommended time when applying wipe-on poly3 over the oil).
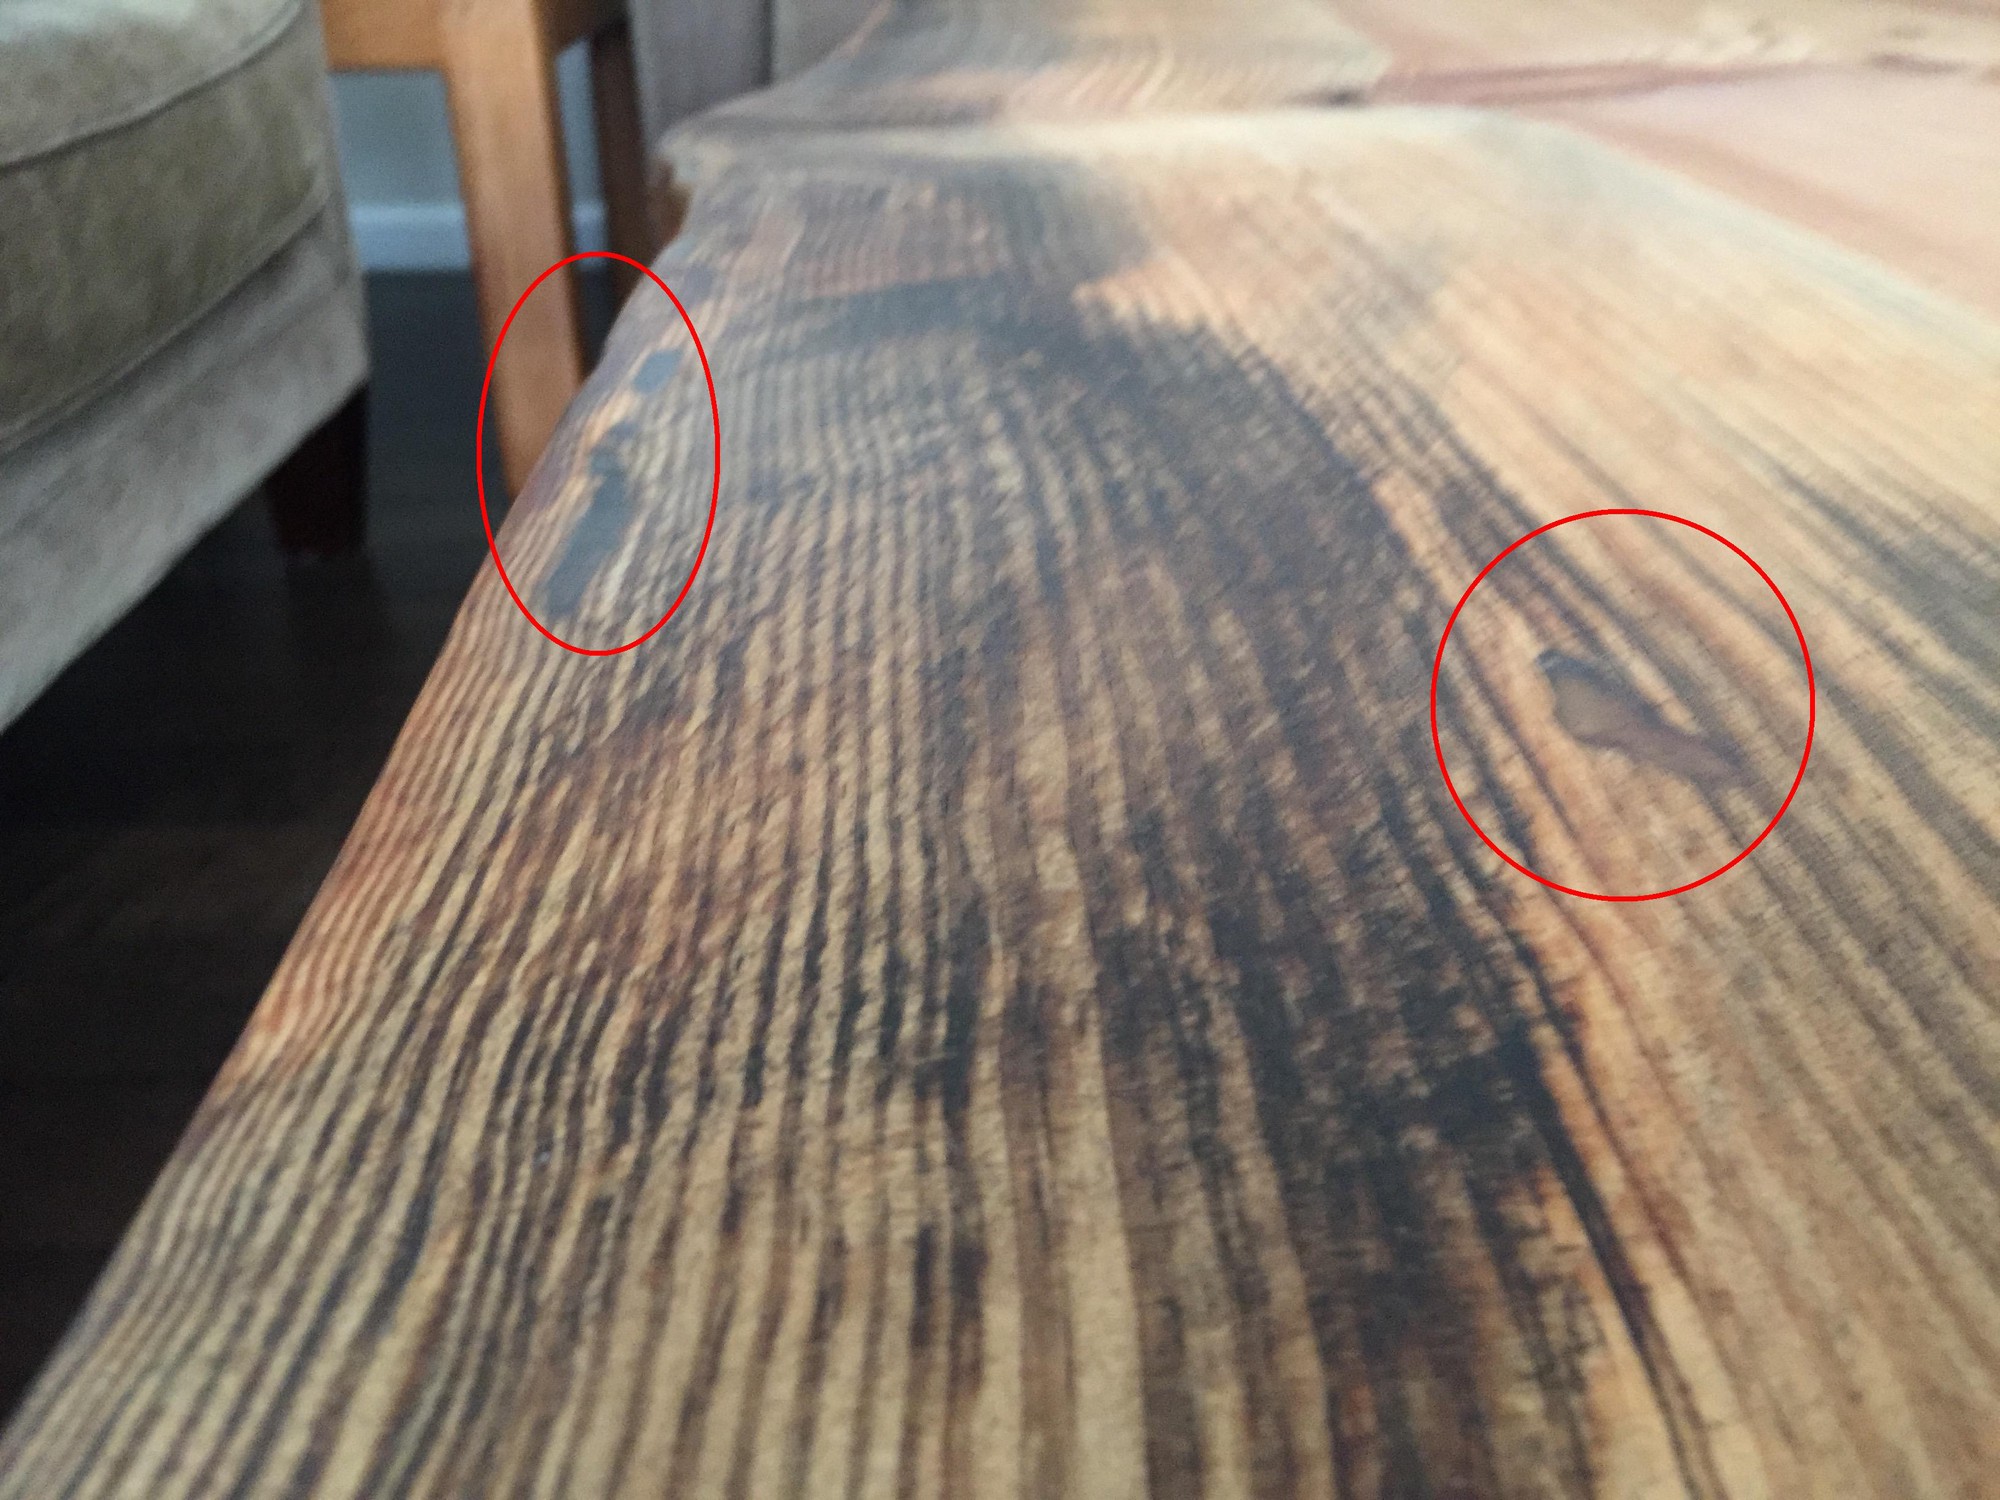
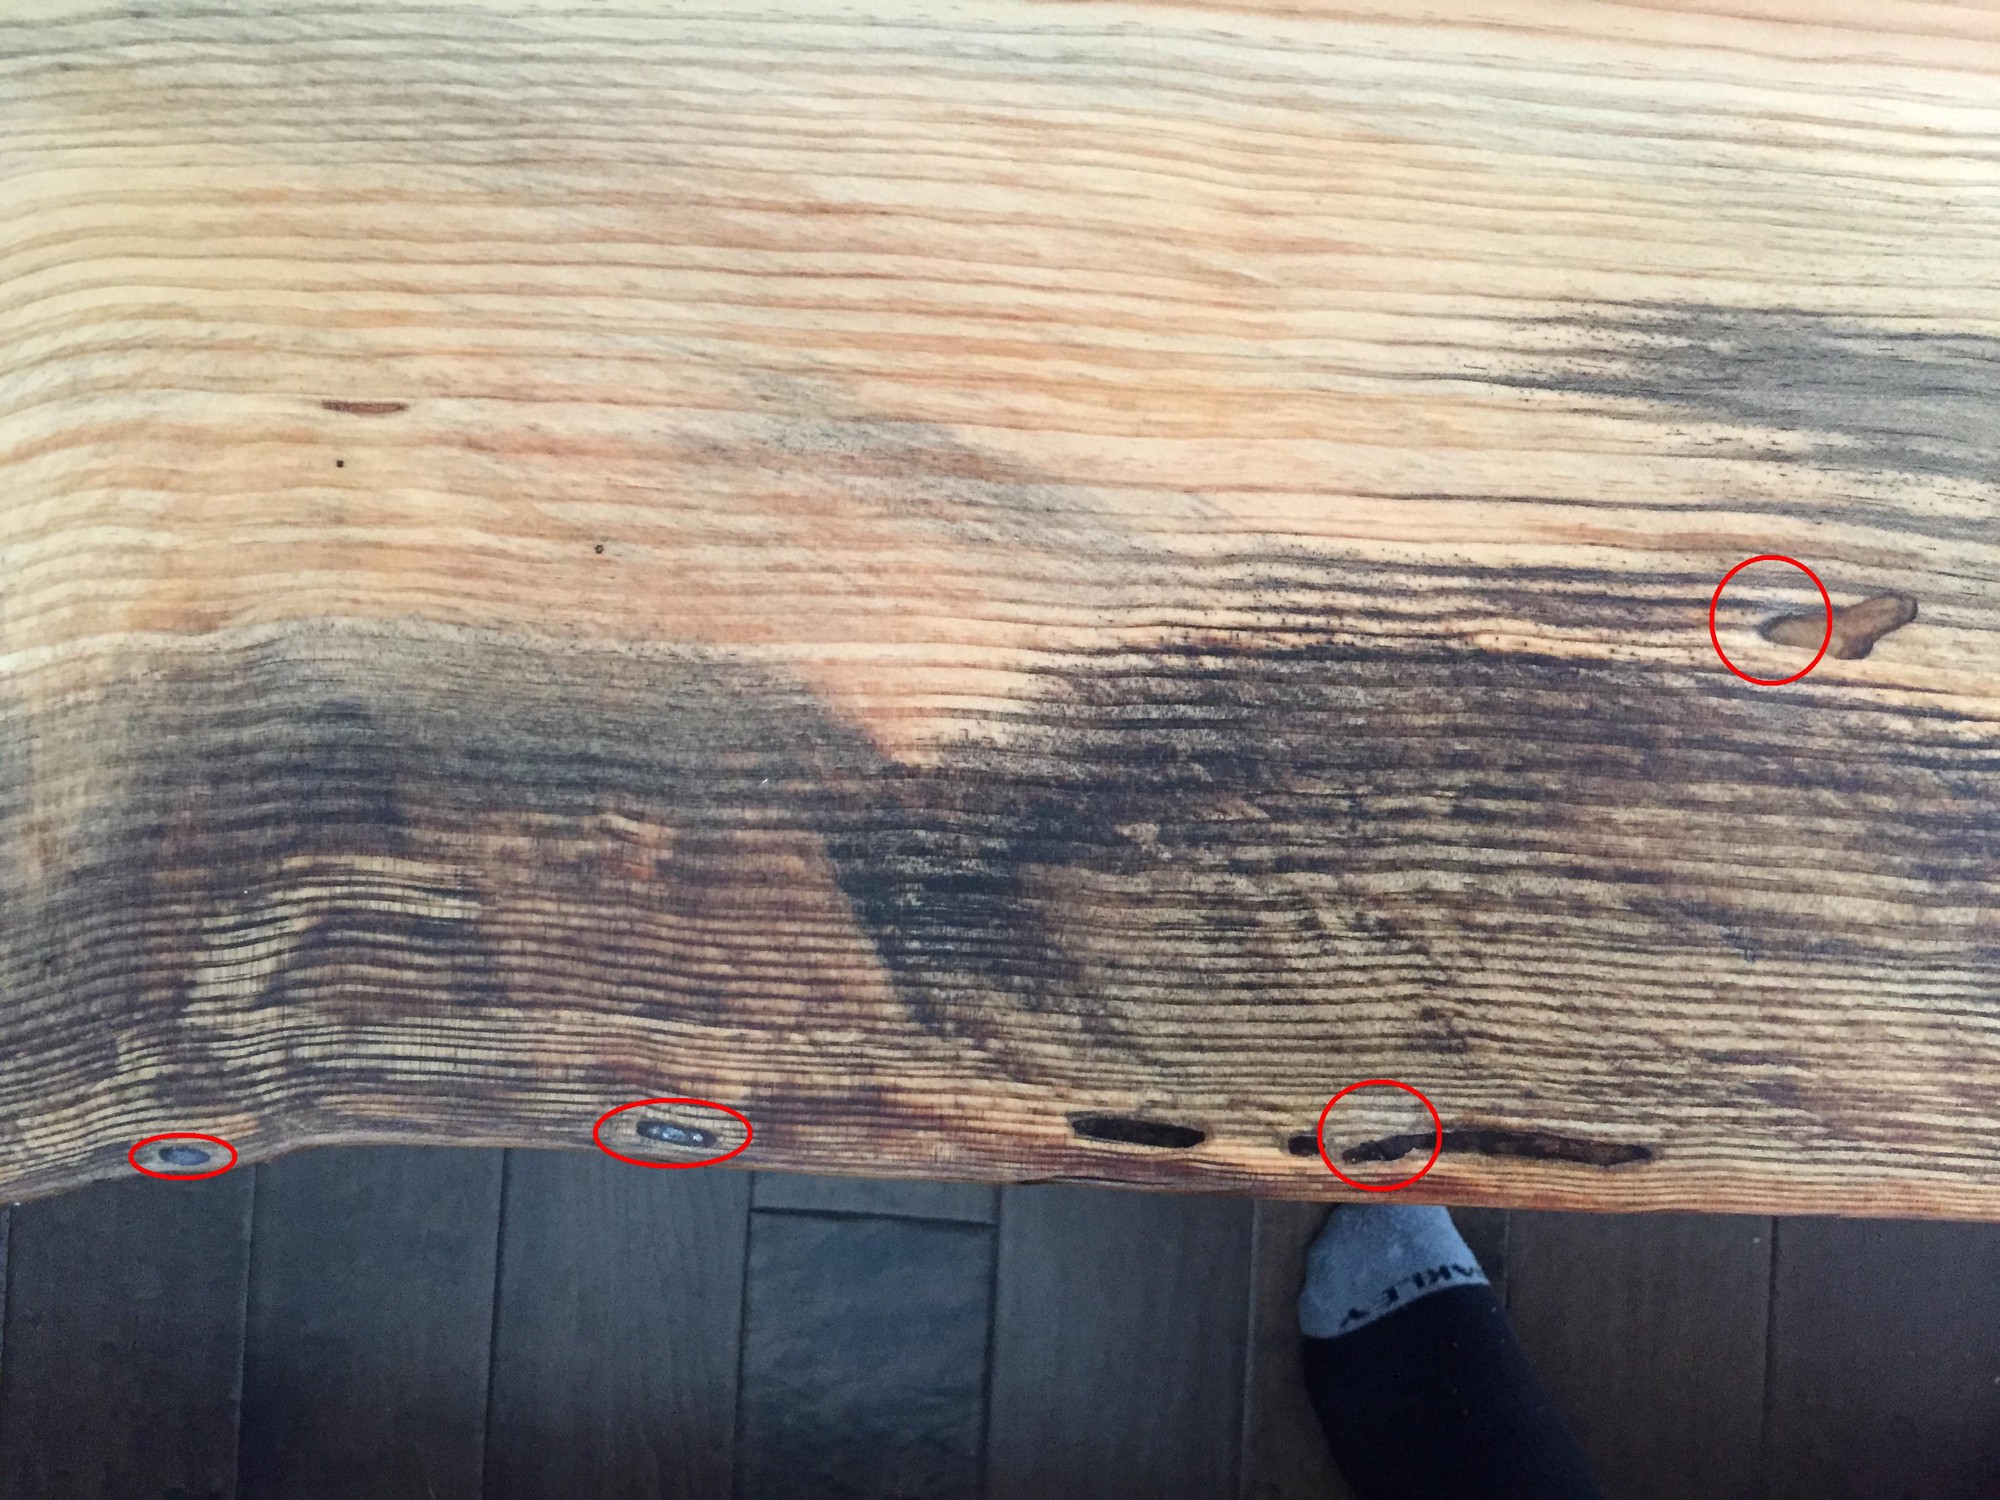
But before embarking on the wipe-on poly3, I decided that this was the perfect time to fix voids formed from bubbles during the curing process of the resin. To do this I used cyanoacrylate glue with a fast hardener.
I made sure to apply only the amount of glue necessary to fill the void and then with 320 and 400 grit sandpaper, gently smoothed out any excess glue so that the fill was flush with the surface of the resin. The prior state of the bubbles aren’t visible in the pictures below, but the final result after glue application is evident. There is slight whitening or discoloration from sanding on the stained wood, but that was remedied by simply lightly dabbing those areas with Watco Danish Oil2 and letting dry for a few hours.
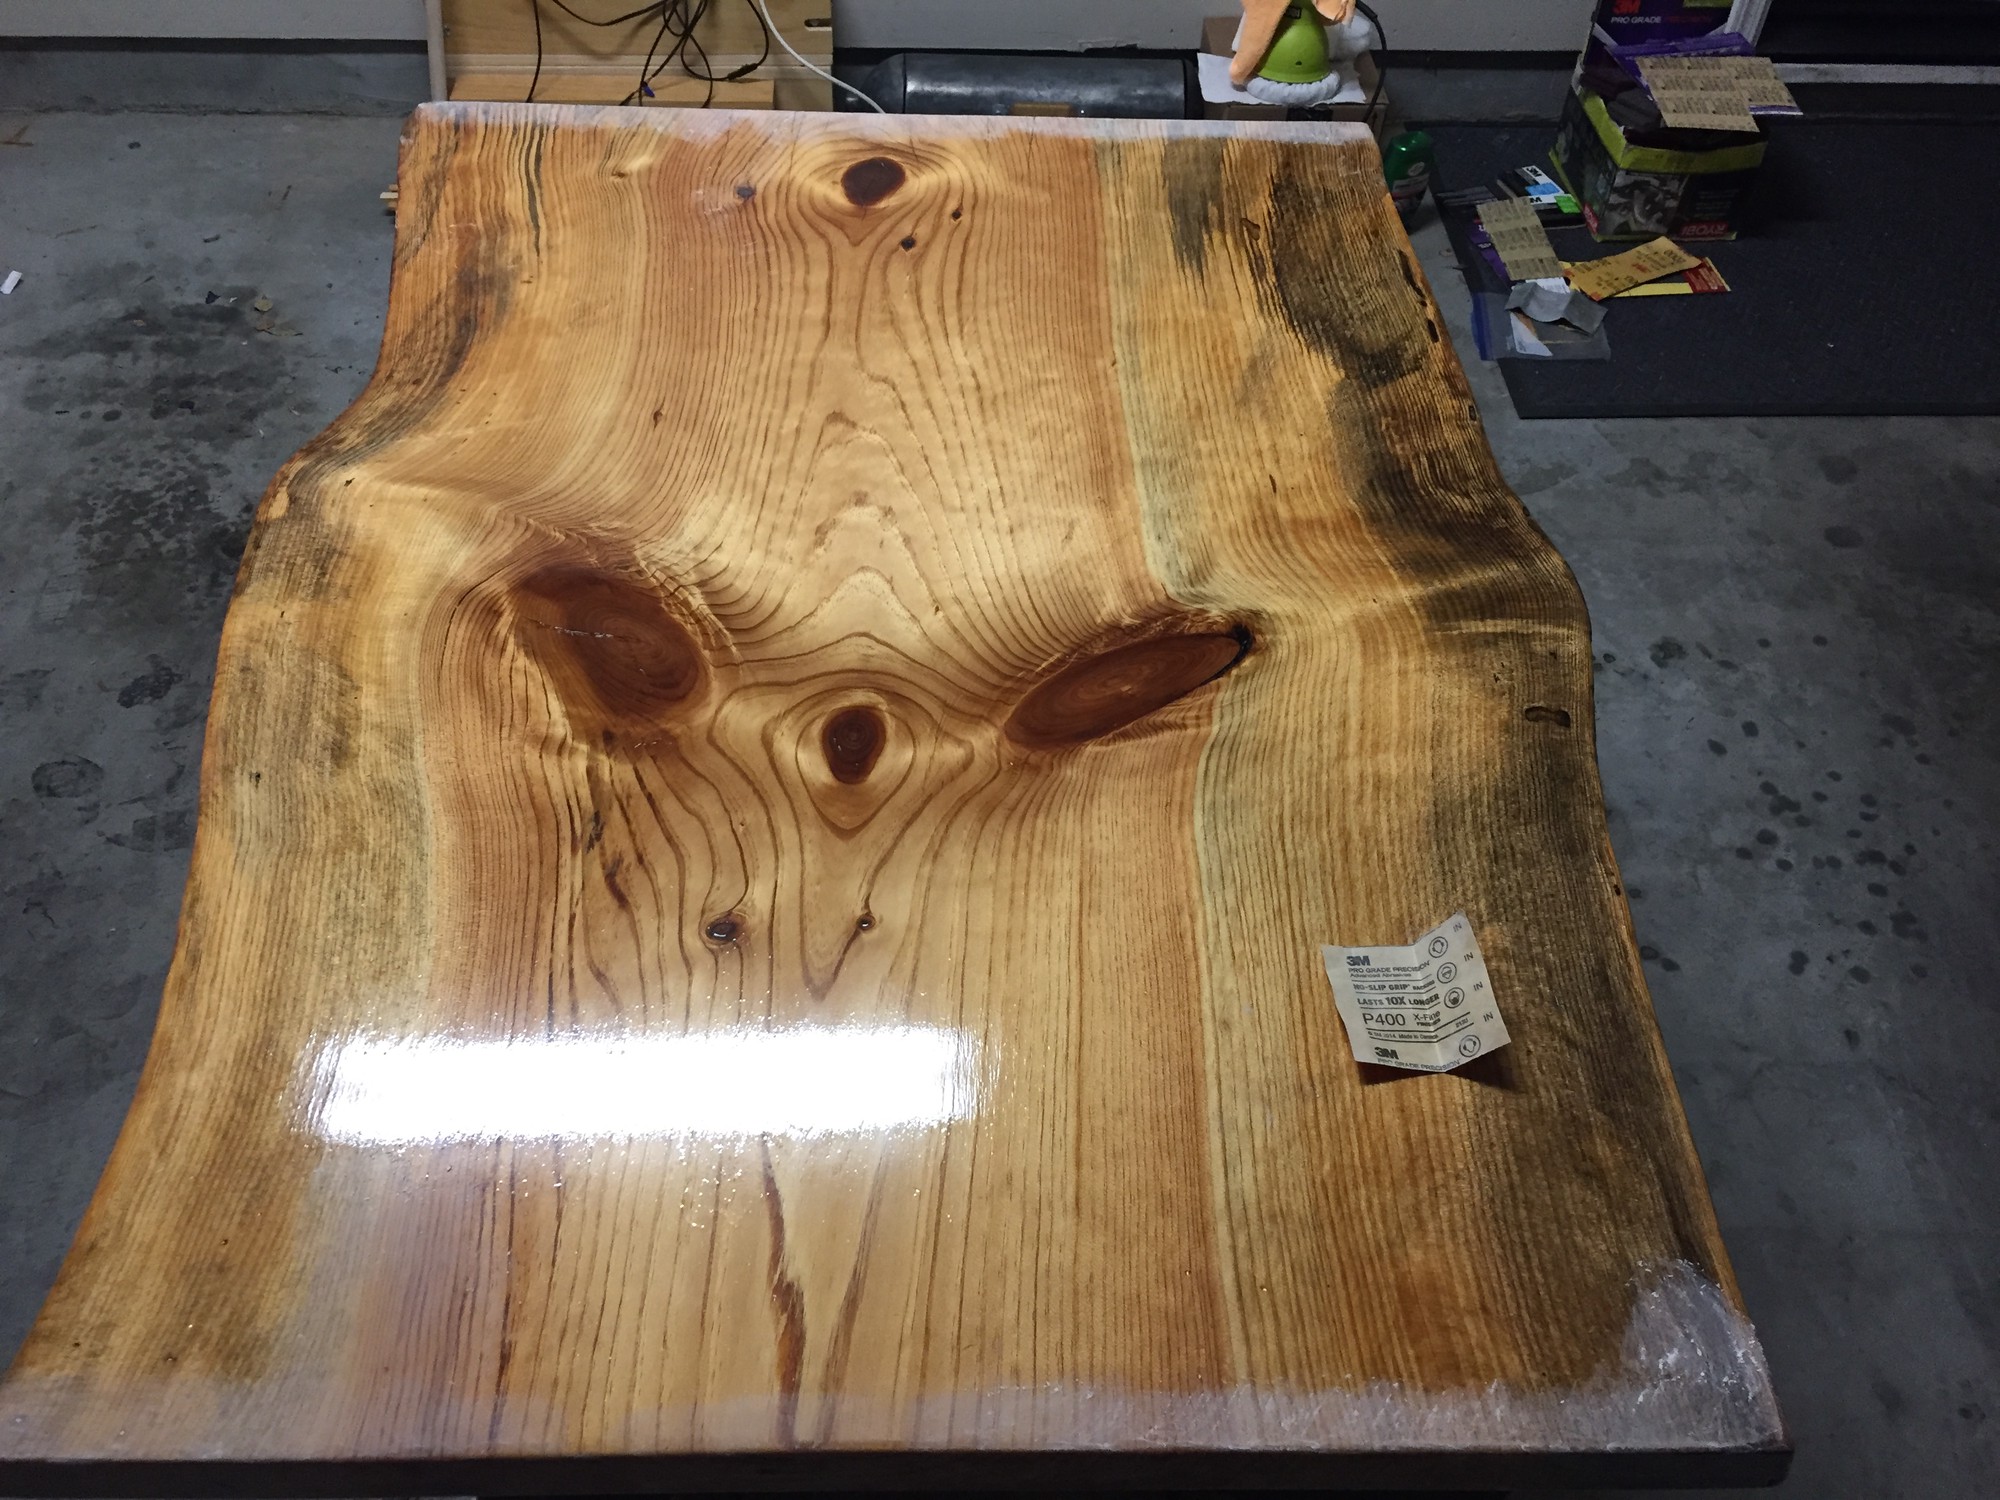
I then proceeded to apply poly3.
I applied ~15 coats of poly3.
This resulted in a lustrious and glossy coat.
Unfortunately, due to incorrect application technique, the poly3 formed build-ups near the edges and drips under the corners.
My technique had been to soak a small square patch of folded lint-free cotton cloth cut from old t-shirts, apply table-length, continuous strokes first to the surface and then apply edge strokes to cover the sides of the table.
The build-ups and drips show below were likely due to applying too much poly3 on the edge strokes.
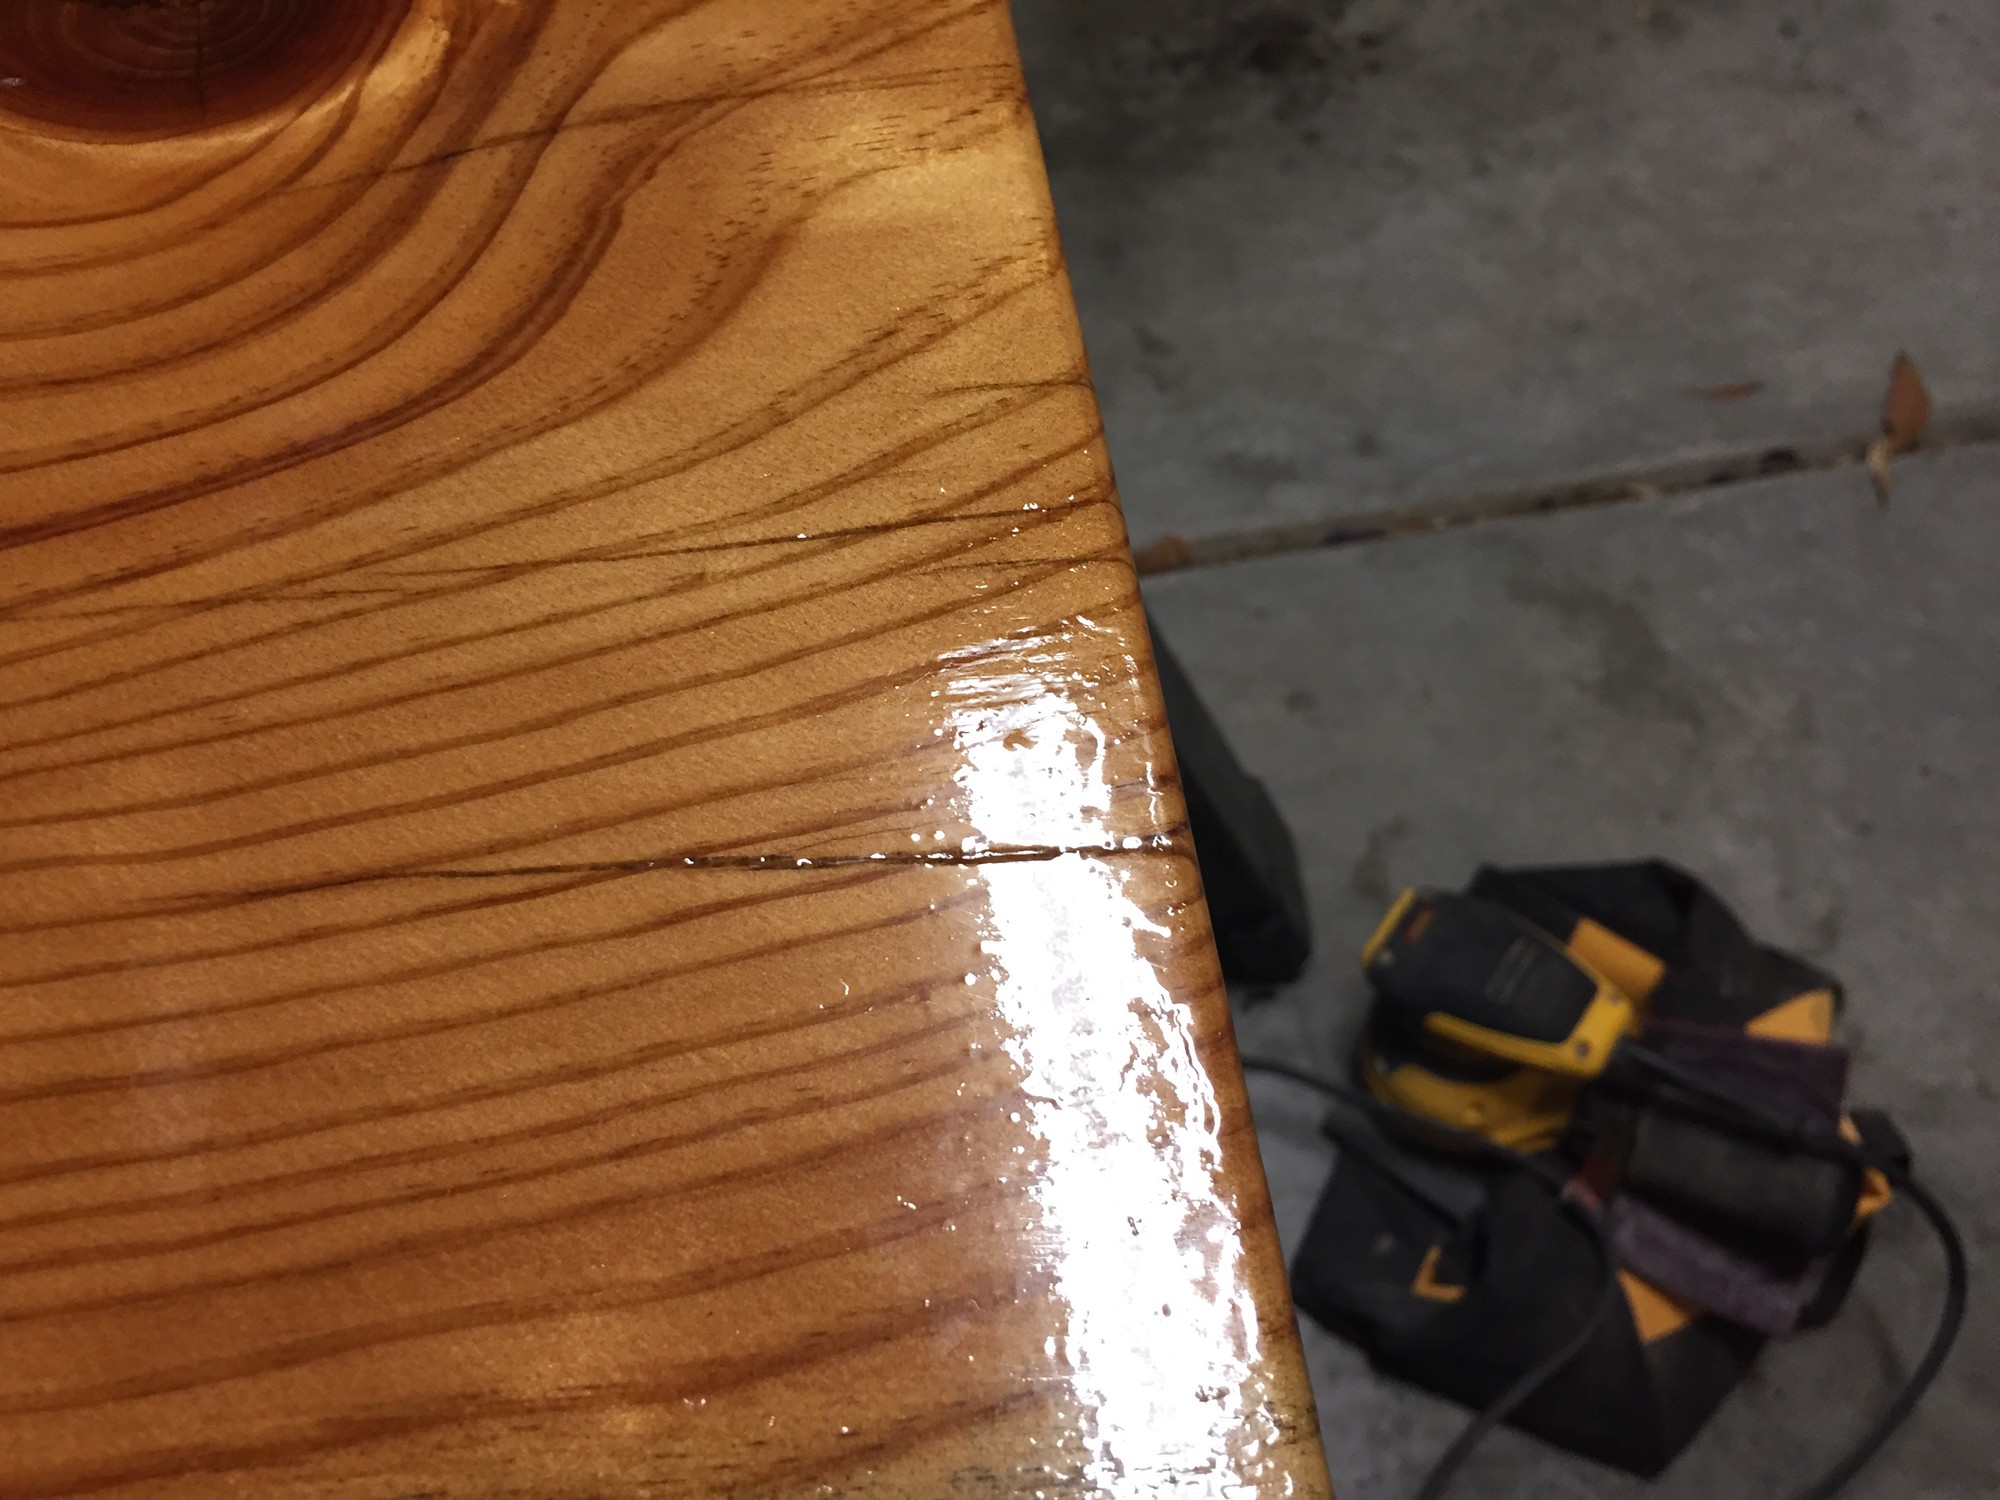
These build-ups and drips were both visually distracting with the right angle of glare, but also tactilely offensive.
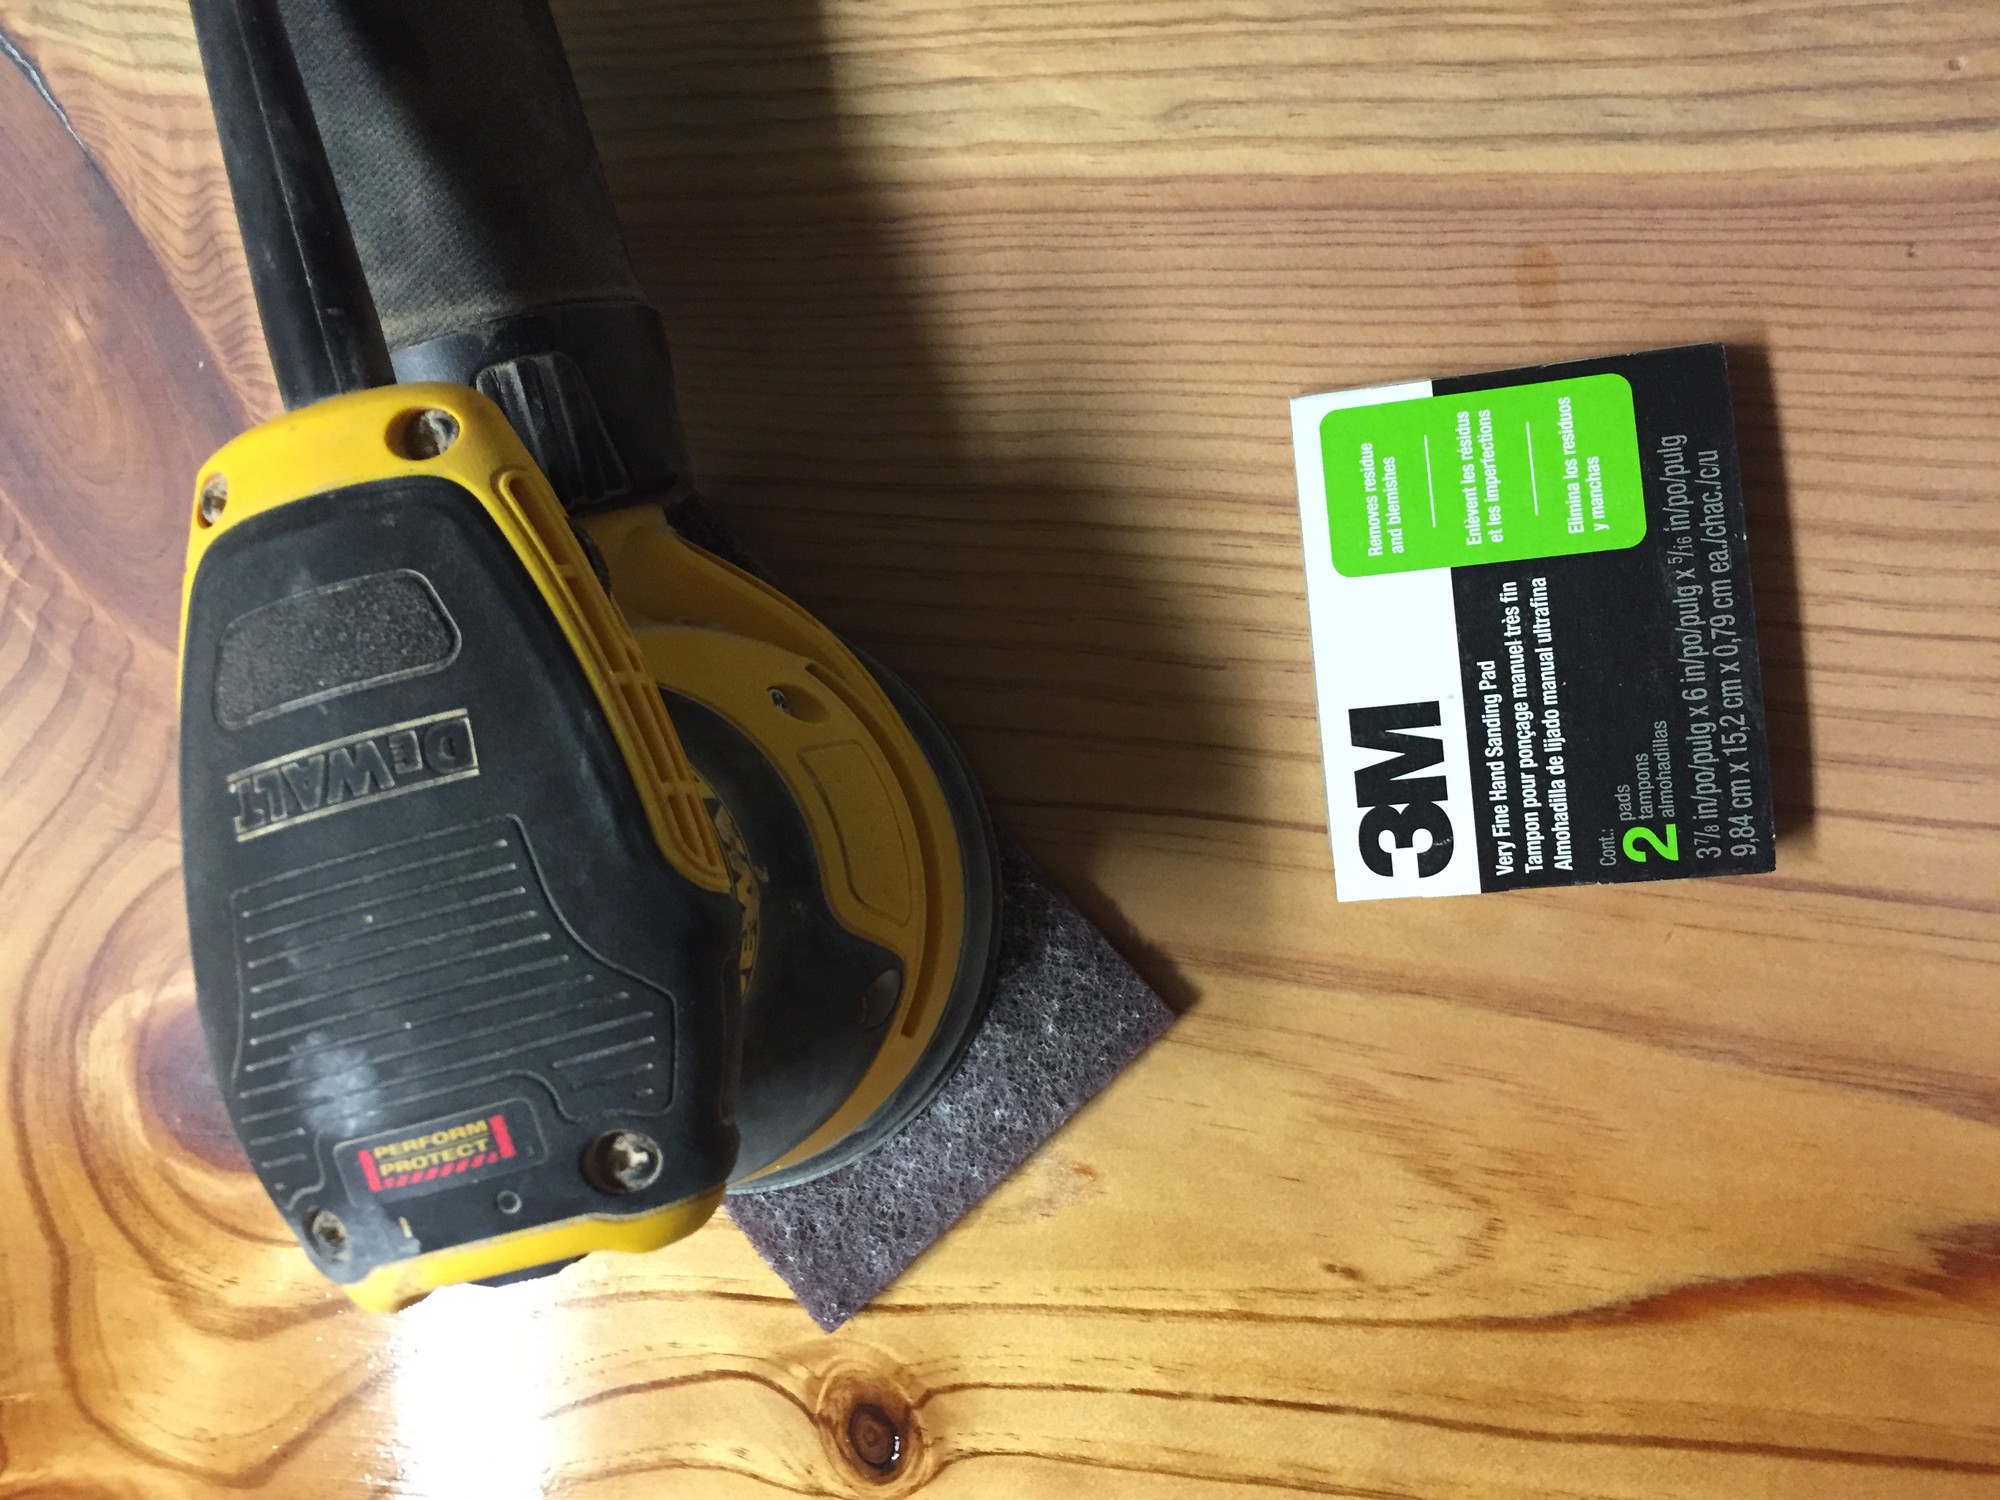
Unfortunately, this was not the case with the current state of affairs. So, I researched all the possible ways to fix build-ups and drips. I wanted an approach that didn’t require completely reapplying the poly3. With respect to the build-ups, the least obtrusive technique that I found was to simply buff the finish aggressively with a very-fine or ultra-fine scotch-brite pad from Home Depot’s painting section using an orbital sander. 4 5 6 With respect to the drips, I simply used 320 grit sand paper by hand on the corners where the drips had formed and then applied progressively finer sandpapers to the region affected by the drip until it was both flush and relatively glossy.
I discovered that using scotch-brite pads+orbital sander does effetively remove bubbles/nibs from the surface but removes too little poly and is too imprecise to remove localized build-ups. I resorted to using 320 and 400 grit sandpaper for these instead.
I then removed the nibs/bubbles from the entire surface using a scotch-brite pad+orbital sander technique.

While the table was very smooth after this to the touch, the sheen was lost during this aggressive buffing as can be seen above. I attempted to use turtle car wax from Home Depot and a 6" electric buffer on low speed to bring back a high gloss. Unfortunately, this did not fully recover the original high gloss and in my repeated attempts at buffing/polishing finally wore through the poly3 to bare wood in some places.
Thus, I had to redo the finishing steps for the poly3. Agh!!
For the refinish, I chose not to use cloth but rather finely folded squares of paper towel as my poly3 applicator as a way to compare their reservoir capacity and stroke smoothness compared to using folded cotton cloth. I discovered that using this thinner paper towel applicator in conjunction with performing strokes over partial sections of the table while overlapping “wet” edges of poly3 provided a very thin and very uniform layer of poly3 for every coat I applied.
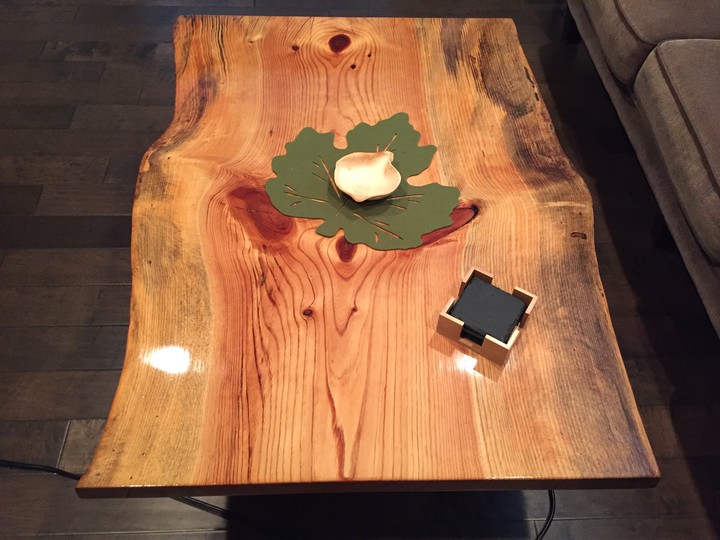
The final results are shown below and I think ultimately culmninated in a very high gloss and tactilely smooth product!
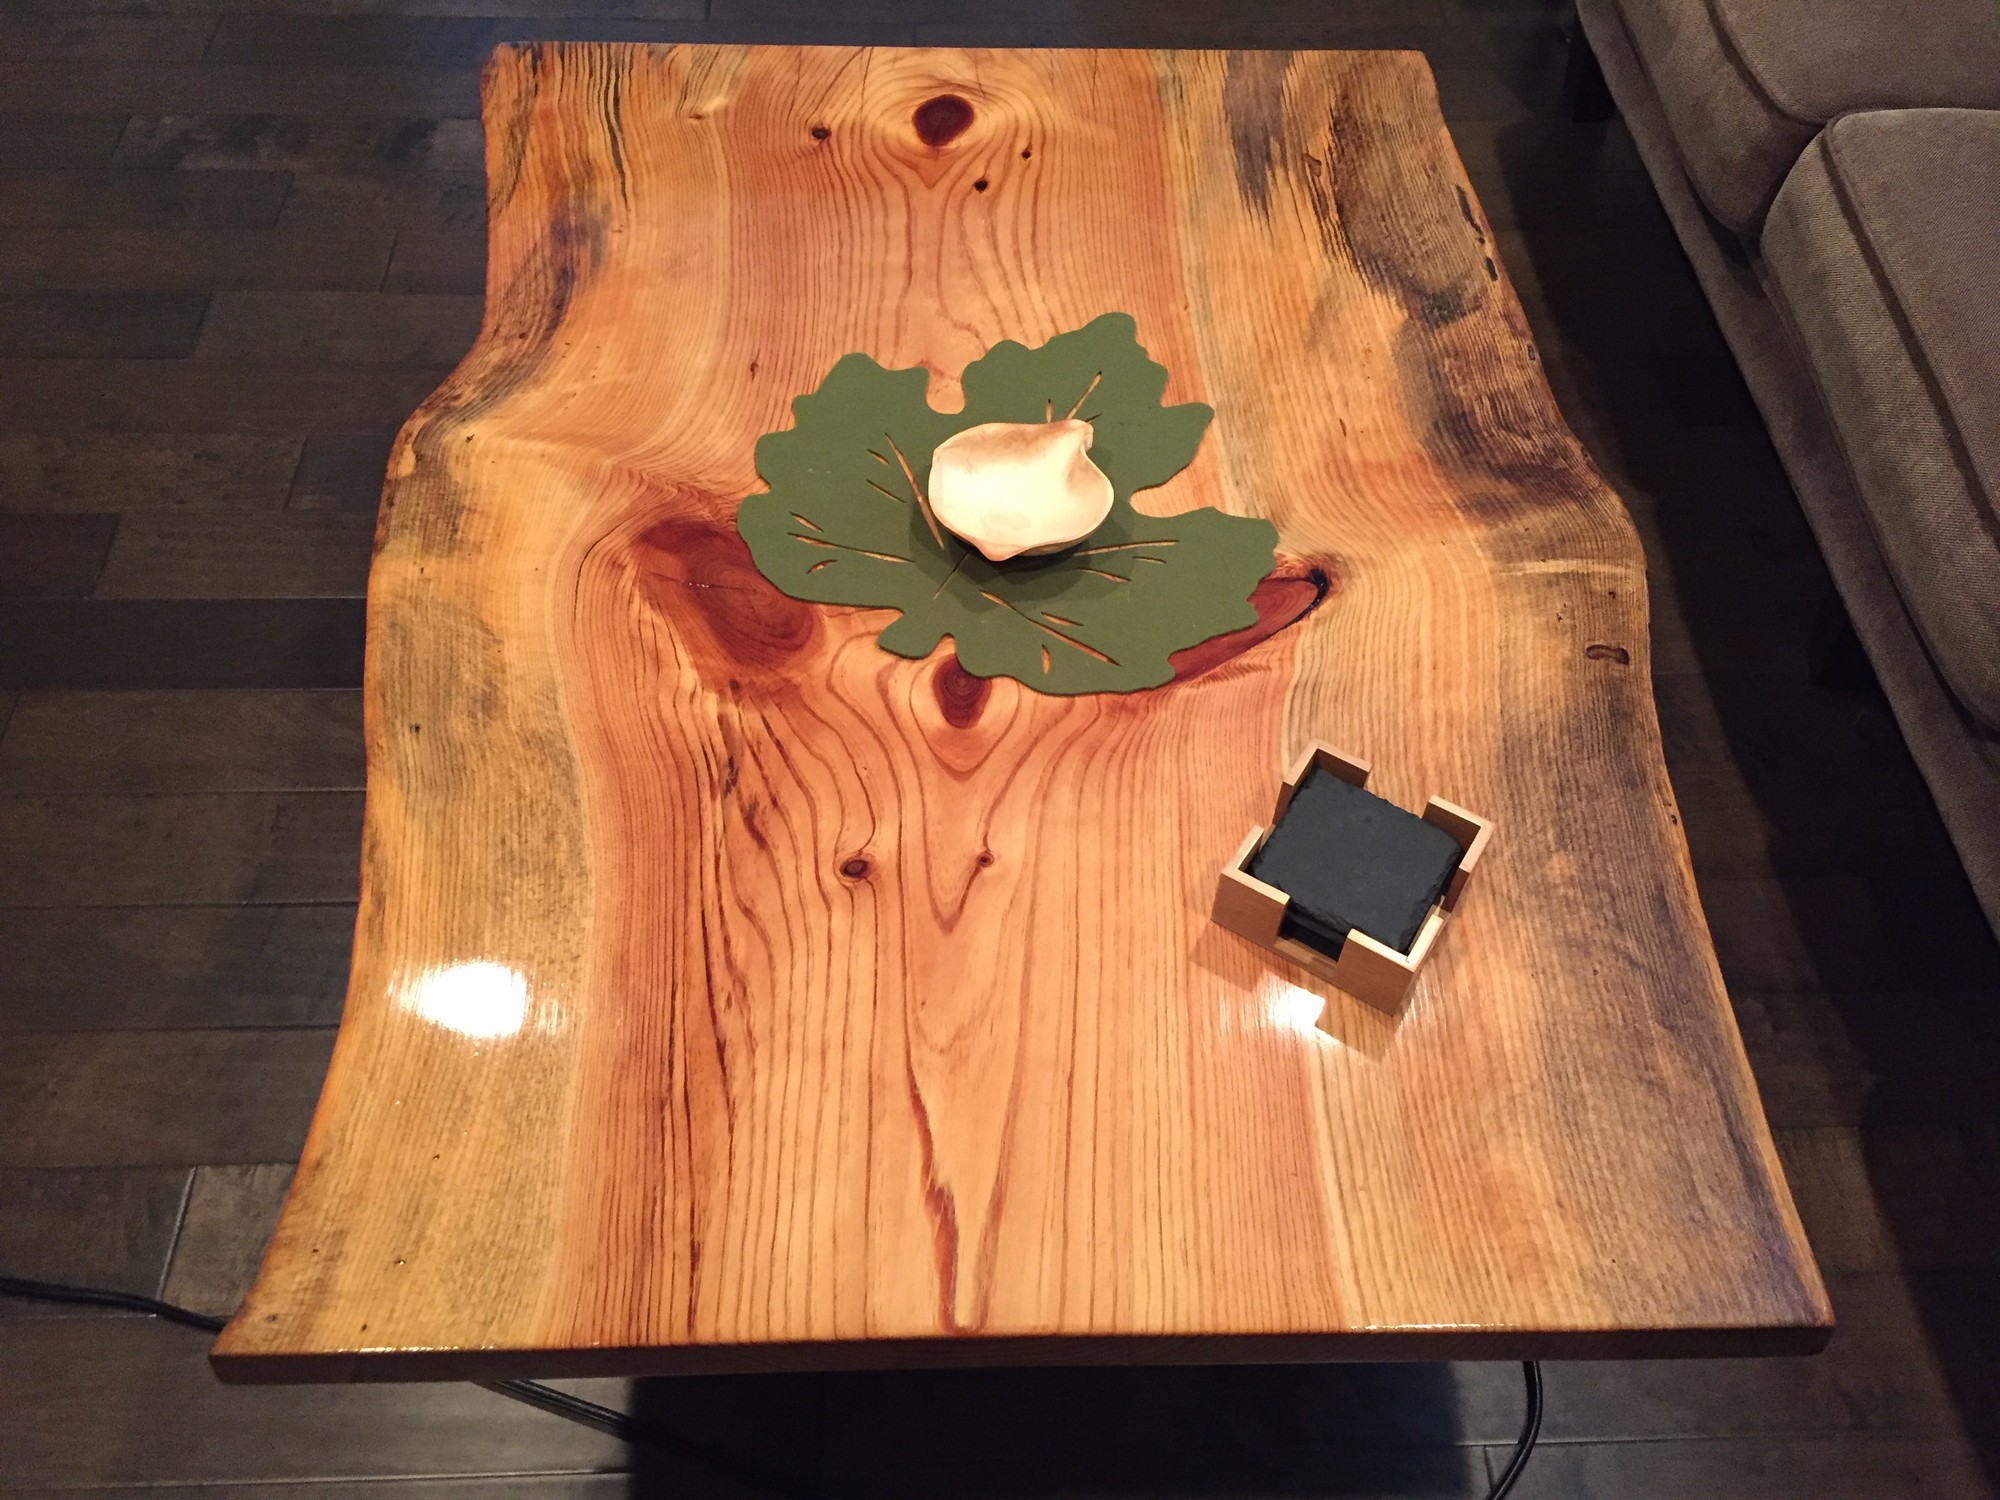
Thanks for reading!