Live Edge Table

This is my third table! Let’s first cover the basics:
- Start: Fall 2016
- End: April 2018
- Wood Species: New Growth Redwood
- Wood Supplier: Ponderosa Millworks1
- Table Type: live-edge wood slab
While reading this project, you may notice some commonalities and themes to a previous project post of mine,
live edge slab table.
This is because I was working on these two projects simultaenously!
Unlike my previous projects, this slab was purchased as a stand alone piece (i.e. not split from a larger slab with a friend).
The slab measures 44 5/16" x 2 1/16" x 15 31/32" (after completion) and was purchased completely dried.
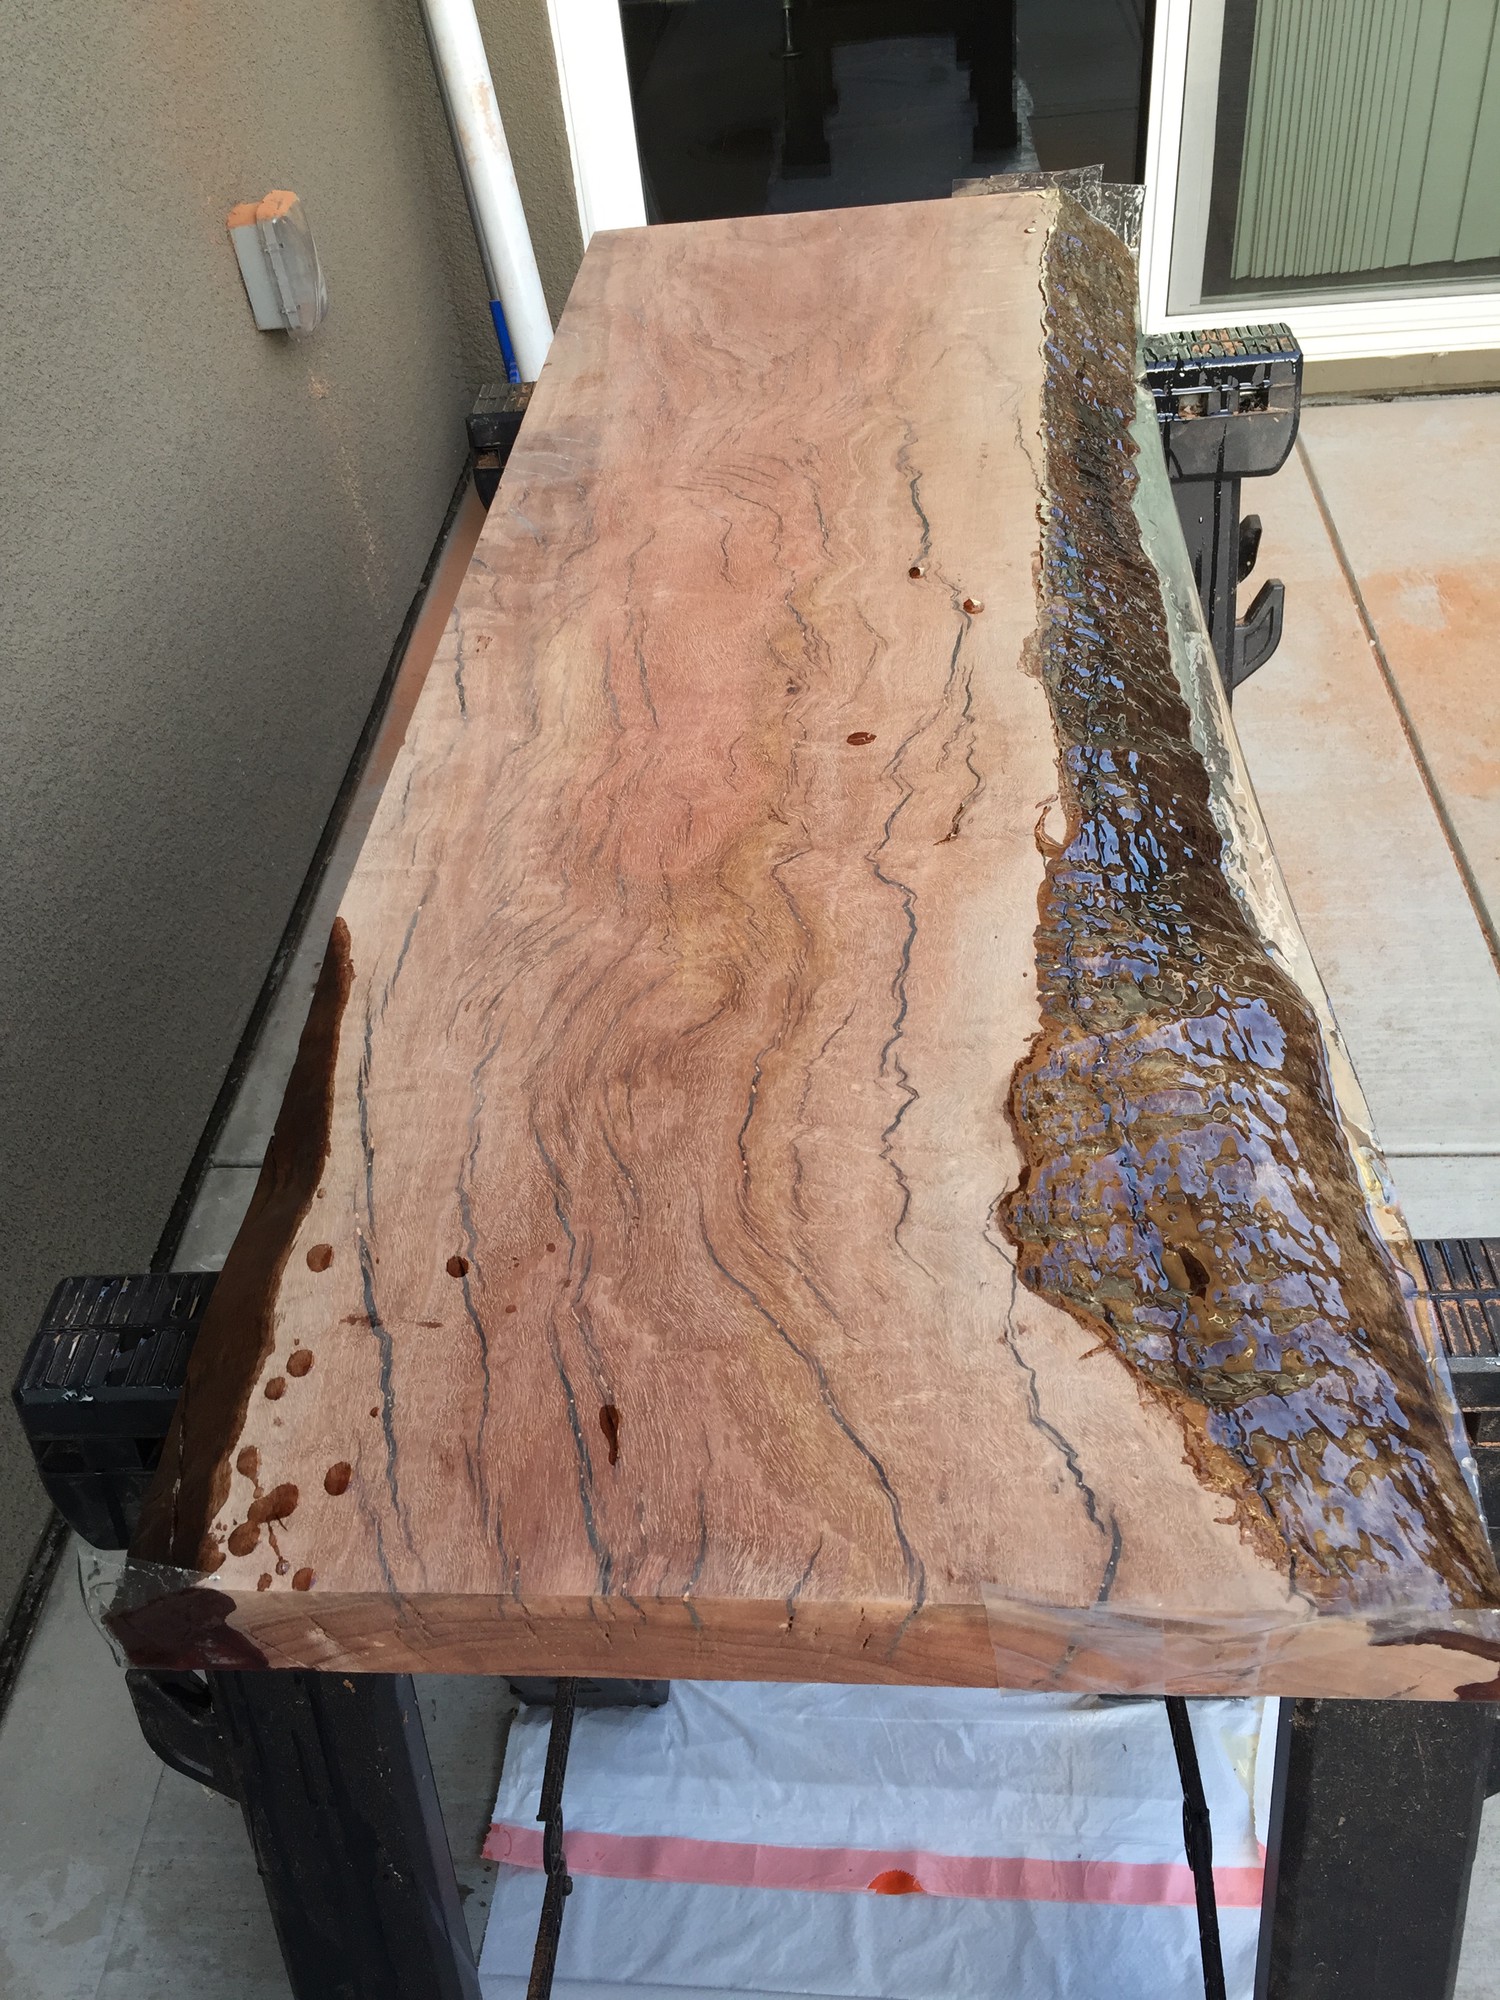
For those of you new to Forest Red Gum, check out this article. I was attracted to this piece due its unique live edge, deep red coloration with dark swirls and its intriguing collection of cracks that I thought would look excellent when filled with resin.
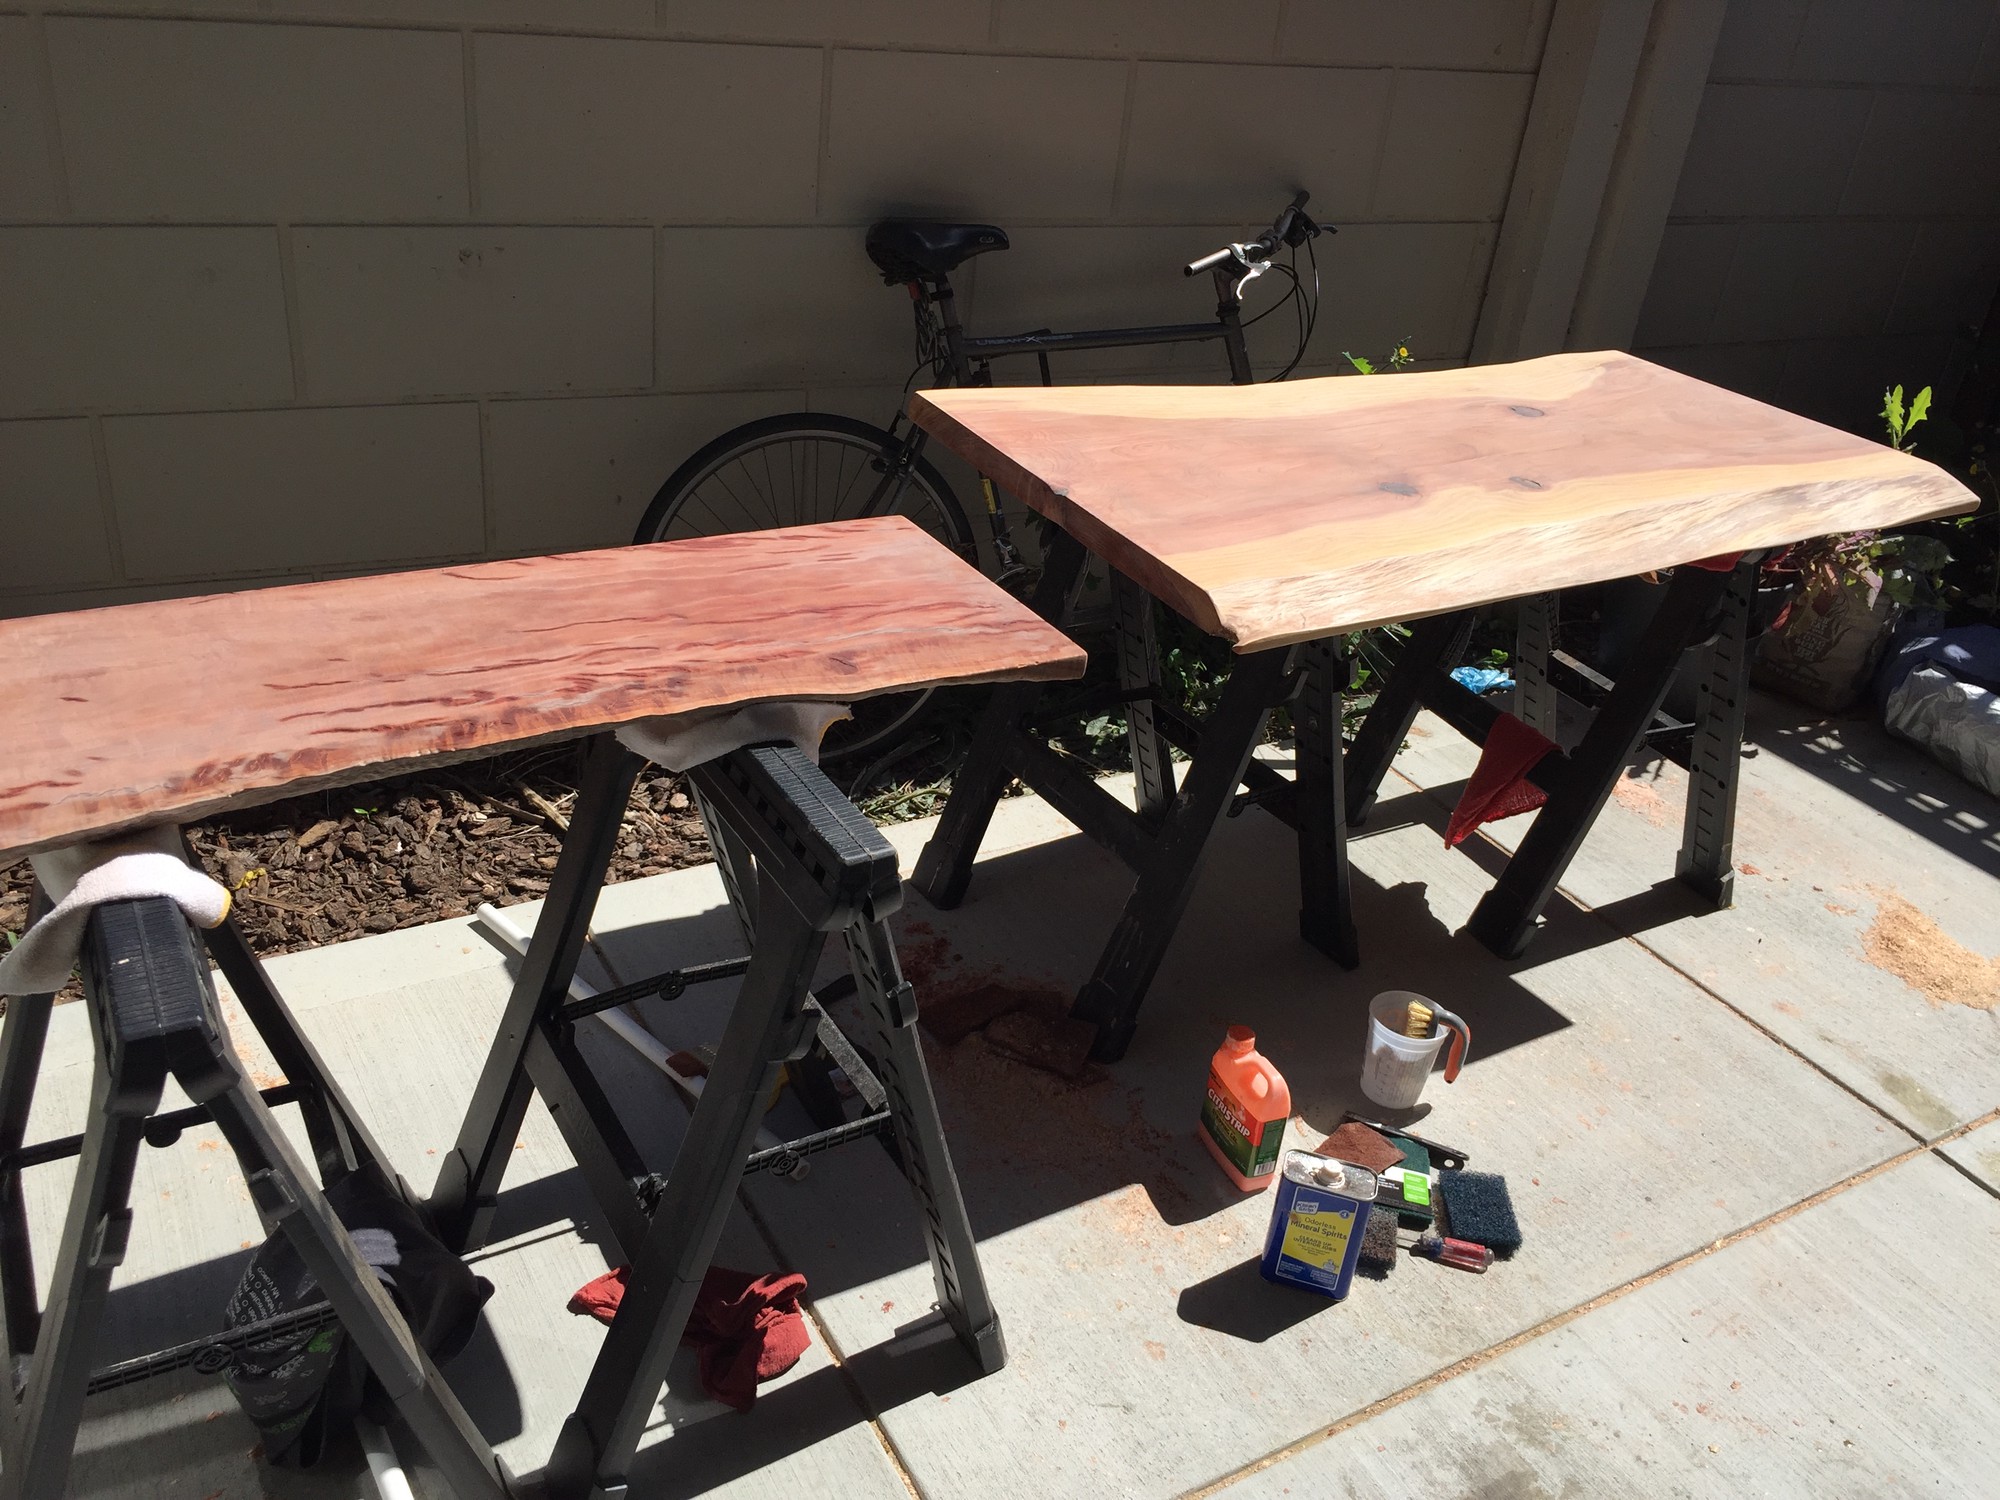
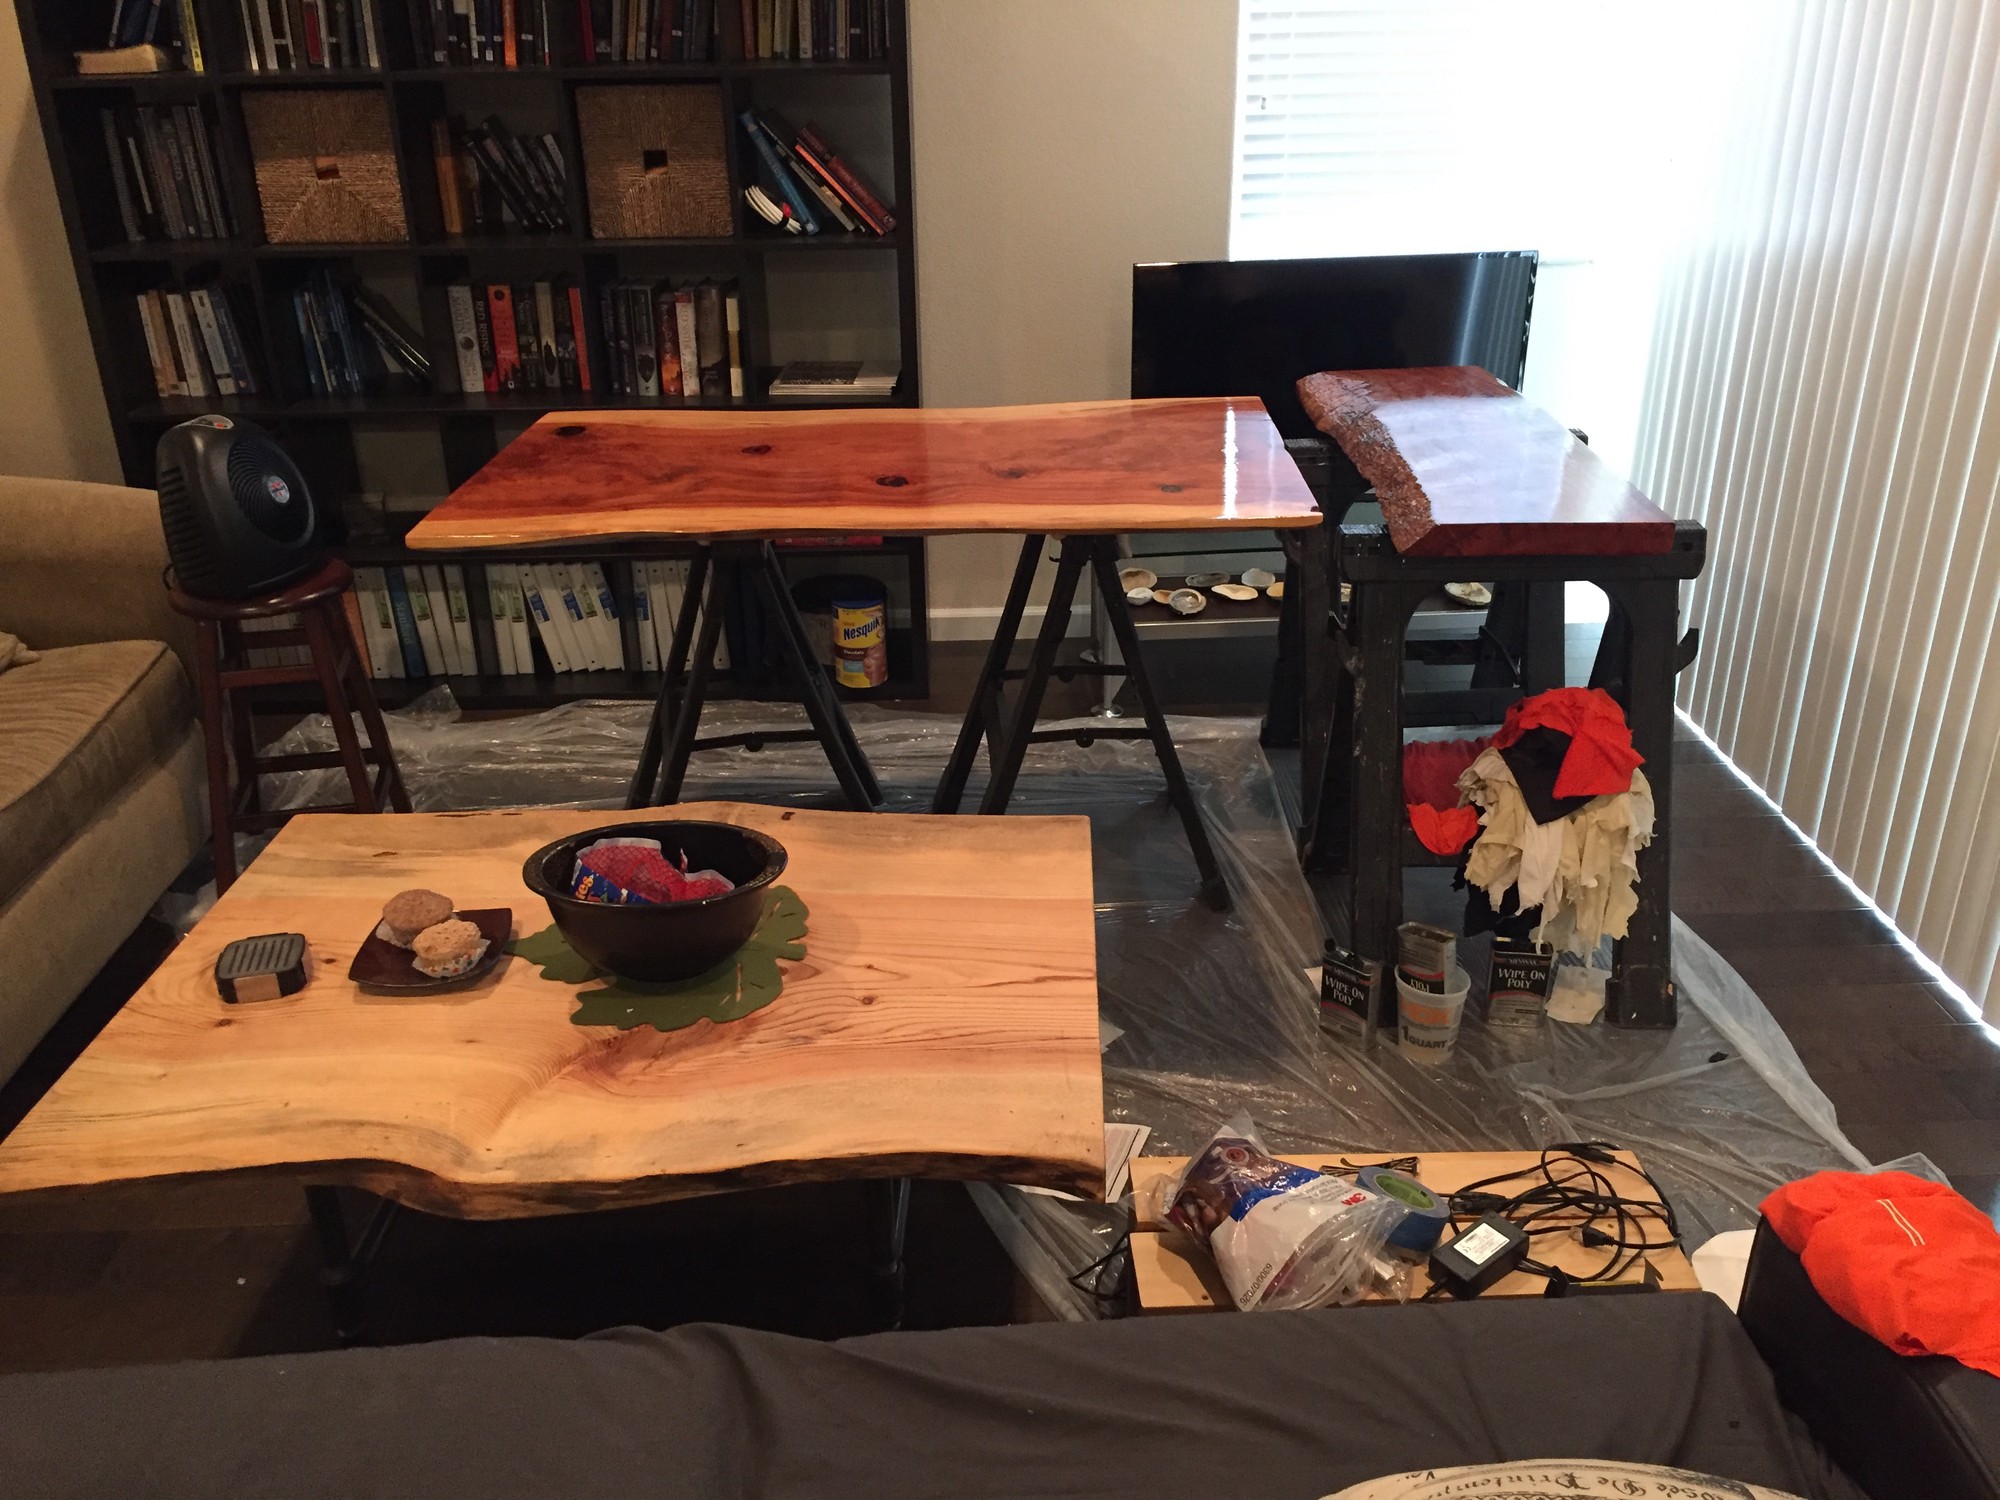
Let’s dive into the chronology of the project with some images to help us understand the workflow along the way!
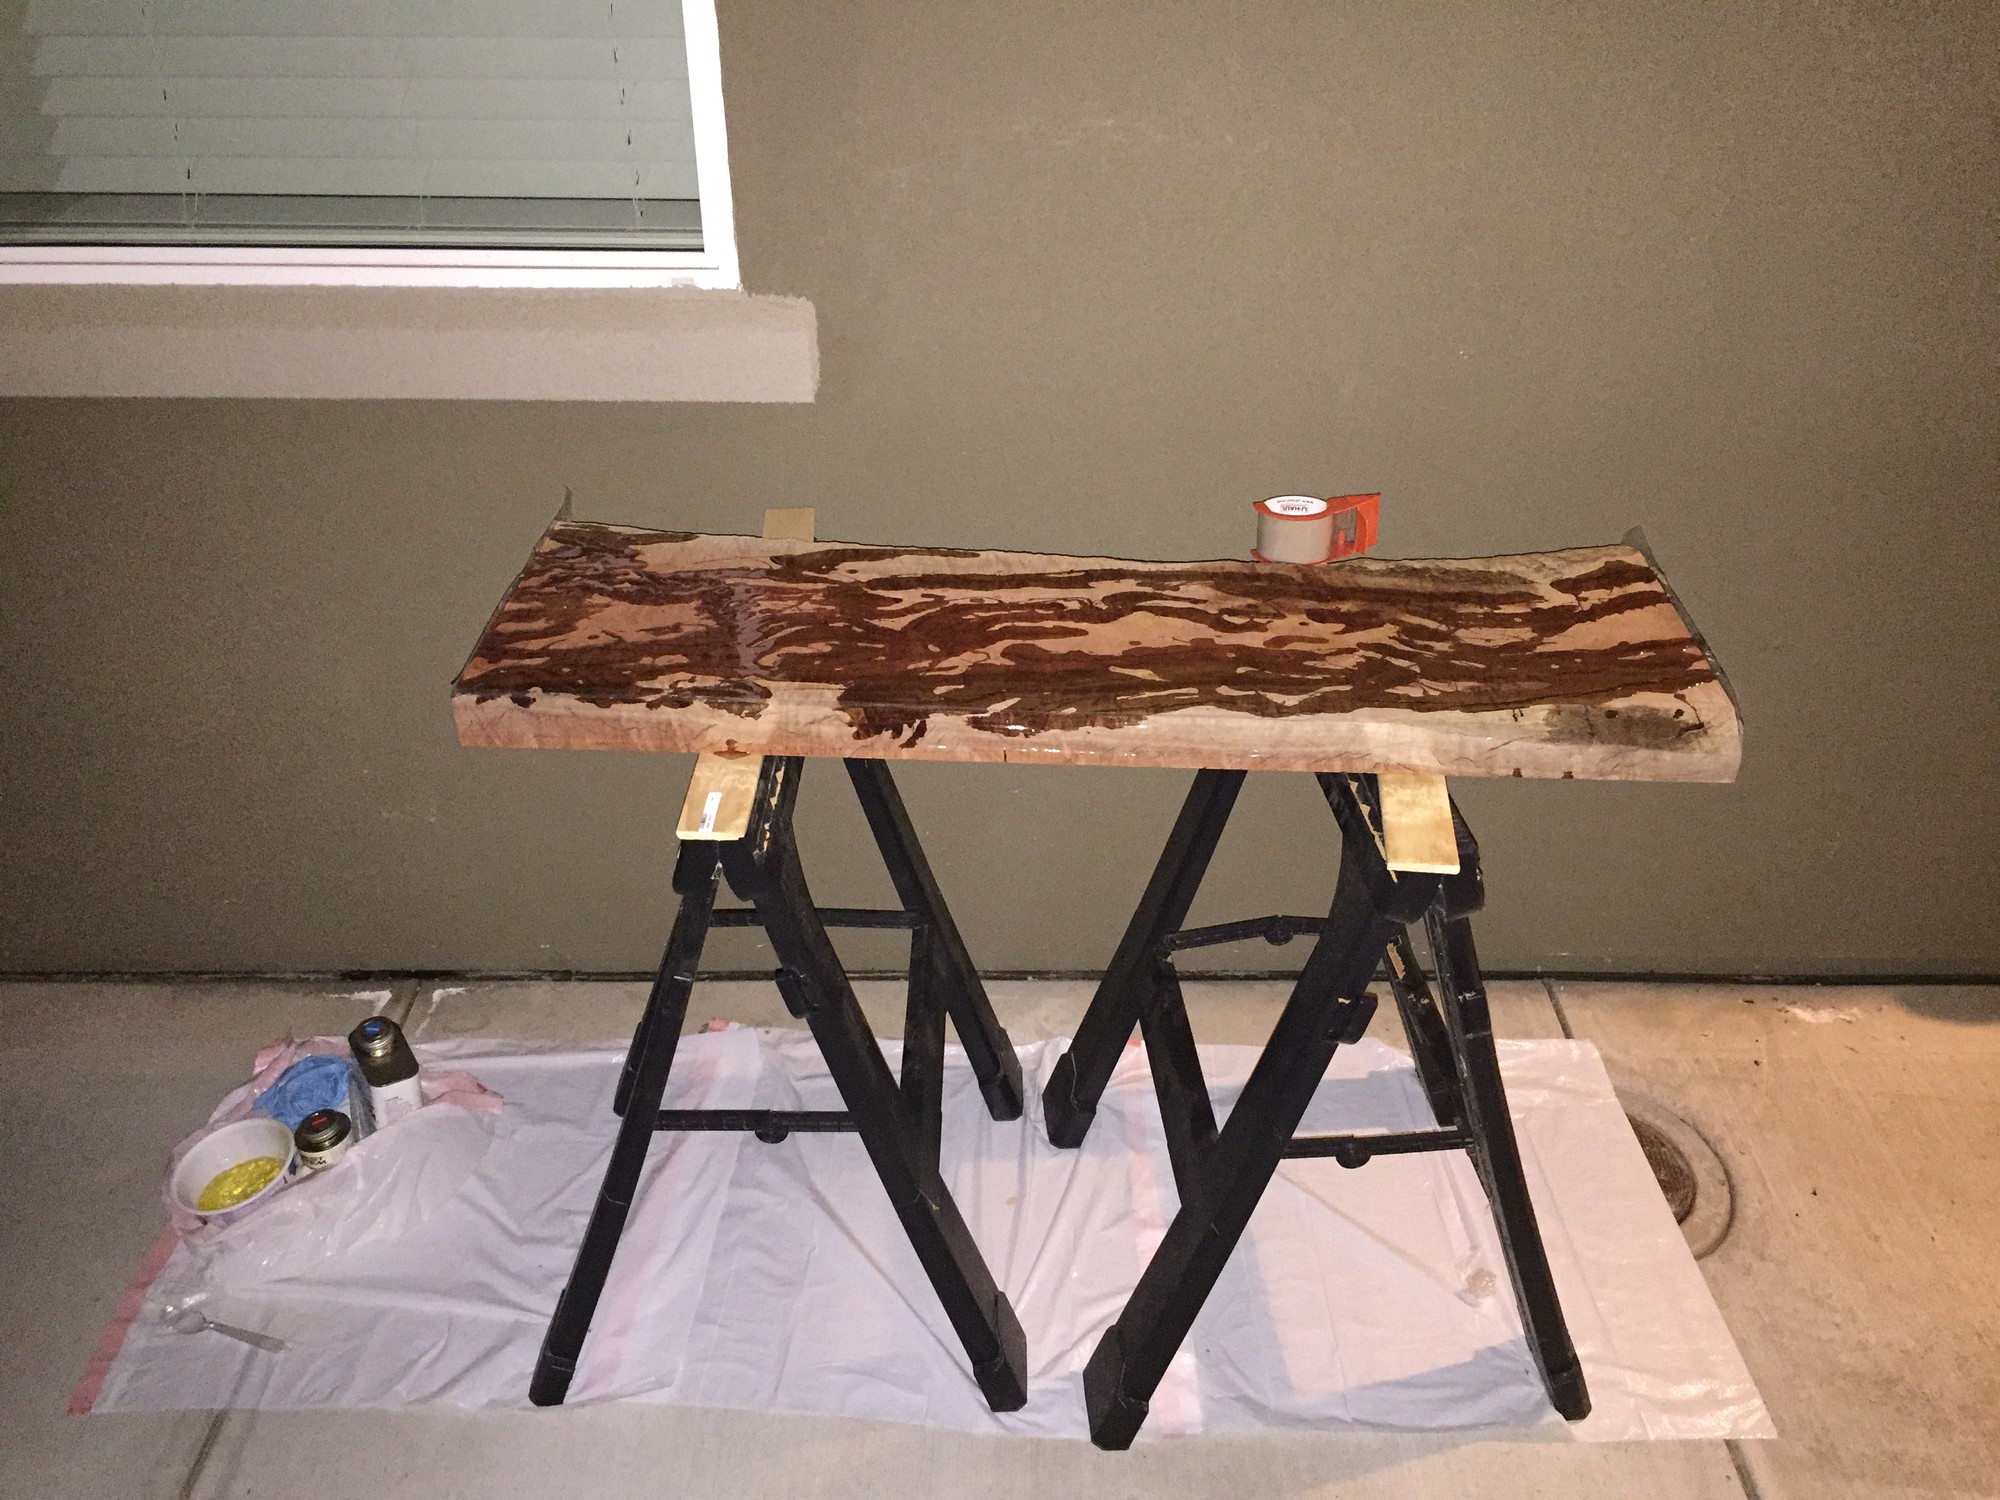
The first step was to fill any defects (whether they be structural or just visual weaknesses). To do this I used West Systems 105 Epoxy Resin with West Systems 207 Hardener. Unfortunately and unknown to me at the time of purchase due to my then inexperience with Forest Red Gum, my slab had not been dried properly in the supplier’s1 kiln. As is seen below, this resulted in considerable cracking throughout the slab. Most of these cracks were simply visual detractions but some were structural weaknesses. The cracks were widespread and covered even the live edges, which as will be pointed out later, presented a challenge for resin fills in these sensitive areas.
After watching videos on youtube of people using card scrapers for small resin fills with good effect, I decided to use card scrapers2 for resin removal.
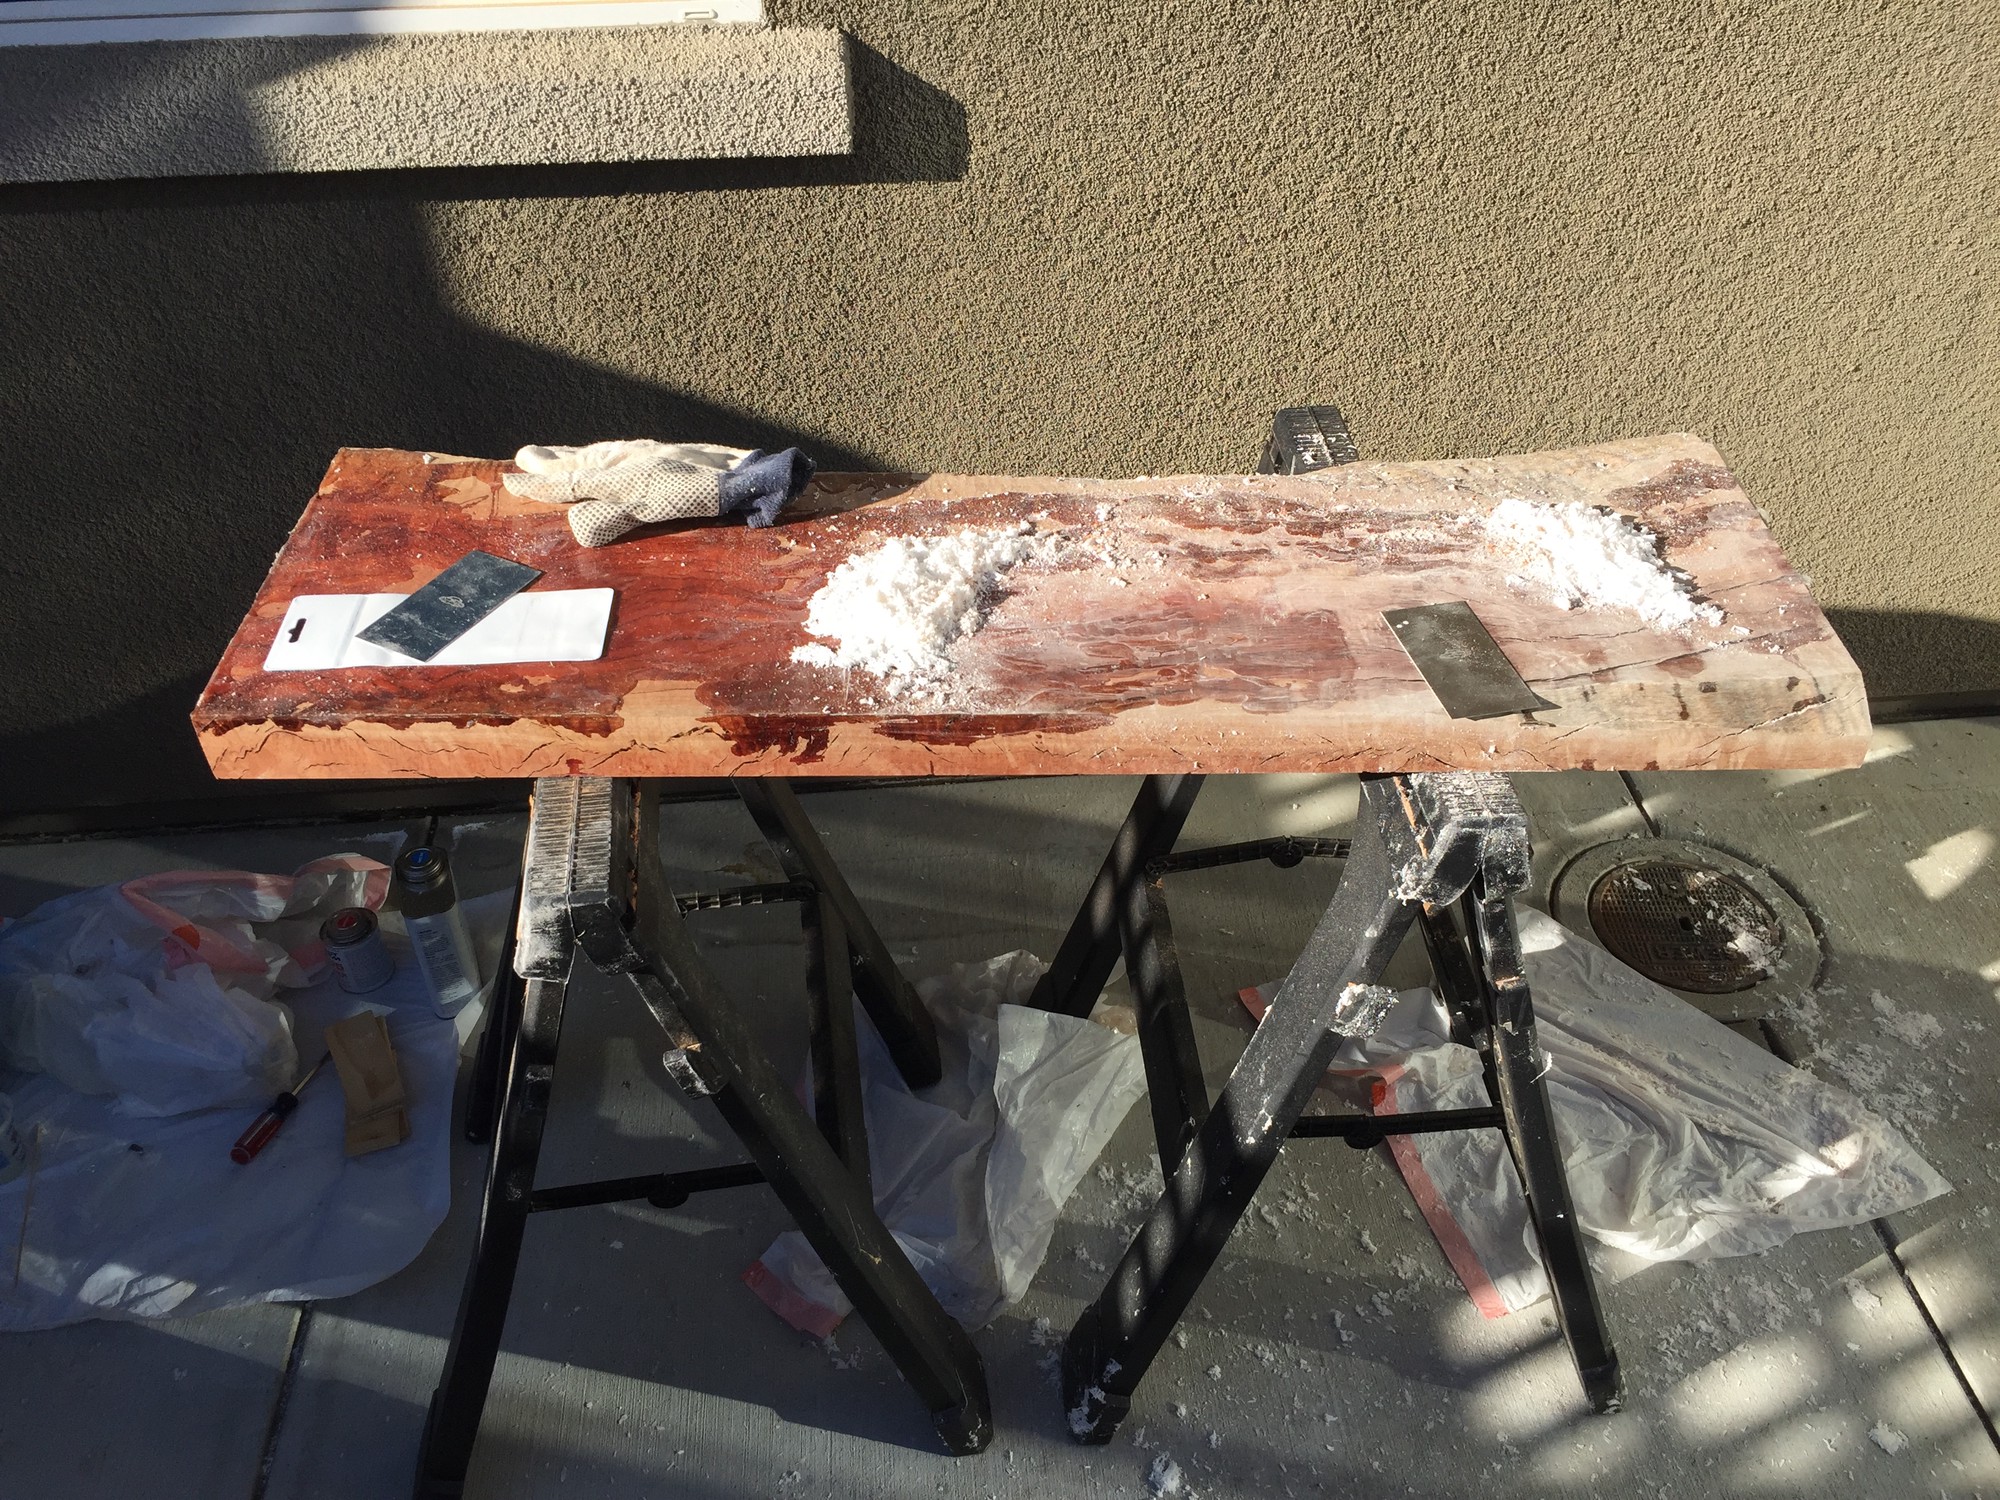
Unfortunately, the process of removing large volumes of cured resin using card scrapers proved very tedious and slow.
Once the resin had been removed, I discovered several voids that had not been filled (likely due to bubbles in the resin as it cured). I decided to selectively refill these voids with resin.
After sanding/scraping off this resin fill, there were STILL voids left on the surface of the slab!
I wasn’t concerned with the voids at the end grain but rather just the ones apparent in the top surface and main live edge. In the picture above, these voids of concern are apparent in the resin filled cracks as small saw dust pocks or holes on the top surface of the slab.
Since, there were relatively few voids remaining on the top surface, I decided put these concerns to rest momentarily and instead focus on the live edges and their large cracks (some of which affected structural integrity).
I was very worried about filling the live edge cracks since removal of any resin after the fill generally takes off some underlying wood.
Considering I wanted the the cambium cell layer to remain as intact as possible due its unique appearance, I researched methods to remove resin from live edges.
As it turns out, this is not a common topic and not usually undertaken.
Considering the cracks in the live edge were structural I had no choice but to forge ahead and risk further grain deformation in an attempt to fix the cracks.
At first, I tried to simply fill the cracks in the live edge without spilling over onto the rest of the live edge.
Unfortunately, this proved very difficult and I didn’t have the correct equipment to hold the slab in an orientation that would prevent spill over.
So I resorted to covering the entire live edge in hopes to guarantee that there was no patchy discoloration after resin removal due to resin pooling in one area but not another (resin tends to darken wood fibers whereever it soaks in).
Due to improper handling of my resin reservoir while filling the live edges, I accidentally poured resin over the top surface. Knowing that there were still voids left over that I needed to deal with at some point anyway, I decided to simply refill the entire top surface again.
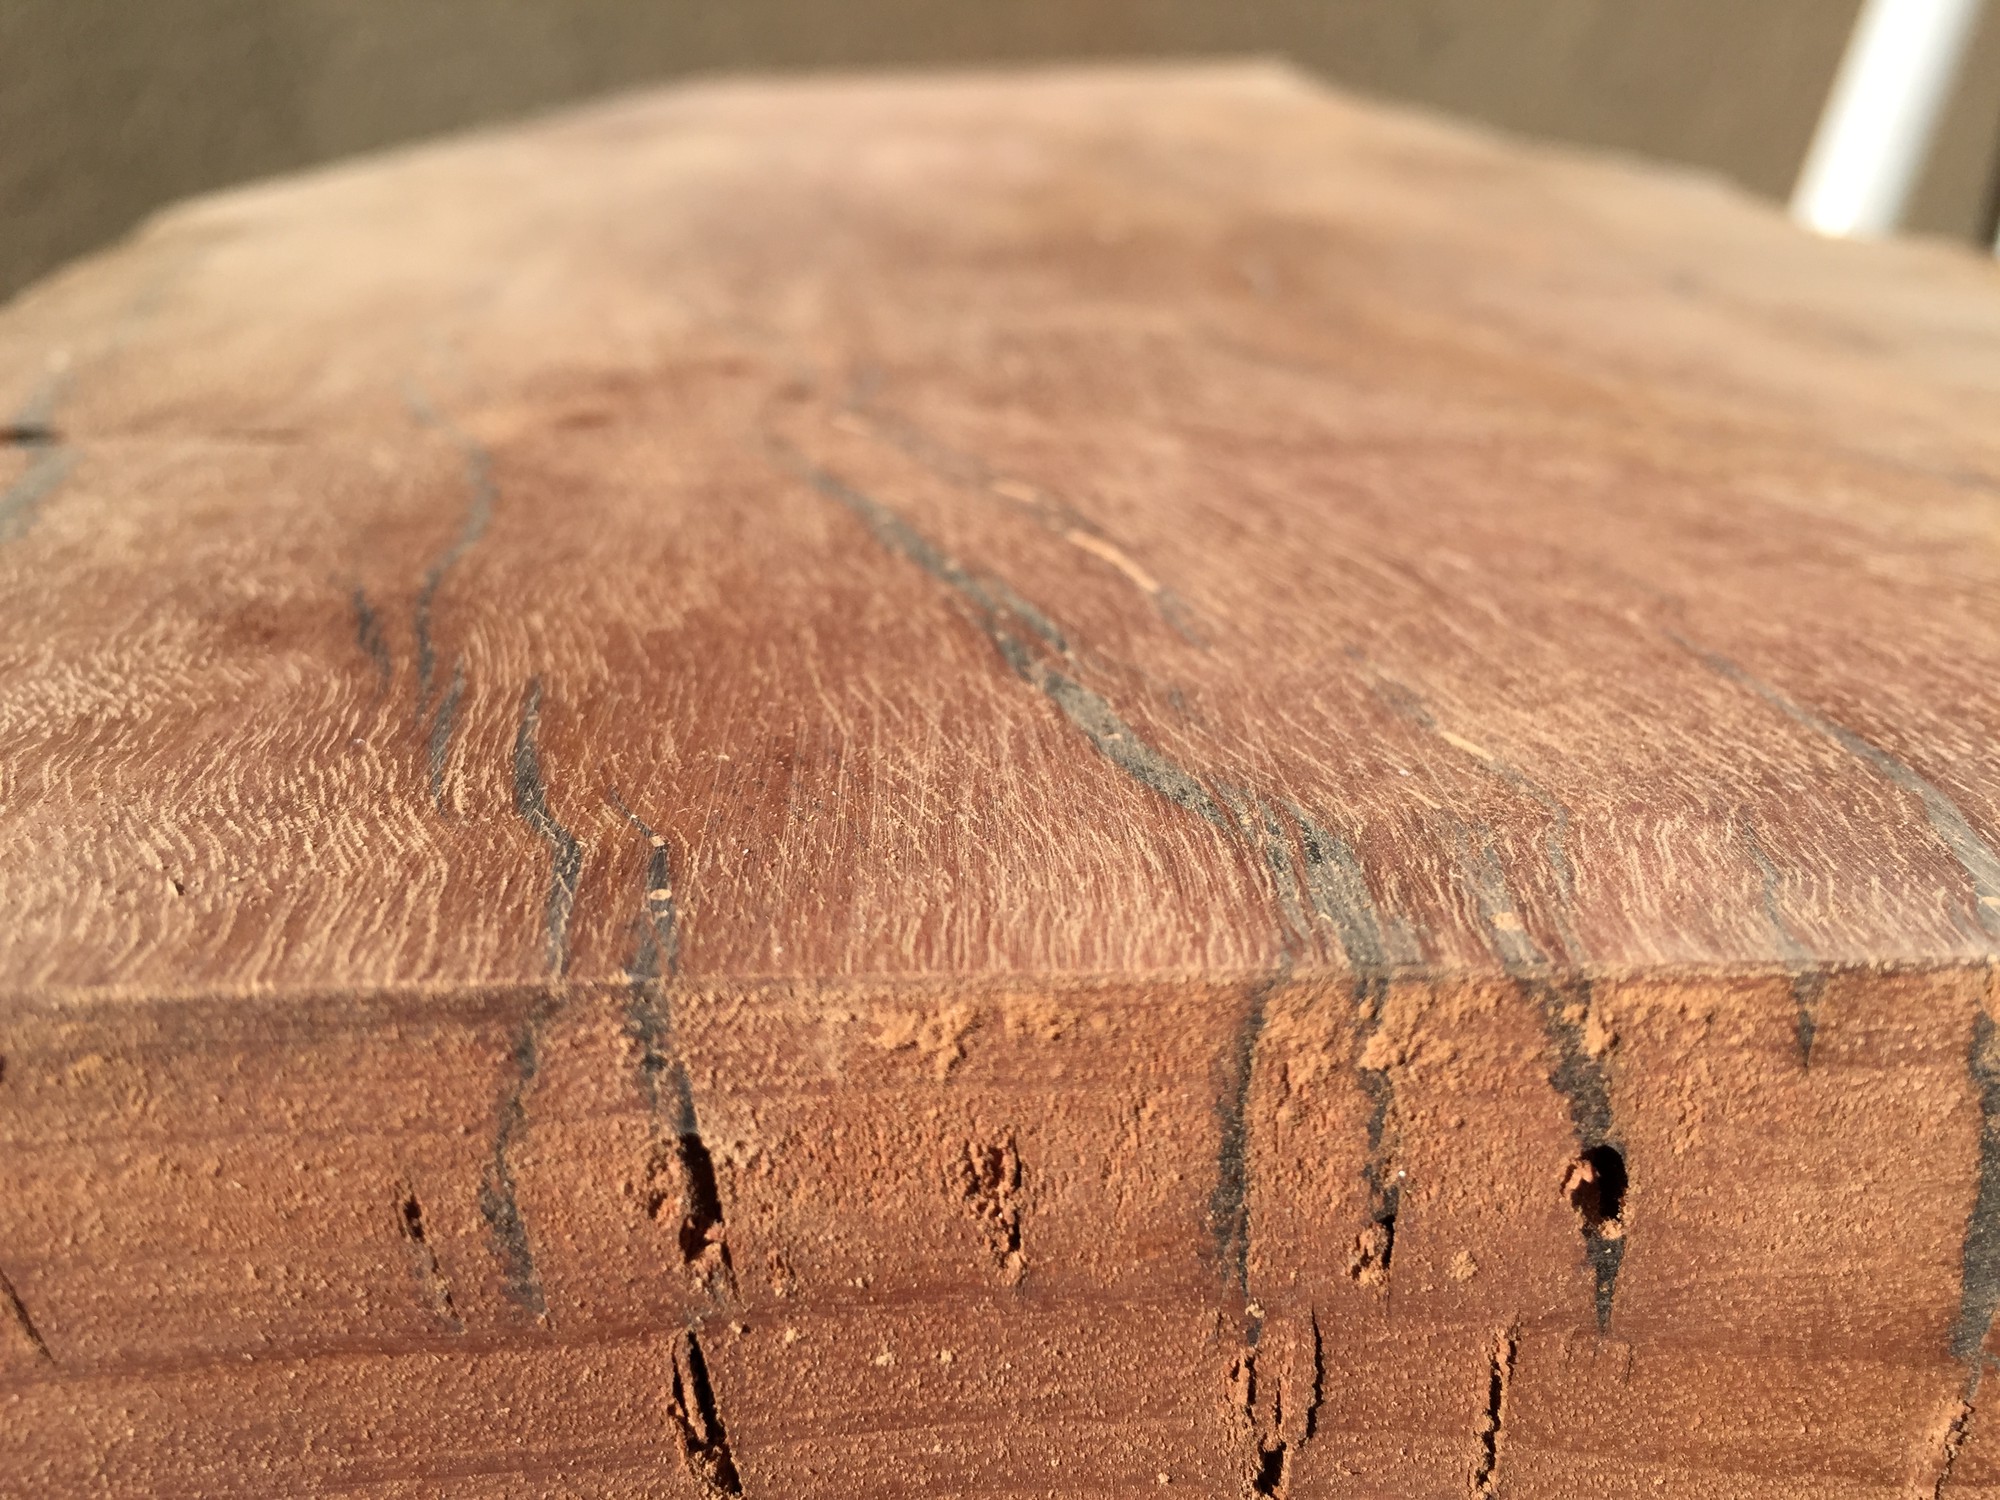
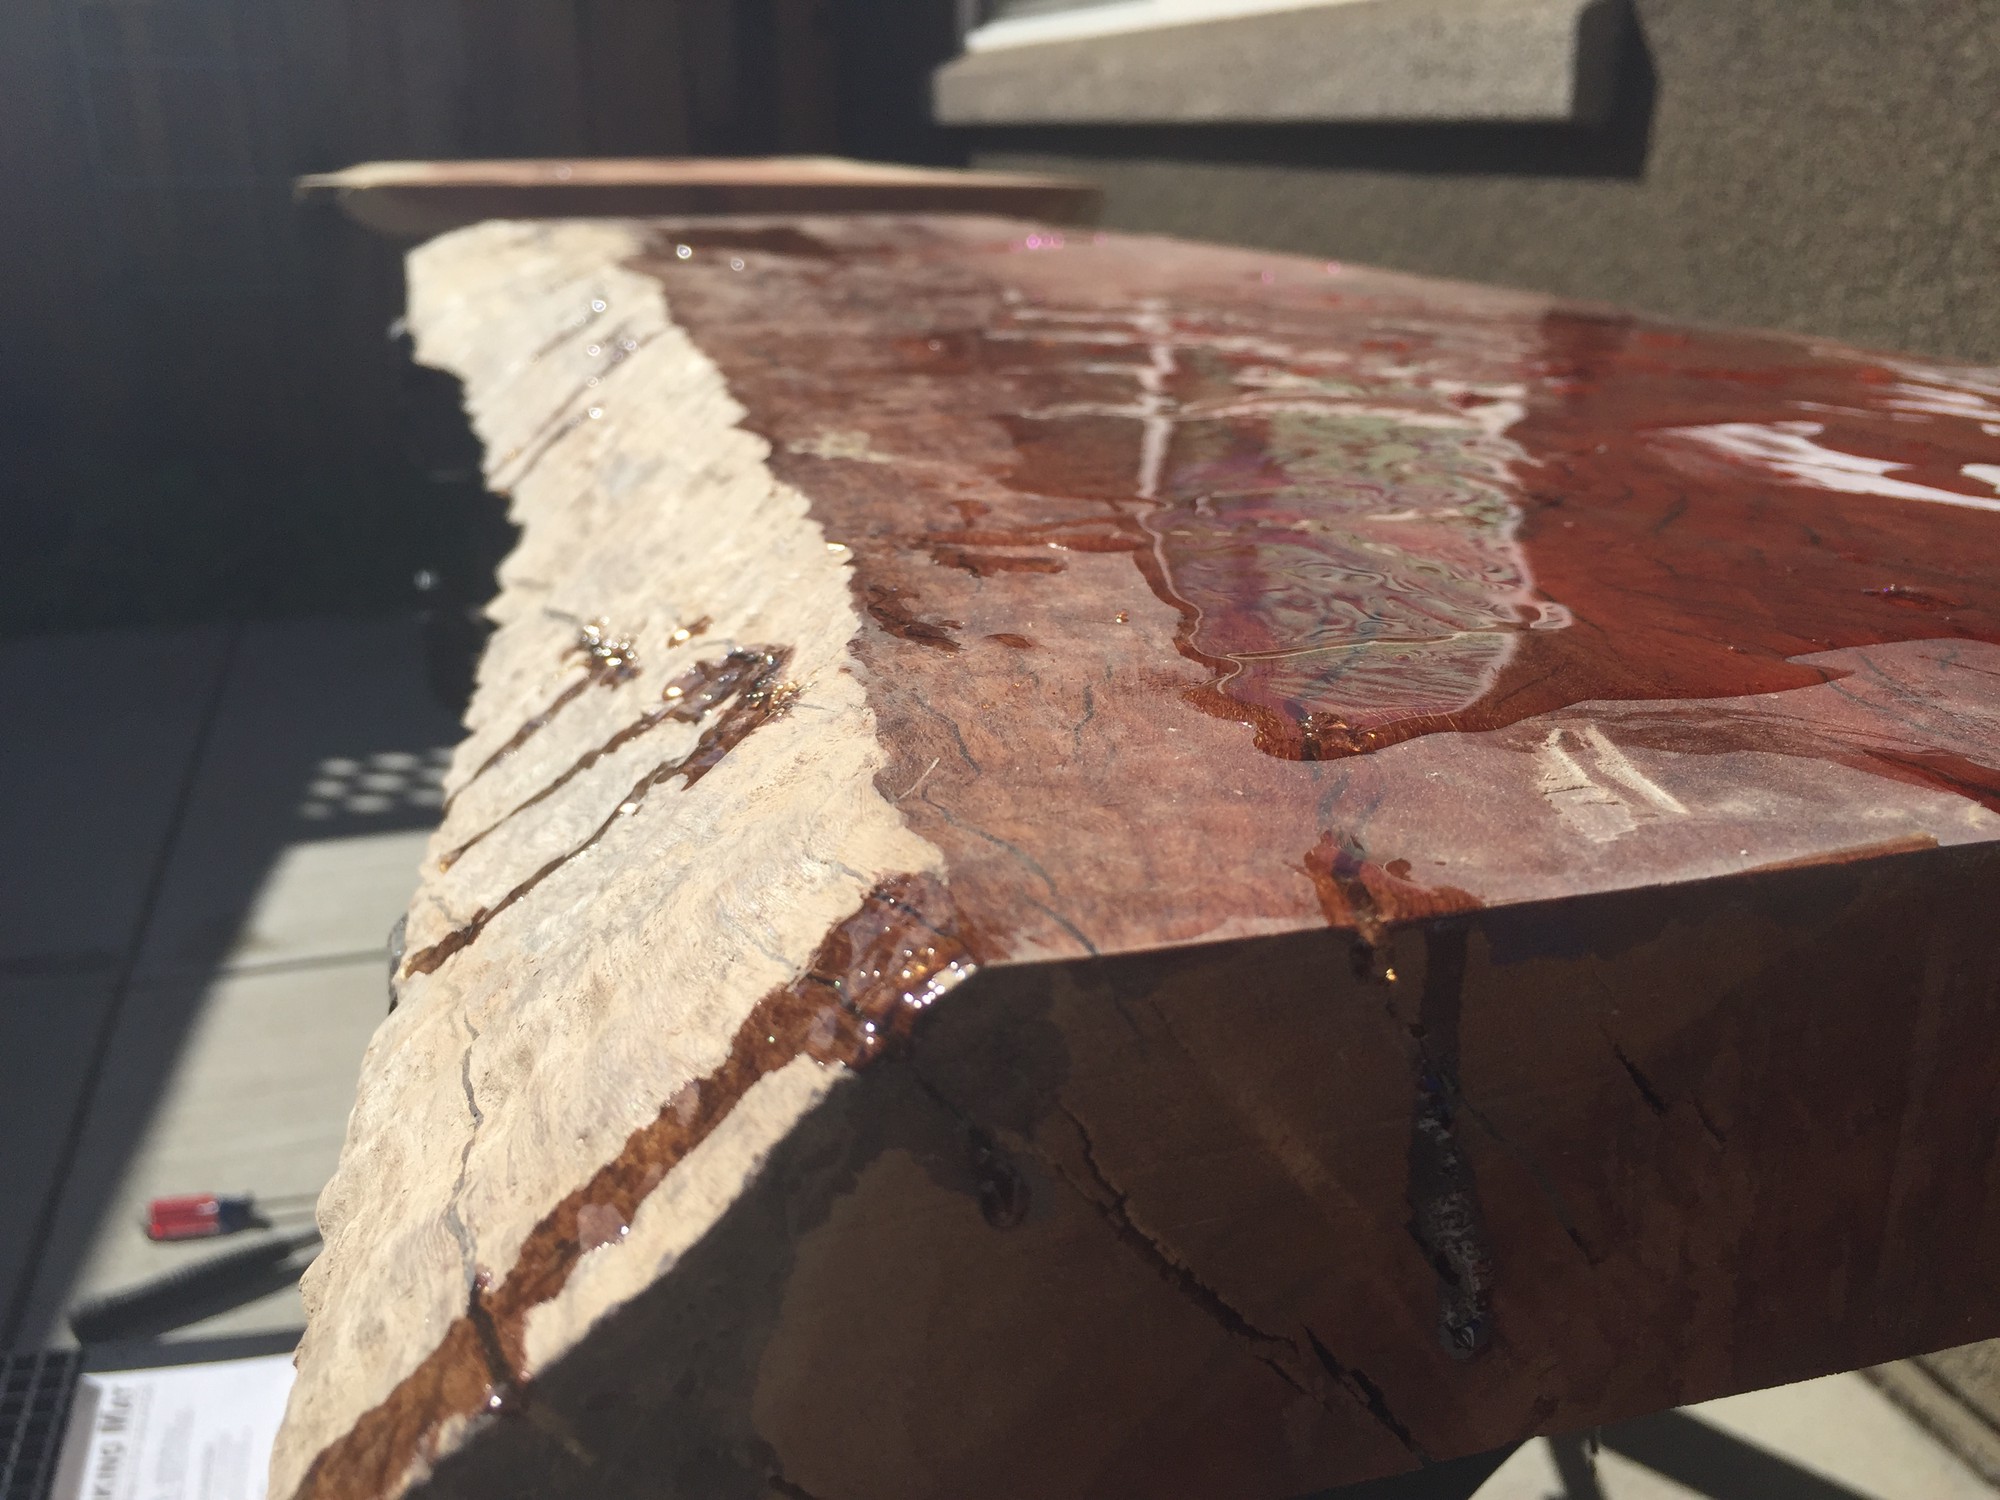
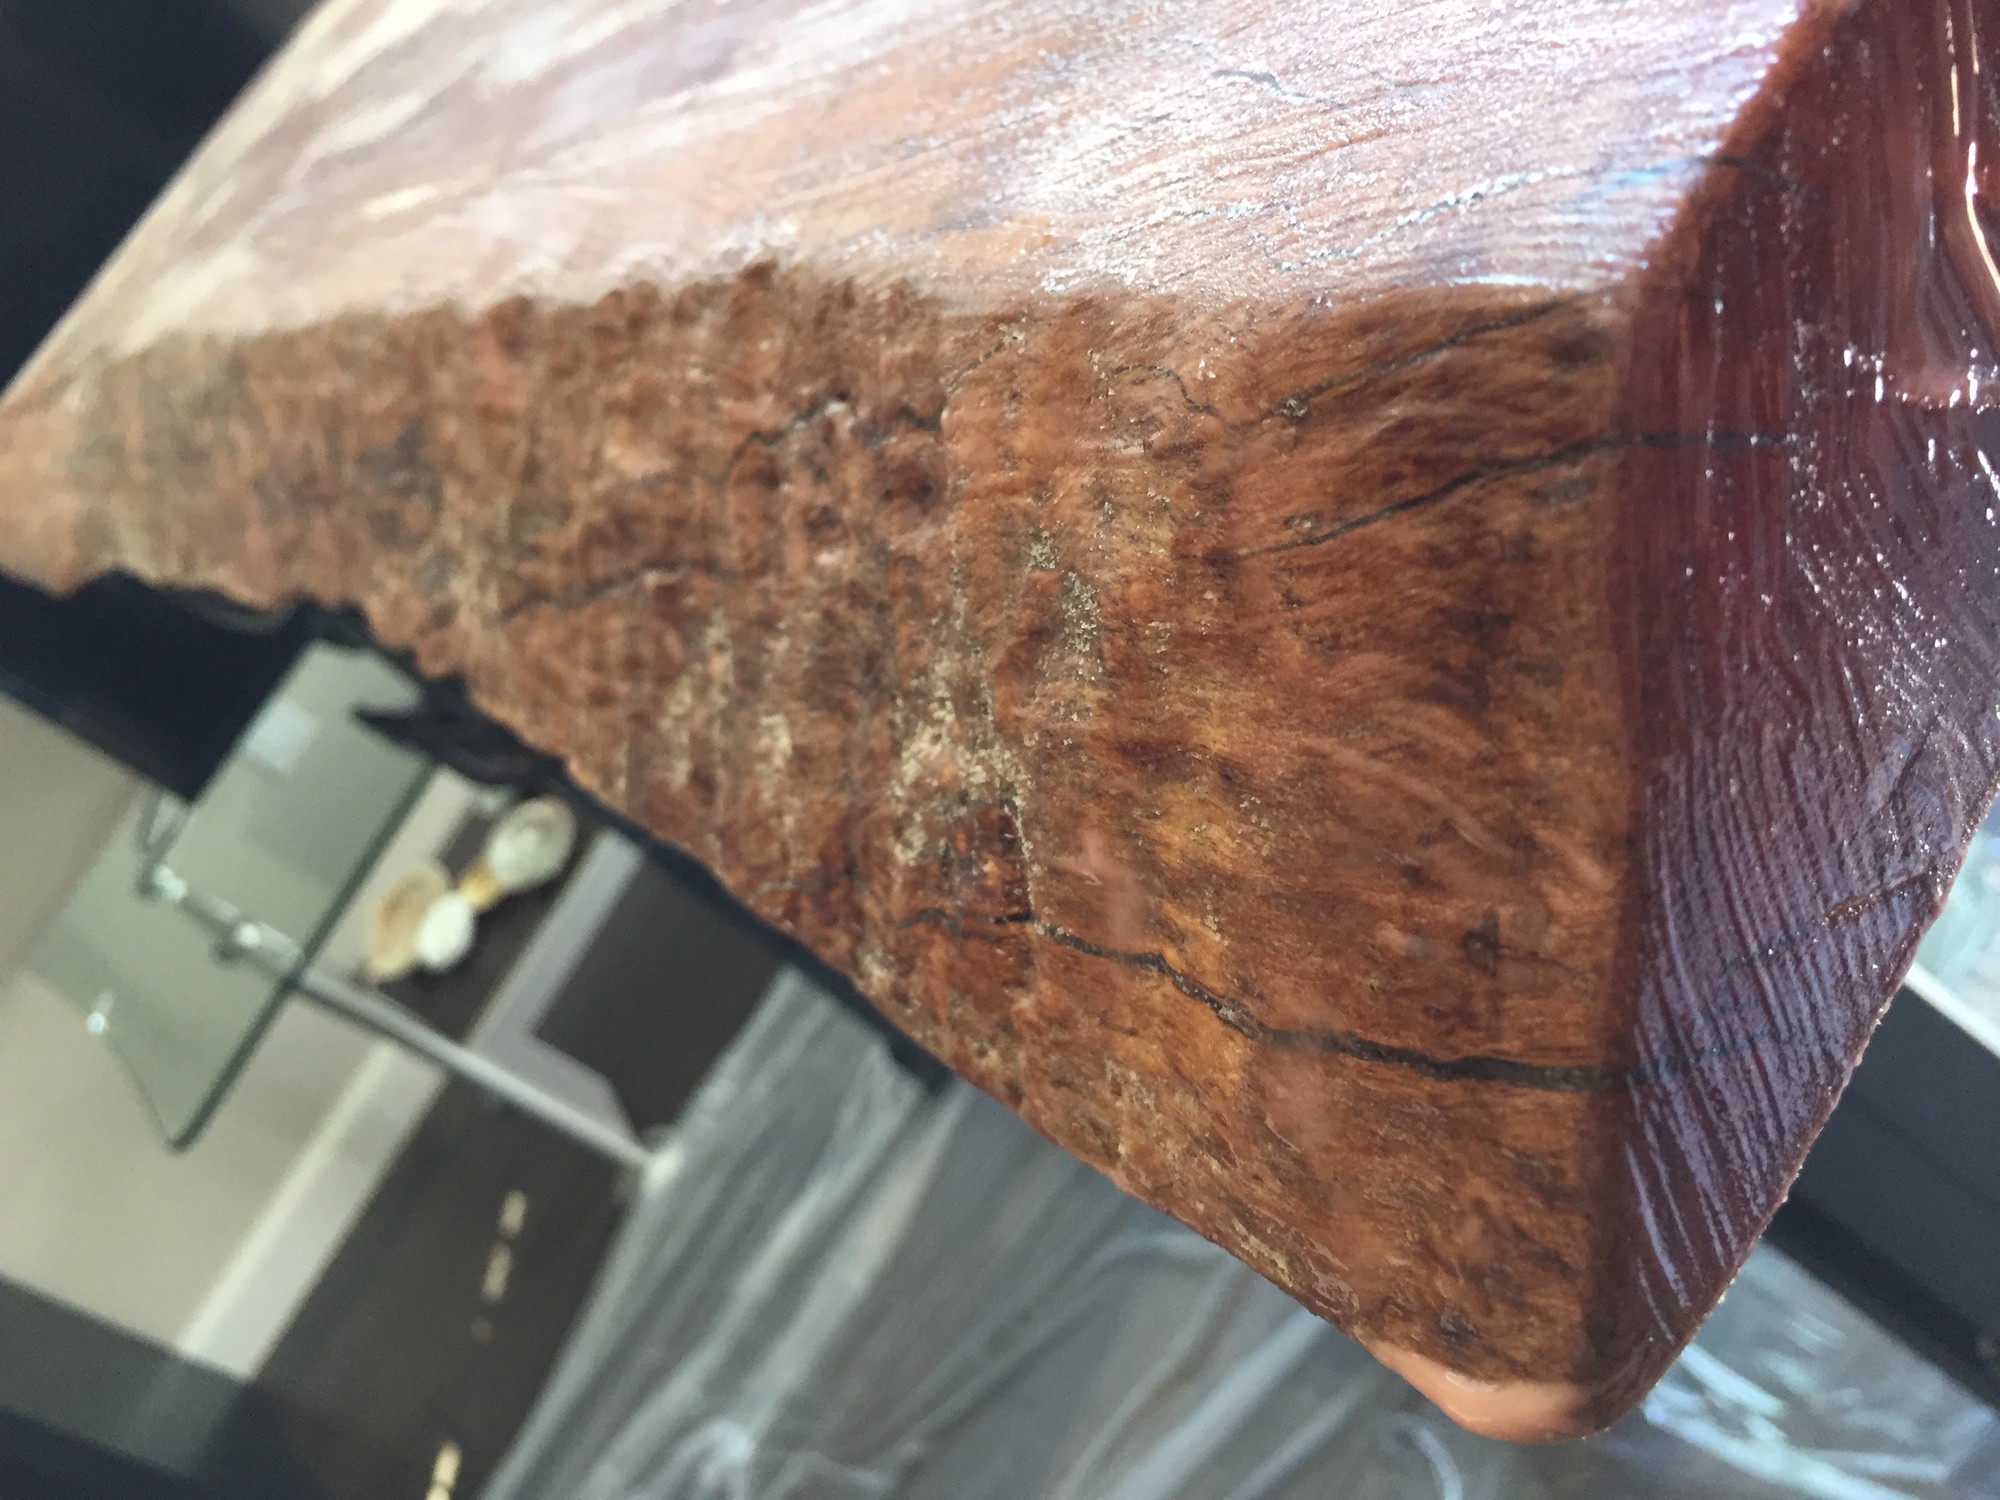
As mentioned, I went to great lengths to find ways to remove the cured resin from the live edges without destroying the exposed cambium cell layer underneath the resin.
This is obviously tricky because resin naturally bonds to most wood fibers.
One saving grace of this particular wood species, was that it is very dense with tight fibers.
This allowed the live edge to slightly resist the bonding power of the resin more than I expected.
Realizing this, my first tool of choice for resin removal was simply a flat head screw driver and hammer.
With minimal force applied and being mindful of the attack angle of the head of the screwdriver, I was able to remove 80-90% of the resin from the live edge (over the course of several hours this came to feel more like an archeological dig rather than a woodworking project).

After removing 80-90% of the resin from the live edges I turned to focus on the top surface of the slab and realized there were still voids (some even on the live edges). So I filled yet again!
To avoid redo work, use thinned resin (i.e. more resin than hardener prescribed in the can directions) in order to allow gas to escape.
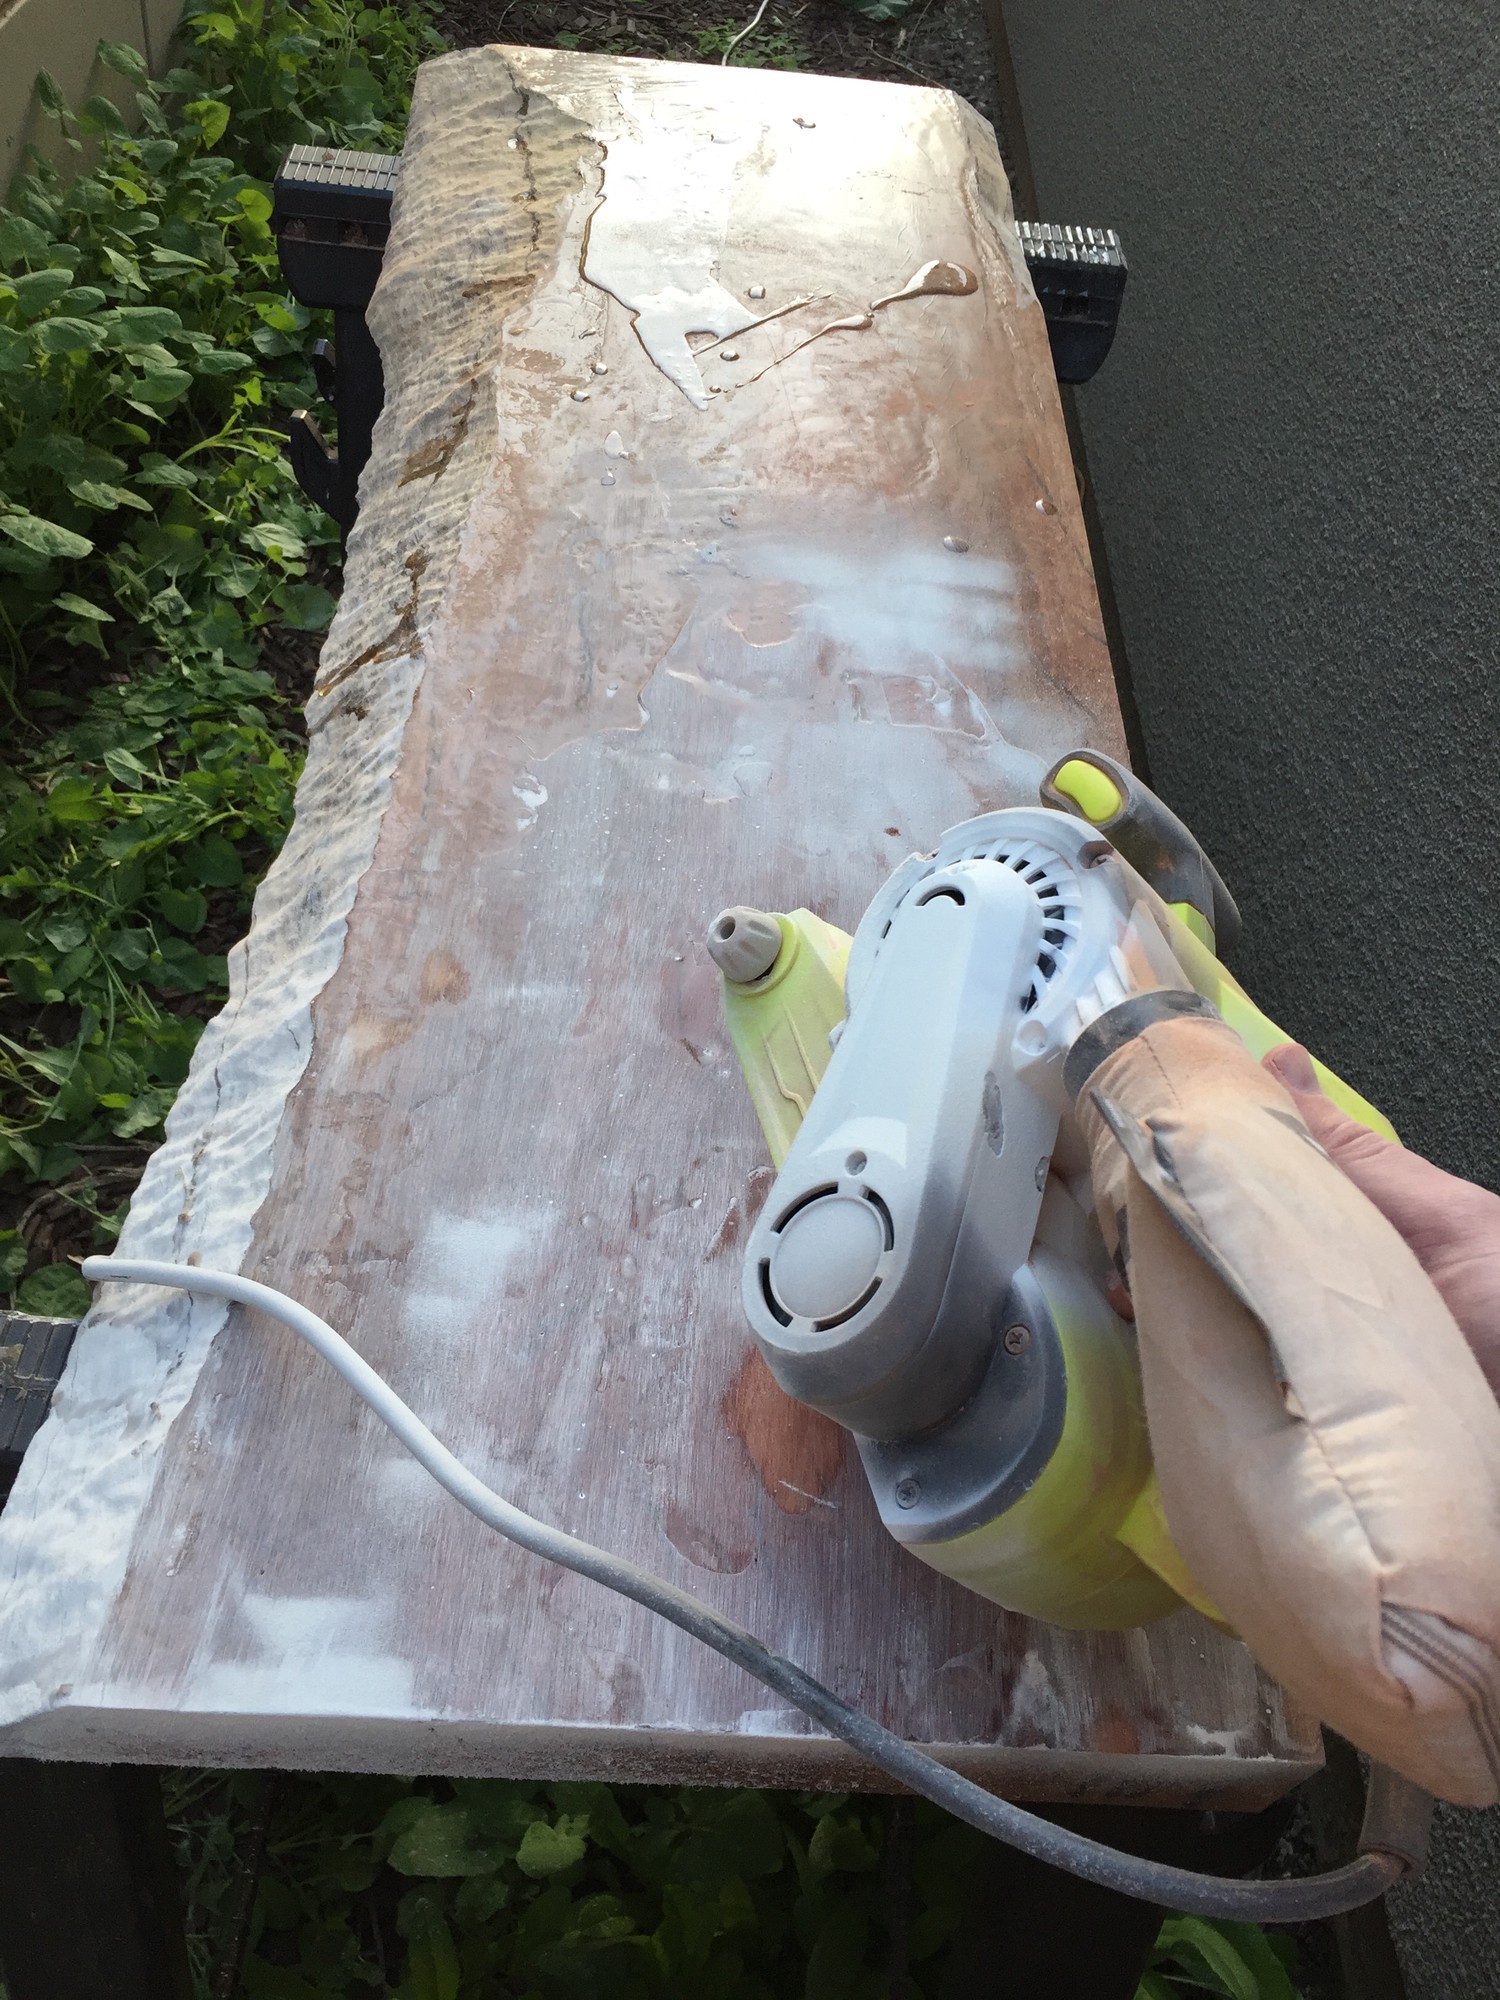
After fighting voids long enough, I decided it was time to compromise and move on with the project. I began the process of removing top surface resin by way of belt sander with 50 and 80 grit sandpaper.
To remove the remaning resin from the live edge that I had not been able to remove using a screwdriver, I employed a dremel and small wire wheel. I found this technique removed minimal underlying cambium cell layer. In the cases when removal of the underlying wood was necessary, the result was still appealing as the wire wheel tended to organically sculp any grooves it made so that the grooves blended with the original texture of the live edge.
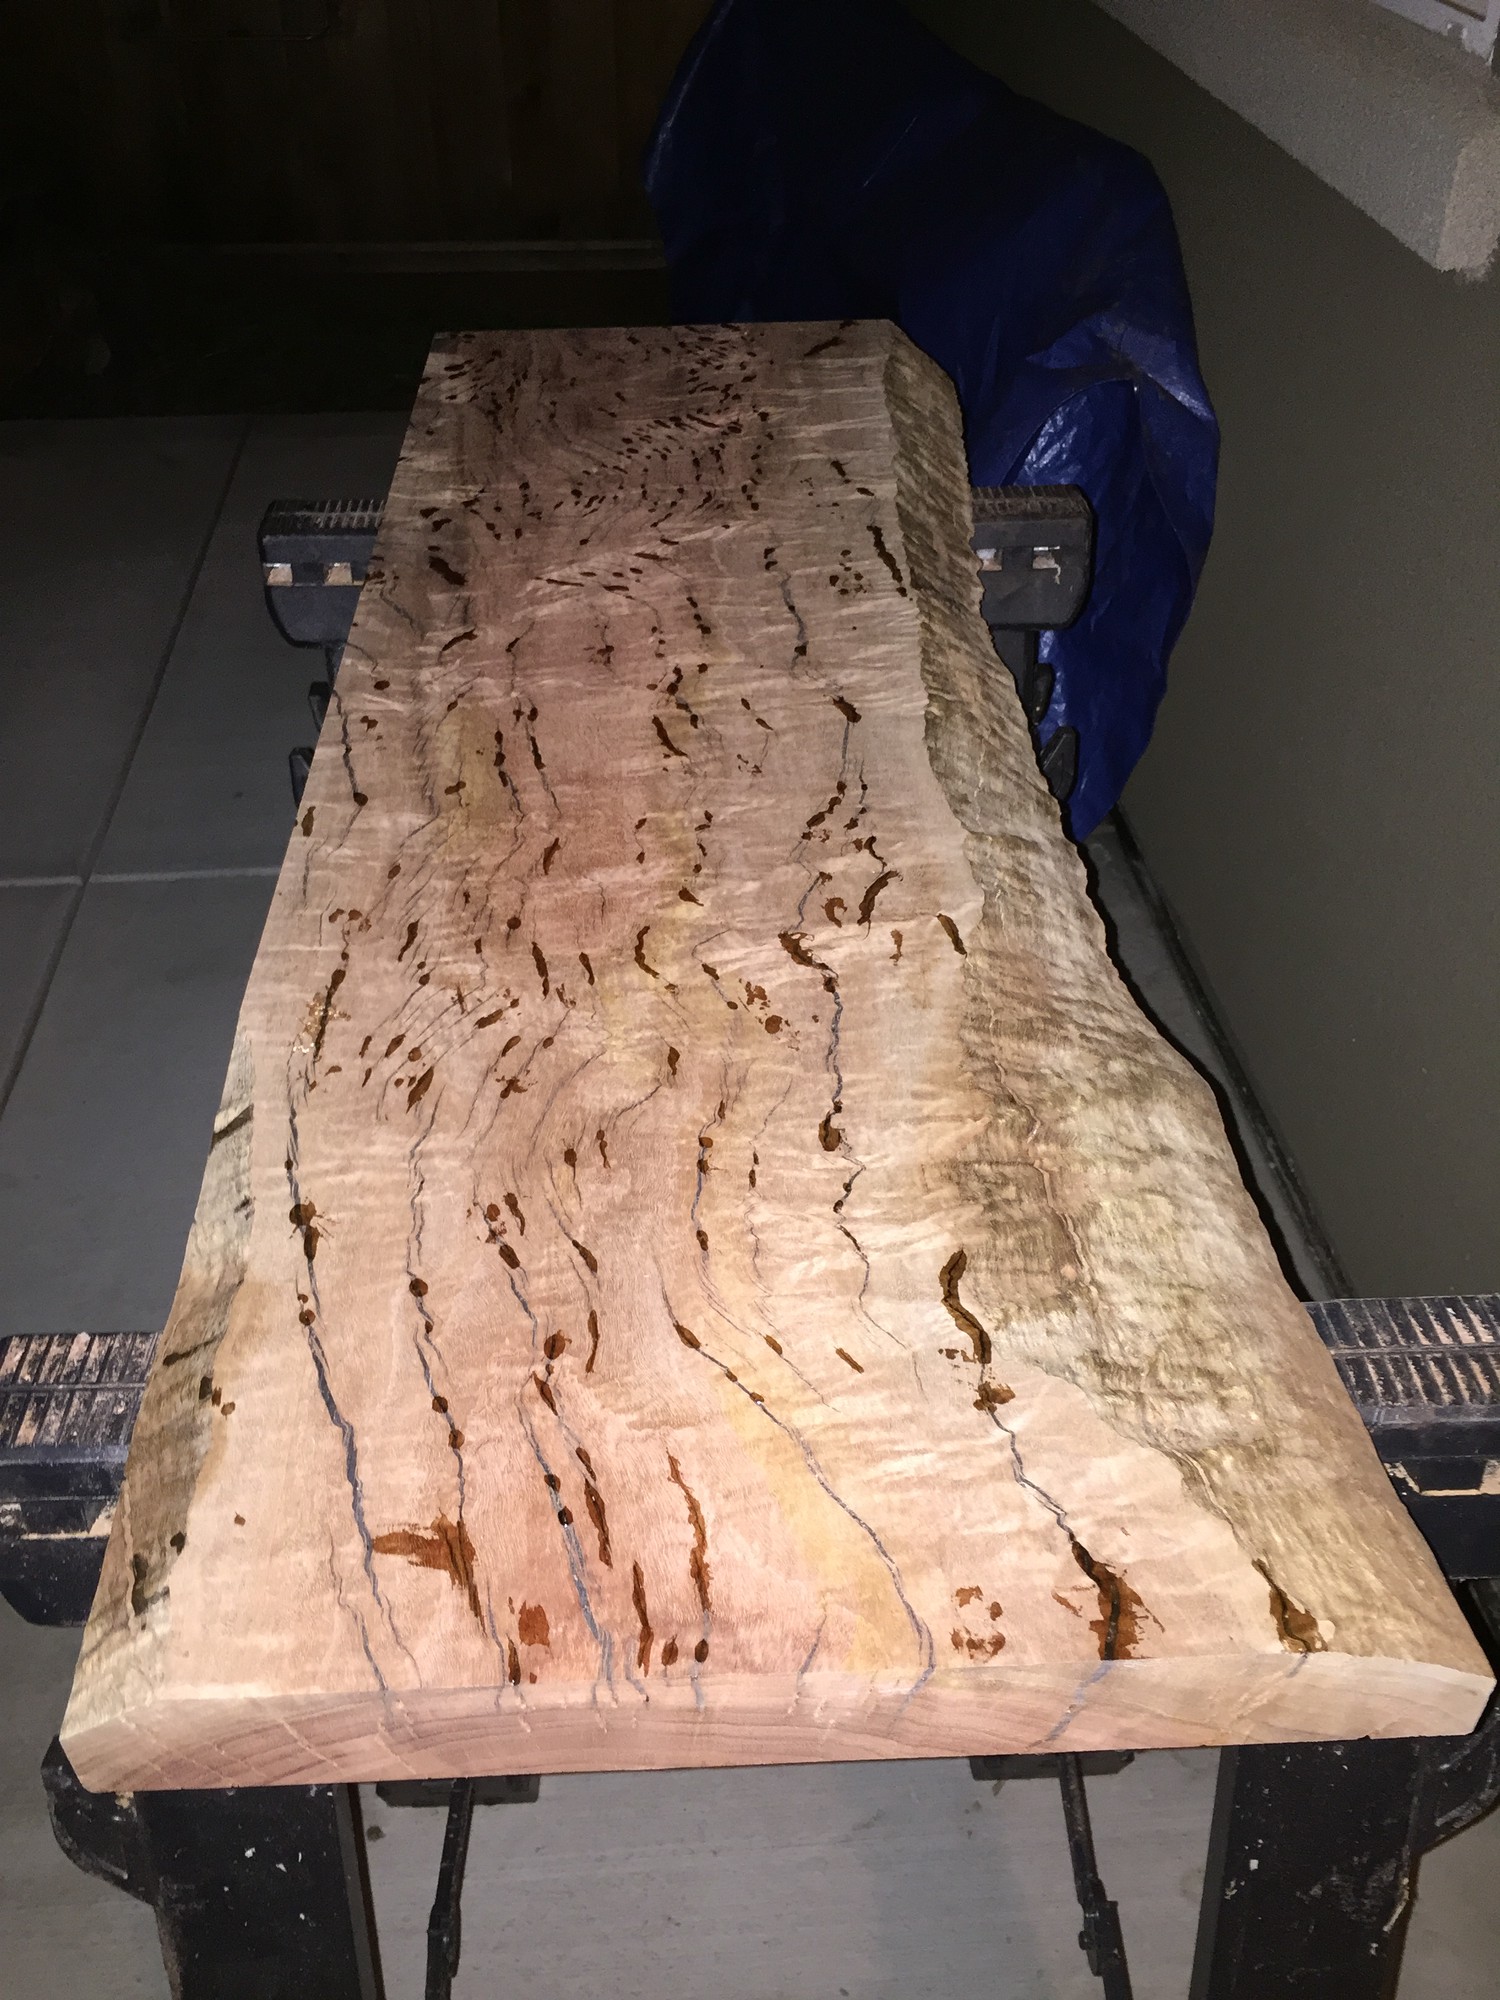
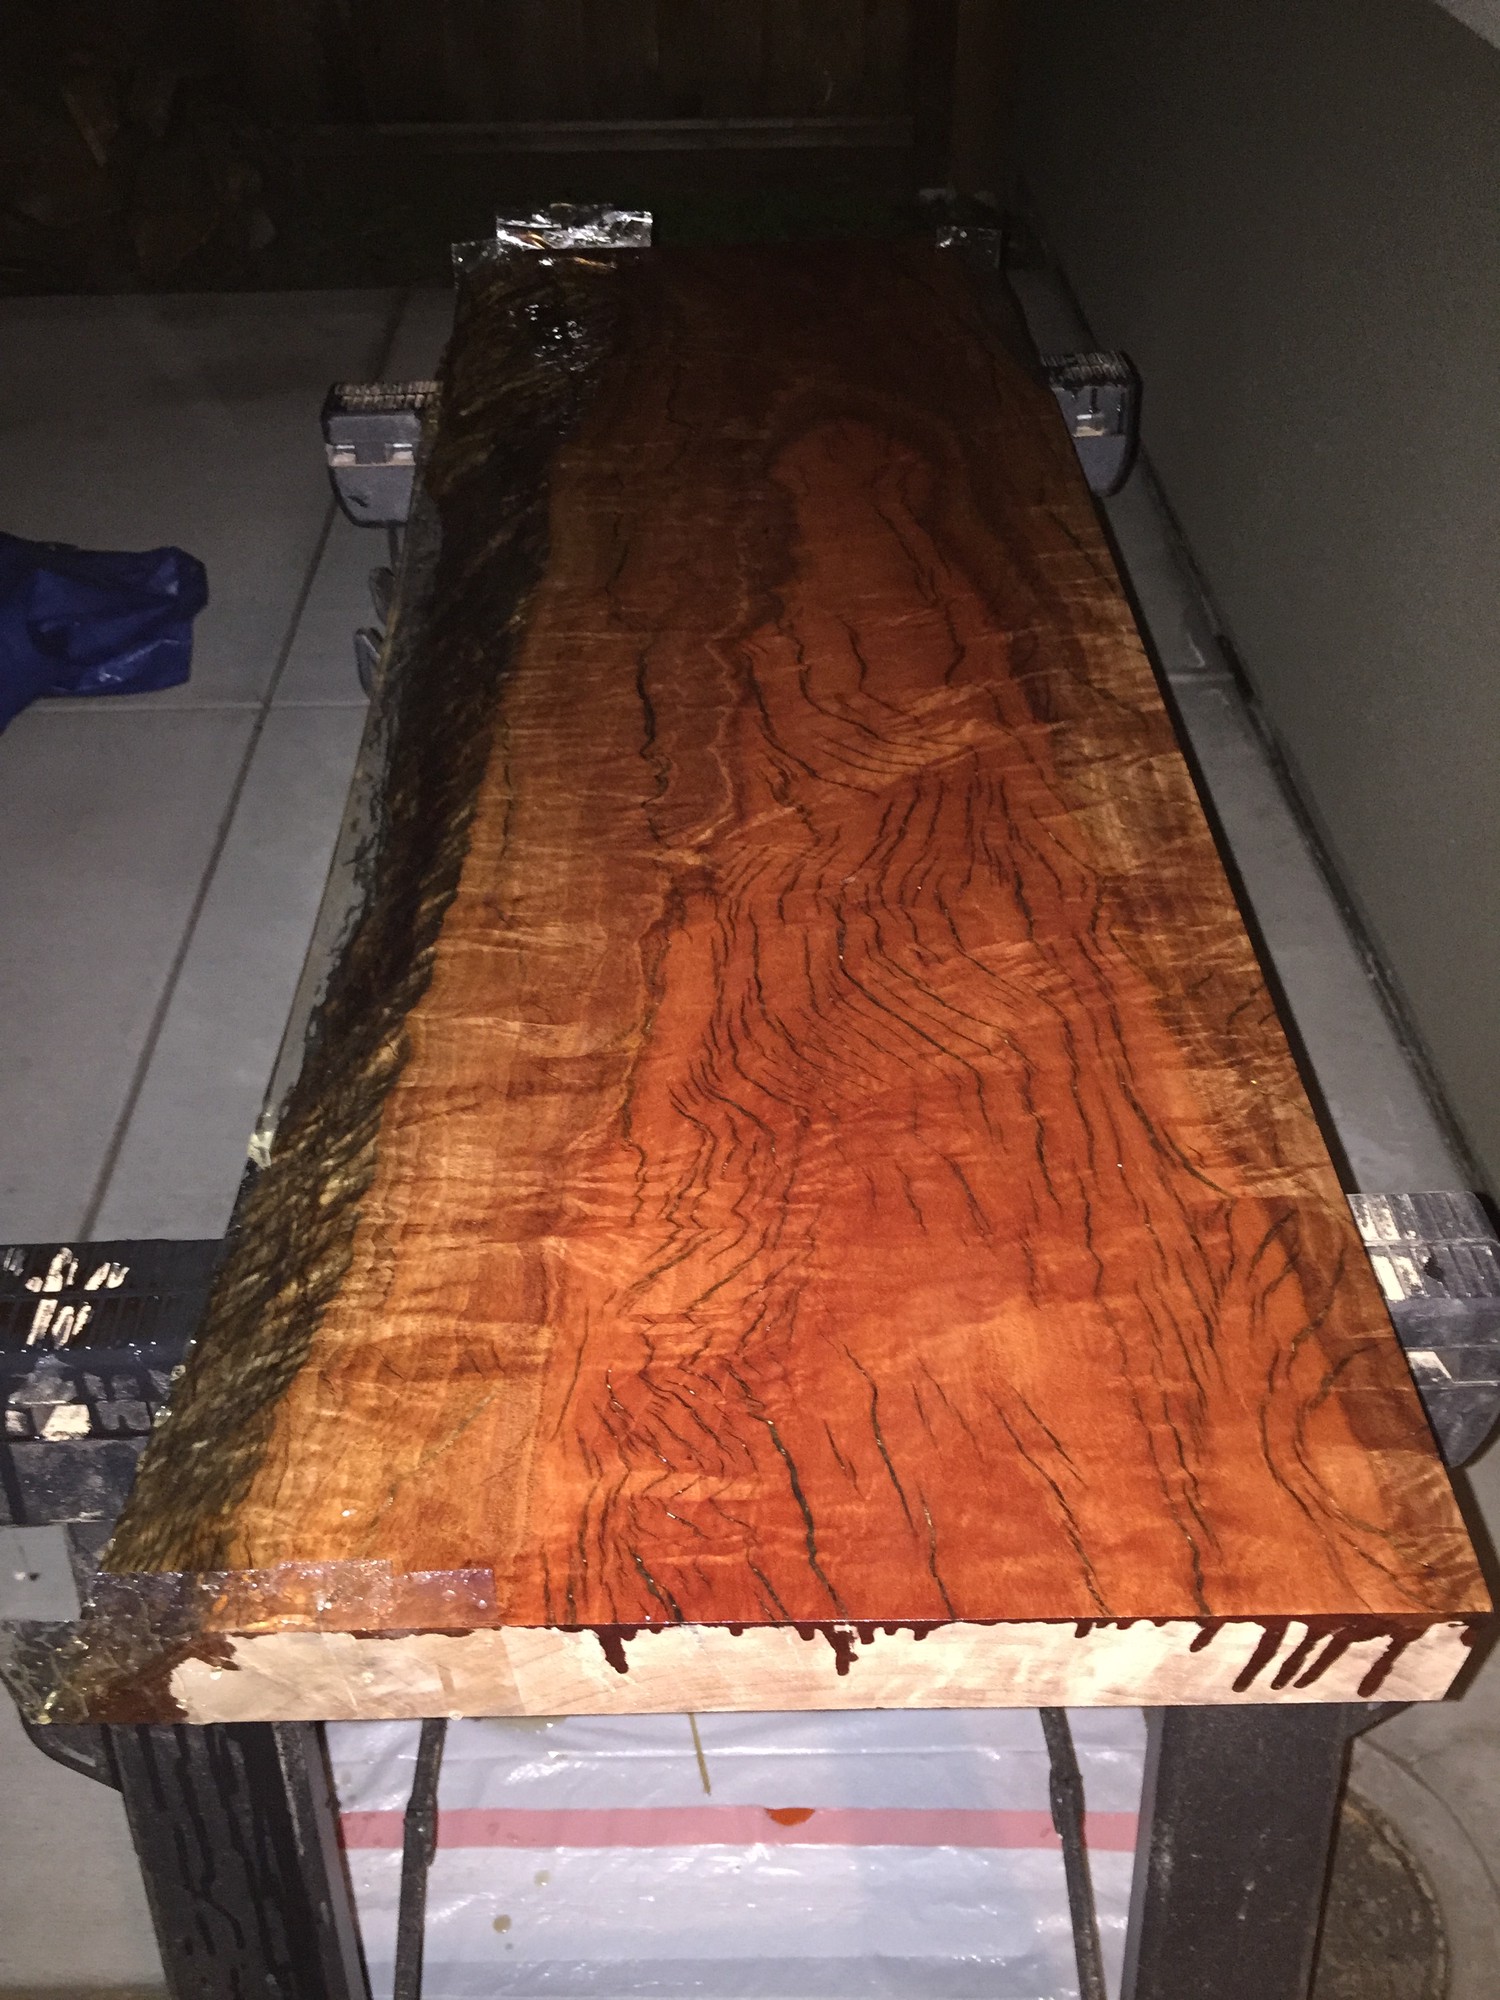
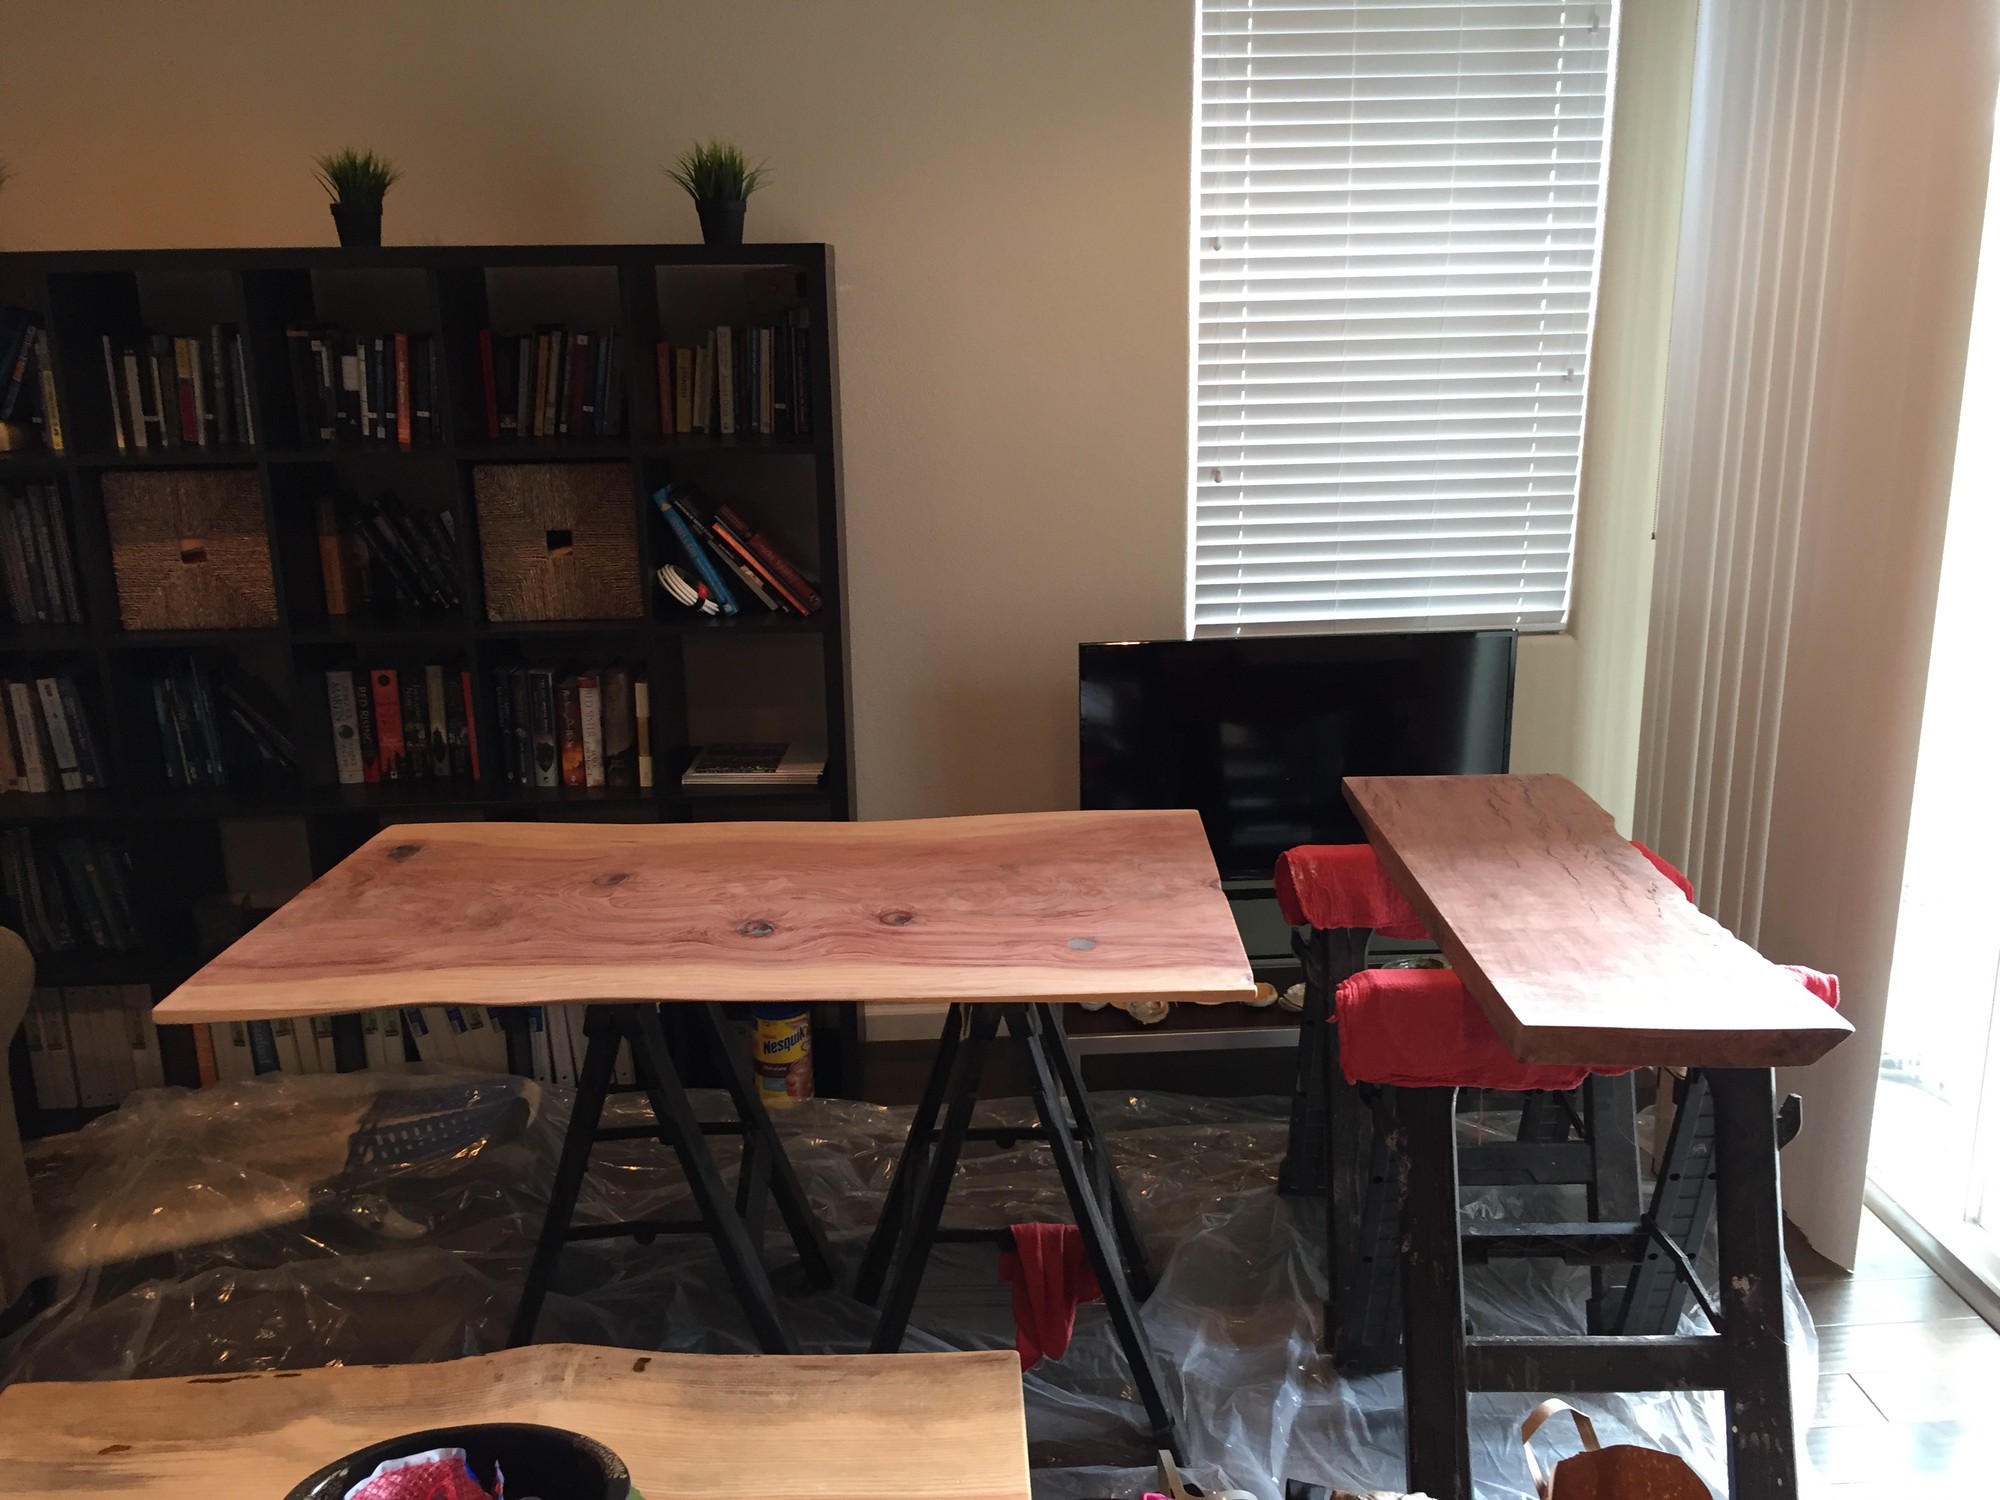
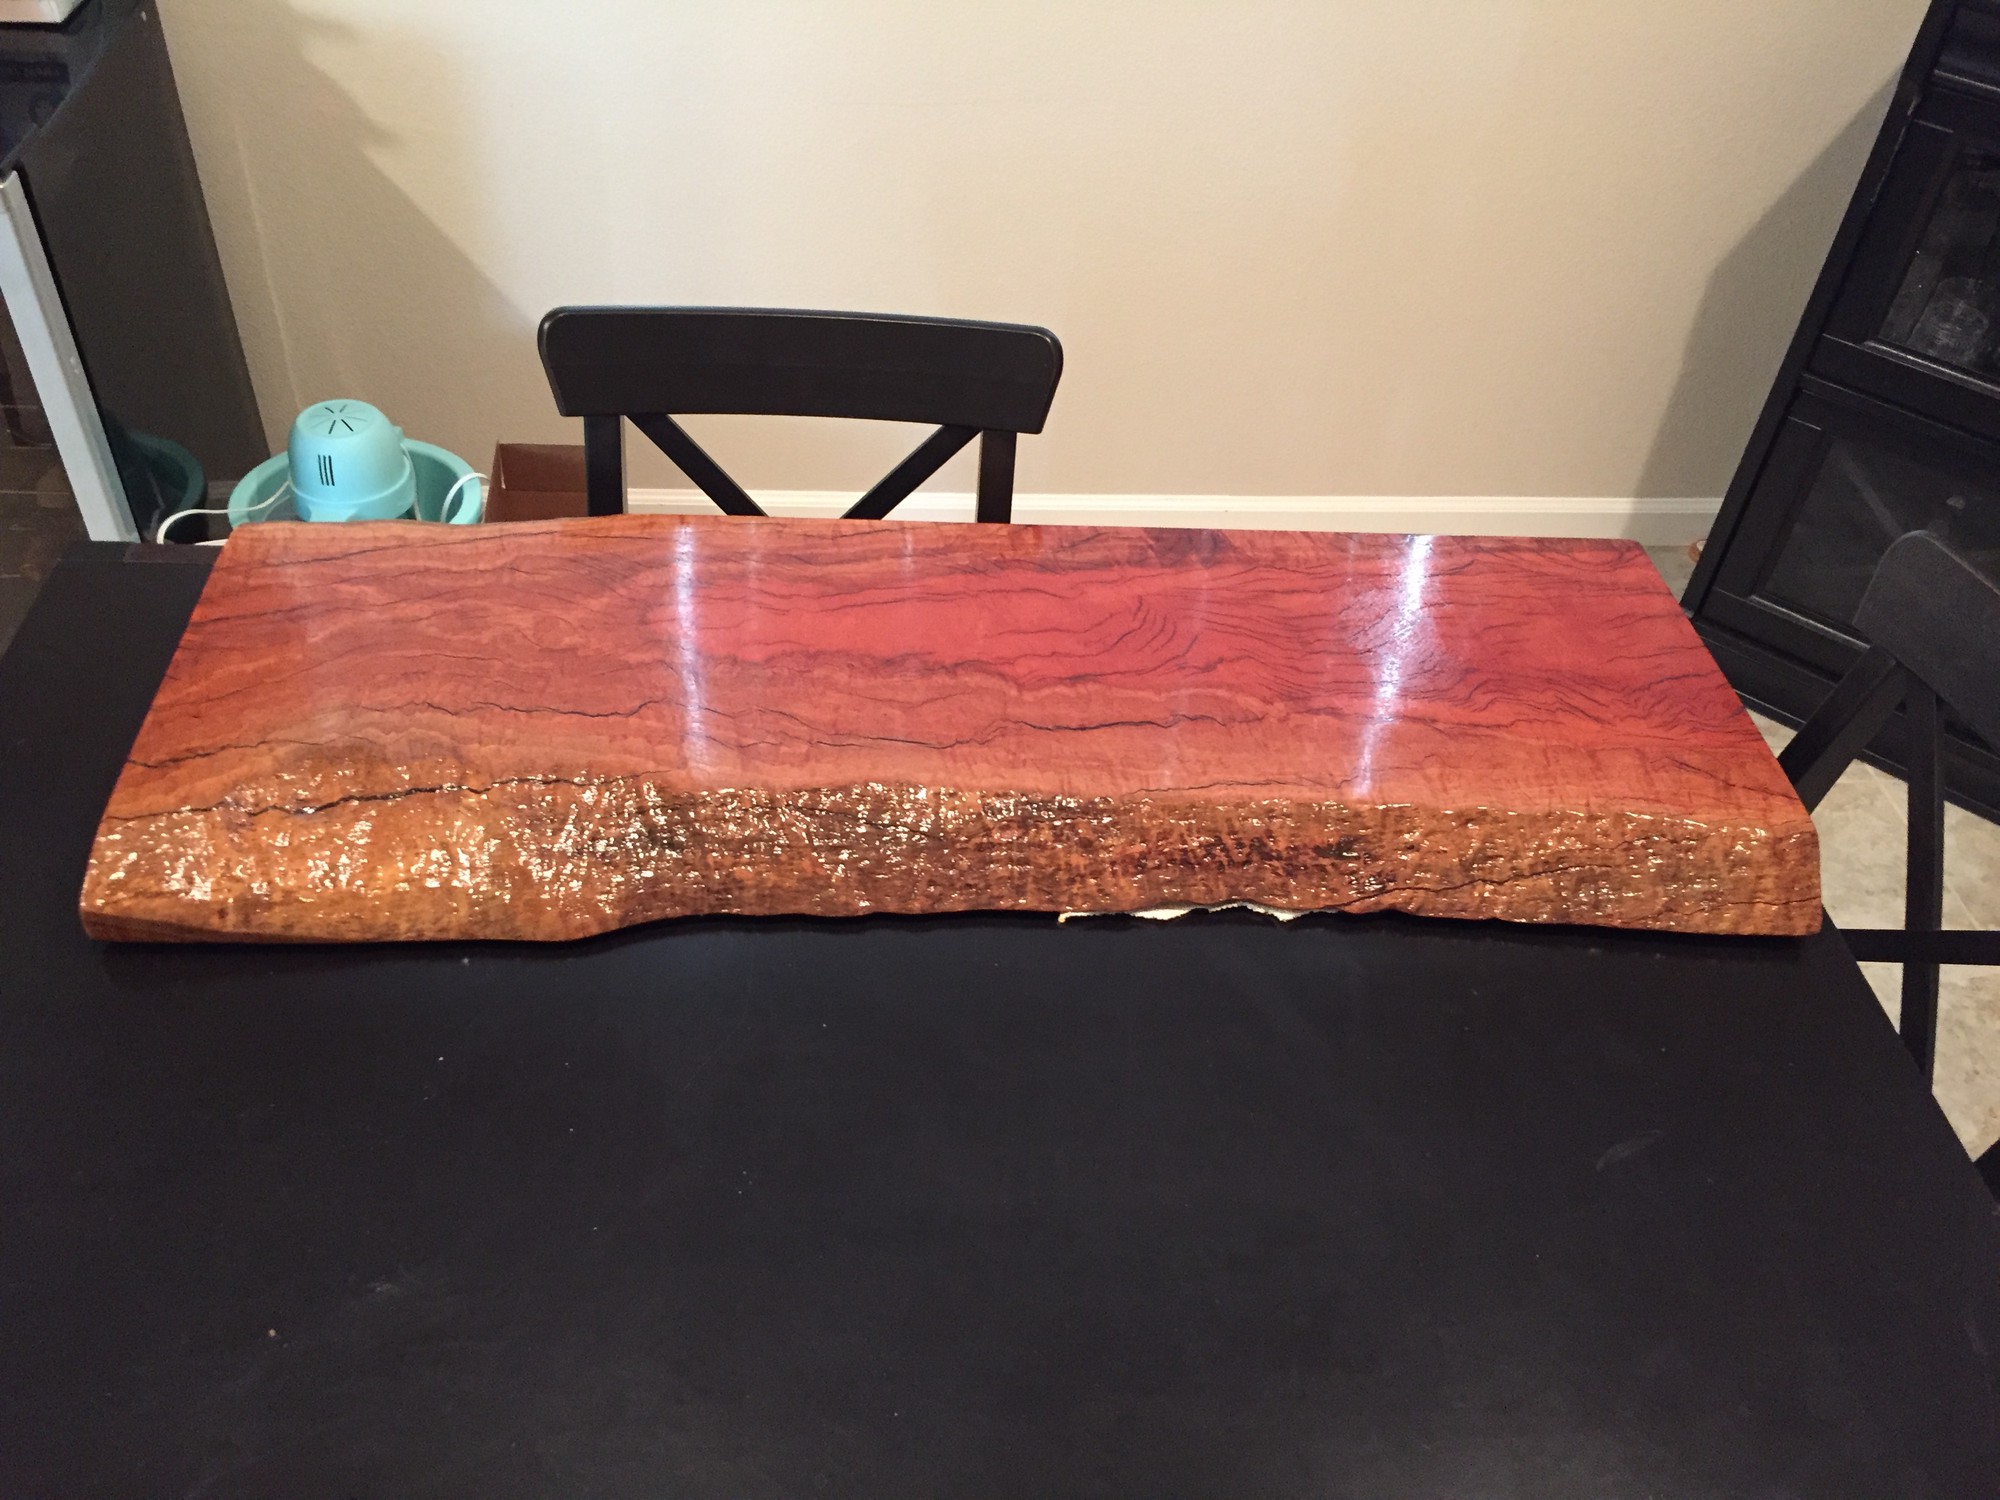
Finishing the resin removal, it was time for staining. For this I used Watco Natural Danish Oil3.
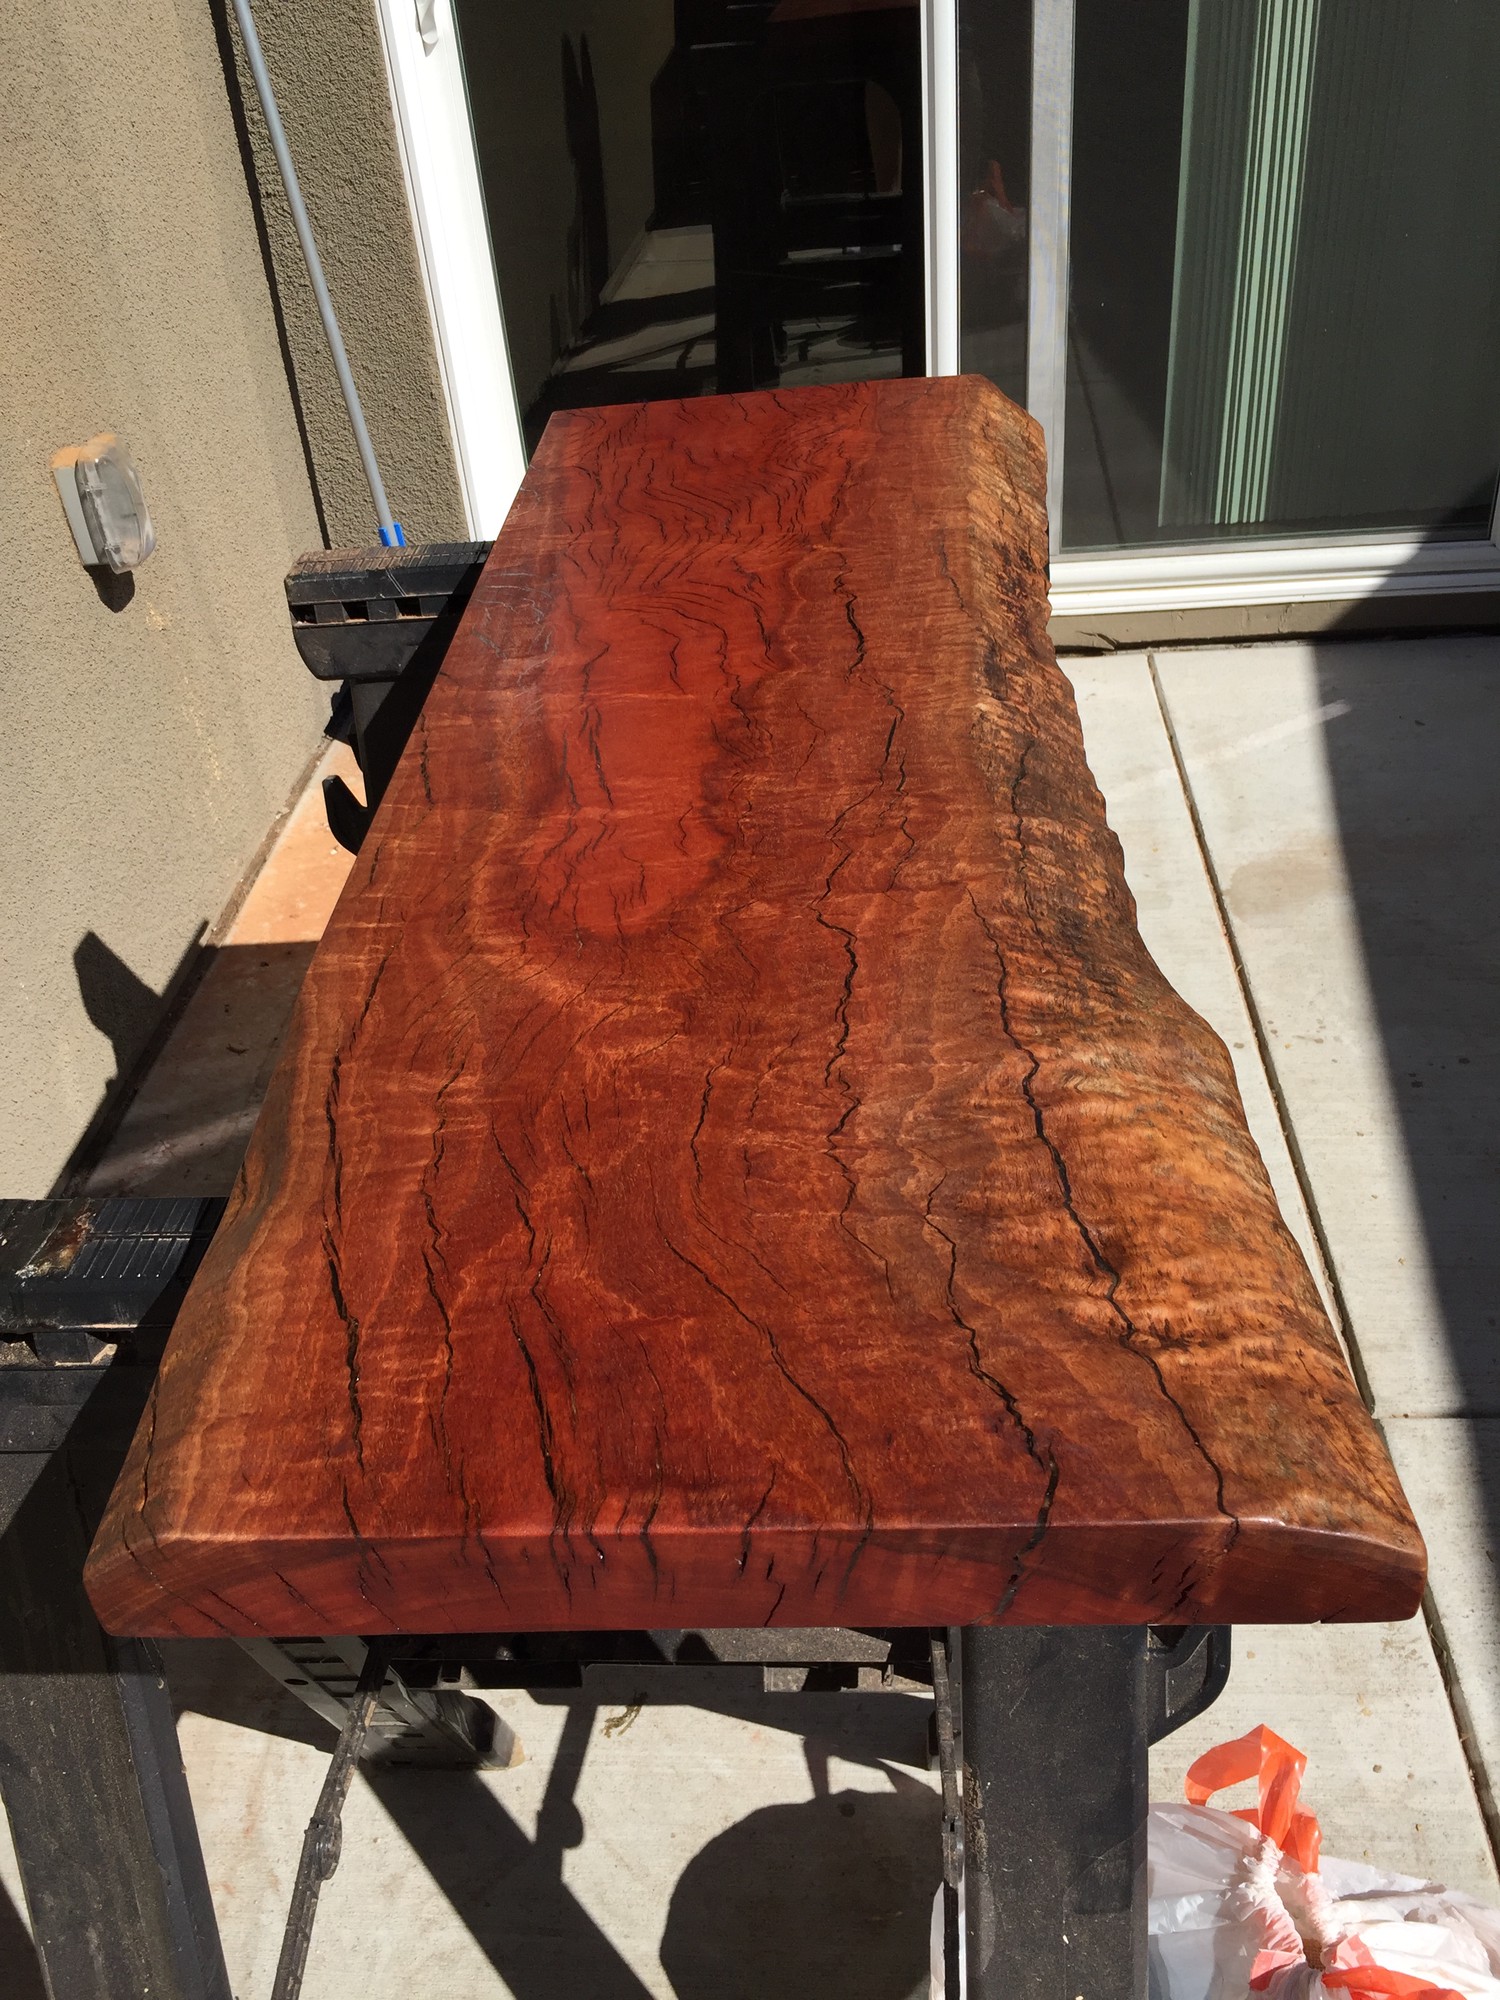
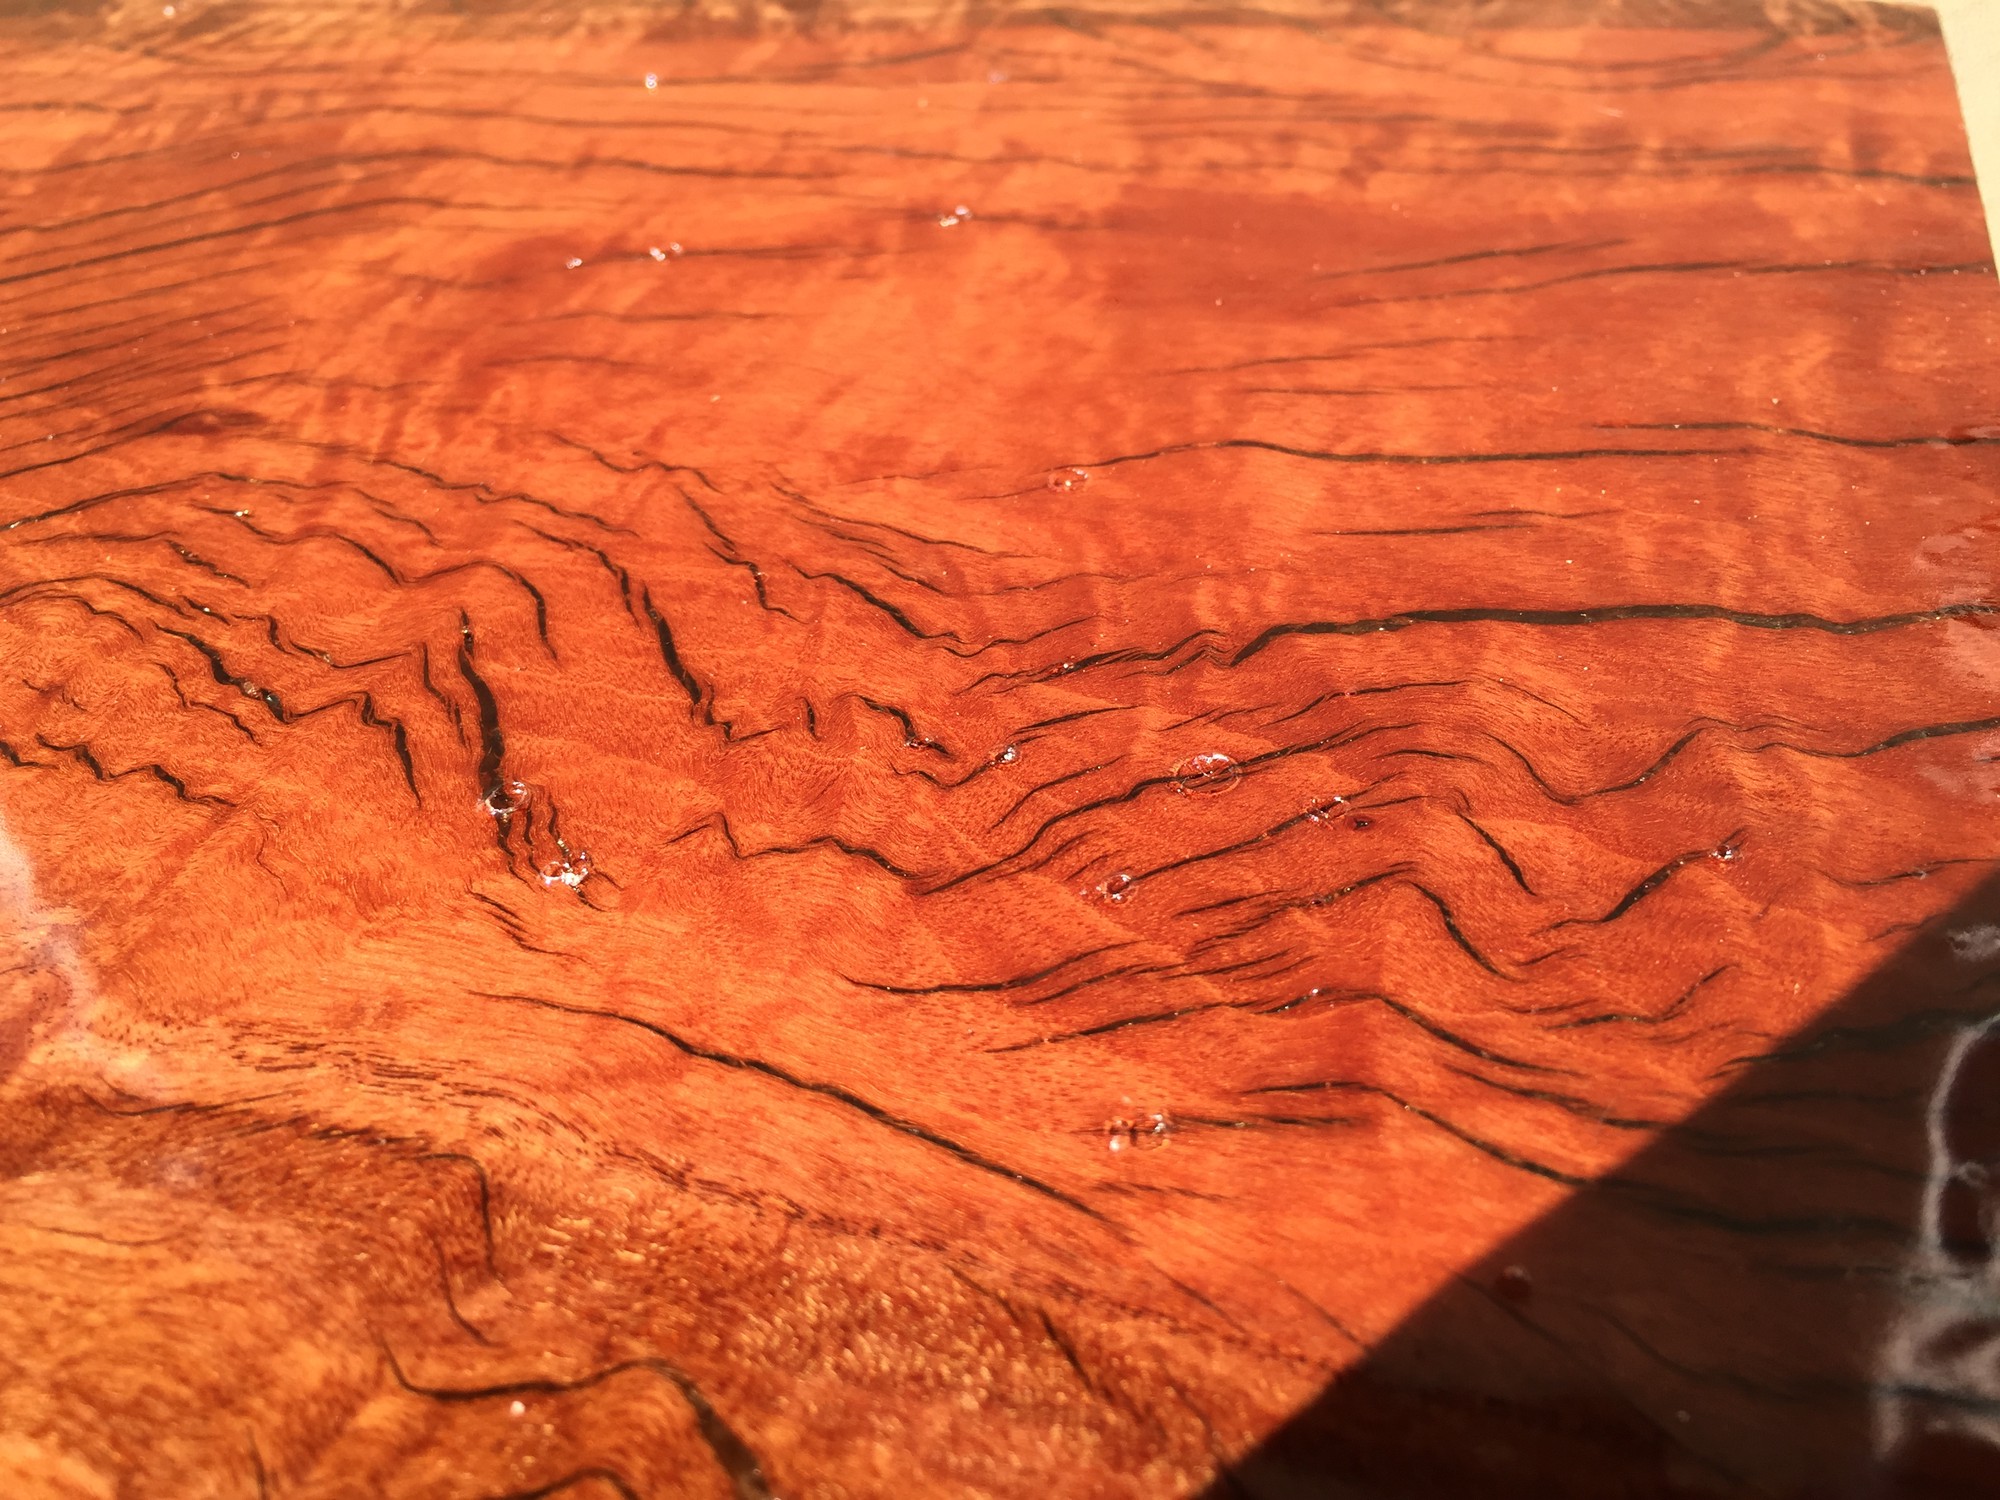
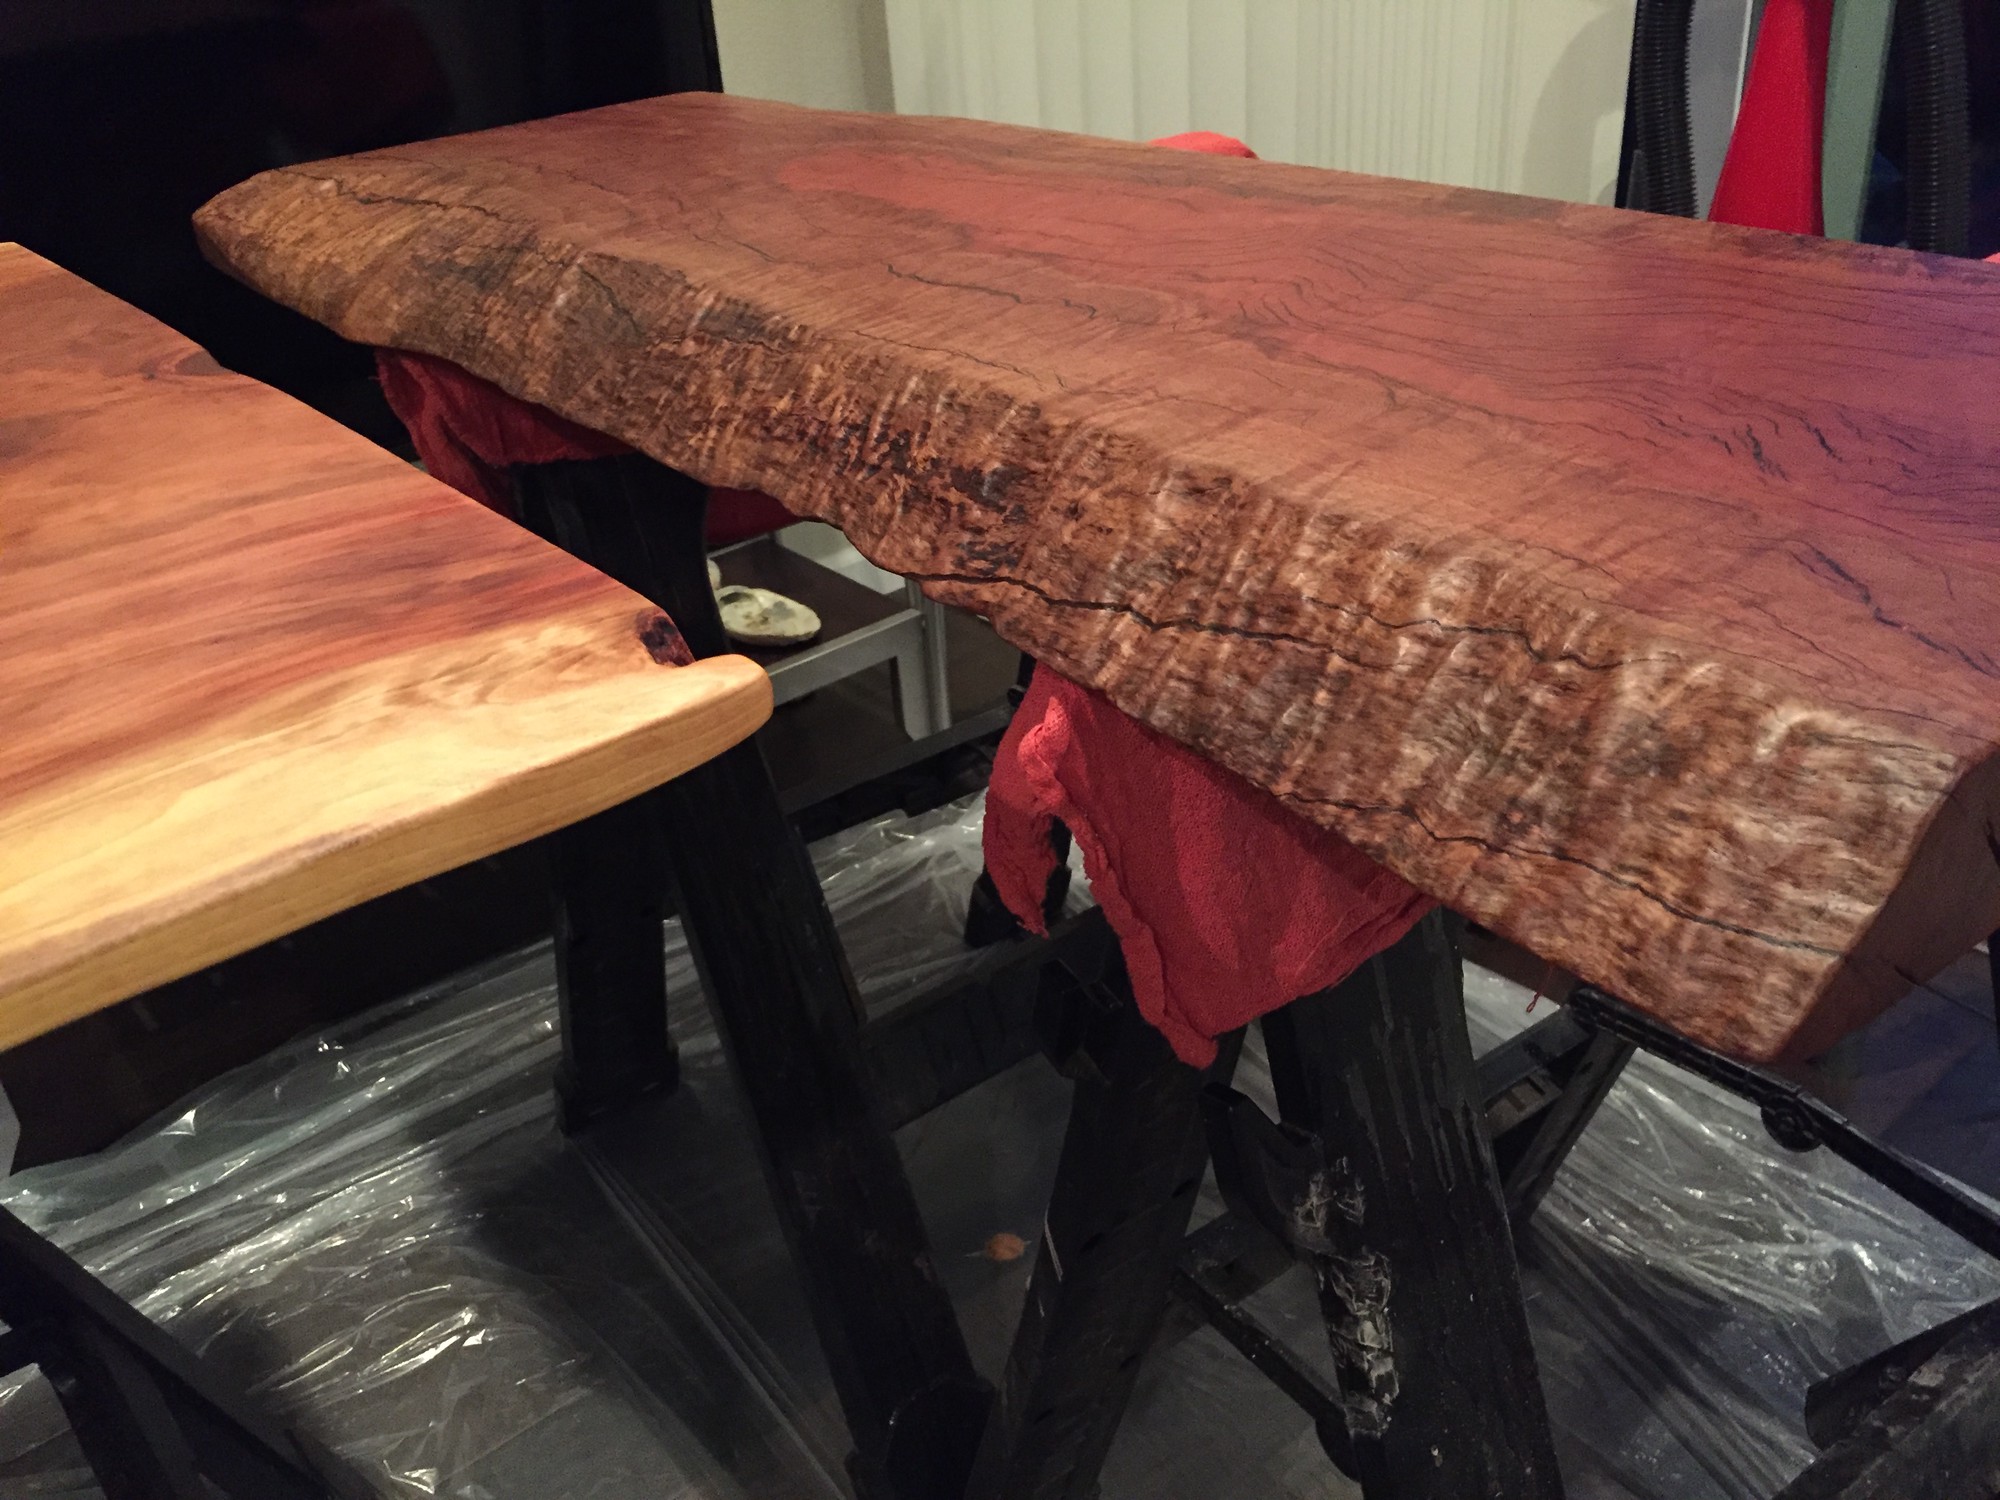
I was very pleased with the appearance of the slab so far. The stain really made the grain pop and offered intriguing contrast of the wood fiber with the darker resin fills producing a nice marble pattern.
If you’ve followed along on my previous project, you’ll know that I had a mishap initially using spar varnish4 for it instead of wipe on poly. Because I was working on this project and that one simultaneoulsy, I made the same errors for this slab. After much discourse online5 6, I repaired the error using the same technique as the other project. Using the least destructive stripping agent I could find at Home Depot7 in conjunction with plastic paint scrapers and soft bristle scrub brush8, I was able to effectively and safely remove the spar varnish. It took 2 applications of the stripping agent to completely remove the varnish.
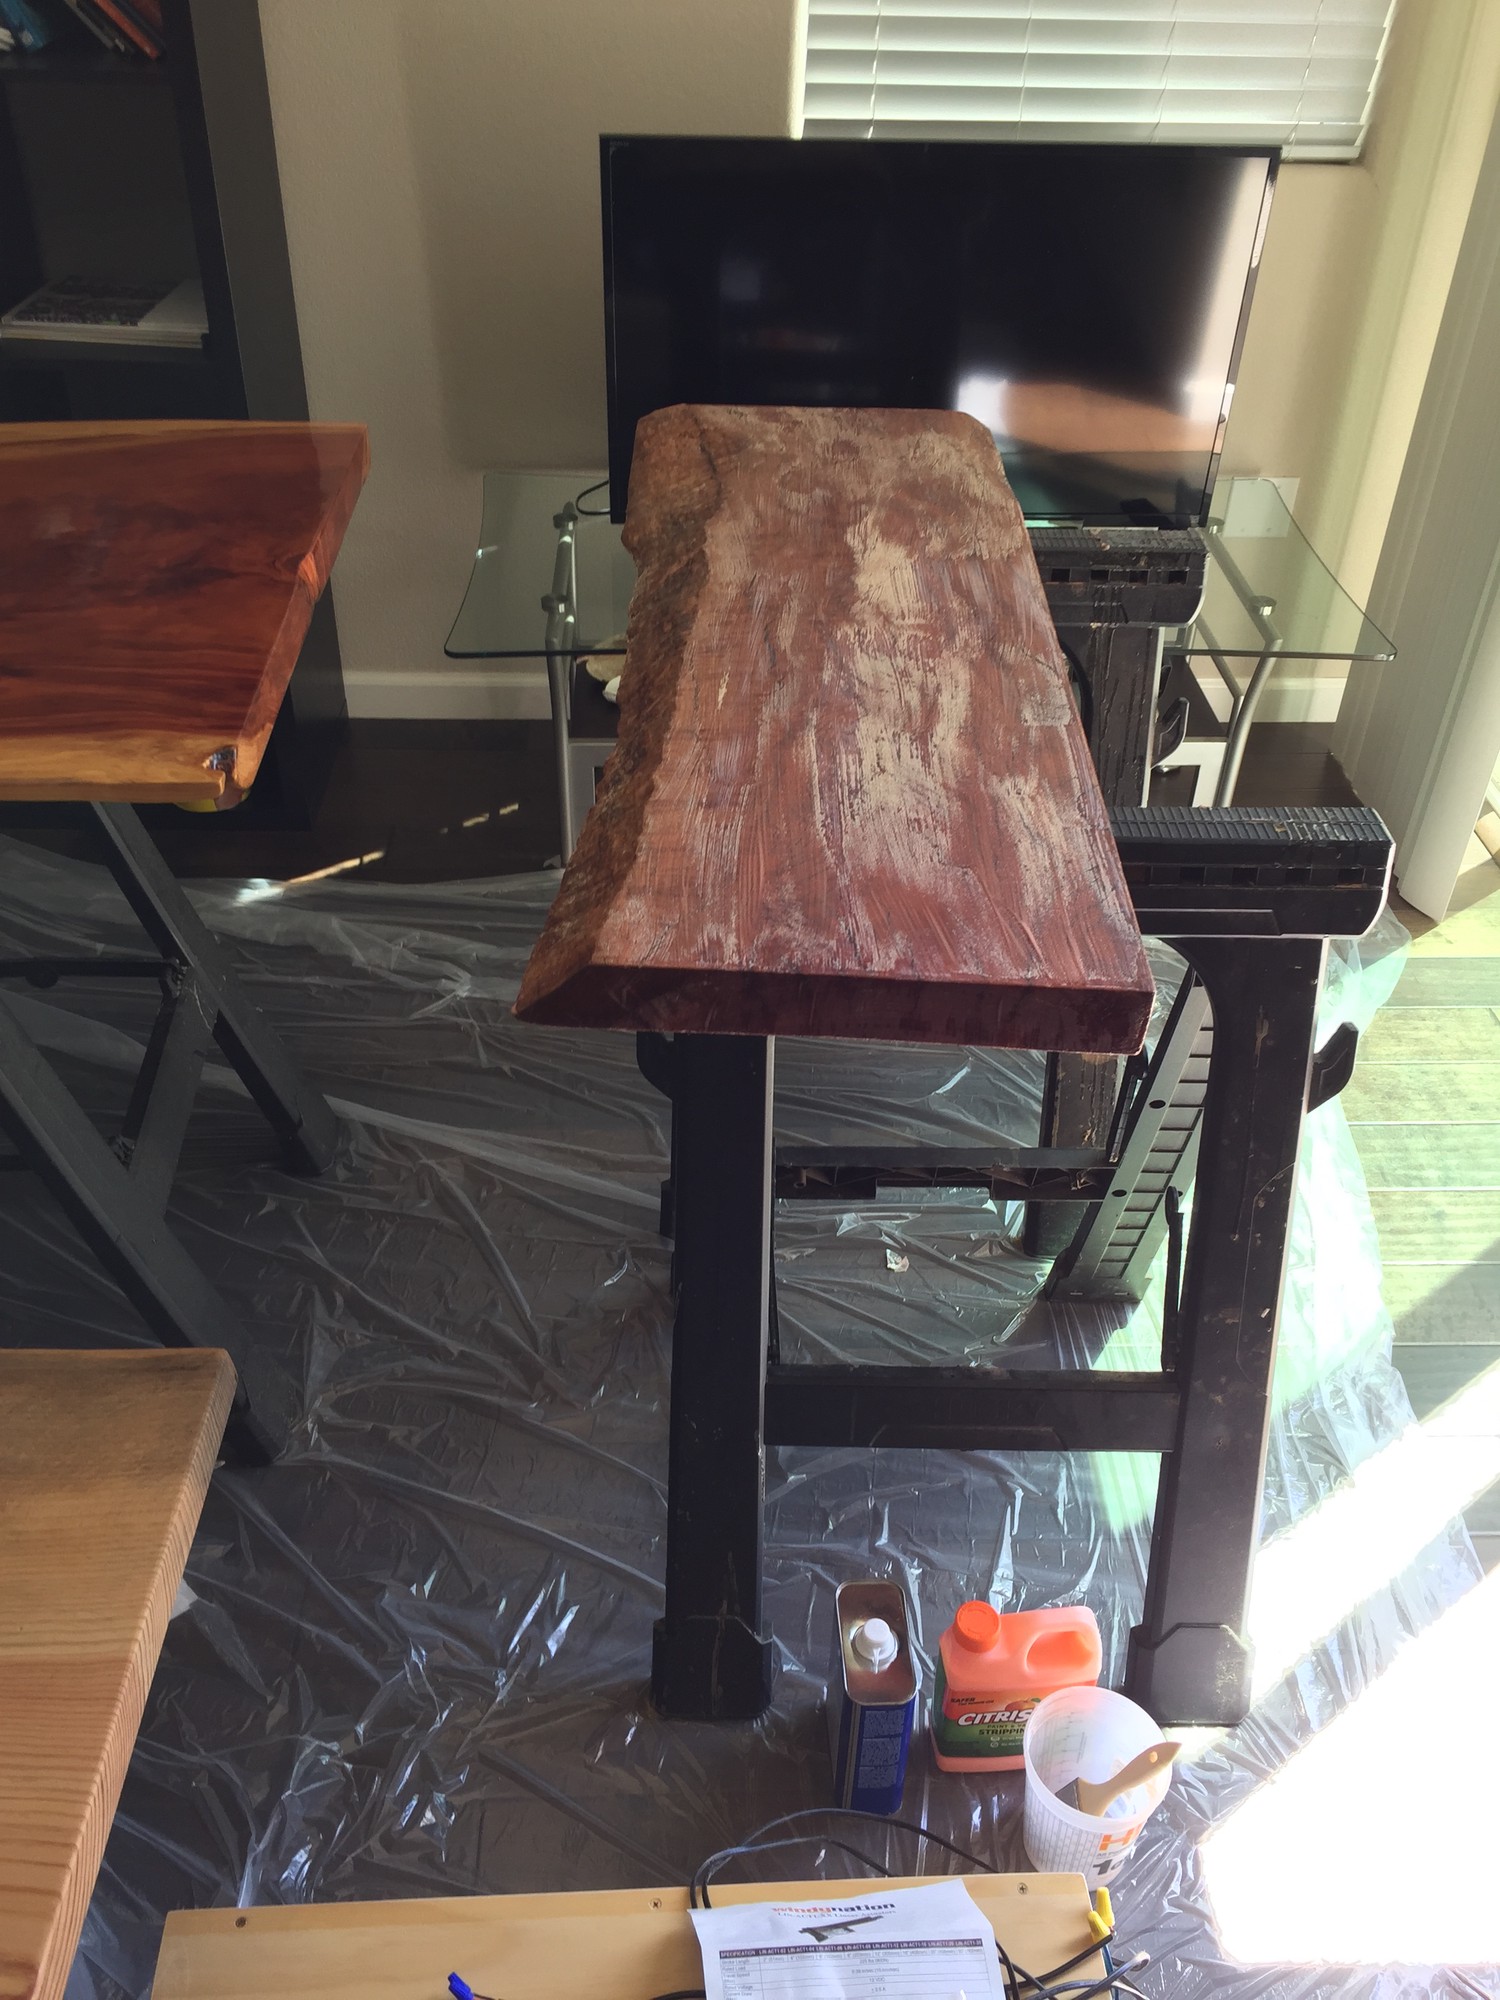
I then progressively sanded using 320 up to 1200 grit sandpaper by hand.
Now I was able to restain.
I was very happy and very surprised with the slab’s unaltered appearance after restaining. The stripping agent process had done little to no damage.
For the film finsh redo, I chose to use Minwax Clear Gloss Wipe-Onl Poly9.
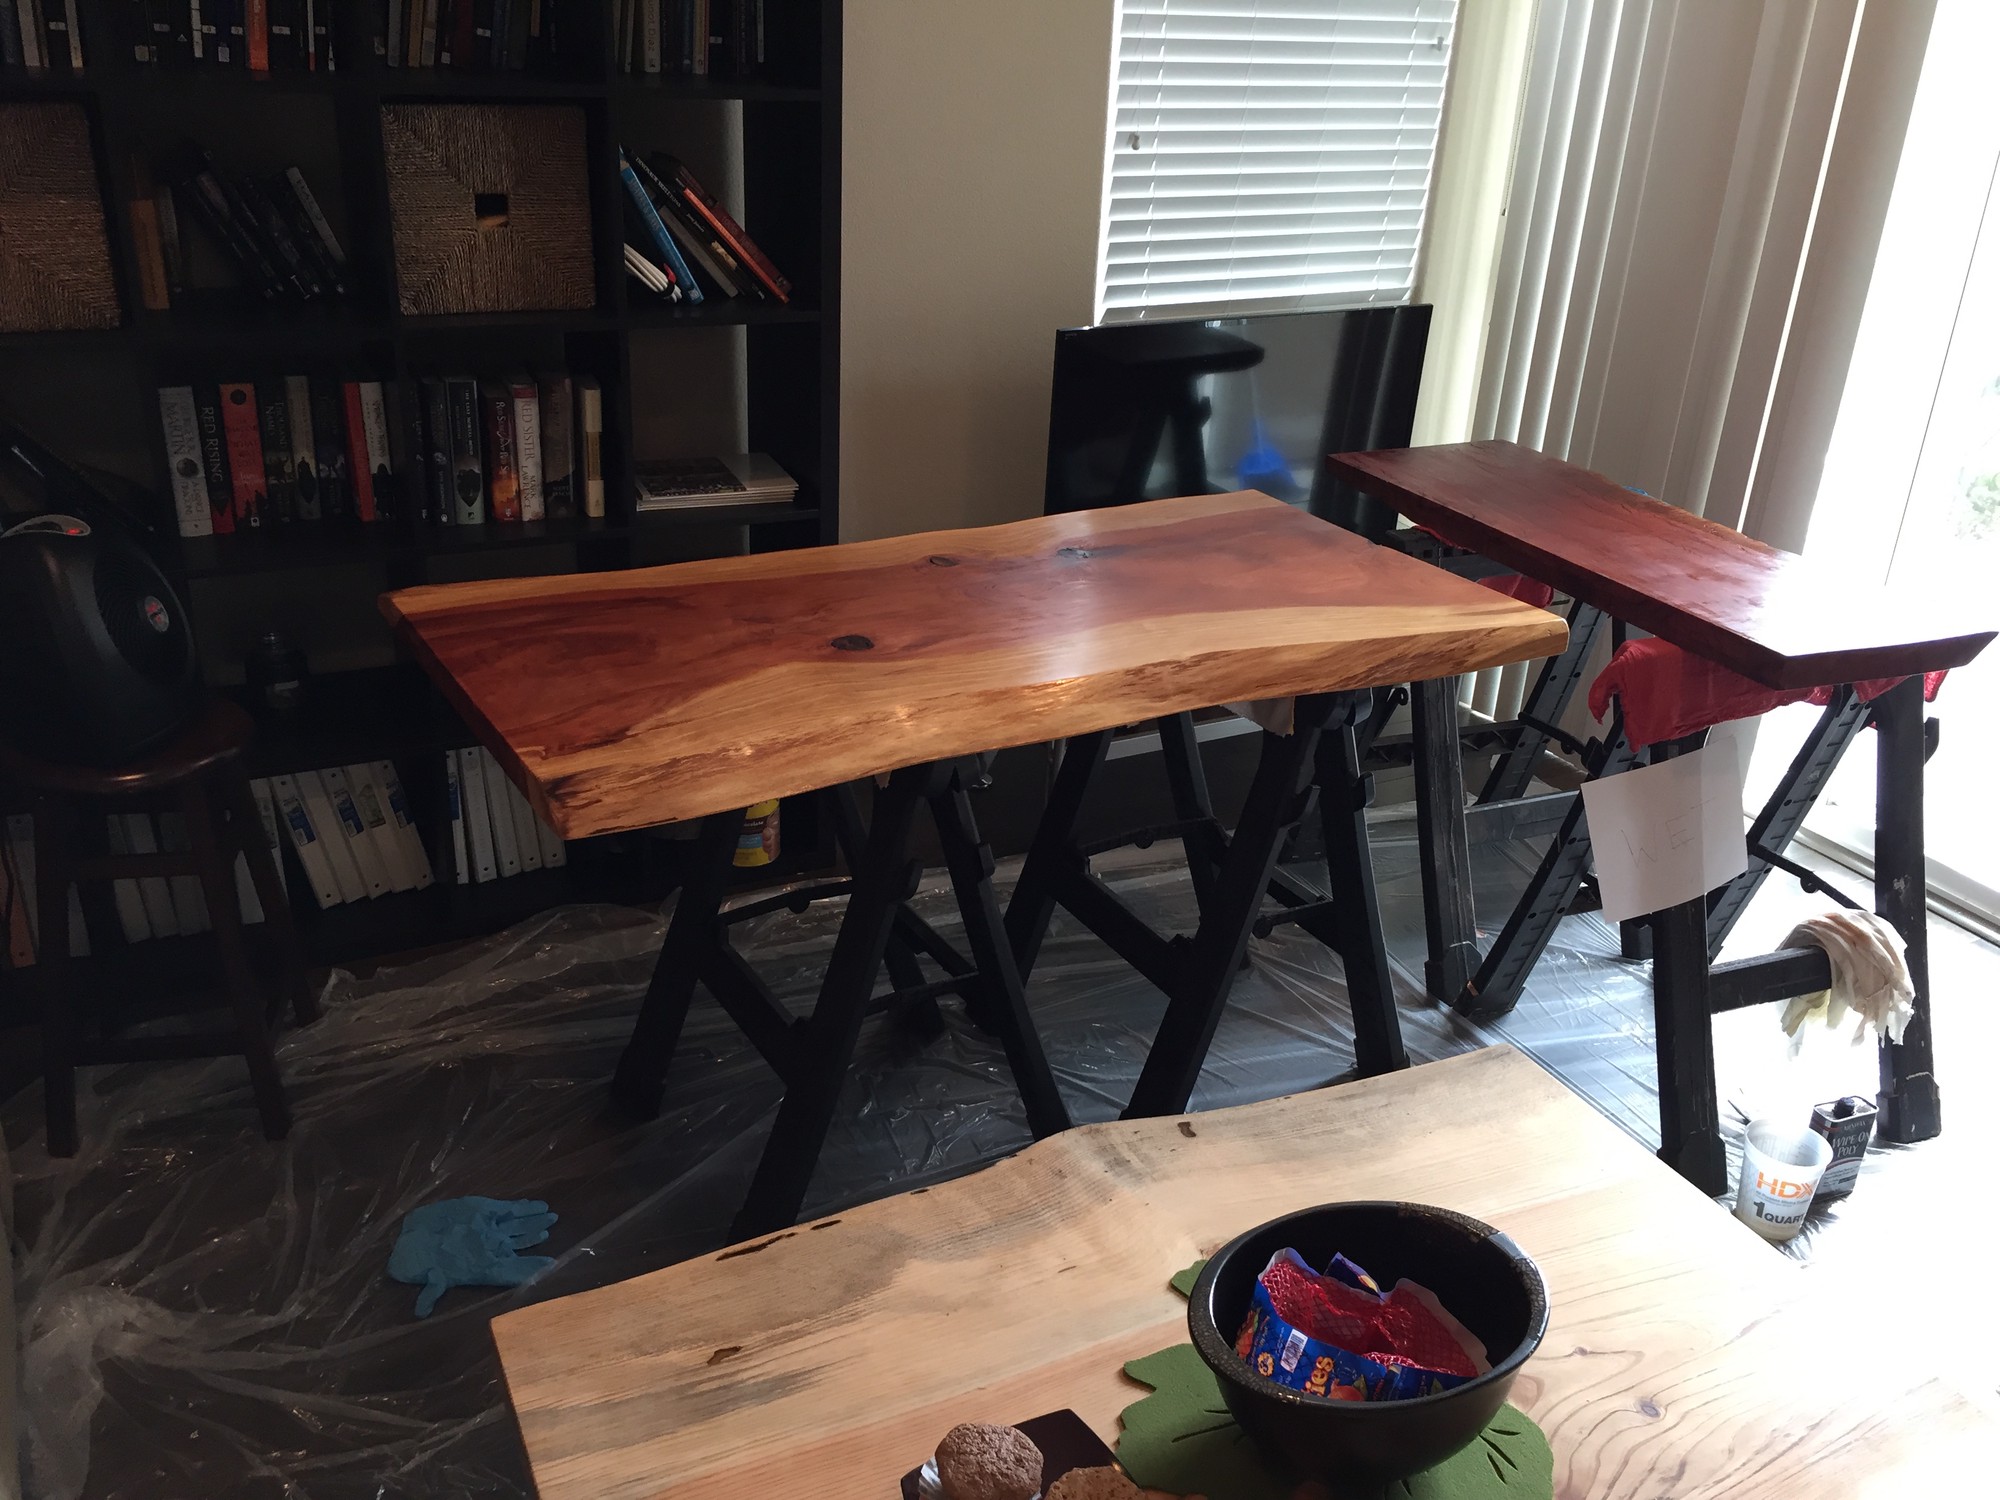
I had hoped to apply enough coats of poly to fill any pores and then buff/polish to a perfectly flat surface10 6. It seemed the only other way to fill the pores of the wood was to strip the film finish and apply a pore filler10. As I had already undergone one redo, I decided against this. Ultimately, upon the 18th coat of poly, I grew impatient and decided I was happy with its look even with the small pores not quite filled level with the rest of the top surface.
The next steps of this project will be to design and build a suitable base. Stay tuned!
-
https://www.amazon.com/gp/product/B012M9H8UG/ref=oh_aui_search_asin_title?ie=UTF8&psc=1 ↩︎
-
https://www.amazon.com/gp/product/B00173CDSQ/ref=oh_aui_search_asin_title?ie=UTF8&psc=1 ↩︎
-
https://www.amazon.com/gp/product/B0027UEW5K/ref=oh_aui_search_asin_title?ie=UTF8&psc=1 ↩︎
-
https://woodworking.stackexchange.com/questions/7163/salvaging-failed-spar-varnish-danish-oil-finishing-layers-on-redwood-live-edge-s ↩︎
-
https://woodworking.stackexchange.com/questions/7153/finishing-buffing-polishing-redwood-slab-with-oil-based-varnish-thinned-with-dan ↩︎
-
https://www.homedepot.com/p/Citristrip-1-qt-Safer-Paint-and-Varnish-Stripping-Gel-Non-NMP-QCSG801/307416109 ↩︎
-
https://www.homedepot.com/p/HDX-Small-Soft-Grip-Scrub-Brush-SBR2-HDX/206453073?MERCH=REC-_-PIPHorizontal2_rr-_-206509461-_-206453073-_-N ↩︎
-
https://www.amazon.com/Minwax-40900-Oil-Based-Polyurethane-Finish/dp/B01M1EDG7Y/ref=asc_df_B01M1EDG7Y/?tag=hyprod-20&linkCode=df0&hvadid=309802498763&hvpos=1o4&hvnetw=g&hvrand=7278565143806718525&hvpone=&hvptwo=&hvqmt=&hvdev=c&hvdvcmdl=&hvlocint=&hvlocphy=9031968&hvtargid=pla-624061654722&psc=1 ↩︎
-
https://woodworking.stackexchange.com/questions/7259/pore-grain-filler-over-danish-oil ↩︎