Two Live Edge Tables

These are my fourth and fifth tables! Let’s first cover the basics:
- Start: March 30, 2016
- End: December 2018
- Wood Species: Monterey Pine
- Wood Supplier: Ponderosa Millworks1
- Table Type: live-edge wood slab
These tables were started at the same time as a my first table. I’ll let you catch up on the back story there as it provides some interesting detail! To give a brief overview, I worked on these two projects simultaenously. Both projects' tables come from the same slab (explained in my previous project). I had originally intended only on keeping one of them as the other belonged to a friend who worked with me during part of my previous project. As fate would have it, this friend had to relocate and decided to gift me their end table slab! These two slabs measure 1' x 2.5" x 3' and were purchased completely dried.
As explained in my first table, Monterey Pine is a great starter species for slab work. It’s durable and one of the cheapest species by board-foot (my then-largest concern).
Let’s dive into the chronology of the project with some images to help us understand the workflow along the way!
Because I worked on these slabs simultaneoulsy with my first table, the progression will be very similar.
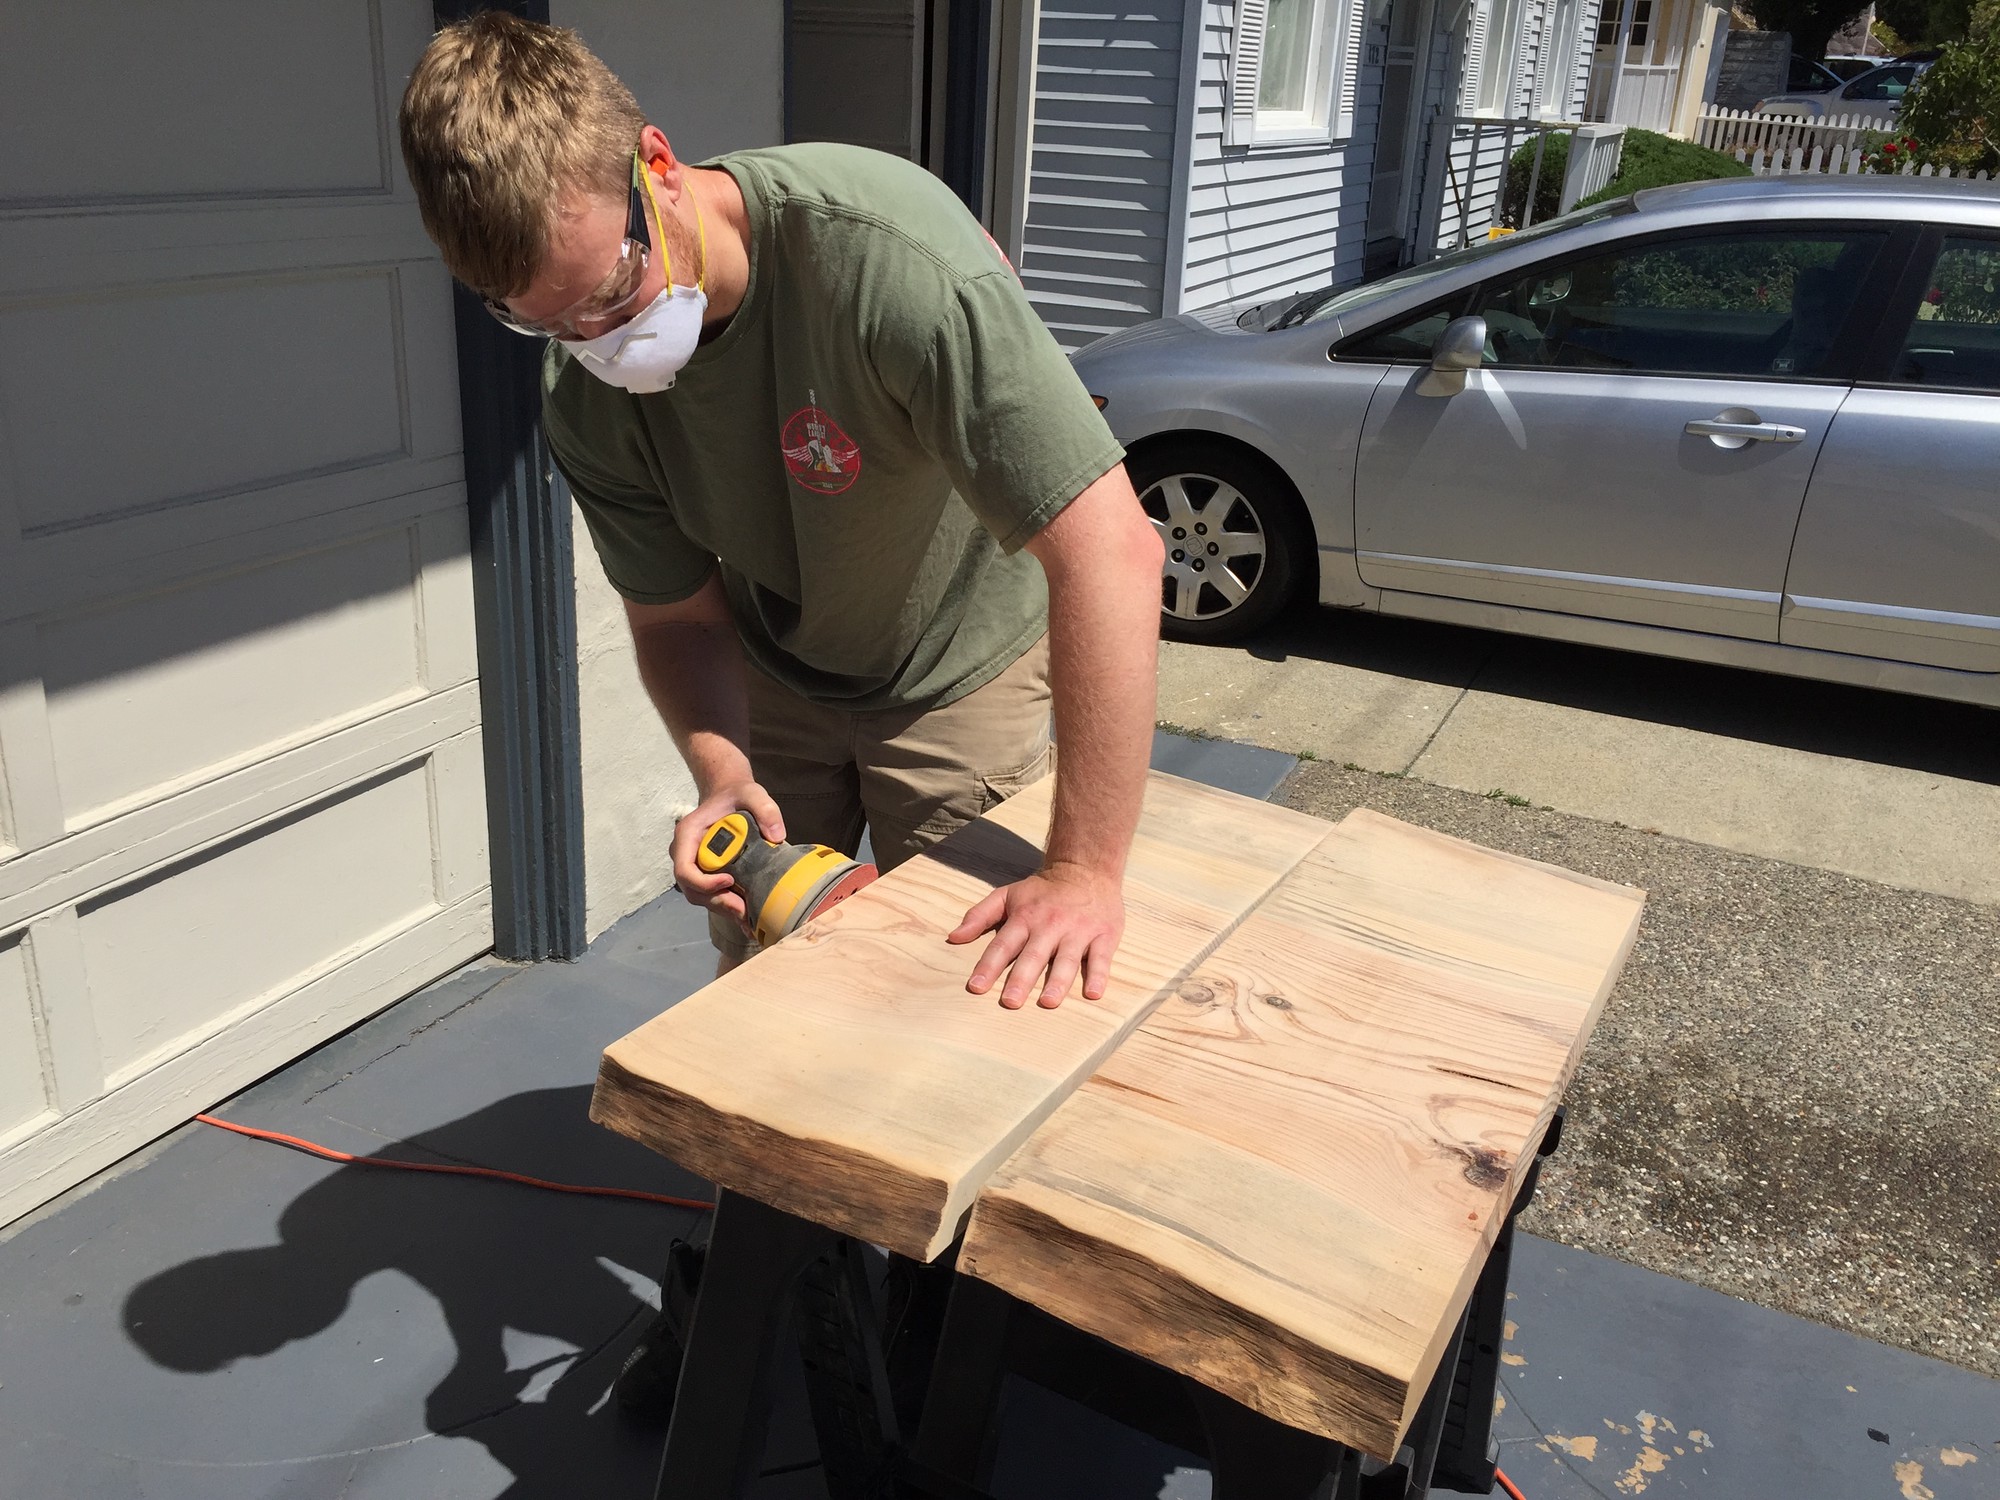
New to the craft, I made the mistake of first sanding the piece from 80 grit to 400 grit before filling any defects with resin.
I then filled any defects (whether they be structural or just visual weaknesses) using West Systems 105 Epoxy Resin with West Systems 207 Hardener.
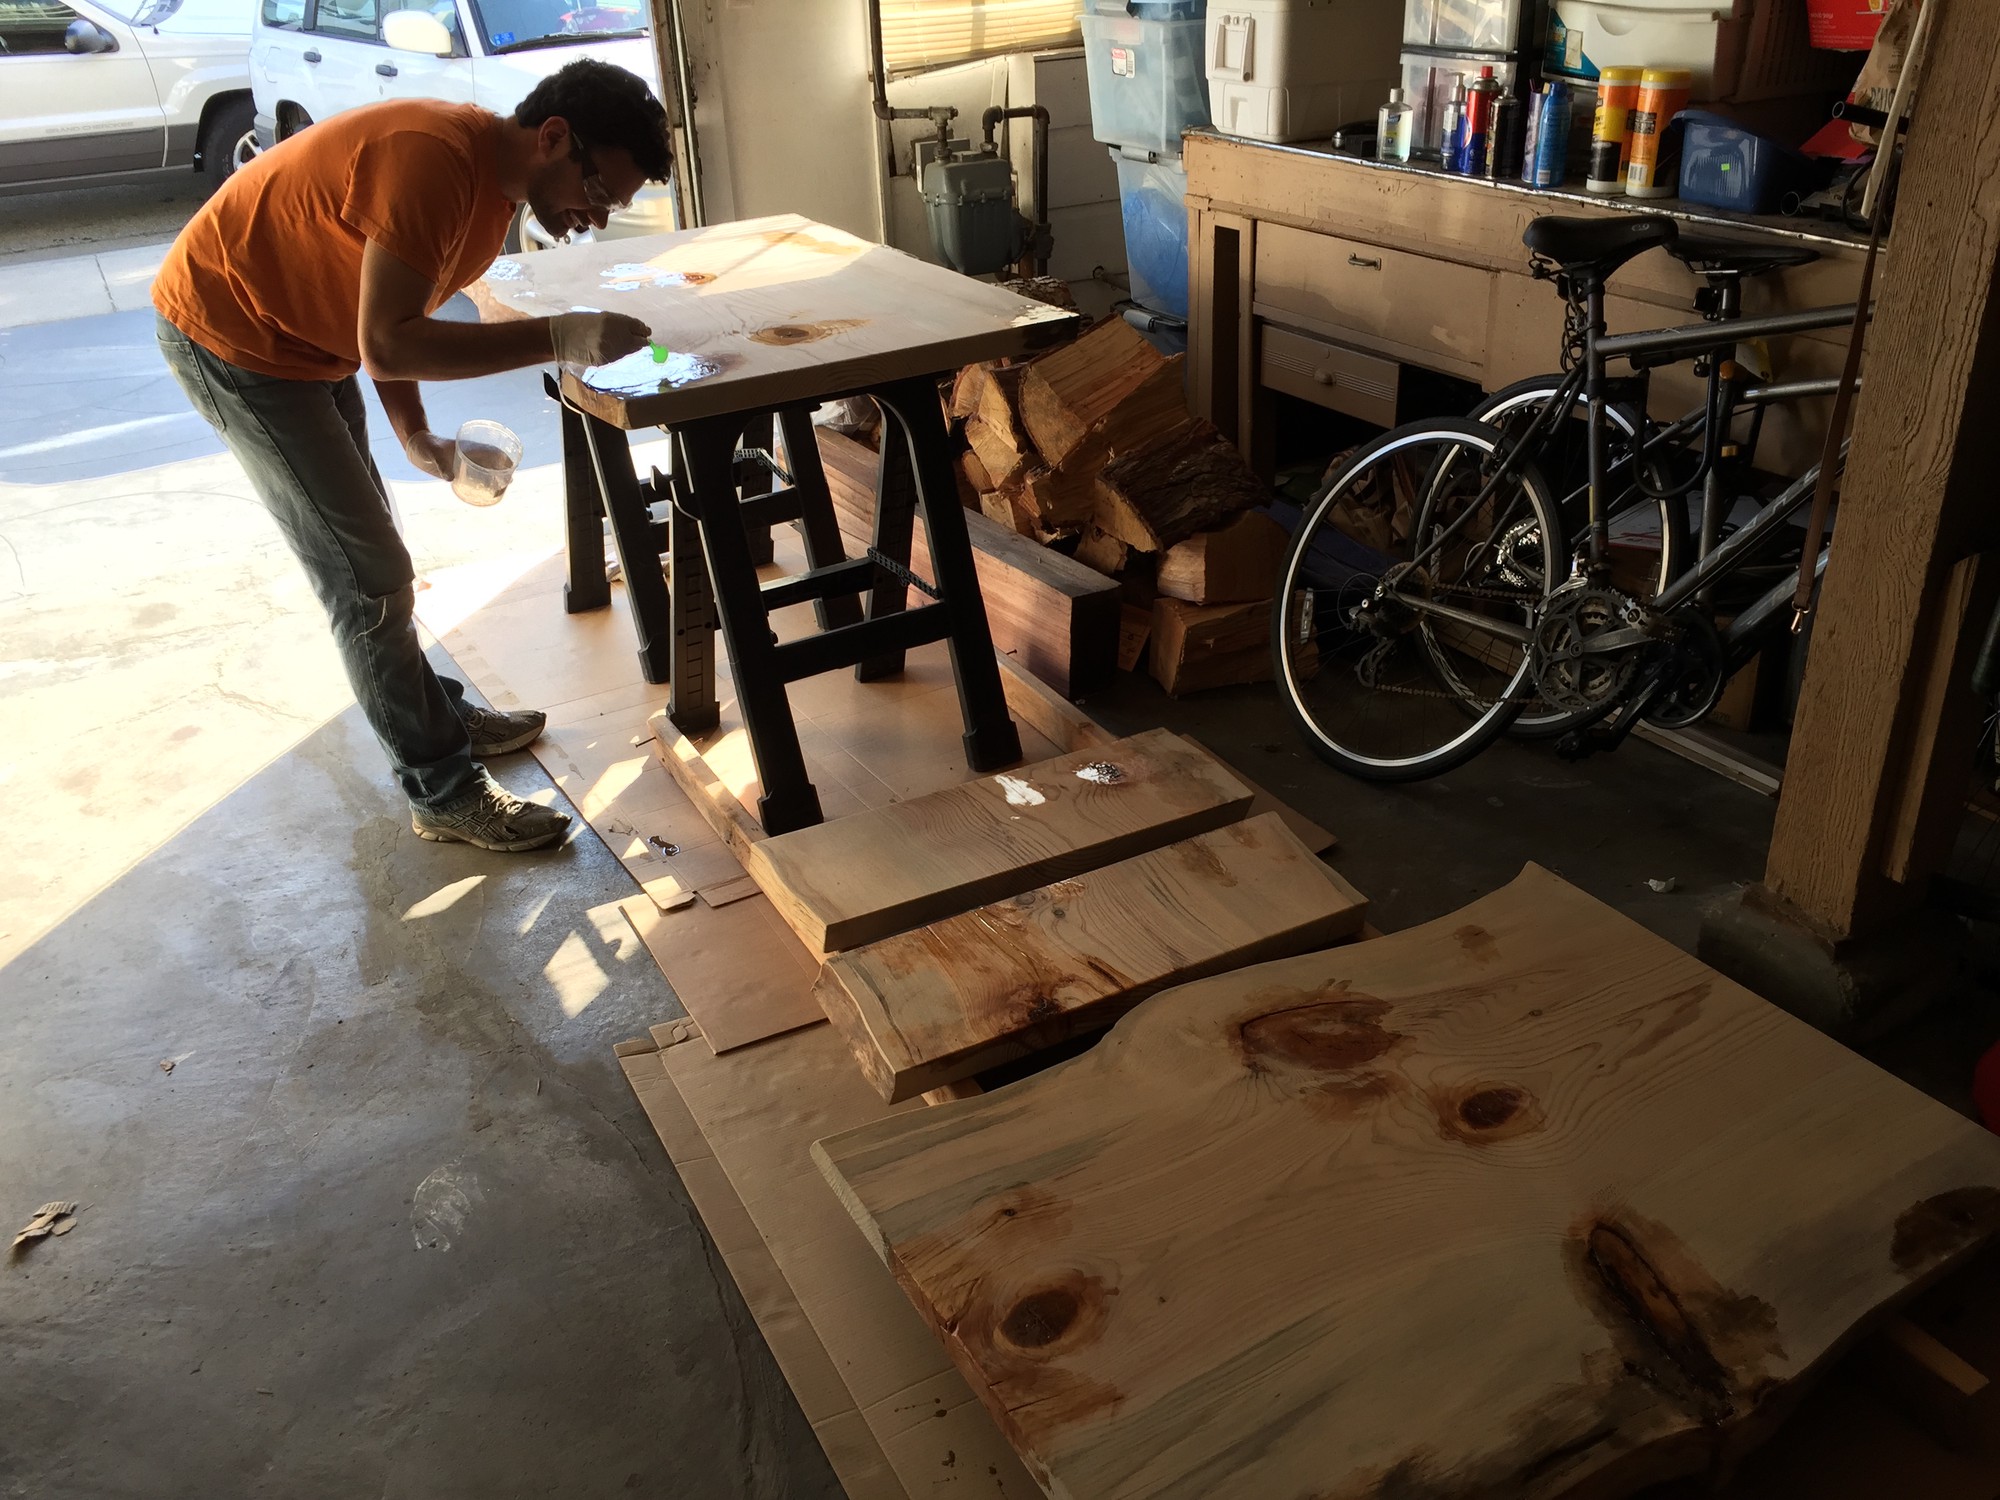
At this point, the slabs sat in my garage for some time. I toyed with the idea of combining them into a shelf versus making two separate tables. However, considering I now possessed a coffee table size slab (see previous project) and now two end table size slabs, I had a full furniture set for my living room!
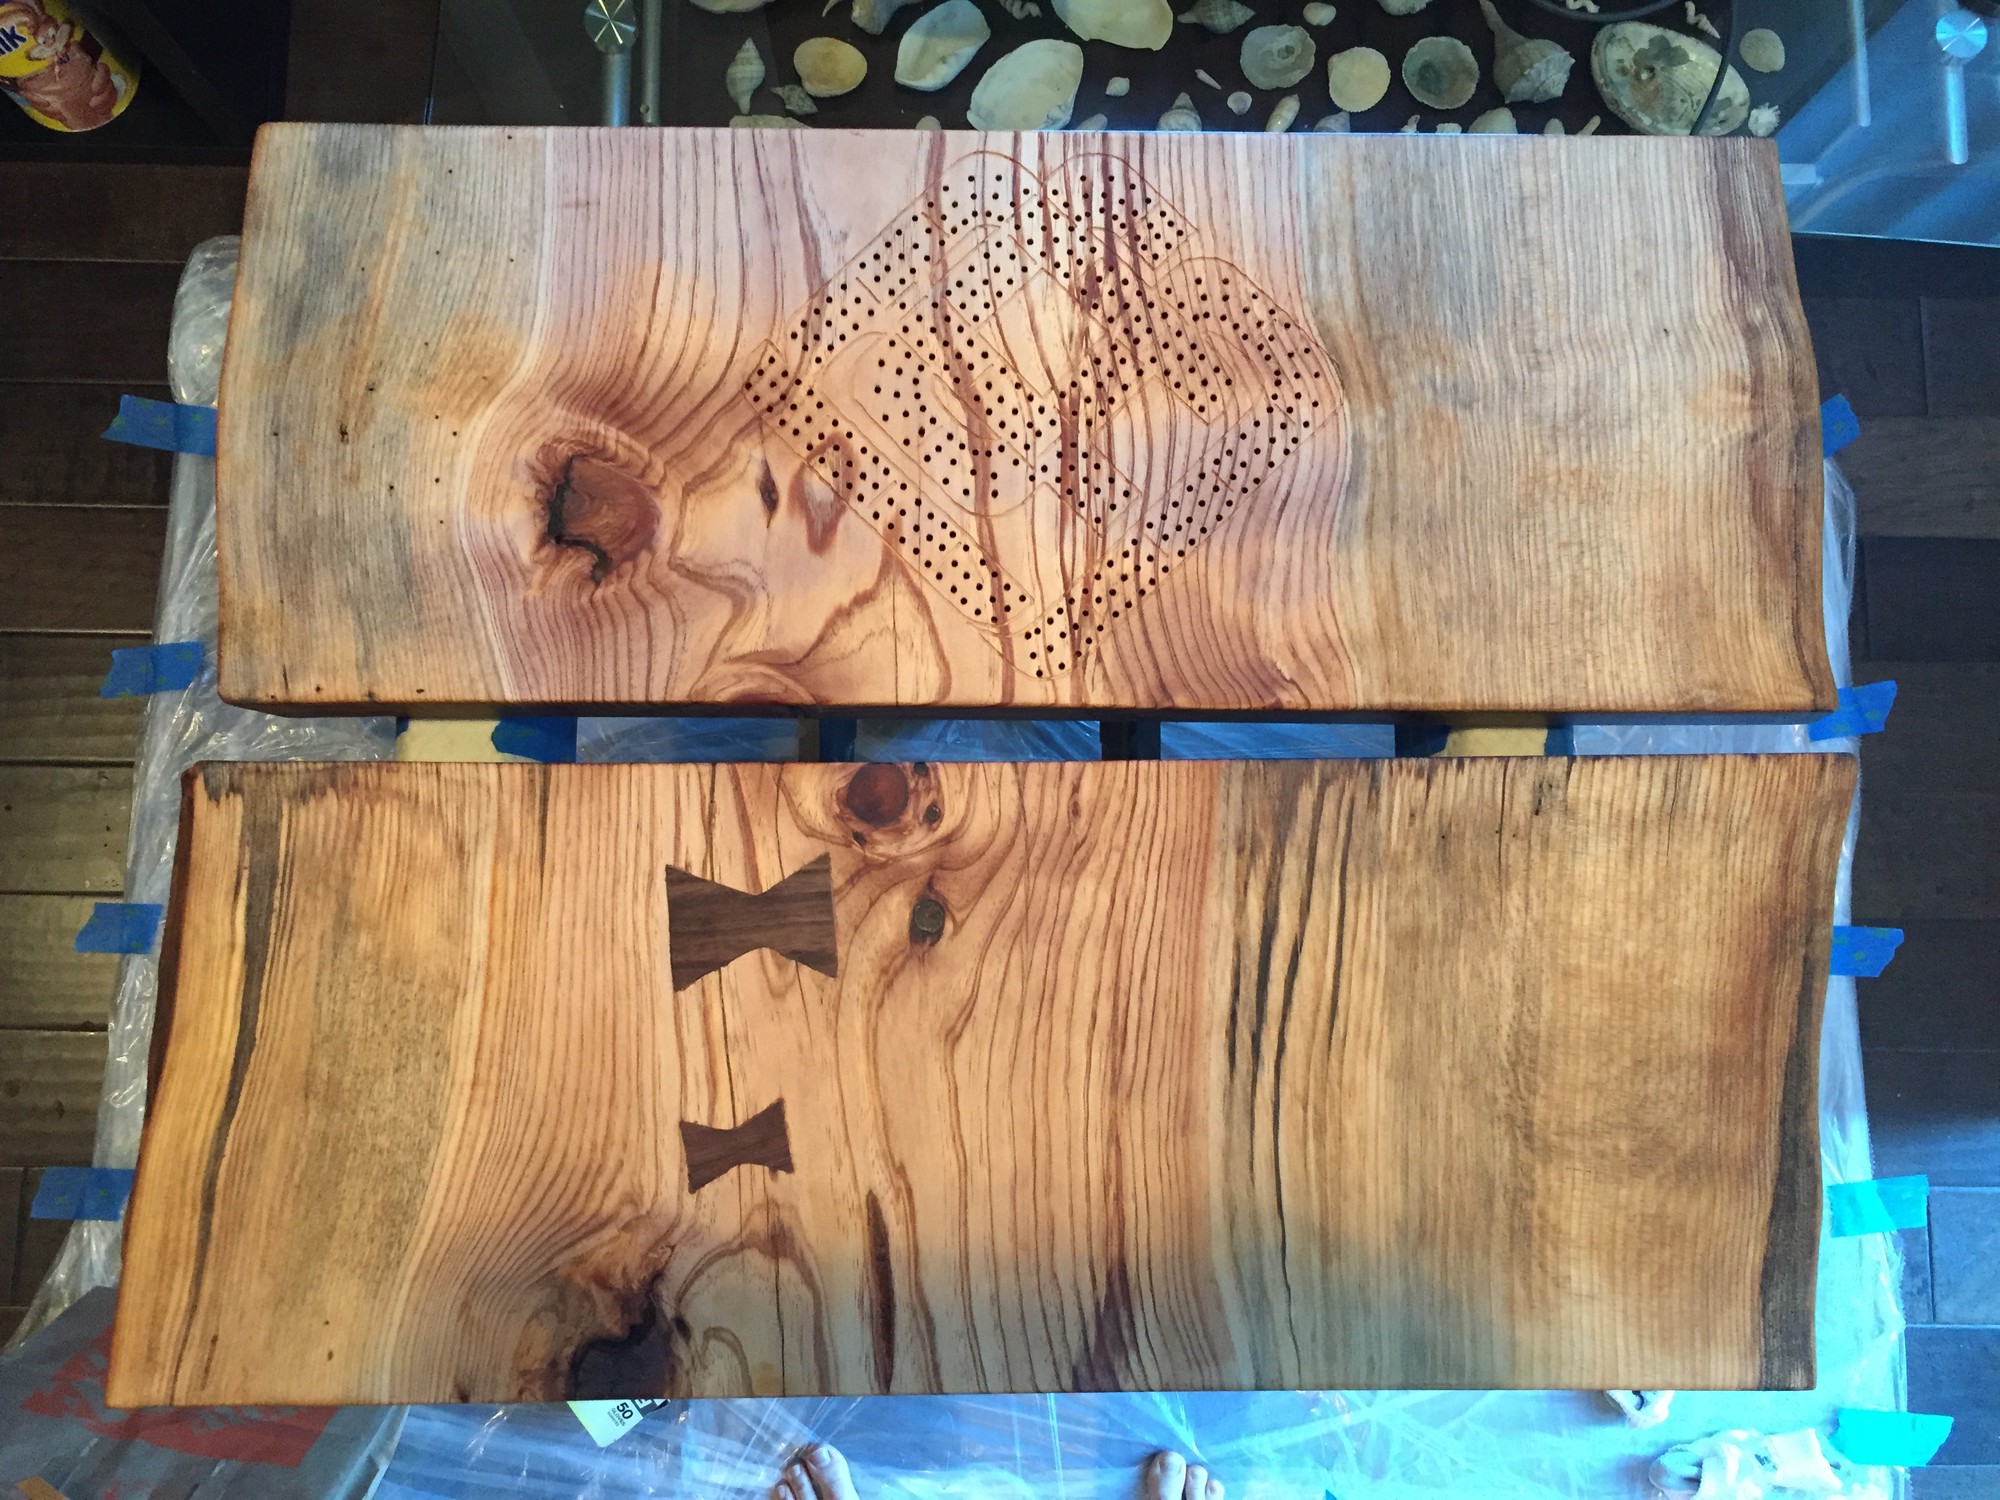
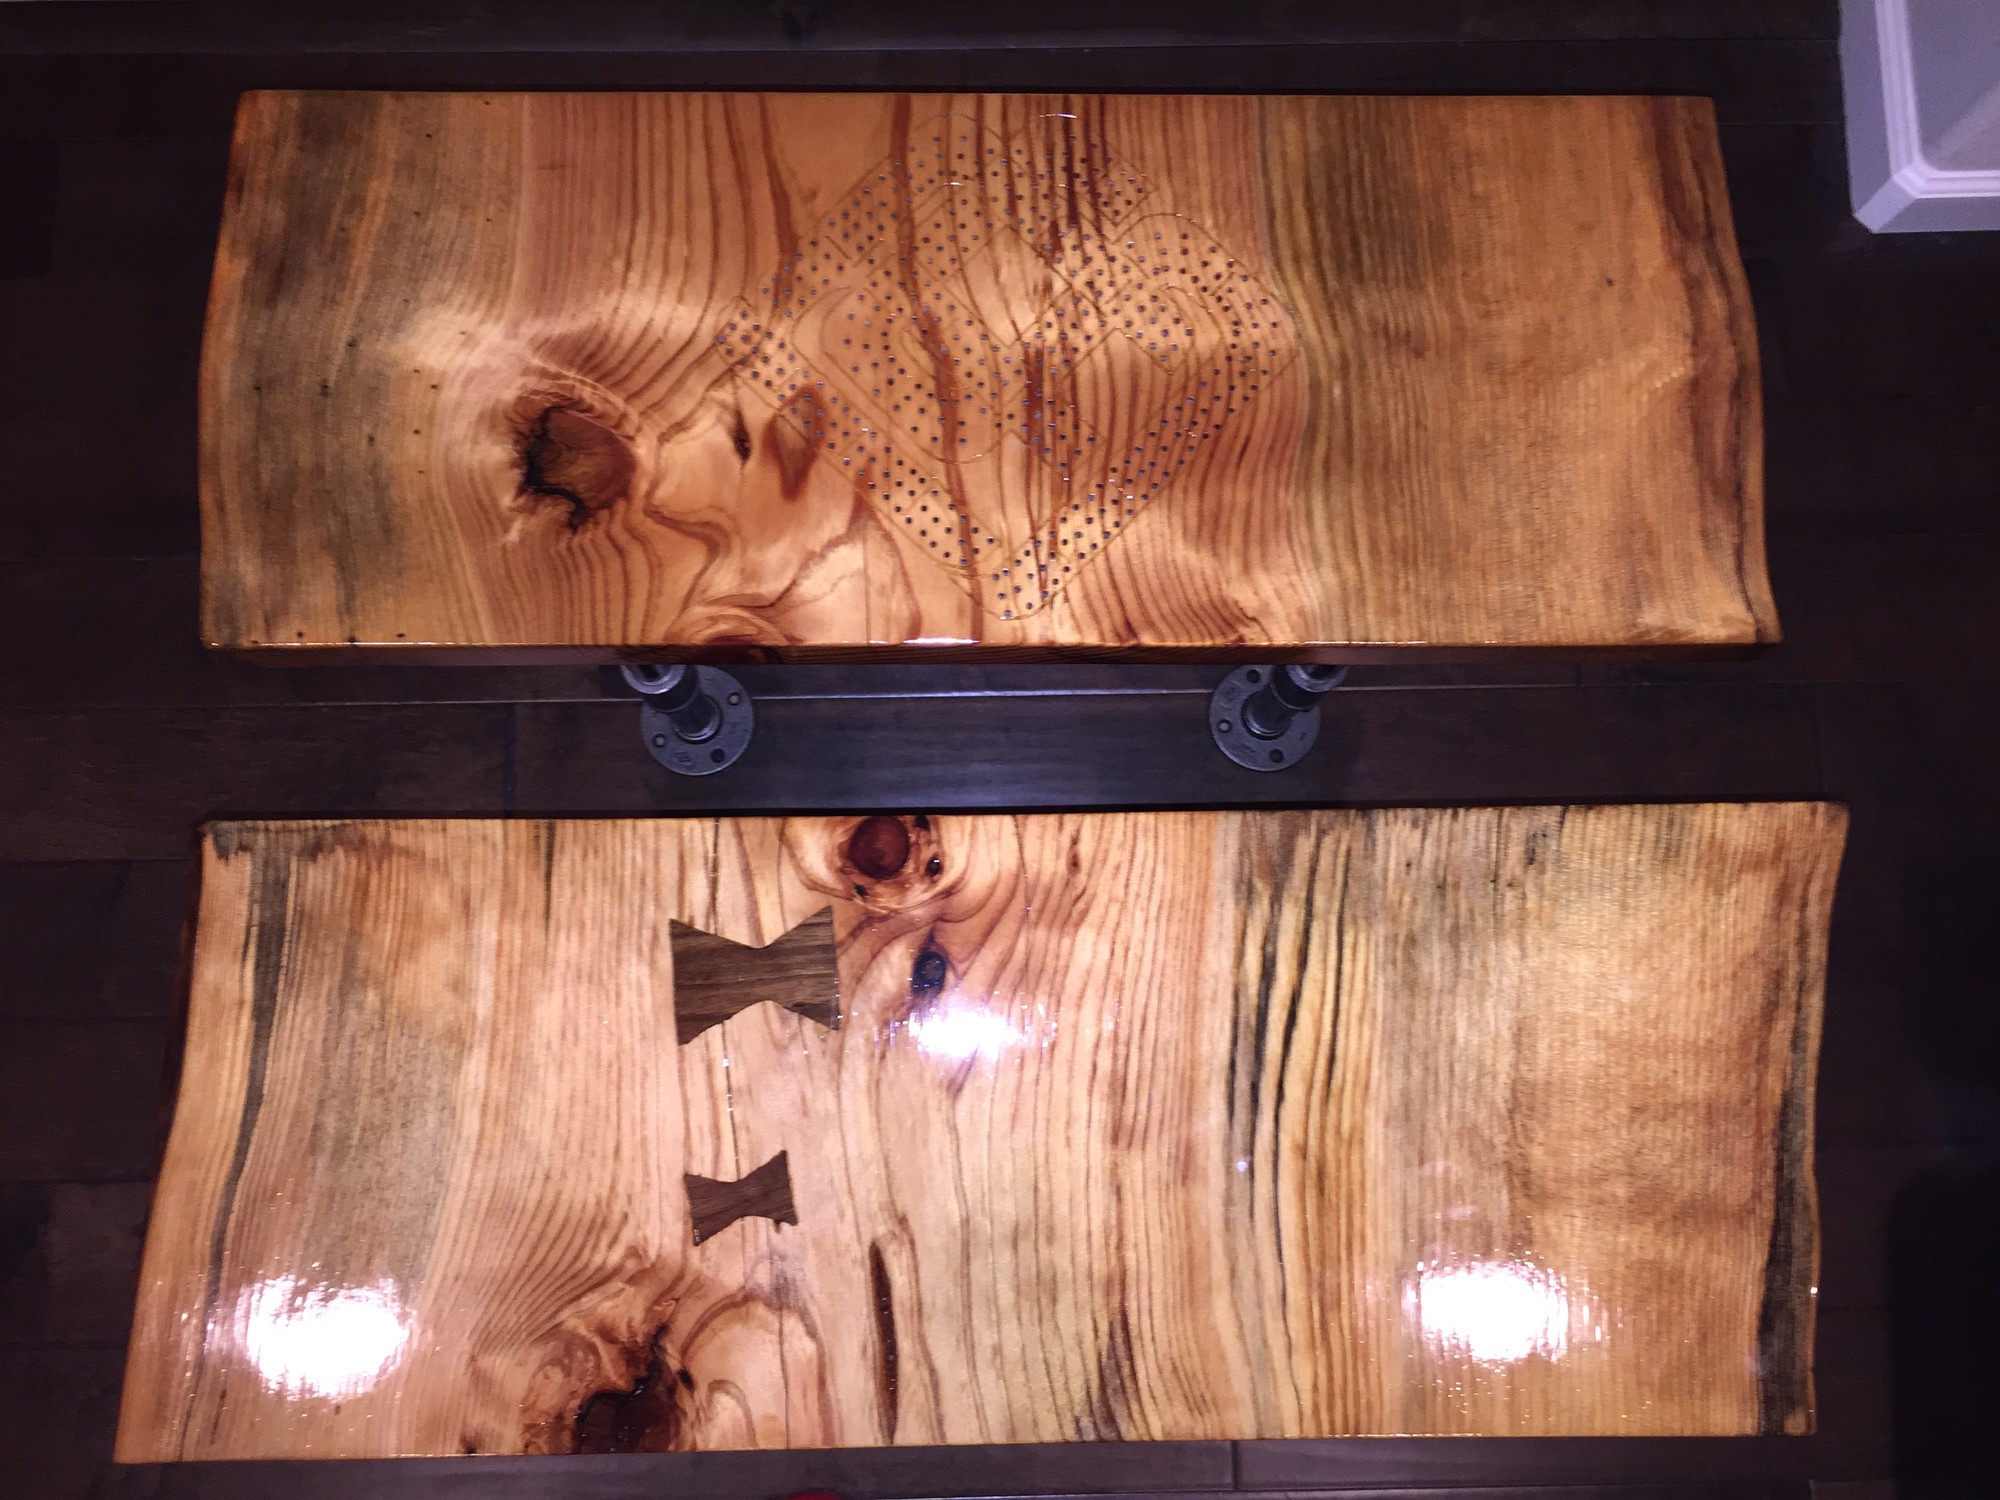
Since these were smaller projects in terms of sanding, resin and finishing time, I decided to experiment a little with woodworking techniques that I had never tried before. For one slab, I chose to try bow ties and the other to convert into a game board!
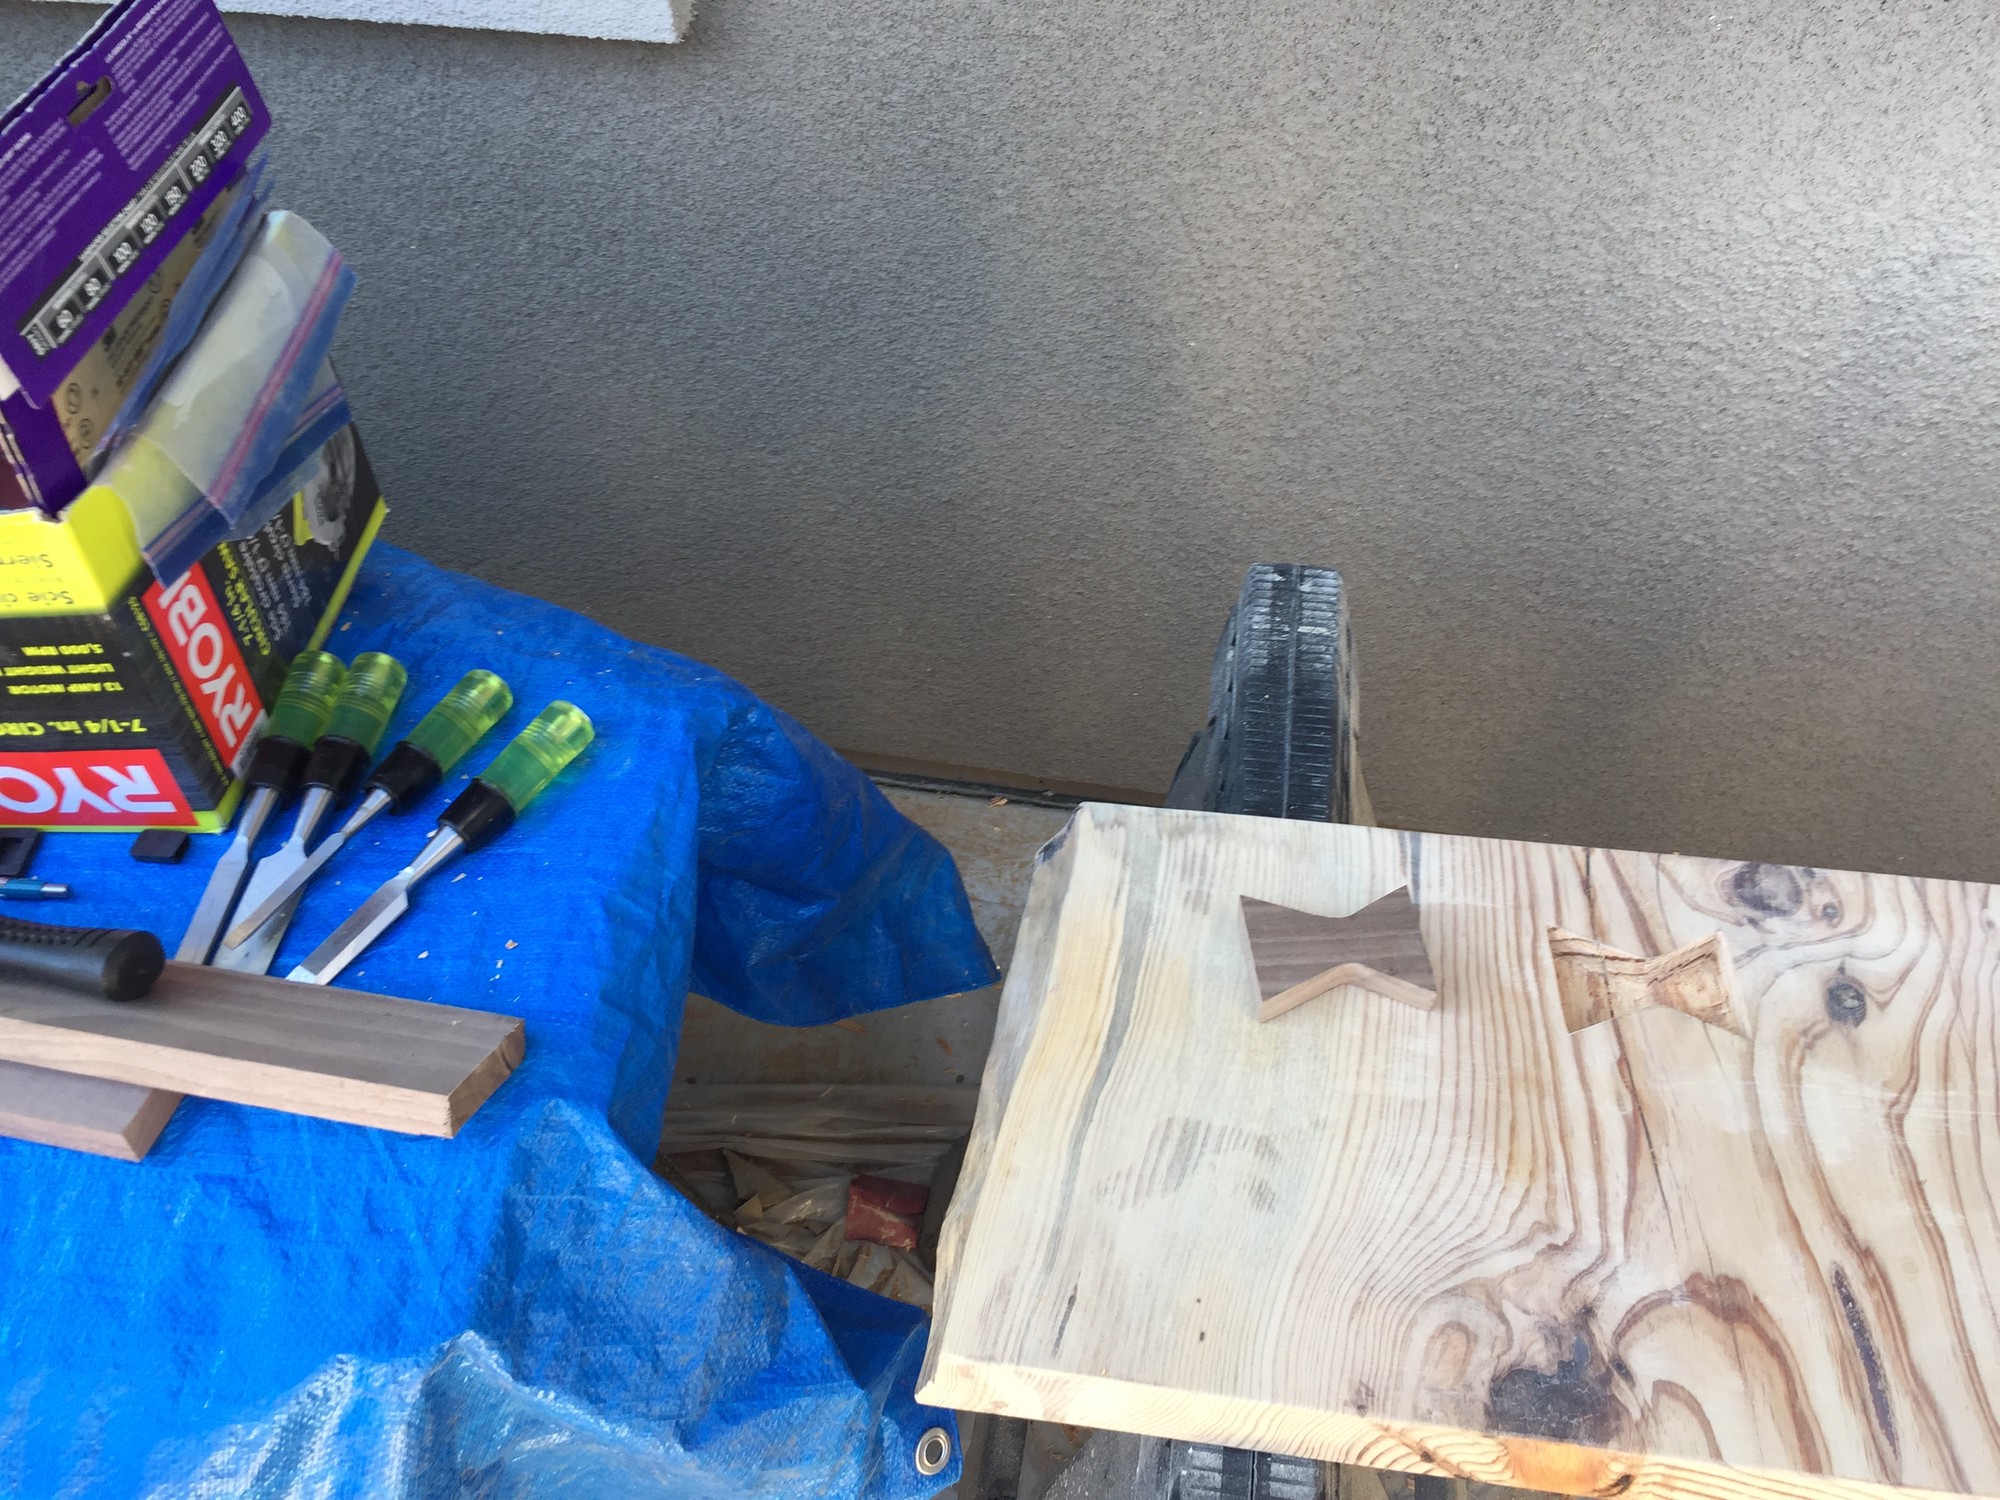
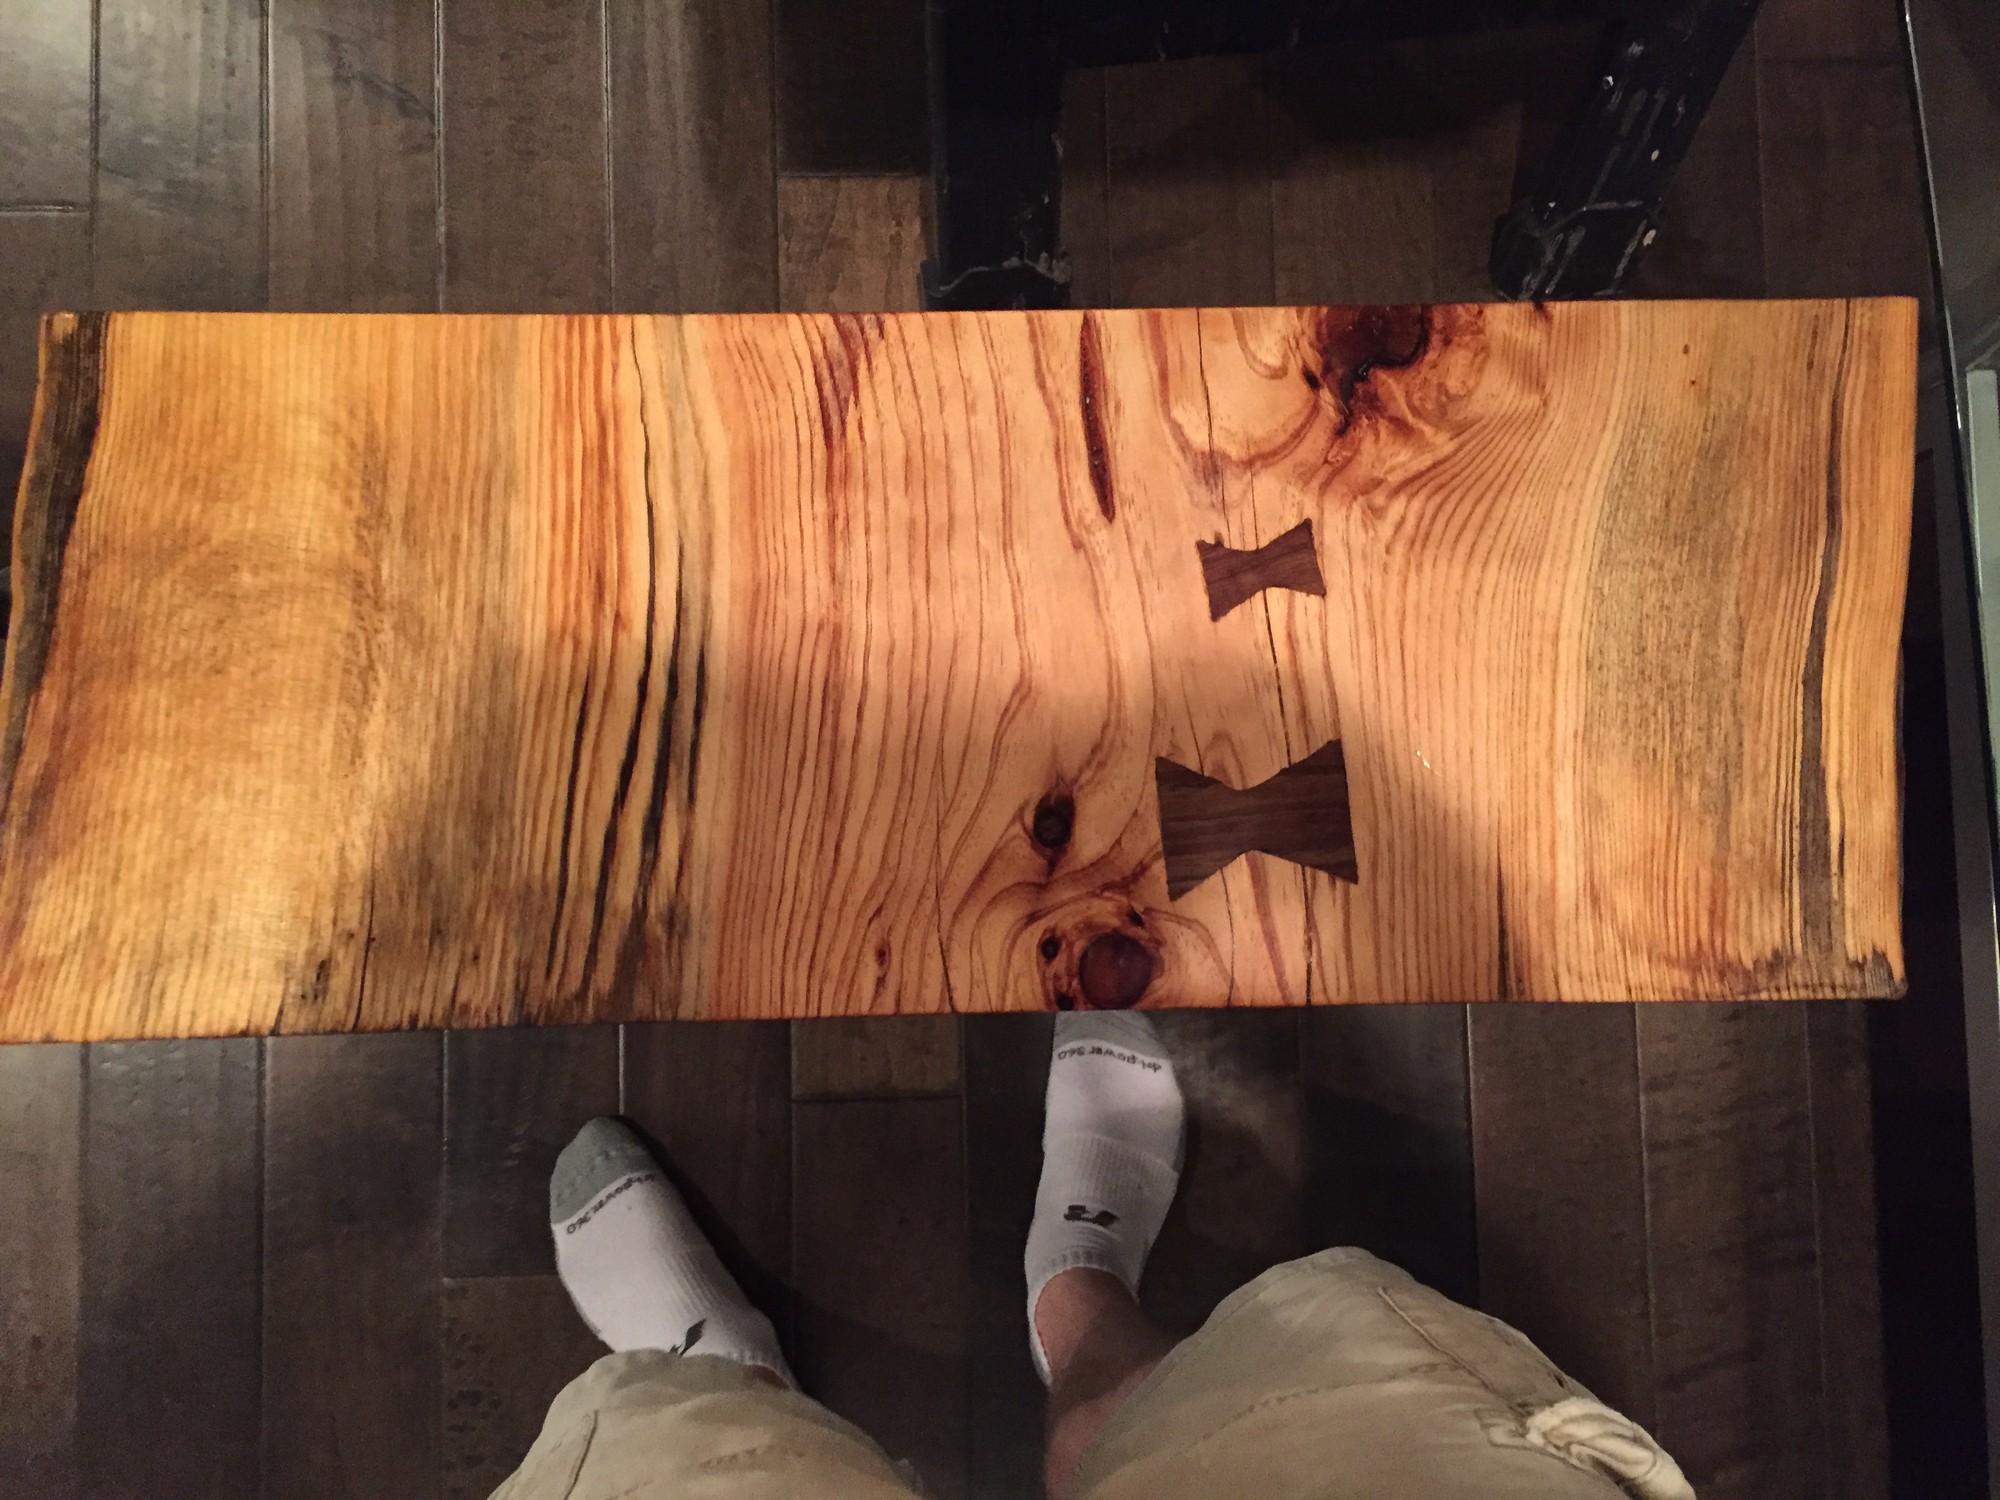
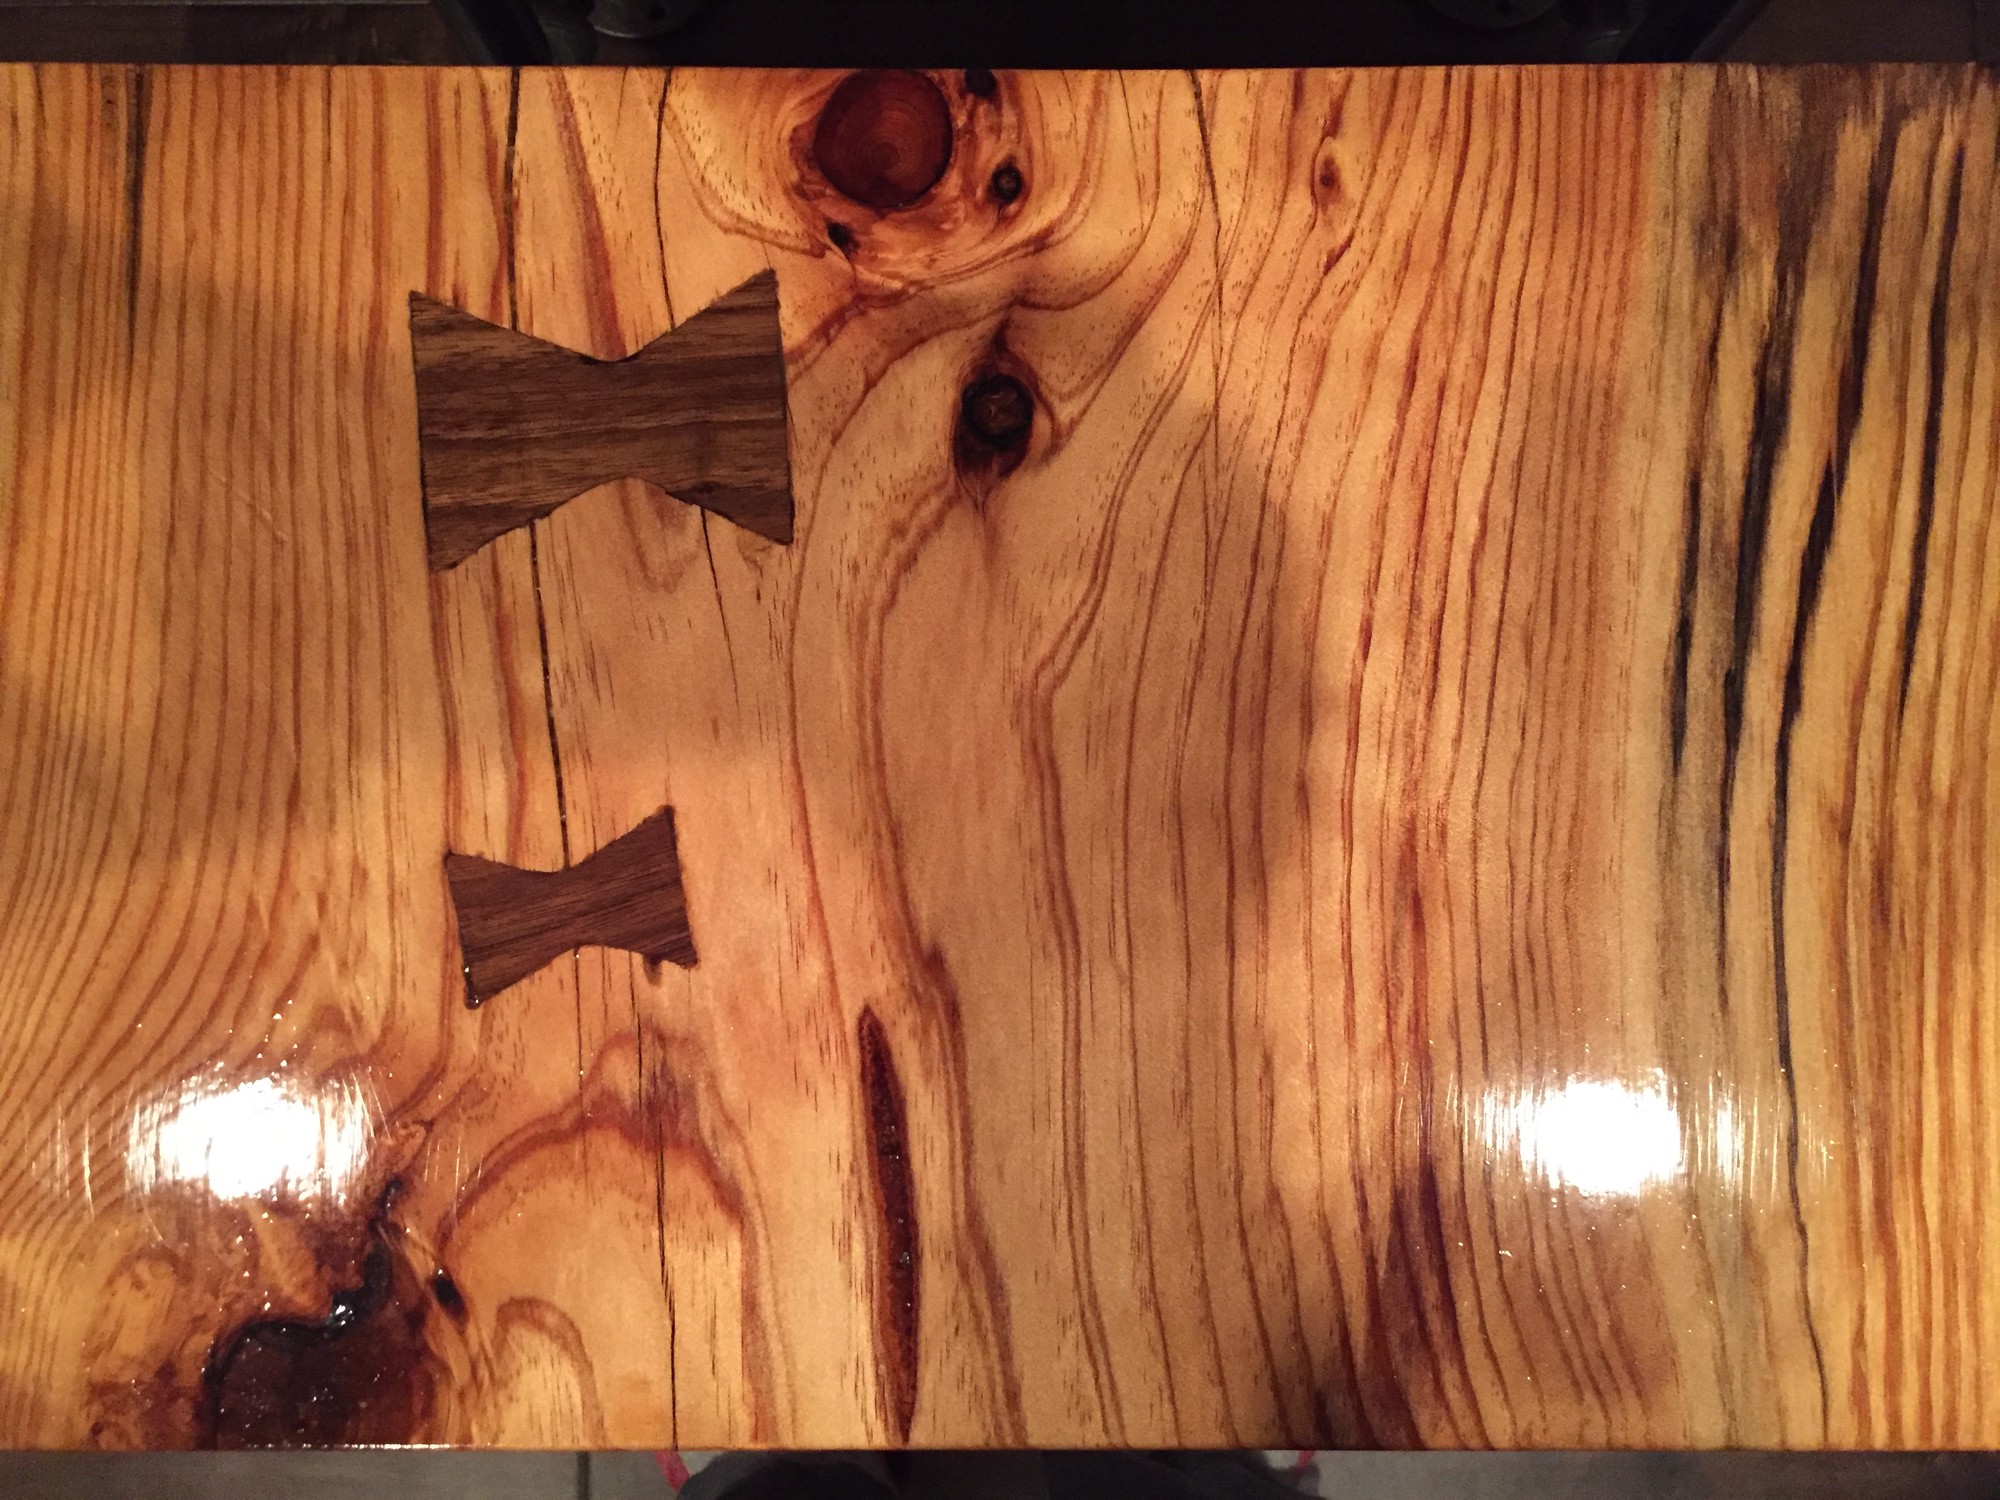
For the bow tie slab, I cut two bow ties using a circular saw from 0.75" x 2.5" and 0.75" x 5.5" walnut planks purchased from Home Depot2.
I then hand chiseled out matching bow tie holes along structurally weak cracks in the slab.
Before trying to place the bow ties, I tapered their vertical sides such that they were thinner at the bottom and thicker at the top (i.e. visible side if looking at the table top).
After placing wood glue in each hole and on the inner faces of each bow tie, I carefully tapped each bow tie in place using a hammer and another piece of wood as an intermediary to prevent denting the bow ties. I observed some chipping in places on the bow ties as I likely cut them slightly too large for their holes. However, once tapped in about 3/4 of the way, I then applied epoxy resin in areas where fragmenting had occurred as well as any remaining voids in general.
Then I proceeded to sand level the exposed portion of the bow ties as well as make sure to sand off any excess glue.
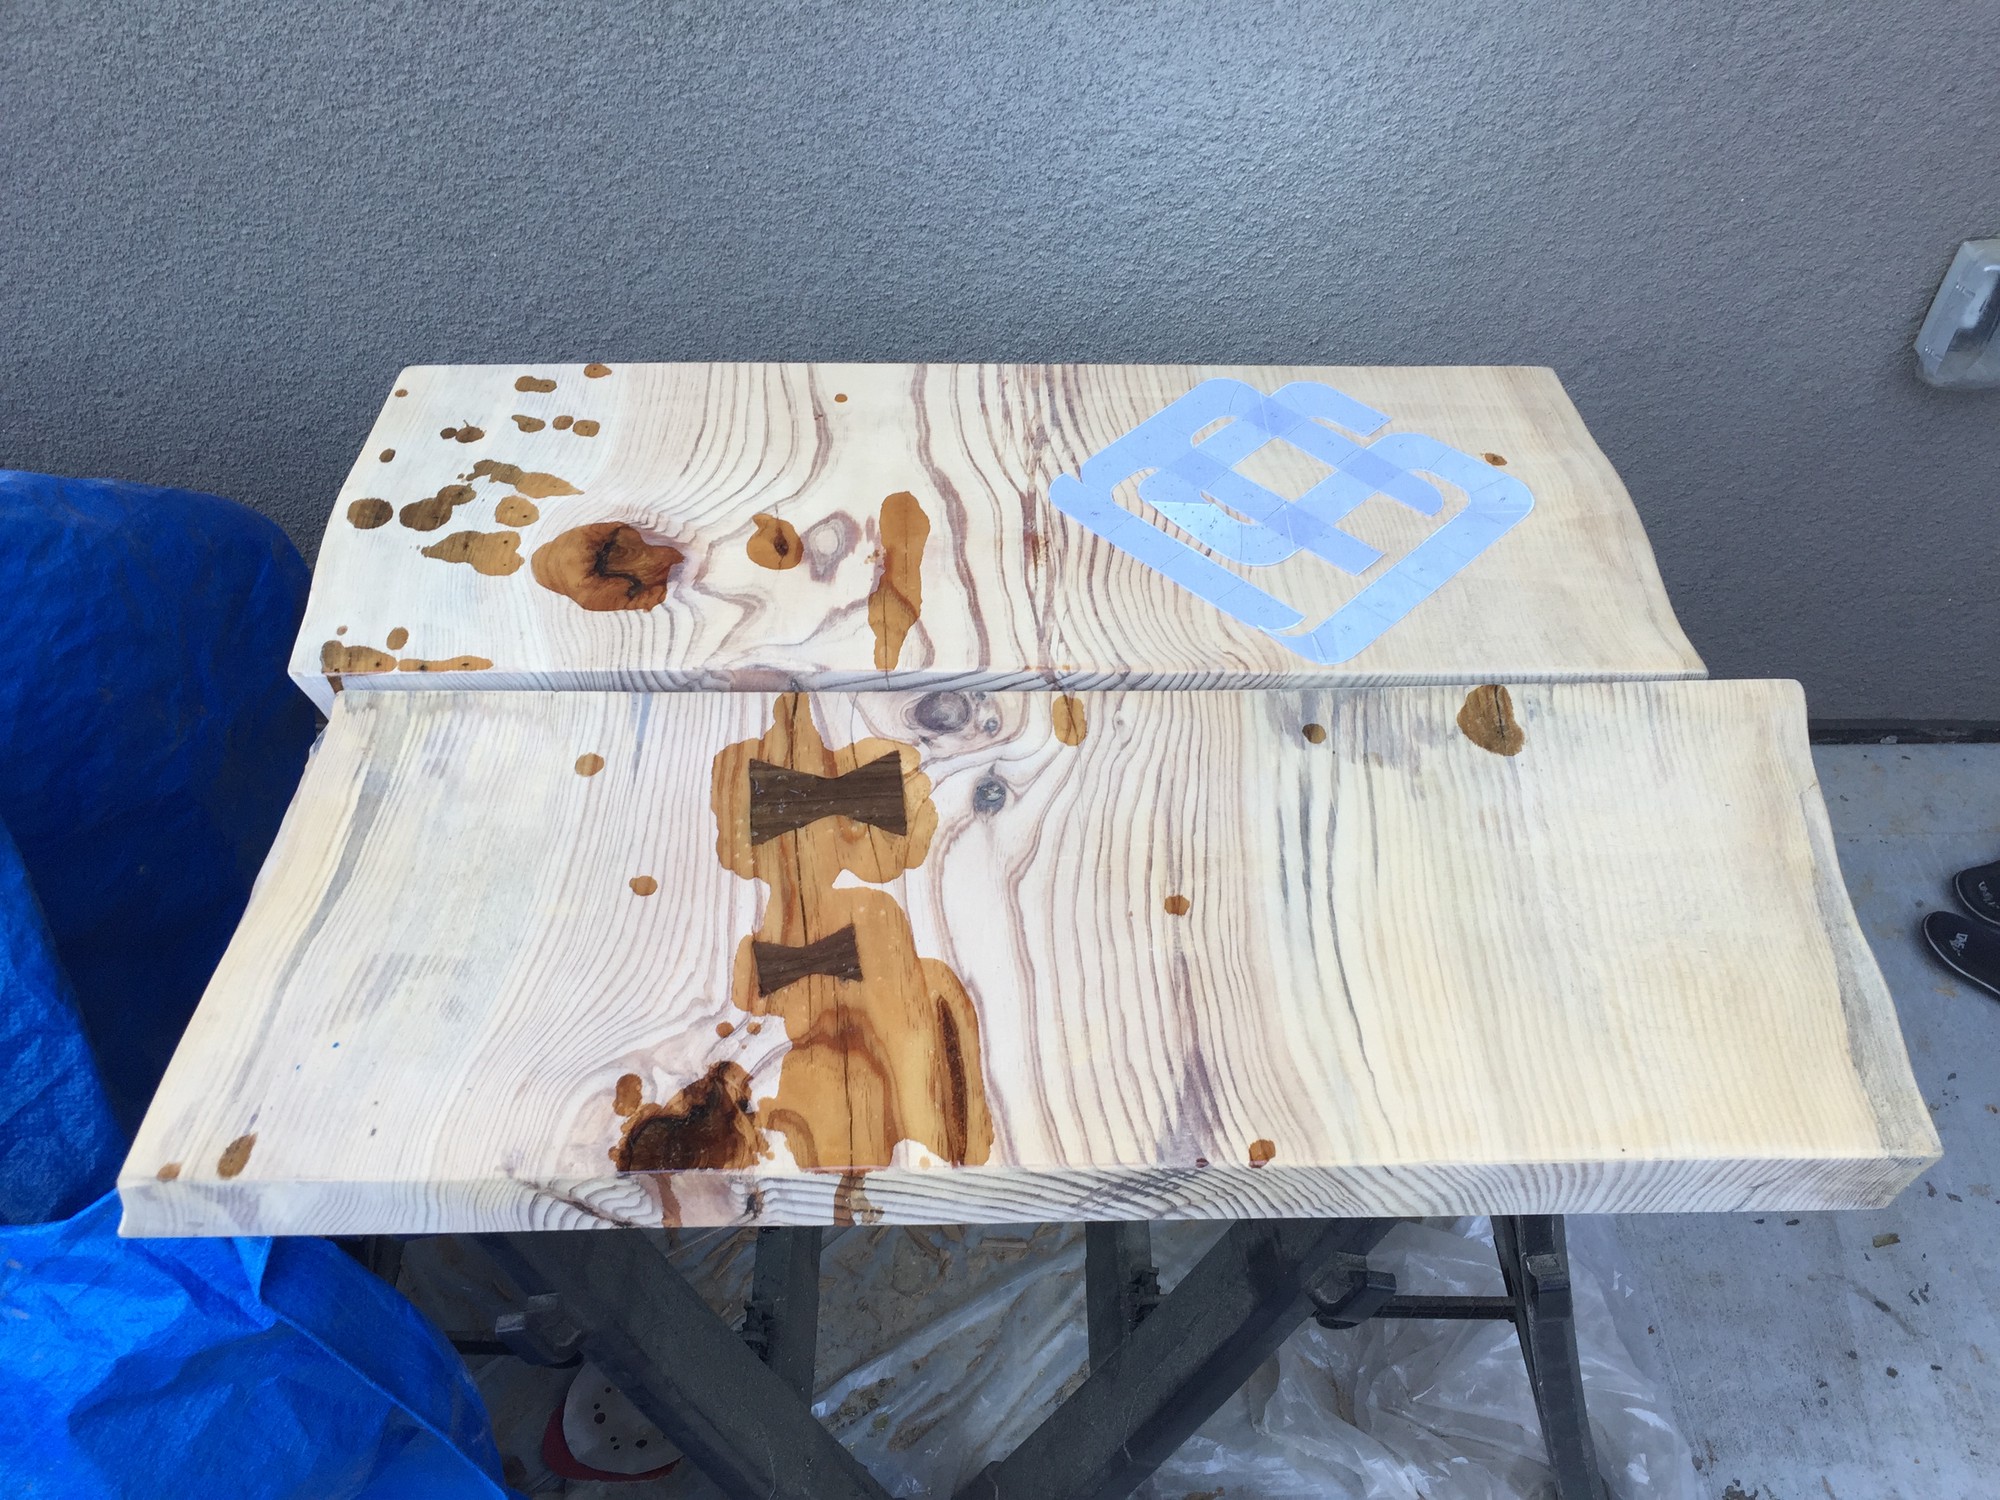
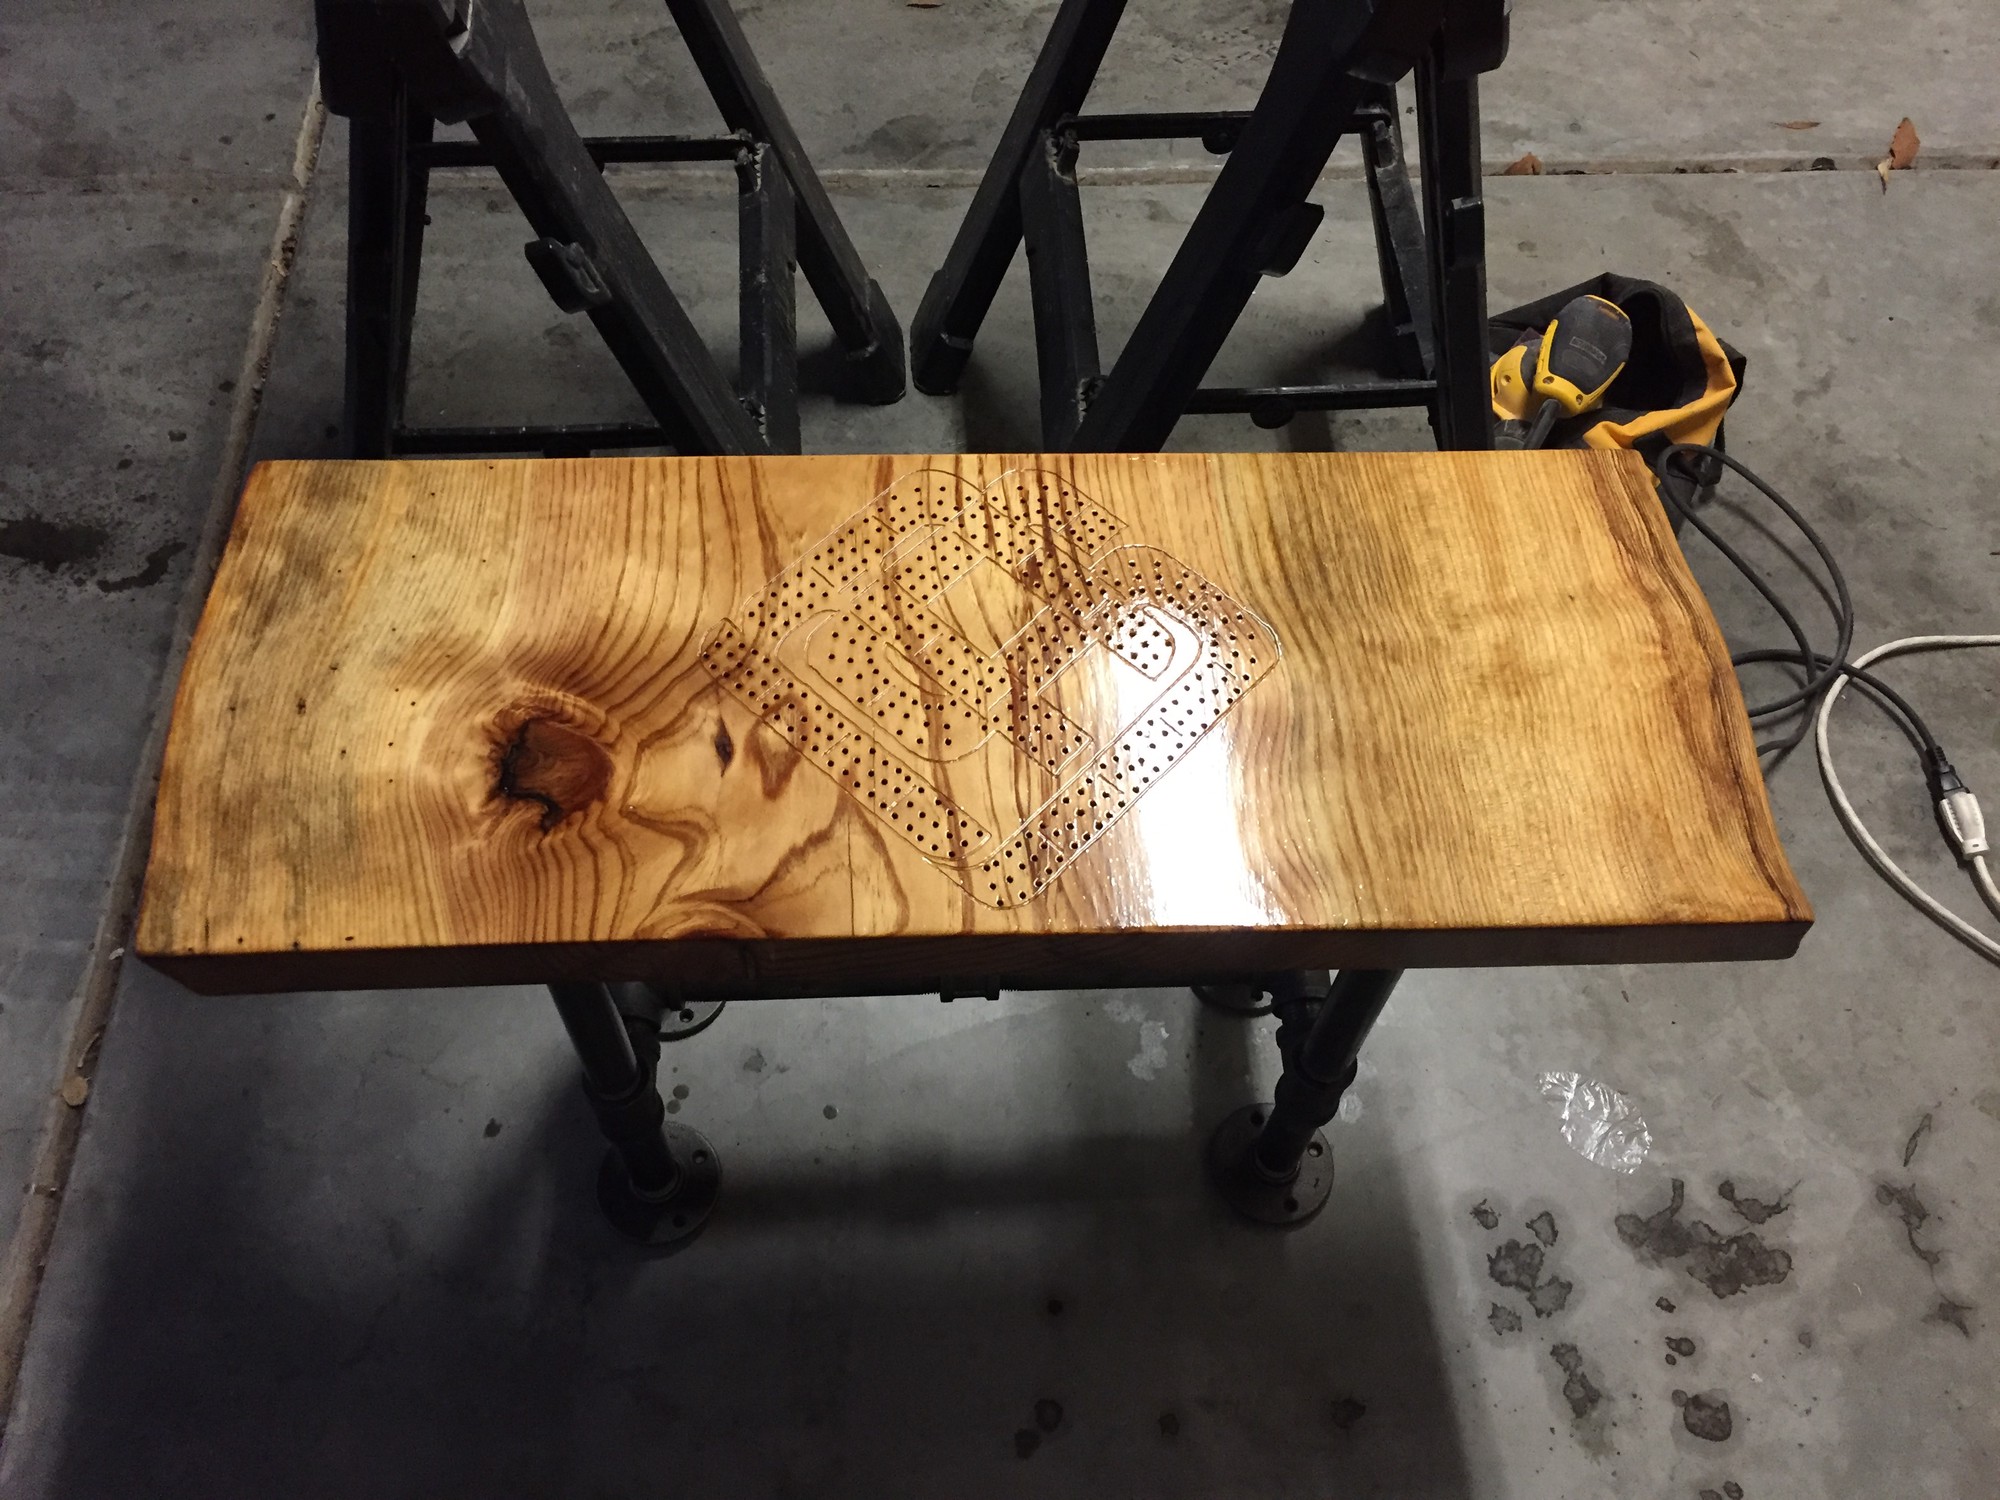
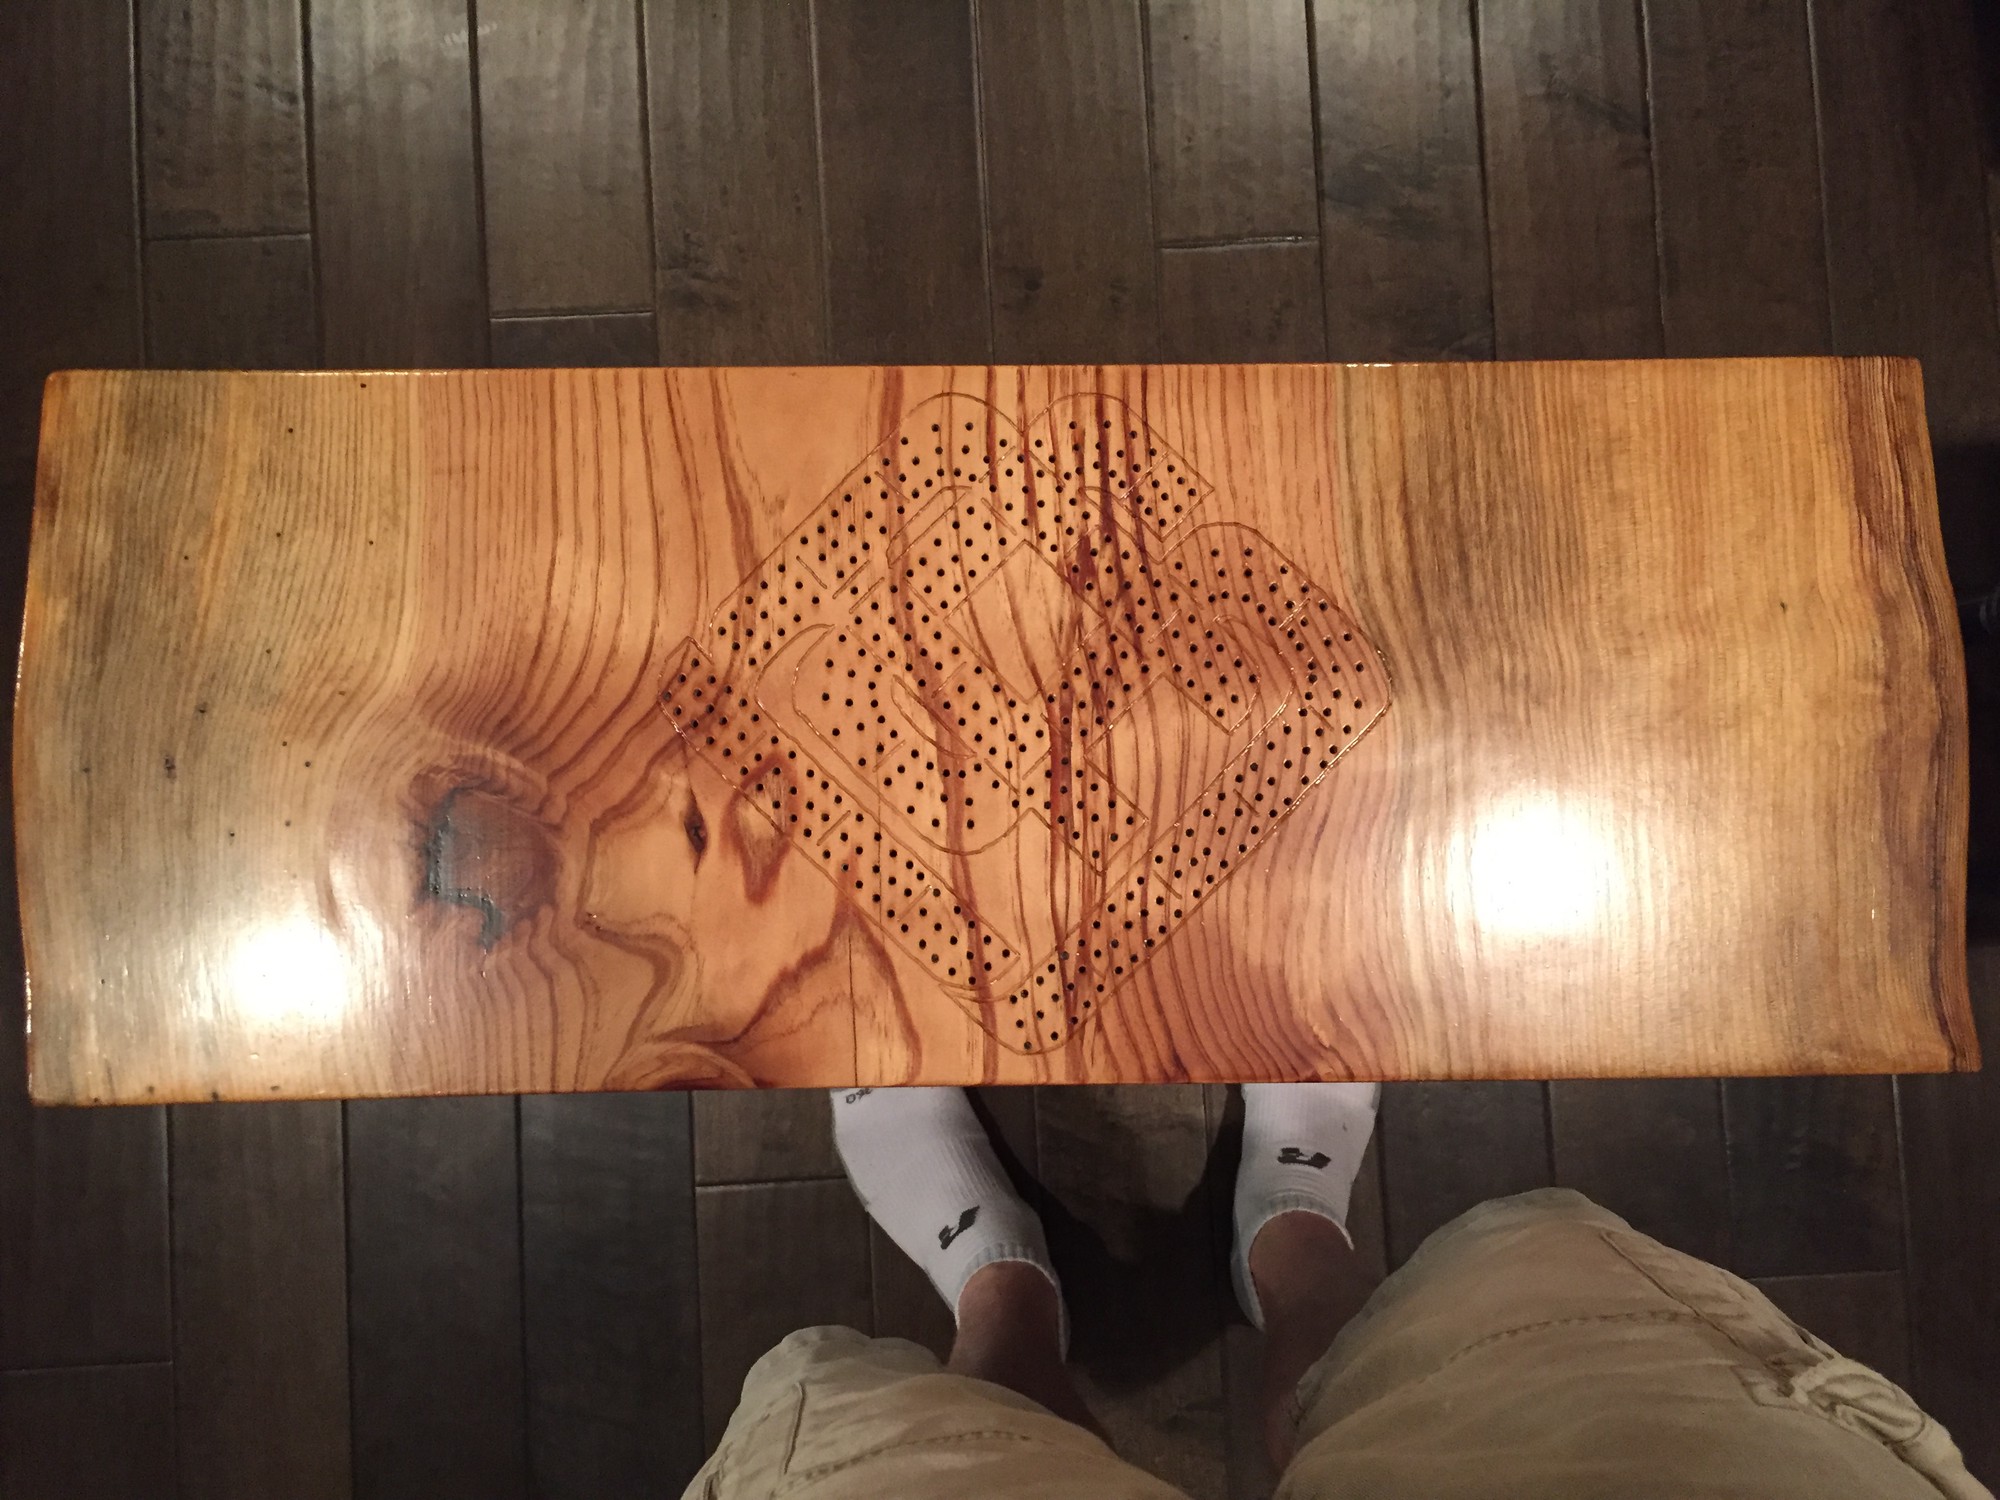
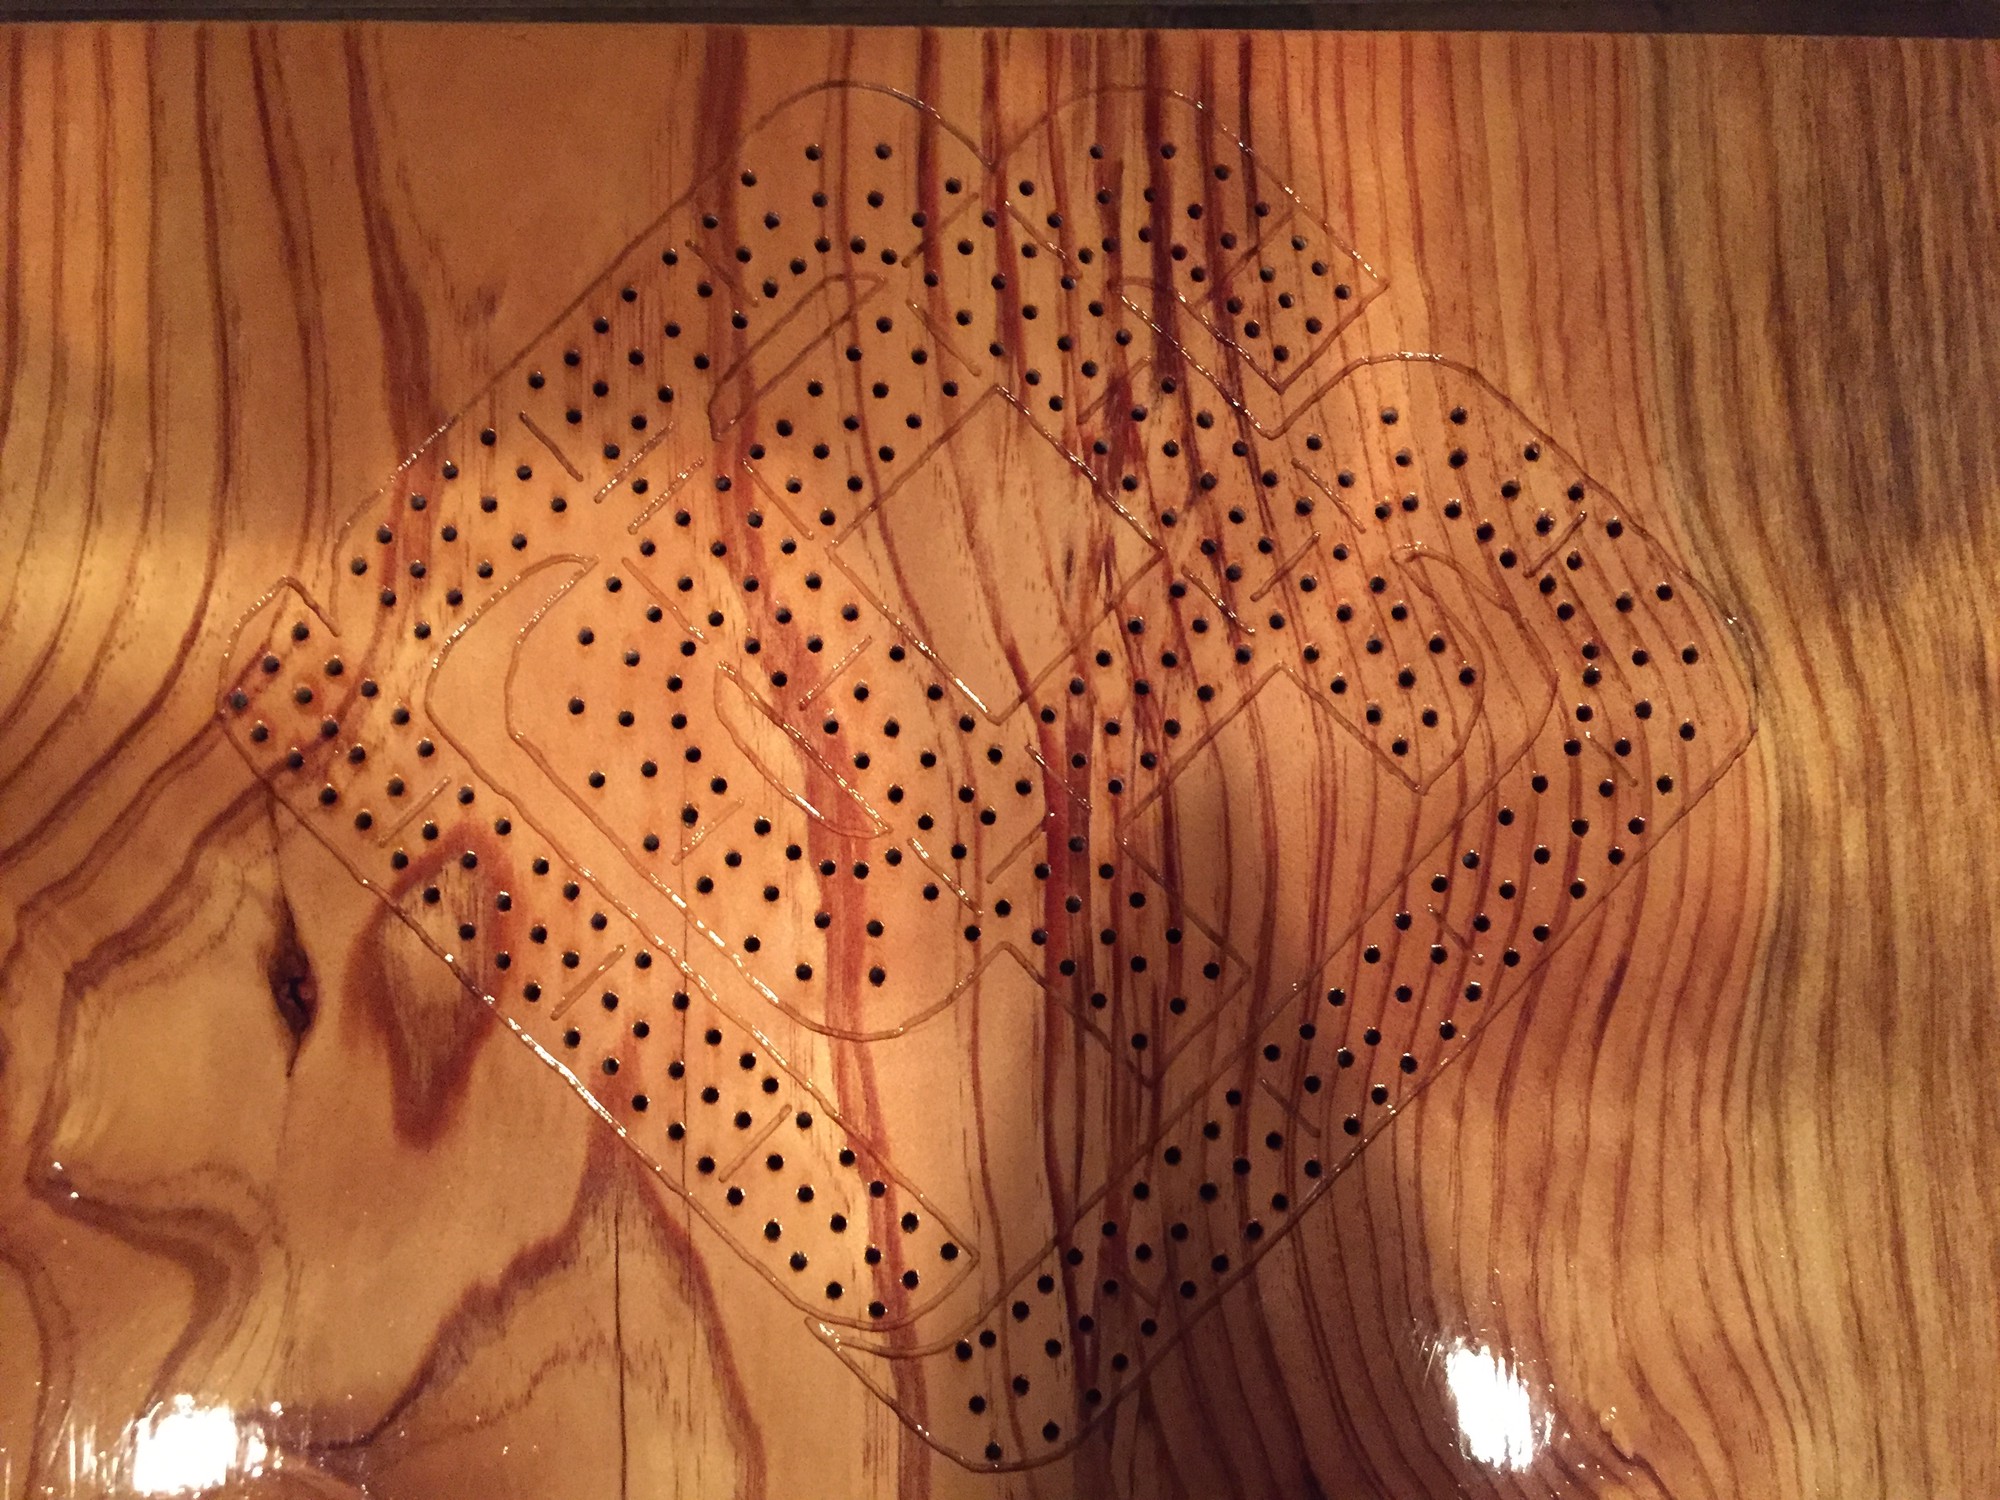
For game board slab I chose to give a shout out to my startup and my family’s love of cribbage by using the outline of my company’s logo as the layout for a cribbage board!

To do this, I needed to make a negative mask for the outline of the logo along with proper spacing and number of cribbage holes.
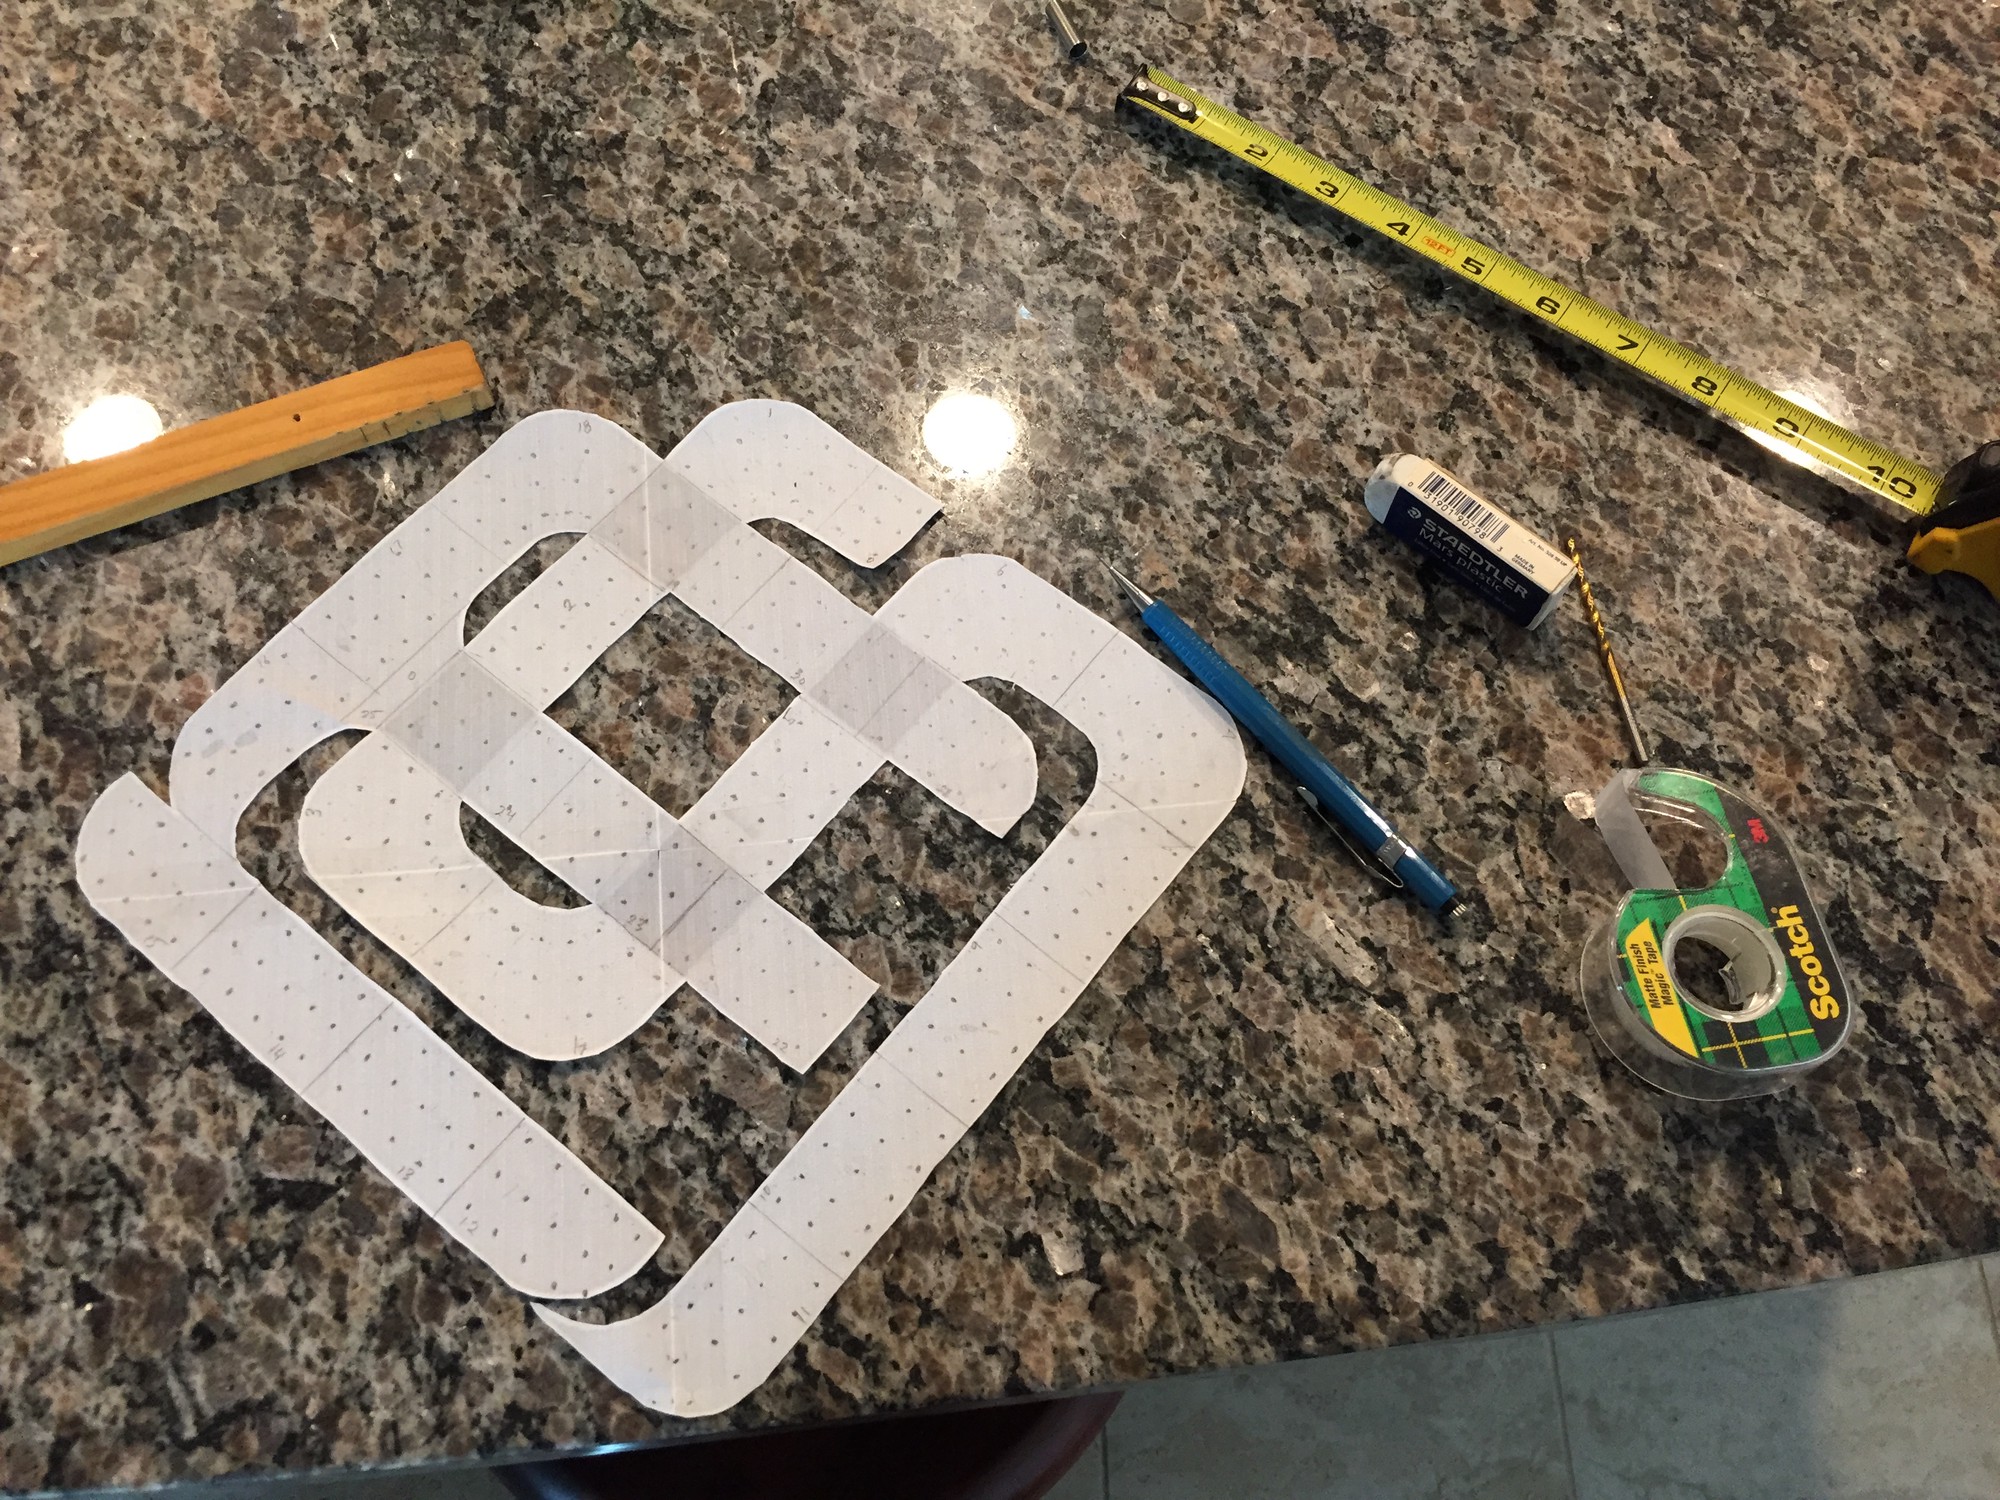
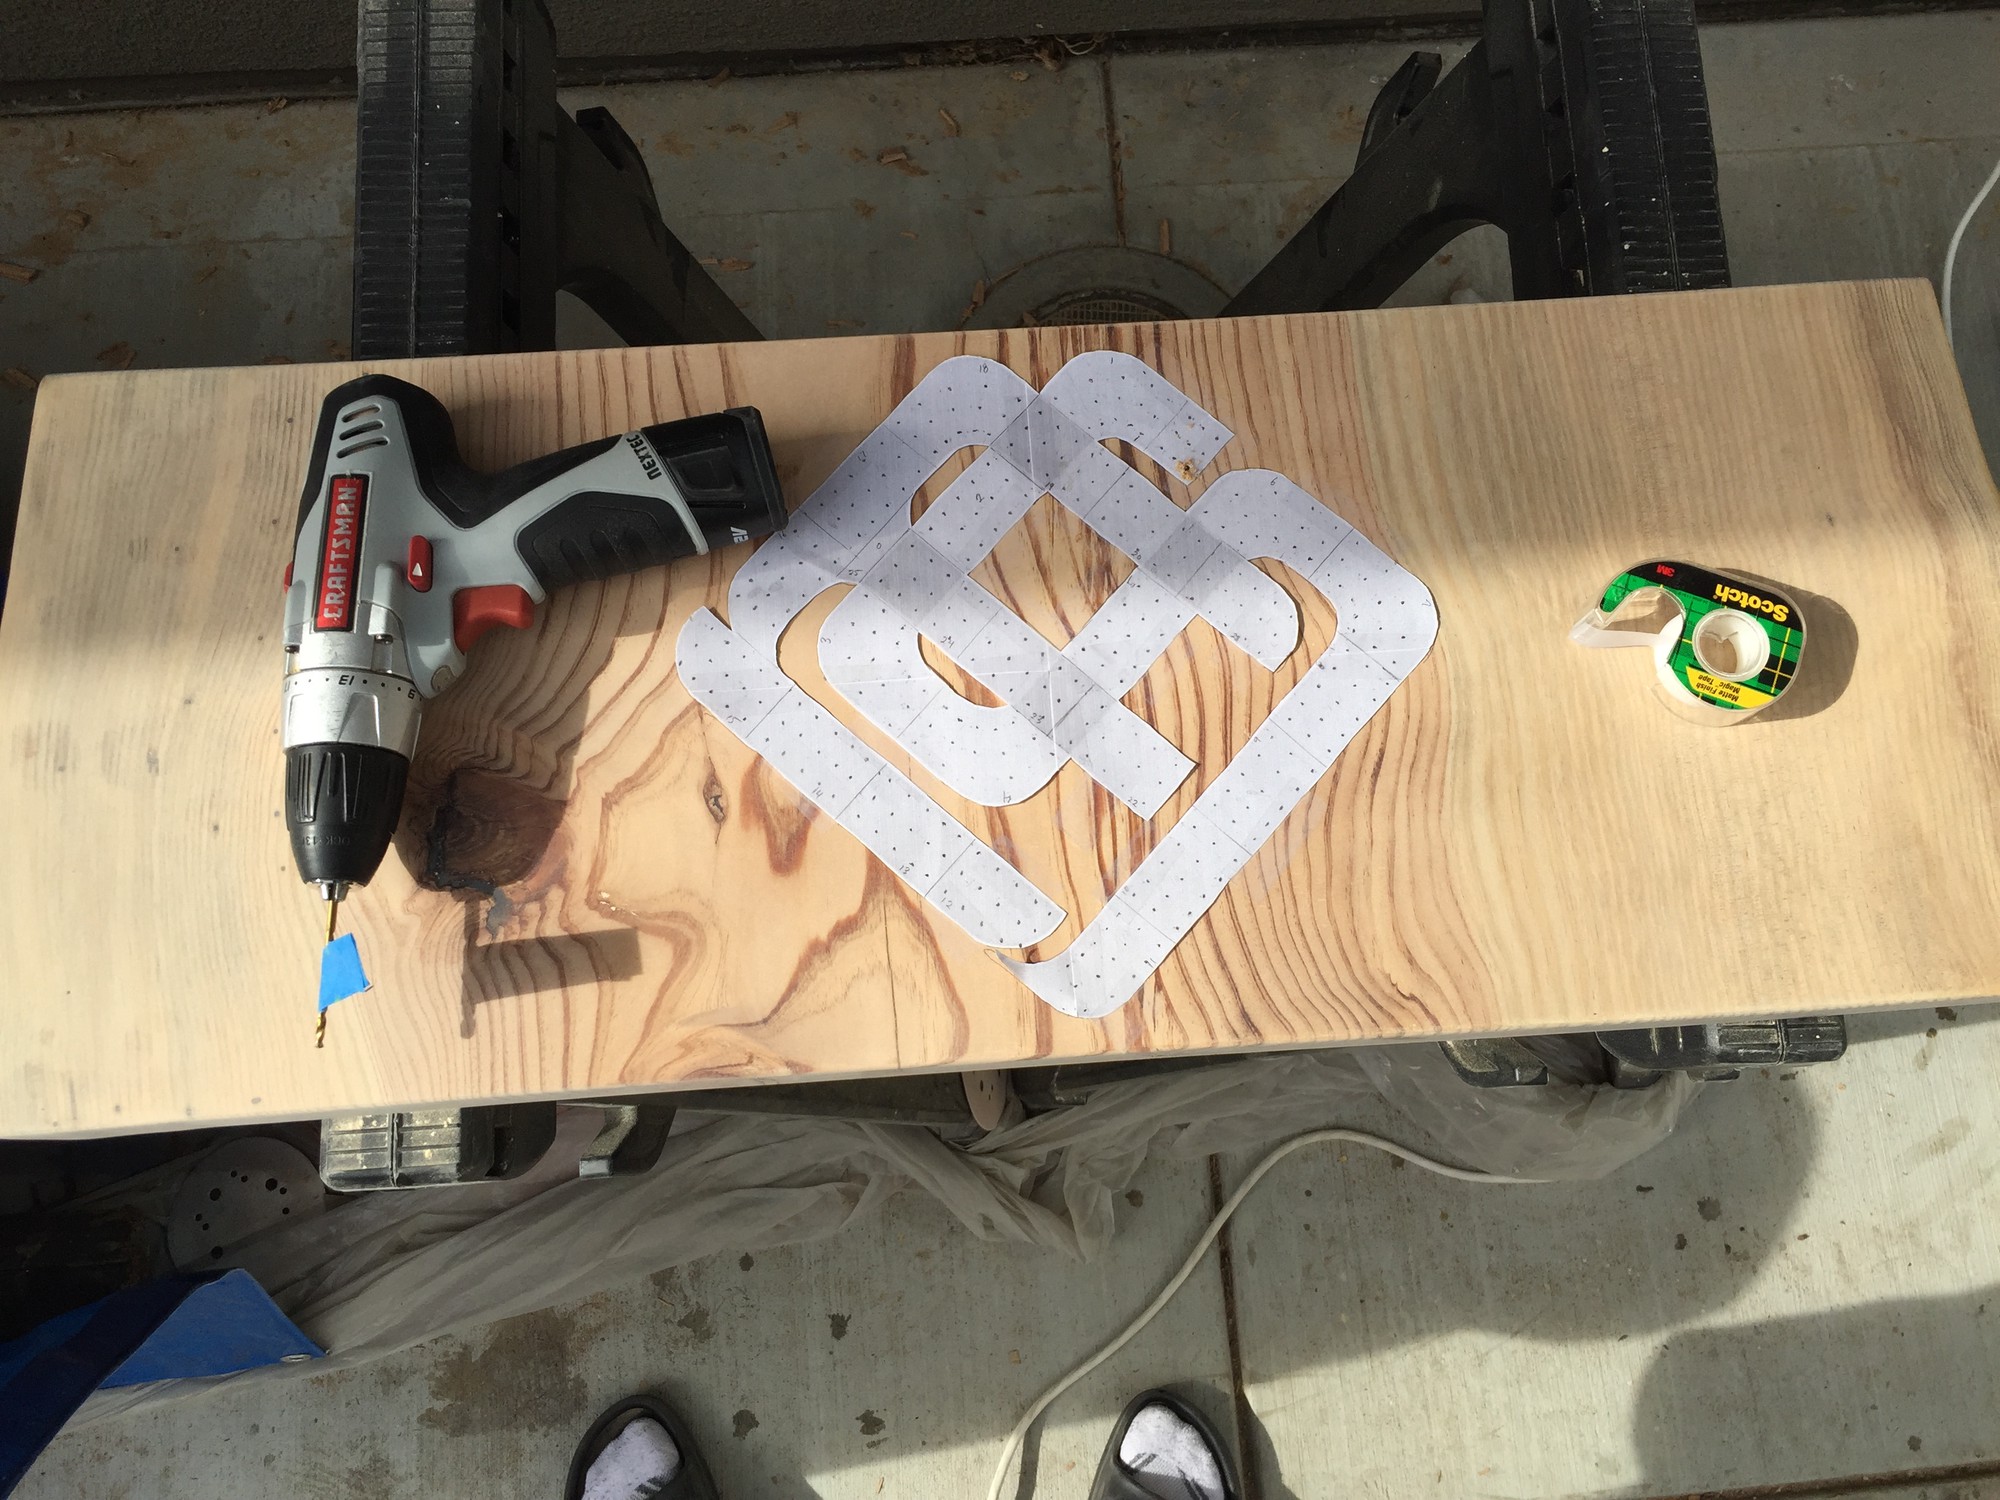
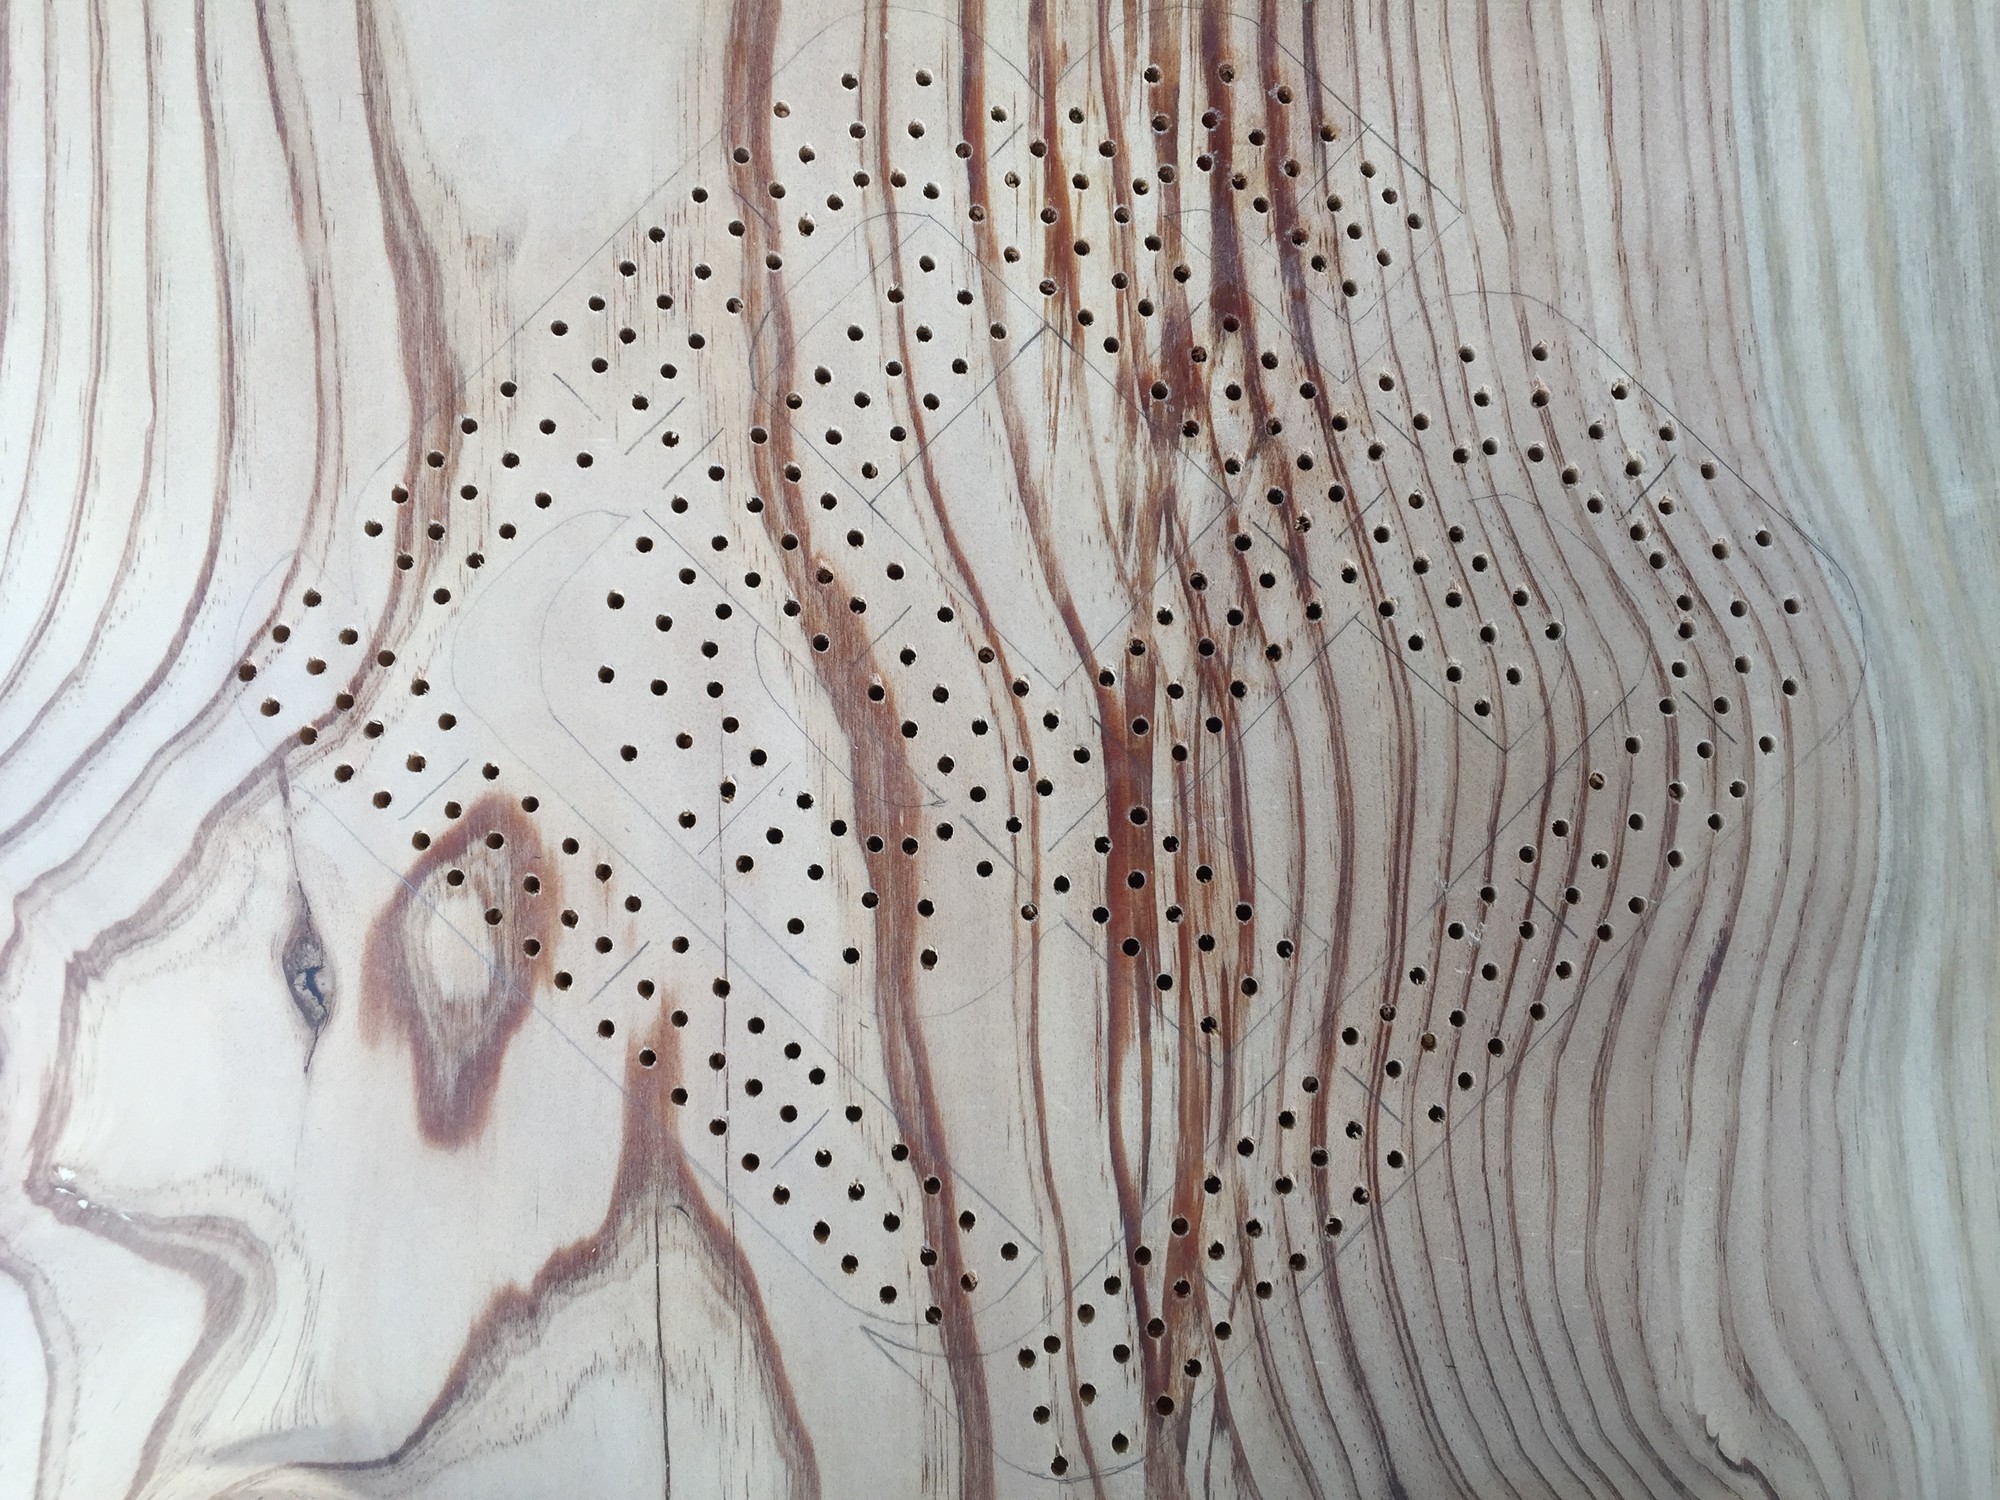
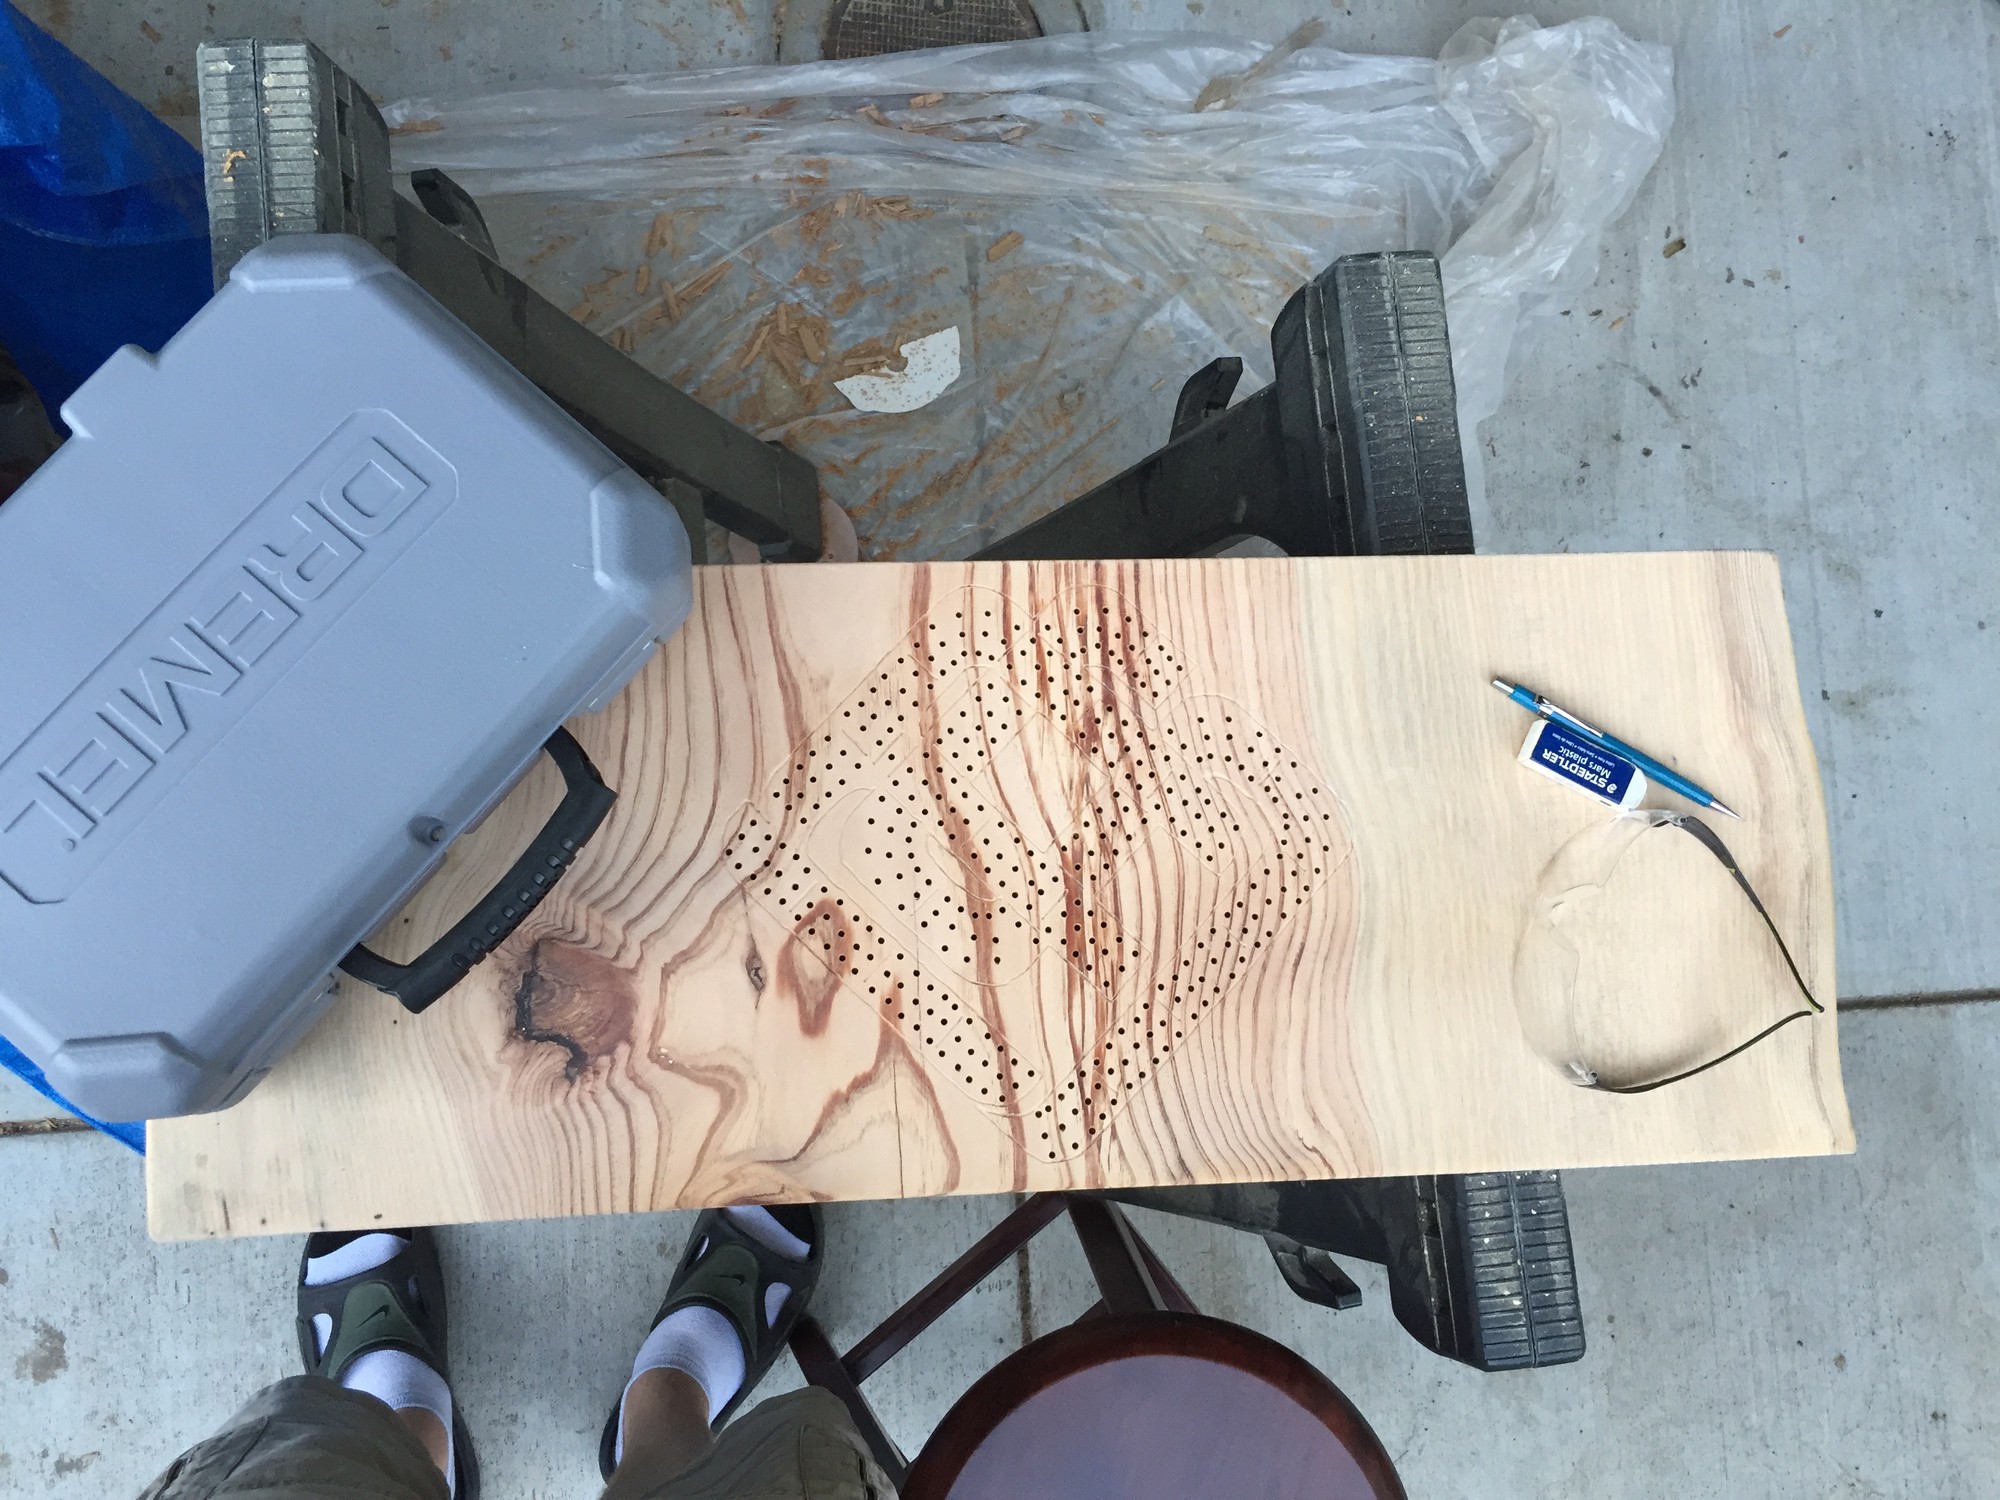
I then decided on a visually appealing location for negative mask and proceeded to drill out the cribbage holes using a hand drill with a taped bit to provide consistent hole depth.

Best to use a hand press or similar device!
Next, I decided that simply having drilled holes would not visually convince someone of the intended shape of the board. So, I traced out the edge of the negative mask and then using a dremel and wood cutting bit set to shallow depth, proceeded to etch the outline of the negative mask.
Once both slabs had their respective artistic flare, it was time to stain them using Watco Natural Danish Oil3.
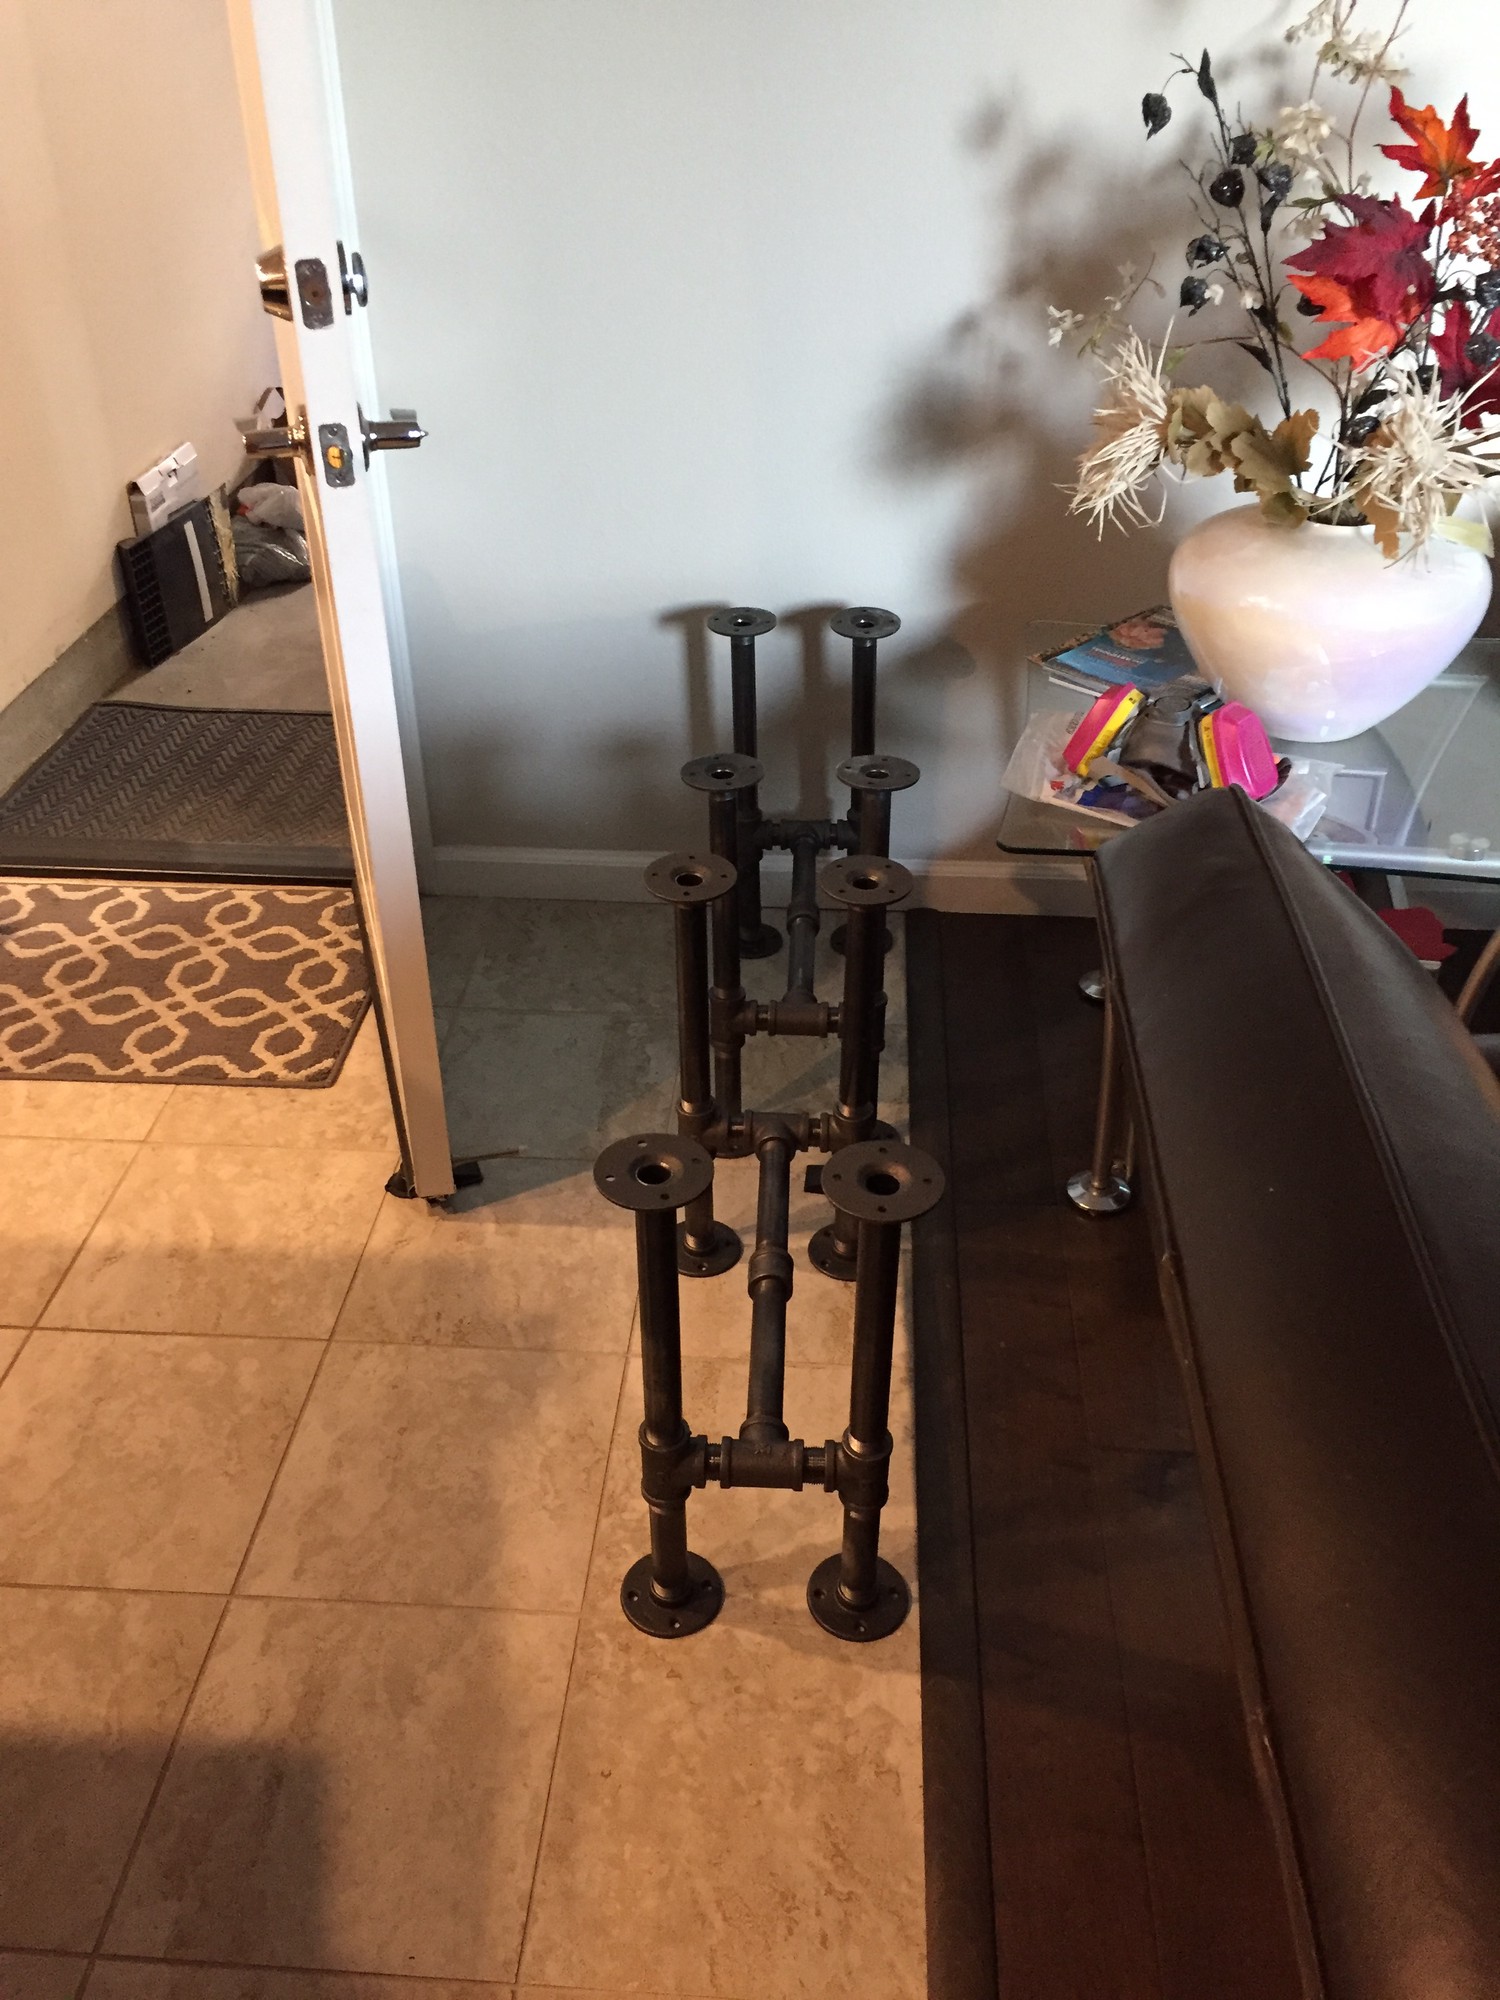
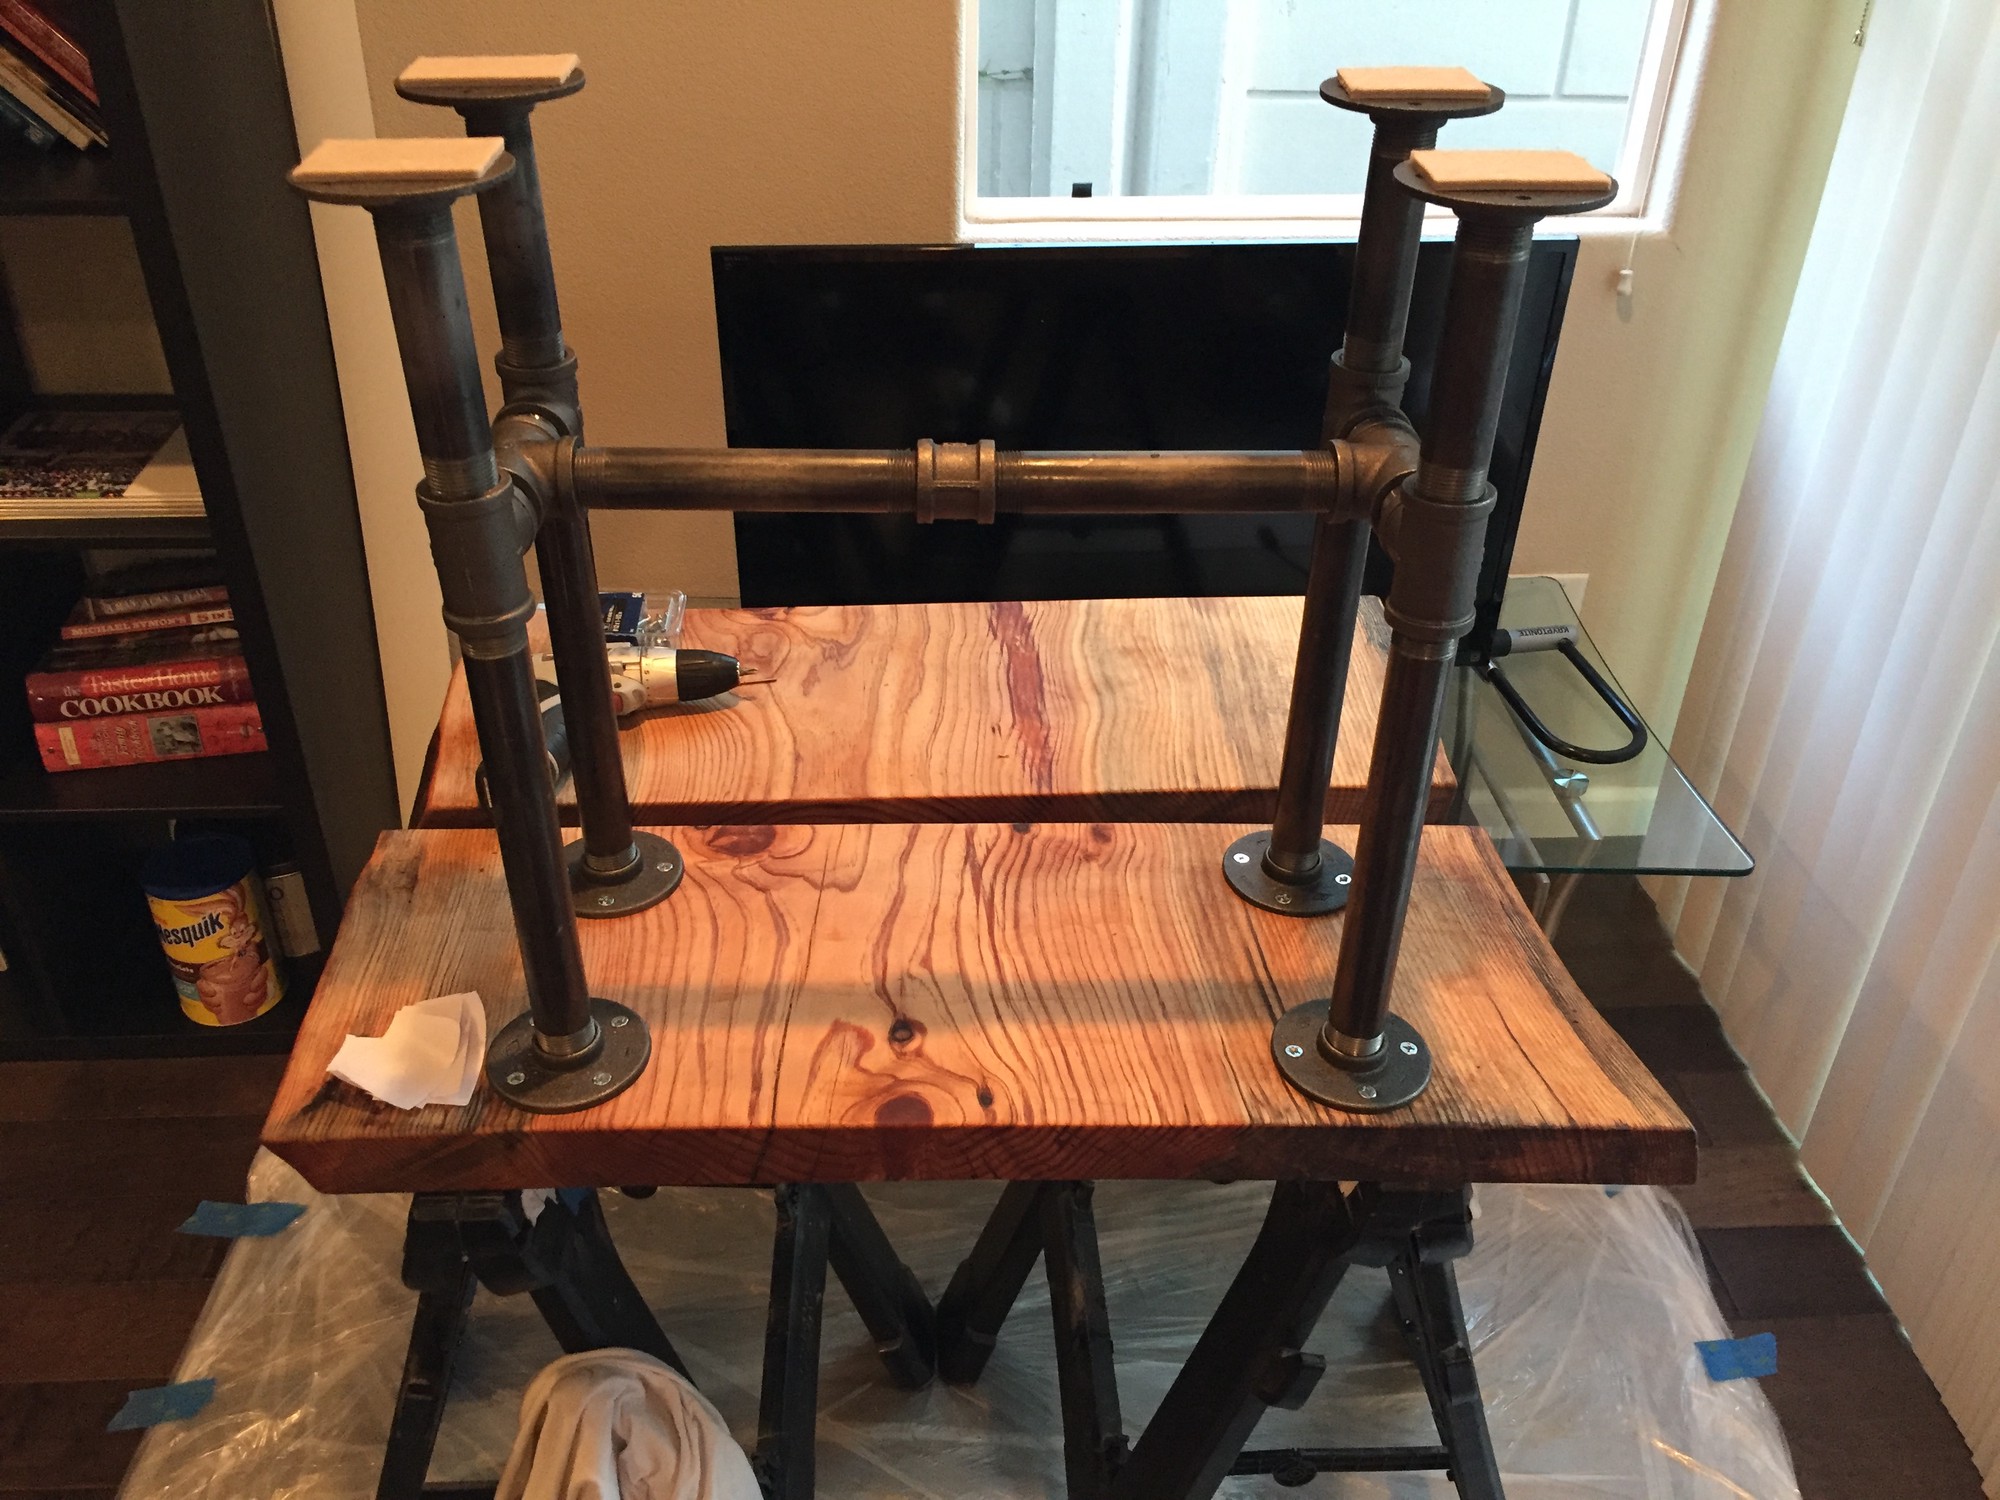
I chose to use matching table bases to my previous coffee table’s base.
I wasn’t sure at first if I wanted to apply a film finish such as poly to the slabs. The naturally rugged and earthy look of simply stained wood was appealing. However, I was eventually pursuaded to do so by housemates (they loved the film finish of my previous tables).
To provide the film finish, I used Watco Gloss Wipe-On Poly4 from Home Depot.
You may have caught the change in poly from Minwax Wipe-On Poly5 which I had used on other tables.
Apparently, Home Depot no longer carries Minwax Wipe-On Poly.
I applied ~15 coats of poly.
While the results were very good in most places across the slabs there were some glaring defects (at least for a trained eye). These build-ups are barely visible in the above picture near the top edge. If you’ve read through my previous table that these side tables would make a furniture set with, you’ll recall that I made the mistake of applying the poly too thick. This resulted in build-ups along the top egdes and drips at the corners.
As covered in that previous table, I extensively researched methods6 7 to remove the build-ups and drips without having to redo the film finish. I attempted to use very fine8 and ultra fine9 scuff pads in conjunction with an orbital sander. While this approach did do quite well to tactilely even out the poly defects, it dulled the finish and where there had been build-ups, there was now an oily/refractive quality to the light reflected off of the surface. With respect to this last issue of oily reflection, my best guess is that this was due to refracted light from cross-sections of multiple poly coats after sanding down the multiple coats of poly forming the buildup.
I tried to remove this oily reflective property and remove any scratches from the scuff pads by burnishing the poly with a folded paper bag. This burnishing technique generally worked well and I can see why many propose using it for denibbing or general tactile enhancement, as the resulting surface was exceptionally smooth to the touch.
I decided that while their appearance was nice with a soft and muted gloss, I wanted to hit my original goal of high gloss. From my previous table you’ll recall that my attempts at polishing its dulled gloss to a high gloss ultimately failed. Thus, I decided to simply lightly scuff the surface (to provide bonding surface for the poly) with an ultra fine scuff pad9 from Home Depot and begin recoating with poly4. In my attempts to level the surface using scuff pads, I likely took off 5-8 coats of poly and thus needed to build it back up to about ~15 coats for a high gloss look.
One issue, that I didn’t notice until I had begun recoating with poly, was that my light scuffing prior to poly application was visible through the new layers of poly. I believe this is due to too much force applied with an abrasive too coarse. If I had used #0000 steel wool or a similar abrasive, I don’t think these marks would have been as evident10.
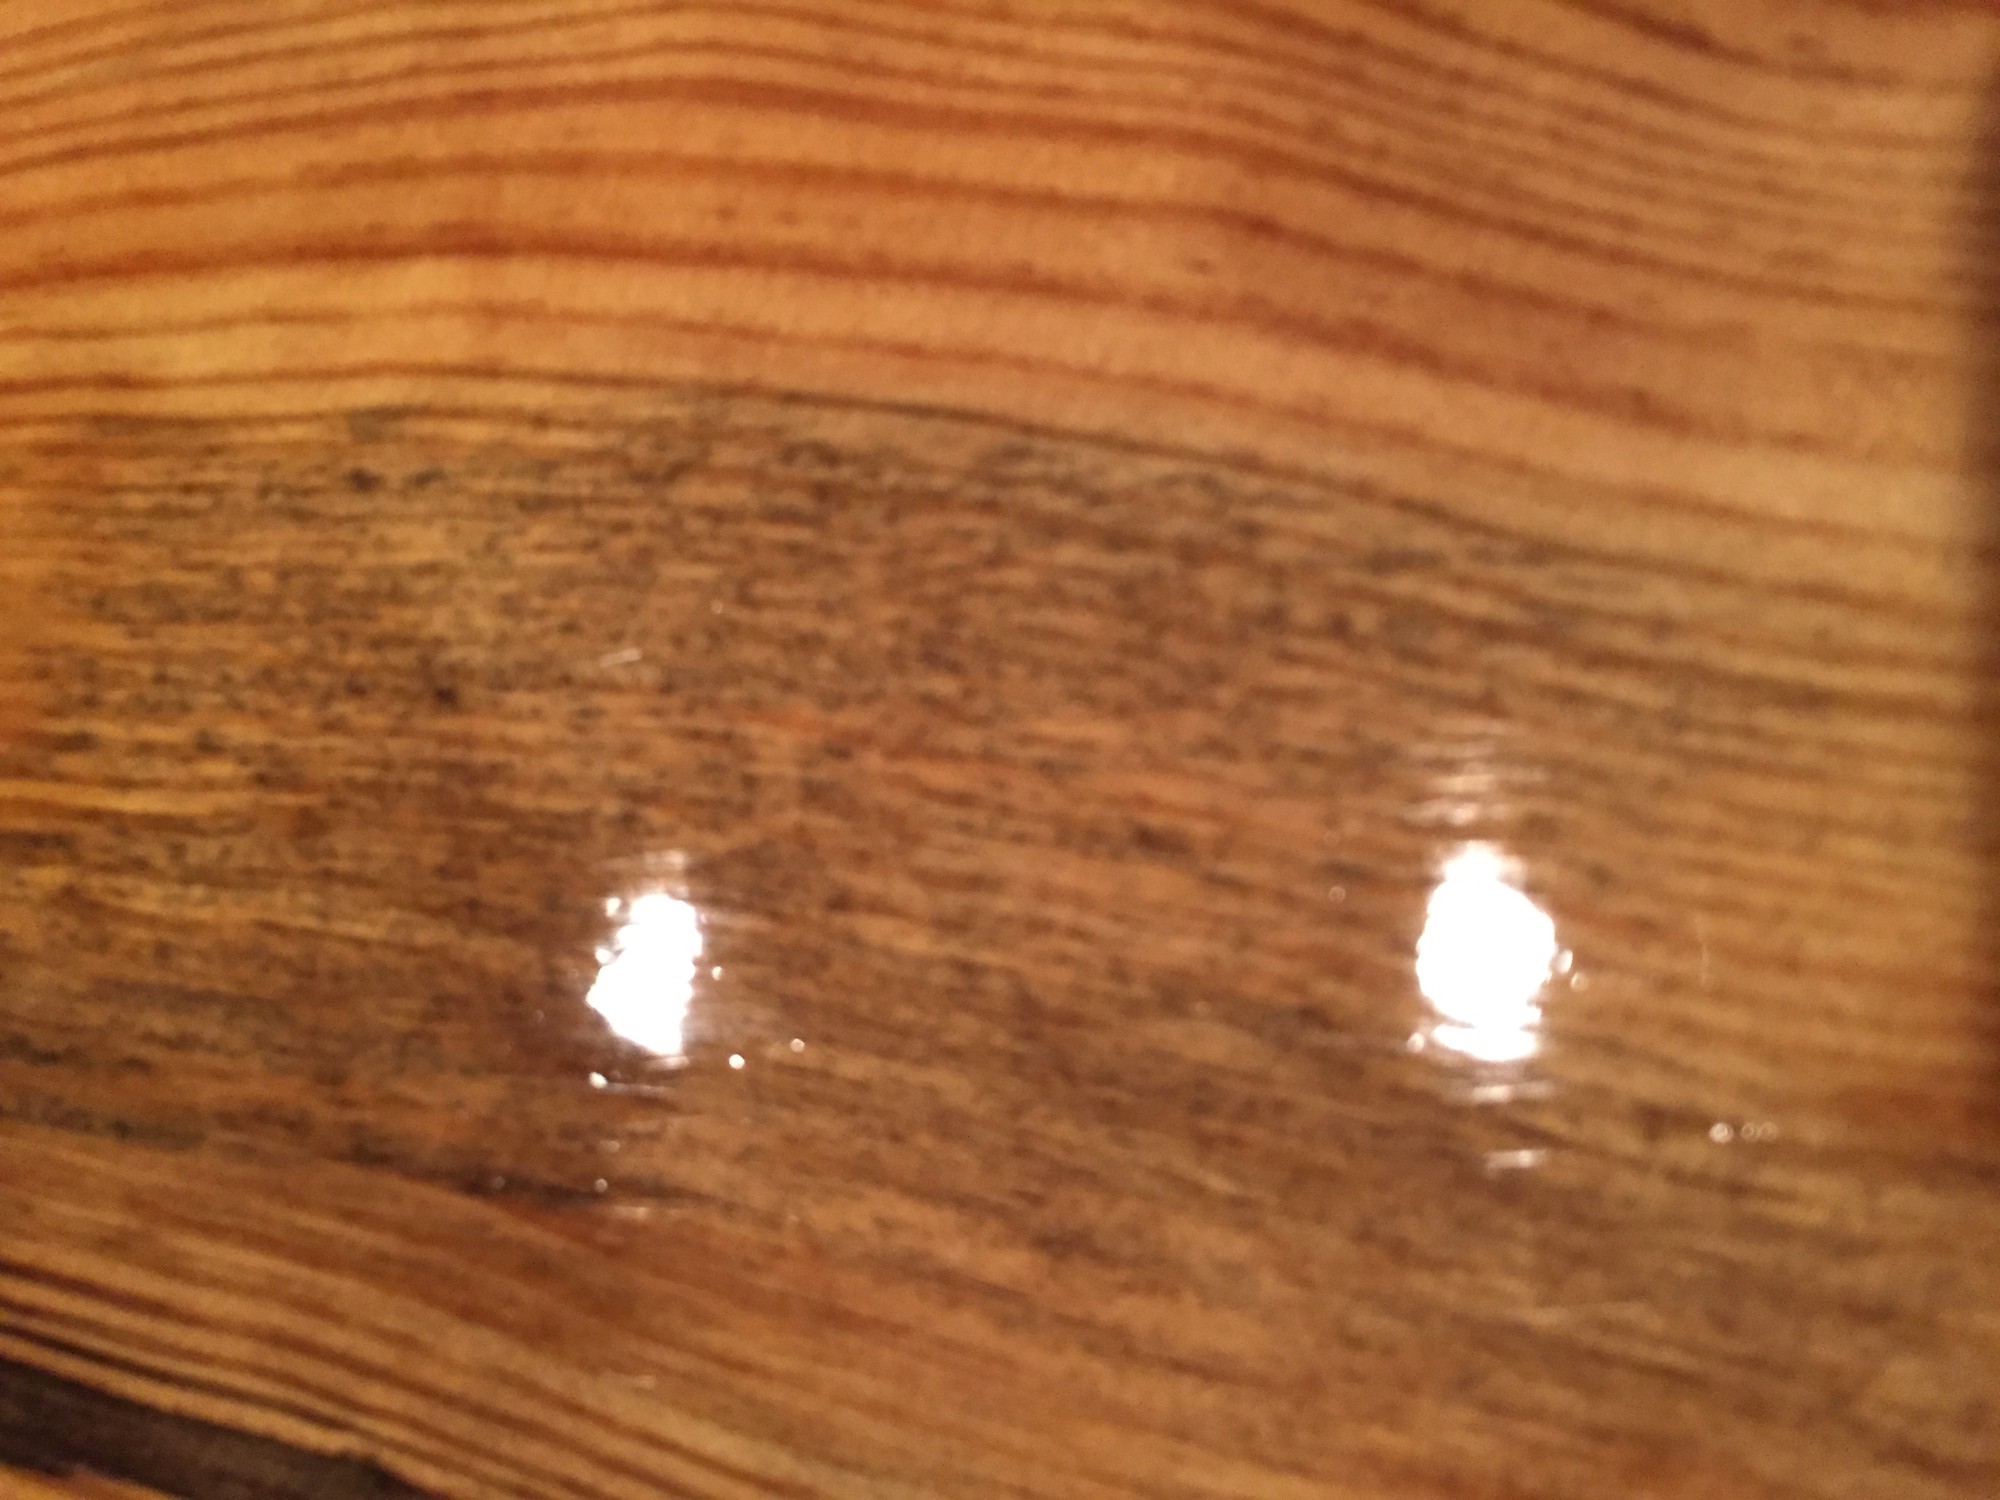
These scratches between the old coats of poly and new are evident in the above picture around each glare in the wood surface as tiny lines of reflected light.
Because these scratches were generally uni-directional in the direction of the grain, I decided to not redo the poly (my patience was wearing thin at this point).
Some professionals prefer to apply a burnish or soft denibbing to the surface after the final coat of poly has cured. Because of the prolonged project timeline already and my fear of further extending that timeline by messing up the denibbing process (similar to the buffing process I had tried), I chose to let the slabs naturally denib over their lifetime by natural use (e.g. sliding books, plates, etc).
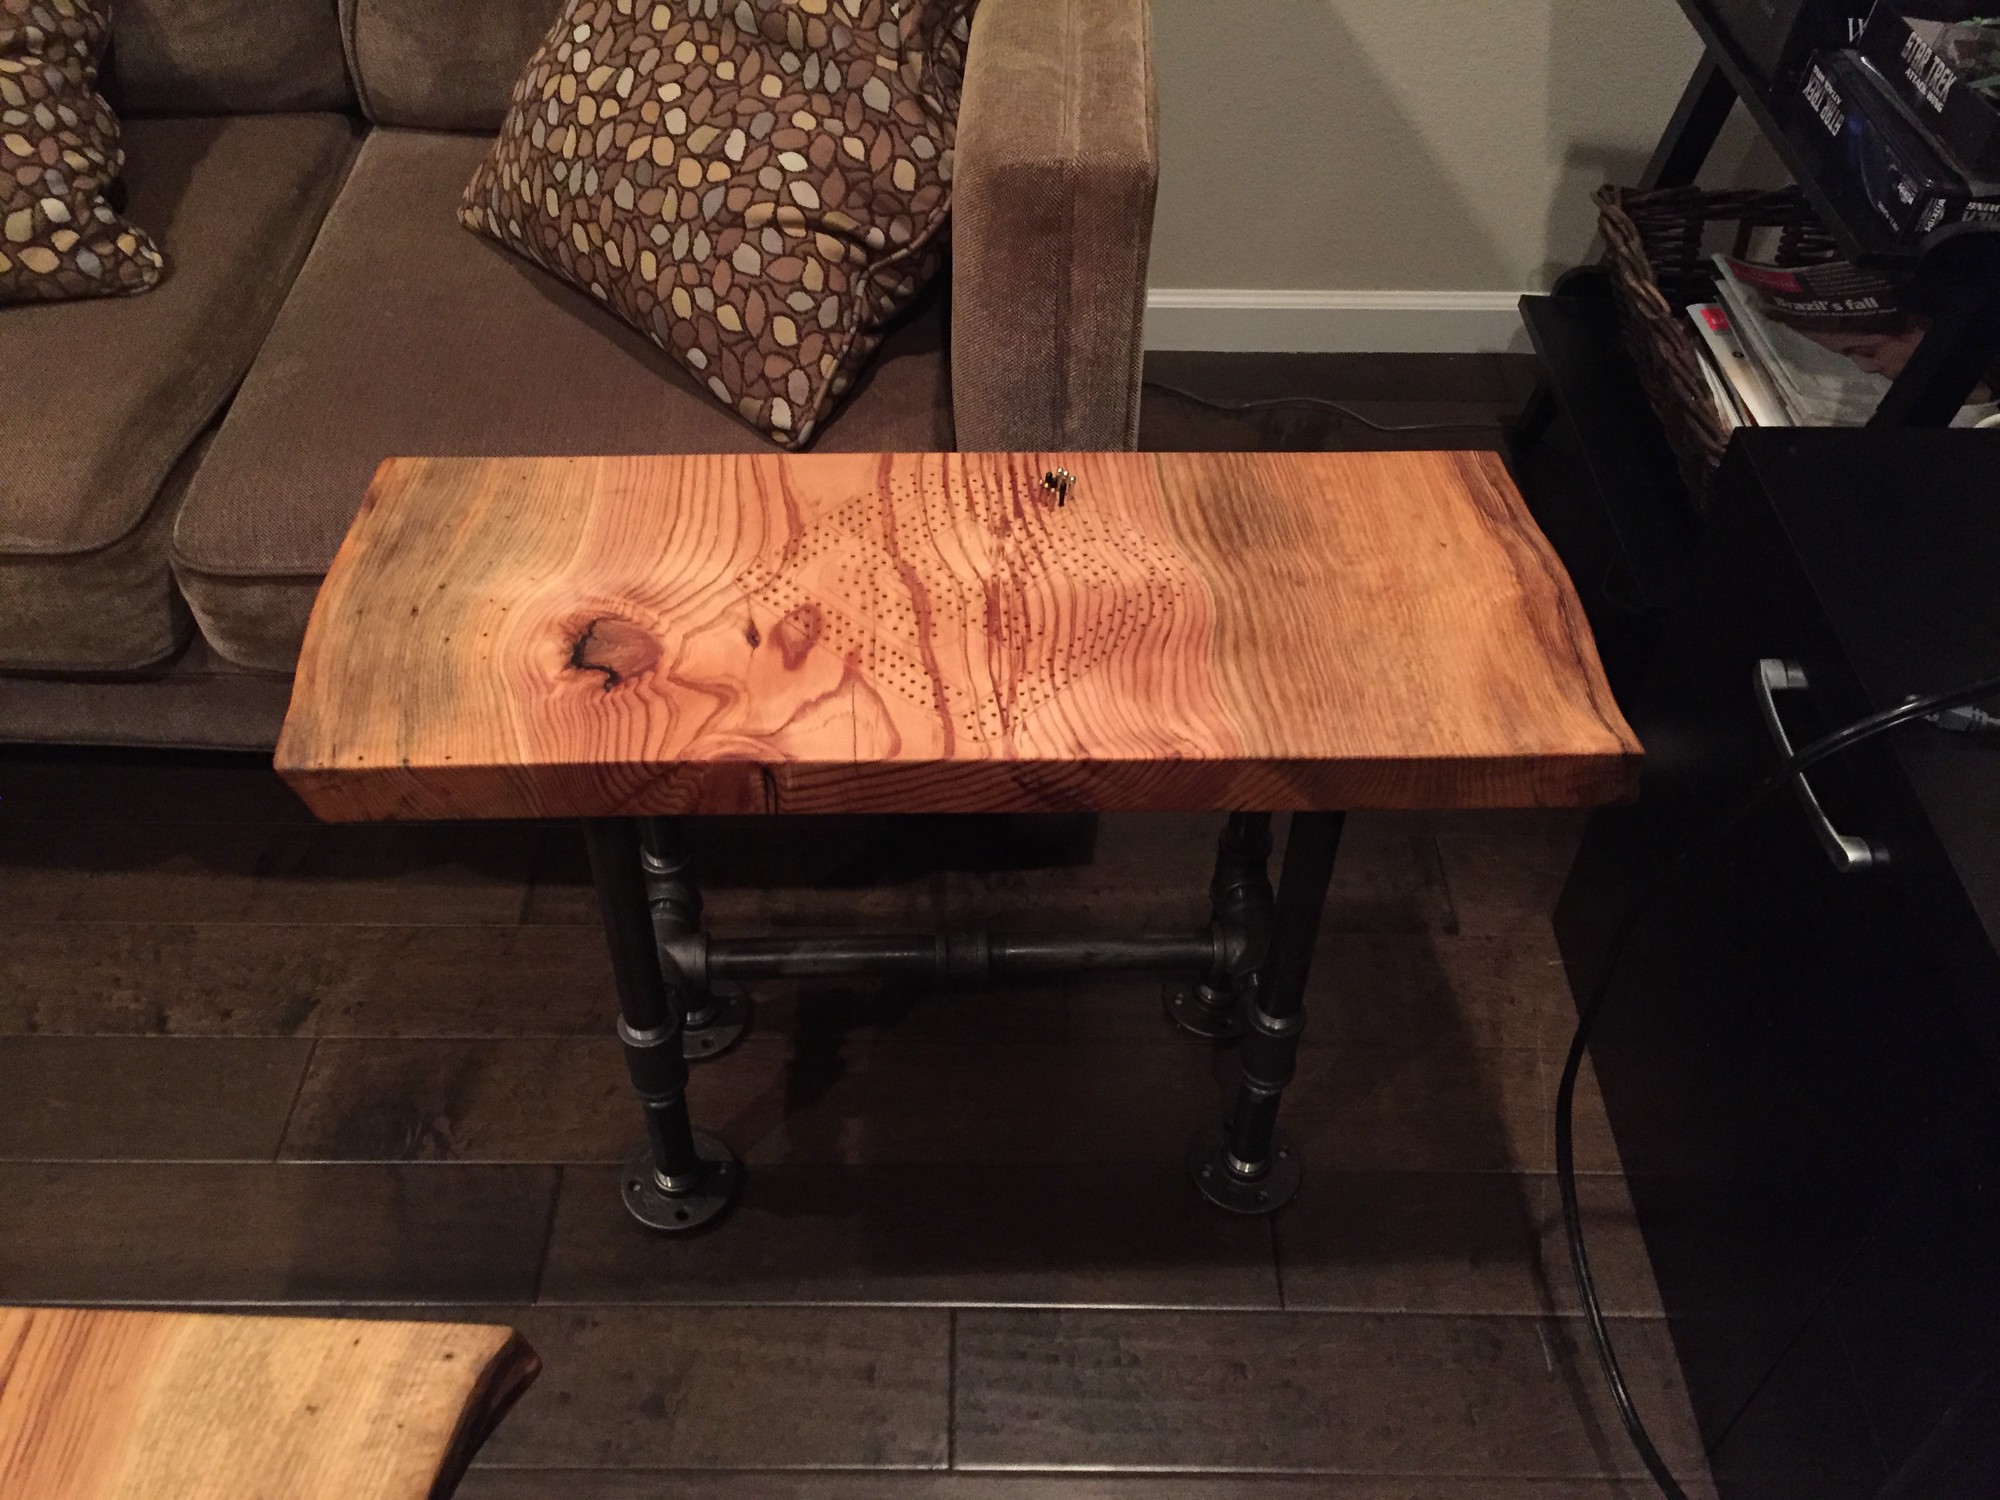
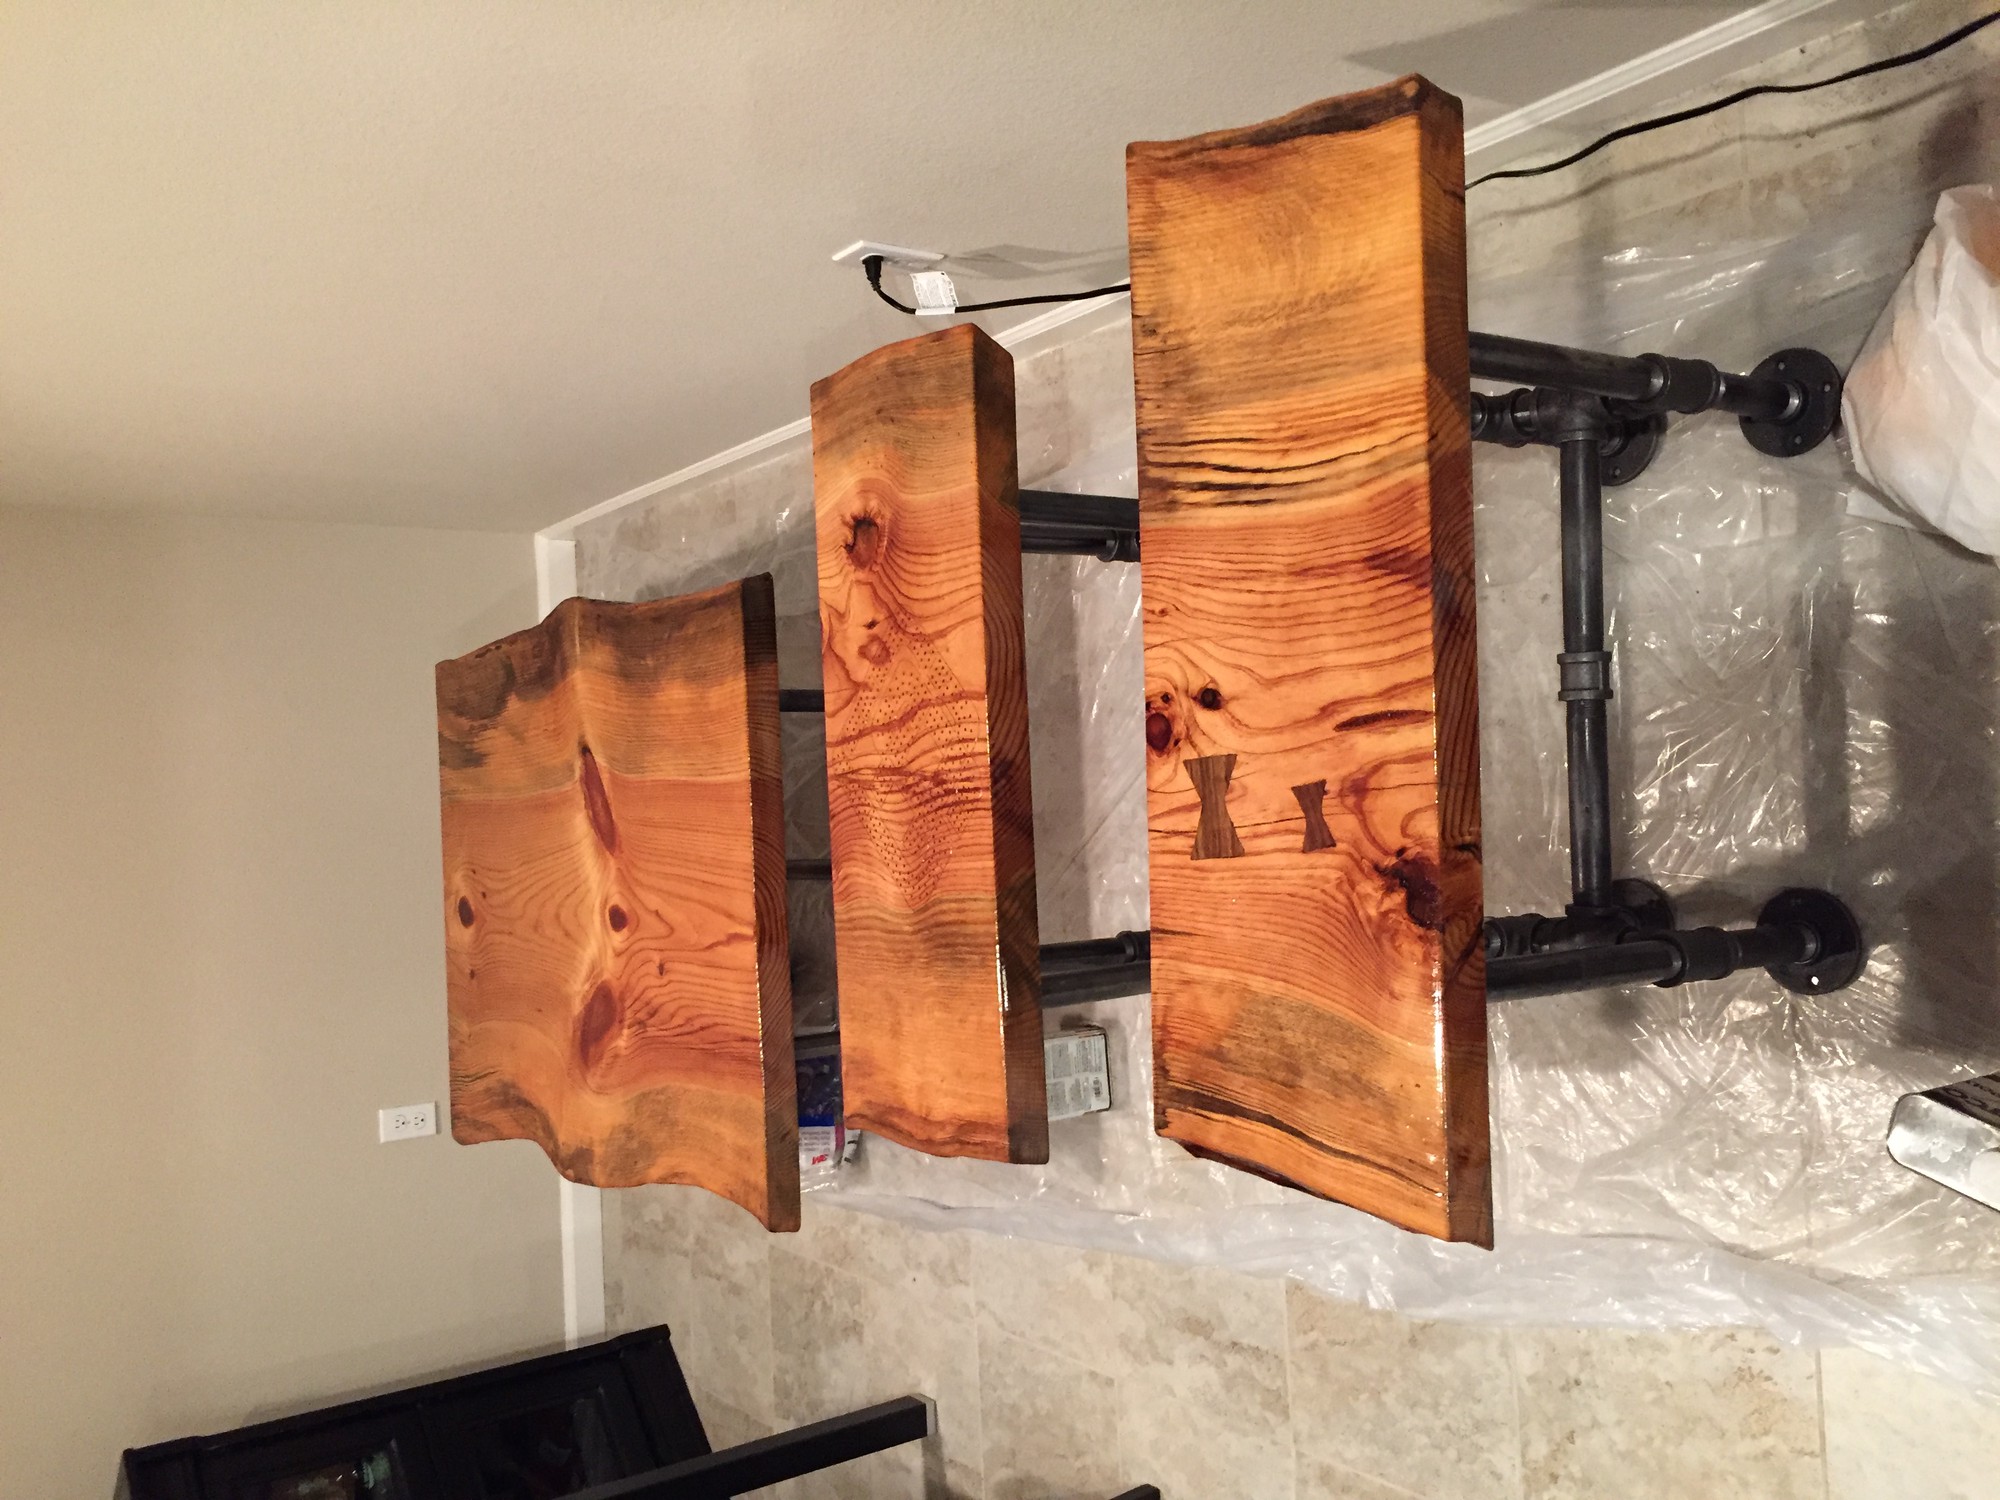
Here are a few pictures of how they turned out!
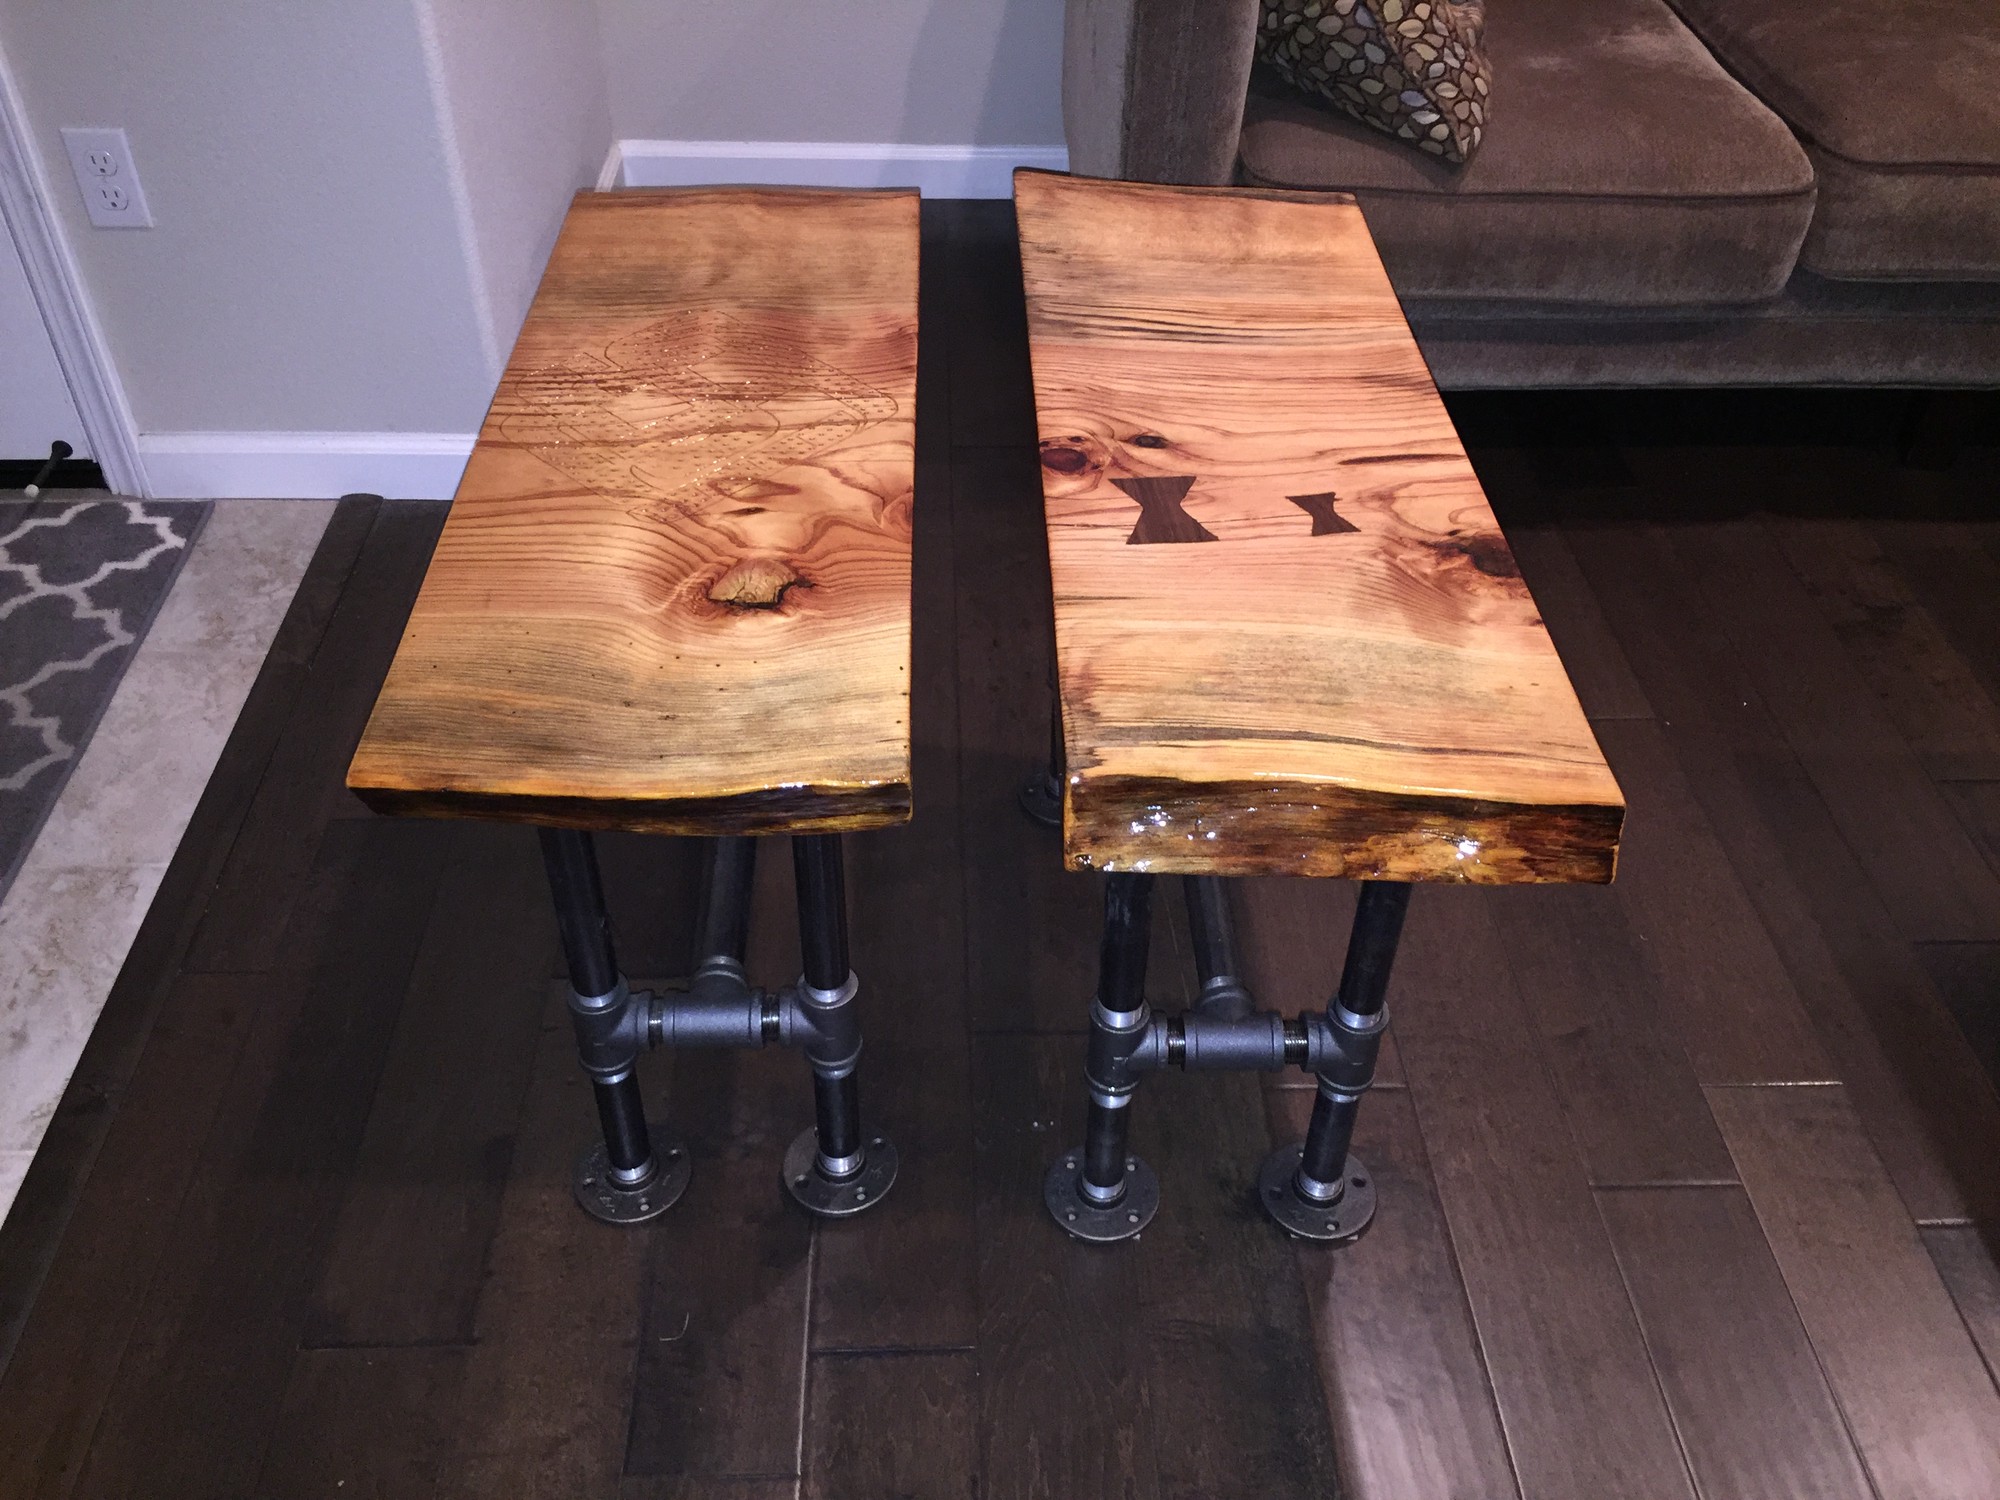
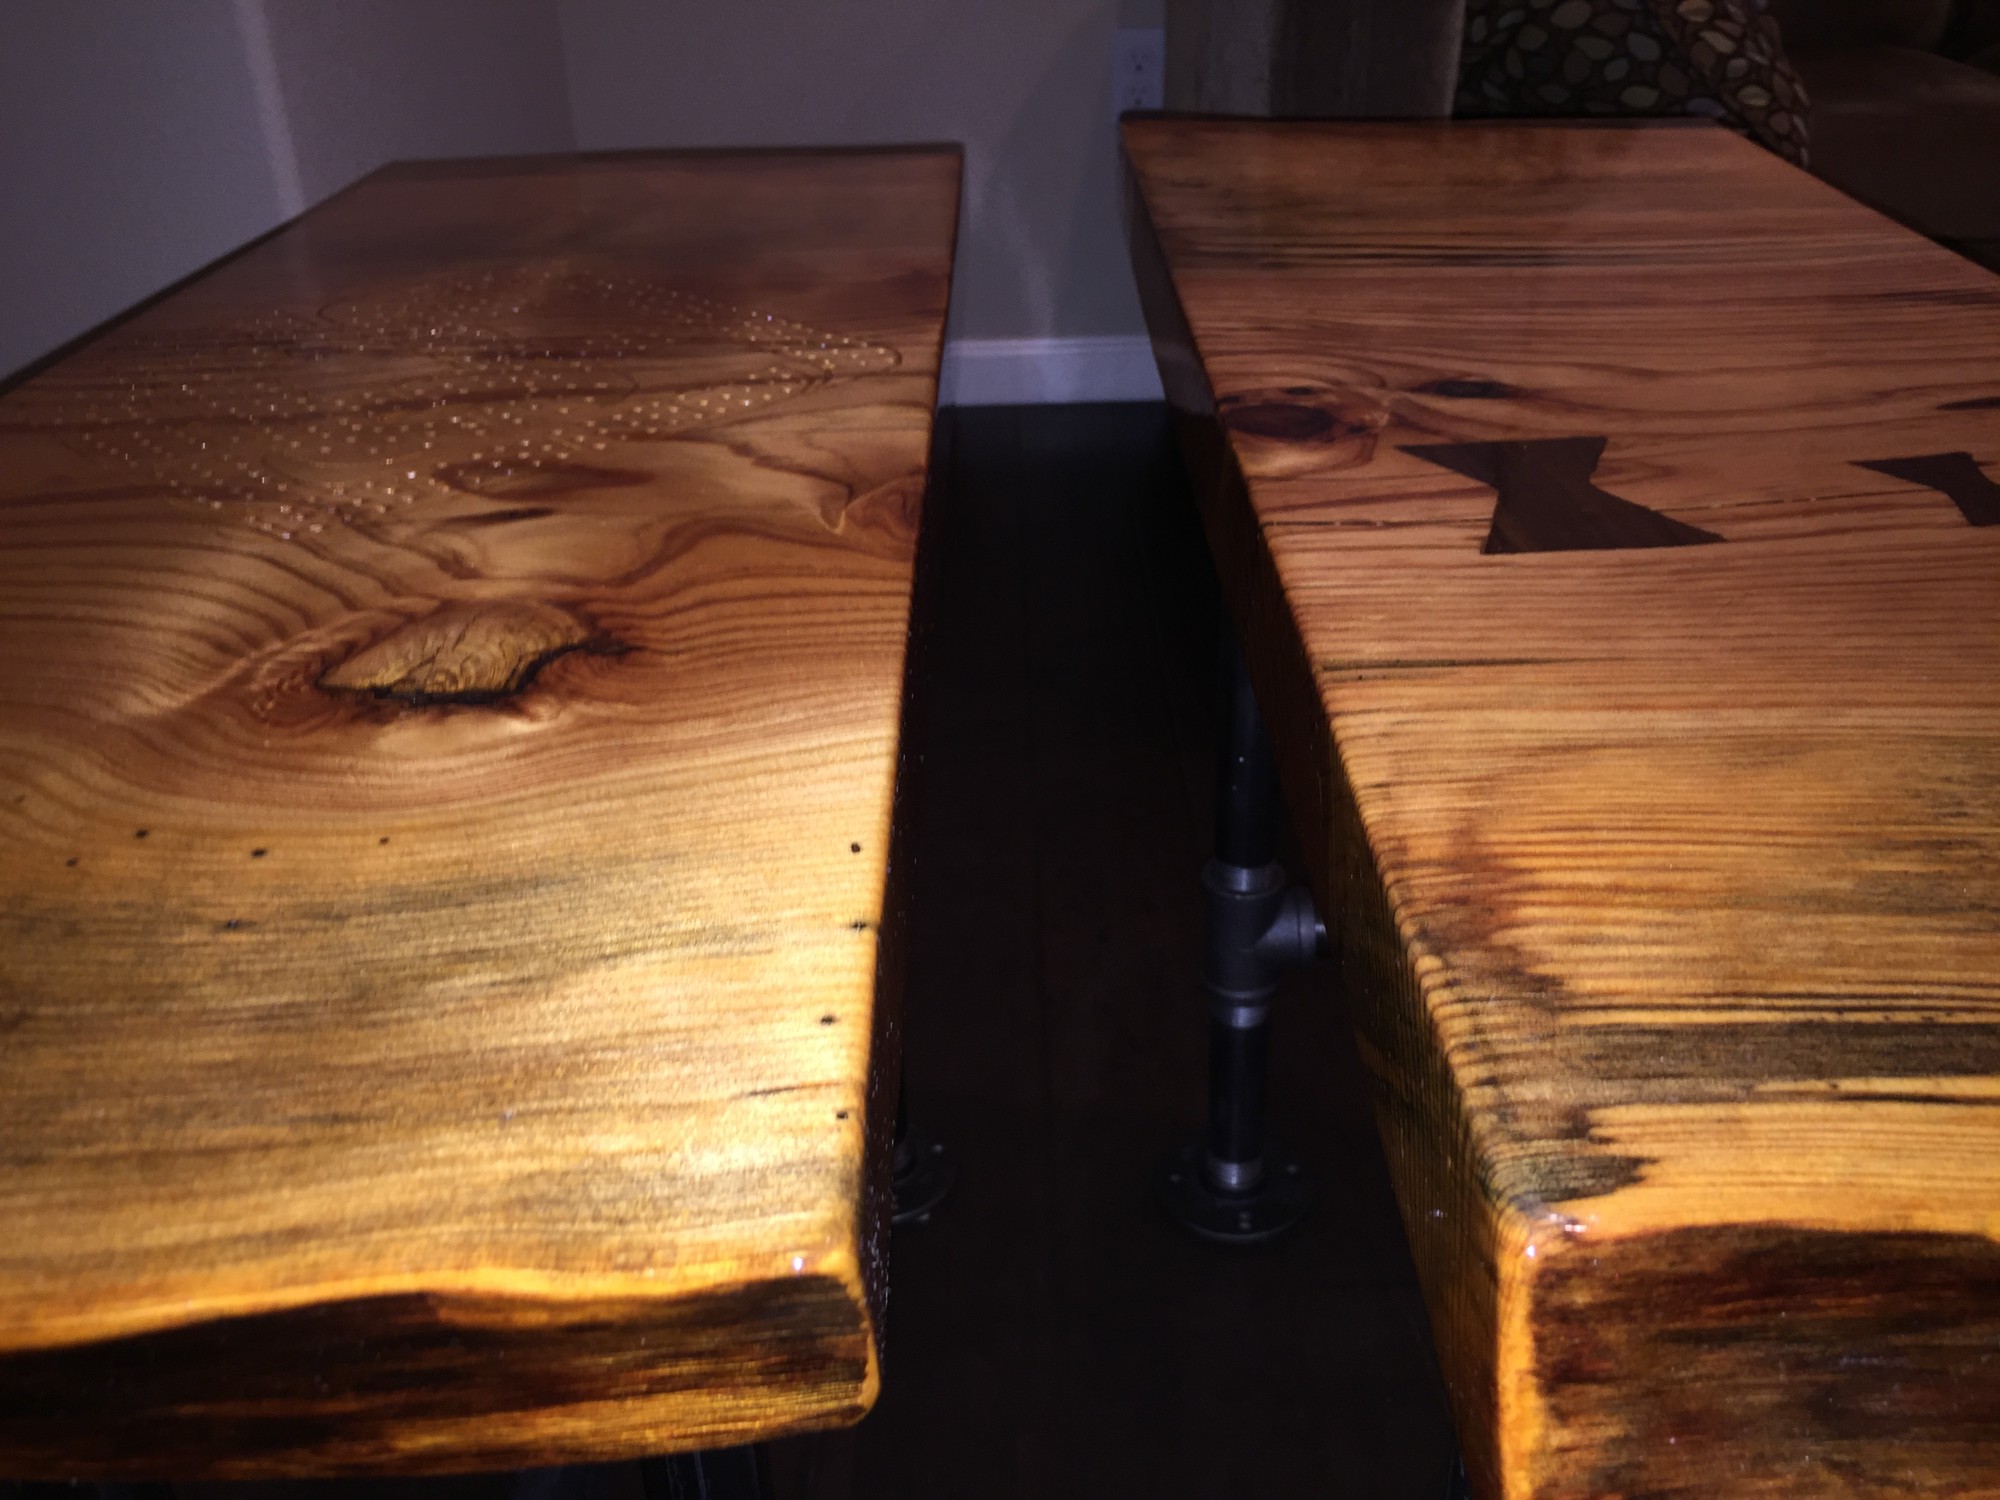
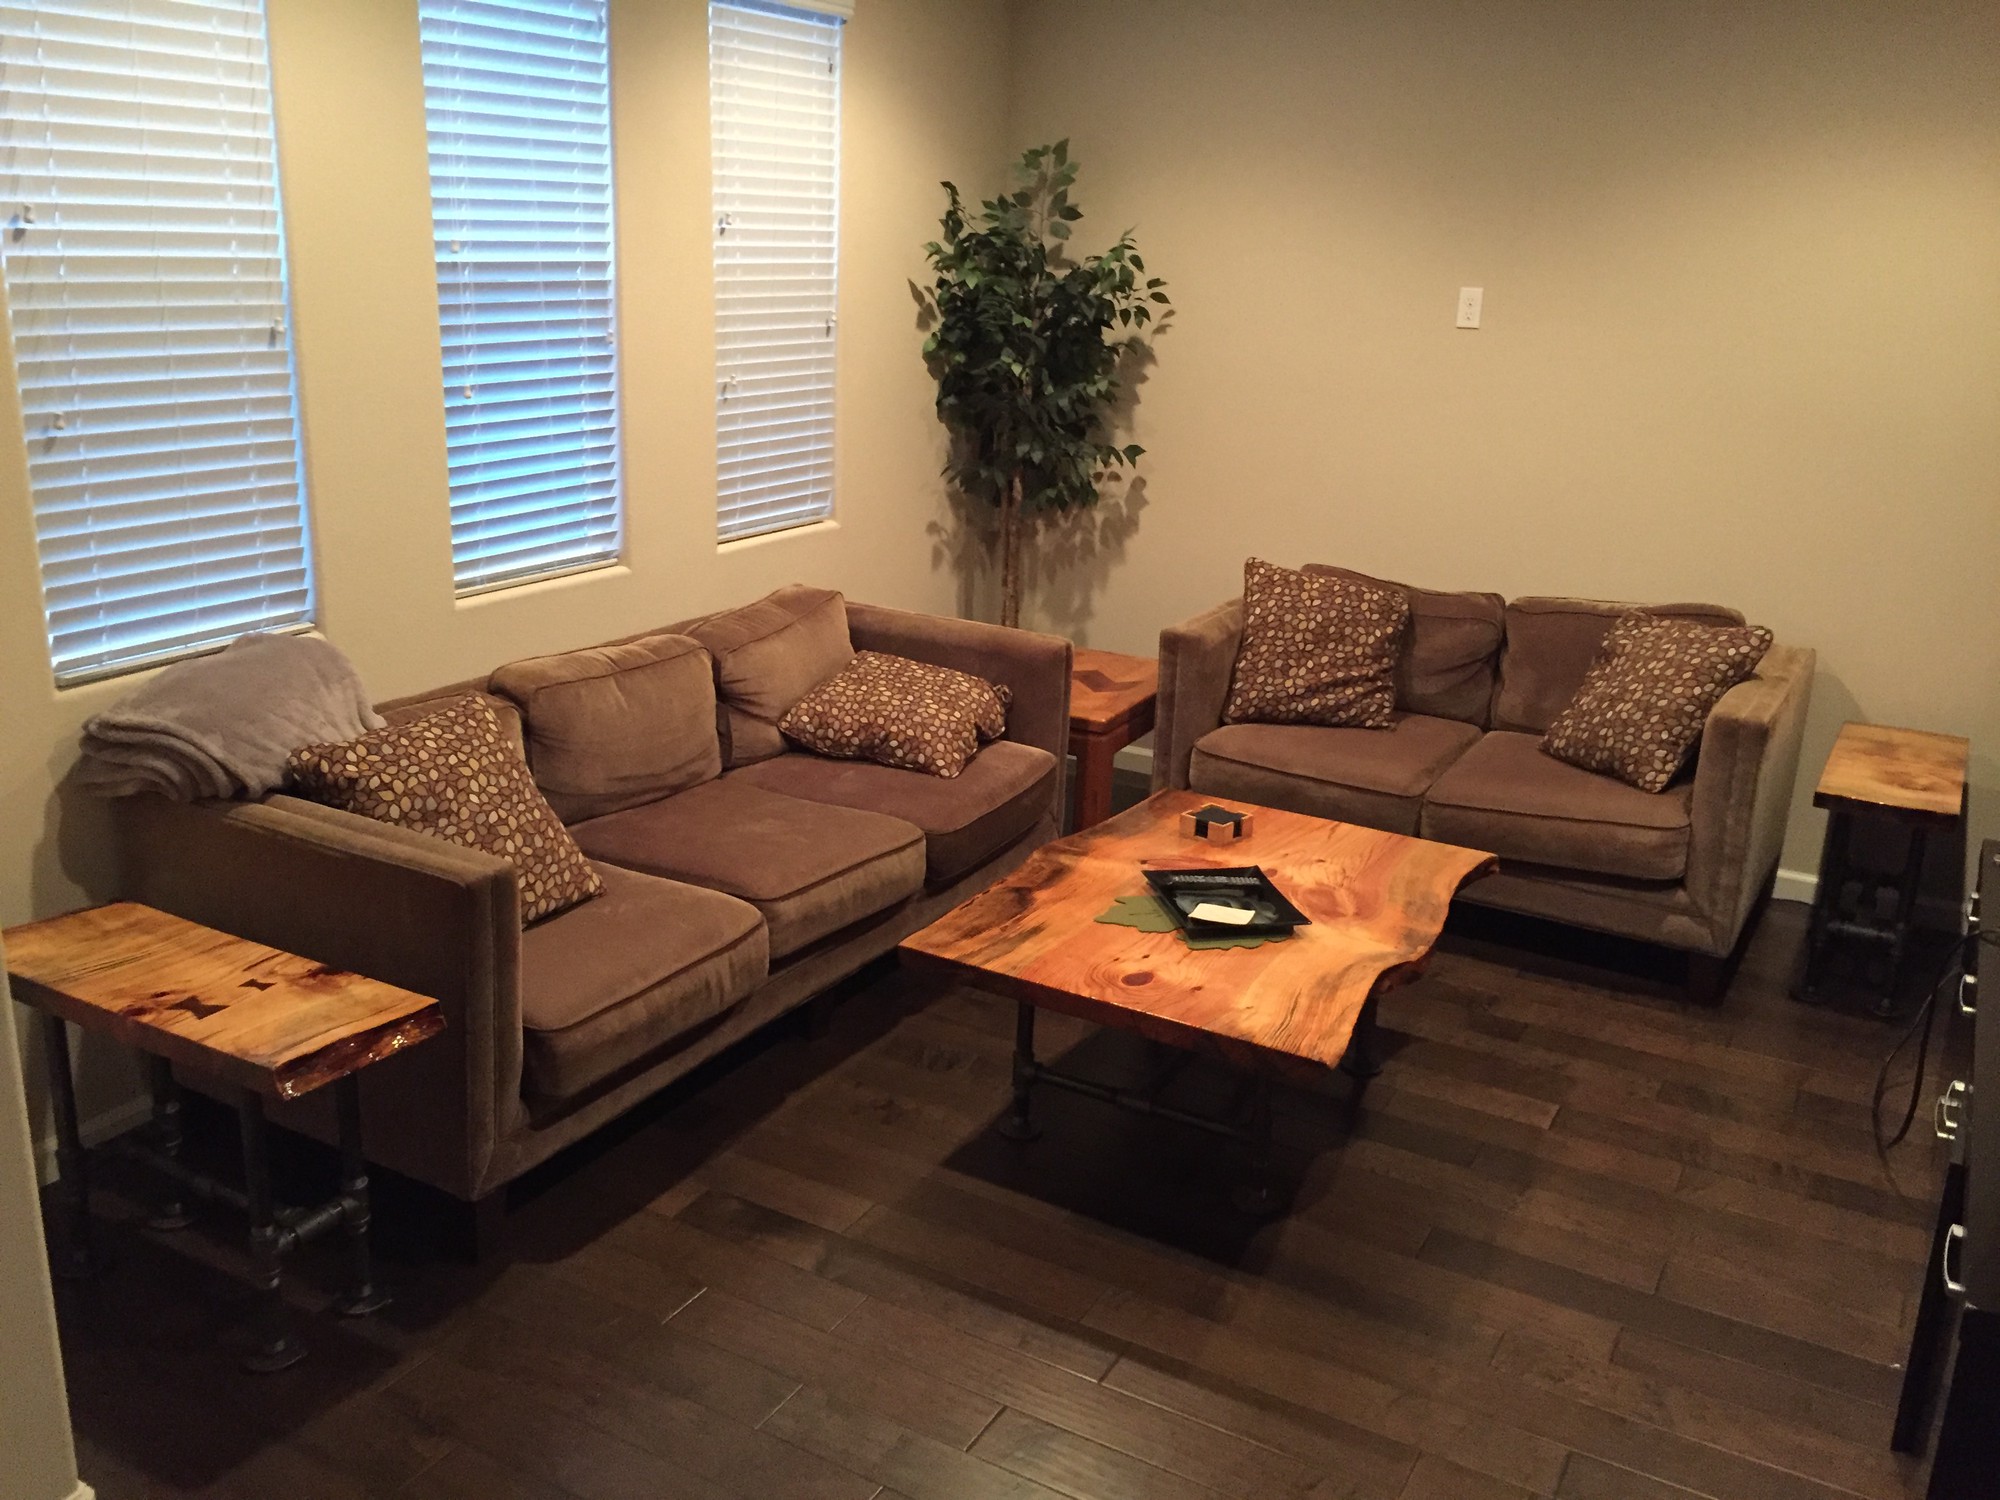
Thanks for reading!
-
https://www.homedepot.com/b/Lumber-Composites-Appearance-Boards-Planks/Walnut/N-5yc1vZbqmcZ1z11p16 ↩︎
-
https://www.amazon.com/gp/product/B00173CDSQ/ref=oh_aui_search_asin_title?ie=UTF8&psc=1 ↩︎
-
https://www.google.com/shopping/product/752279117043346249?lsf=seller:8740,store:8323555178646542298&prds=oid:18410314114058126901&q=watco+wipe+on+poly+gloss&hl=en&ei=EBVdXKeuHKq70PEP5uqT8Ag&lsft=gclid:CjwKCAiAy-_iBRAaEiwAYhSlA3JwMsTwuK0nCNc4DvOB493odwO8hky15fiofTd4679EgD5A1sByFhoCrnMQAvD_BwE,gclsrc:aw.ds ↩︎
-
https://www.amazon.com/Minwax-40900-Oil-Based-Polyurethane-Finish/dp/B01M1EDG7Y/ref=asc_df_B01M1EDG7Y/?tag=hyprod-20&linkCode=df0&hvadid=309802498763&hvpos=1o4&hvnetw=g&hvrand=7278565143806718525&hvpone=&hvptwo=&hvqmt=&hvdev=c&hvdvcmdl=&hvlocint=&hvlocphy=9031968&hvtargid=pla-624061654722&psc=1 ↩︎
-
https://woodworking.stackexchange.com/questions/7153/finishing-buffing-polishing-redwood-slab-with-oil-based-varnish-thinned-with-dan ↩︎
-
https://www.homedepot.com/p/3M-3-7-8-in-x-6-in-x-5-16-in-9-84-cm-x-15-2-cm-x-0-79-cm-Very-Fine-Hand-Sanding-Pads-2-Pack-7447/301117170 ↩︎
-
https://www.homedepot.com/p/3M-3-7-8-in-x-6-in-x-1-4-in-9-84-cm-x-15-2-cm-x-0-635-Ultra-Fine-Finishing-Hand-Sanding-Pads-2-Pack-7448/301118025?MERCH=REC-_-PIPHorizontal2_rr-_-301117170-_-301118025-_-N ↩︎
-
https://woodworking.stackexchange.com/questions/2356/how-do-i-remove-scratches-between-layers-of-polyurethane ↩︎