Live Edge Table
This is my second table! Let’s first cover the basics:
- Start: Fall 2016
- End: April 2018
- Wood Species: New Growth Redwood
- Wood Supplier: Ponderosa Millworks1
- Table Type: live-edge wood slab
After gaining some considerable experience on my previous live edge slab table, I decided I was ready to attempt another live edge slab table but this time with a more expensive wood species. As in the aforementioned project, I and a friend went to Ponderosa Millworks1 and split a completely dried 9’x3' New Growth Redwood slab. Each of our respective resulting slabs were 4.5’x3'.
For those of you who don’t know the history of redwoods and the difference between old and new growth Redwood in California I’ll refer you to this article. Suffice it to say, that old growth is more expensive than new growth and this is largely due its scarcity after many years of logging.
Let’s dive into the chronology of the project with some images to help us understand the workflow along the way!
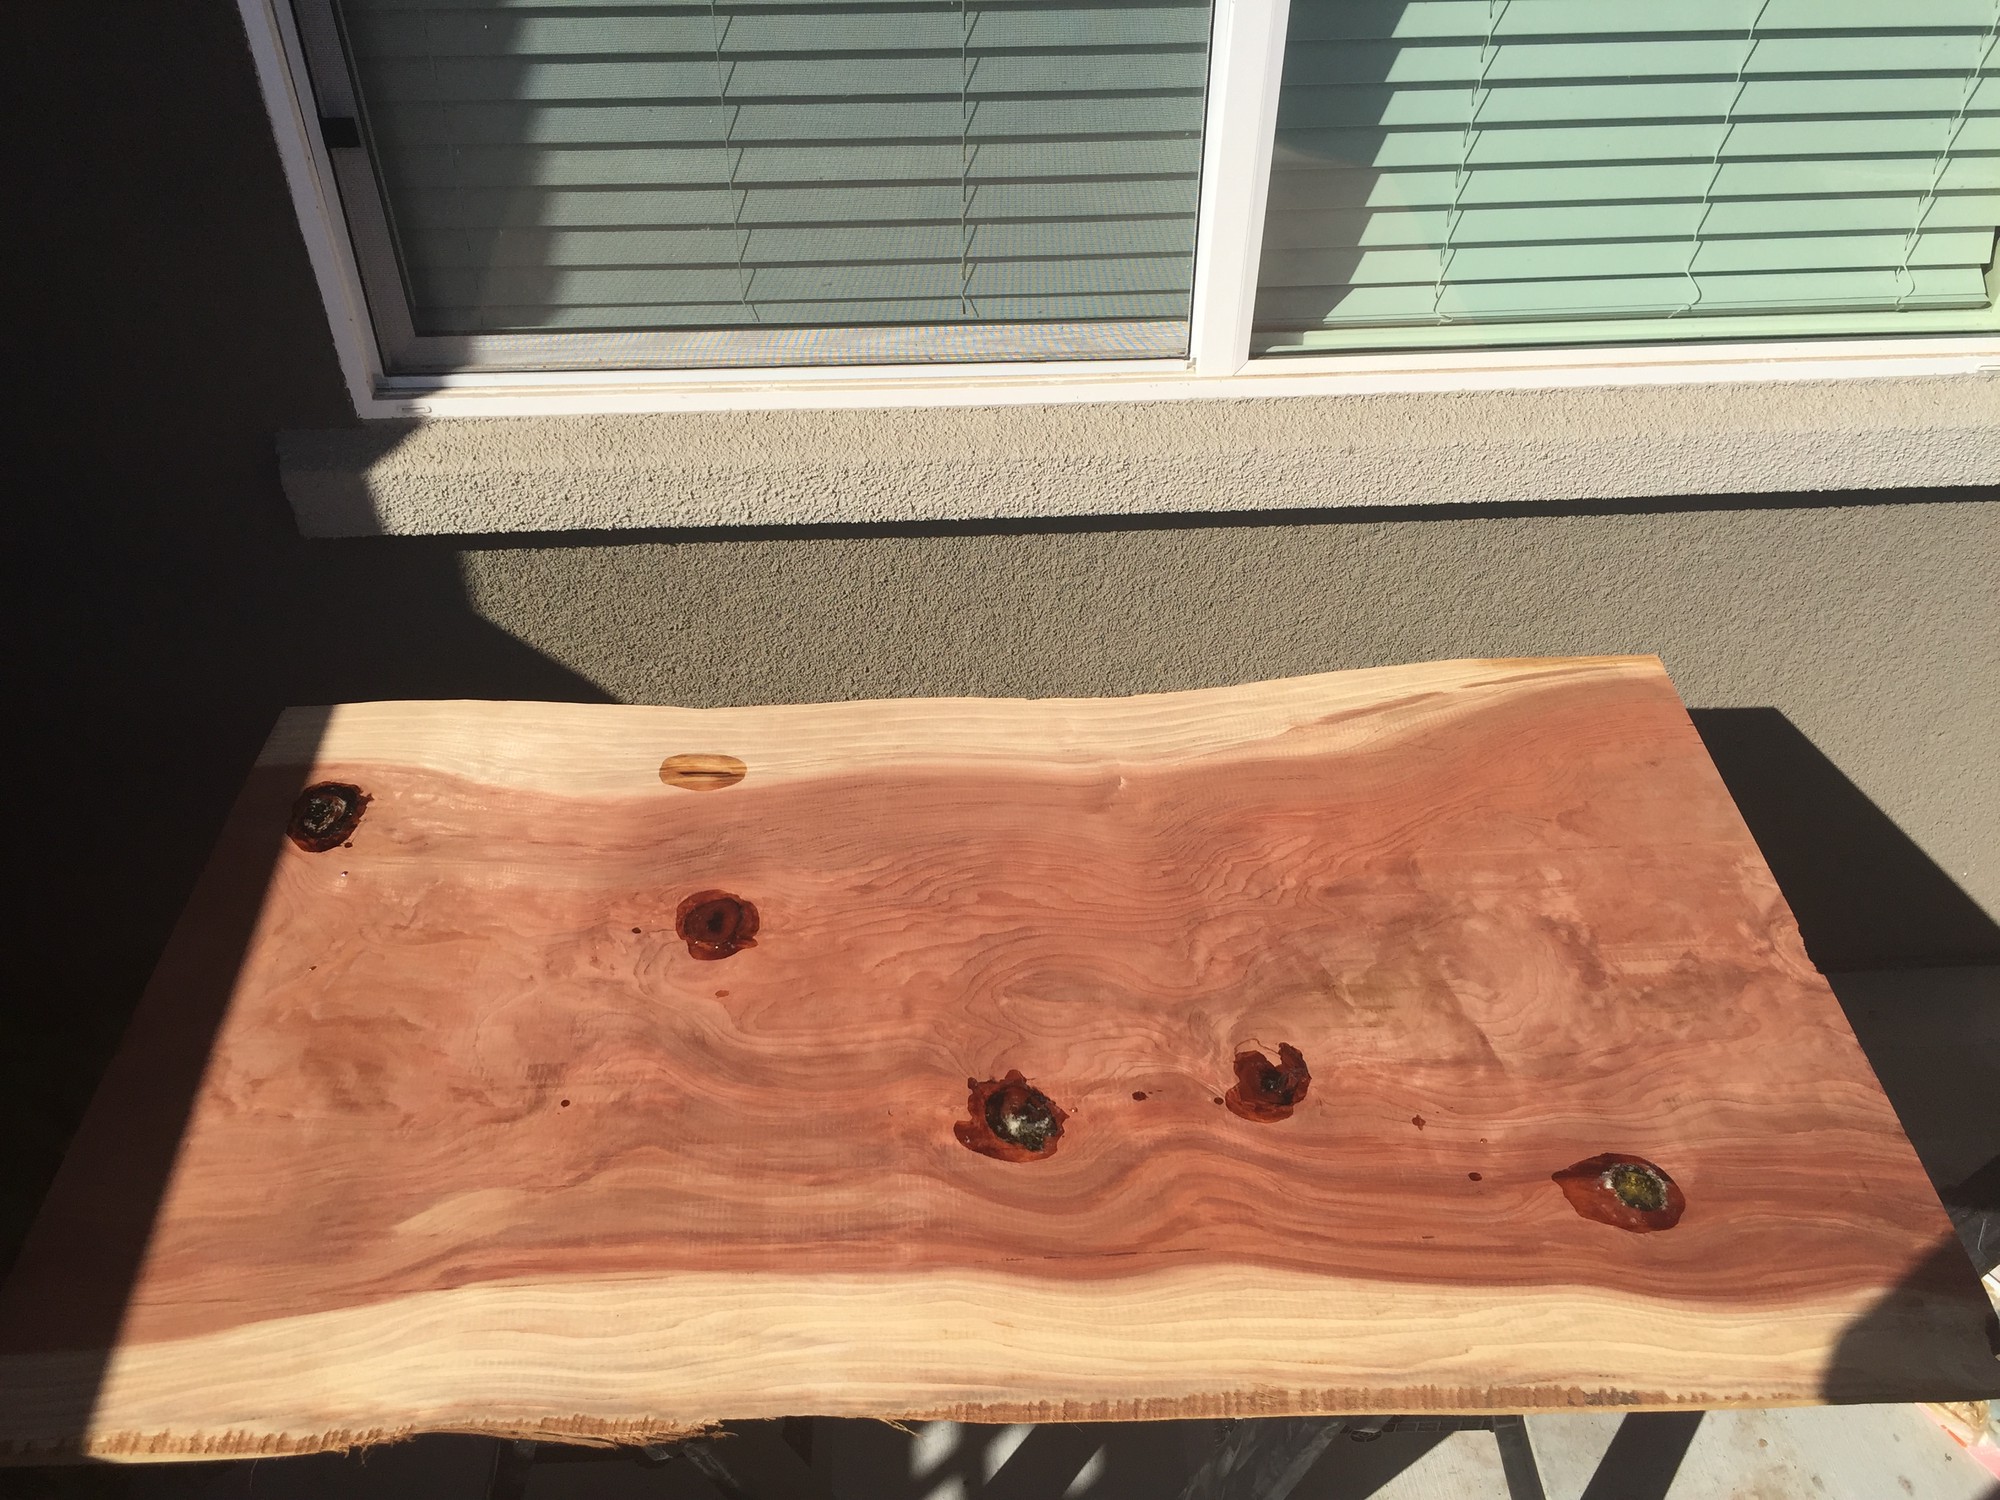
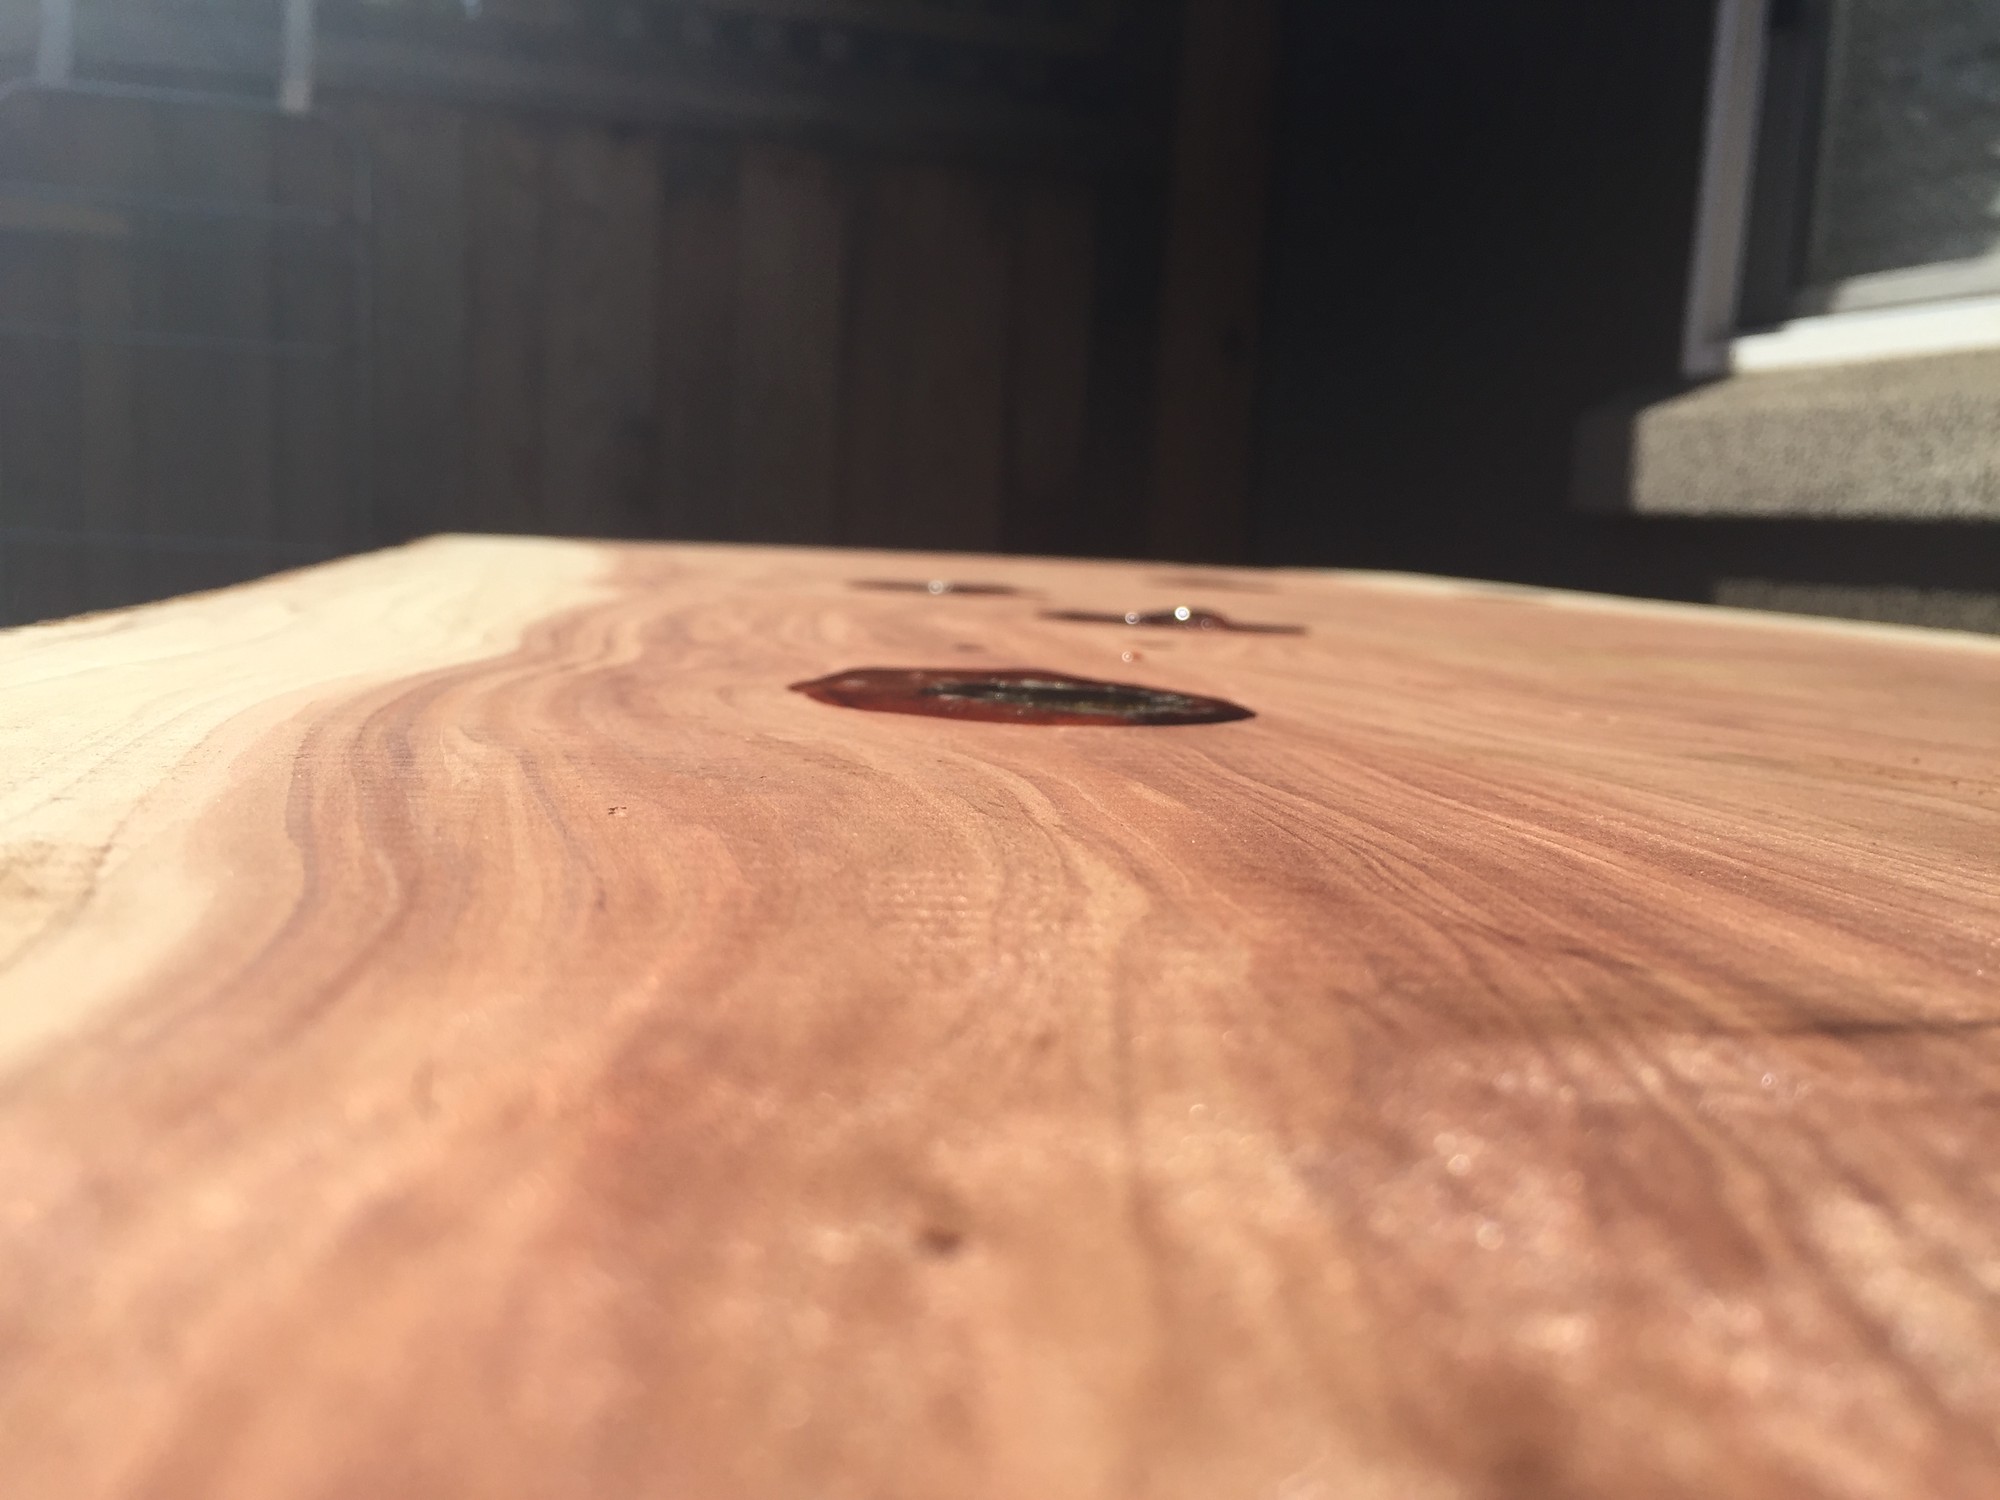
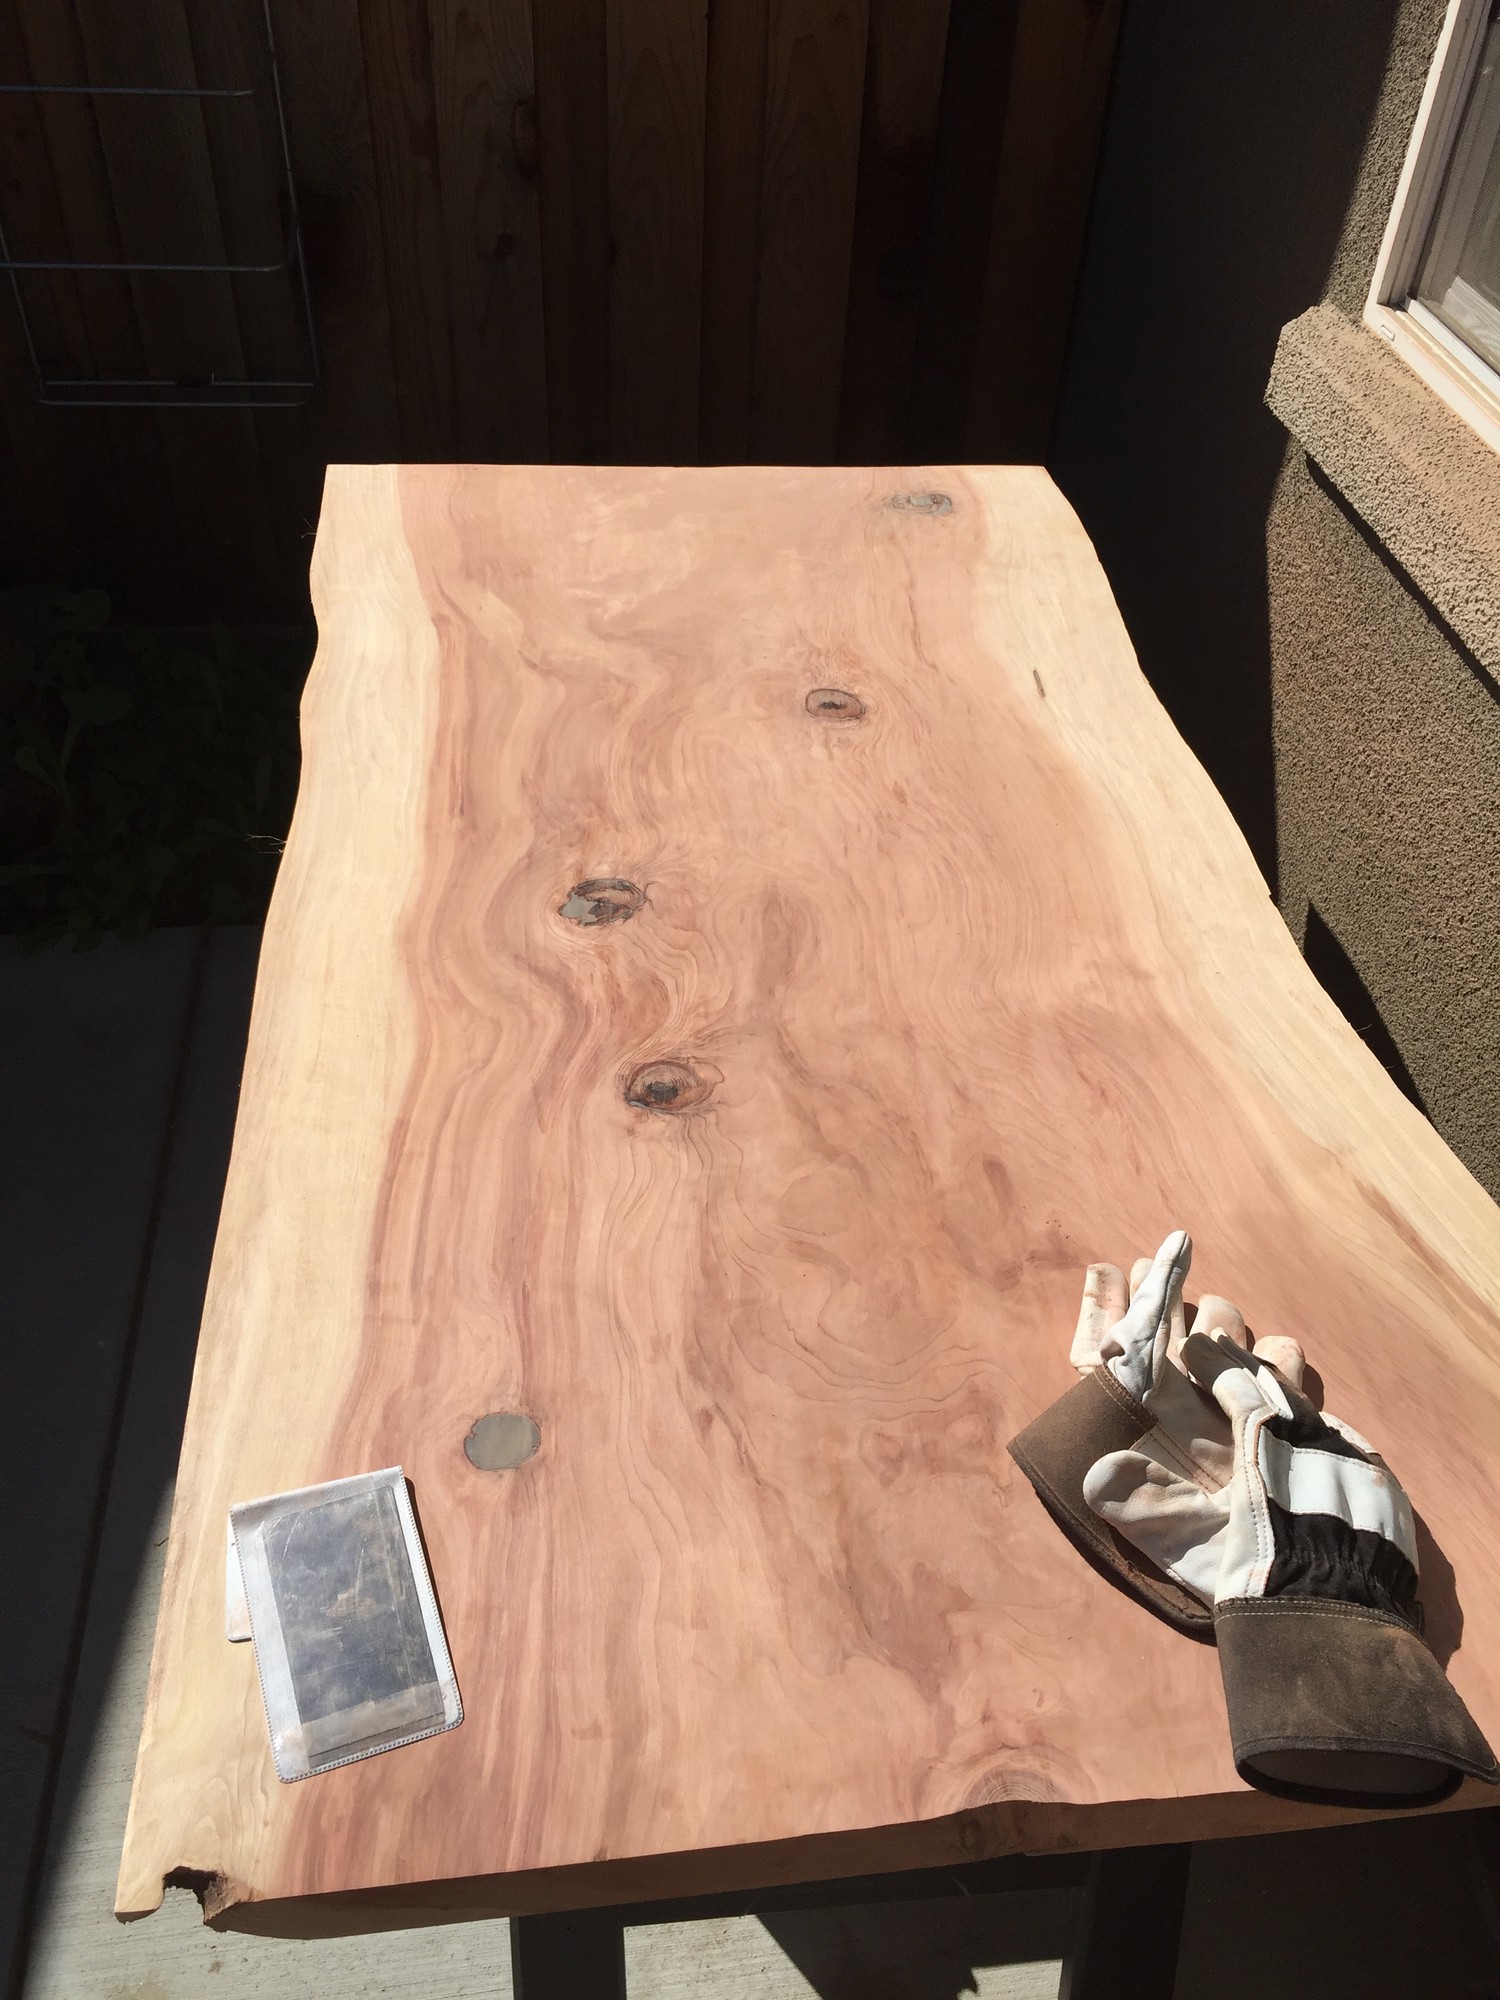
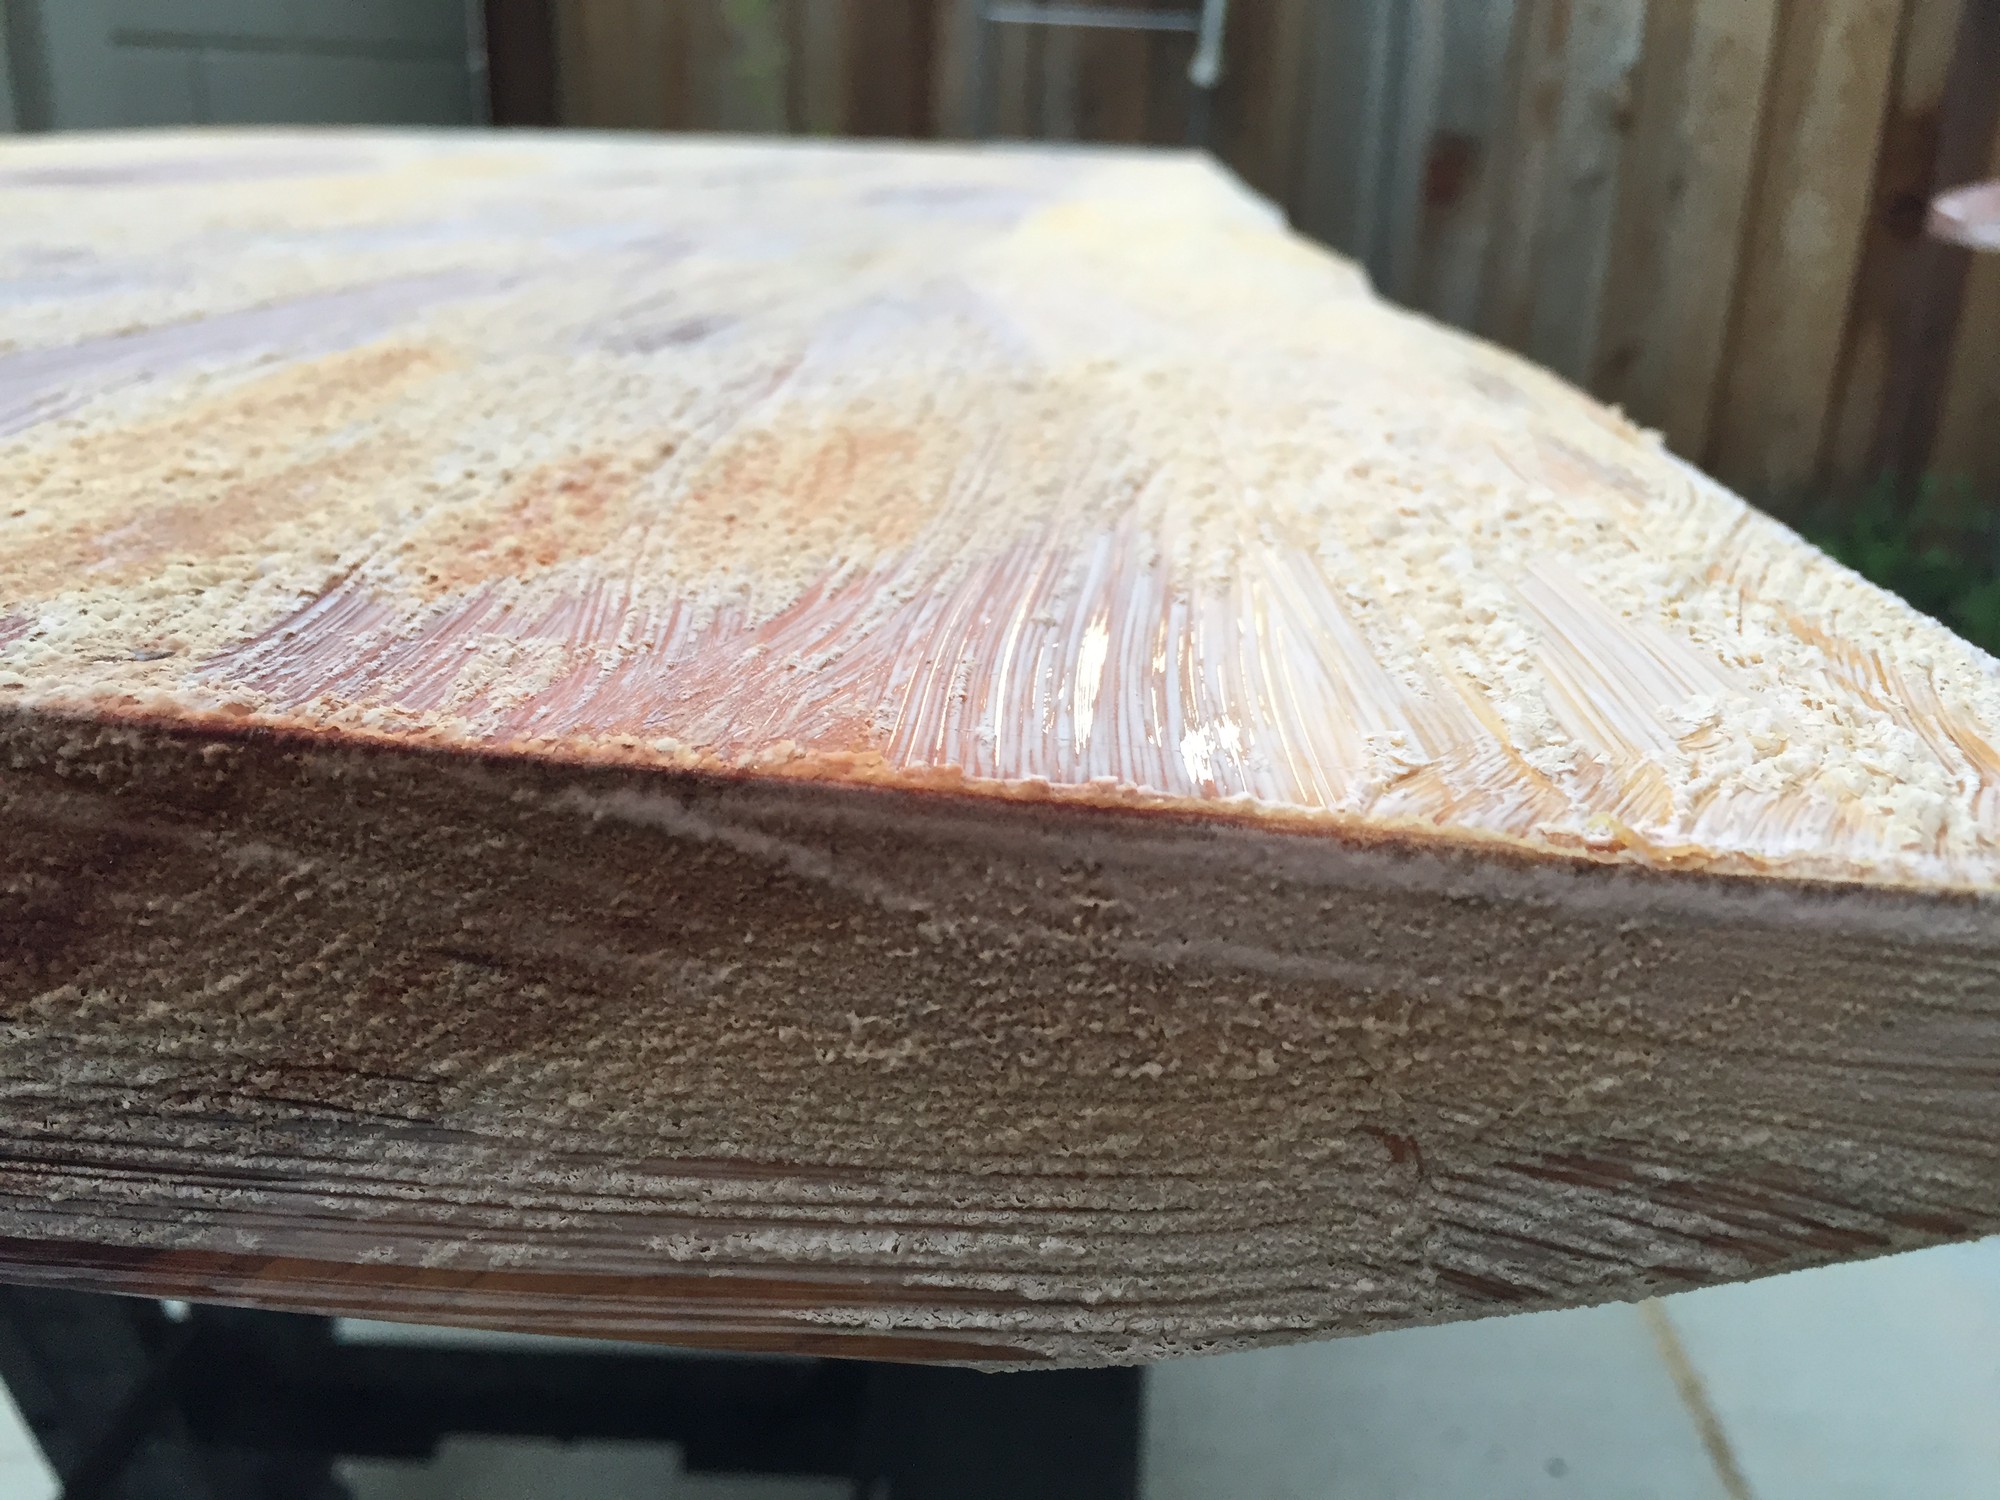
The first step was to fill any defects (whether they be structural or just visual weaknesses). To do this I used West Systems 105 Epoxy Resin with West Systems 207 Hardener.
After my previous project and realizing that orbital sanding cured resin with 80 grit paper is very slow going, I decided to try a Ryobi belt sander purchased from Home Depot. The increased speed of the belt rotation and ability to go as low as 50 grit instead of just 80 grit allowed me to zip through the cured resin in minutes.
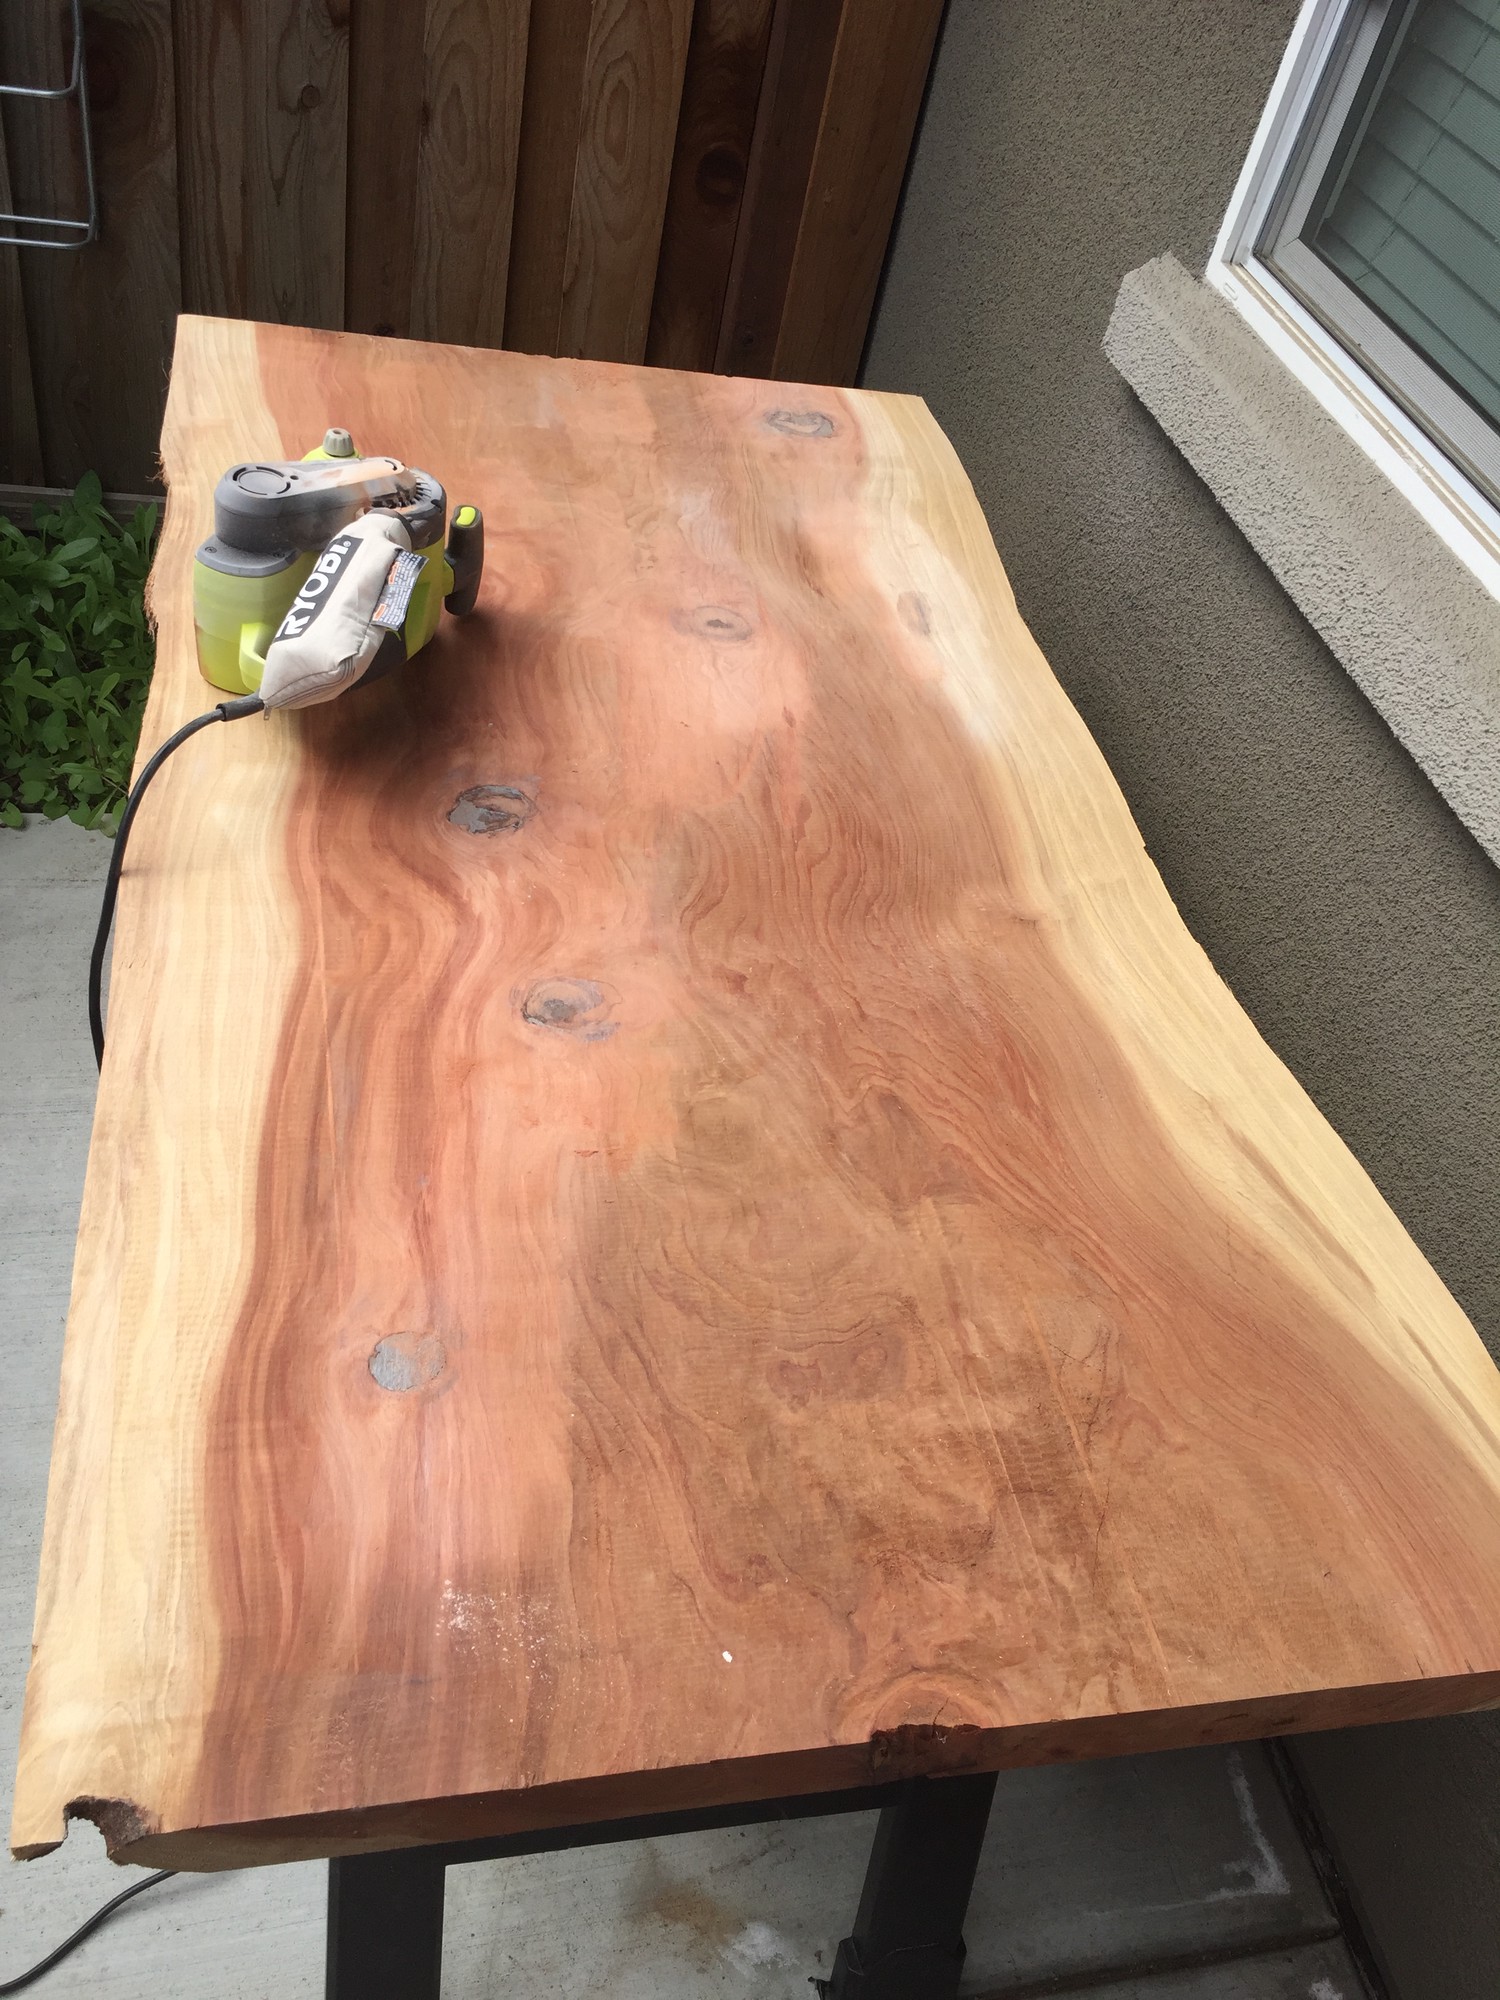
After leveling the resin fills, I then lightly sanded the entire surface using the belt sander and 120 grit.

After watching some interesting youtube videos on card scrapers and seeing their apparent effectiveness at creating a smooth surface, I decided to purchase a couple2 and try them out for myself in an attempt to avoid higher grit sanding.
I discovered card scrapers take practice to use effectively. Combination of either too low or too high of an approach angle of the card to the wood and the naturally soft fibers of redwood, meant that creating divots were very easy. The removal of these divots was time consuming and amounted to resanding the wood in those areas using 120 grit sand paper. While the card scrapers provided an unparalleled smooth texture for the resin fills, they ulimately proved too difficult to use without creation of divots on the soft redwood. I instead resorted to sanding progressively from 80 grit up to 1200 grit as I had done in my previous project
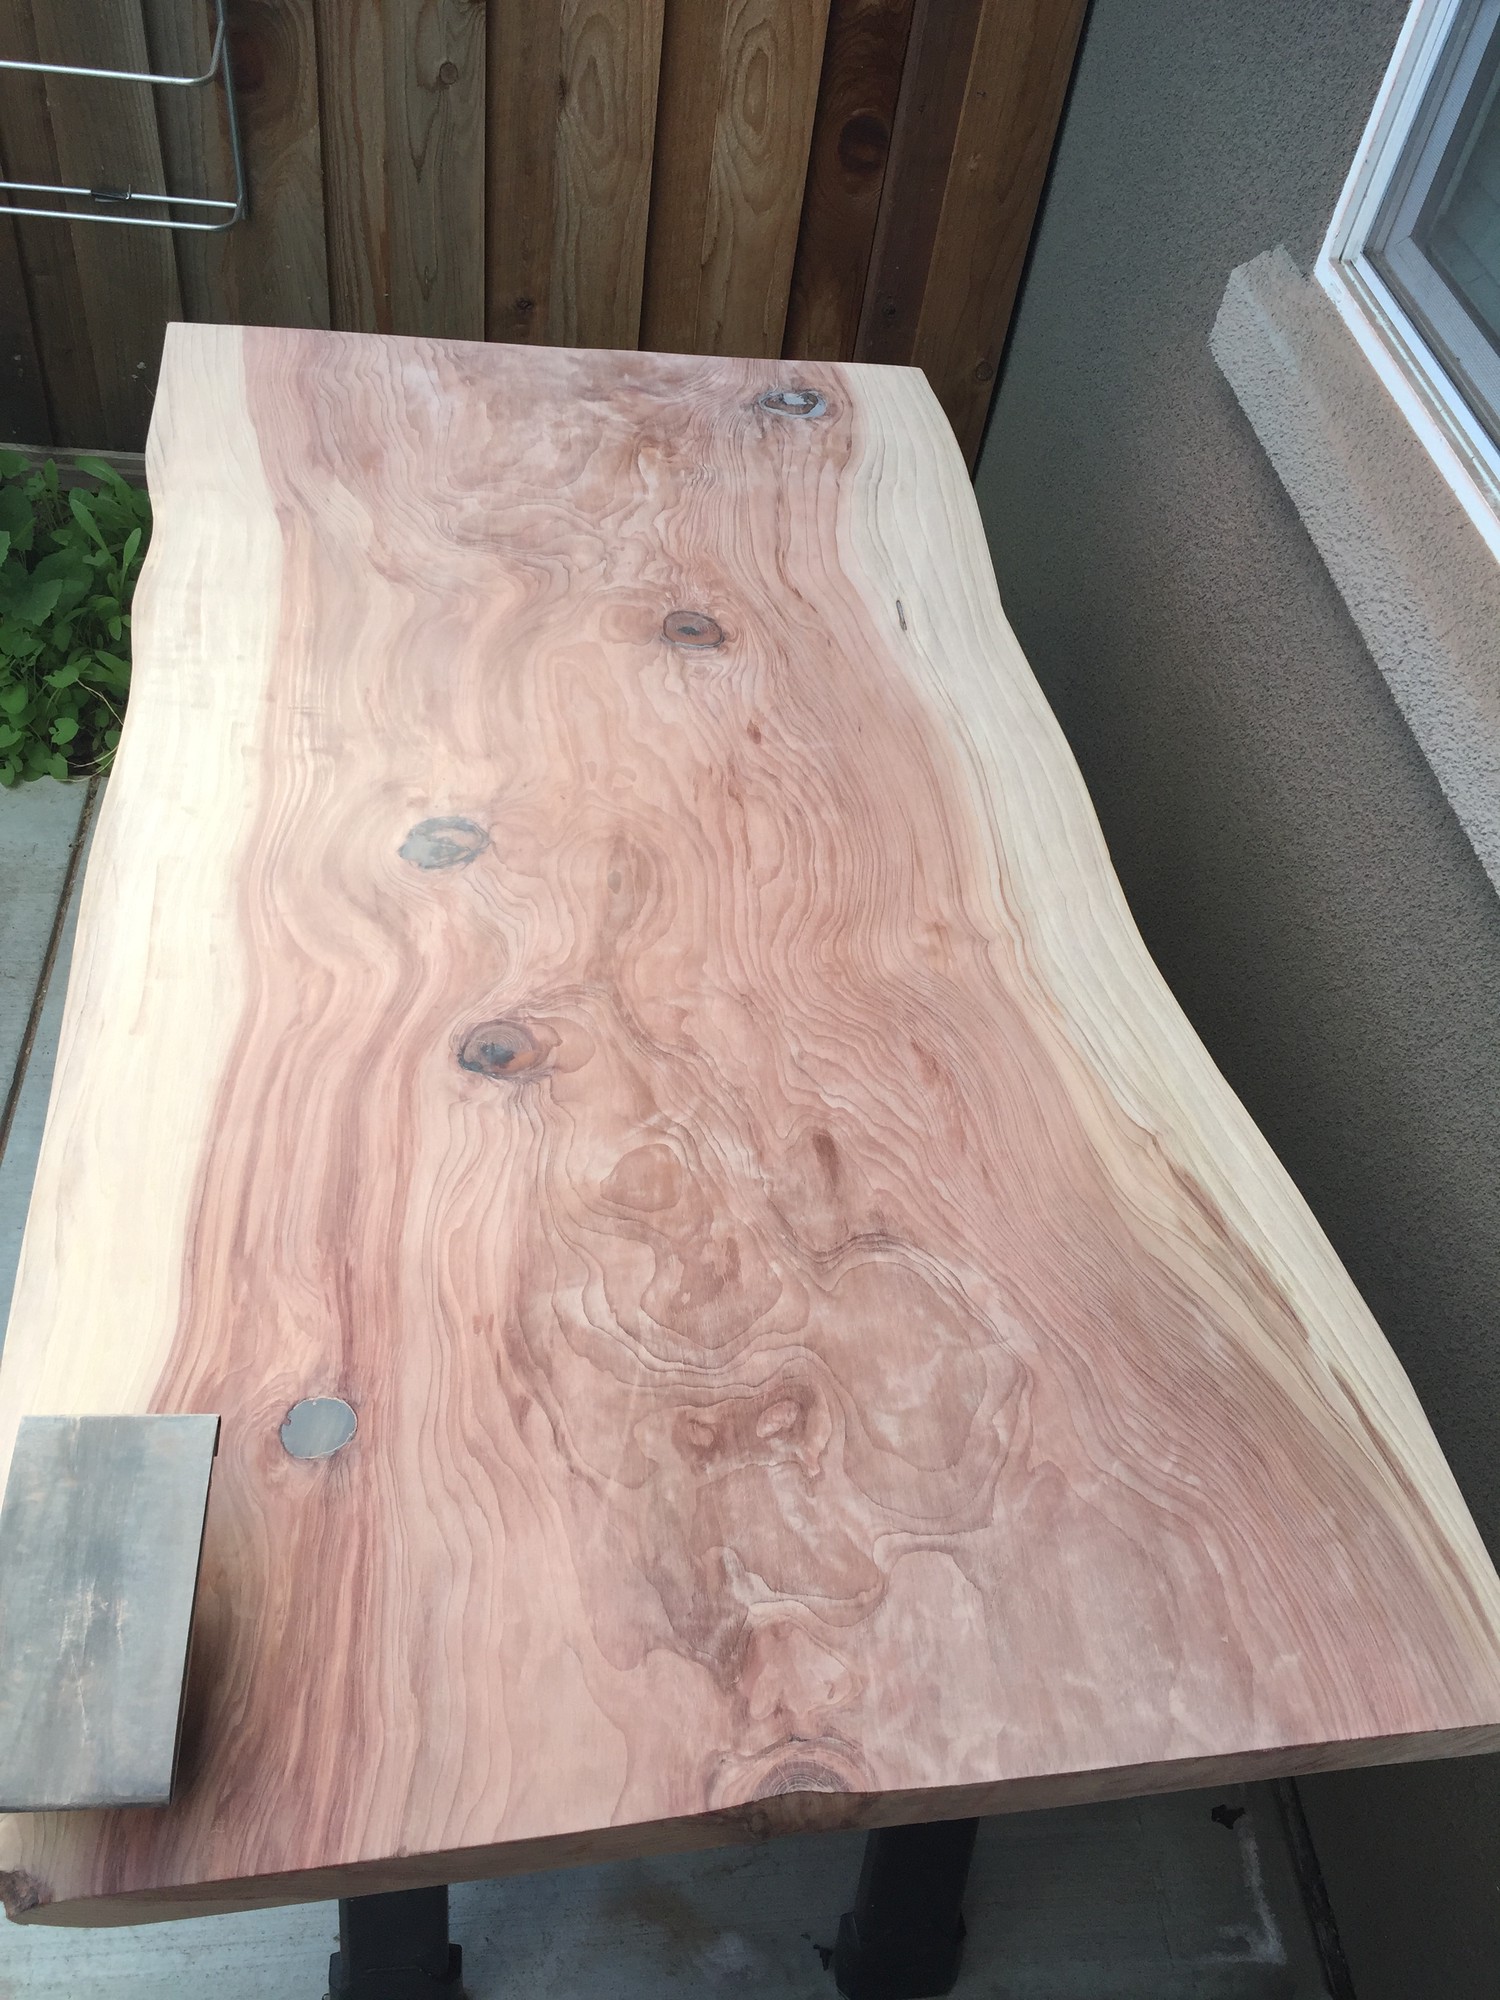
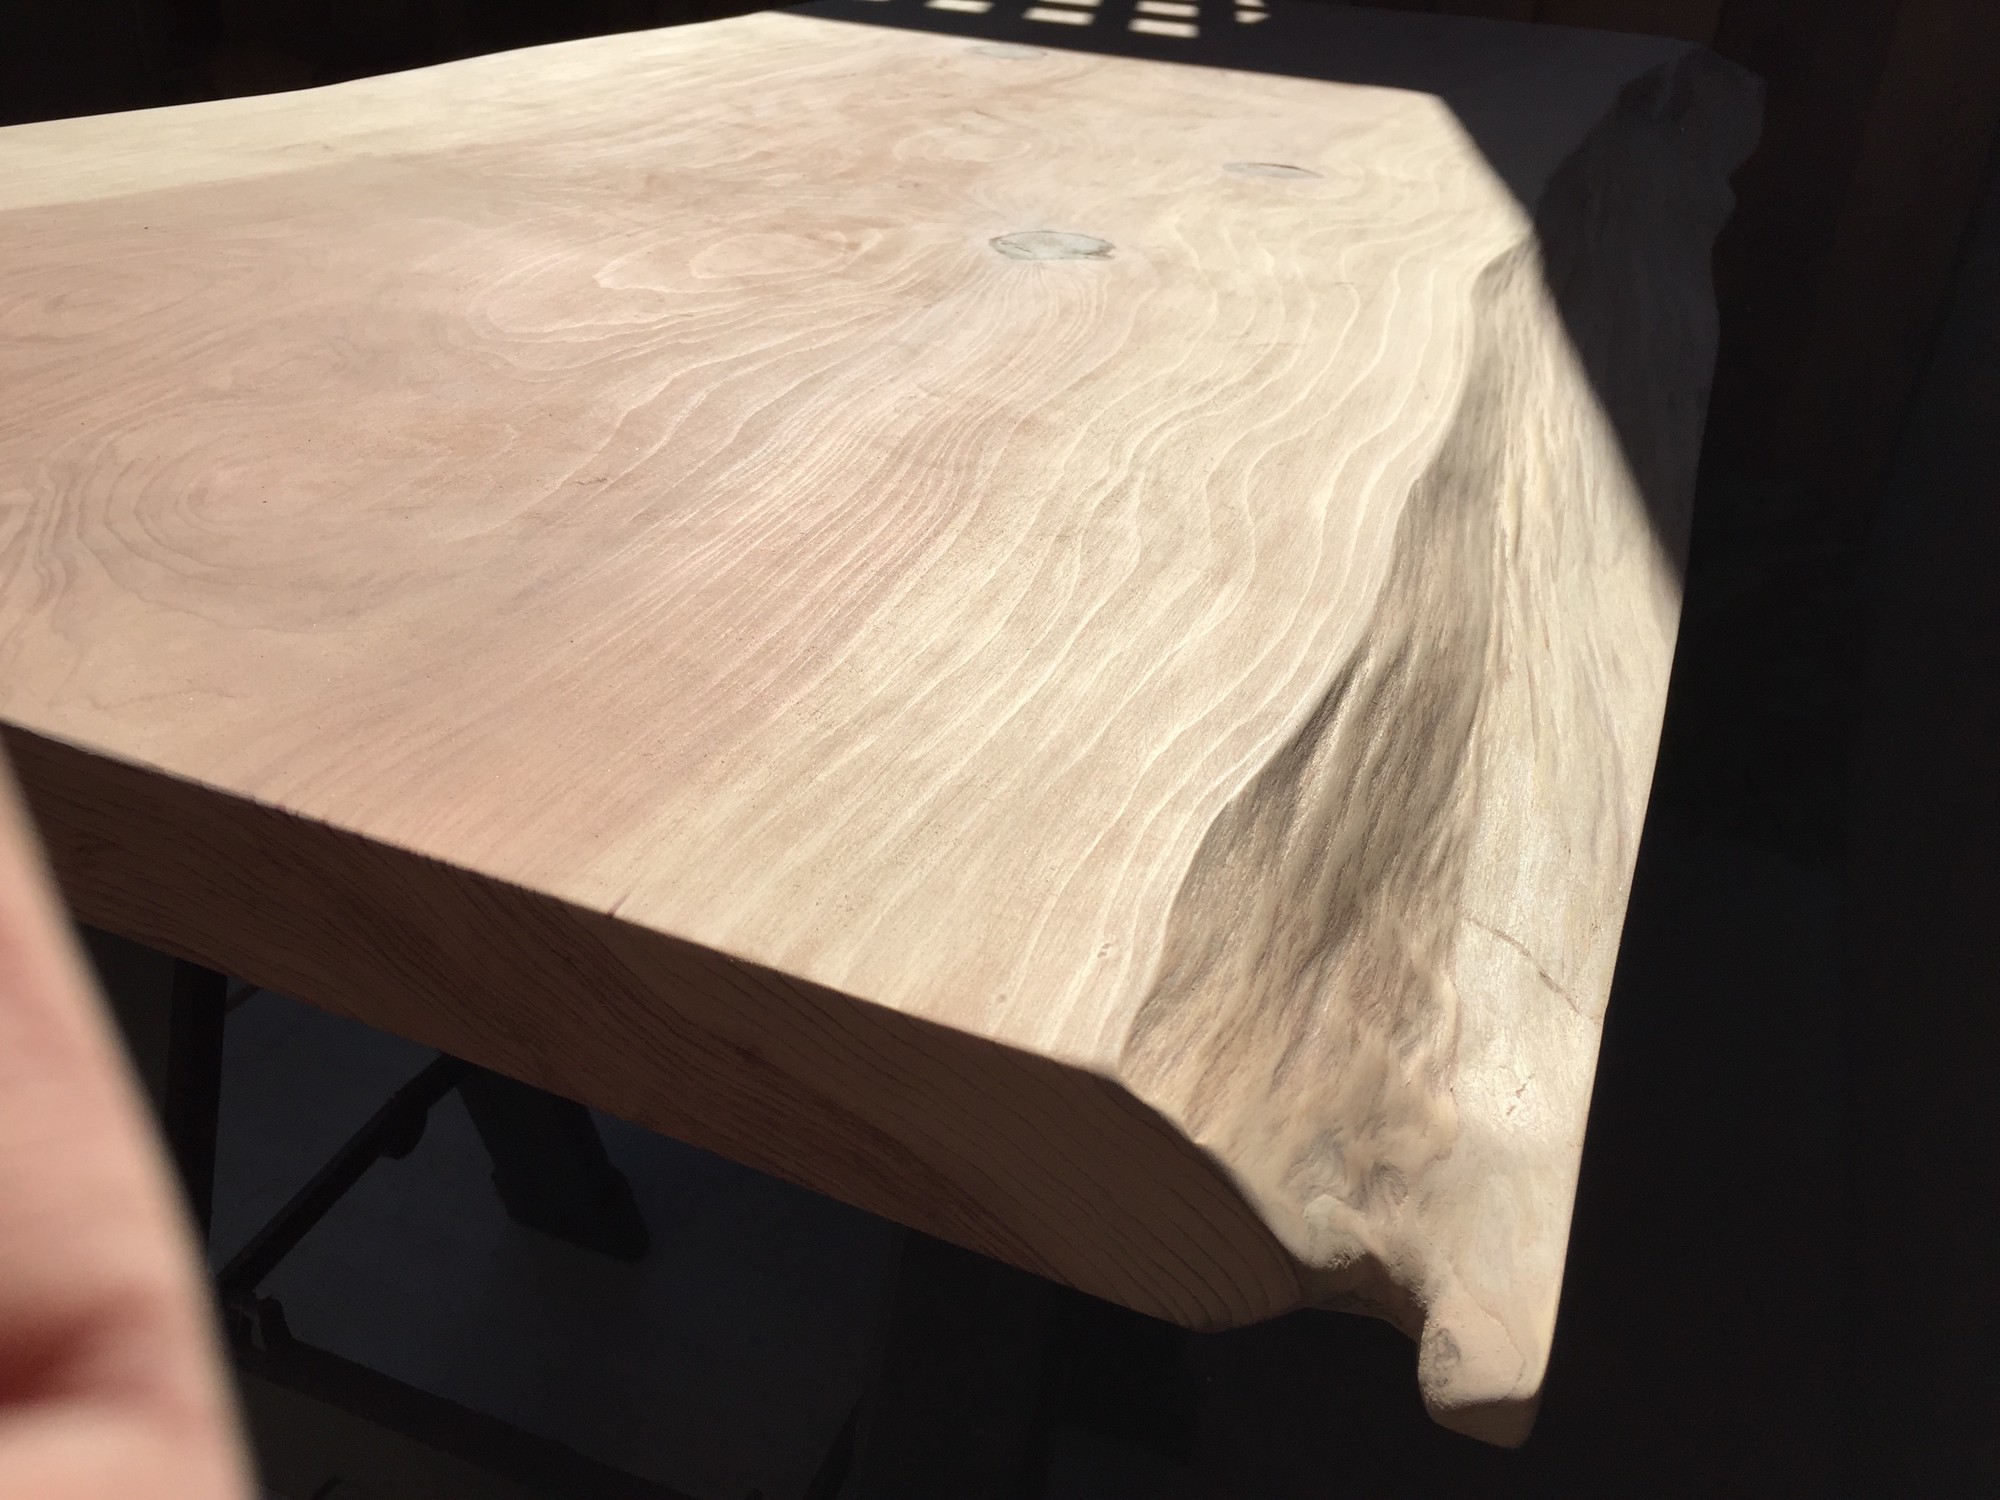
The next step was to use 400, 600 and 1200 grit sand paper by hand to round the edges and remove loose fibers from the live edges and generally smooth out the live edges.
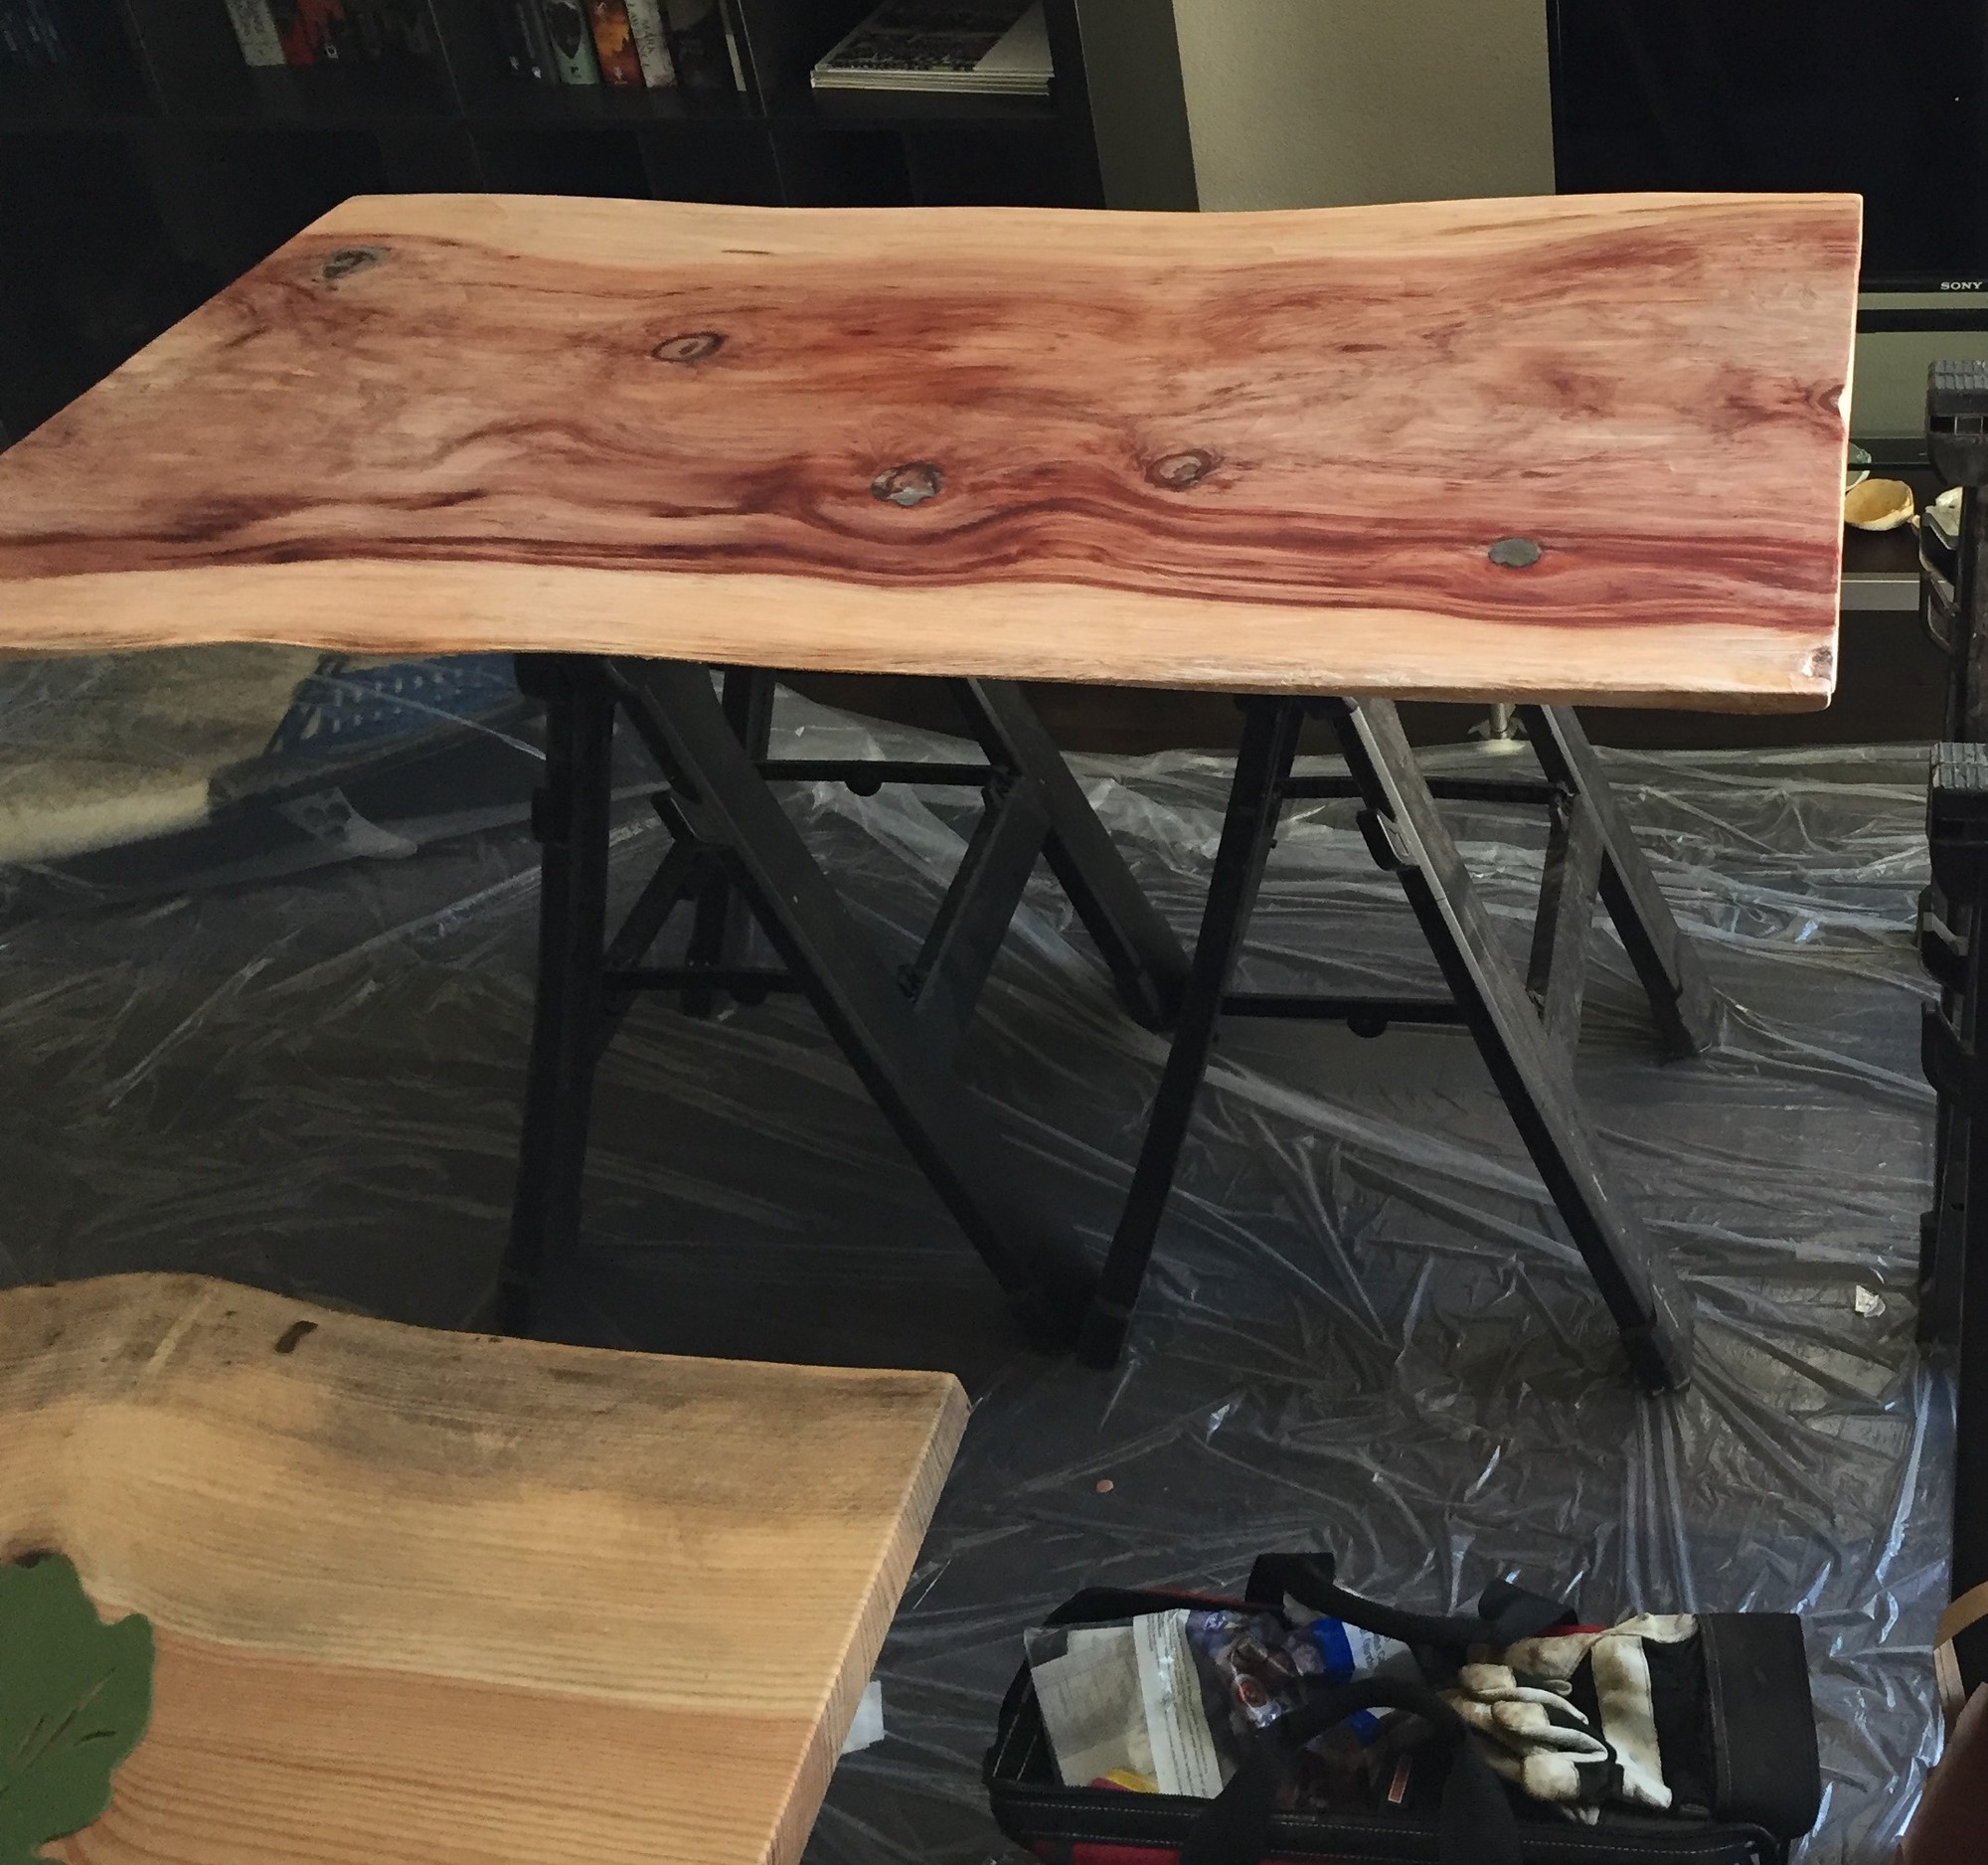
At this point the sanding was done and I could move on to staining the wood. For this, I used Watco Danish Oil (Natural)3.
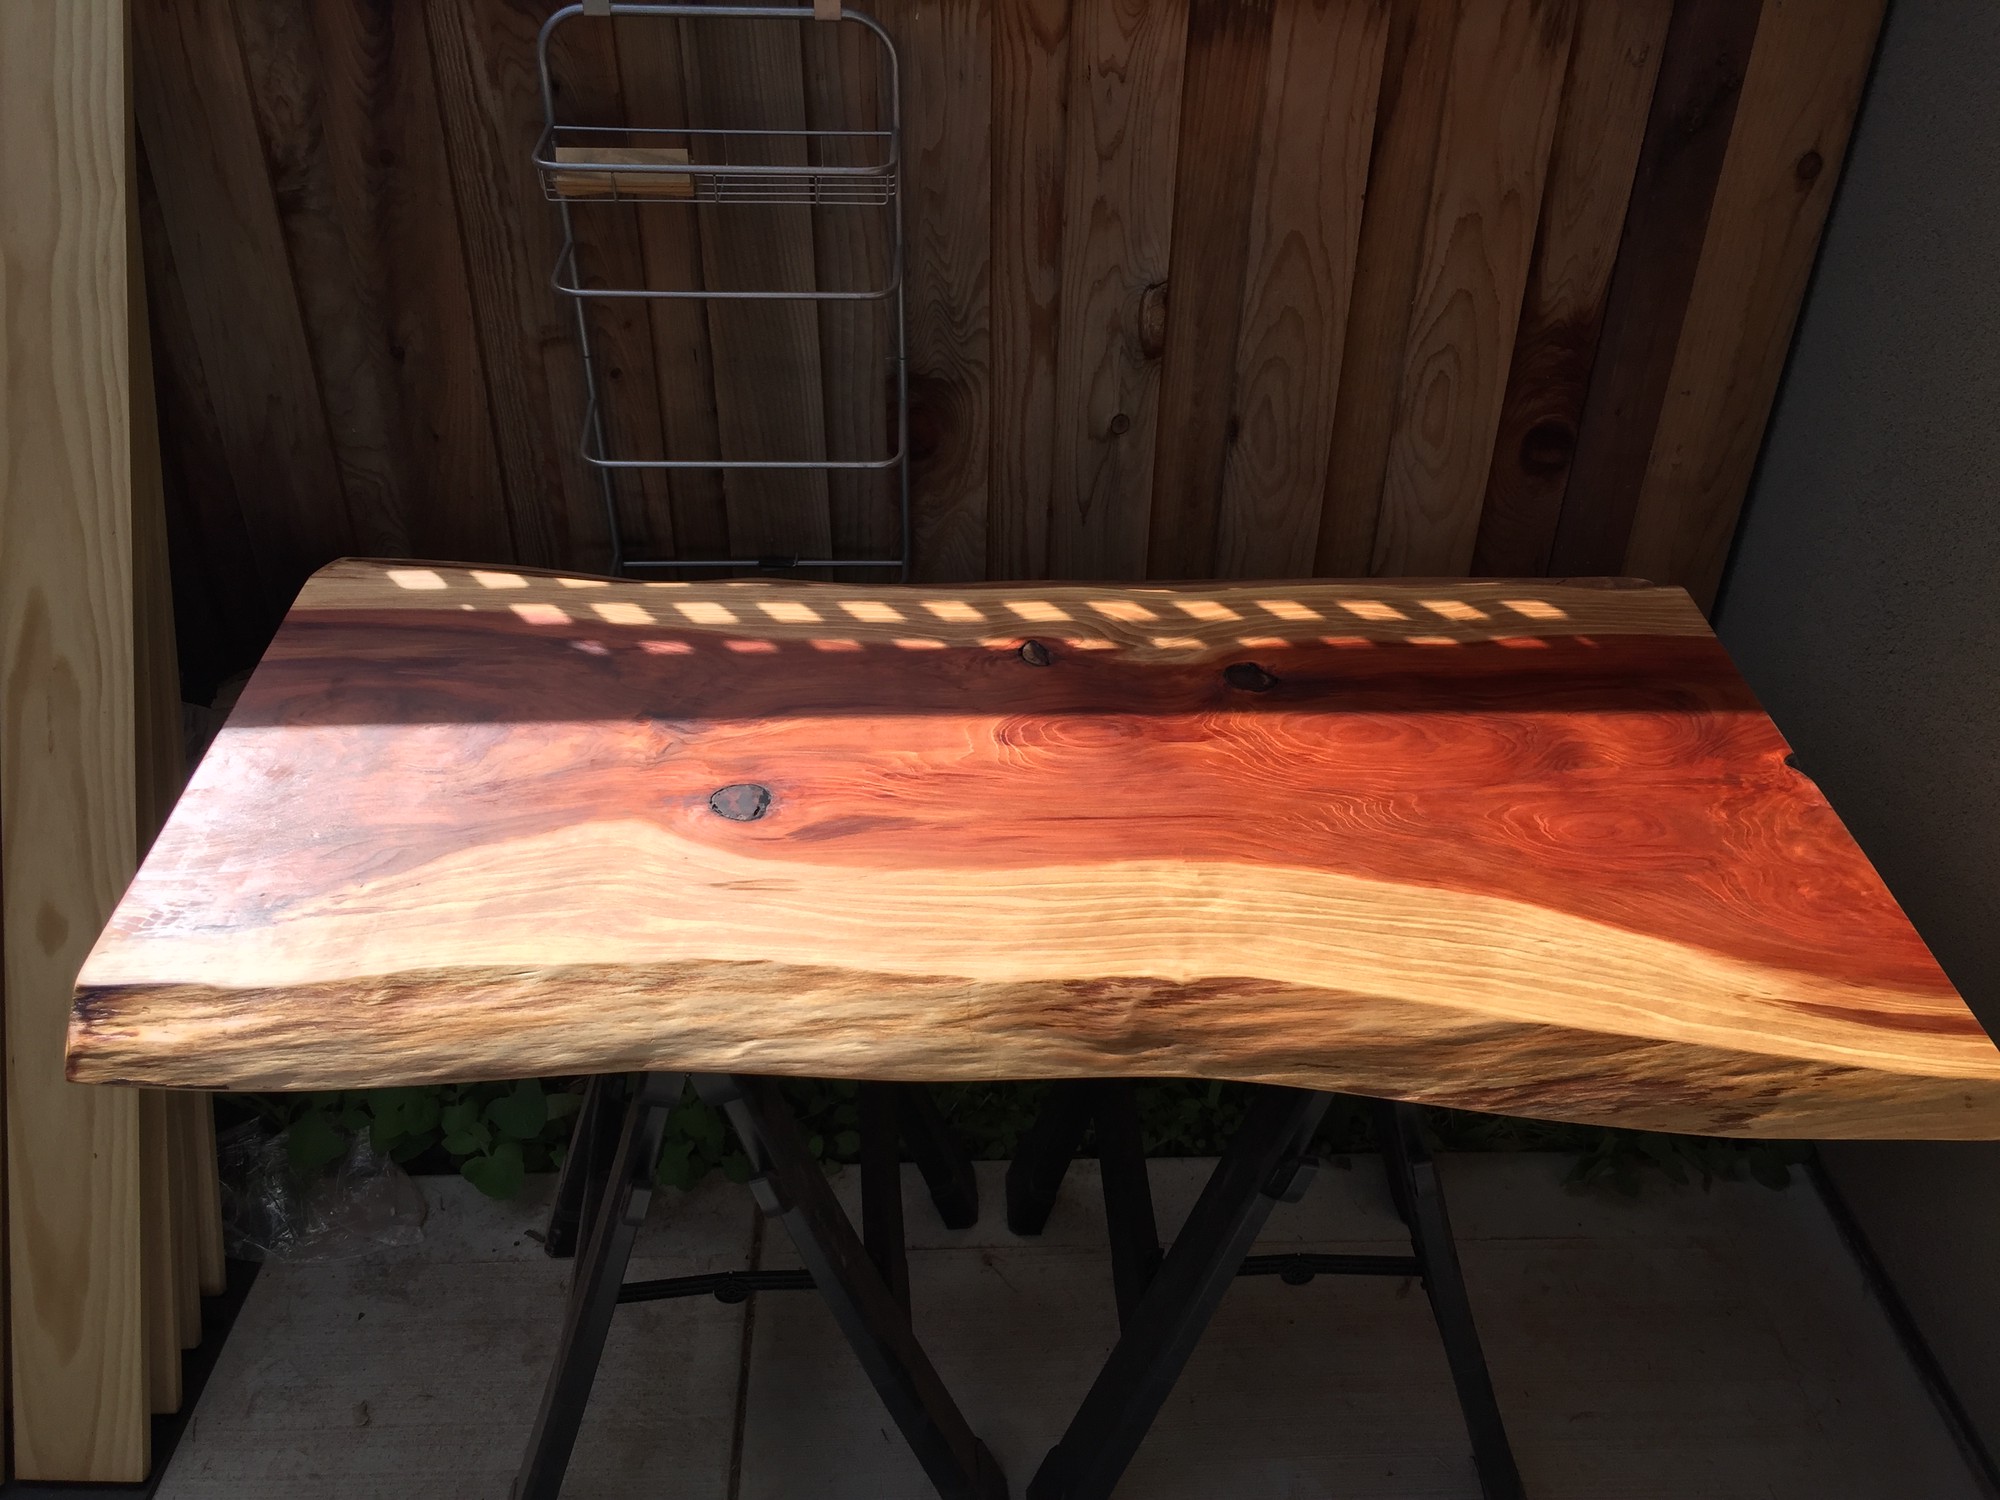
Once this had sufficiently dried (~3 days), I began applying varnish for the finish. This was my first experience applying a film finish as opposed to just an in-grain one (e.g. simply using Danish oil). I spoke with a local craftsman at Ponderosa Millworks1 about their typical finish procedure and they recommended using spar varnish4.
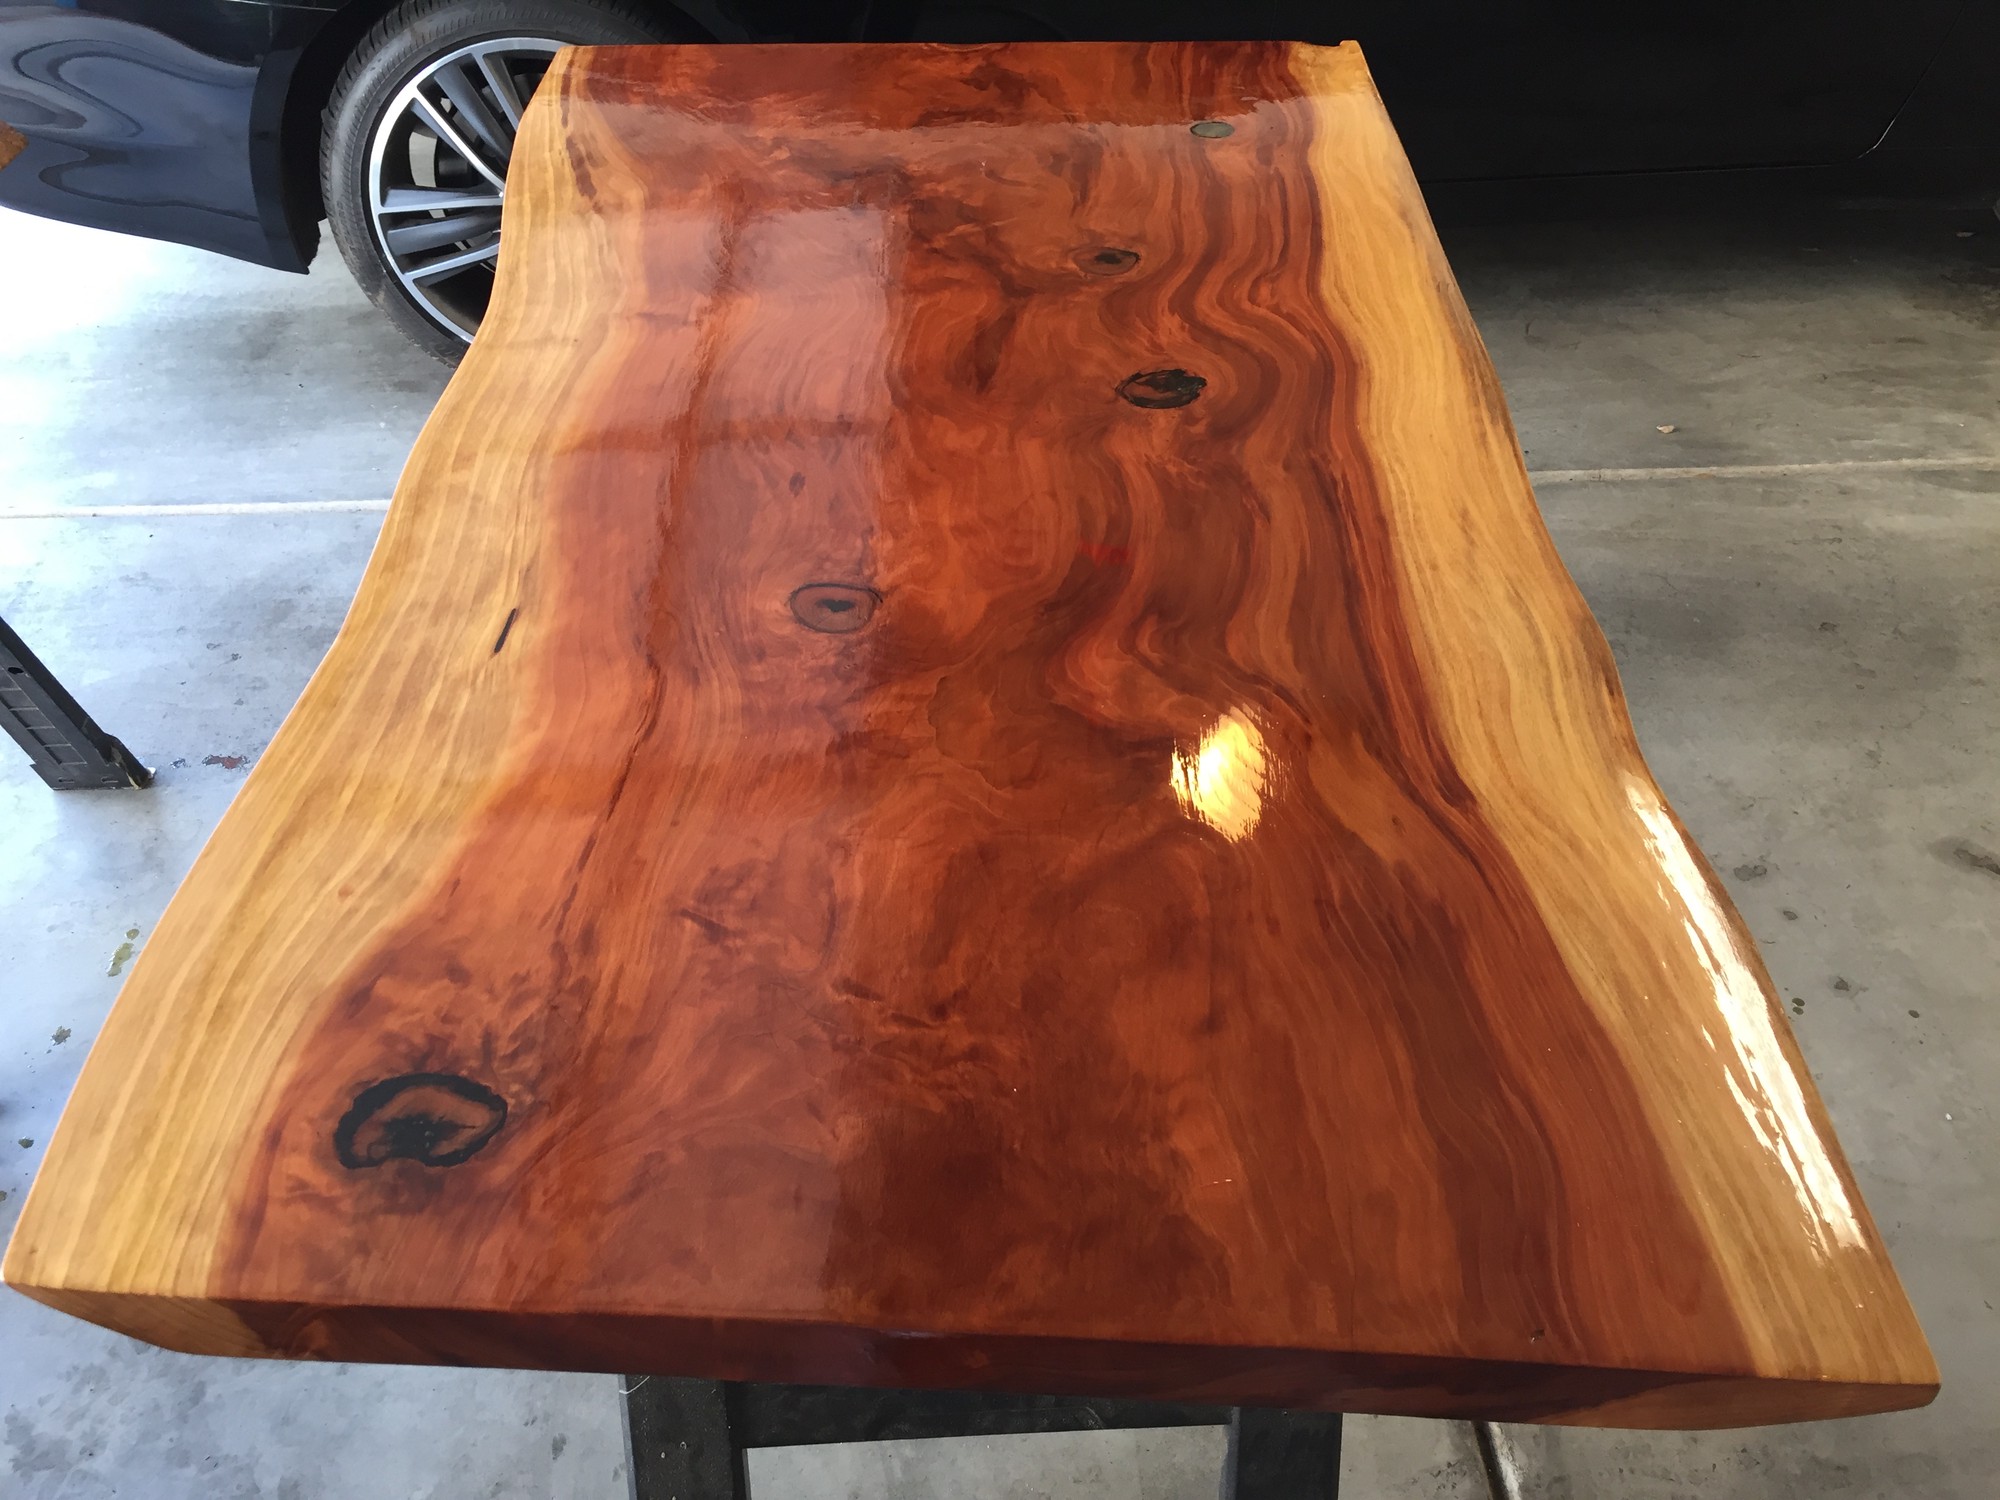
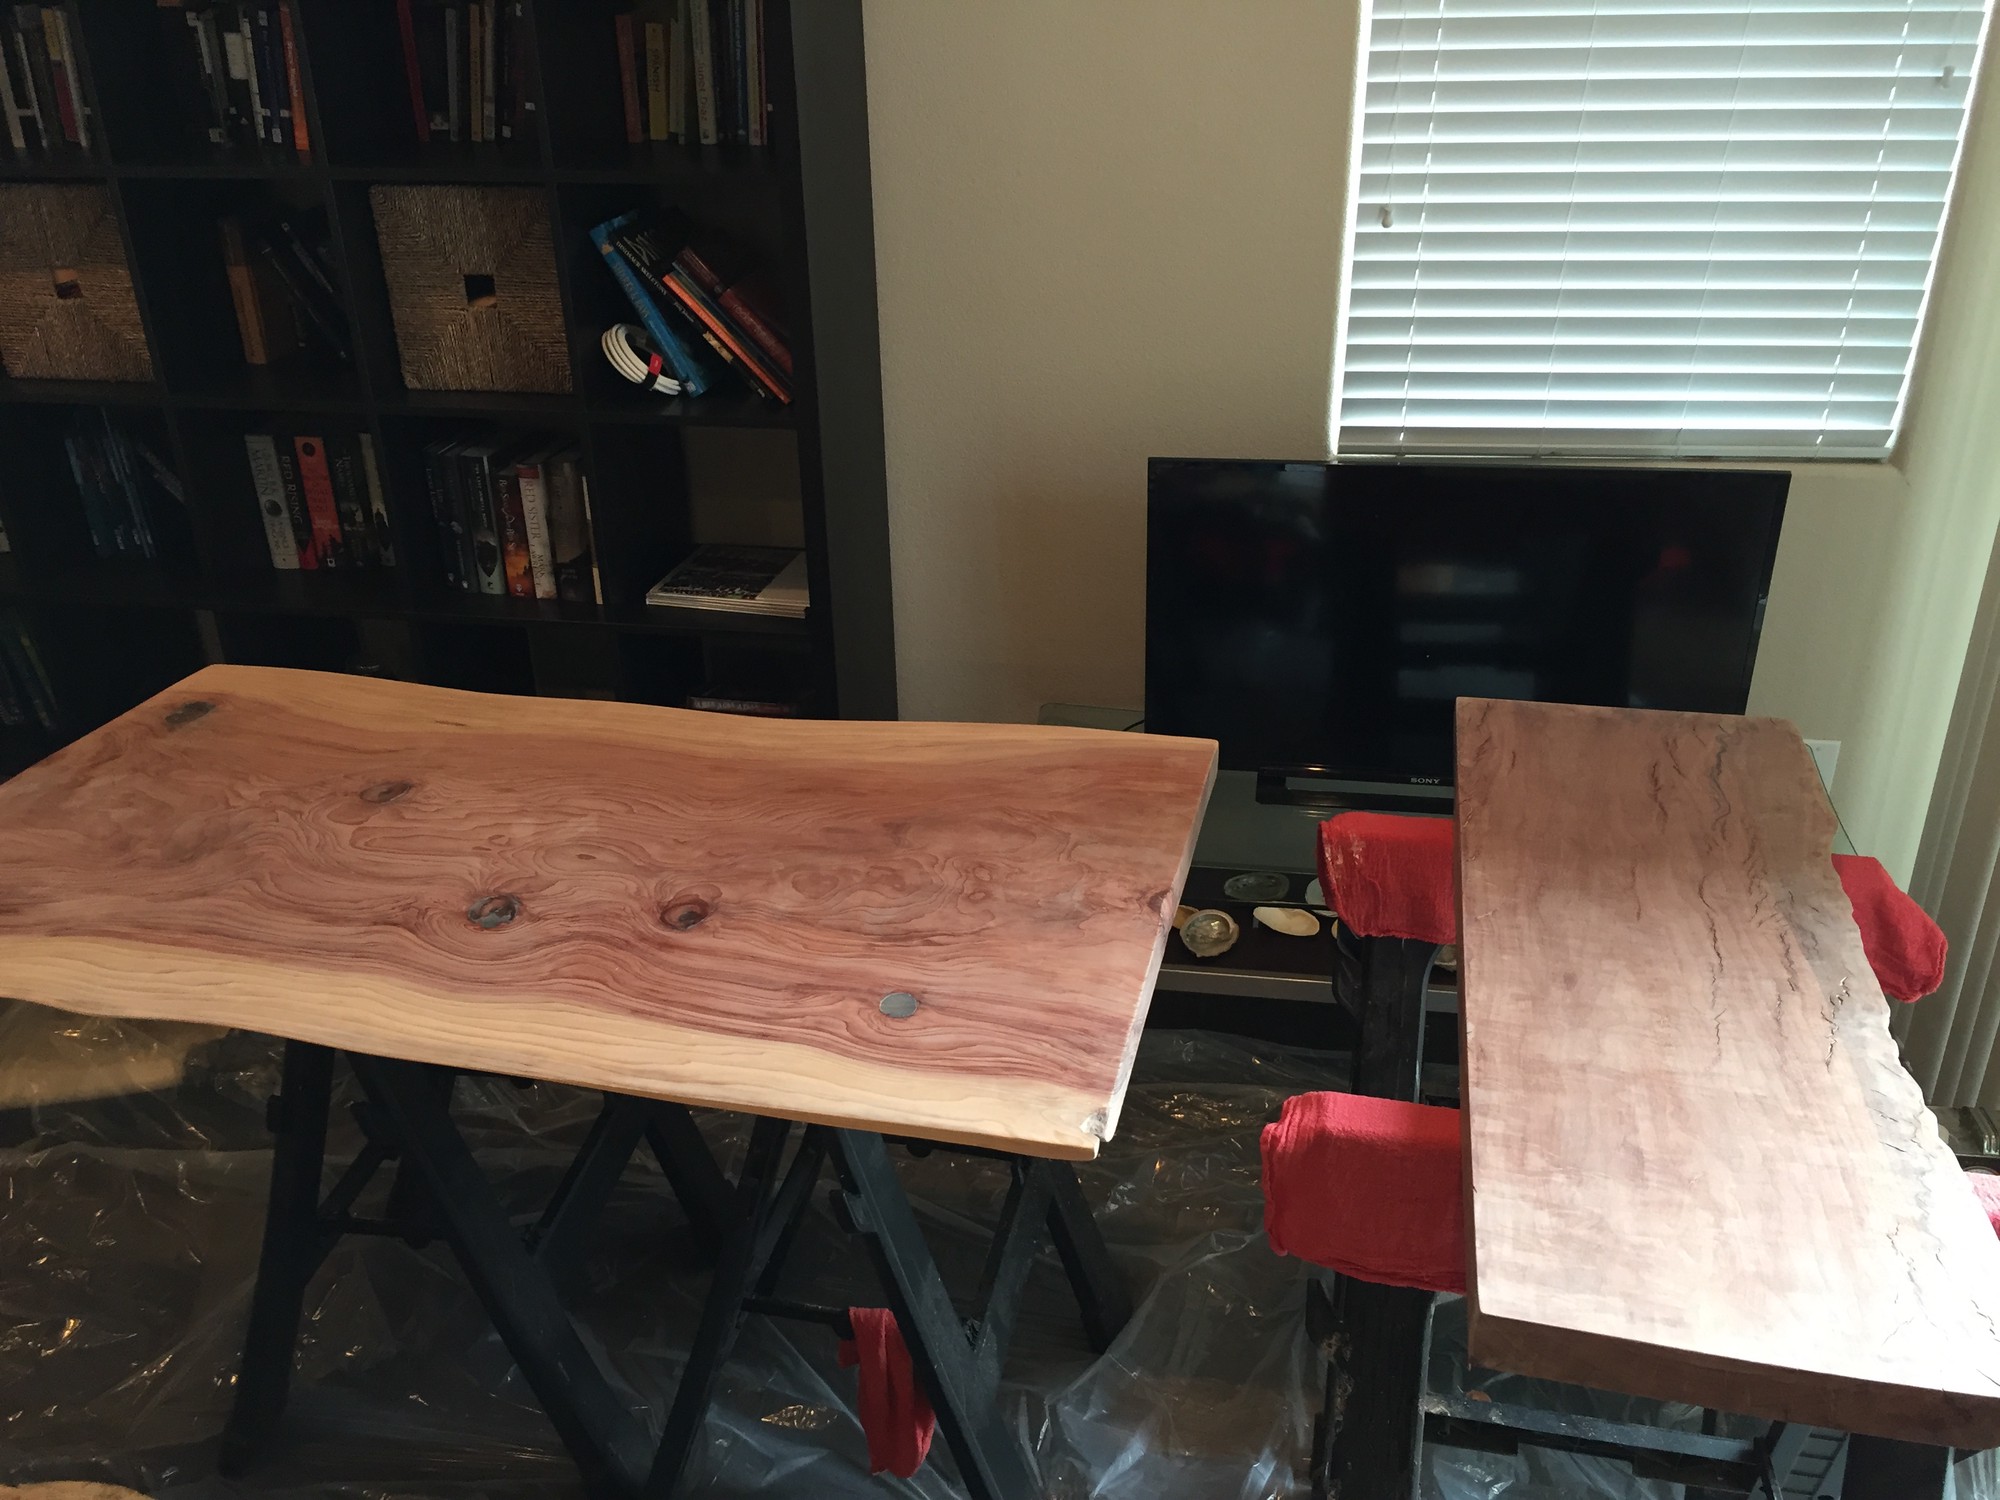
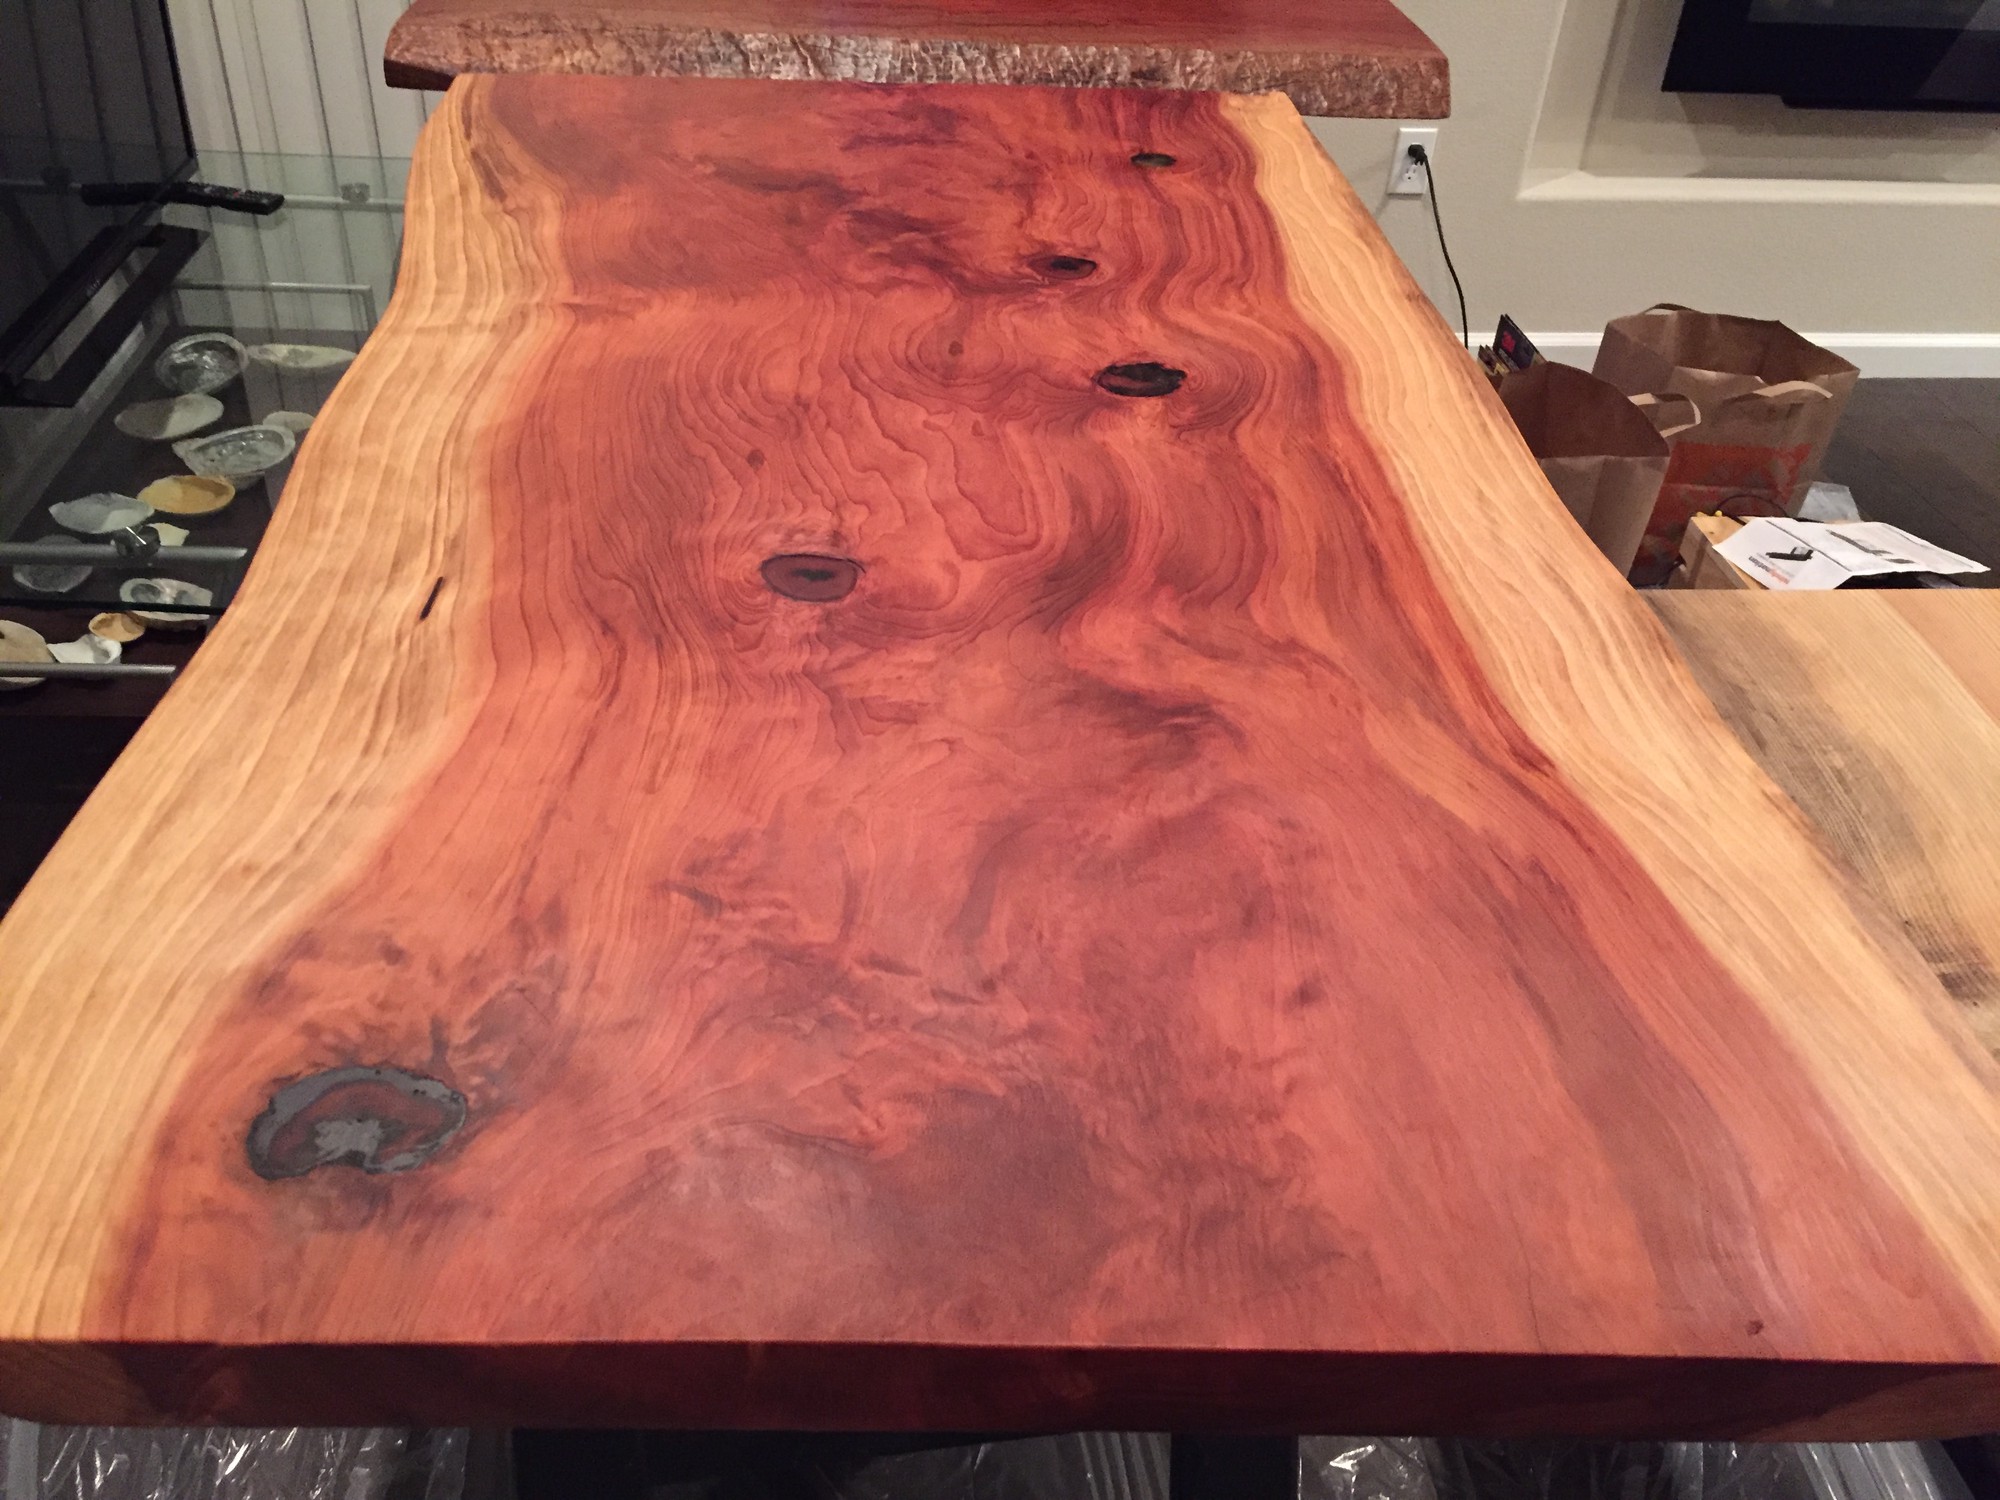
The results after ~4 coats are shown below.

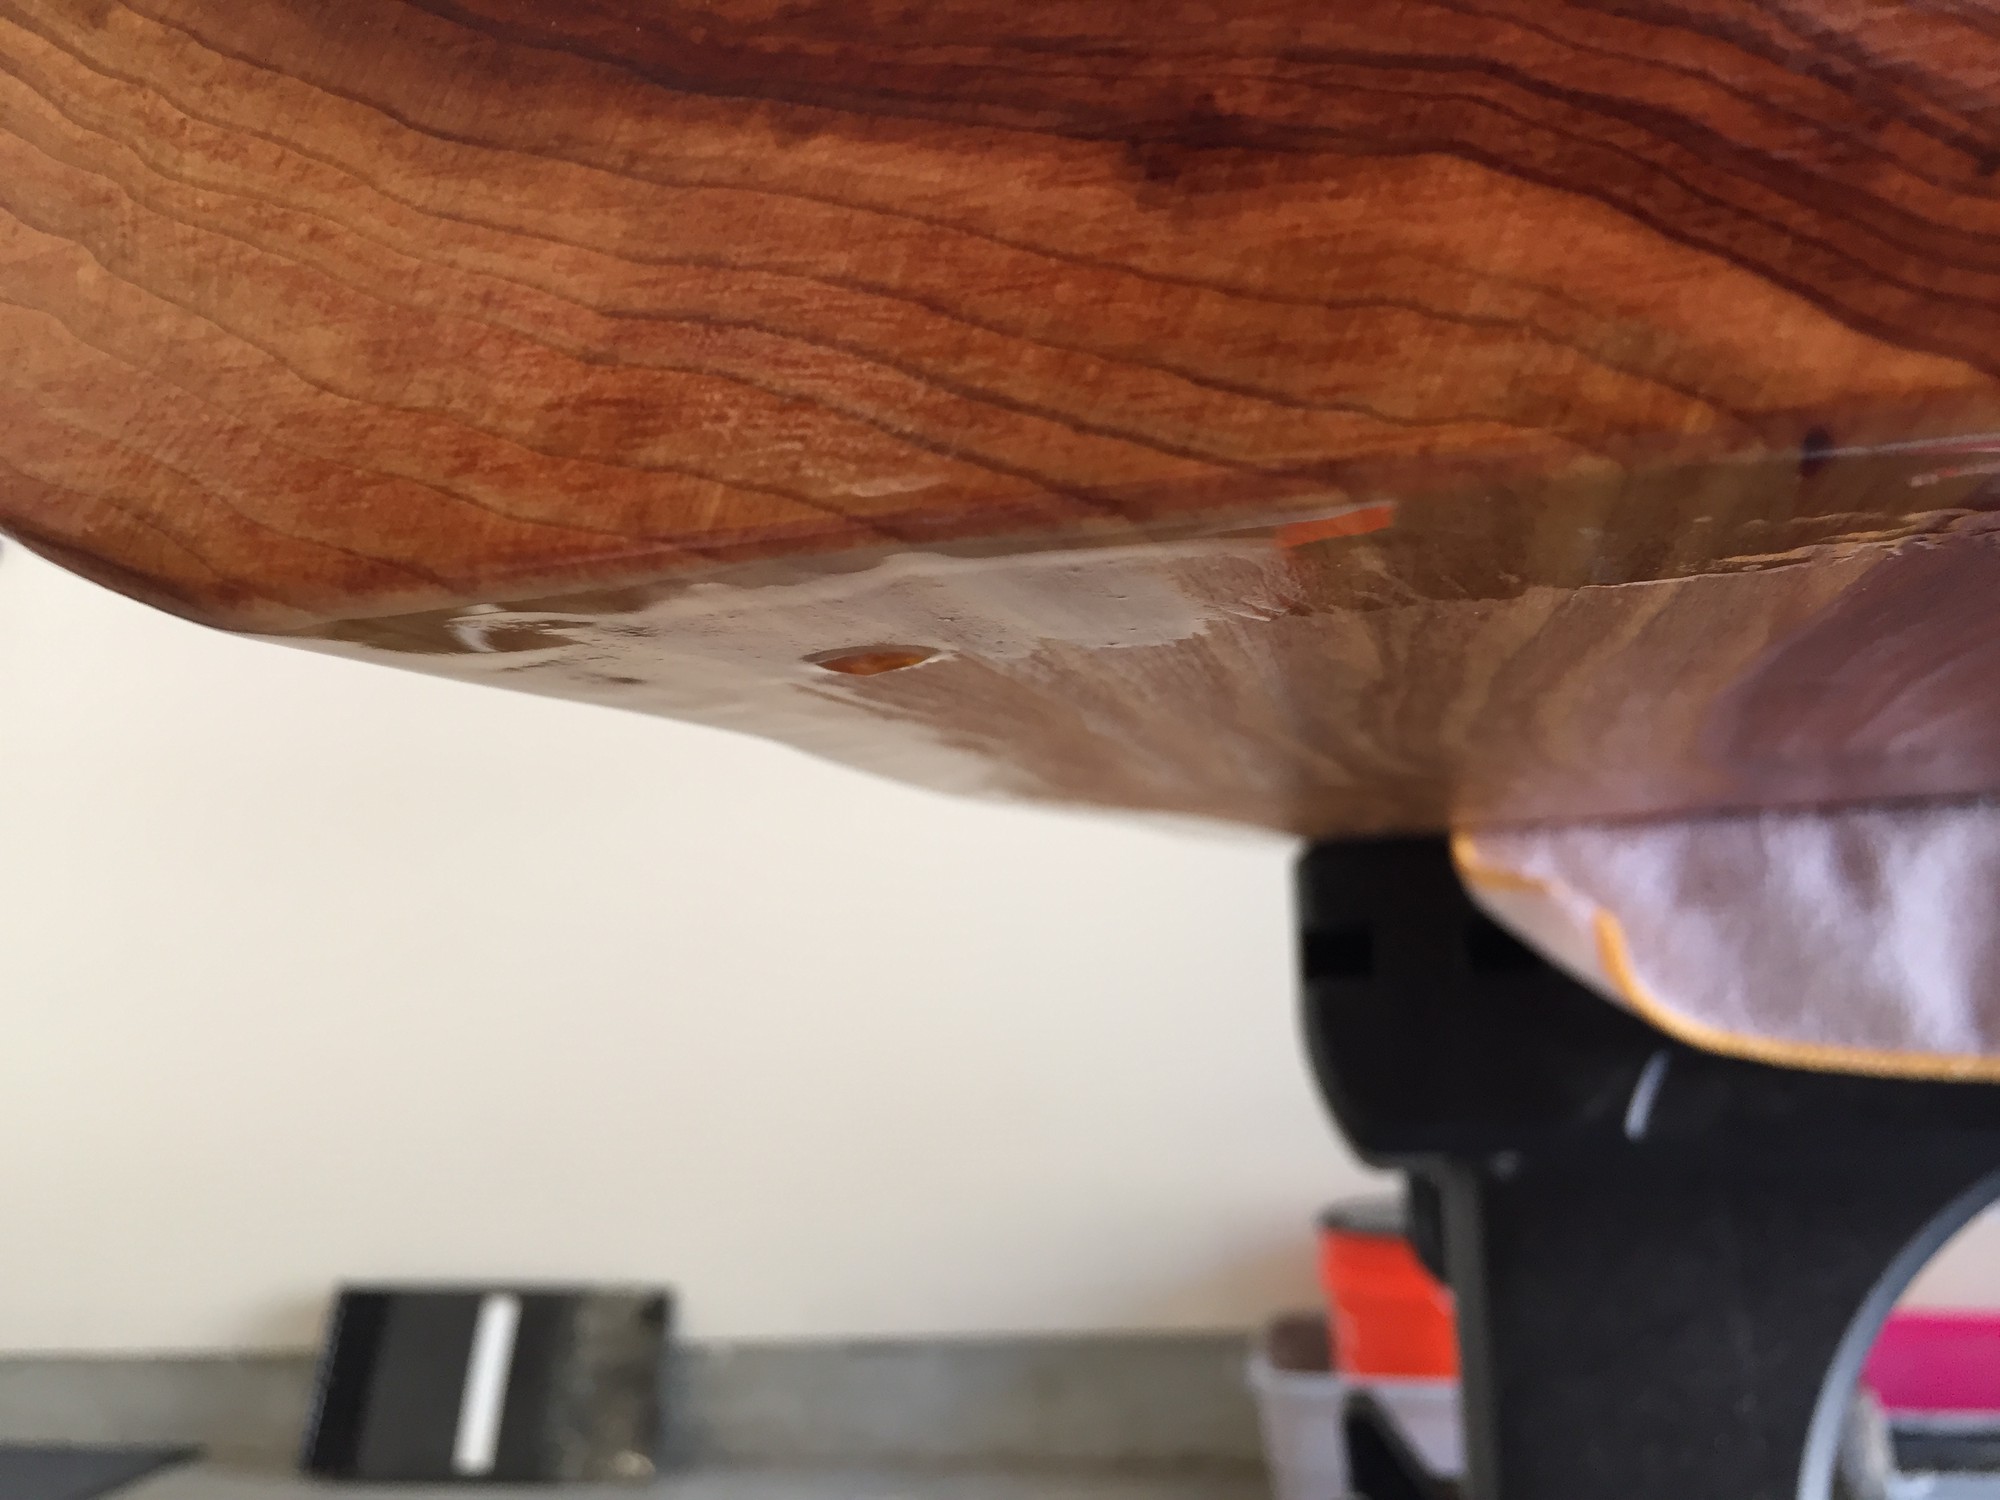
Unfortunately, I didn’t thoroughly research the use cases of spar varnish4. So while as seen above, the results are very glossy and smooth (my goals), the varnish itself was very tacky even after weeks of drying. Not only was the finish not curing to a suitable hardness, it had also formed drips in several places (this was my first attempt at applying a film finish and so each coat was too thick).
After conducting more research on the various film finishes available and asking several questions across the web5 6 with respect to how to best proceed from my then current state of things, I finally resolved to stripping the finish off and reapplying Minwax wipe-on poly instead of spar varnish. I researched the various stripping agents available and settled on one that was the least harmful to the underlying wood7. The chemical agent needed only about 45 minutes total to fully penetrate the film finish.
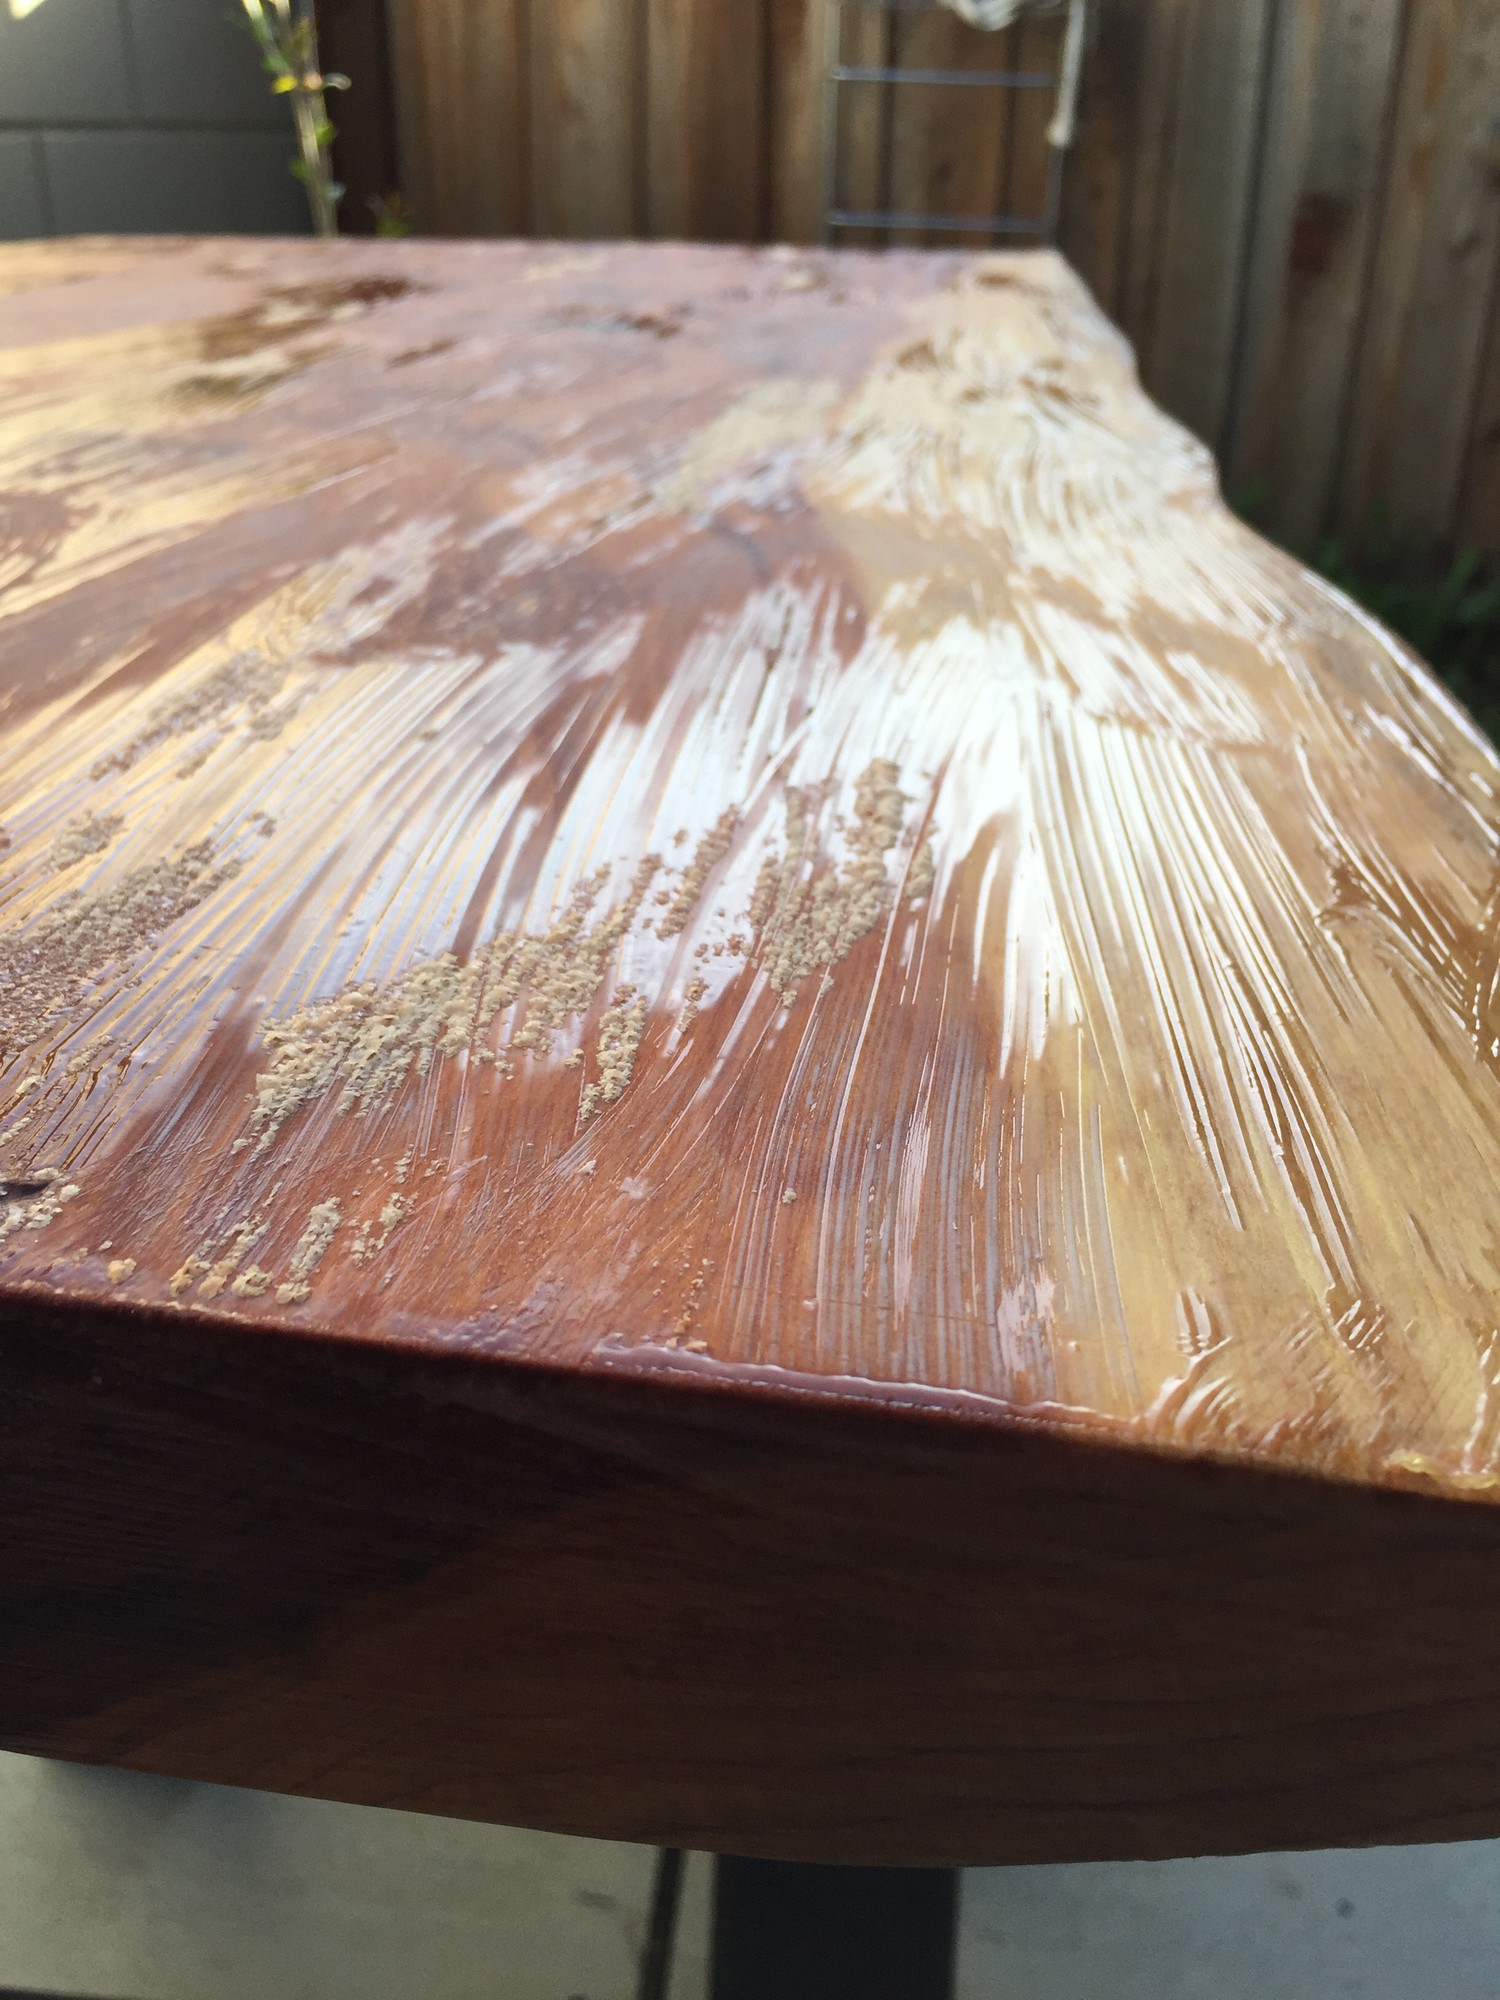
Once 45 minutes of set time had passed, I was able to proceed with scrapping off the chemical agent and film finish. To avoid damage to the wood surface and minize the amount of resanding necessary, I used soft bristle scrub brushes8 and plastic (not metal) paint scrapers from Home Depot.
I then proceeded to resand starting at 120 grit and moving up to 1200 grit.
Because, much of the in-grain stain from the previous Watco Danish Oil3 staining had been sanded off, I needed to restain.
The table was now looking good once again and was ready for the film finish.
For this, I used Minwax Clear Gloss Wipe-on Poly9.
I applied at most 2 coats per day.
I applied each coat with a 4"x4" folded square lint free cotton cloth cut from old t-shirts.
Each coat was applied in sections to the table so as to avoid trying to do table-length strokes (high risk of streaking and bubbles).
I lightly sanded between coats using #0000 steel wool to a dull, cloudy sheen and then meticulously wiped off any debris/metal fragments so as to avoid nibs forming in the next layer of poly.
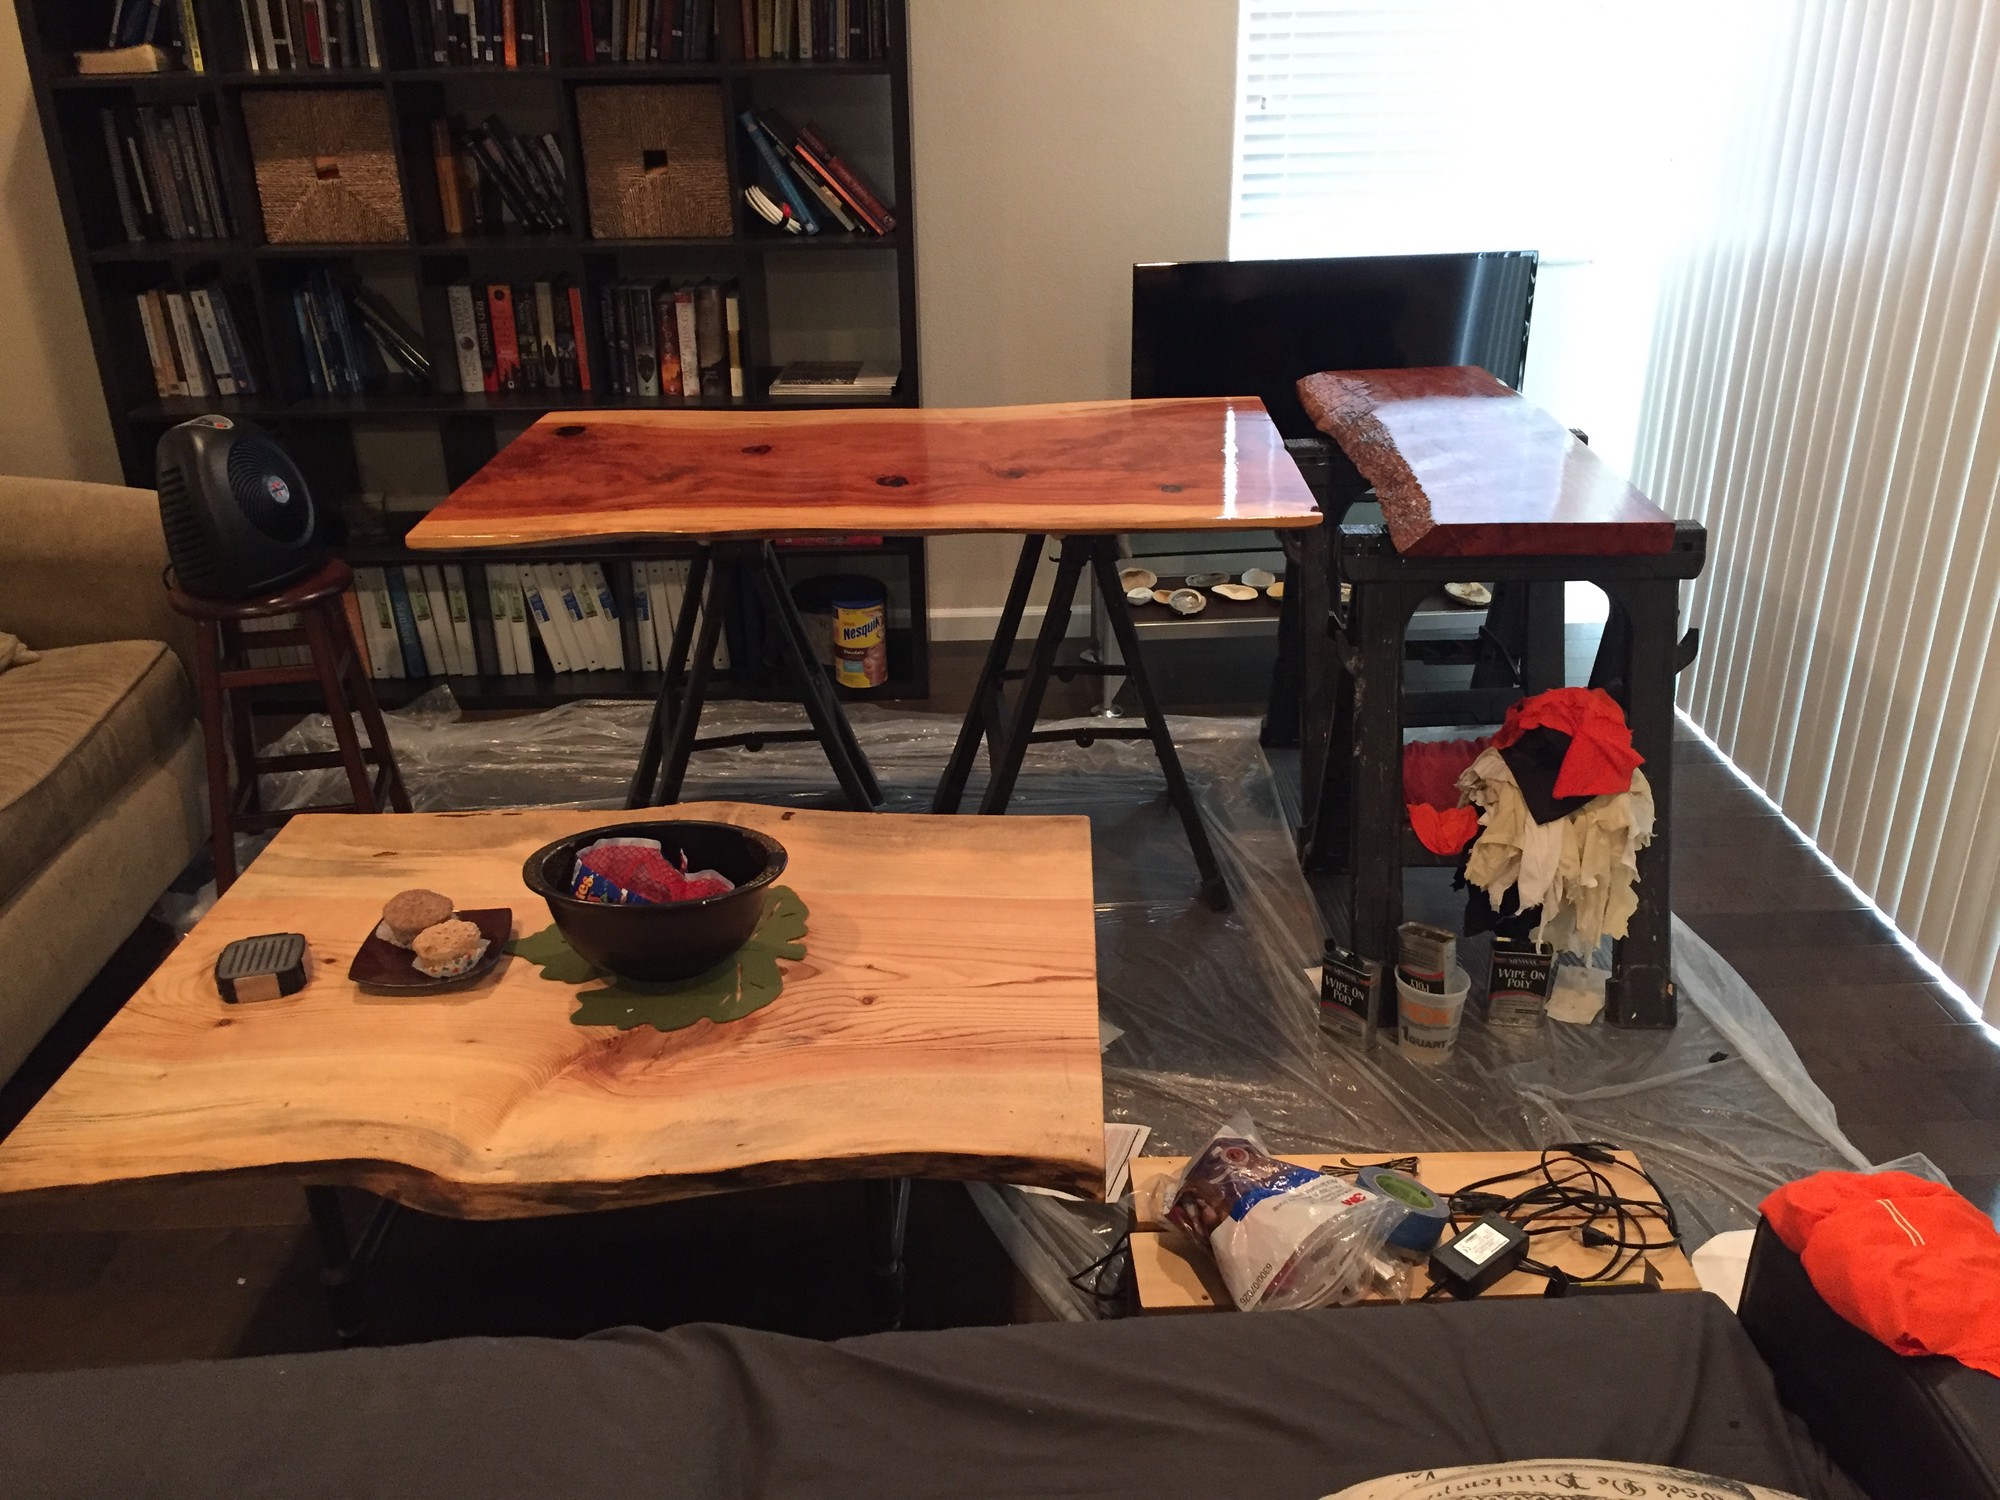
In total I applied 18 coats of poly.
I was apprehensive of using paint stripper or thinner to clean my application cloths in an effort to reuse them. So as you can see below, I had a mountain of rags by the end!
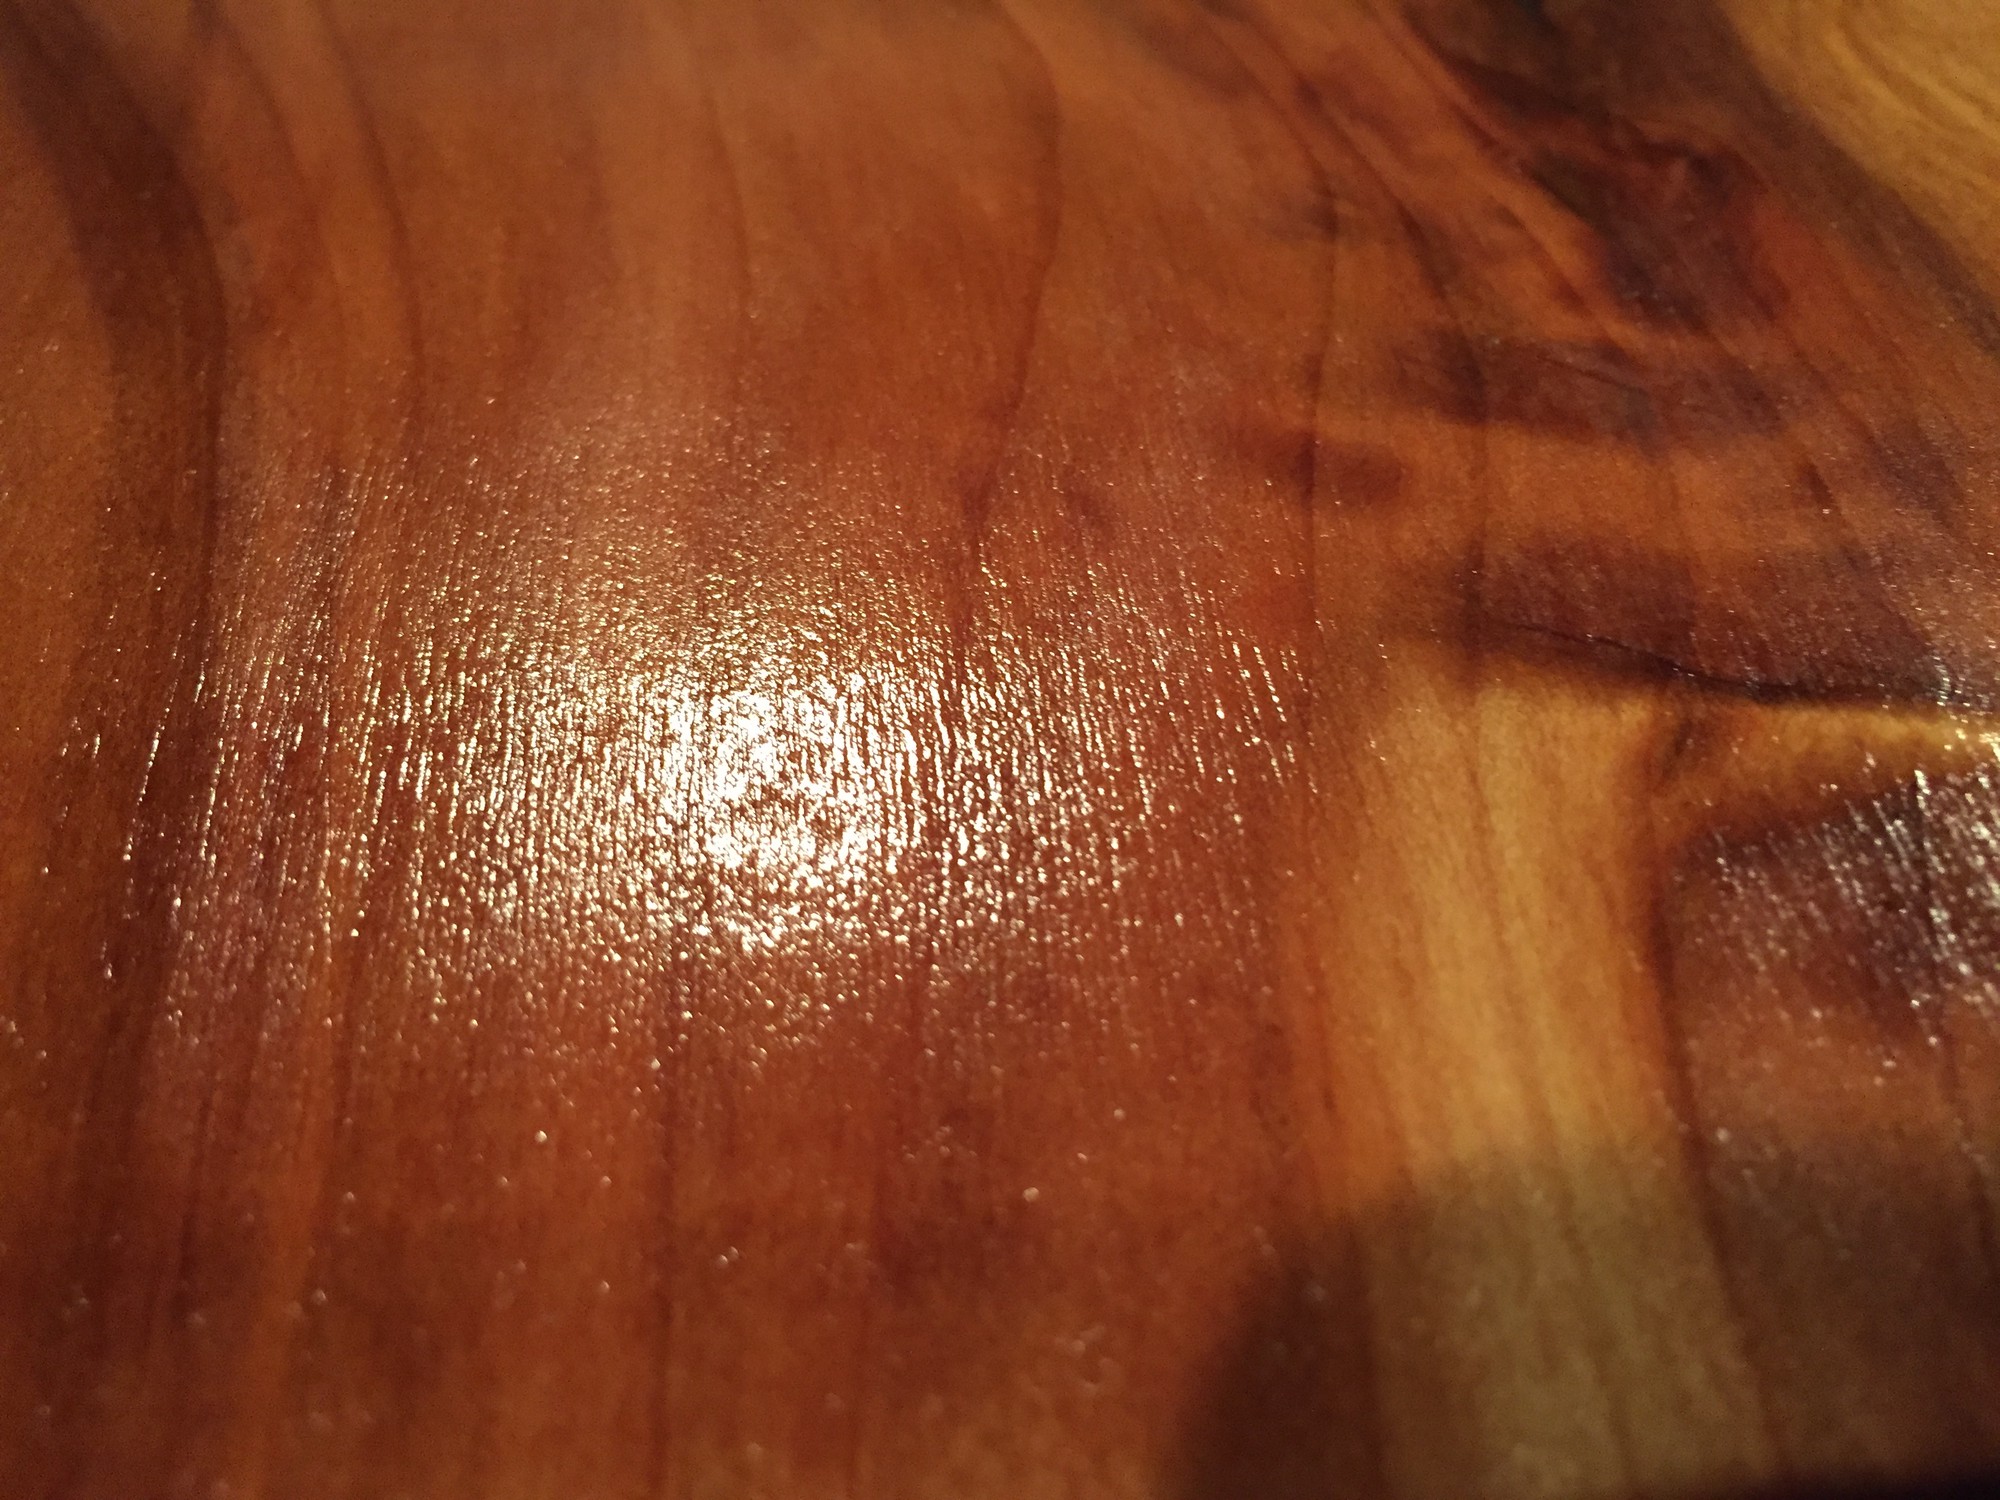
As is seen below final texture is very firm though maybe not as smooth as the spar varnish…c’est la vie.

My assumption is that with further coats (~30 total), I would be able to then aggressively buff and polish the surface of the film finish to a visually glass-like appearance. However, at this stage, this project had been going on for several months and with one large mess-up already, I was eager to move on 😄.
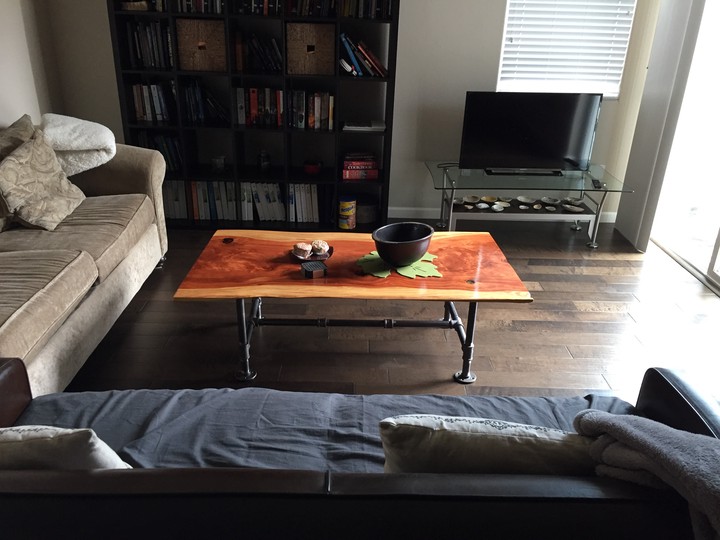
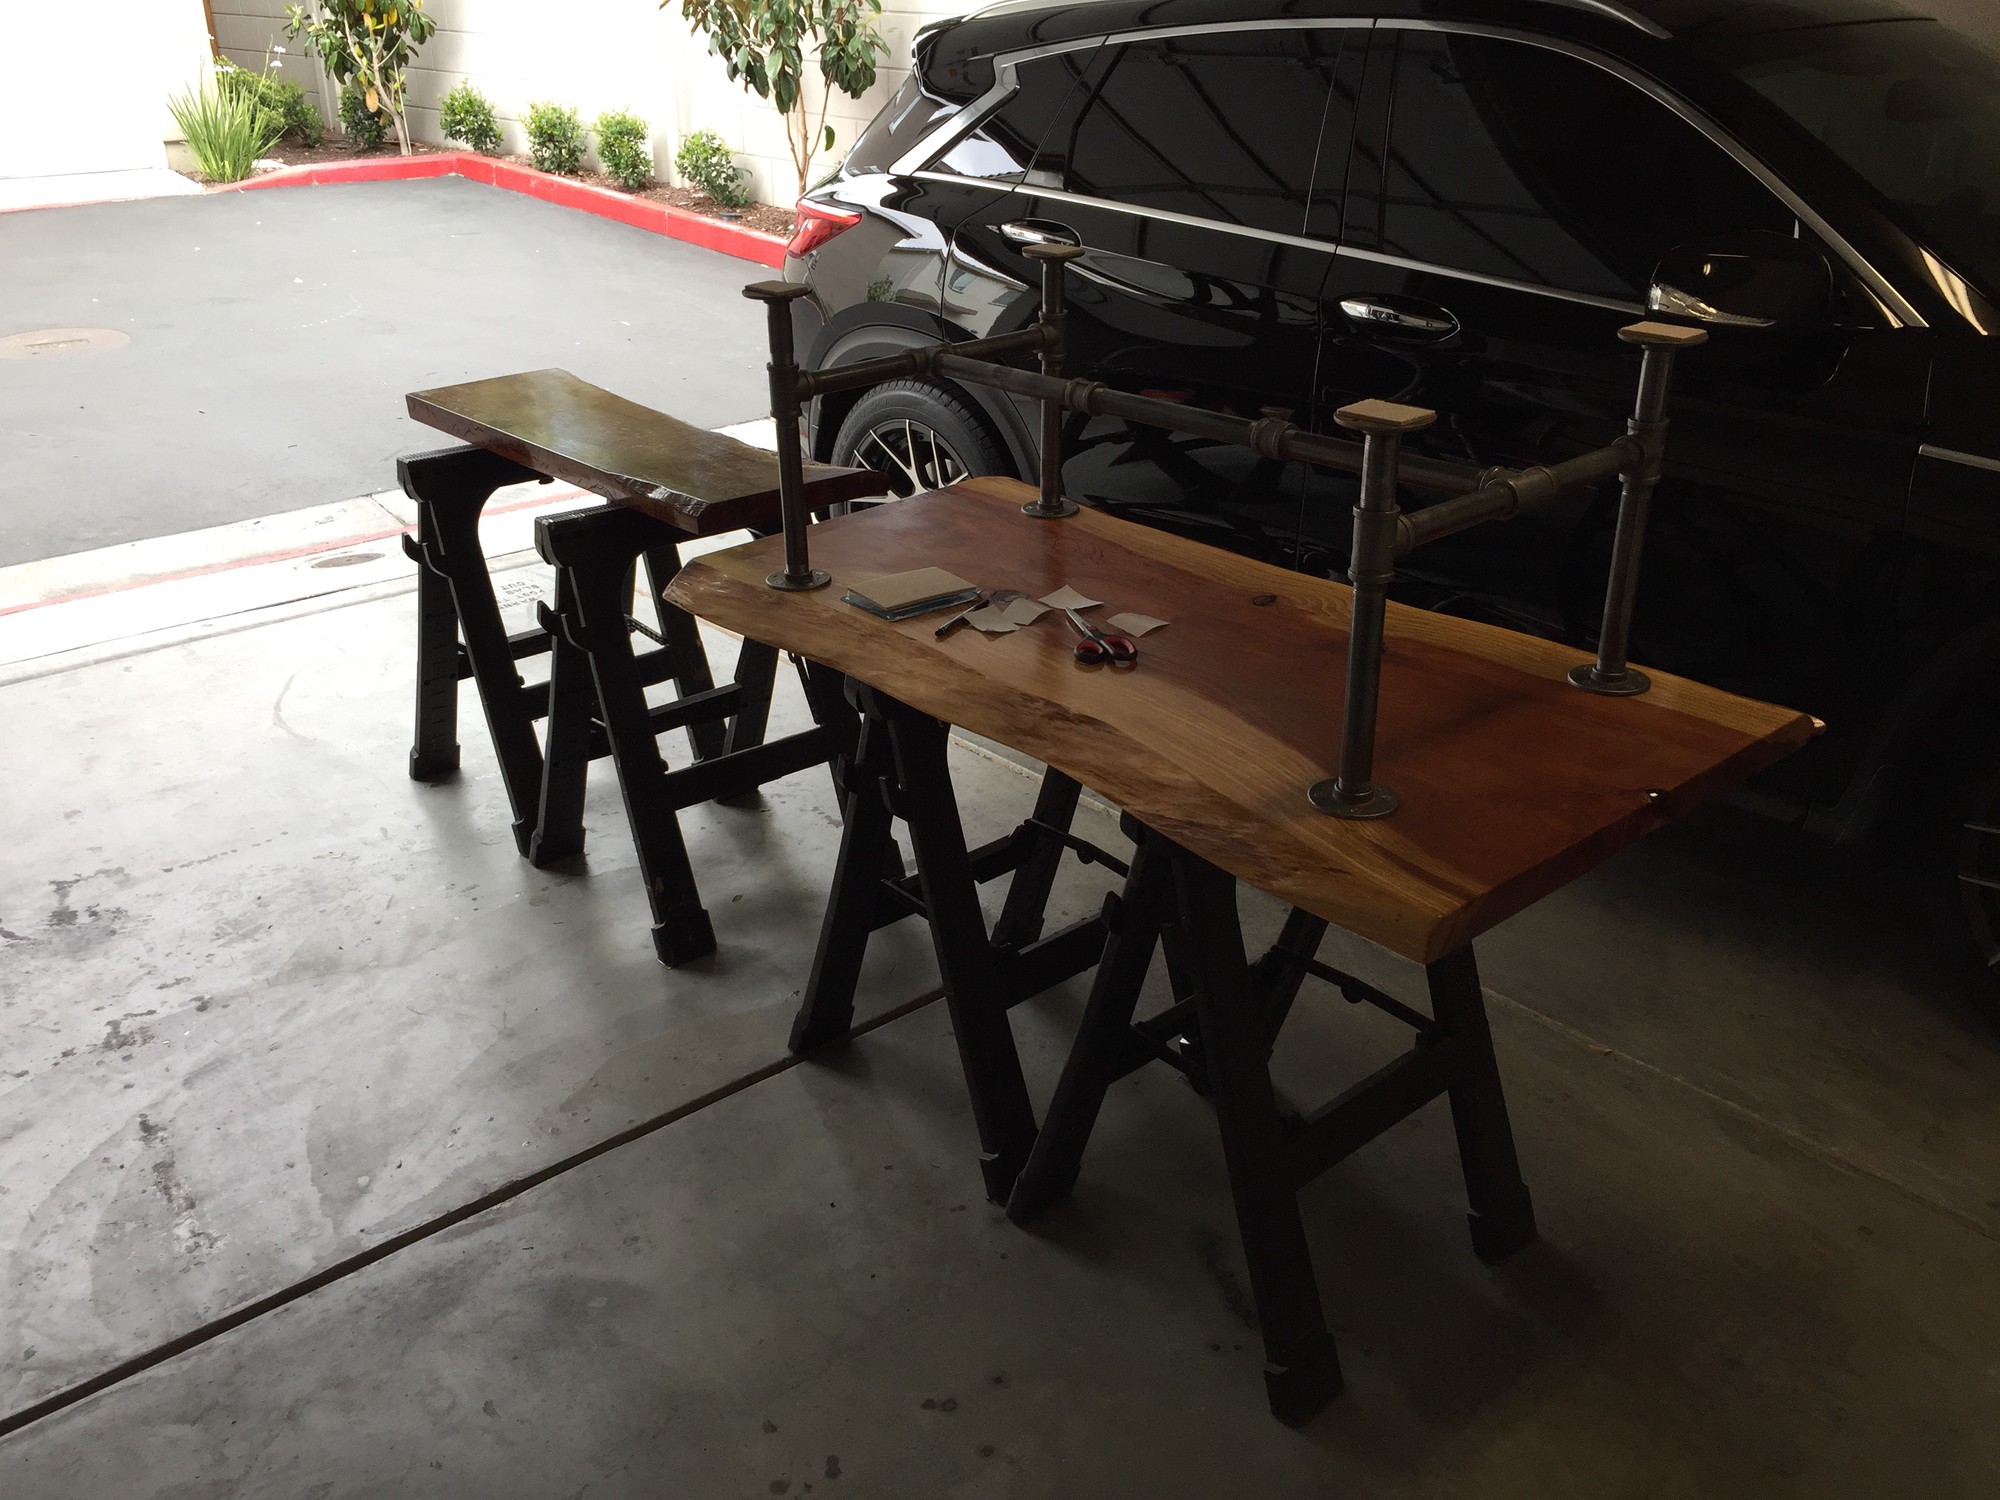
After the pleasing result of pipe legs as the base for my previous table, I decided use them again for this one to provide a theme among my table furniture.
All said, I’m very happy with the final result. It’s high gloss and tactilely smooth finish were what I was targeting for a film finish.

Thanks for reading!
-
https://www.amazon.com/gp/product/B012M9H8UG/ref=oh_aui_search_asin_title?ie=UTF8&psc=1 ↩︎
-
https://www.amazon.com/gp/product/B00173CDSQ/ref=oh_aui_search_asin_title?ie=UTF8&psc=1 ↩︎
-
https://www.amazon.com/gp/product/B0027UEW5K/ref=oh_aui_search_asin_title?ie=UTF8&psc=1 ↩︎
-
https://woodworking.stackexchange.com/questions/7163/salvaging-failed-spar-varnish-danish-oil-finishing-layers-on-redwood-live-edge-s ↩︎
-
https://woodworking.stackexchange.com/questions/7153/finishing-buffing-polishing-redwood-slab-with-oil-based-varnish-thinned-with-dan ↩︎
-
https://www.homedepot.com/p/Citristrip-1-qt-Safer-Paint-and-Varnish-Stripping-Gel-Non-NMP-QCSG801/307416109 ↩︎
-
https://www.homedepot.com/p/HDX-Small-Soft-Grip-Scrub-Brush-SBR2-HDX/206453073?MERCH=REC-_-PIPHorizontal2_rr-_-206509461-_-206453073-_-N ↩︎
-
https://www.amazon.com/Minwax-40900-Oil-Based-Polyurethane-Finish/dp/B01M1EDG7Y/ref=asc_df_B01M1EDG7Y/?tag=hyprod-20&linkCode=df0&hvadid=309802498763&hvpos=1o4&hvnetw=g&hvrand=7278565143806718525&hvpone=&hvptwo=&hvqmt=&hvdev=c&hvdvcmdl=&hvlocint=&hvlocphy=9031968&hvtargid=pla-624061654722&psc=1 ↩︎