Standing Desk
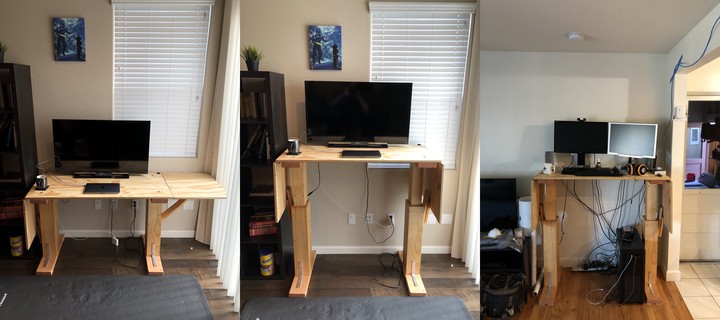
Table of Contents
This is my first standing desk! Let’s first cover the basics:
- Start: Feb 5, 2018
- End: March 20, 2020
- Wood Species: Select Pine (Home Depot)
- Wood Supplier: Home Depot
I’ve become interested in acquiring a standing desk, but after discovering that high quality, commercial options cost in excess of $1000, I decided to build my own. Reading through a few DIY articles I finally settled on one that was both simple and robust1.
Table Legs
I haven’t followed the above article’s1 design excactly but have adopted its general approach.
Linear Actuators
To power the legs, I purchased a set of linear actuators and equipment from solar/wind company, WindyNation2:
- 2pcs WindyNation Linear Actuator 12V 225lbs 20in-stroke-length
- Maintained Up/Down DPDT Switch
- Power Supply
- Mounting Brackets
The total cost of the linear actuator equipment plus tax was $173.60, though as of writing this portion of the project, I’m seeing the same for considerably less2.
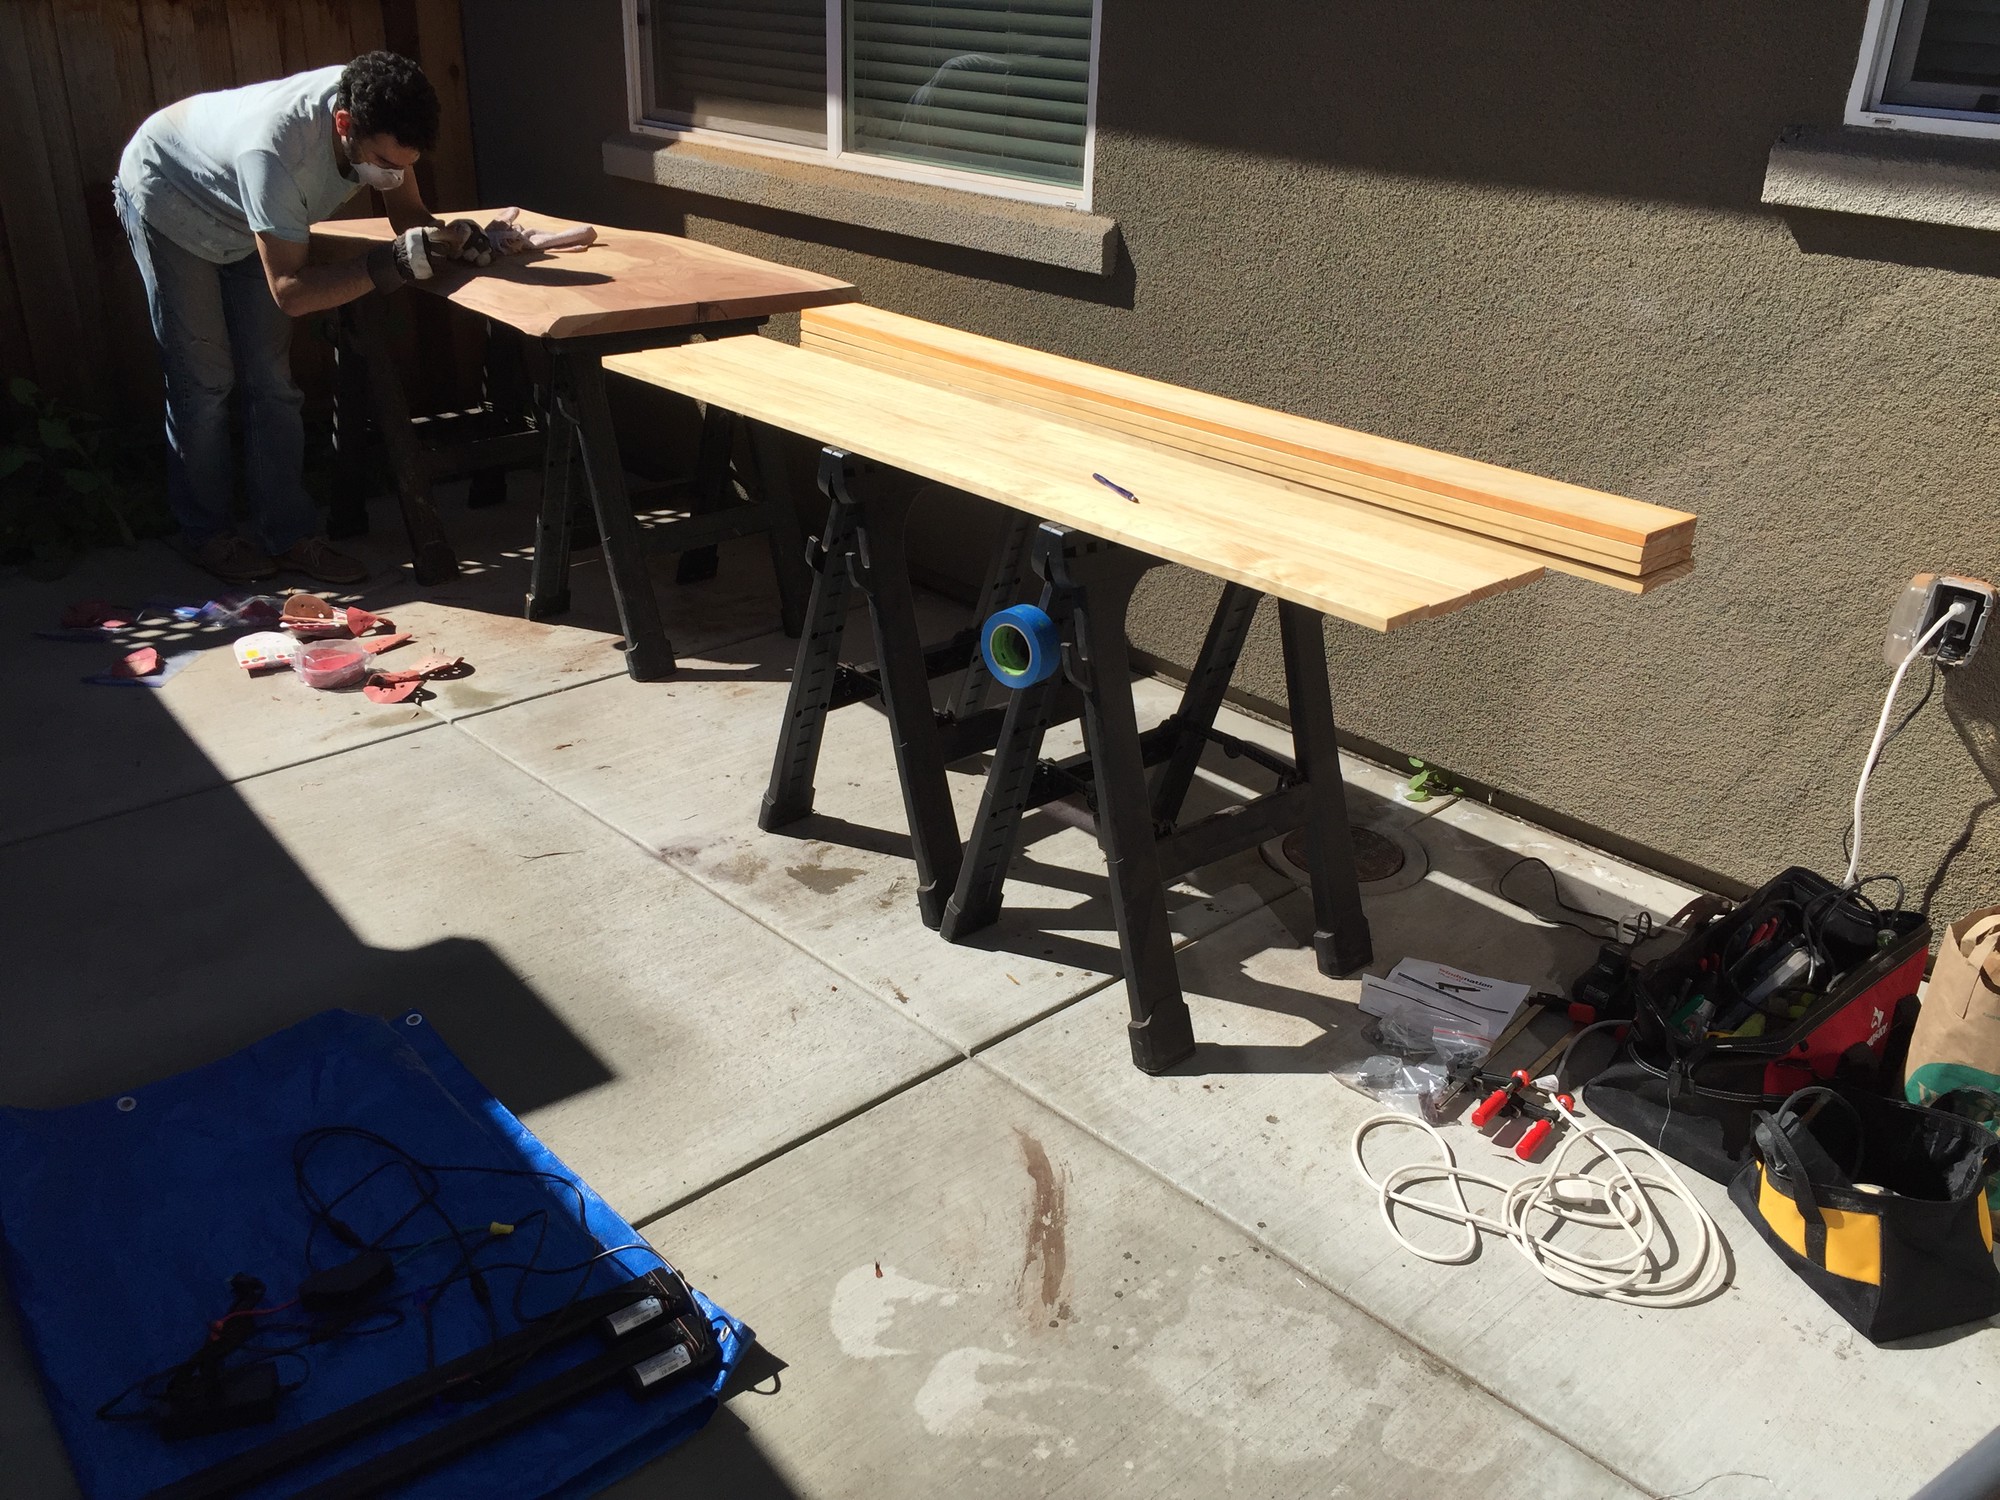
Lumber
The next step was to decide on wood. Because the goal was to build an affordable alternative to commercially available options, I decided to go with Select Pine from Home Depot. I purchased 4 1"x6"x6' and 4 1"x4"x6' boards and then coated them once with Minwax Clear Gloss Wipe-On Poly3 for added beauty and protection.
Leg Actuation
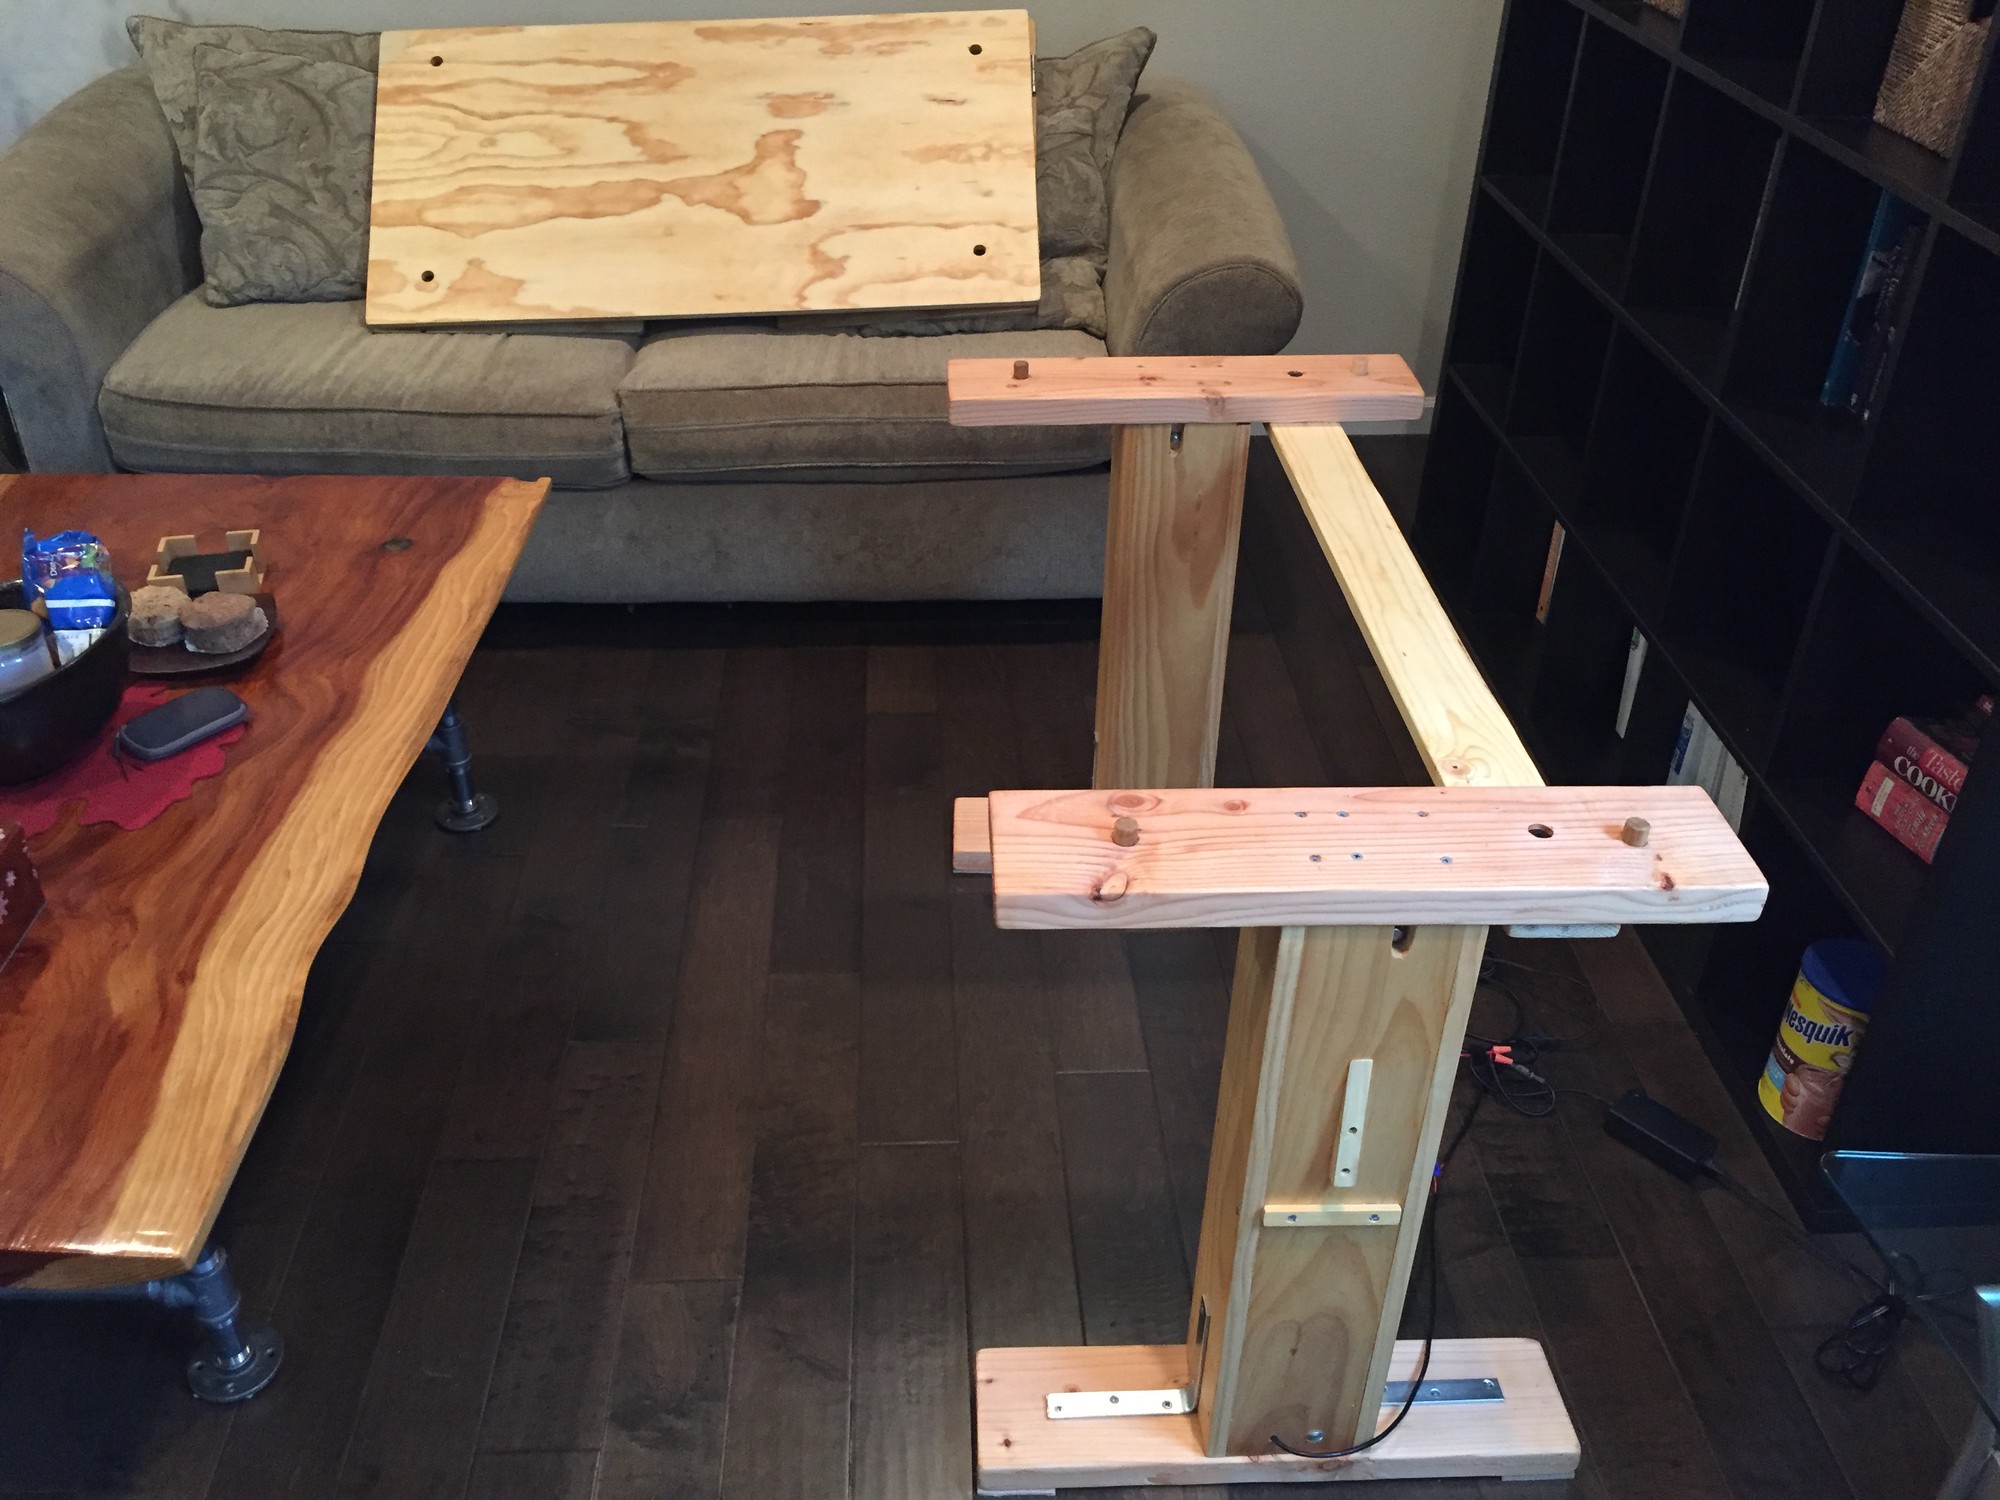
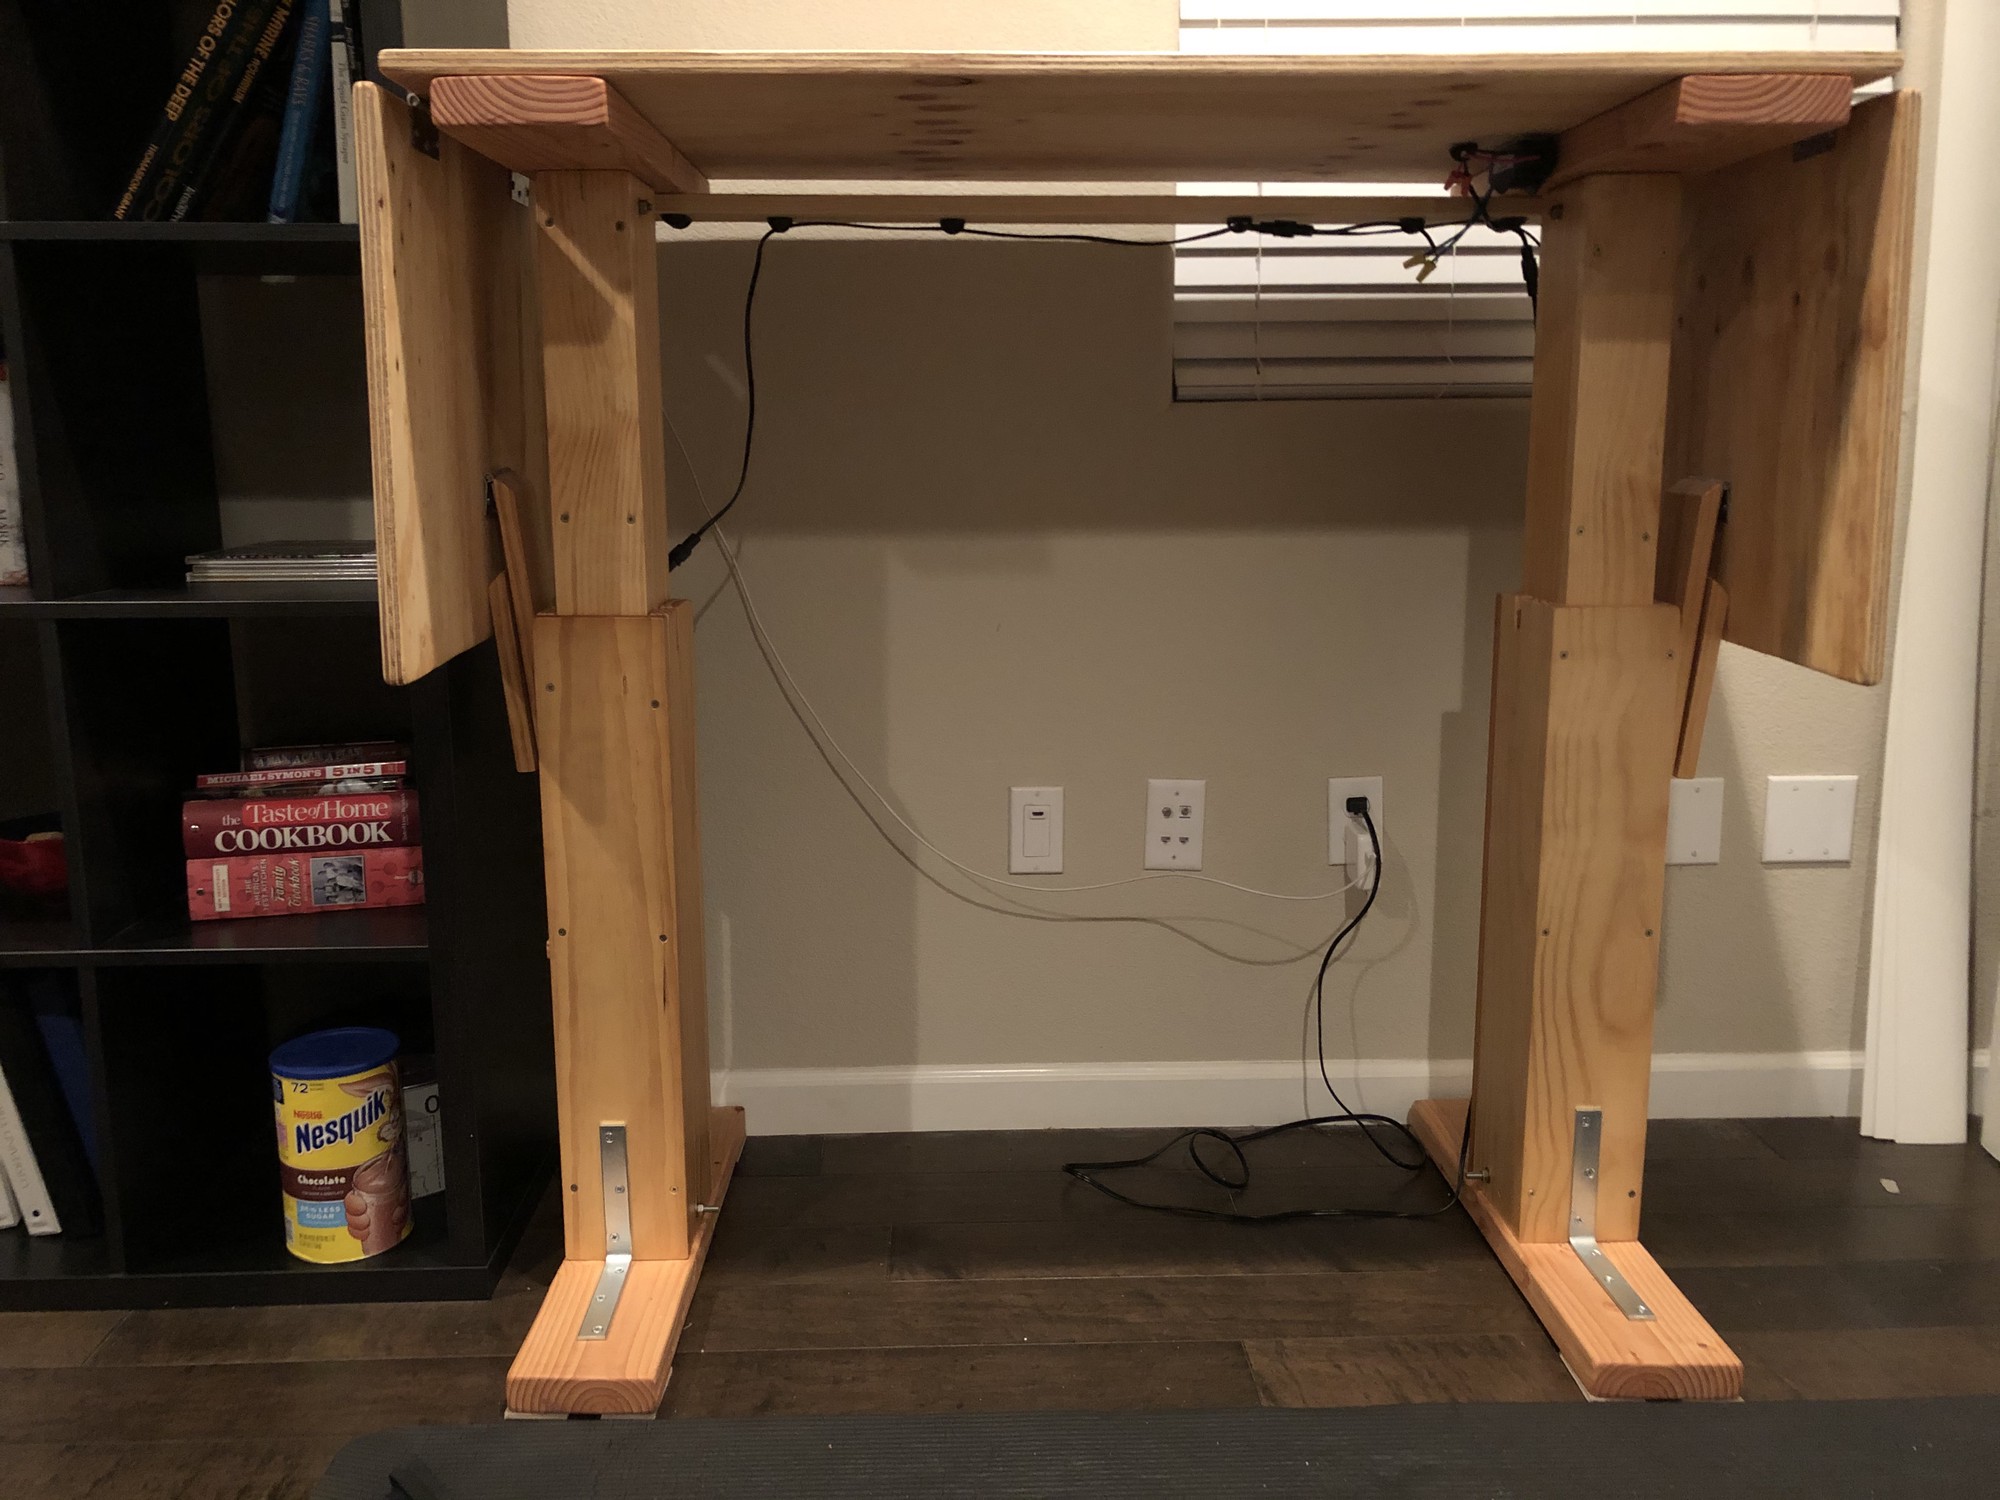
As described in the article that my standing table follows1, the basic idea of each leg is to have a large box and a small box freely moveable within the large box. Each leg is extended or contracted via a linear actuator whose base mount is fixed to the bottom of the larger box and top mount is fixed to the top of the smaller box.
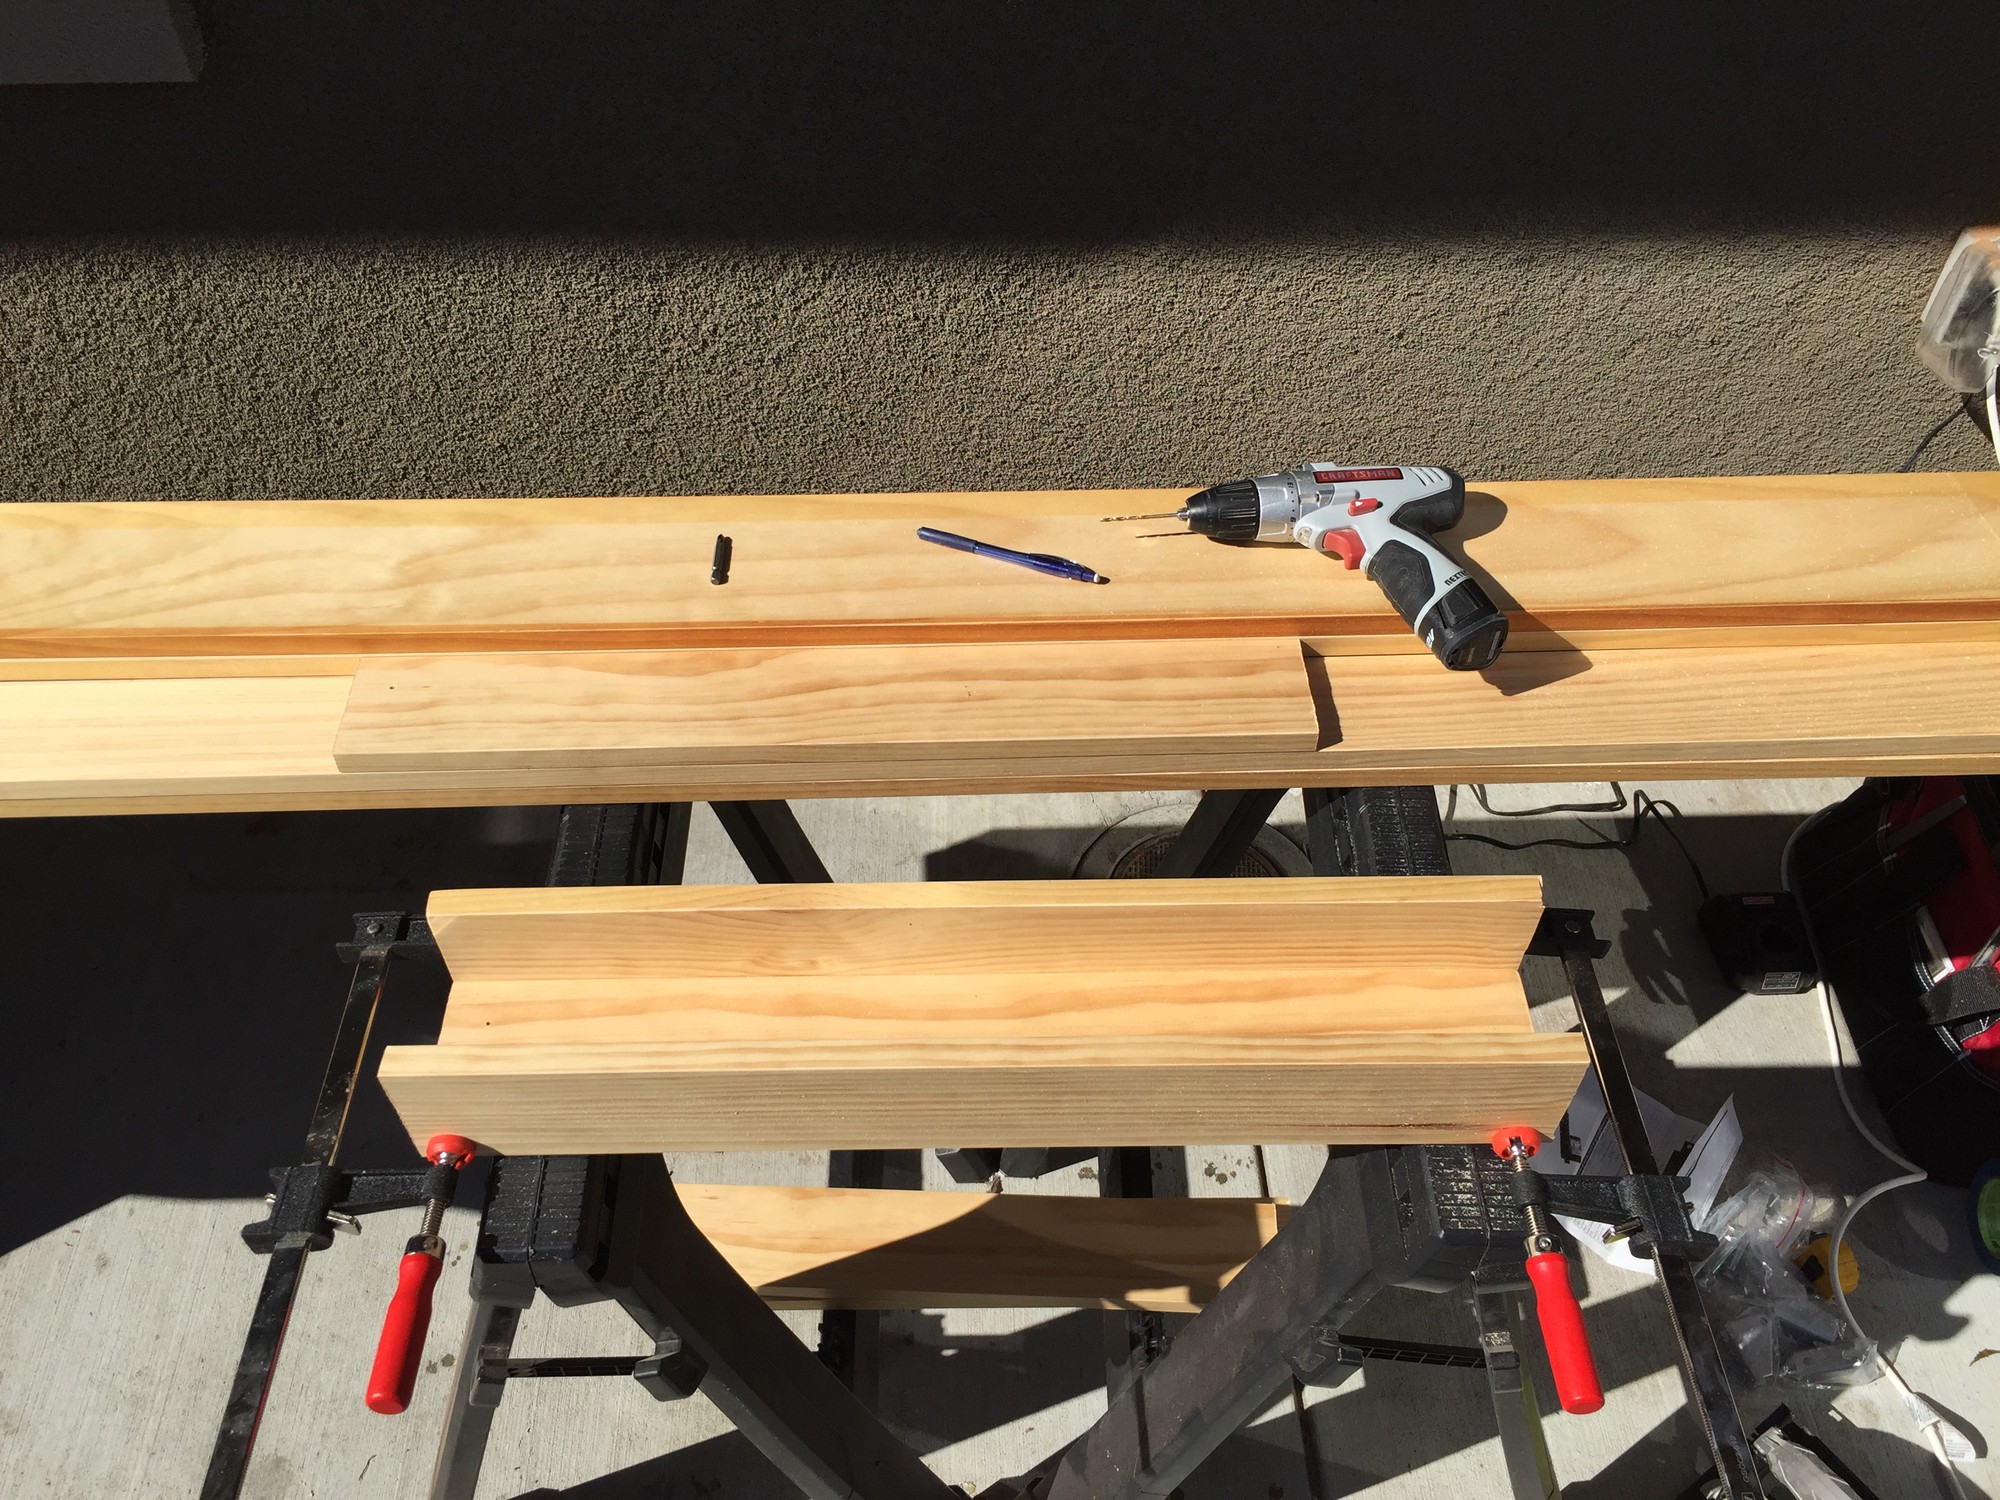
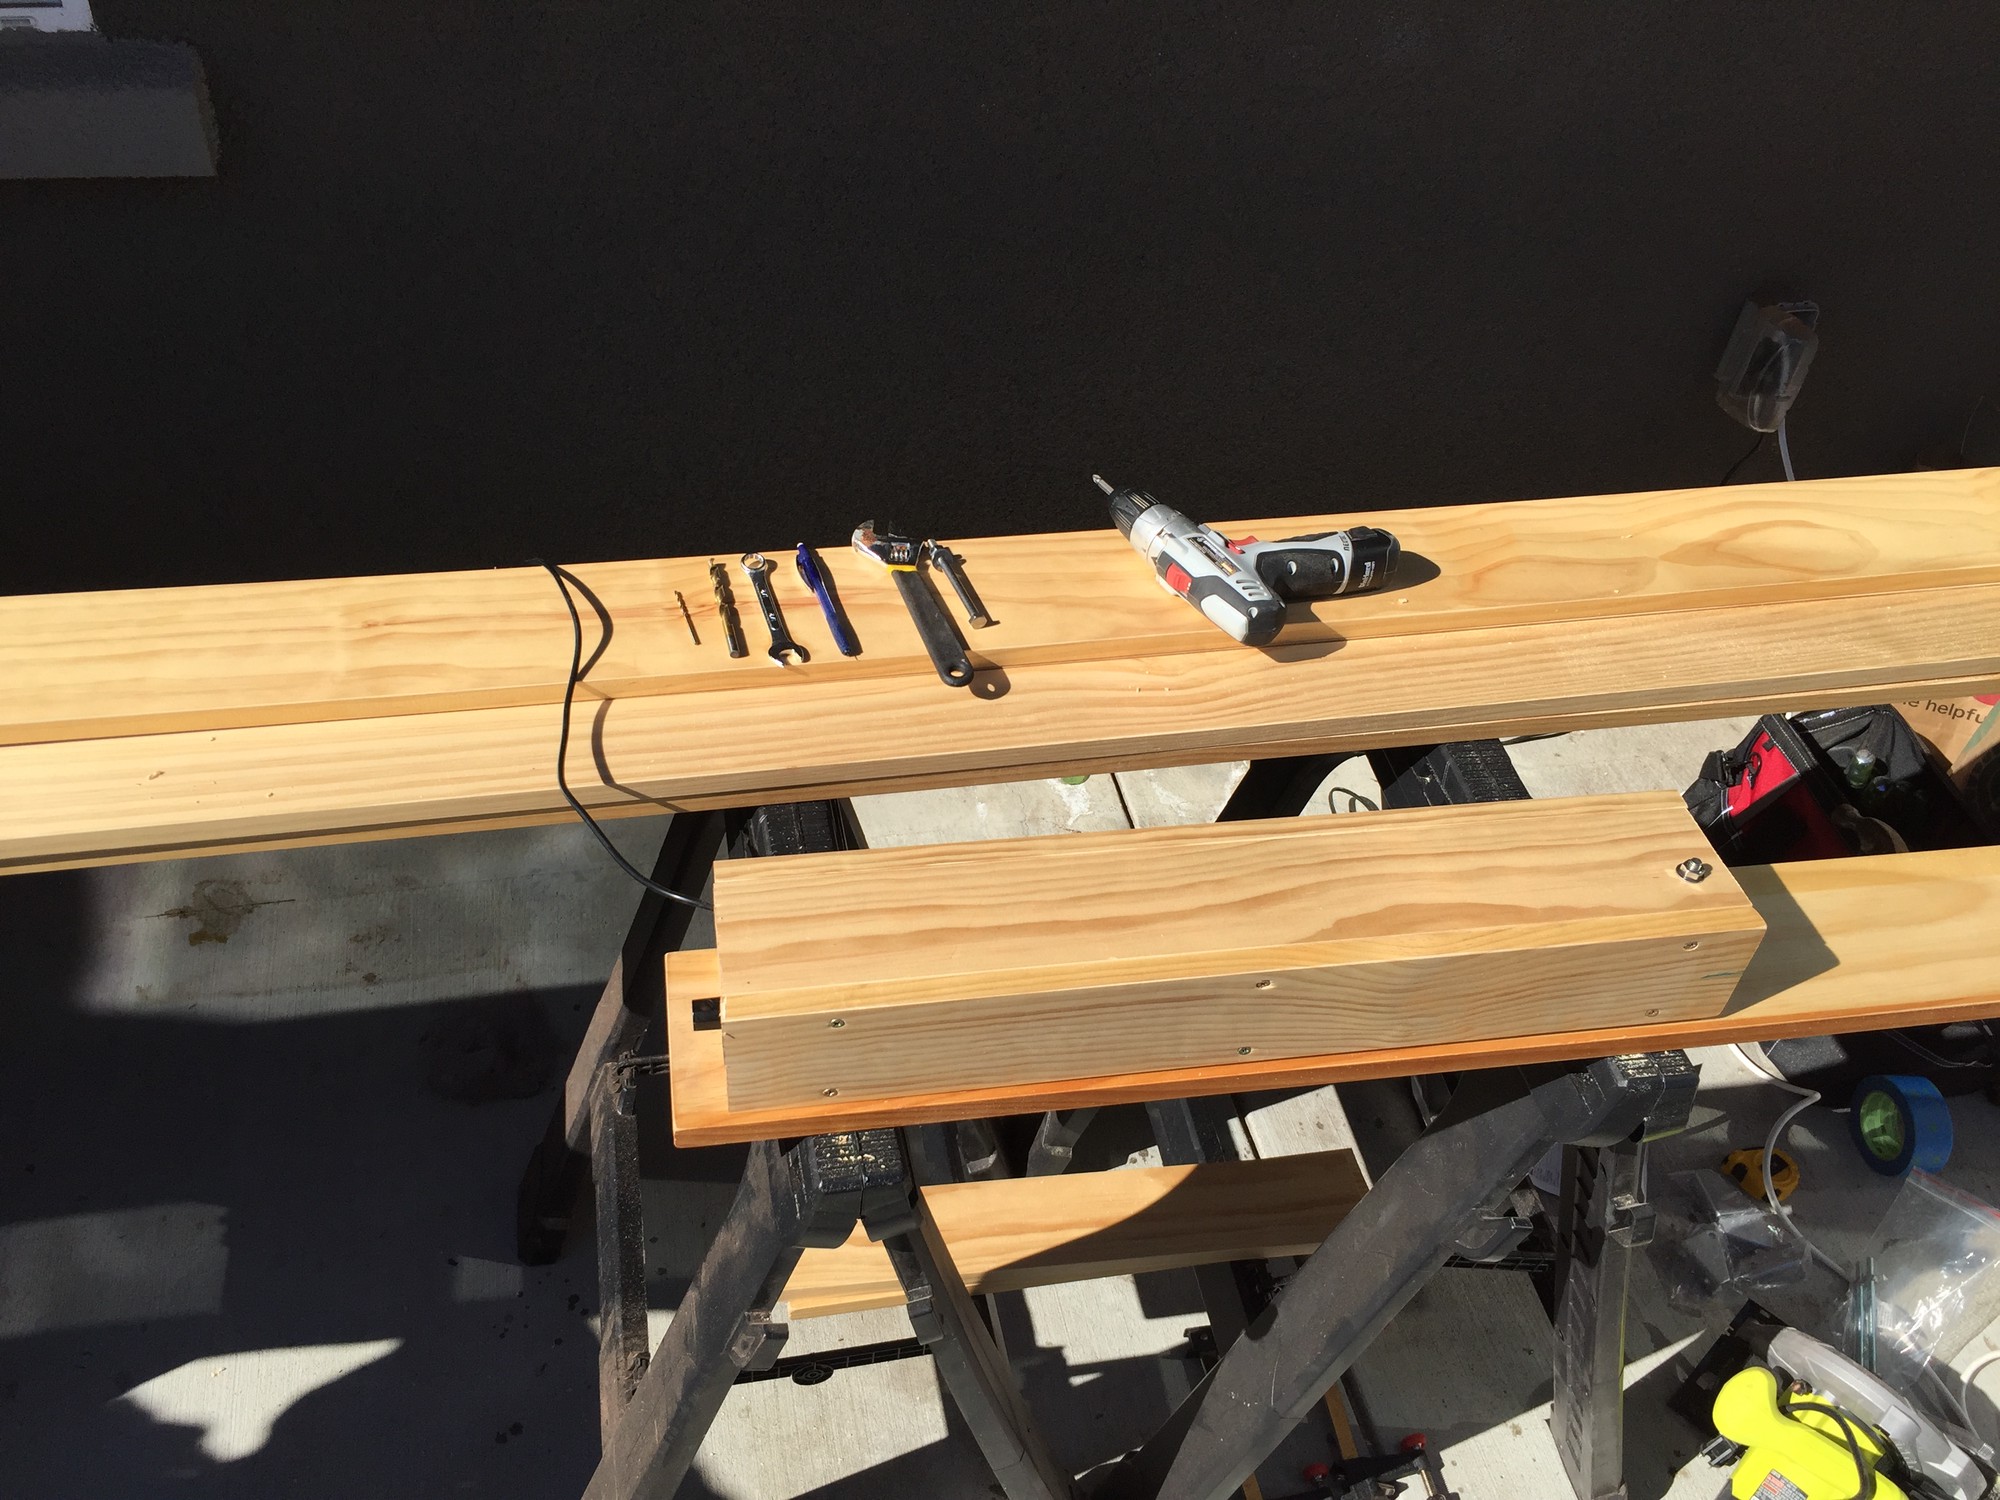
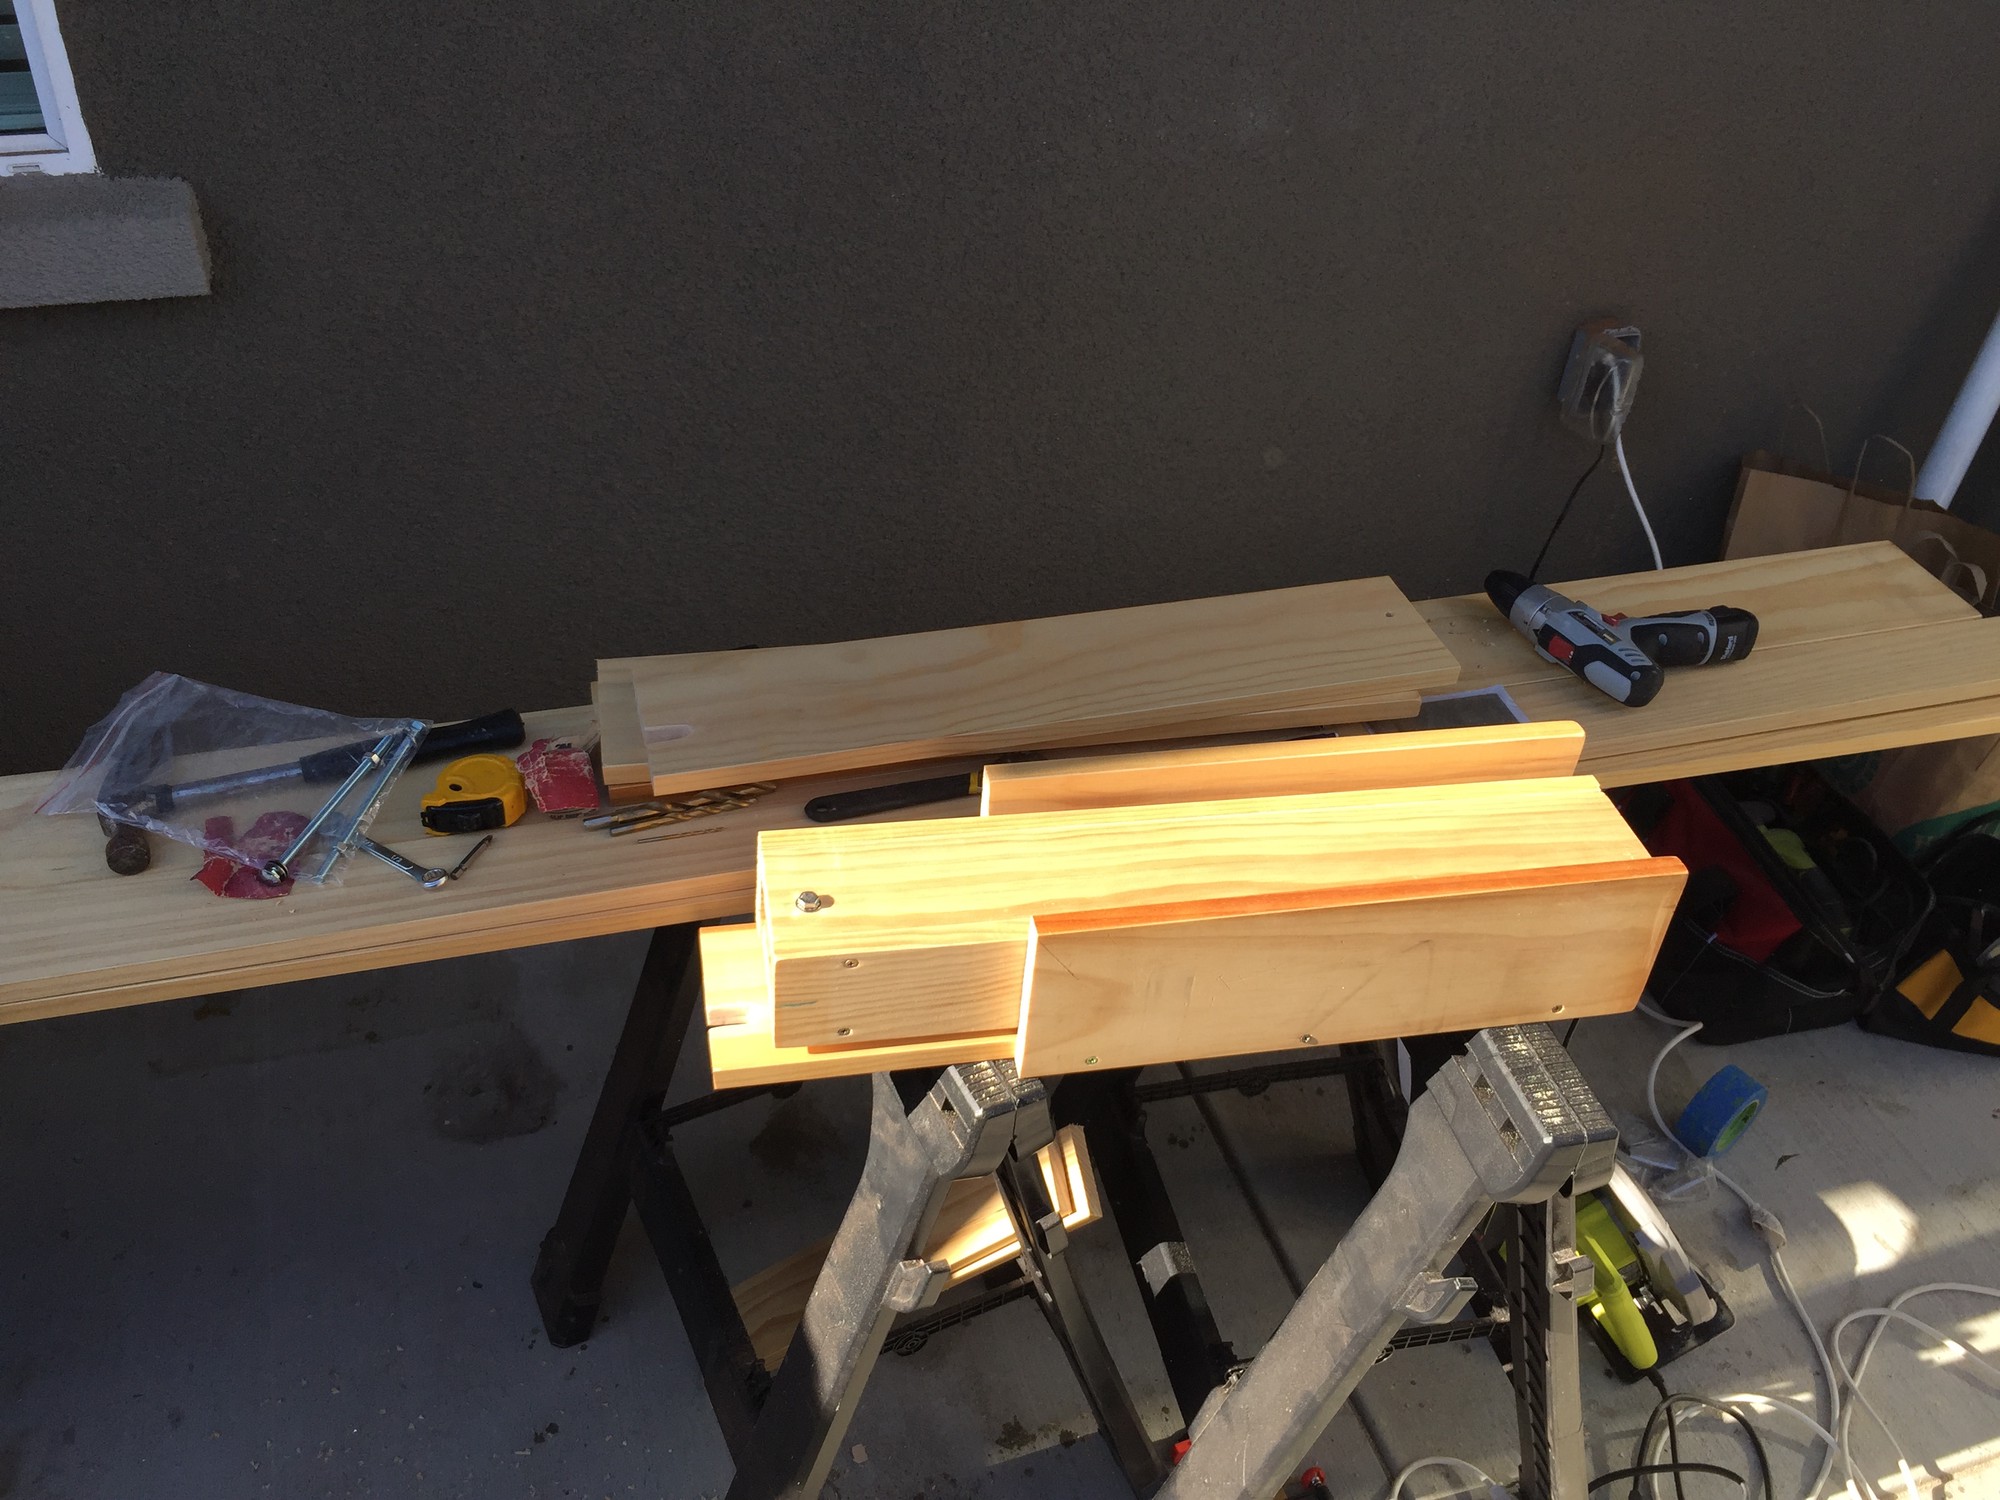

Having not gone to the same lengths as the template article1 to mock out the design, it took some trial and error to finally find dimensions of the inner and outer boxes that allowed them to freely move past one another but still retain just enough friction so as not to become too unstainable when the legs were fully extended as seen below.
After minor adjustements (sanding typically), I was able to obtain a fit that was fairly stable when the leg was extended.
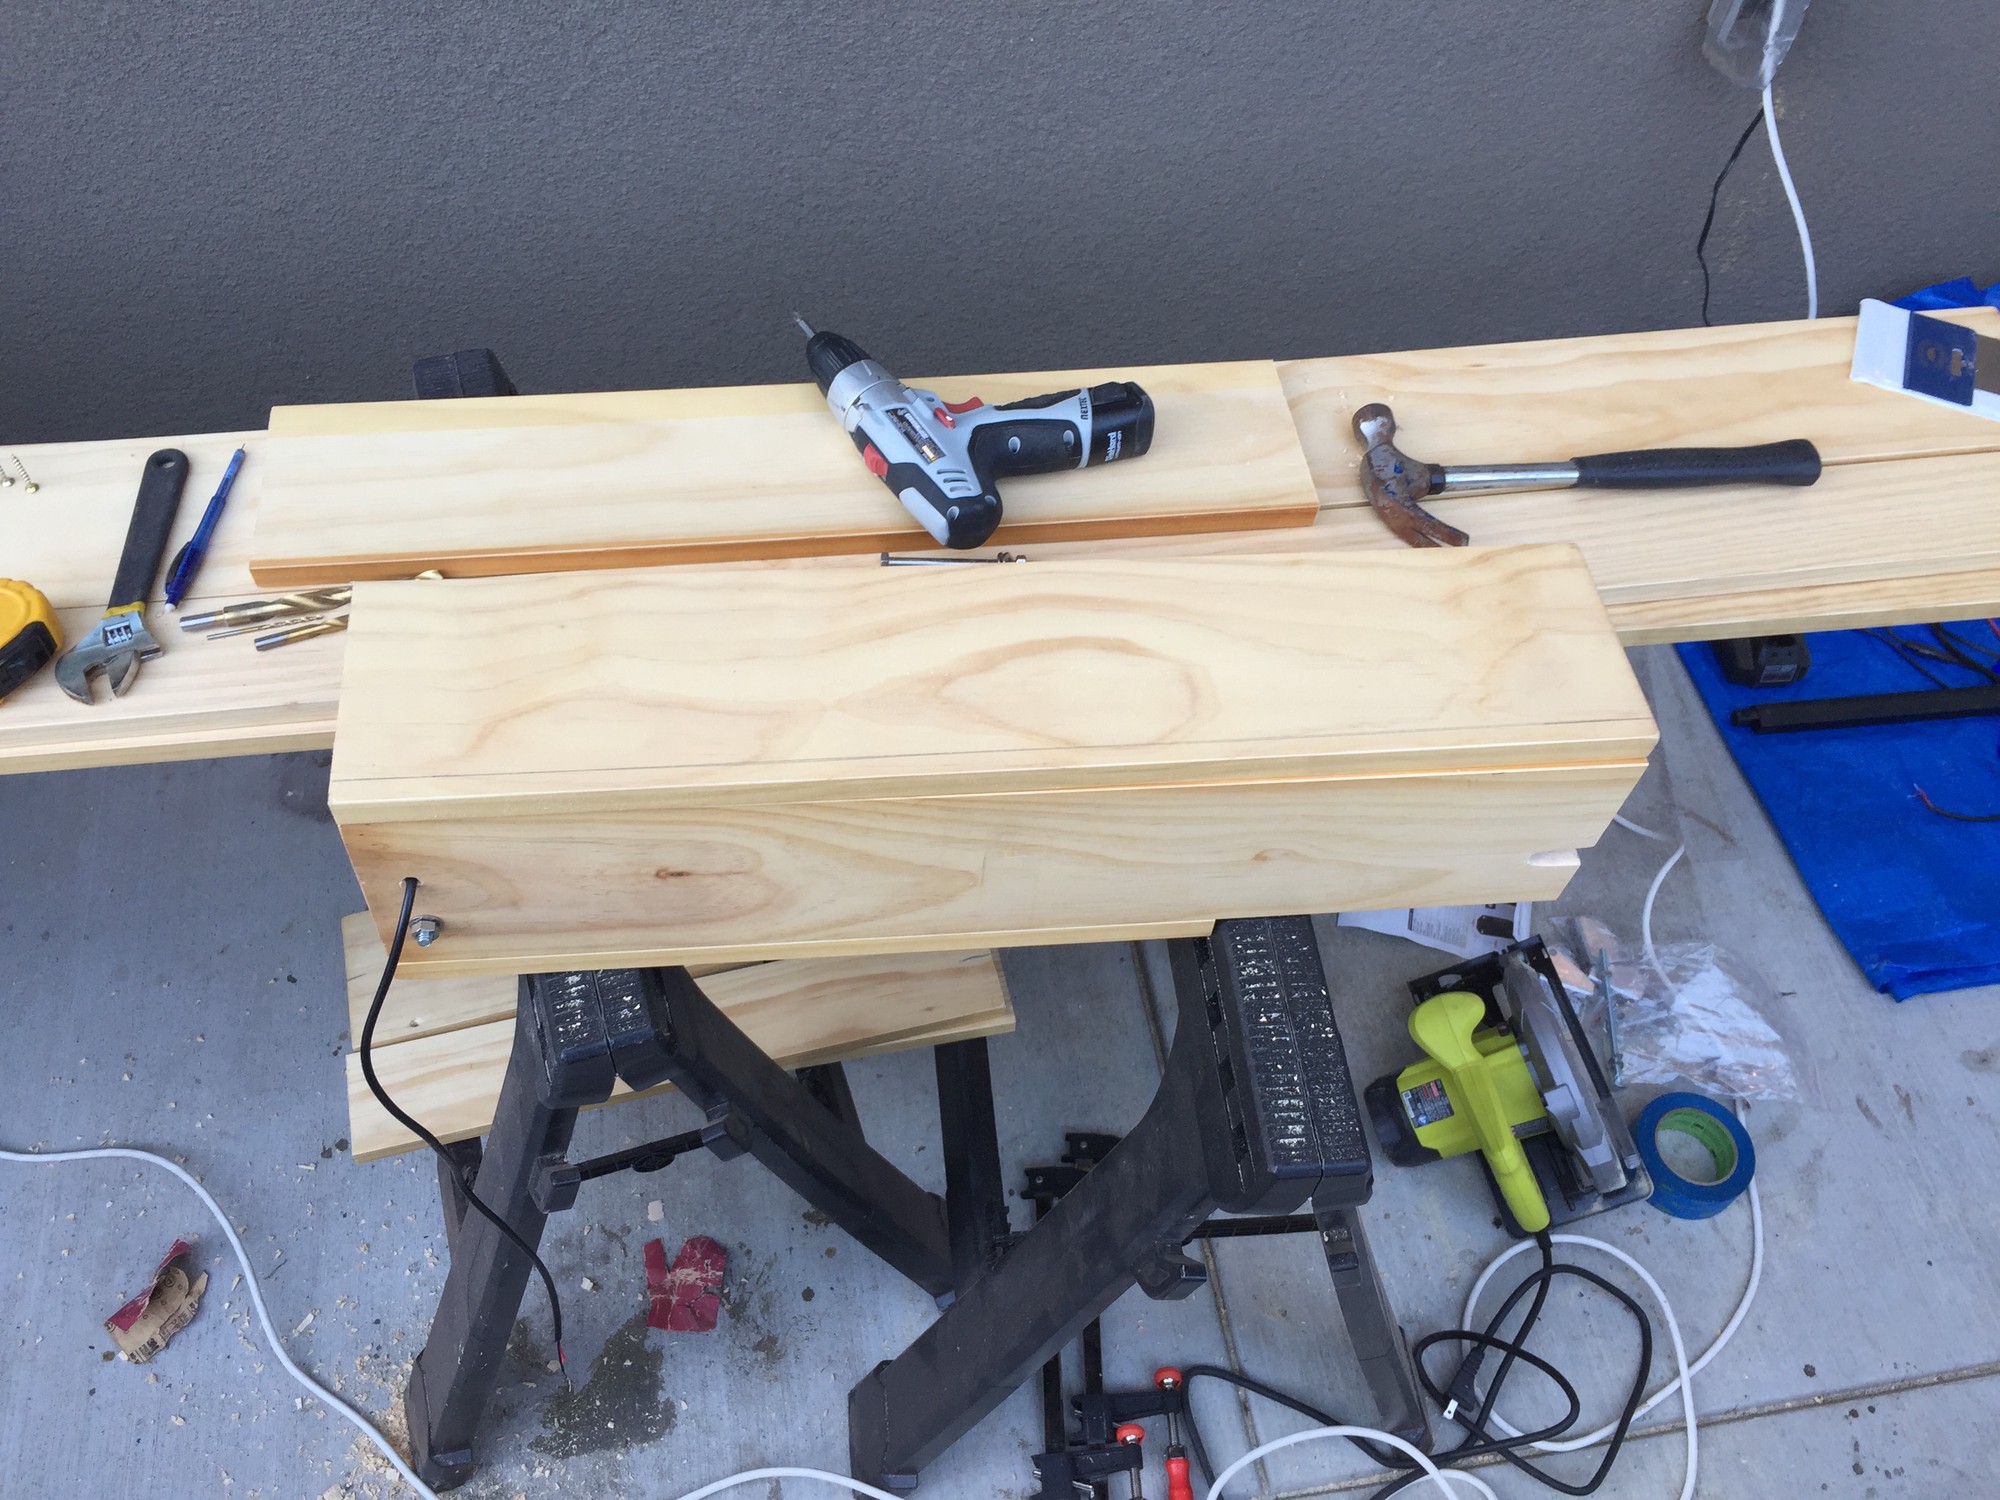

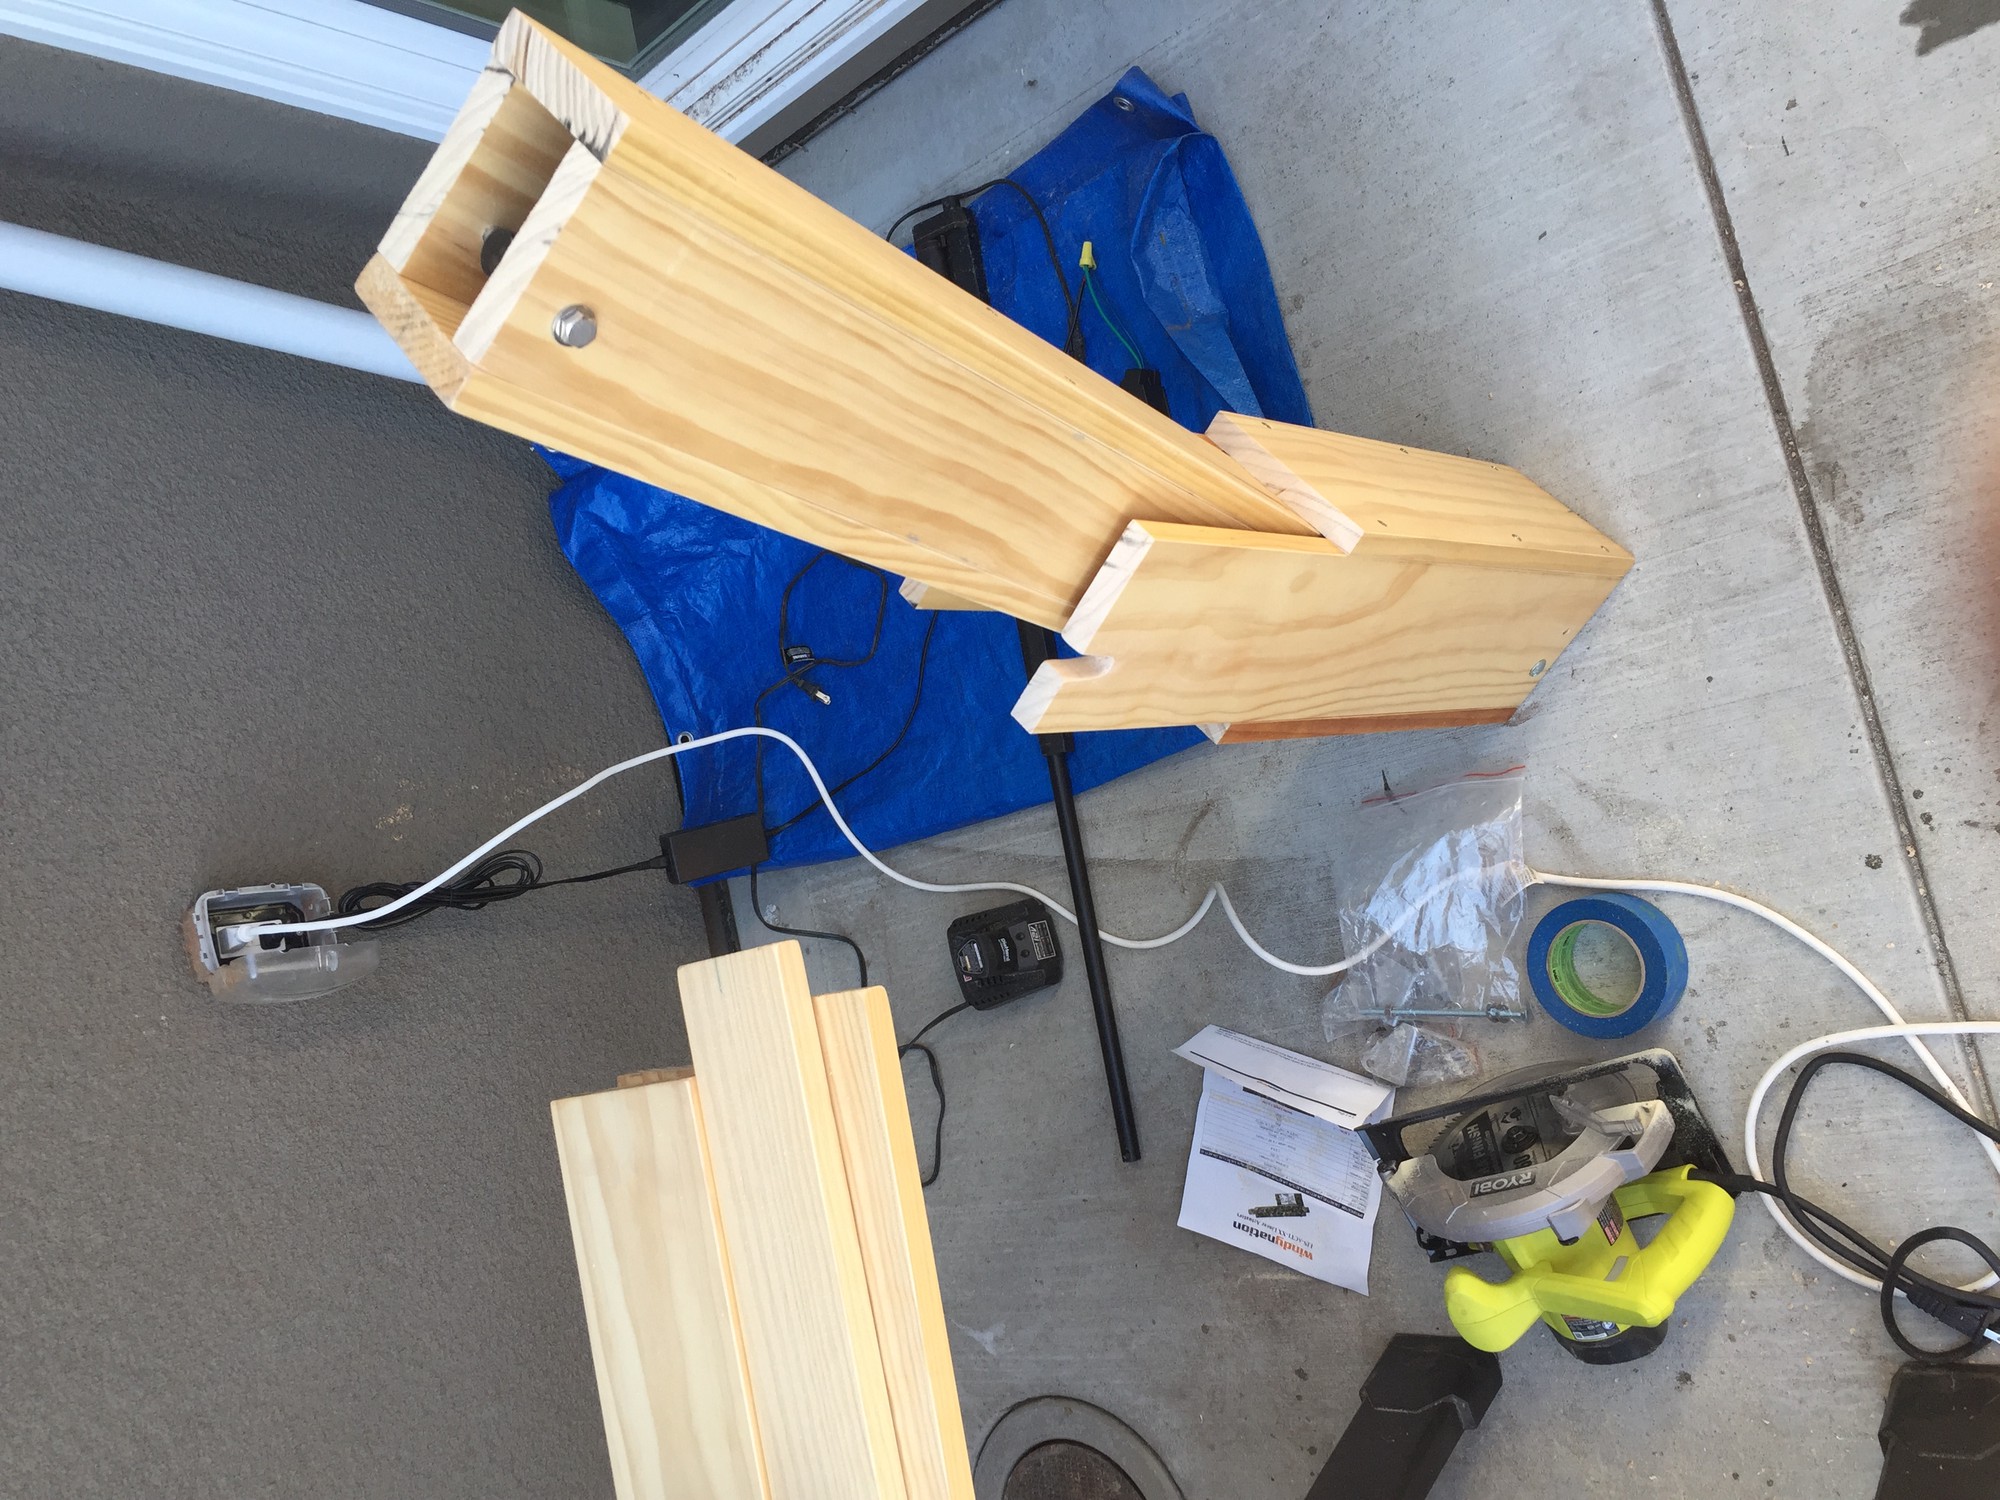
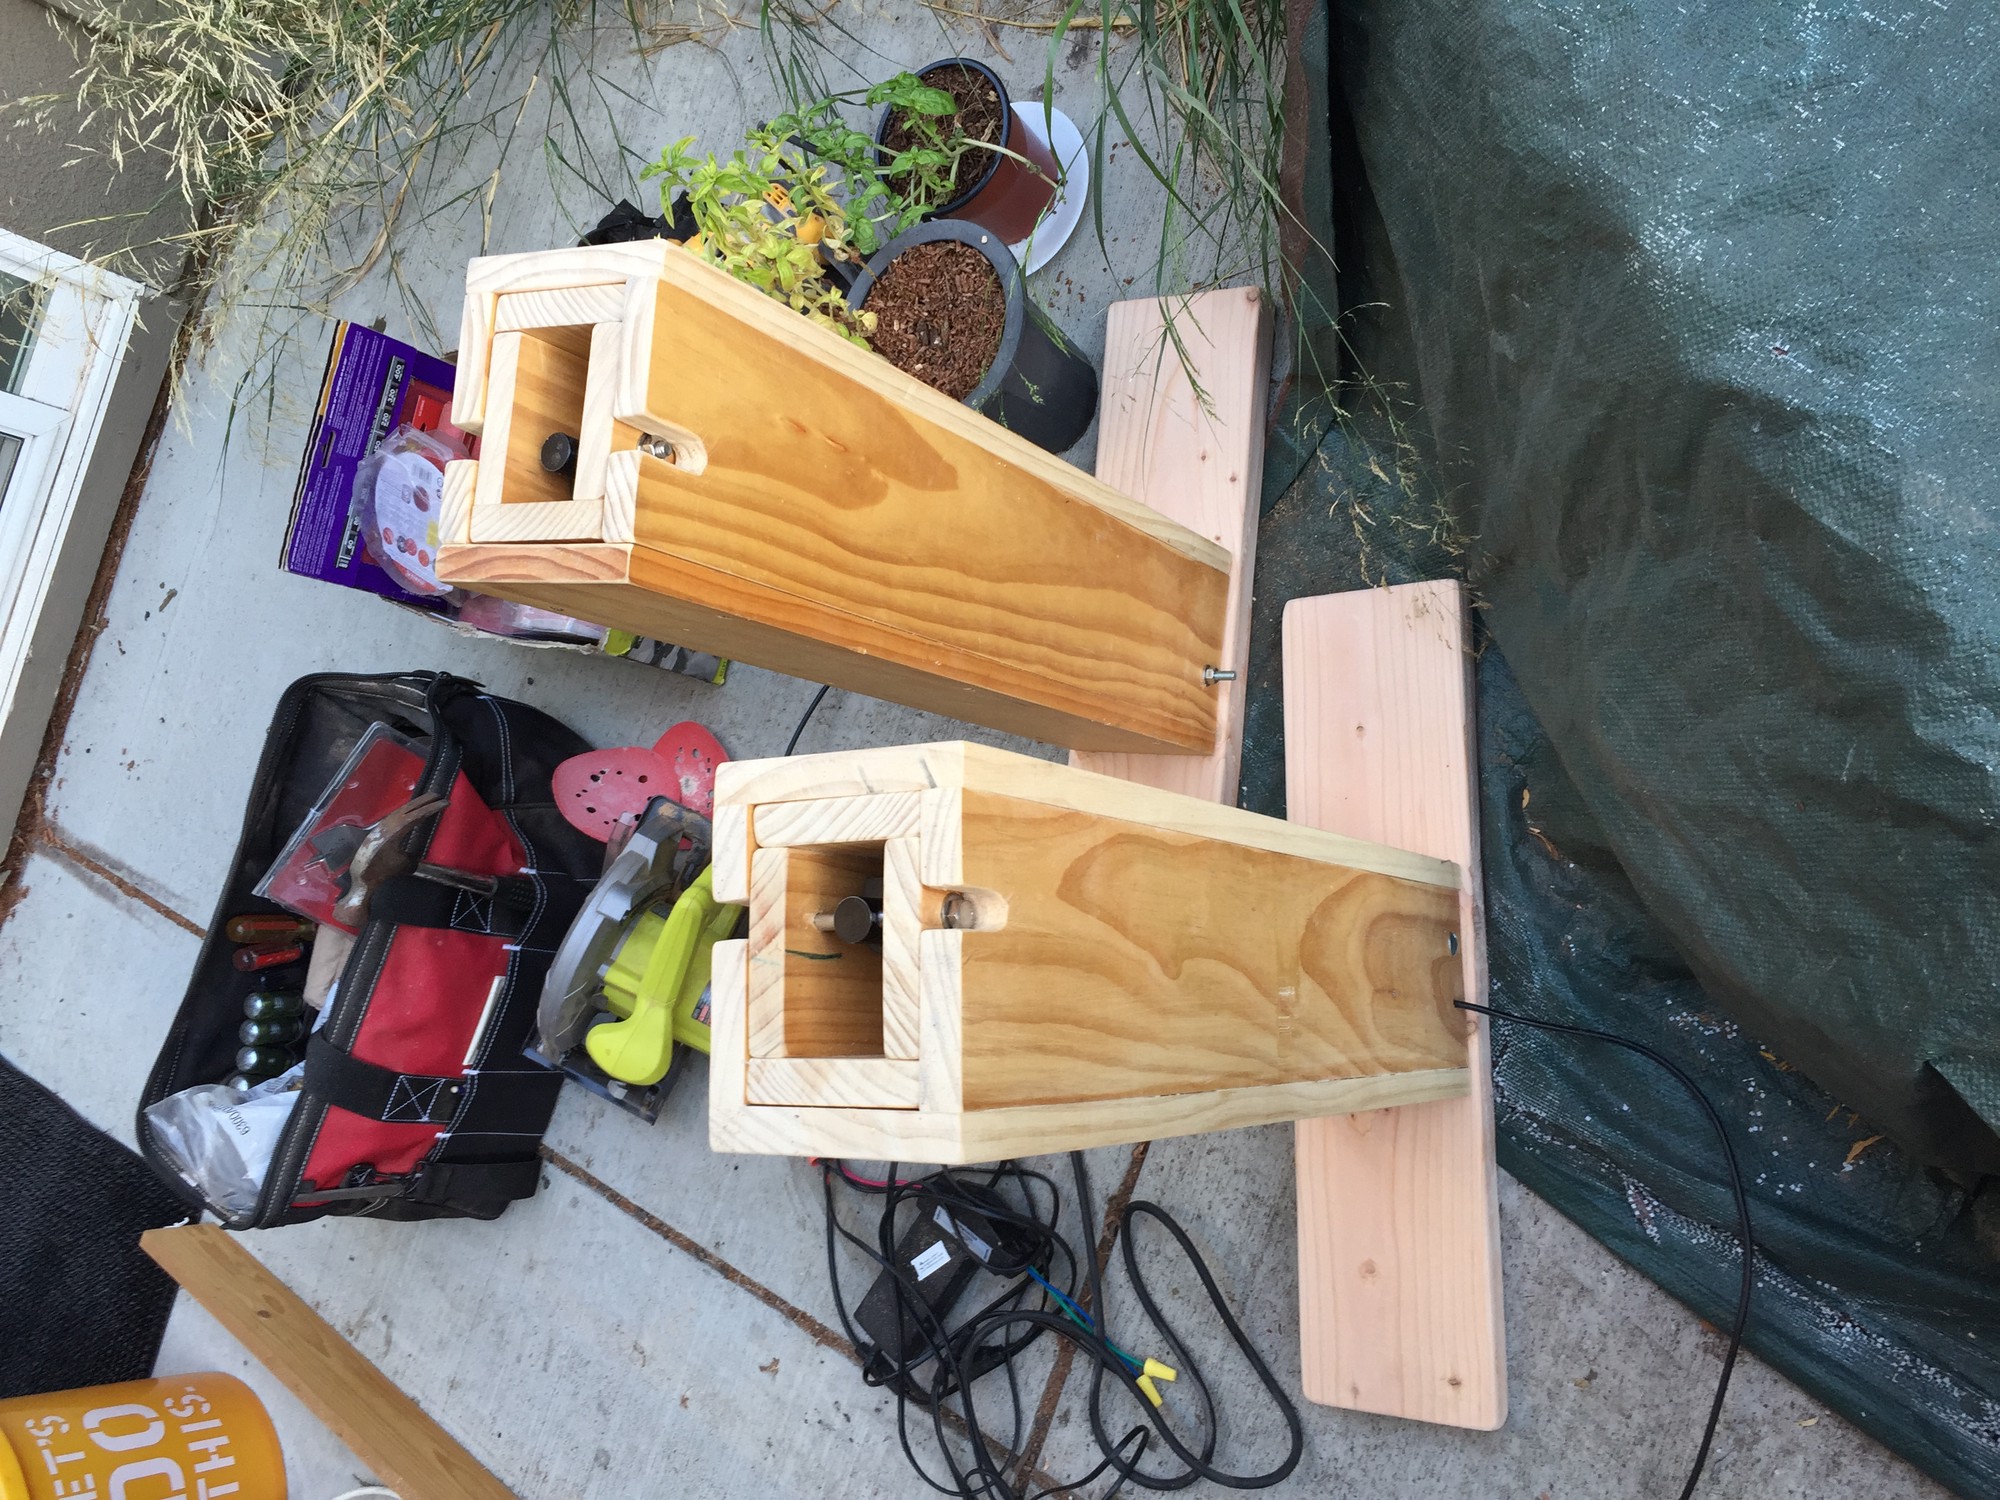
Leg Feet and Top Supports
Next, I attached suitably strong planks of wood as feet (to the bottom of the legs) and table supports (to the top of the legs). For these planks, I used 2"x6" board.

The operation of the linear actuators isn’t very quiet and quite slow, but I assume it won’t be a huge problem since the desk is for home-use and I doubt I need to adjust more than twice a day.
One will notice in the later images of the table below, I attached L-brackets at the base of each leg for added strength and stability.
Table Top
Lumber
Originally, I had planned on using the redwood slab from a previous project as the table top. However, after considering how soft redwood is and therefore its inability to cope with pressure intensive tasks such as pencils, keyboards, etc., I’ve decided find another medium for the tabletop. I settled on Select Pine Board from Home Depot (cost ~$20 per 2’x4' piece).
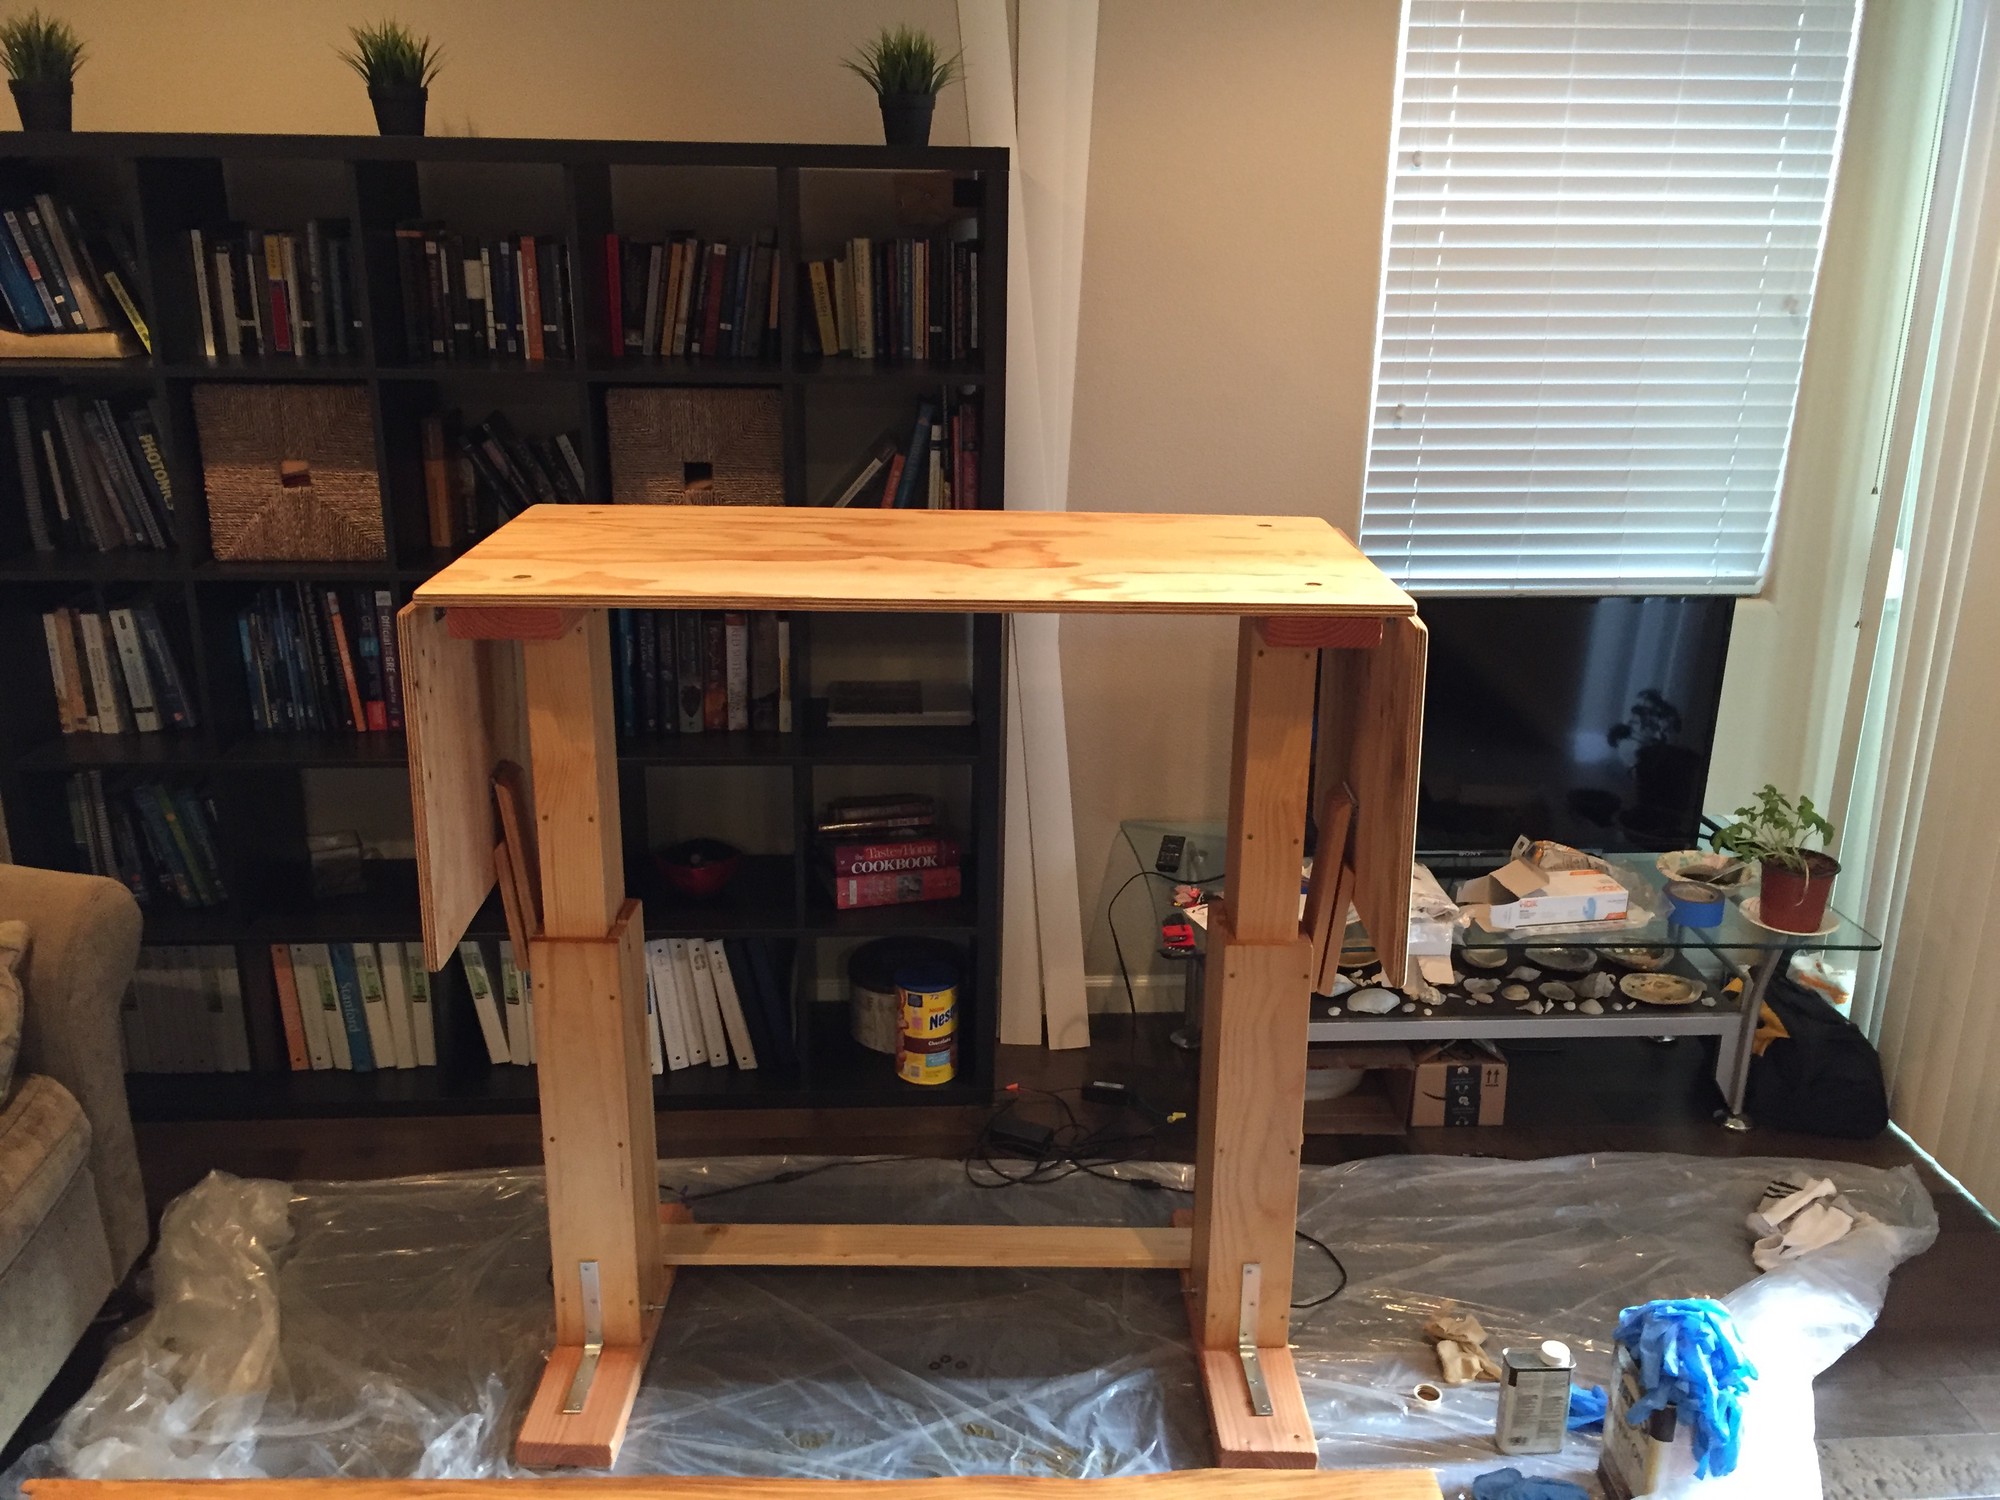
Folding Wings For Top
At first I thought that I would simply have one solid piece as the top. However, I became interested with having a more mechanical top that allowed for a variable size top. This led me to settle on purchasing two 2’x4' peices, with one of those pieces cut in half (to form two 2’x2' smaller sections). These two smaller sections are then attached to ends of the larger 2’x4' peice with hinges to allow for wings that could be folded down/up.
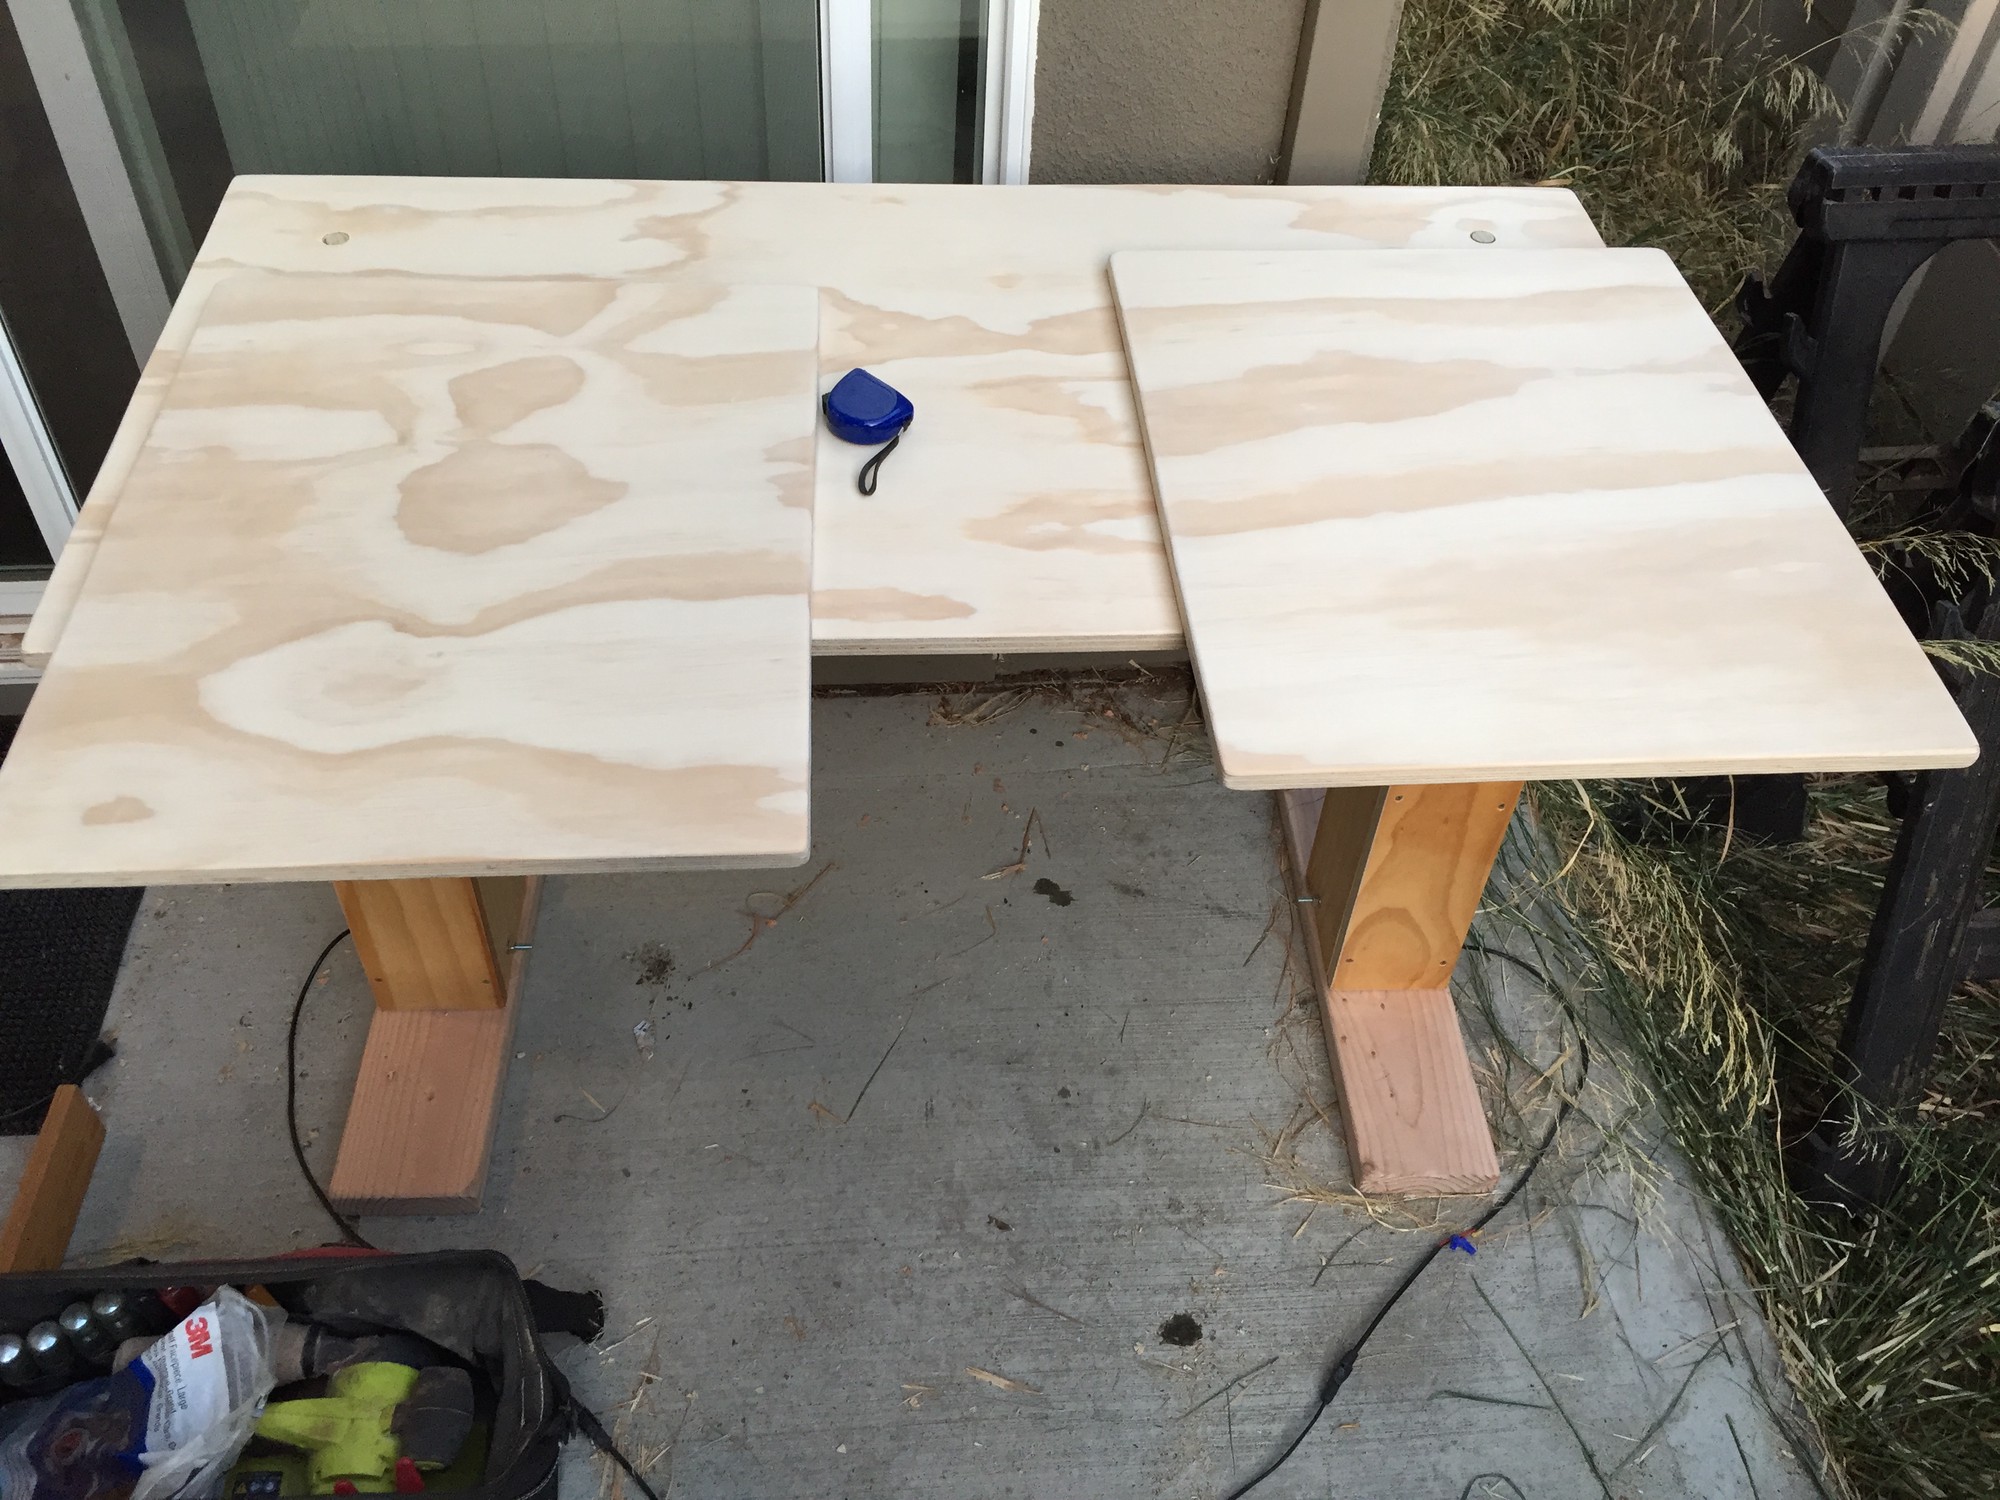
I attach folding struts that support these extensions pieces when they are extended.
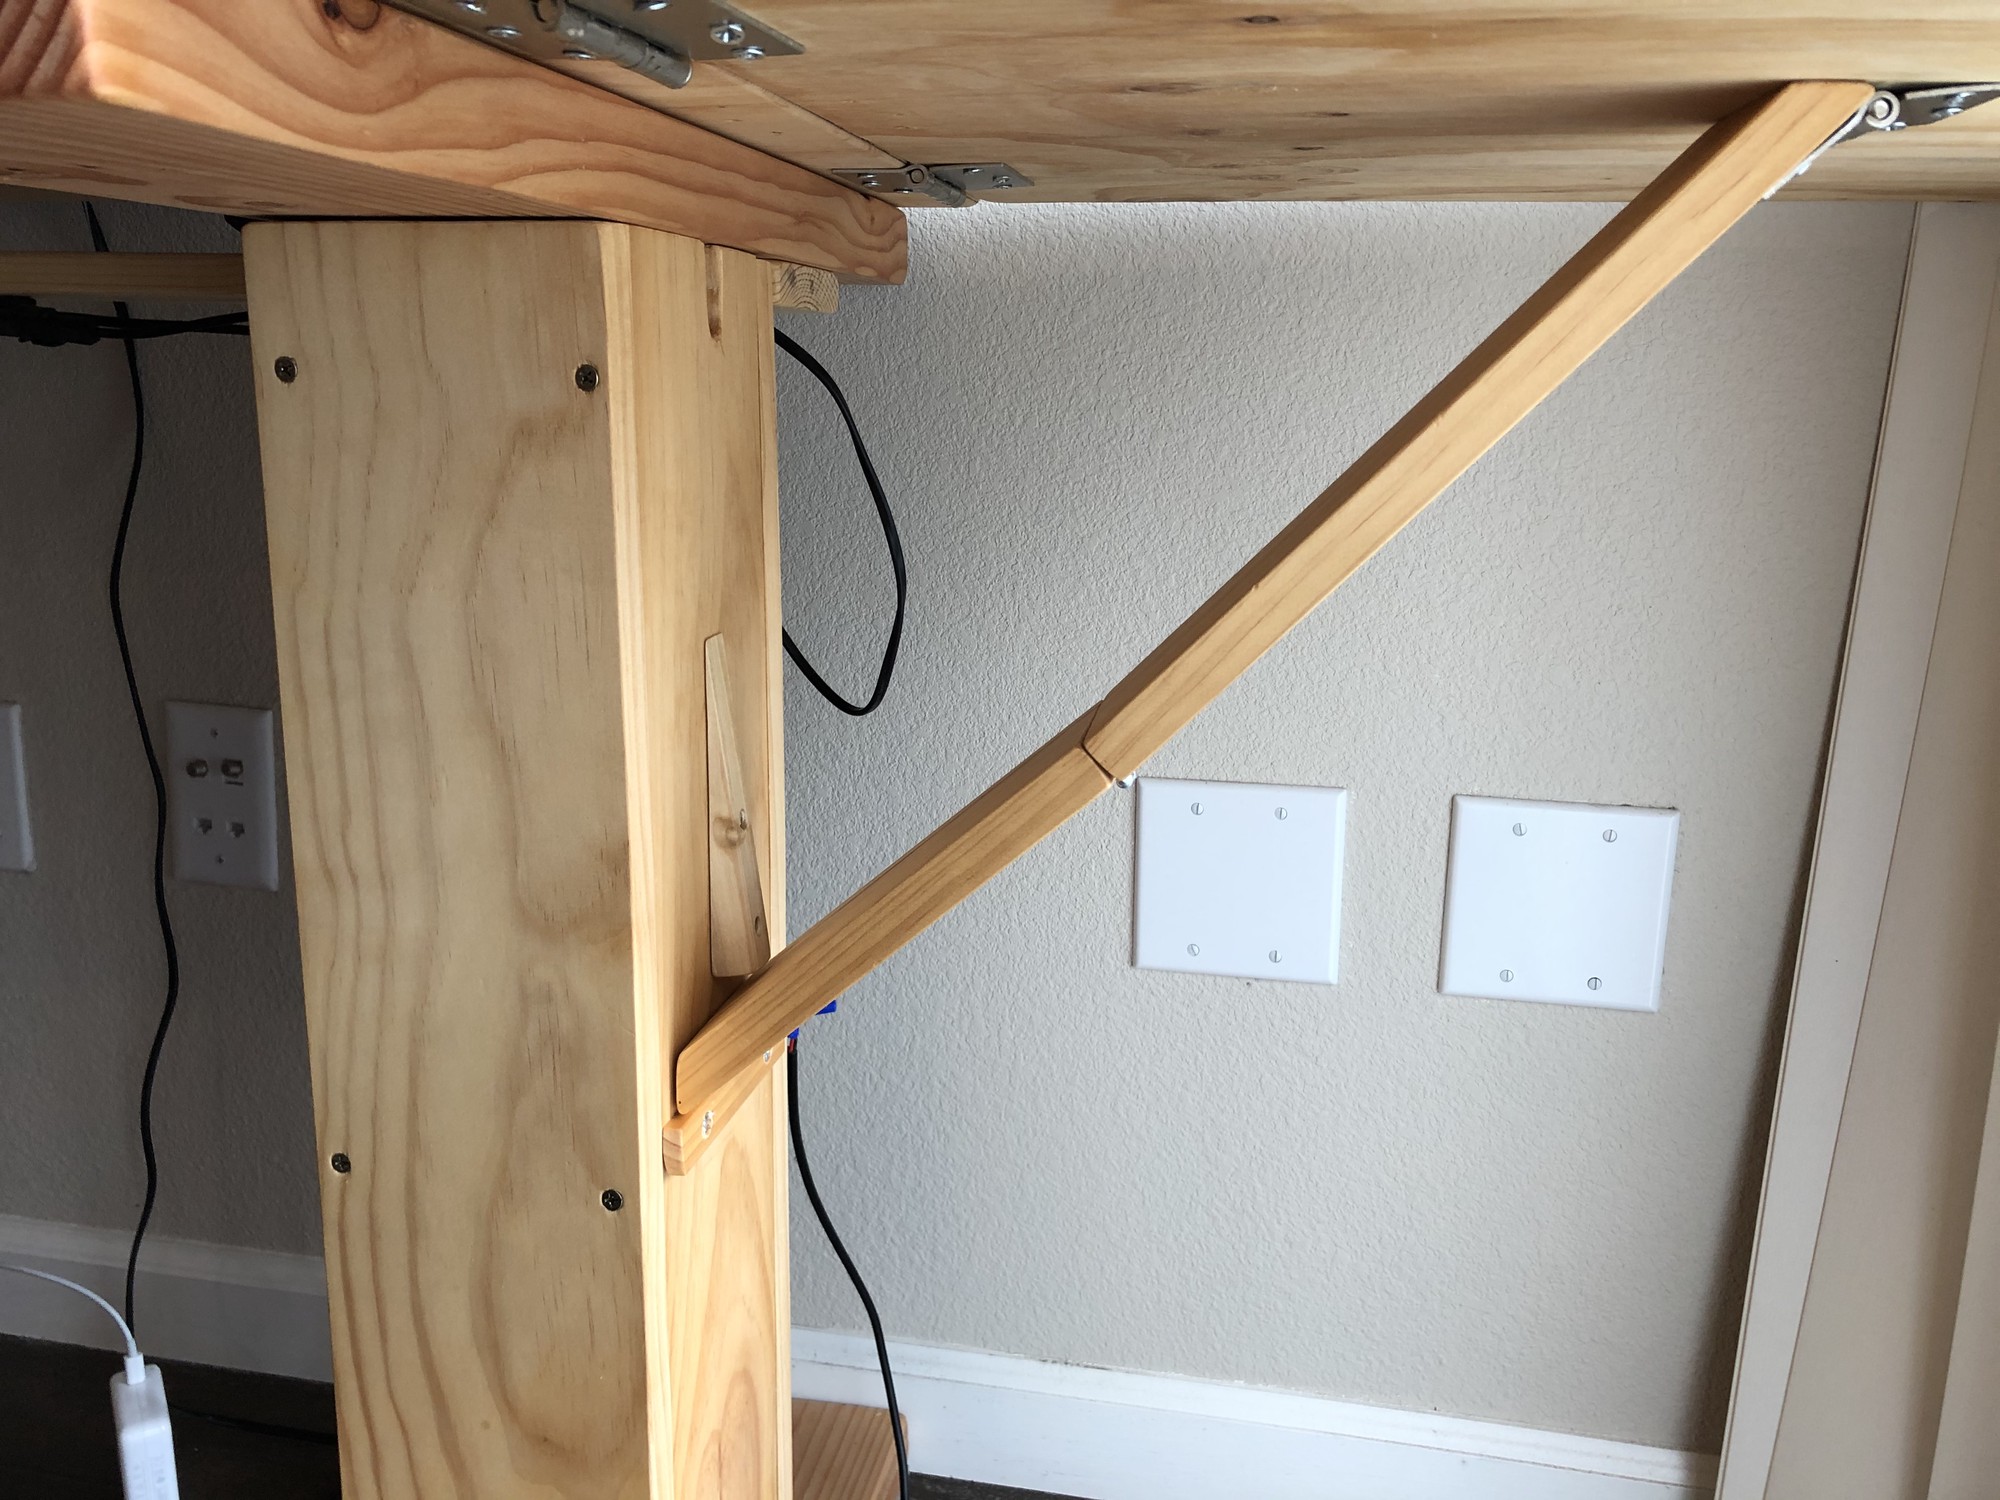
The wedge shaped blocks on the sides of the legs guide the hinged struts (when folded) far enough out from the stop blocks (that they rest) when the table is in vertical movement.
The hinged struts fold and lock together using high strength velcro purchased from Home Depot.
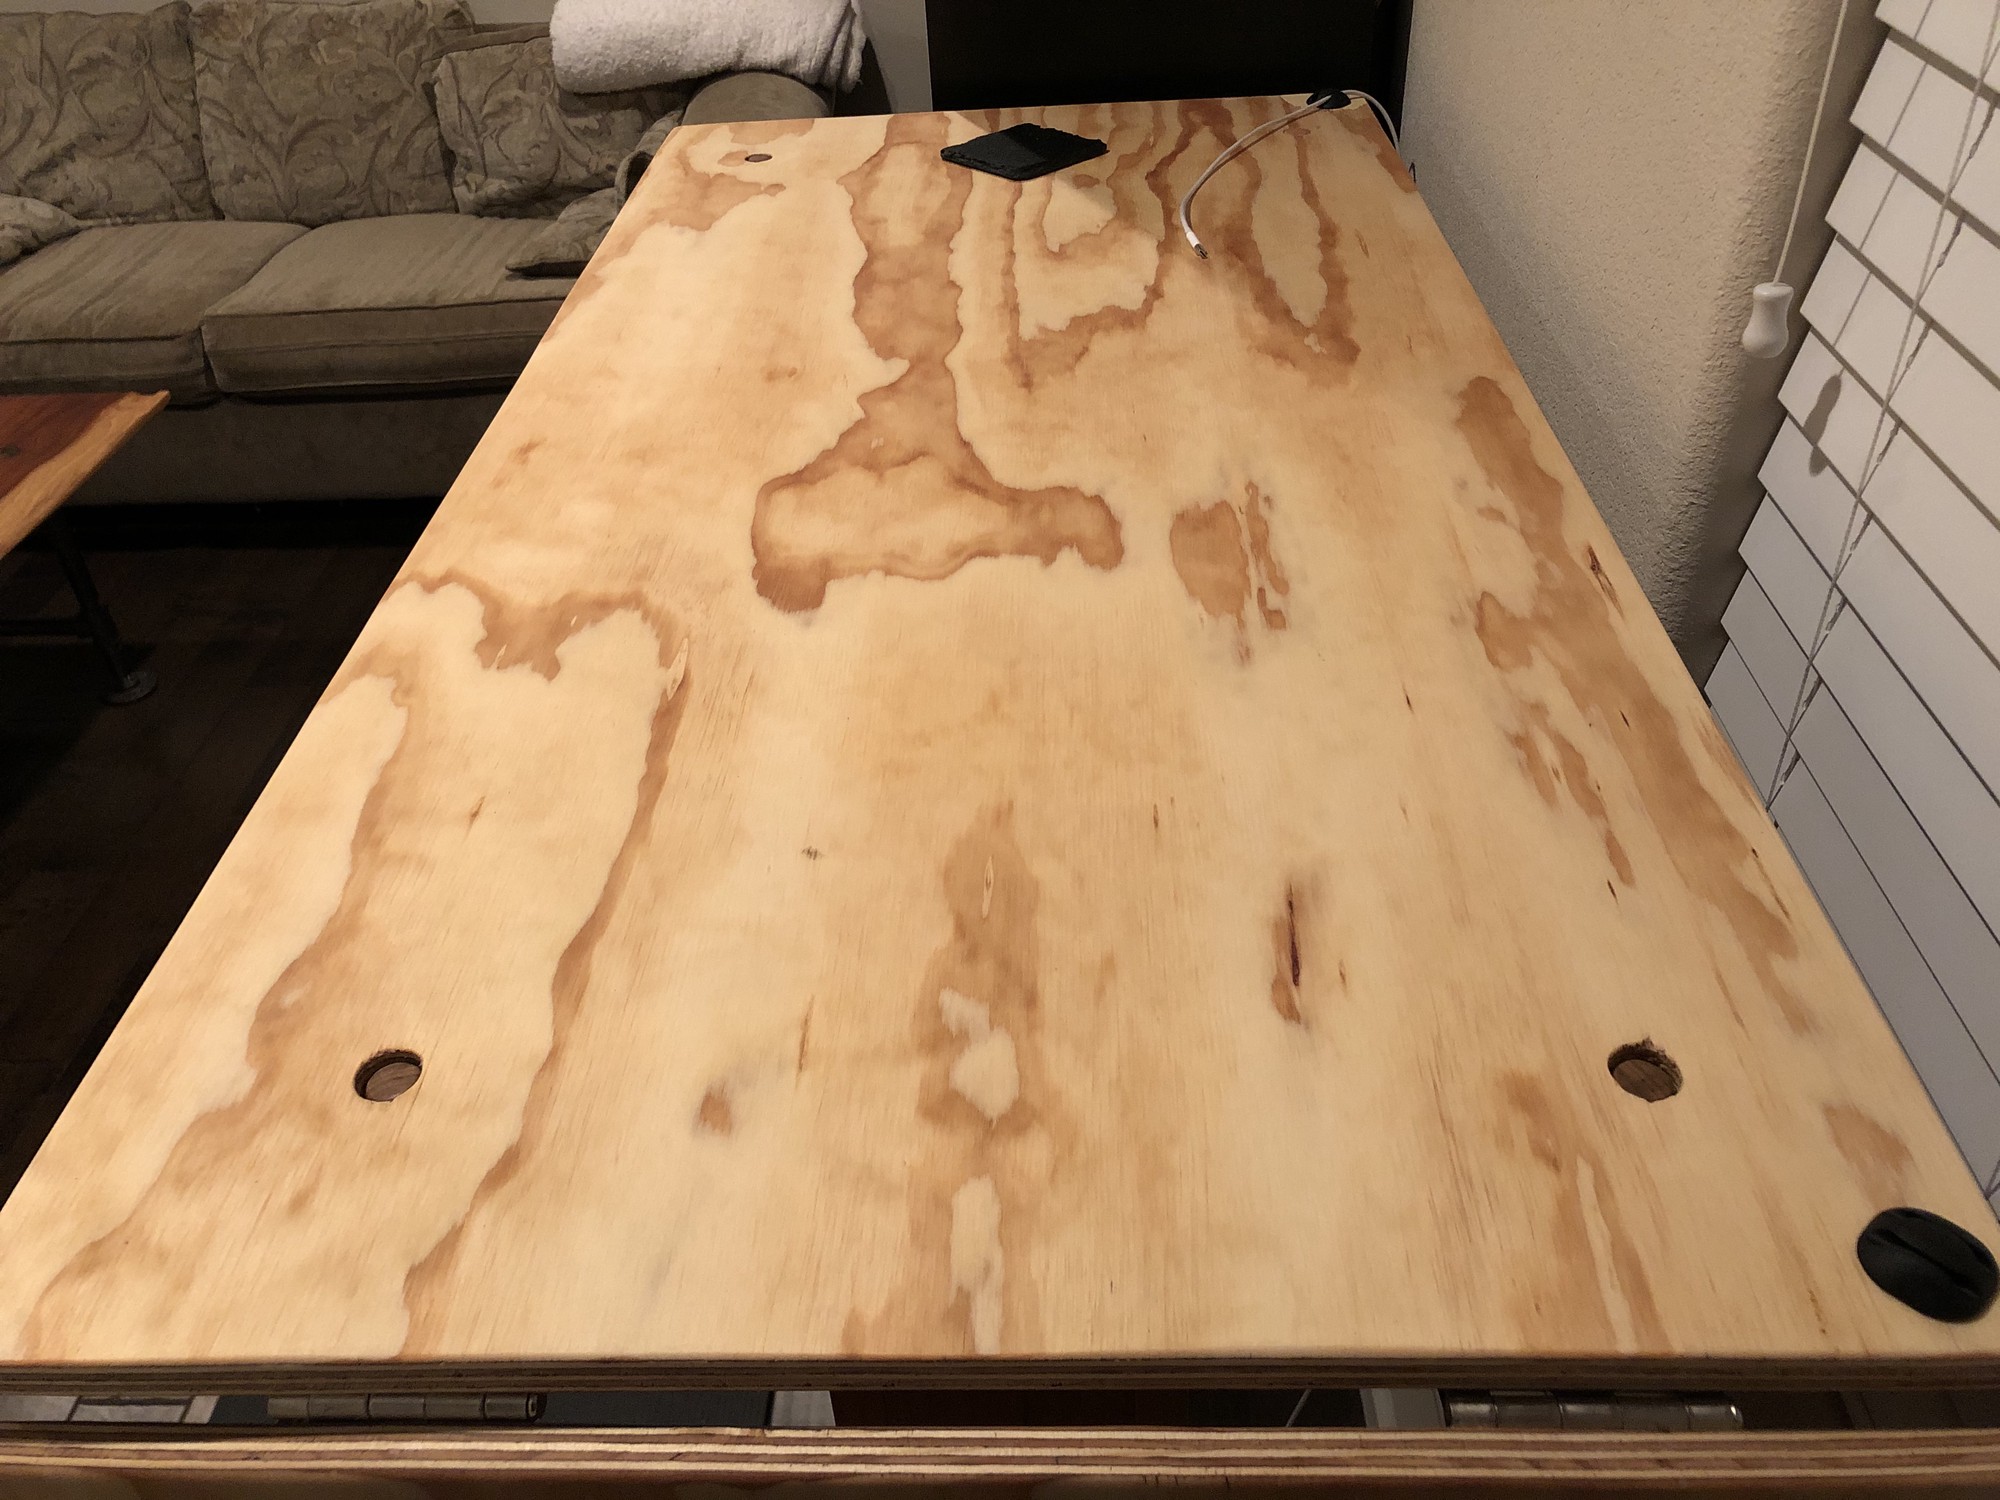
Attachment To Legs
I wanted this table to be portable so permanently attaching the top to the legs was out of the question. The final attachment mechanism is just dowels fixed to the legs that the top has corresponding slots for. This way, the top can securely lock to the legs without any lateral movement, yet it can be removed by simply lifting it off of the legs.
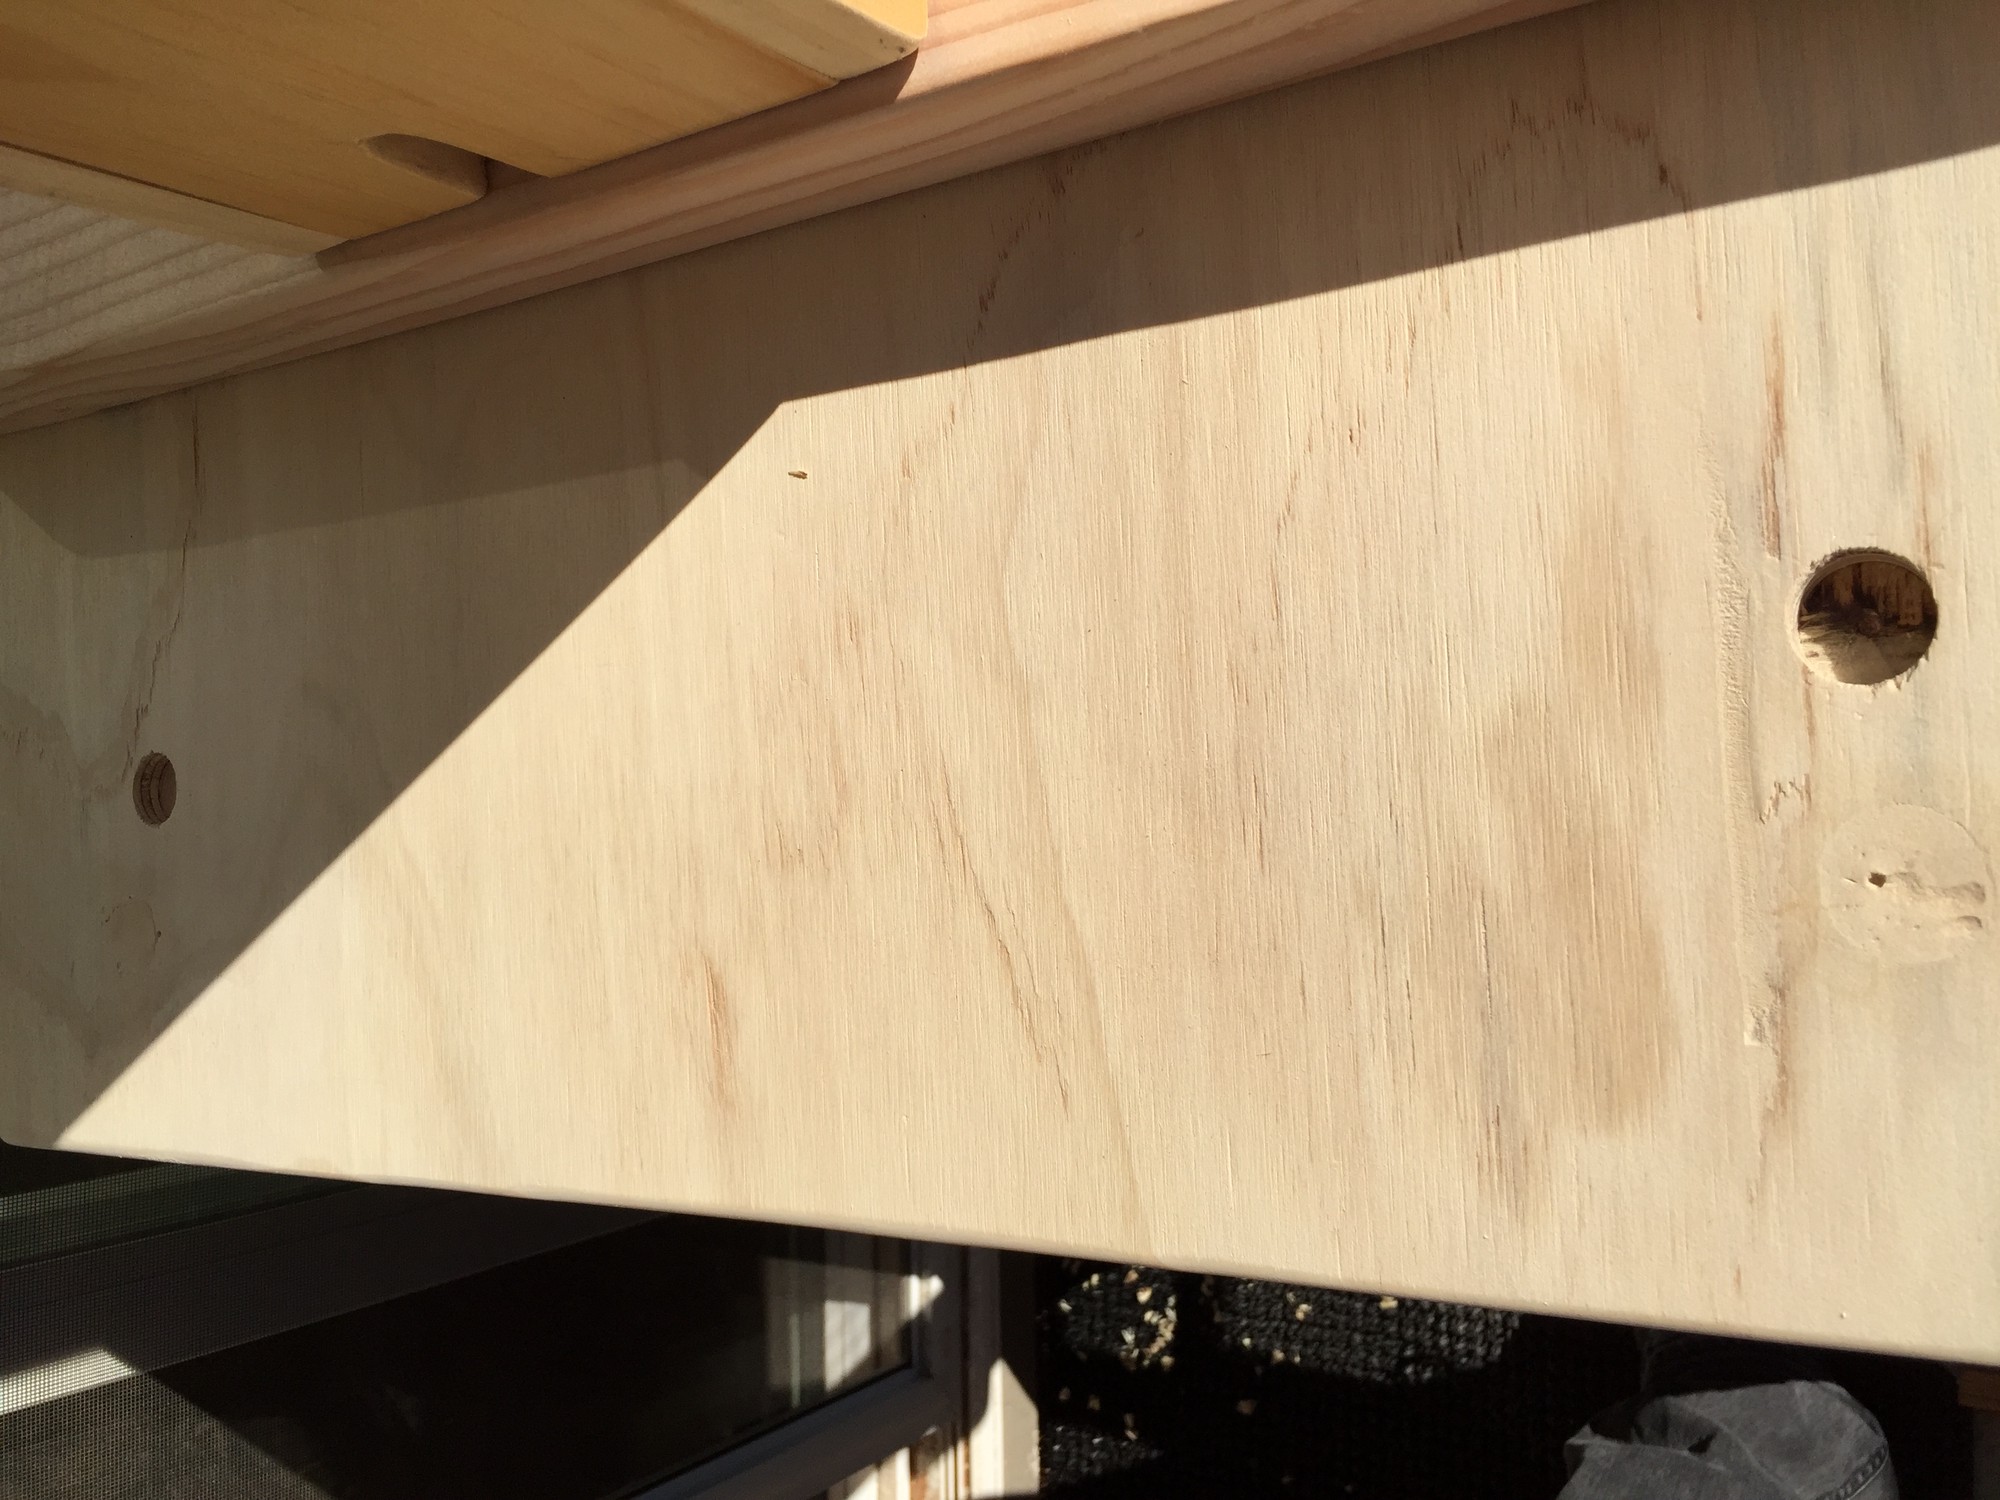
My first step was to properly align the top and the legs so that the dowels and their corresponding holes aligned.
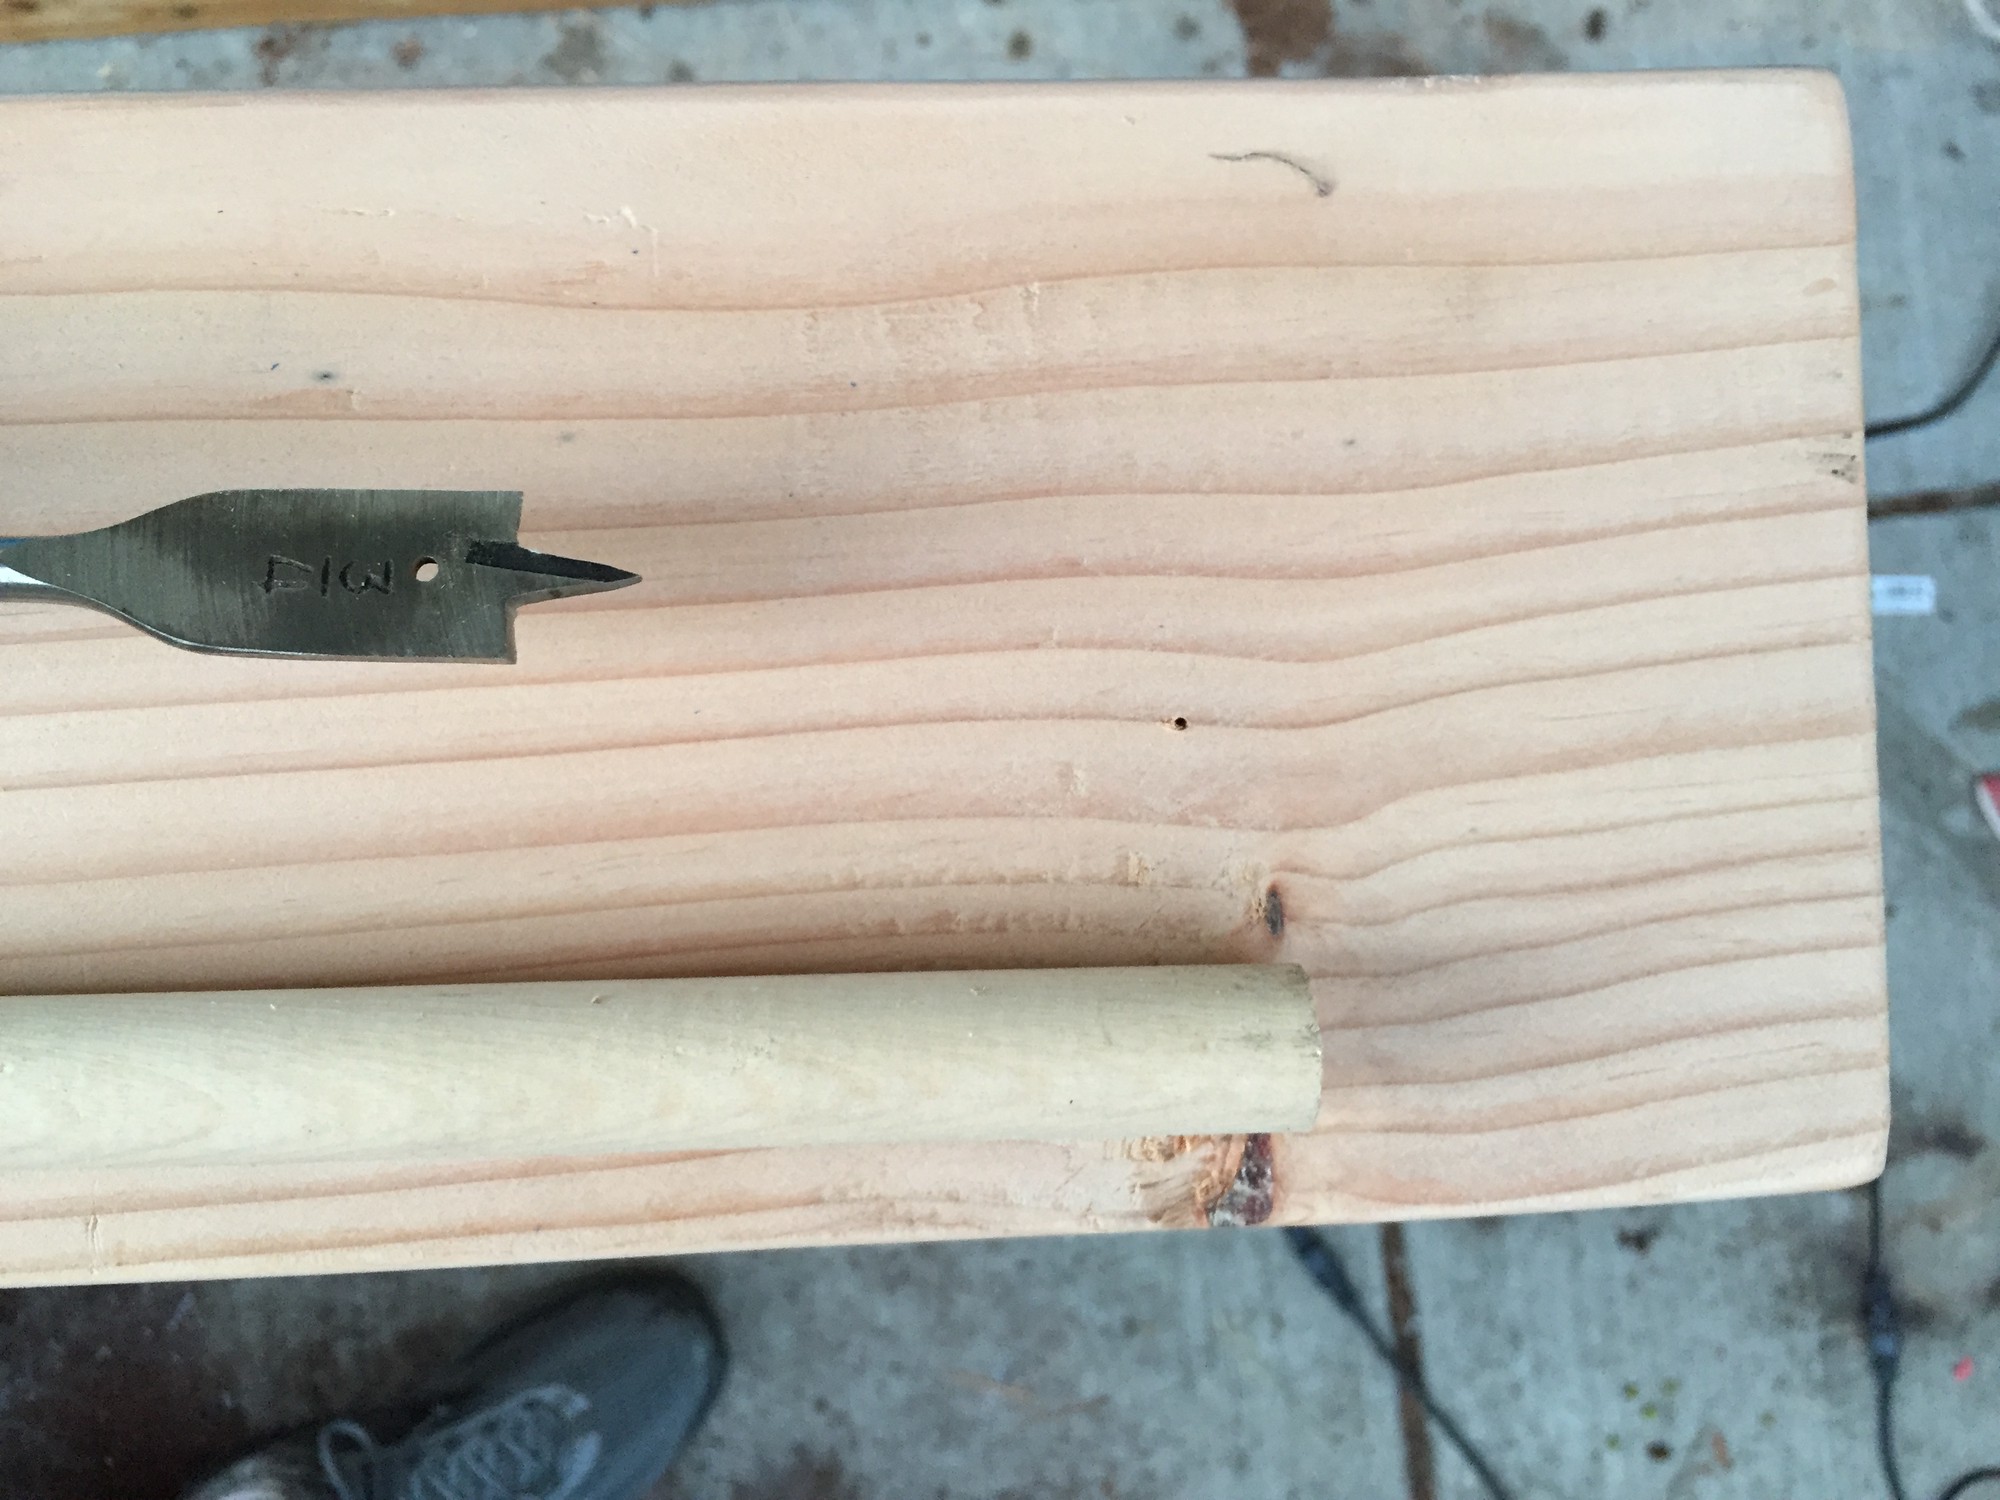
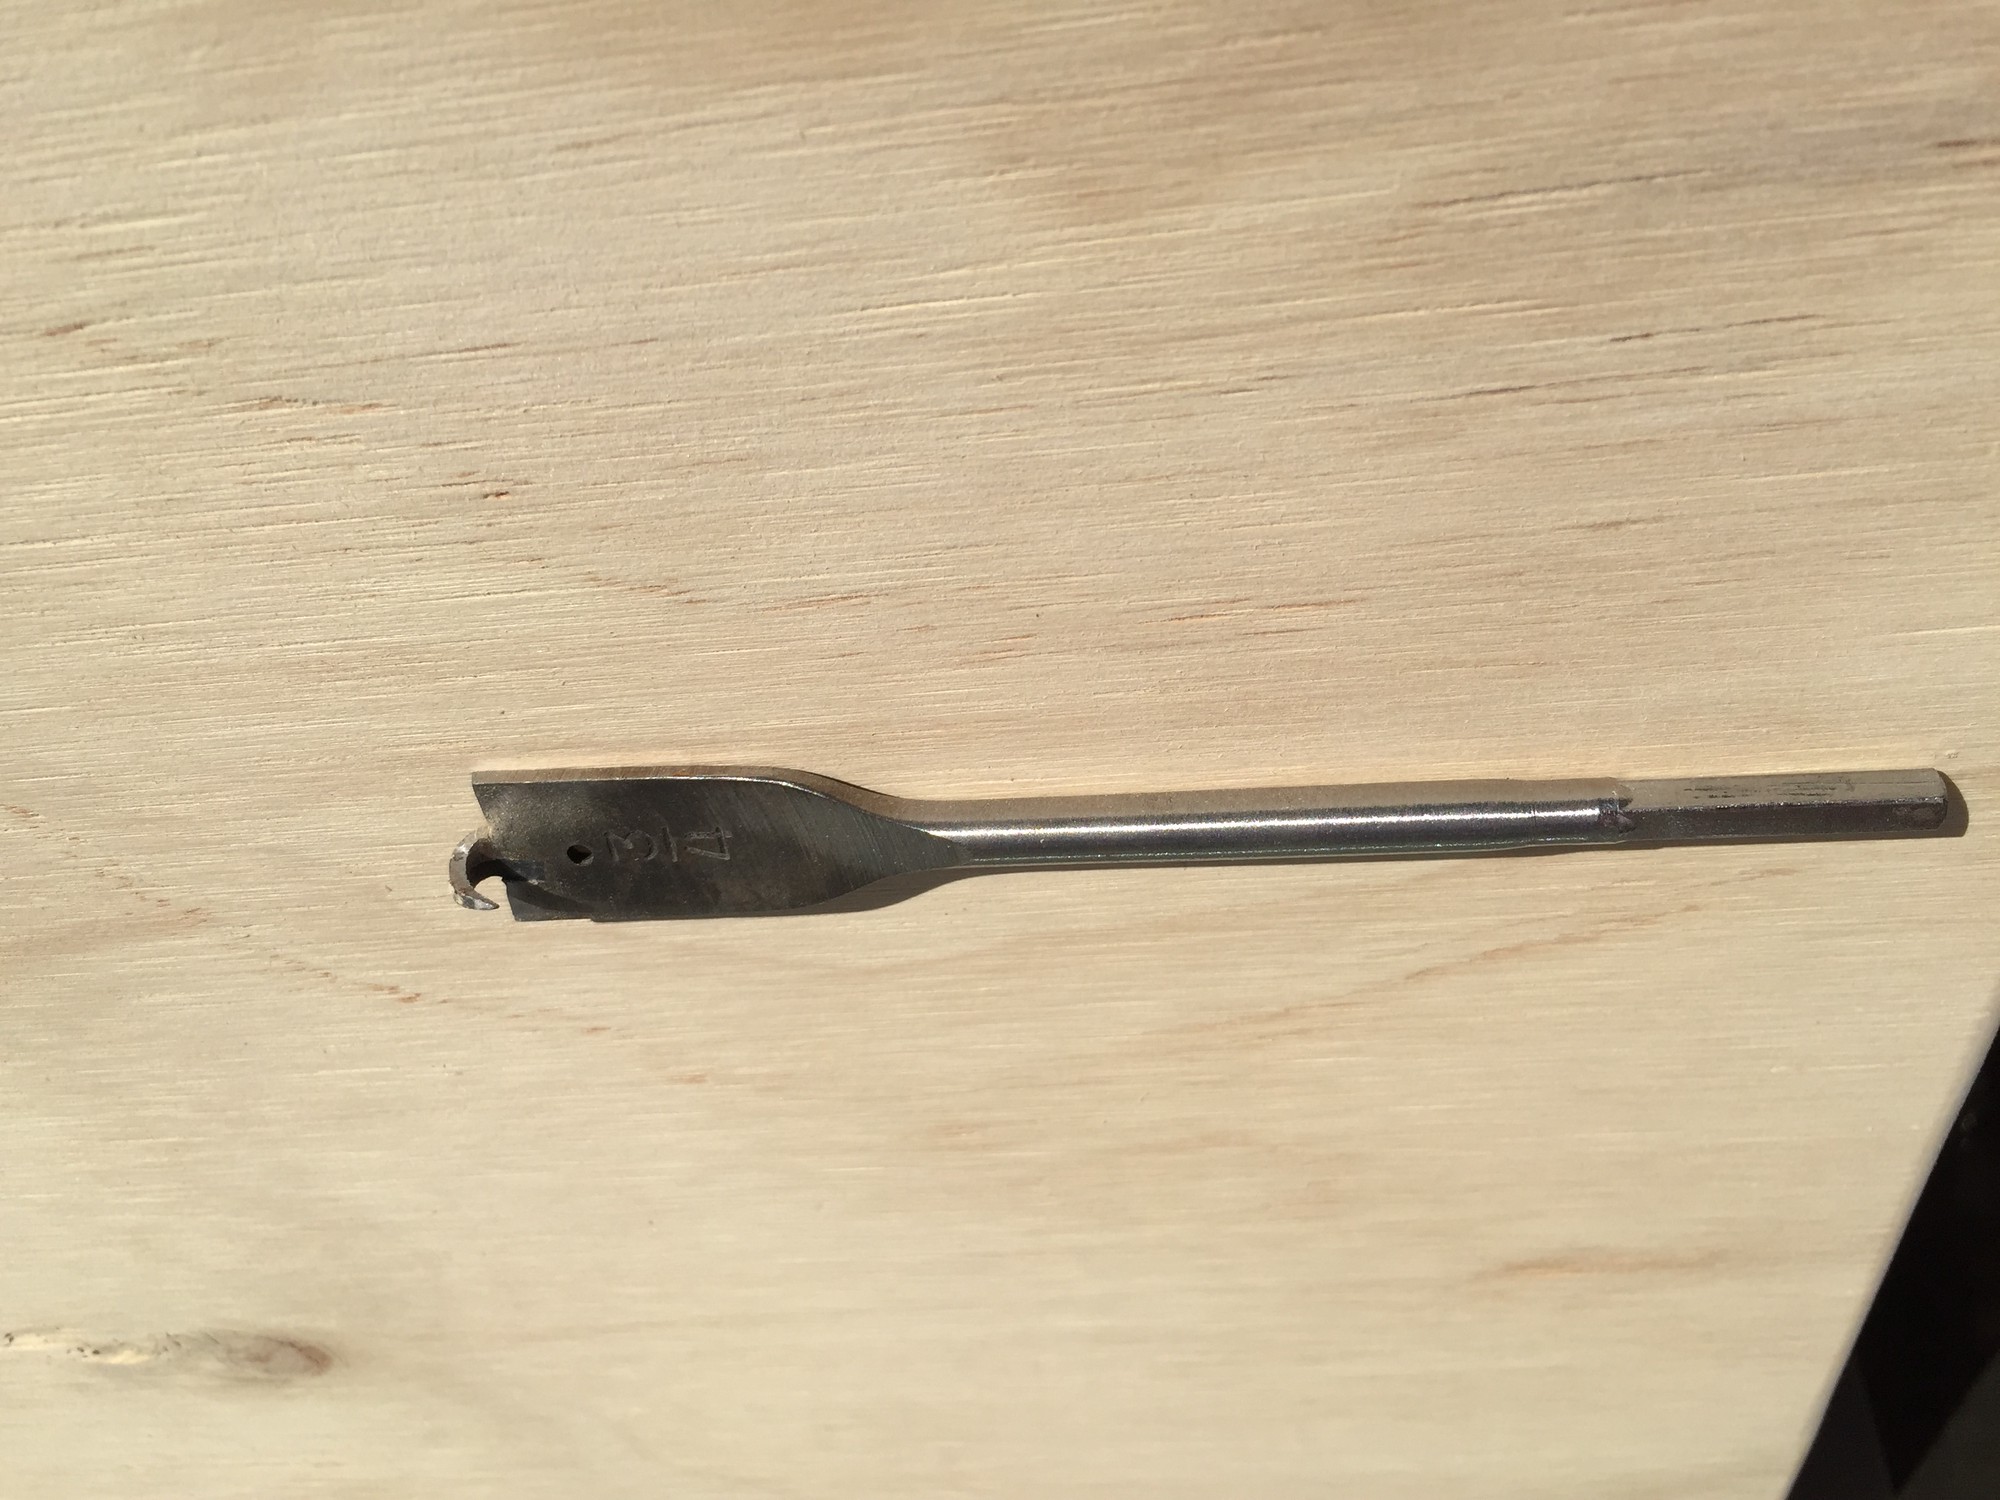
The dowels are 3/4" in diameter and I didn’t inititally have a Forstner bit of that size. So I attempted to use a bent 3/4" spade bit. However, this proved futile :P.
I eventually purchased a 3/4" Forstner bit (~$15) to drill the dowel holes.
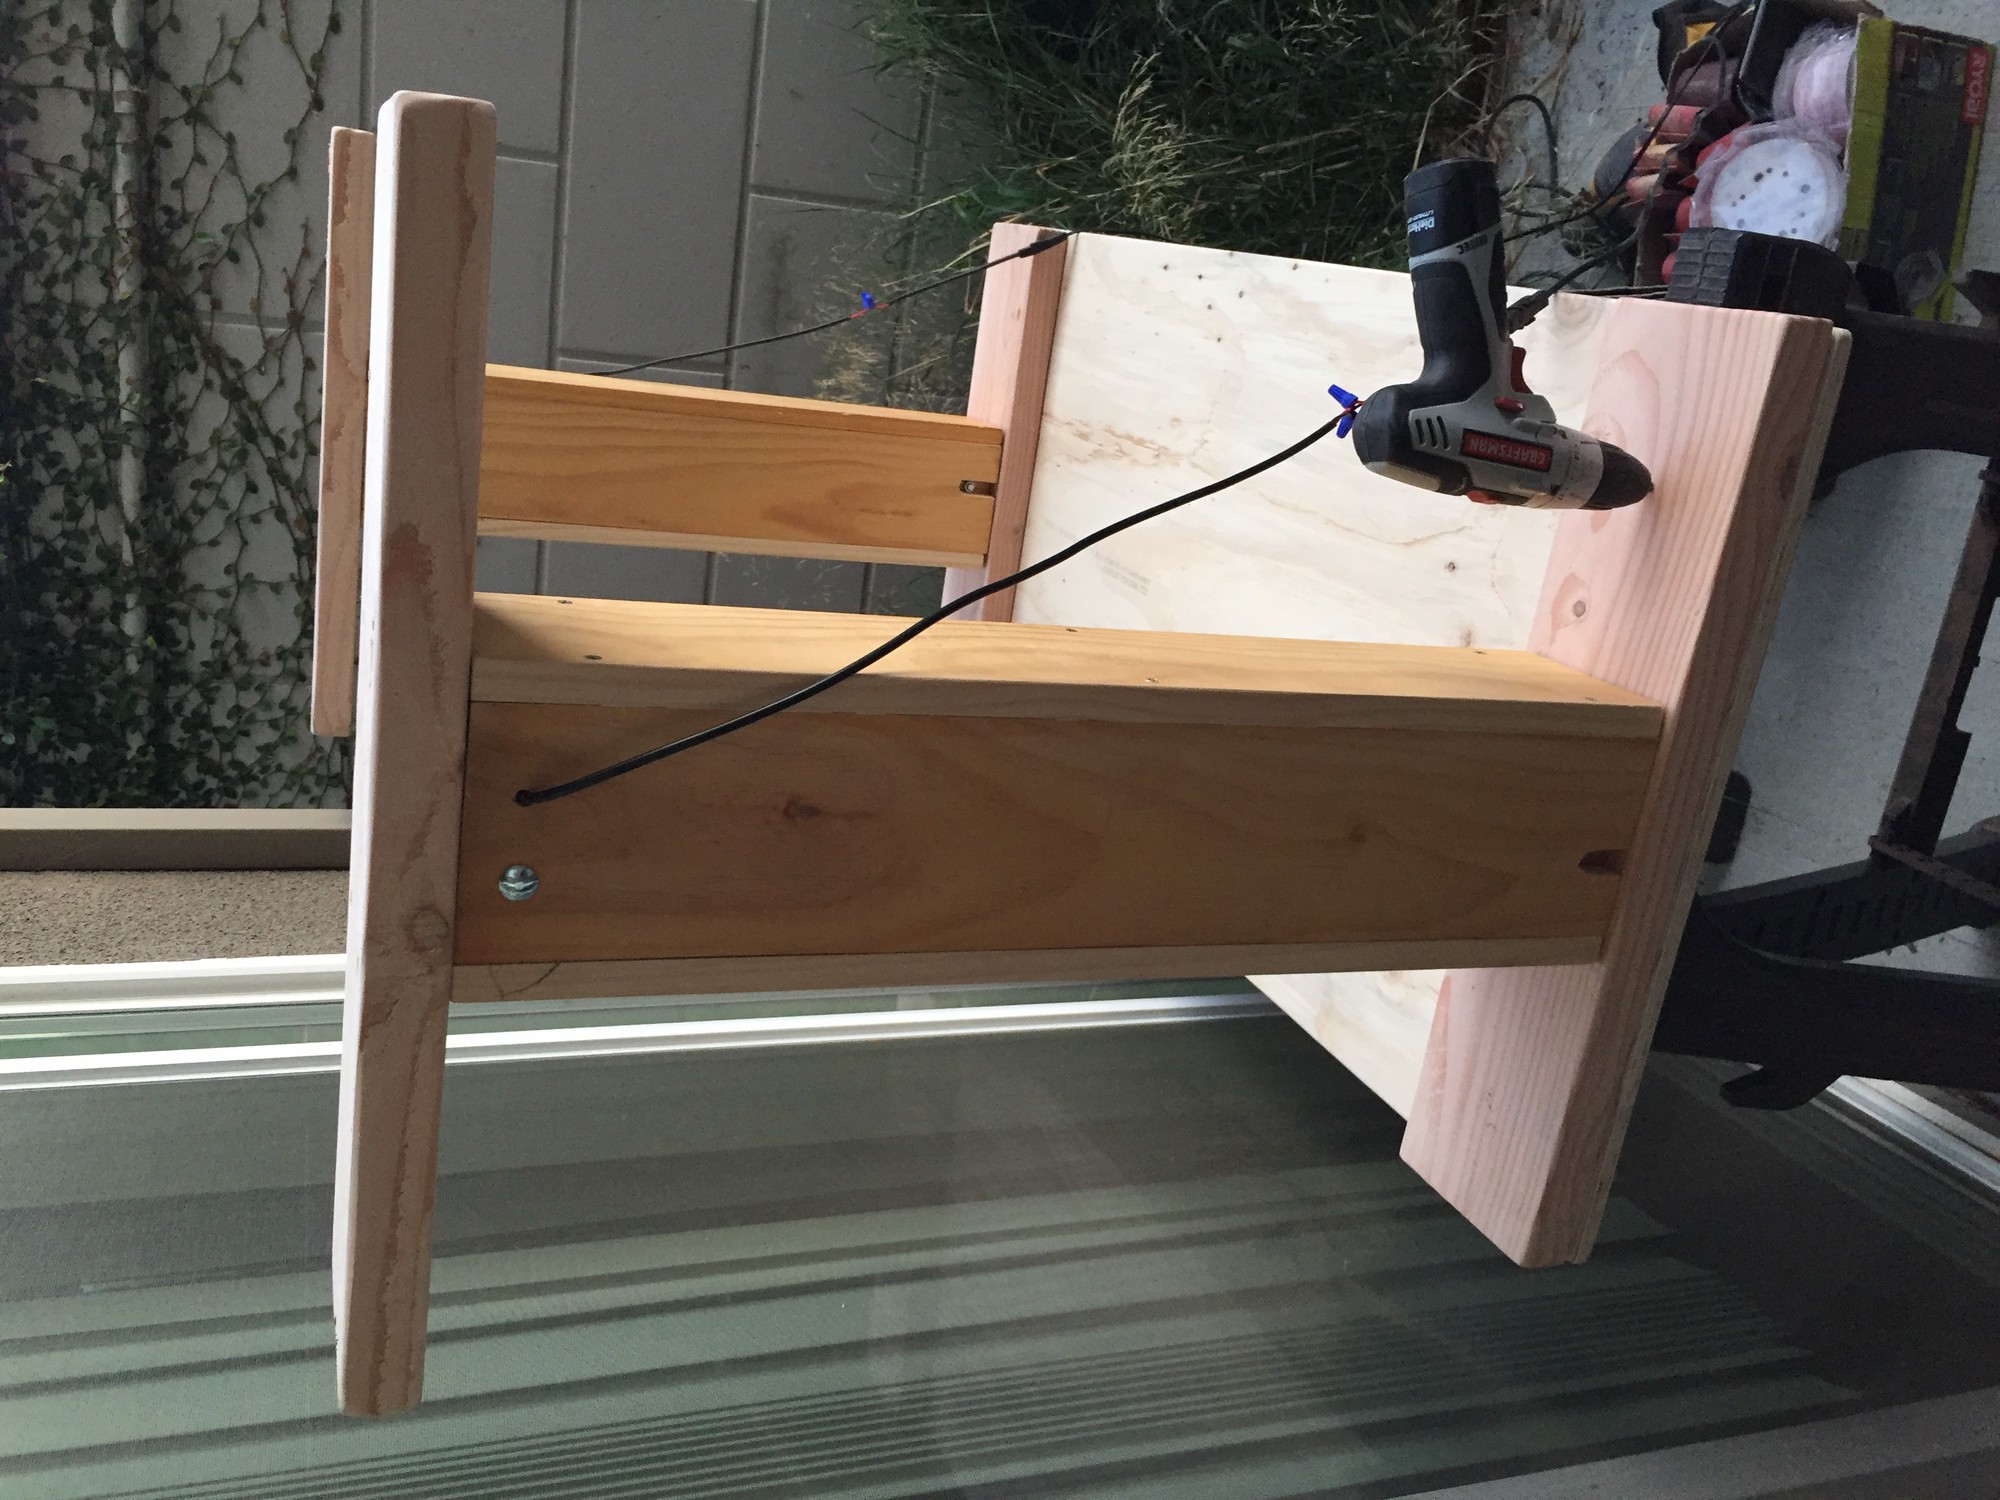
Base
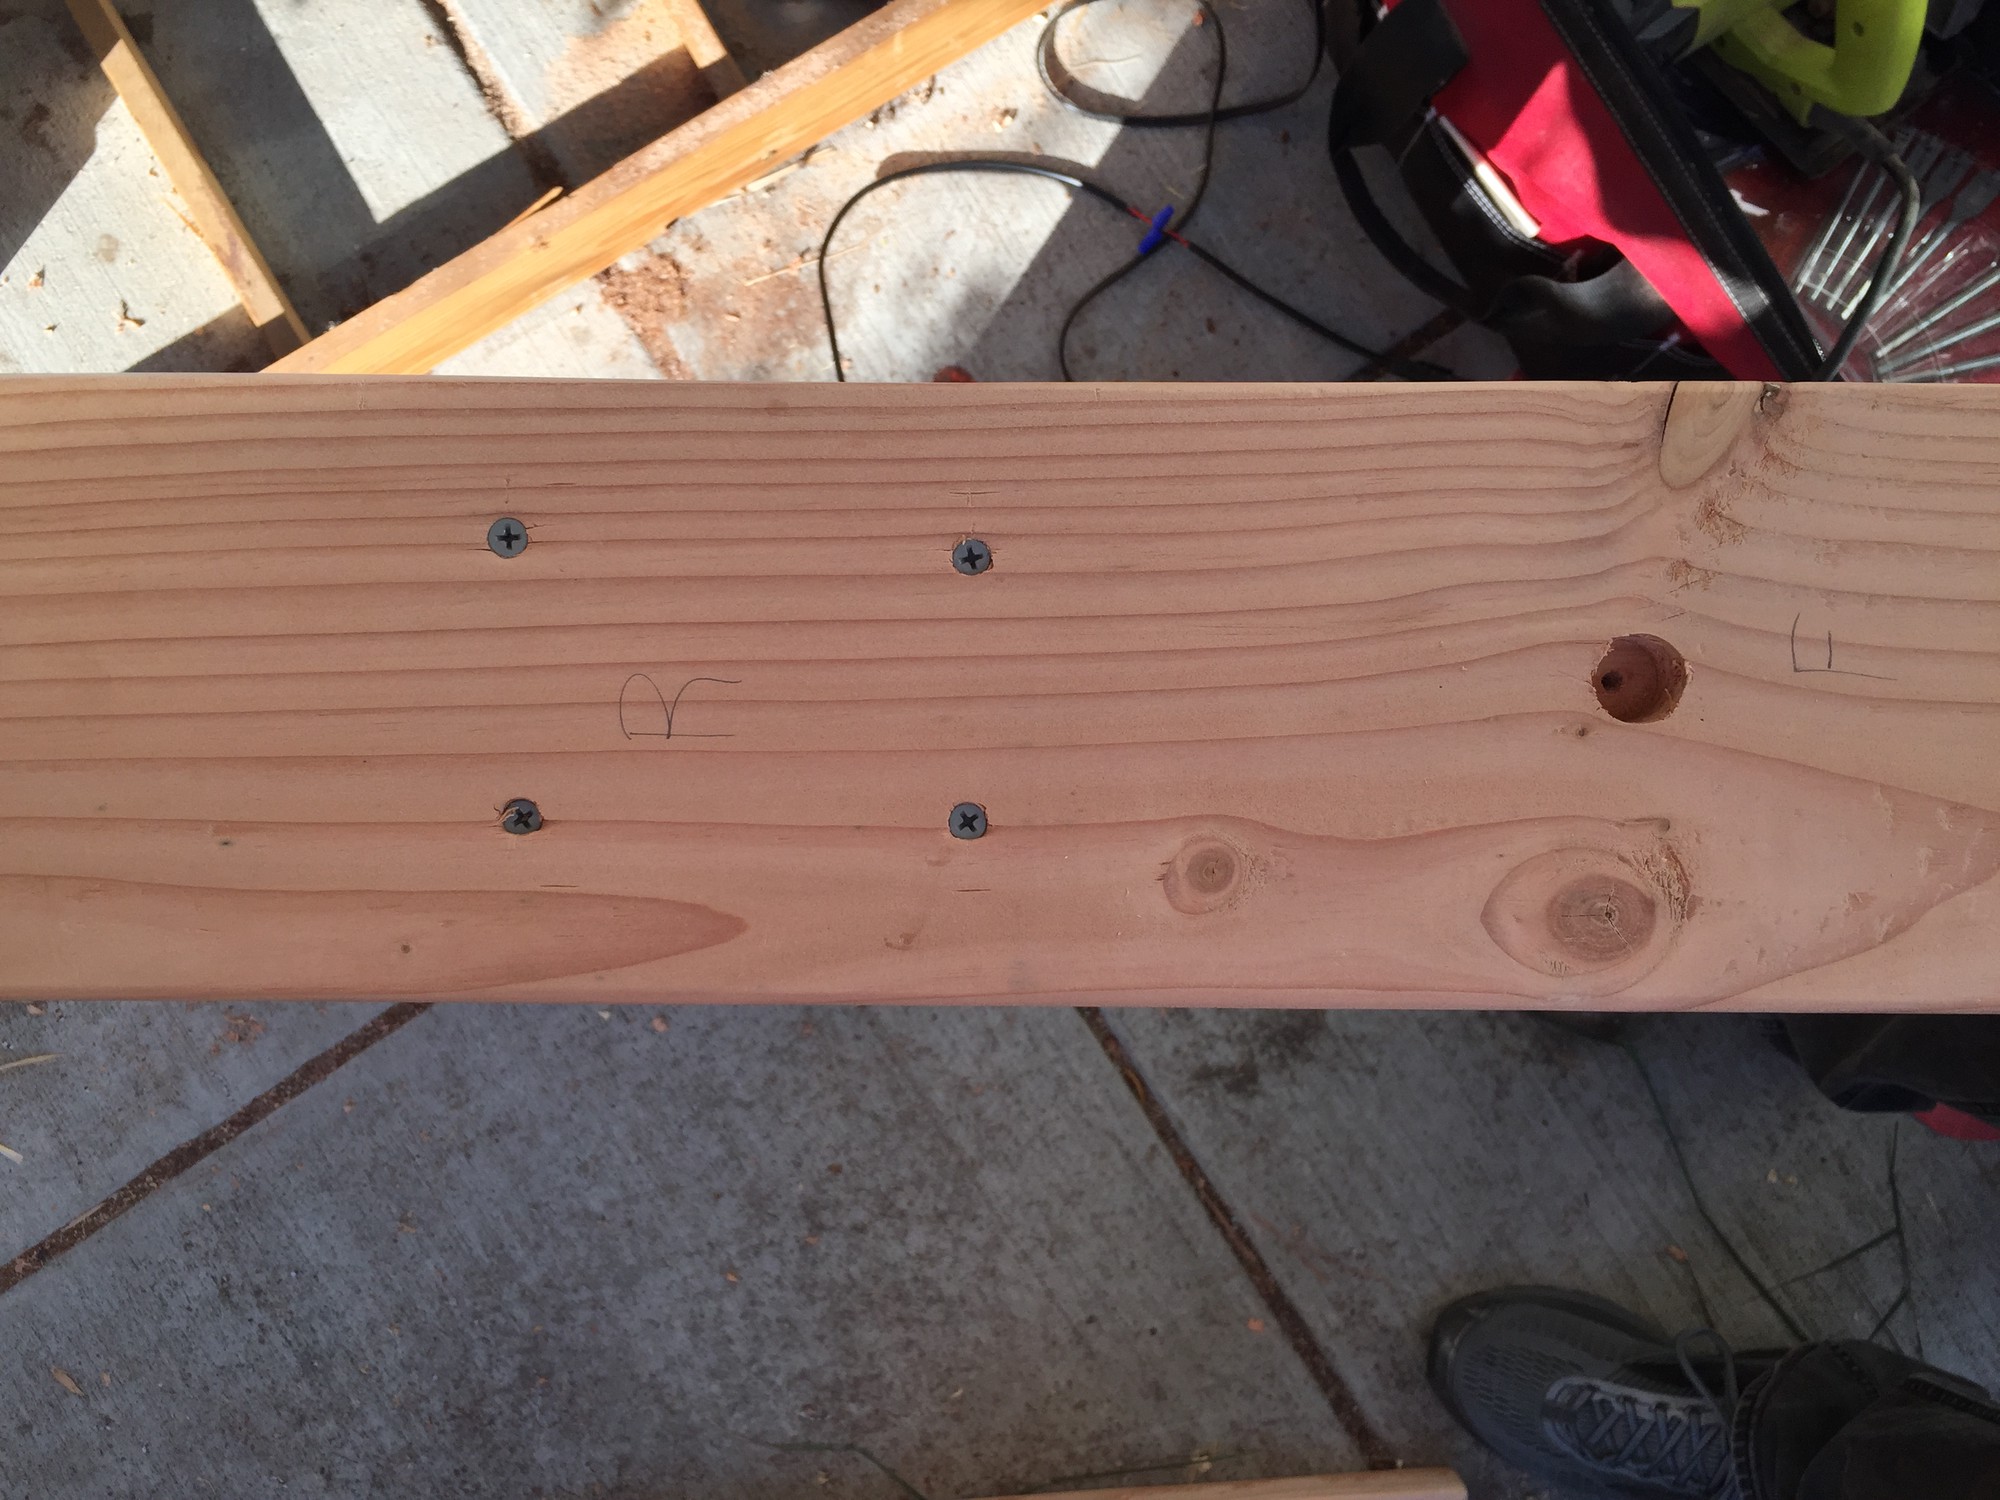
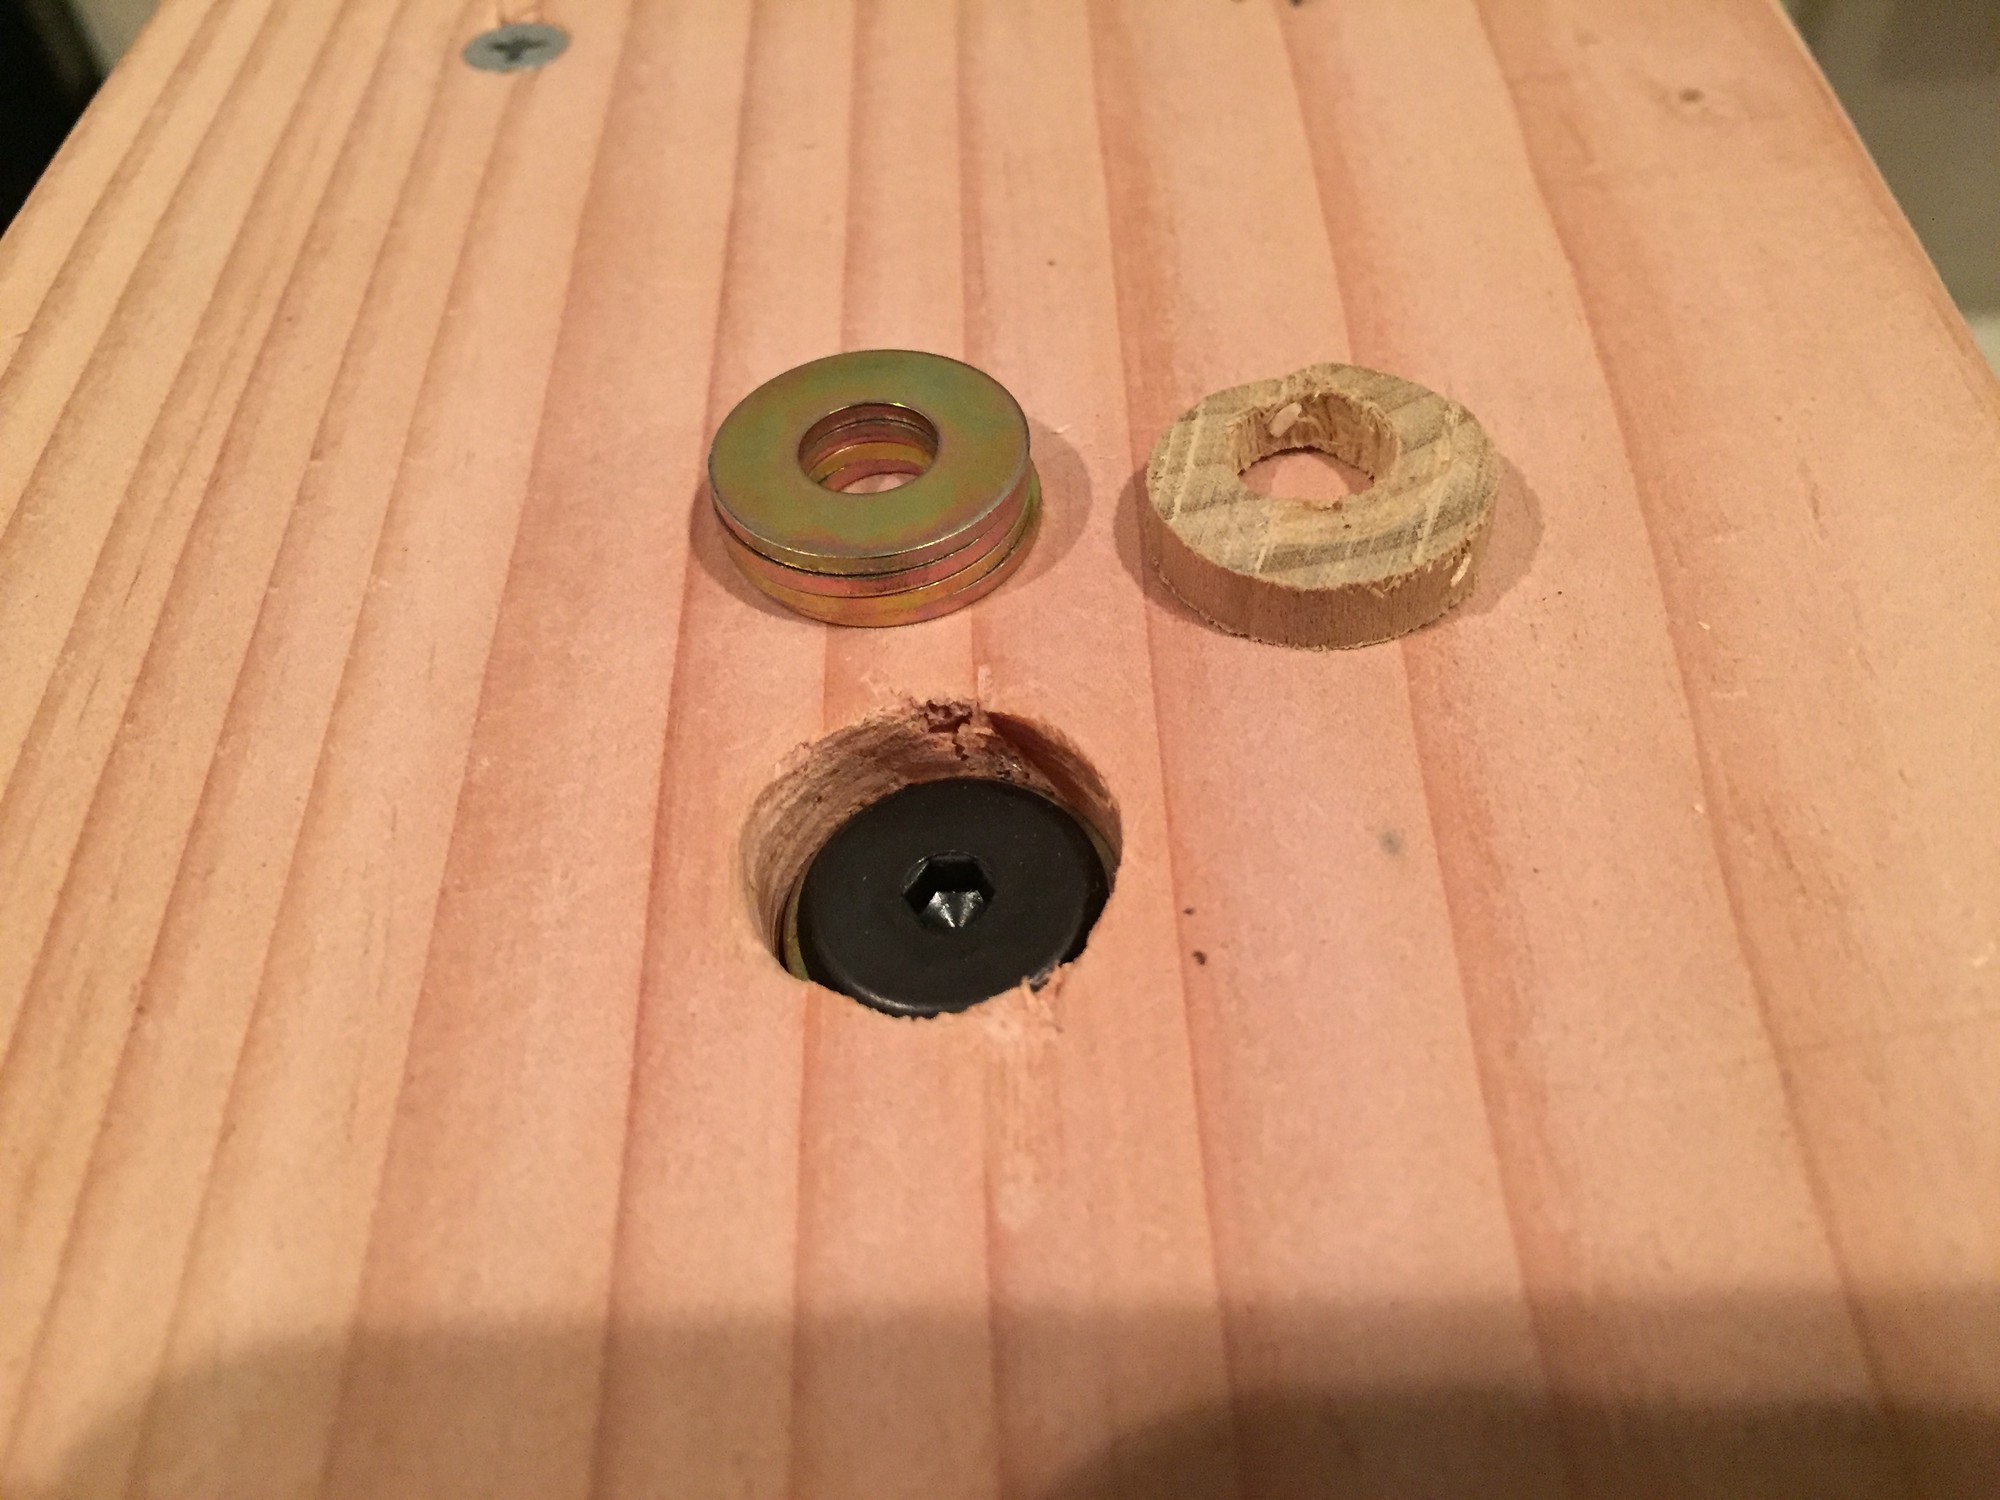
I needed the base to be stable and robust yet easily deconstructable. I learned after trial and error that the dowel rods were great at securing the top to the legs, but weren’t enough to keep the legs from bowing inwards if reasonable, lateral loads were applied to the top. So, I decided to affix a strut that runs under the top and connects the legs securely together using flat head hex screws. These, screws can be easily removed to allow the legs to be separated and the entire table moved.
I purchased the wrong length screws and so had to use washers to fill the gap and allow the screws to be tightened adequately.
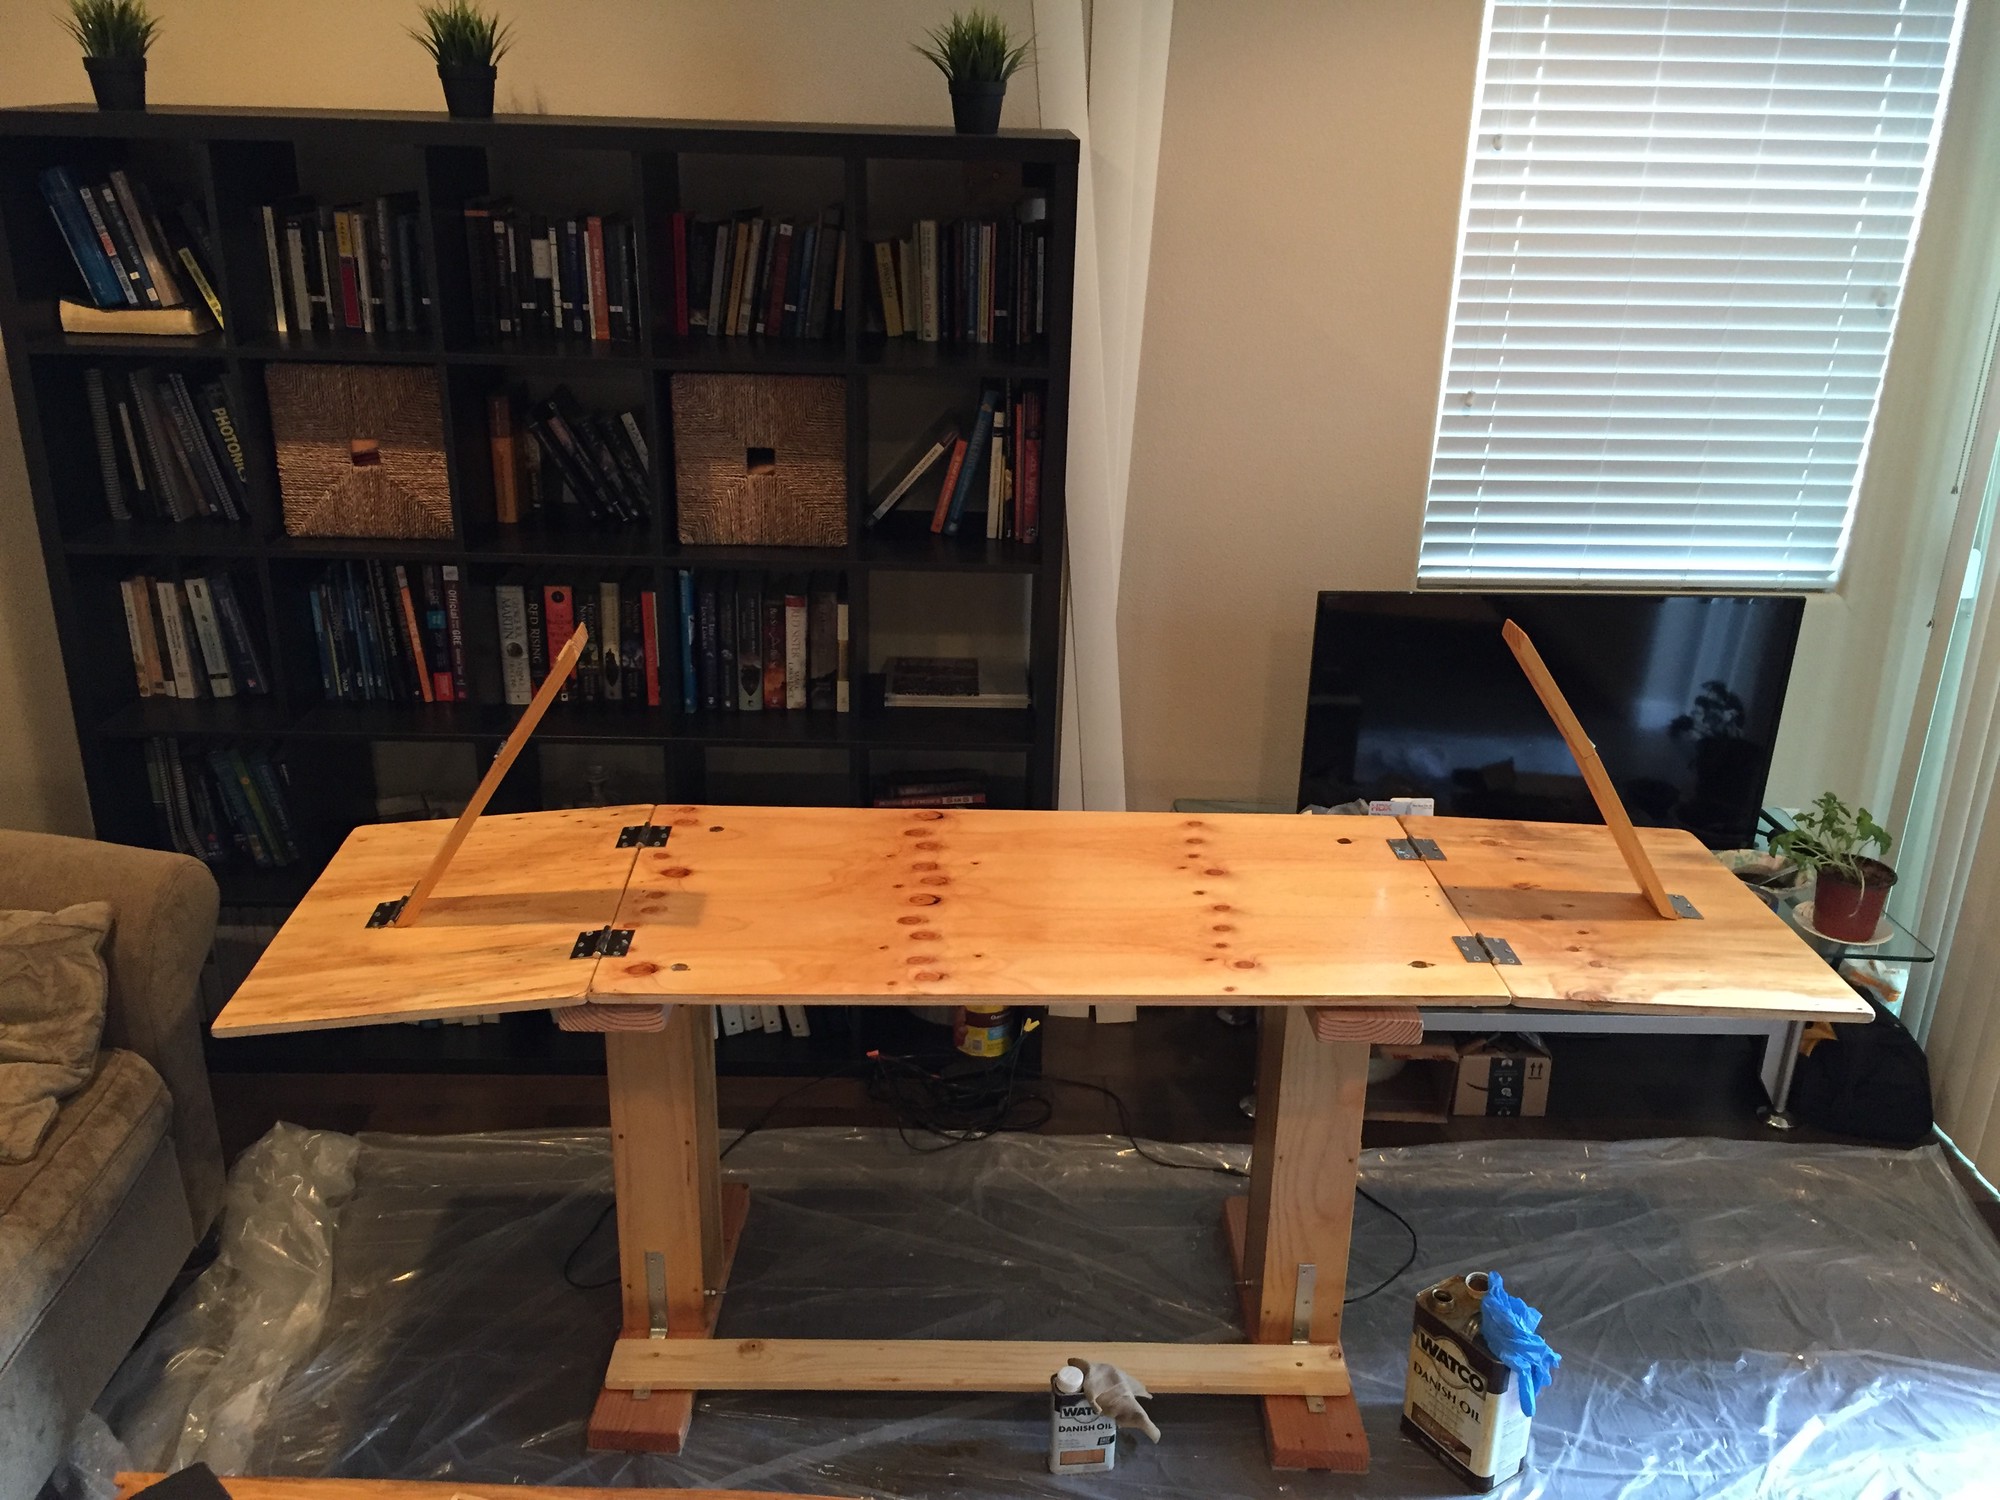
Finished Base And Top Construction
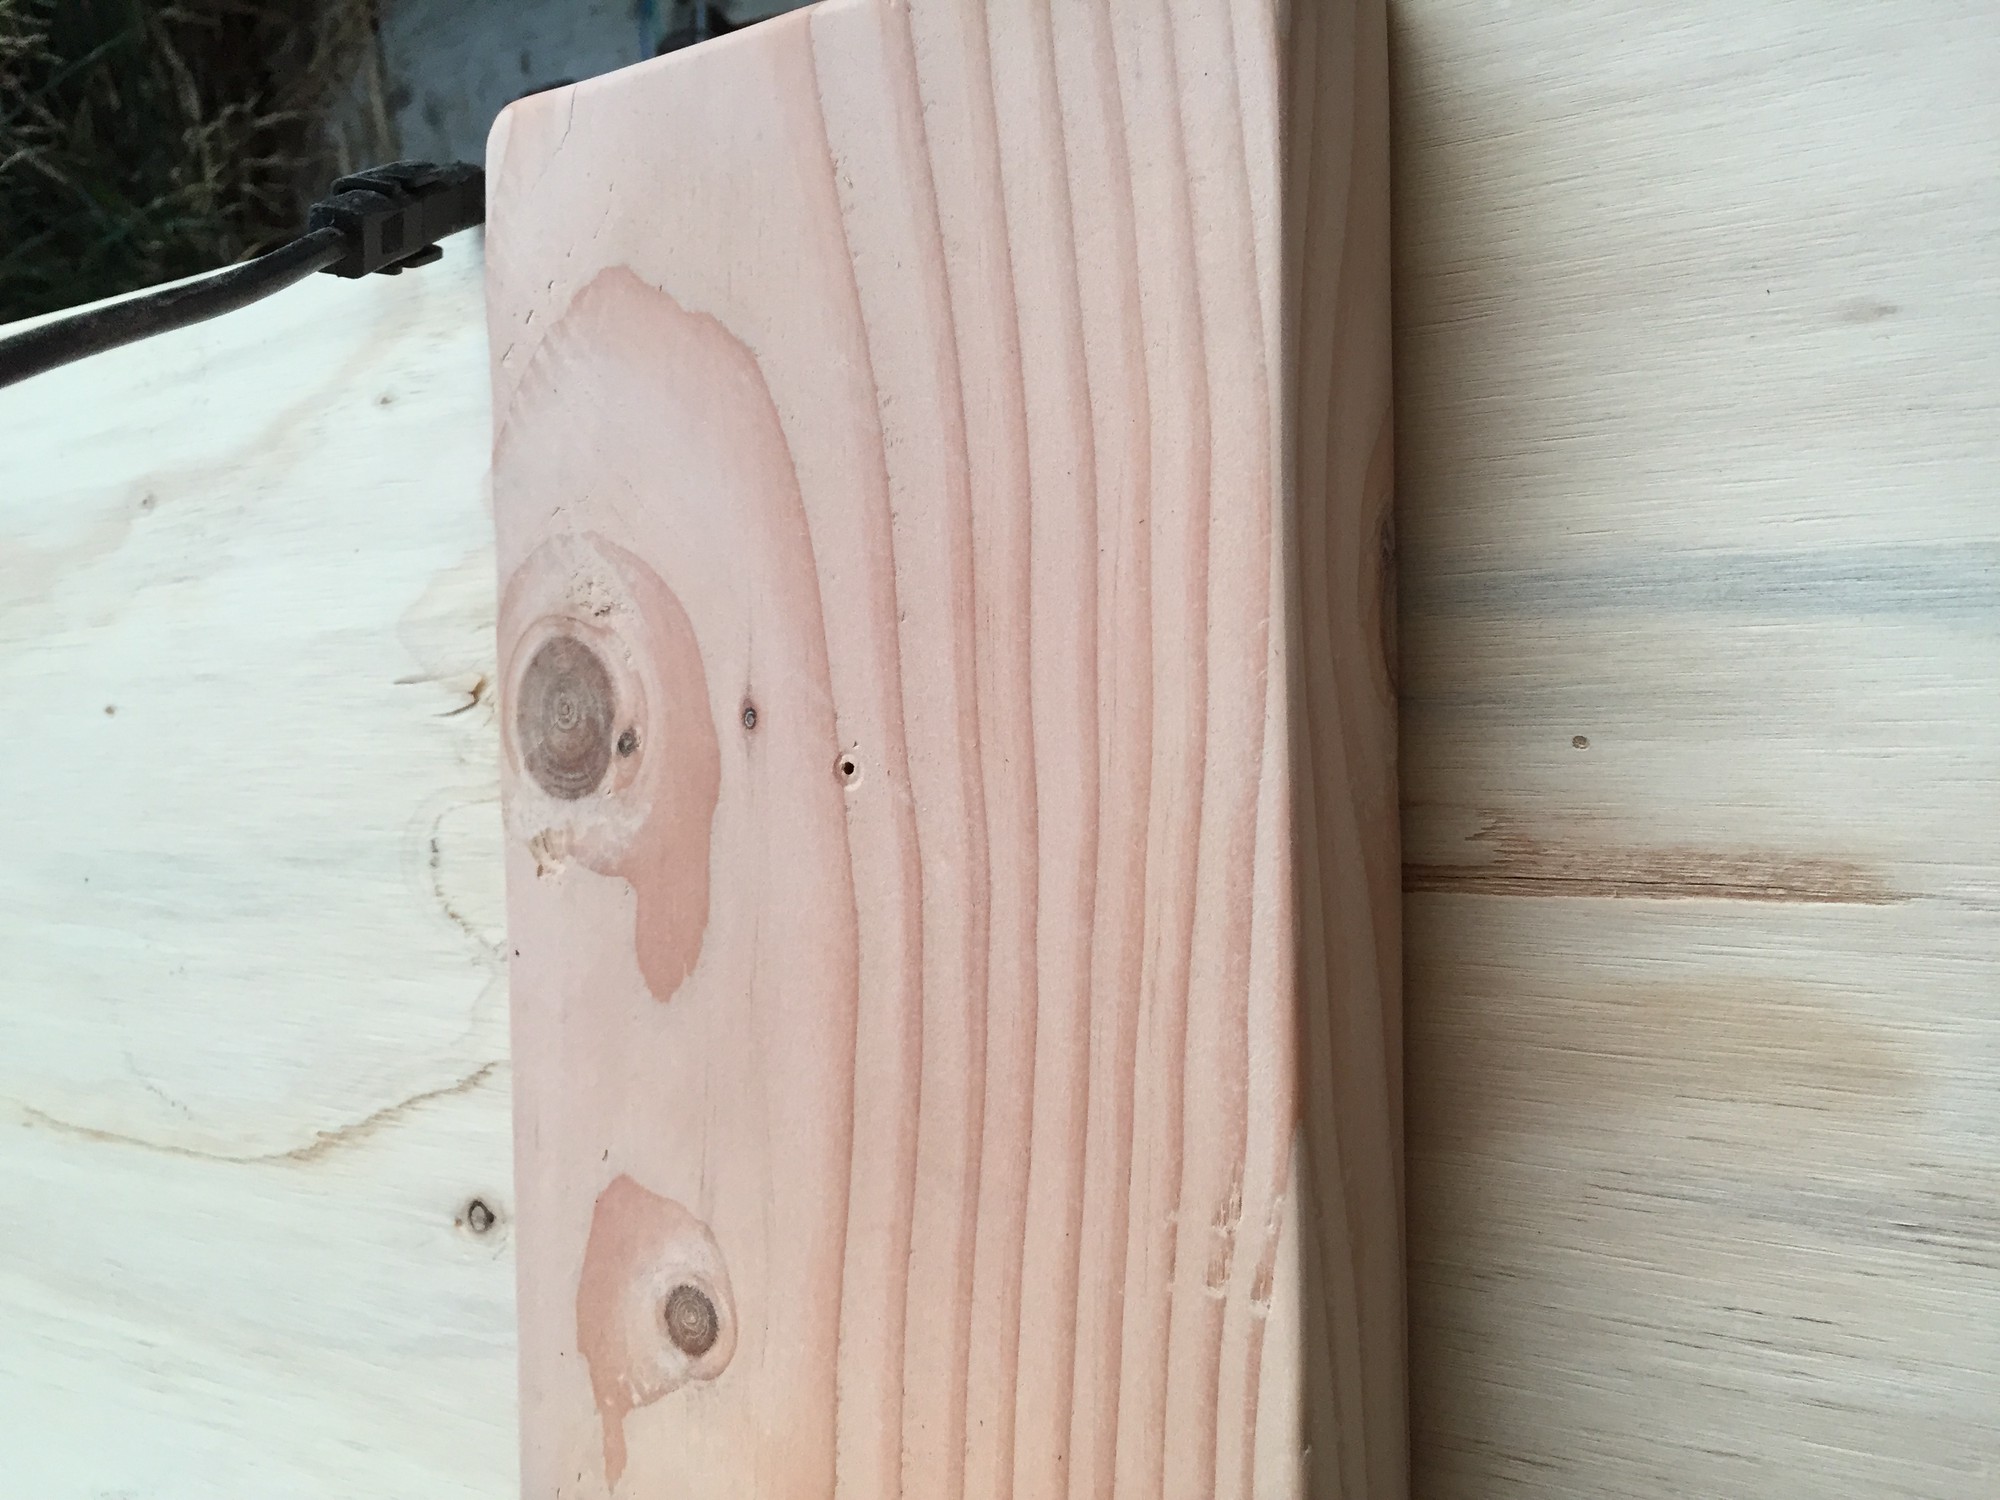
Finish Coats
I wanted some protection against minor spills and a finish that brings out the grain of the wood but still leaves the grain of the wood to be felt by touch. For this I used Watco Natural Danish Oil4. I applied the oil exactly as indicated on the back of the can.
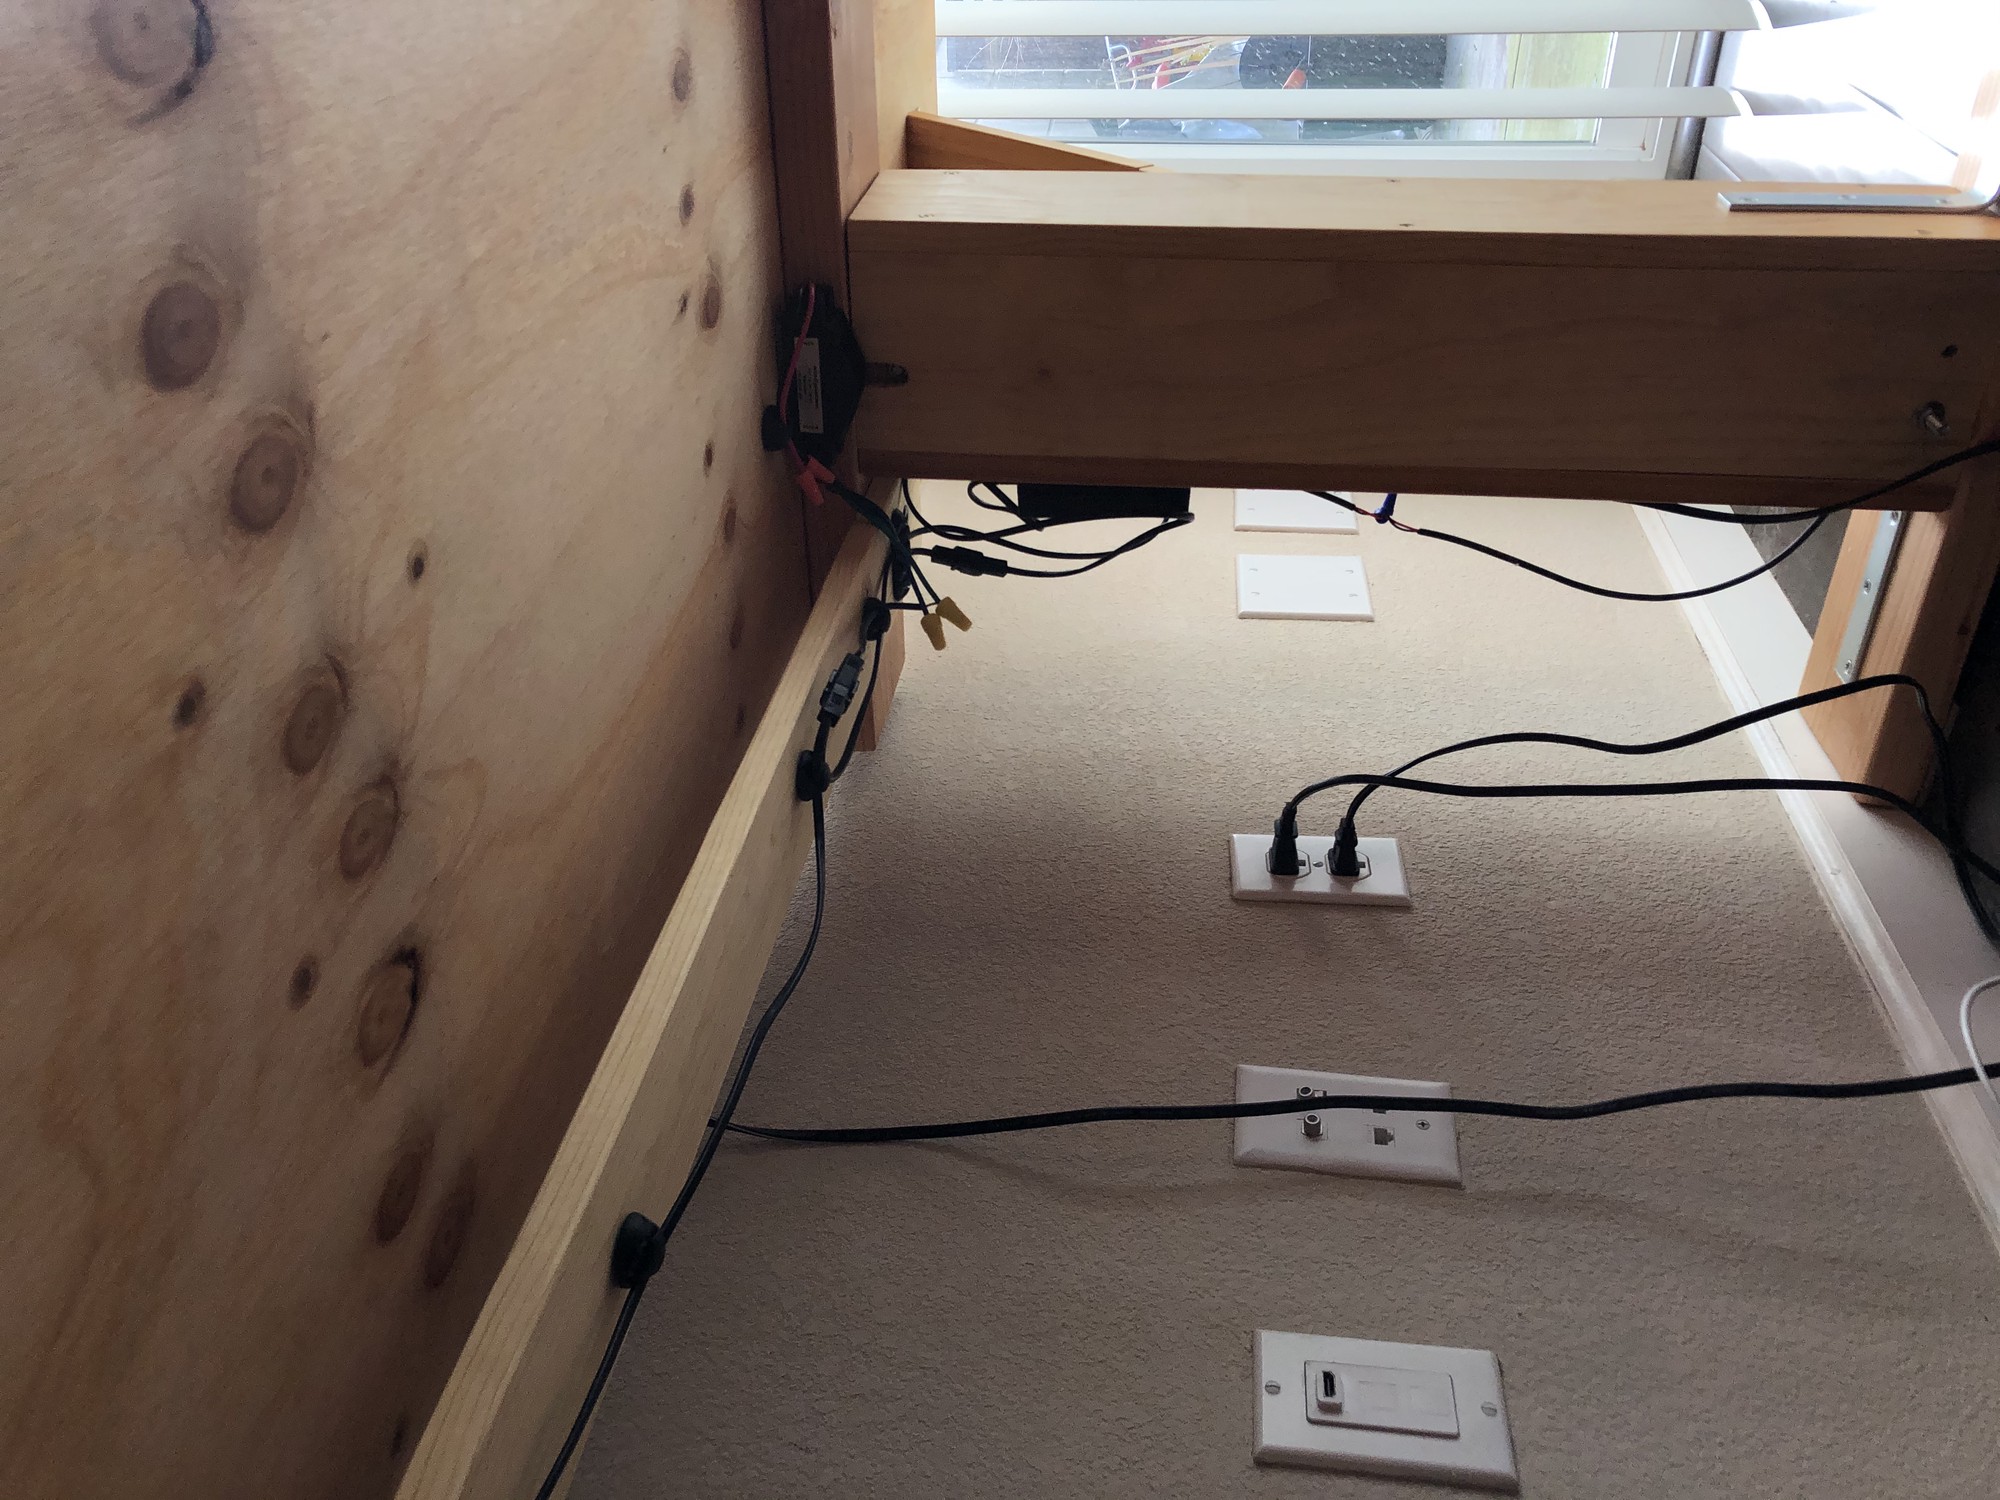
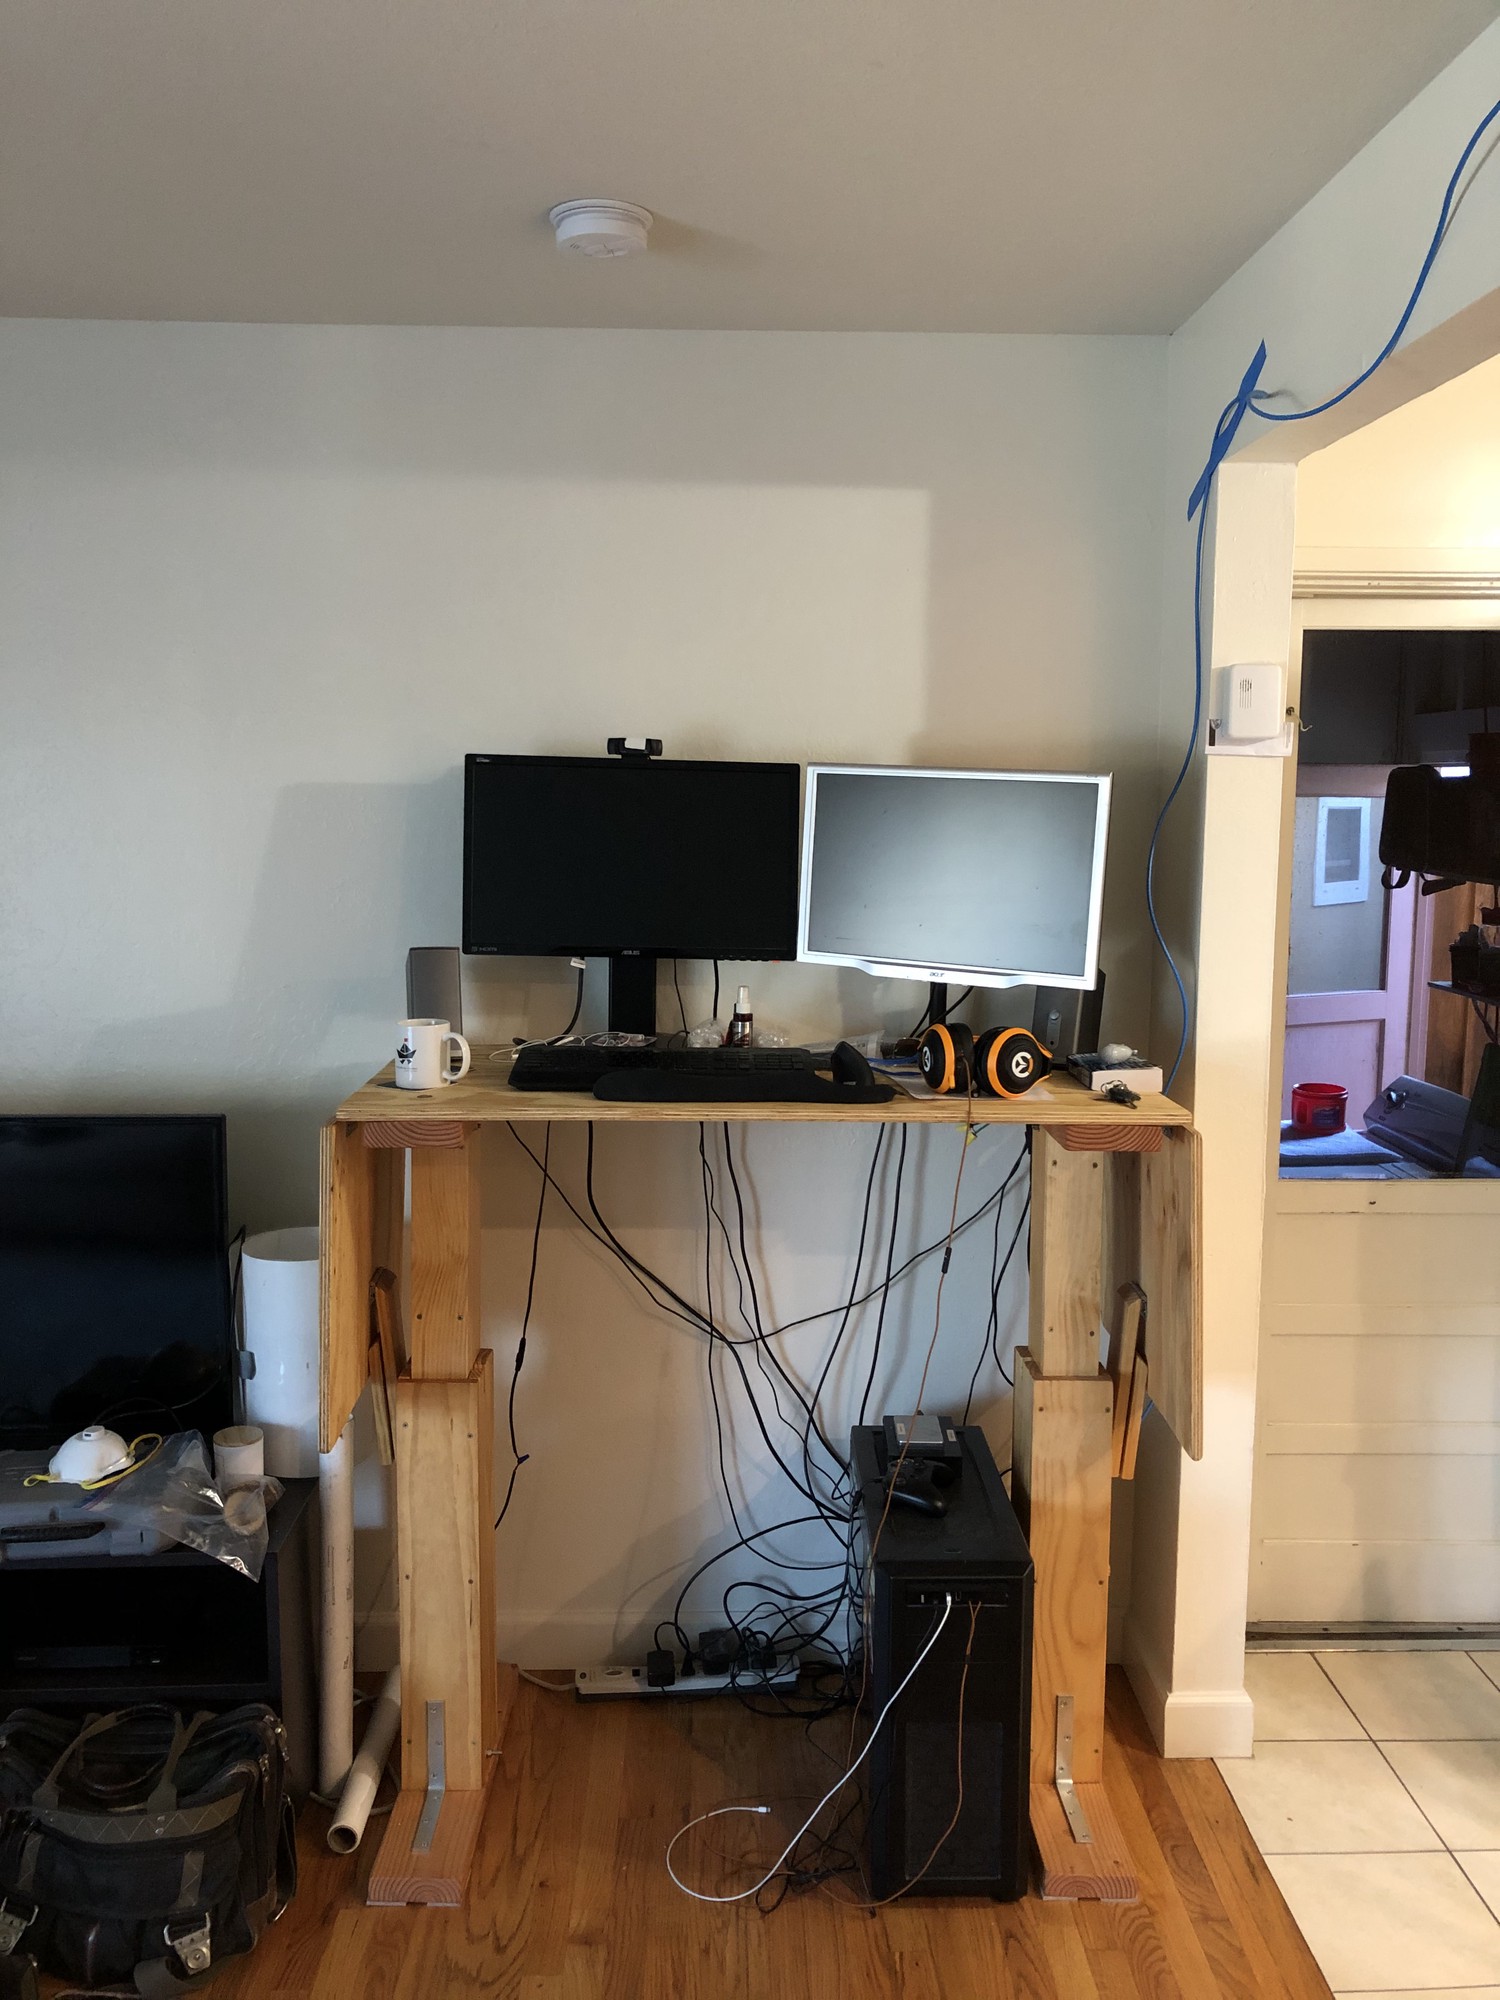
Cable Management And Actuator Control Switch Attachment
The final step was to kit out the table with cable management to keep the power cables for the actuators properly out of way of the moving legs. After looking at what Uplift and other standing desk manufacturers use, I settled on OHill Cable Clips from Amazon5.
The actuators' control switch is attached using extra strength velcro from Home Depot. Using velcro allows easy removal of the switch.
Finished Table
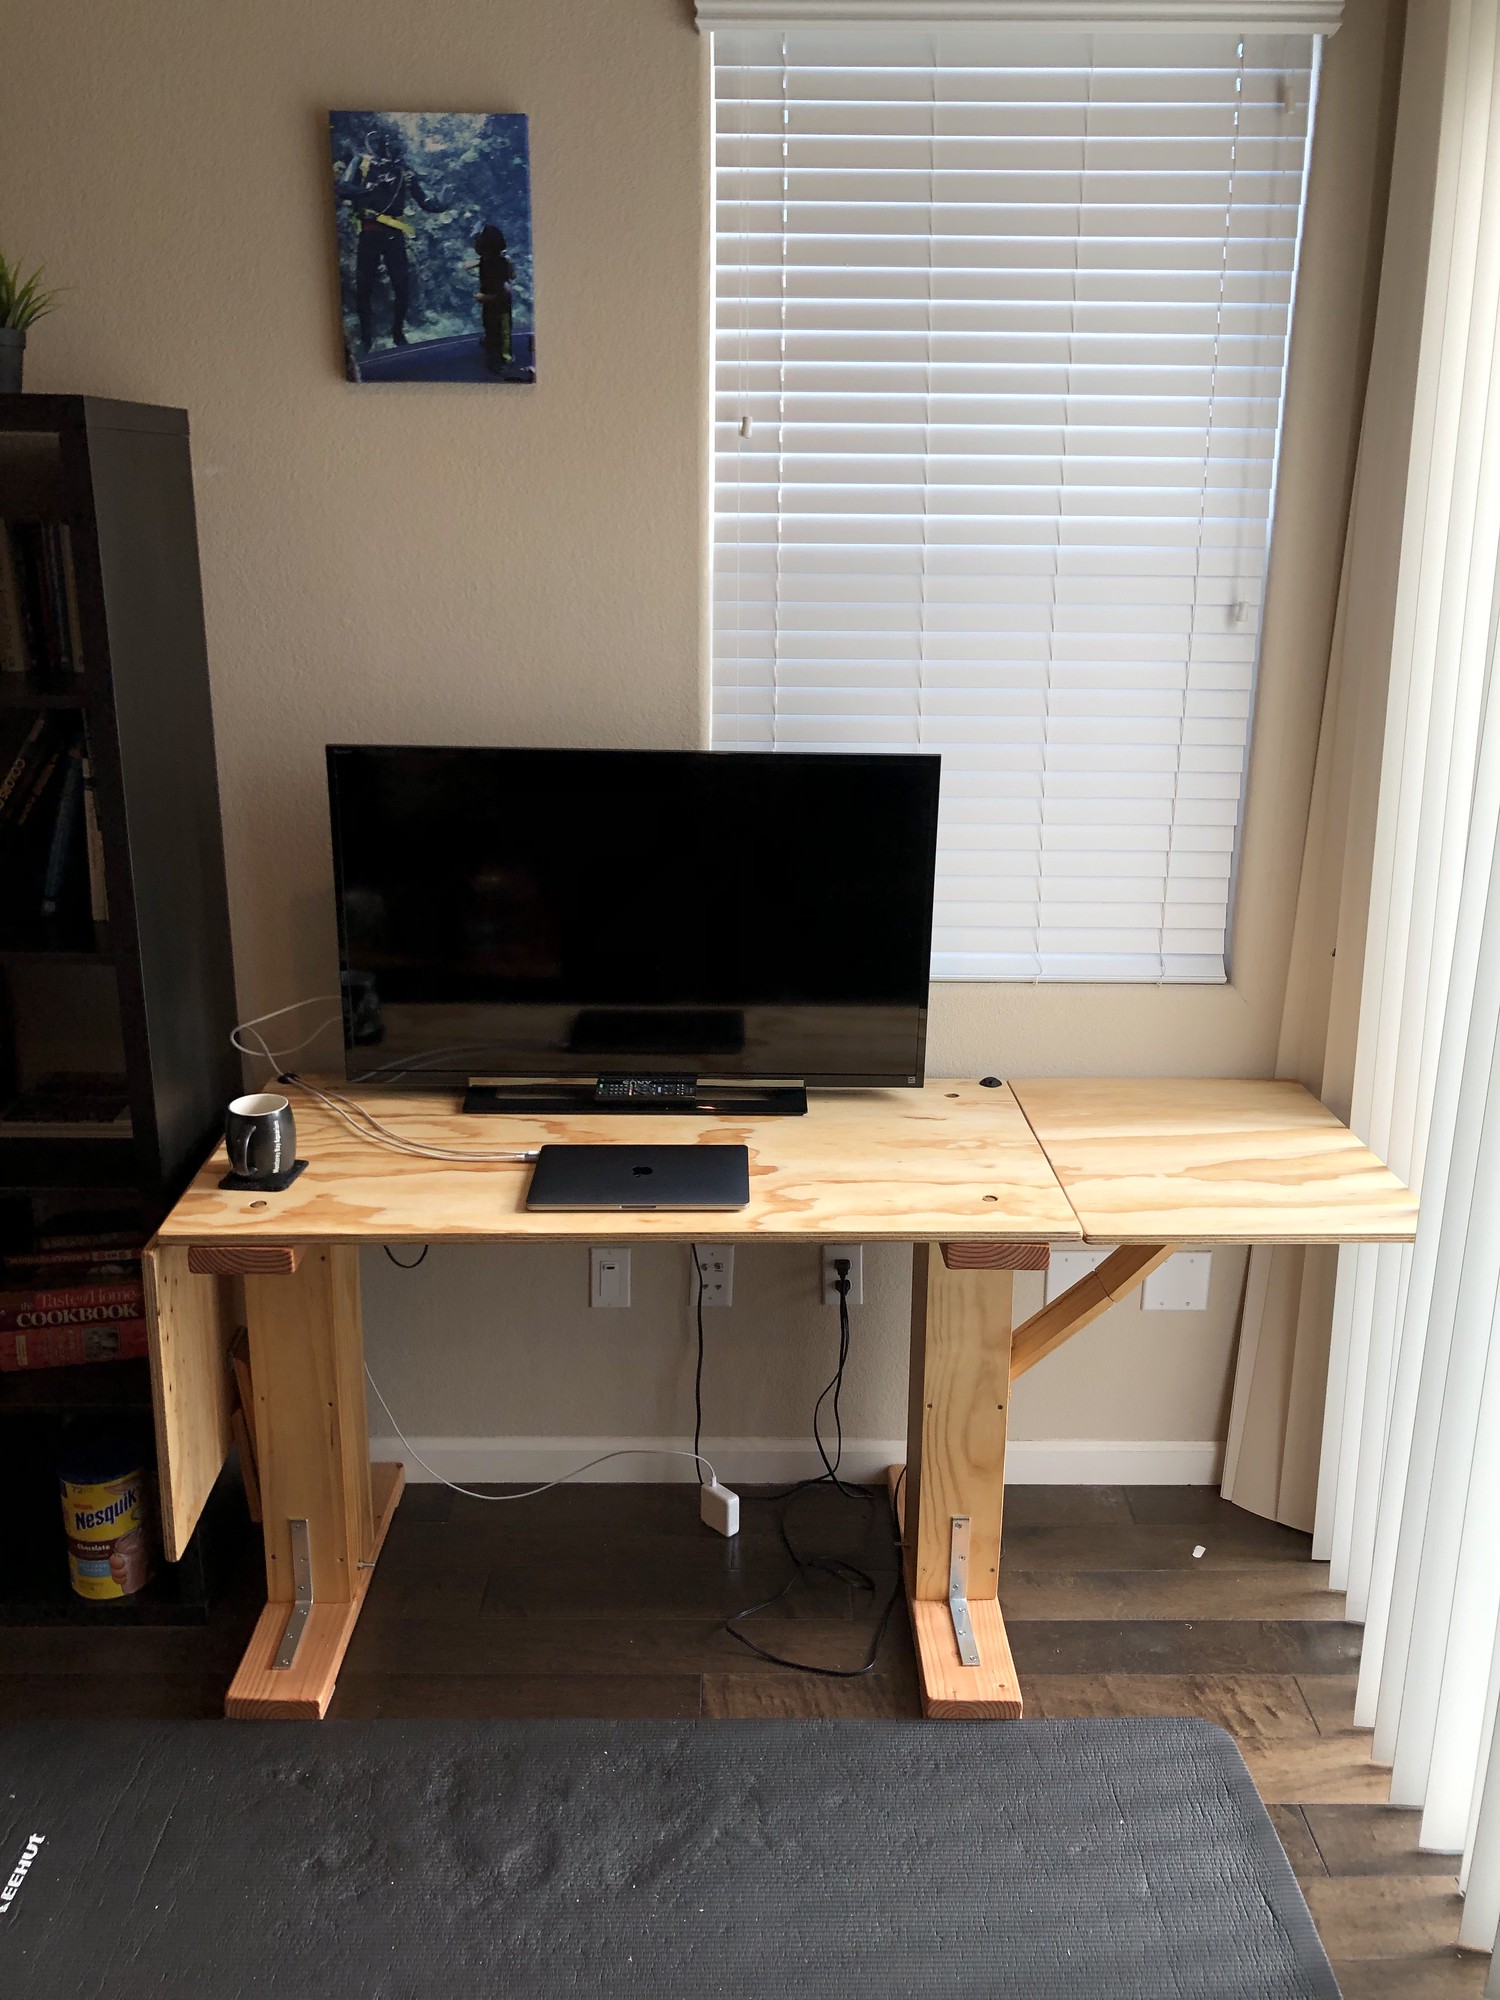
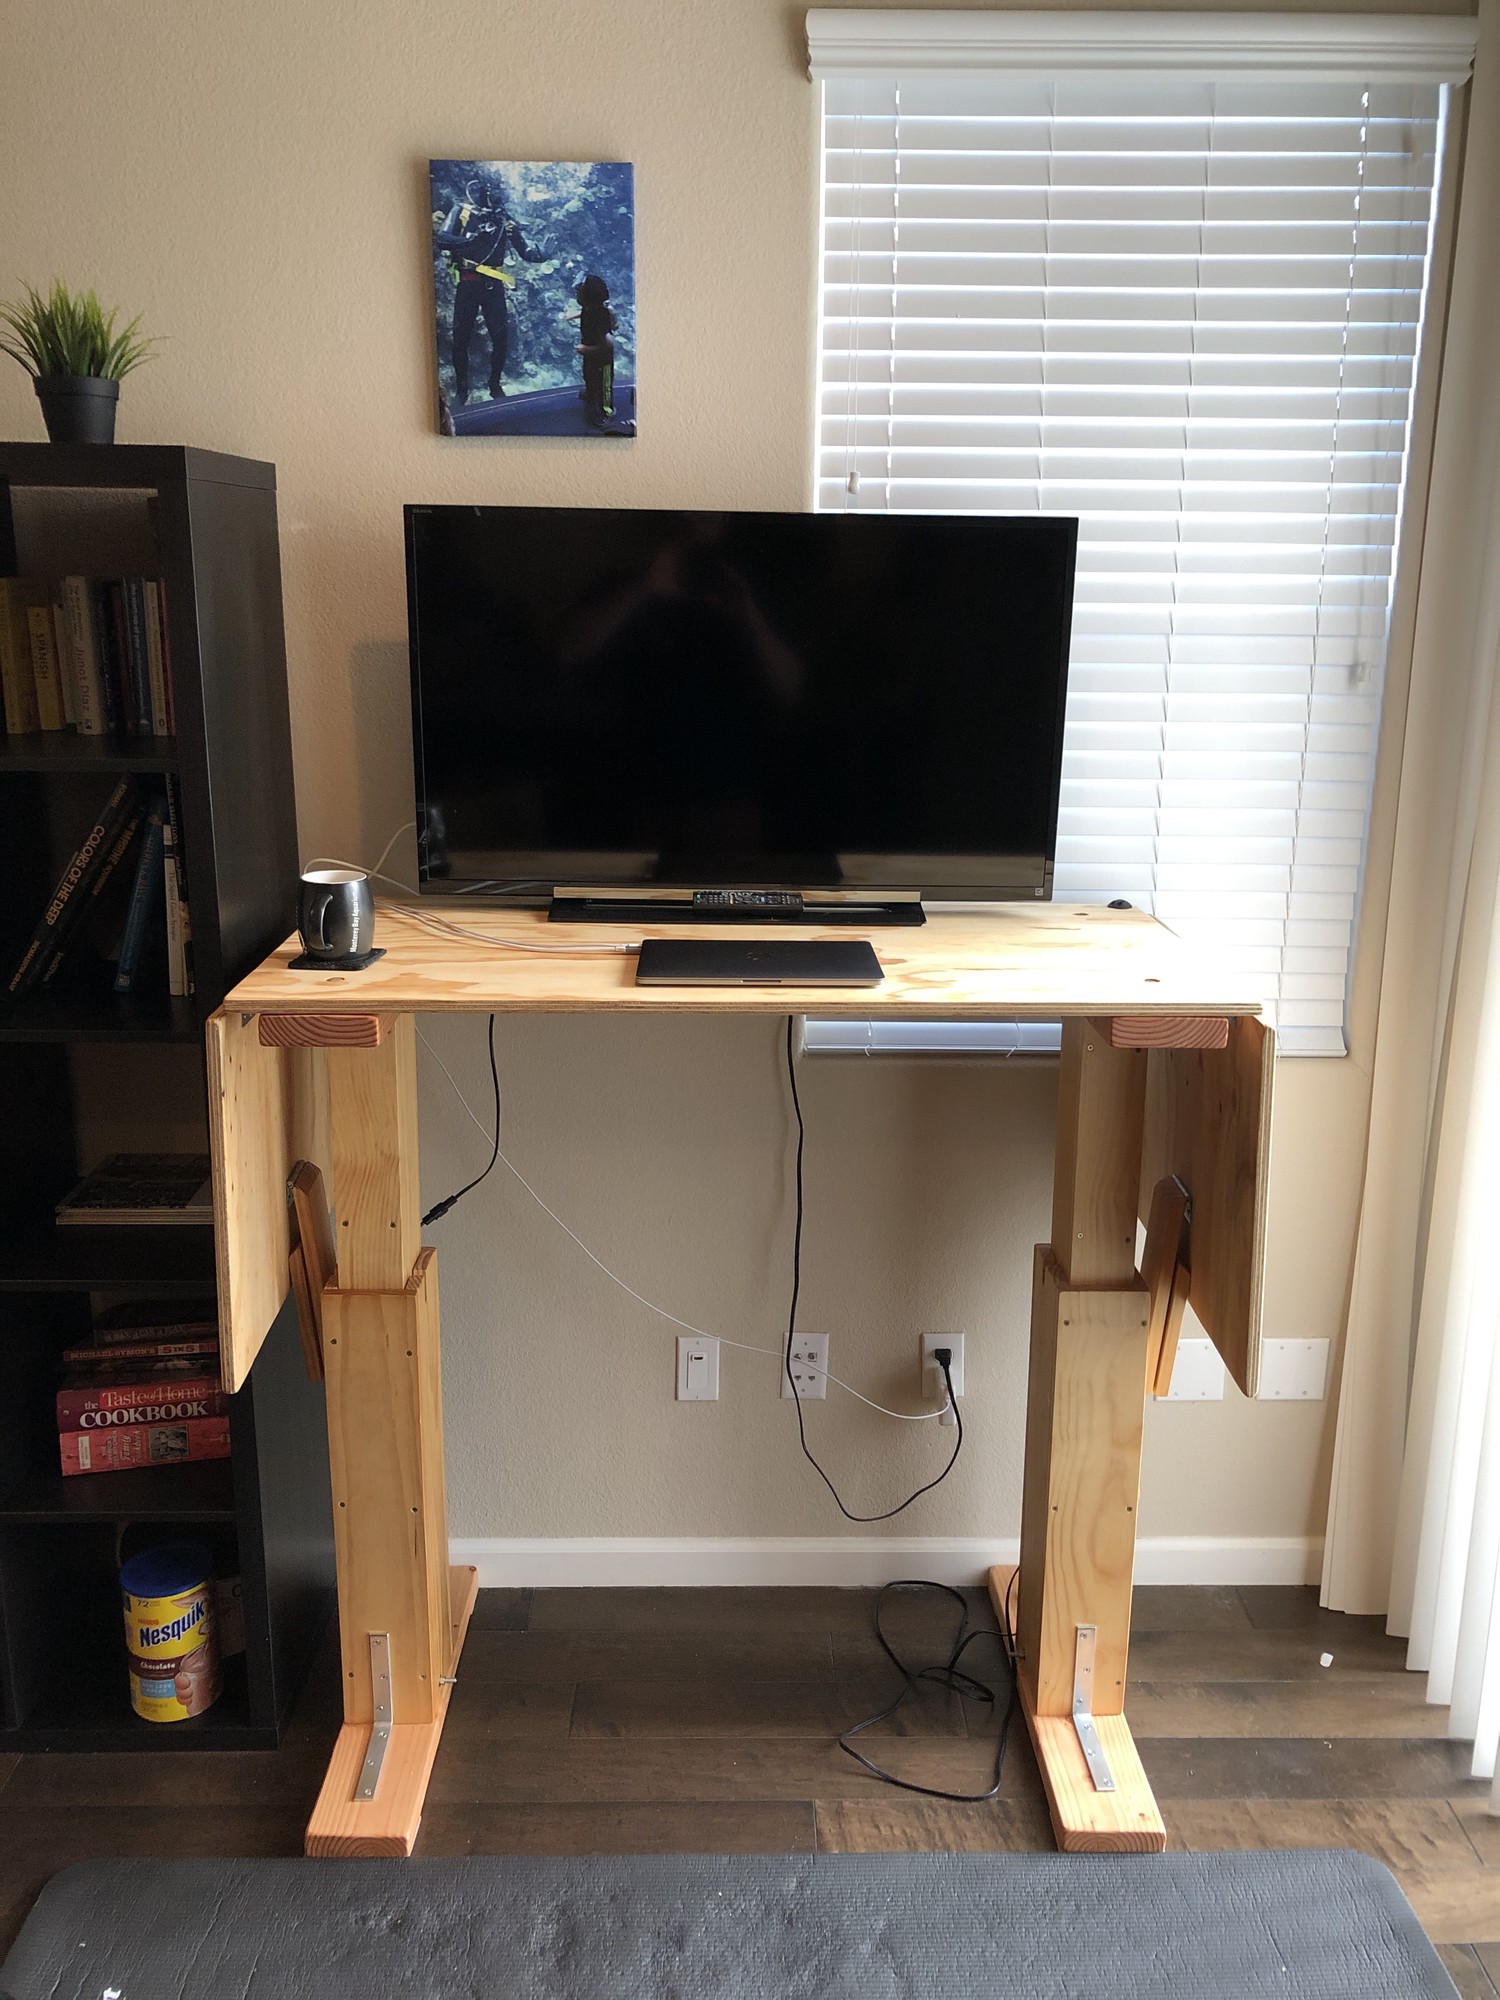
Cheers!
-
https://www.instructables.com/id/Electric-Height-Adjustable-Desk/ ↩︎
-
https://www.windynation.com/Linear-Actuators/Windy-Nation/WindyNation-Linear-Actuator-12-Volt-12V-225-Pounds-lbs-Up-Down-DPDT-Switch-Power-Supply-Mounting-Brackets/-/2211?p=YzE9Mjg= ↩︎
-
https://www.amazon.com/Minwax-40900-Oil-Based-Polyurethane-Finish/dp/B01M1EDG7Y/ref=asc_df_B01M1EDG7Y/?tag=hyprod-20&linkCode=df0&hvadid=309802498763&hvpos=1o3&hvnetw=g&hvrand=9832878123271284412&hvpone=&hvptwo=&hvqmt=&hvdev=c&hvdvcmdl=&hvlocint=&hvlocphy=9031968&hvtargid=pla-624061654722&psc=1 ↩︎
-
https://www.homedepot.com/p/Watco-1-pt-Natural-Danish-Oil-265503/203164644 ↩︎
-
https://www.amazon.com/gp/product/B071FXZBMV/ref=ppx_yo_dt_b_asin_title_o09_s00?ie=UTF8&psc=1 ↩︎