Wood Bowl

This is my eighth wood bowl!
Table of Contents
Overview
- Start: Jan 23, 2021
- End: Apr 13, 2021
- Wood Species: Jack Pine
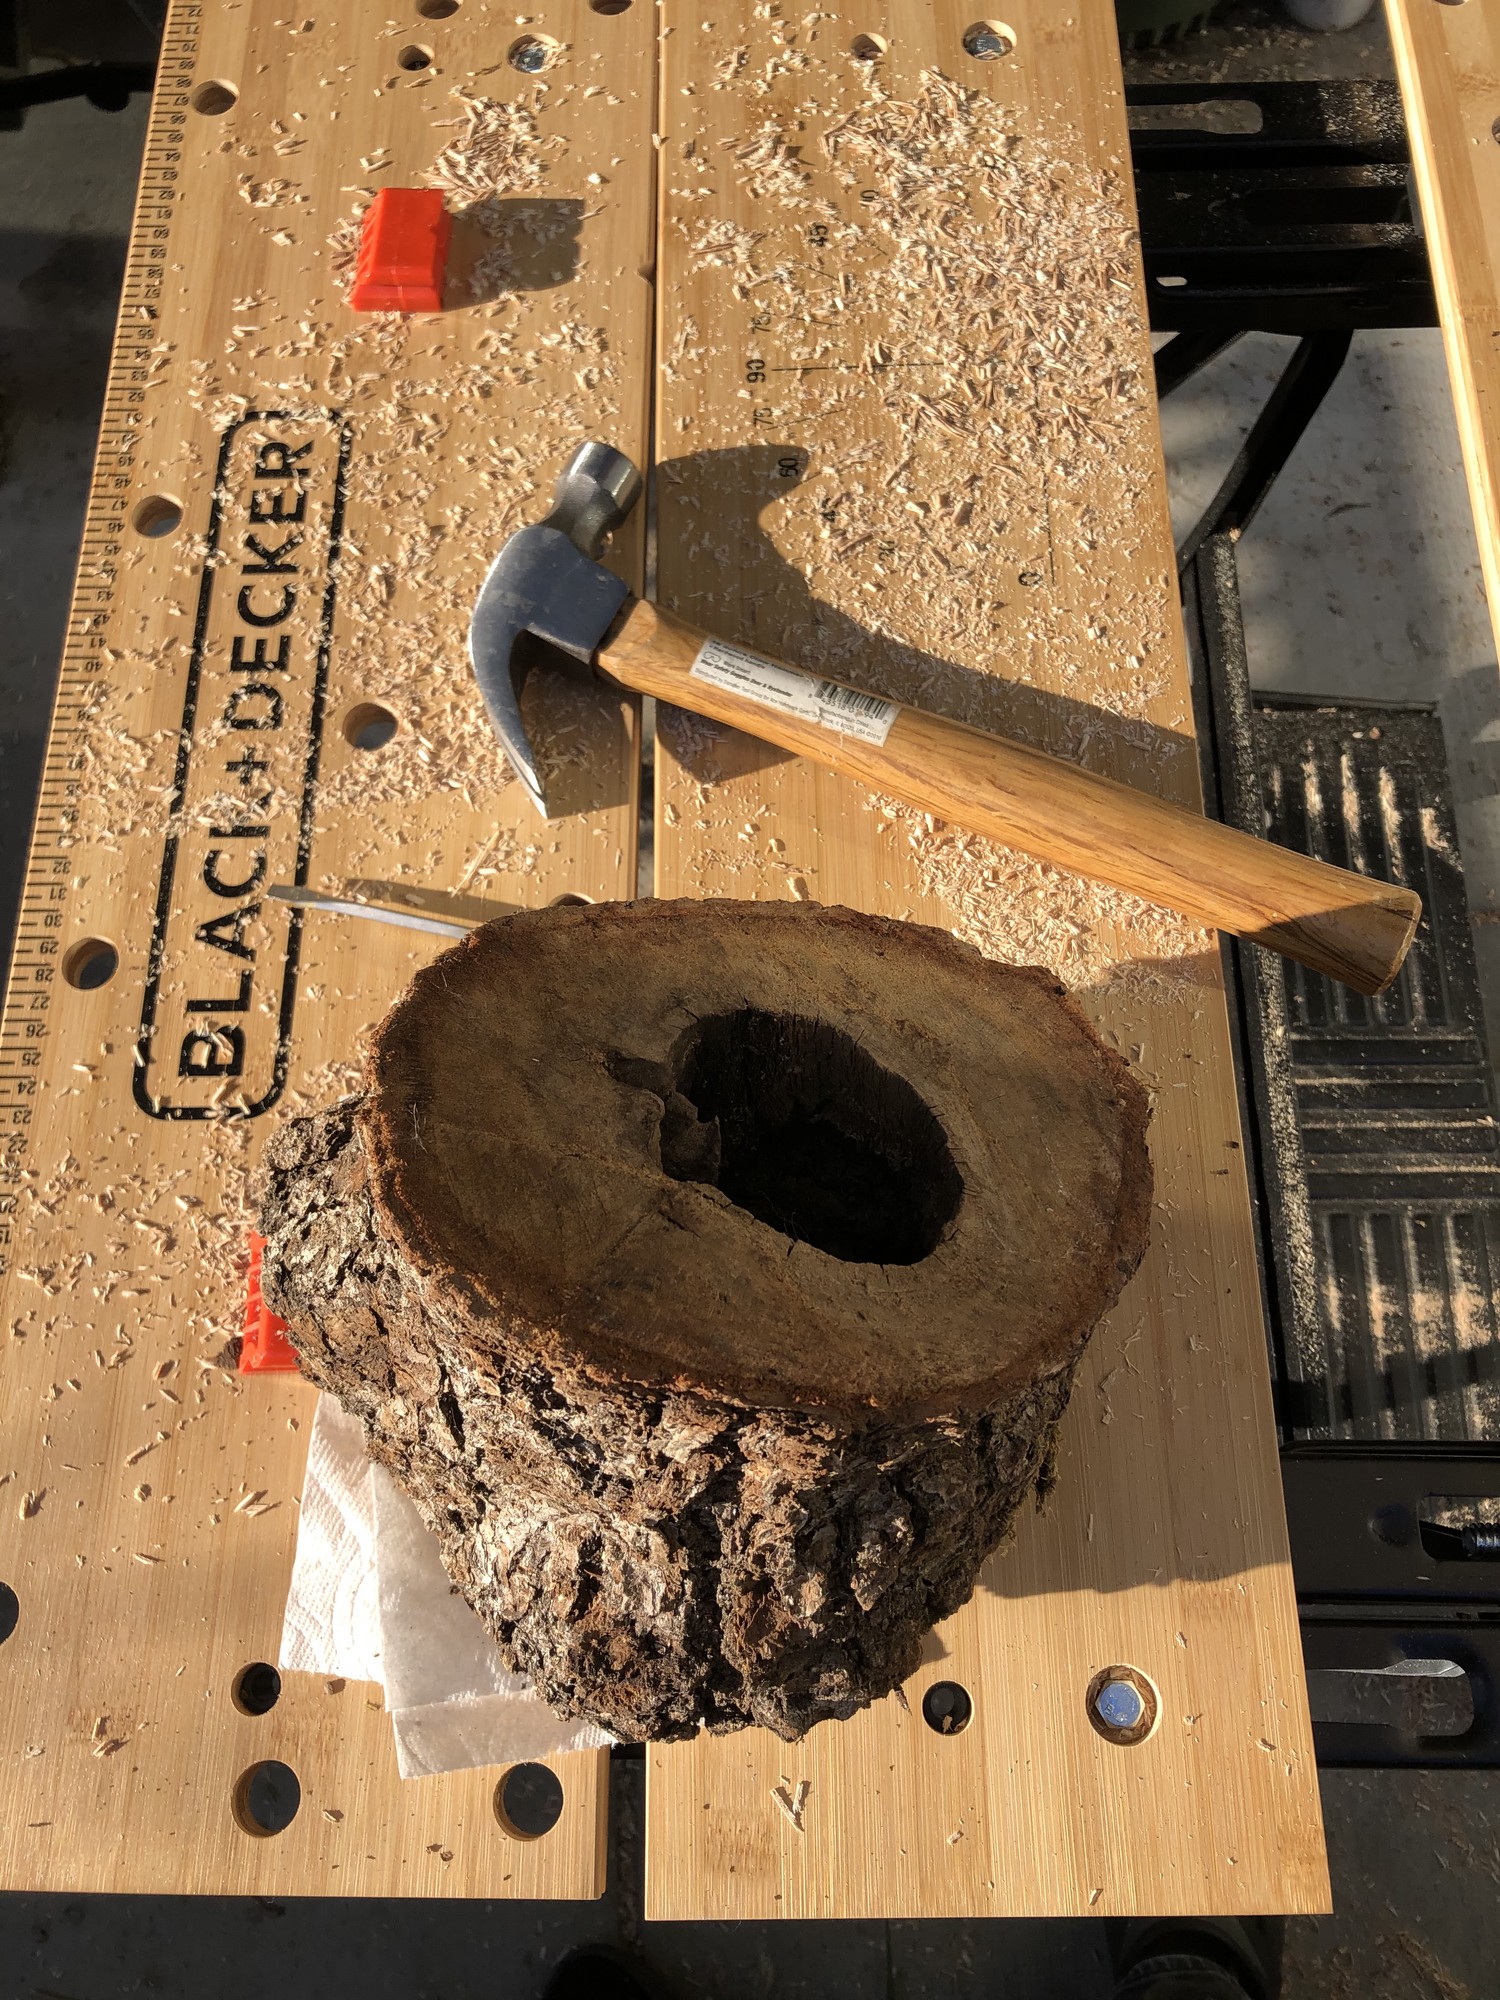
The burl for this bowl was collected at the same general location as the burl for a separate bowl project in Minnesota. It was extracted and completed in a similar manner to that burl/bowl.
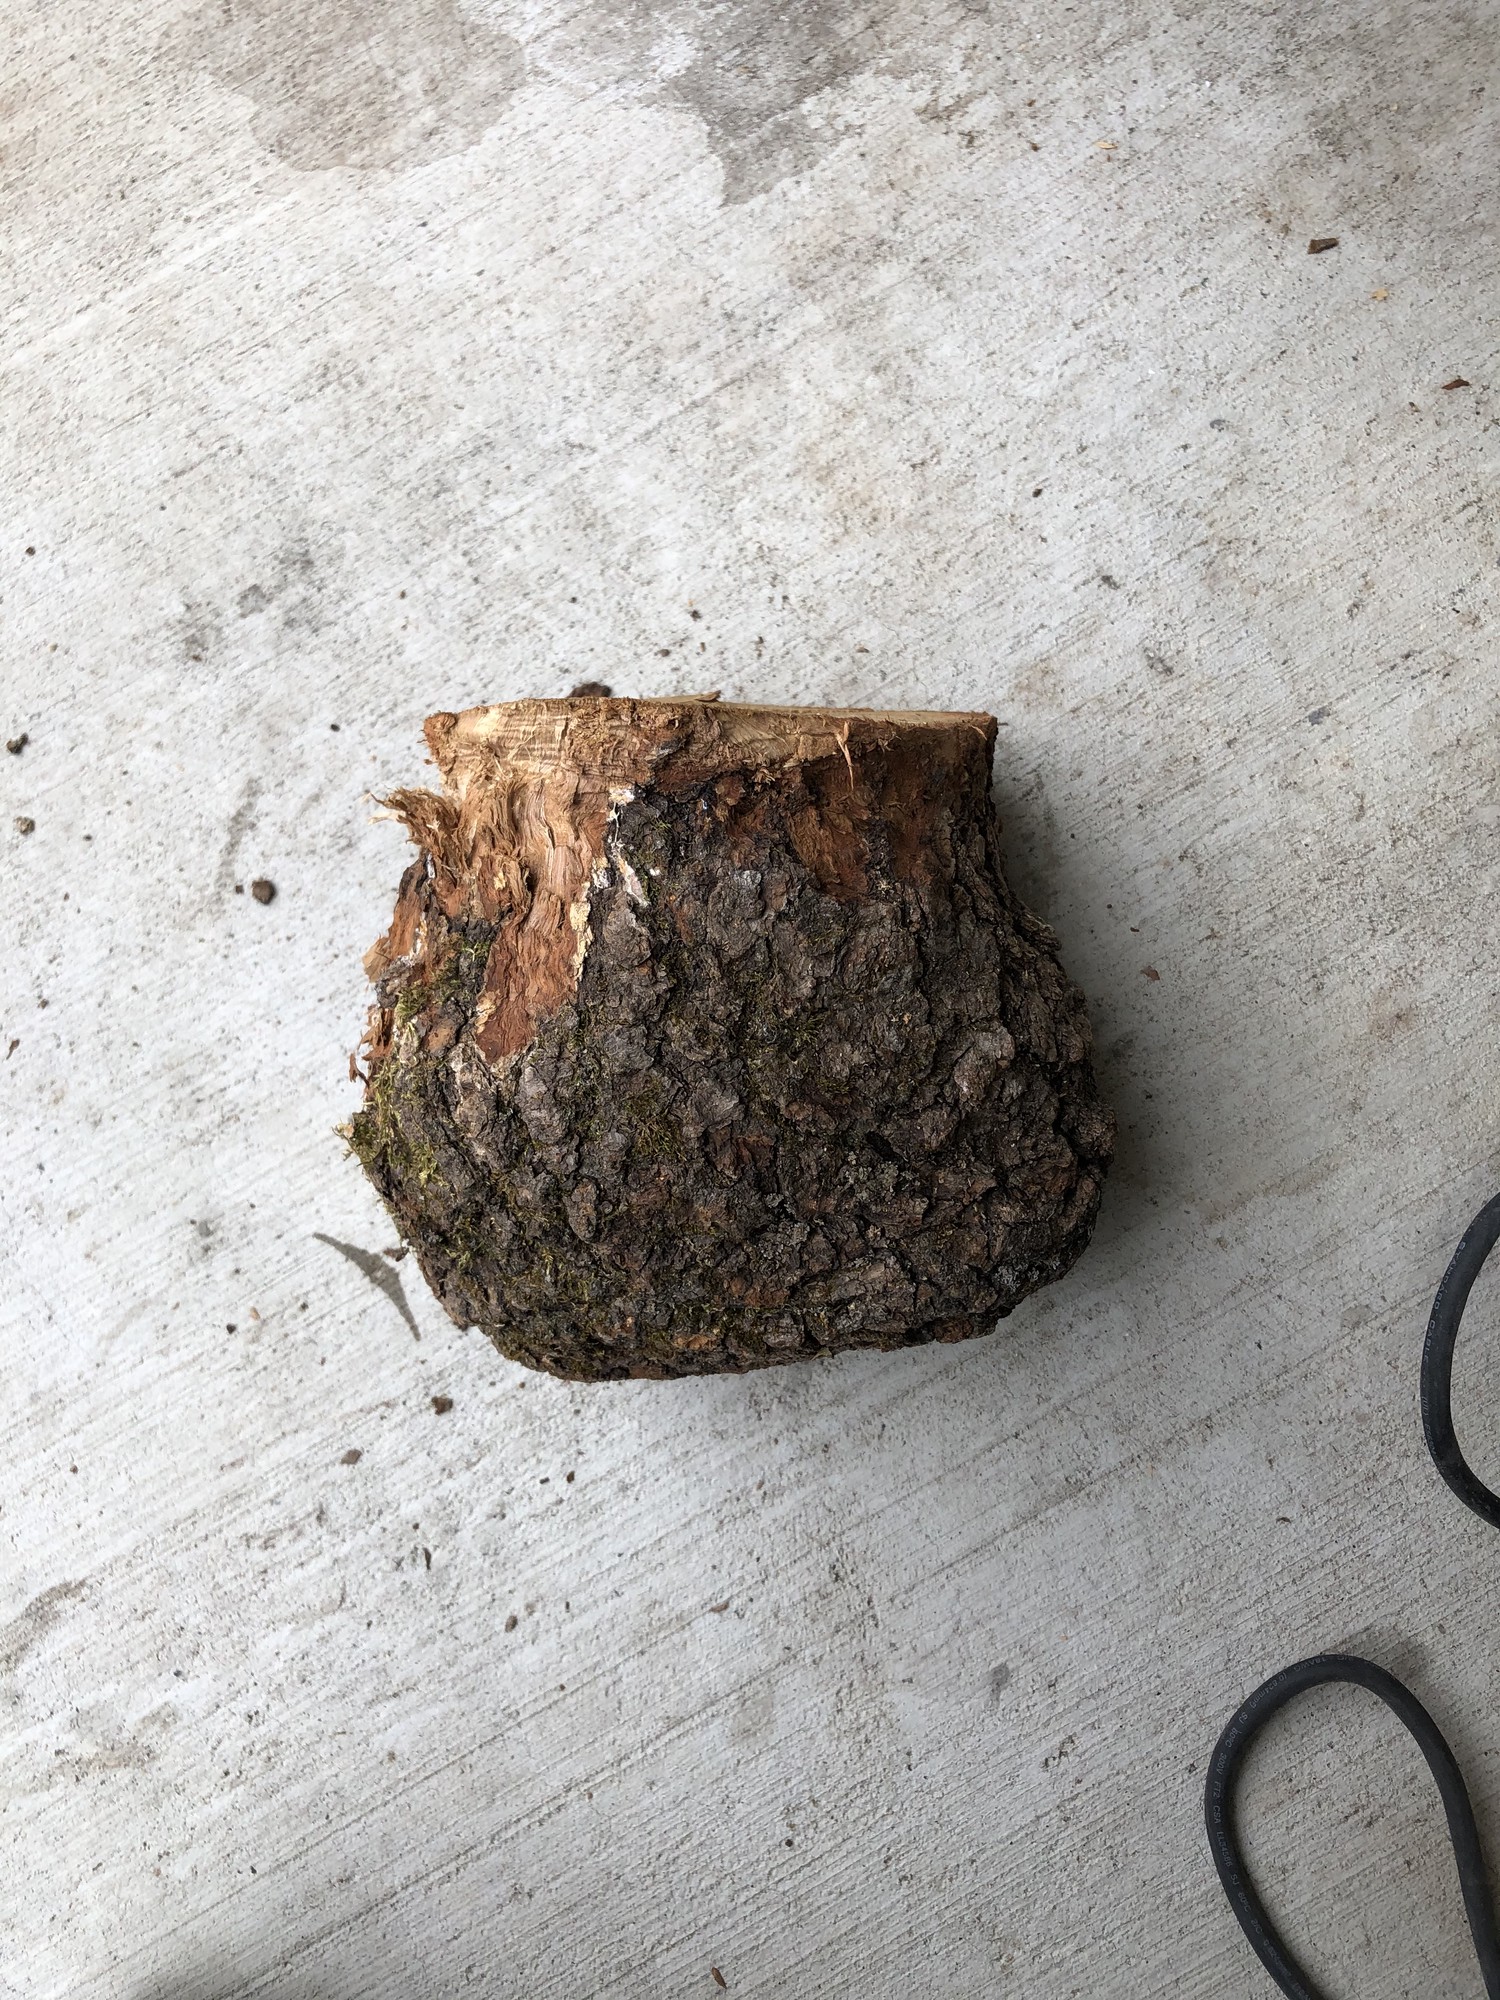
Bark Removal
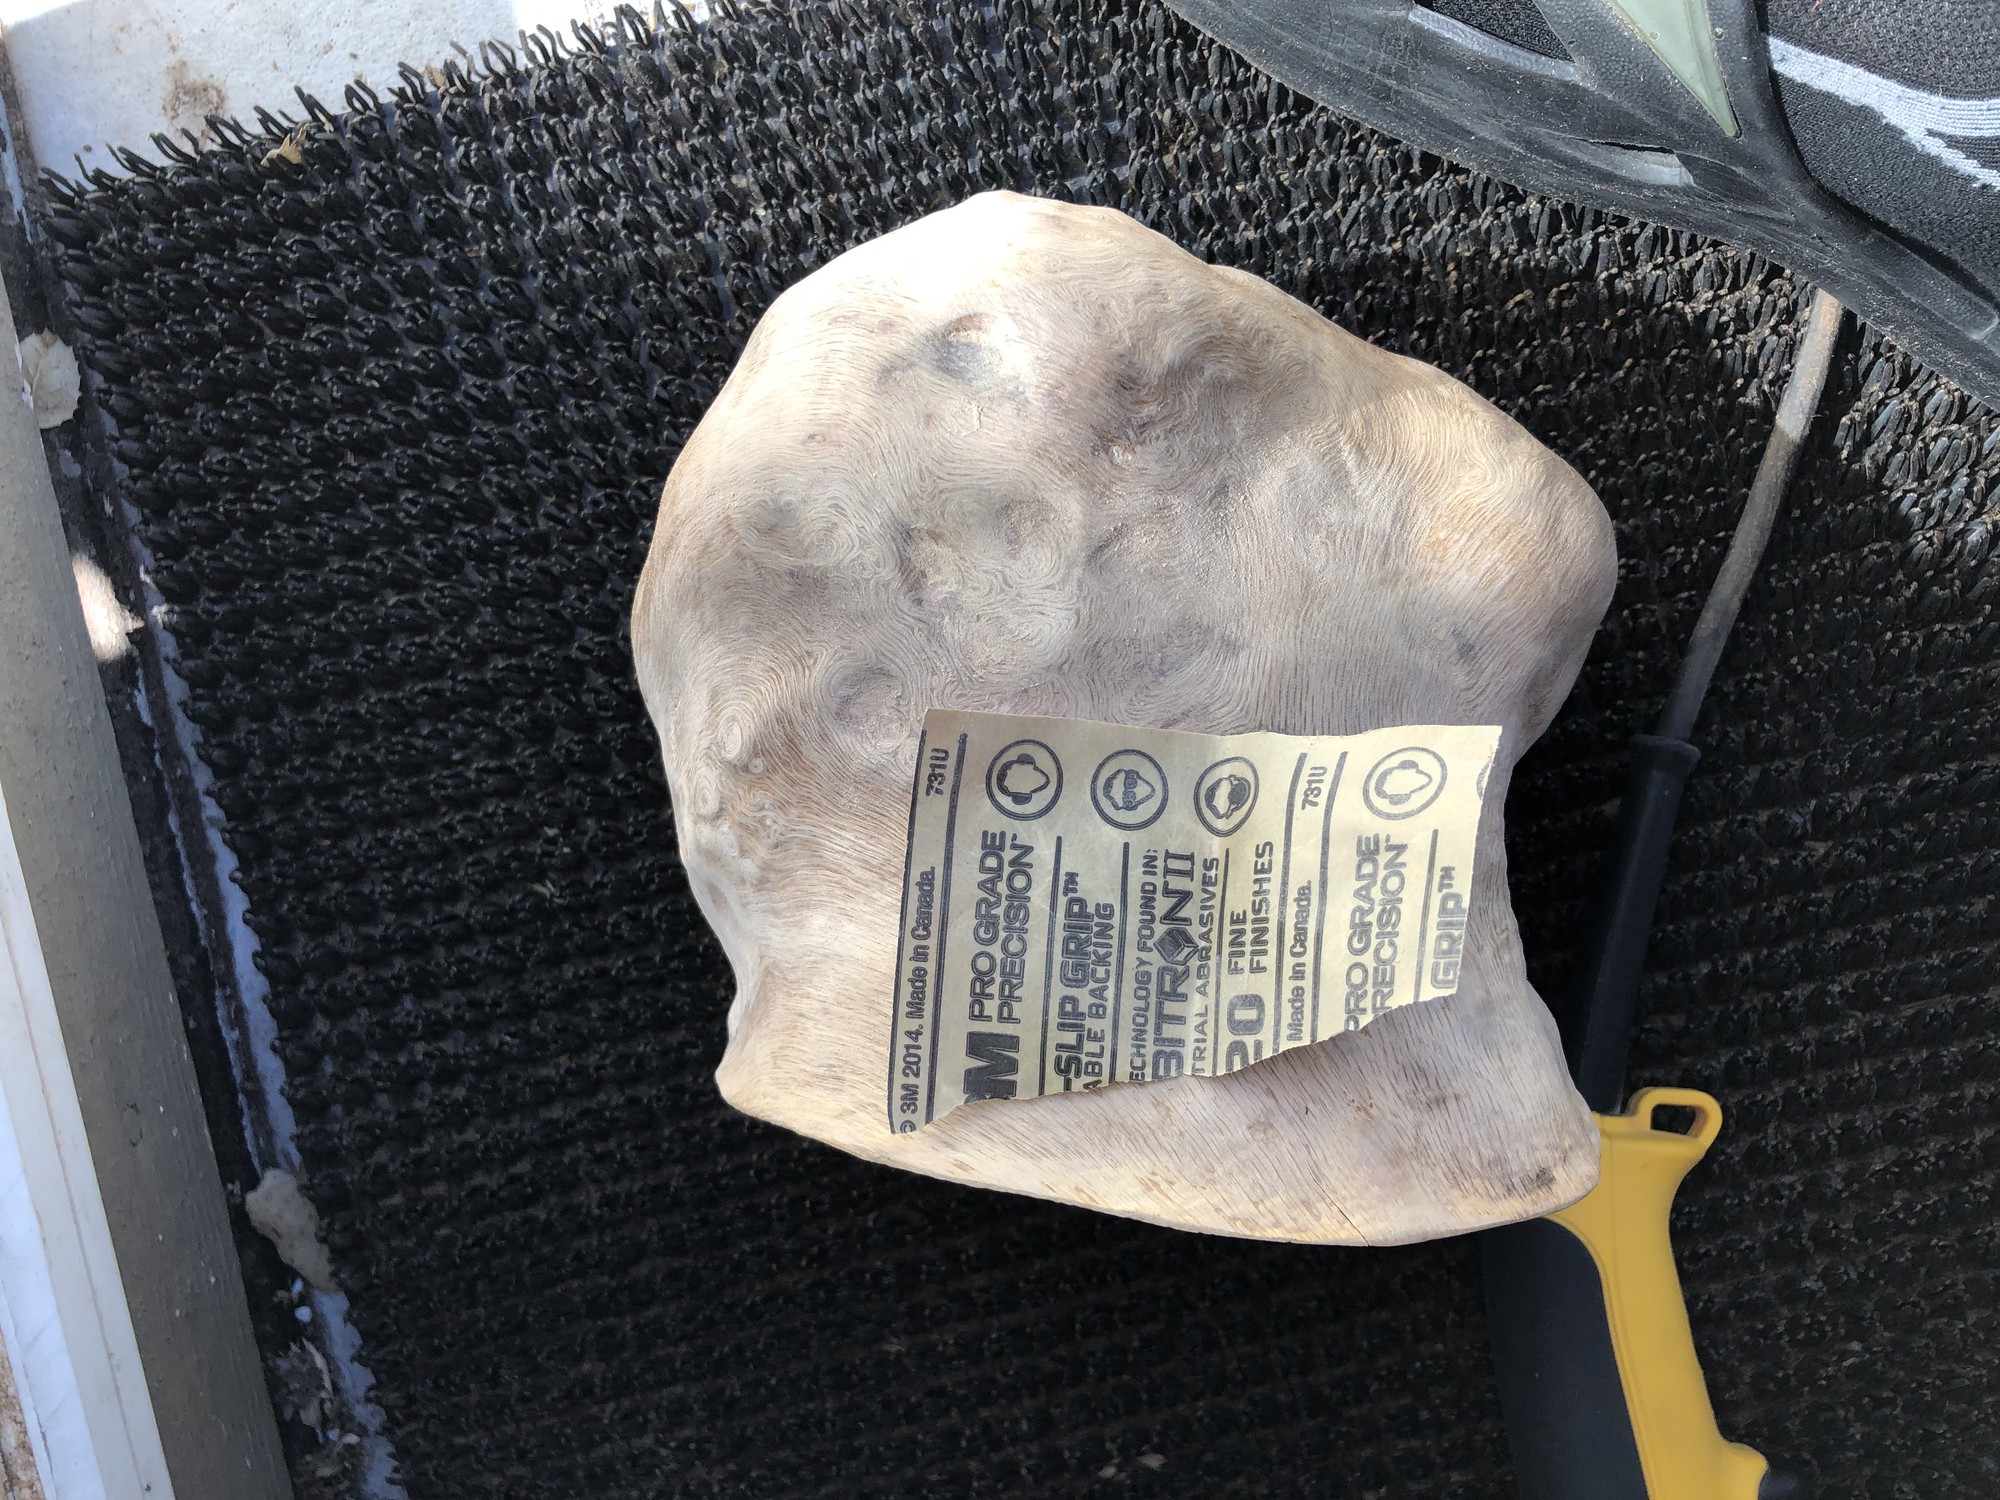
My first step was to remove the bark from the burl. Because I allowed the burl to dry with the bark attached, removing the bark was difficult. I initially used a hammer, wood chisel and flathead screwdriver until I had removed the hardest bark.
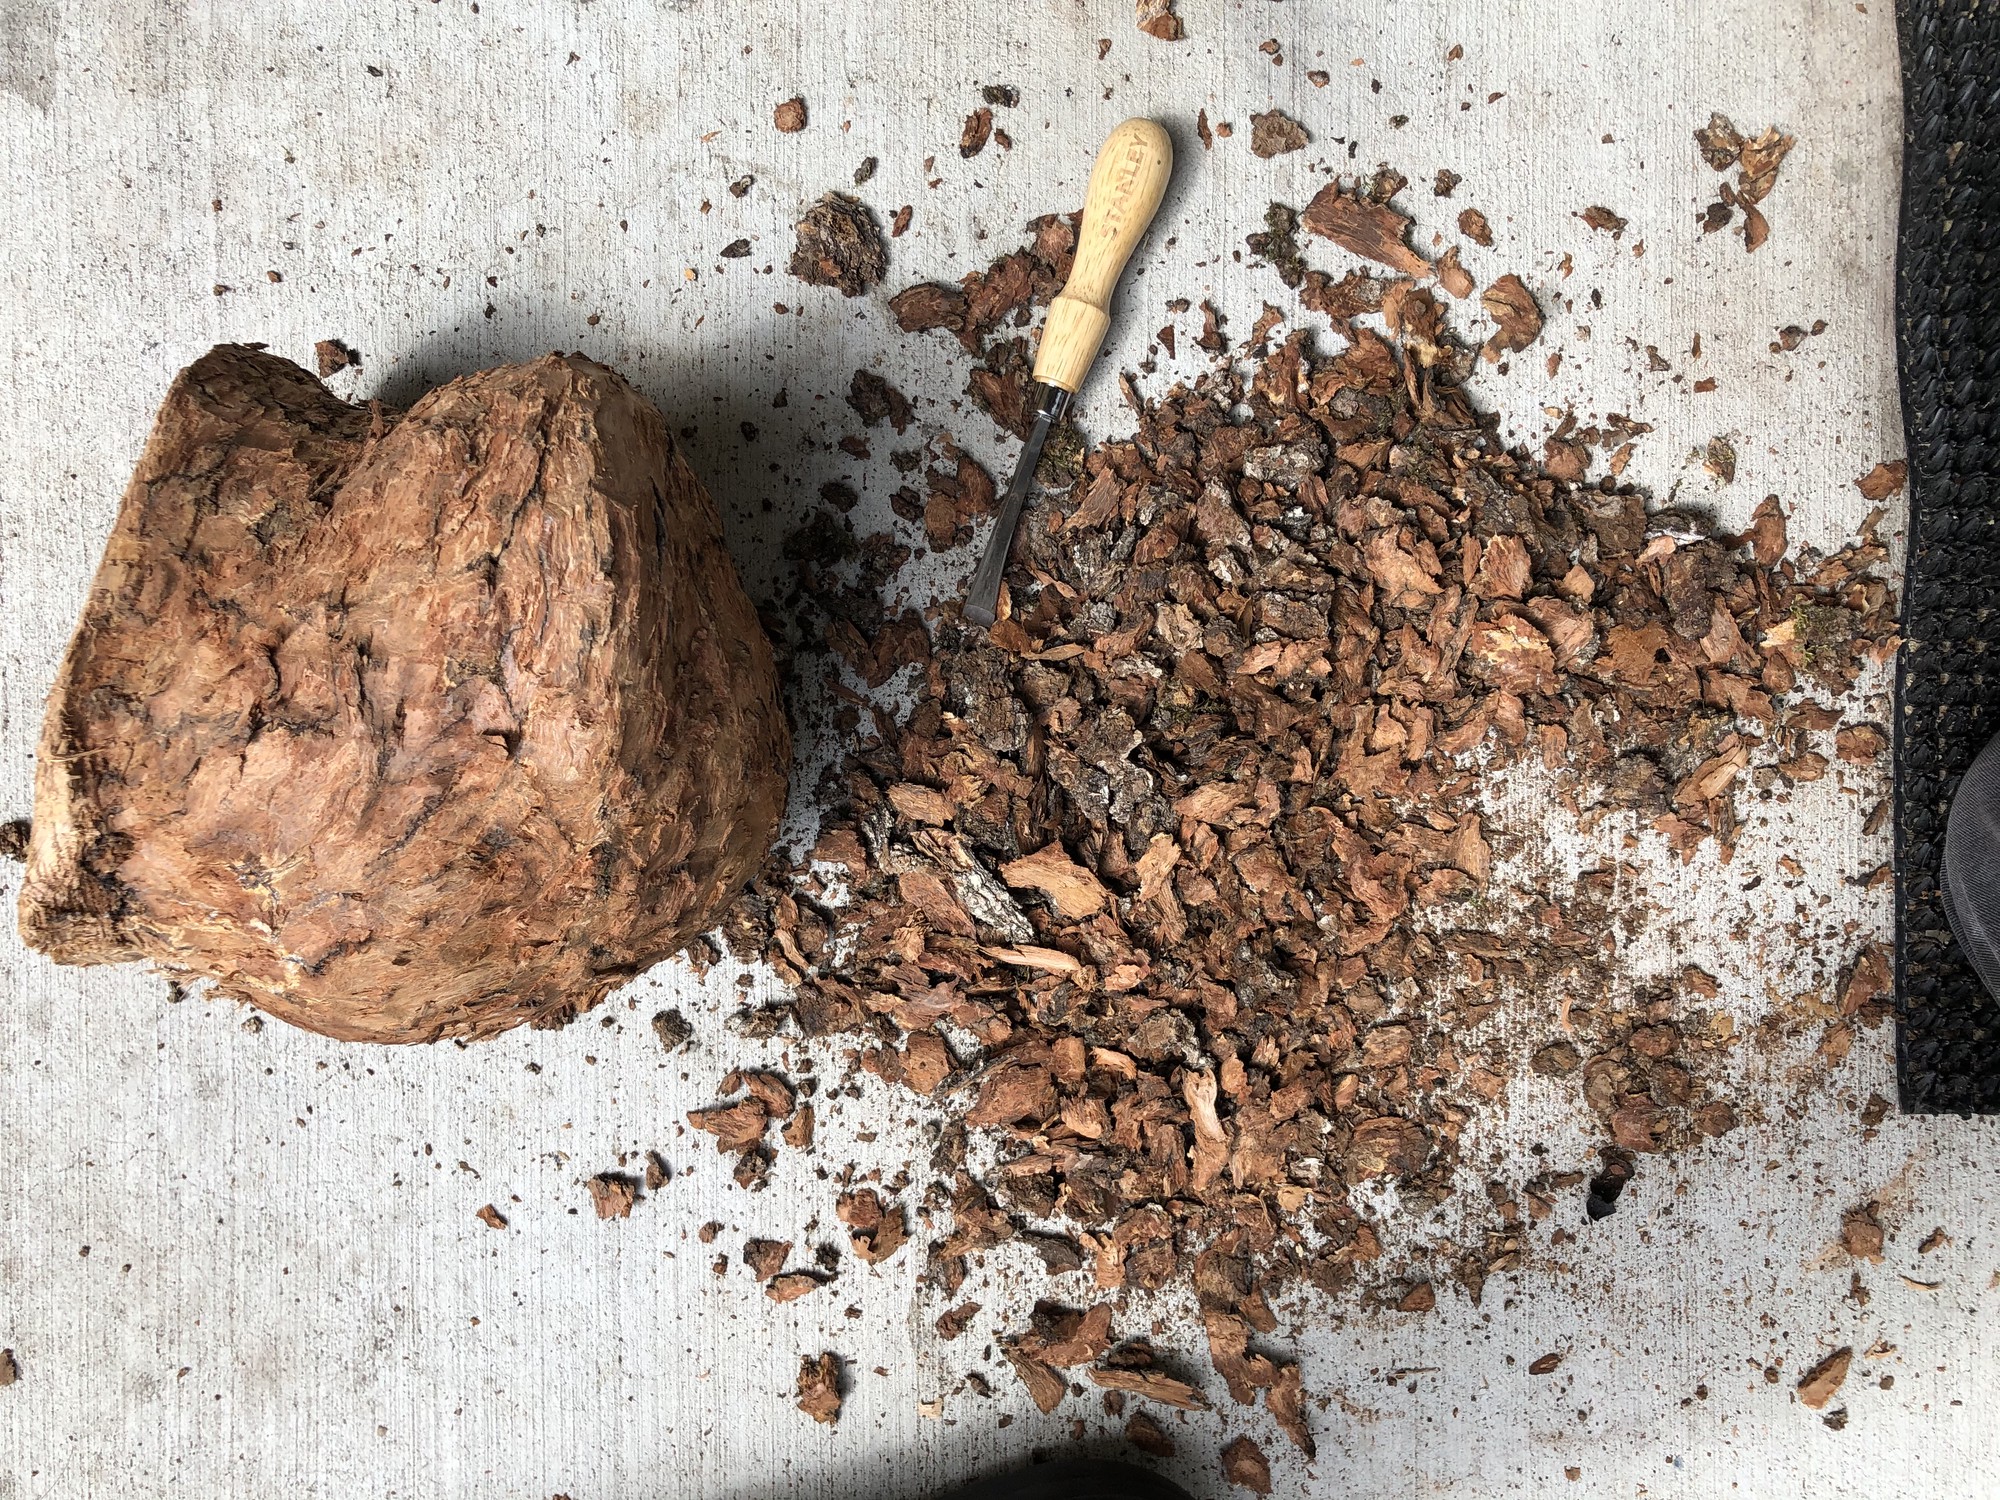
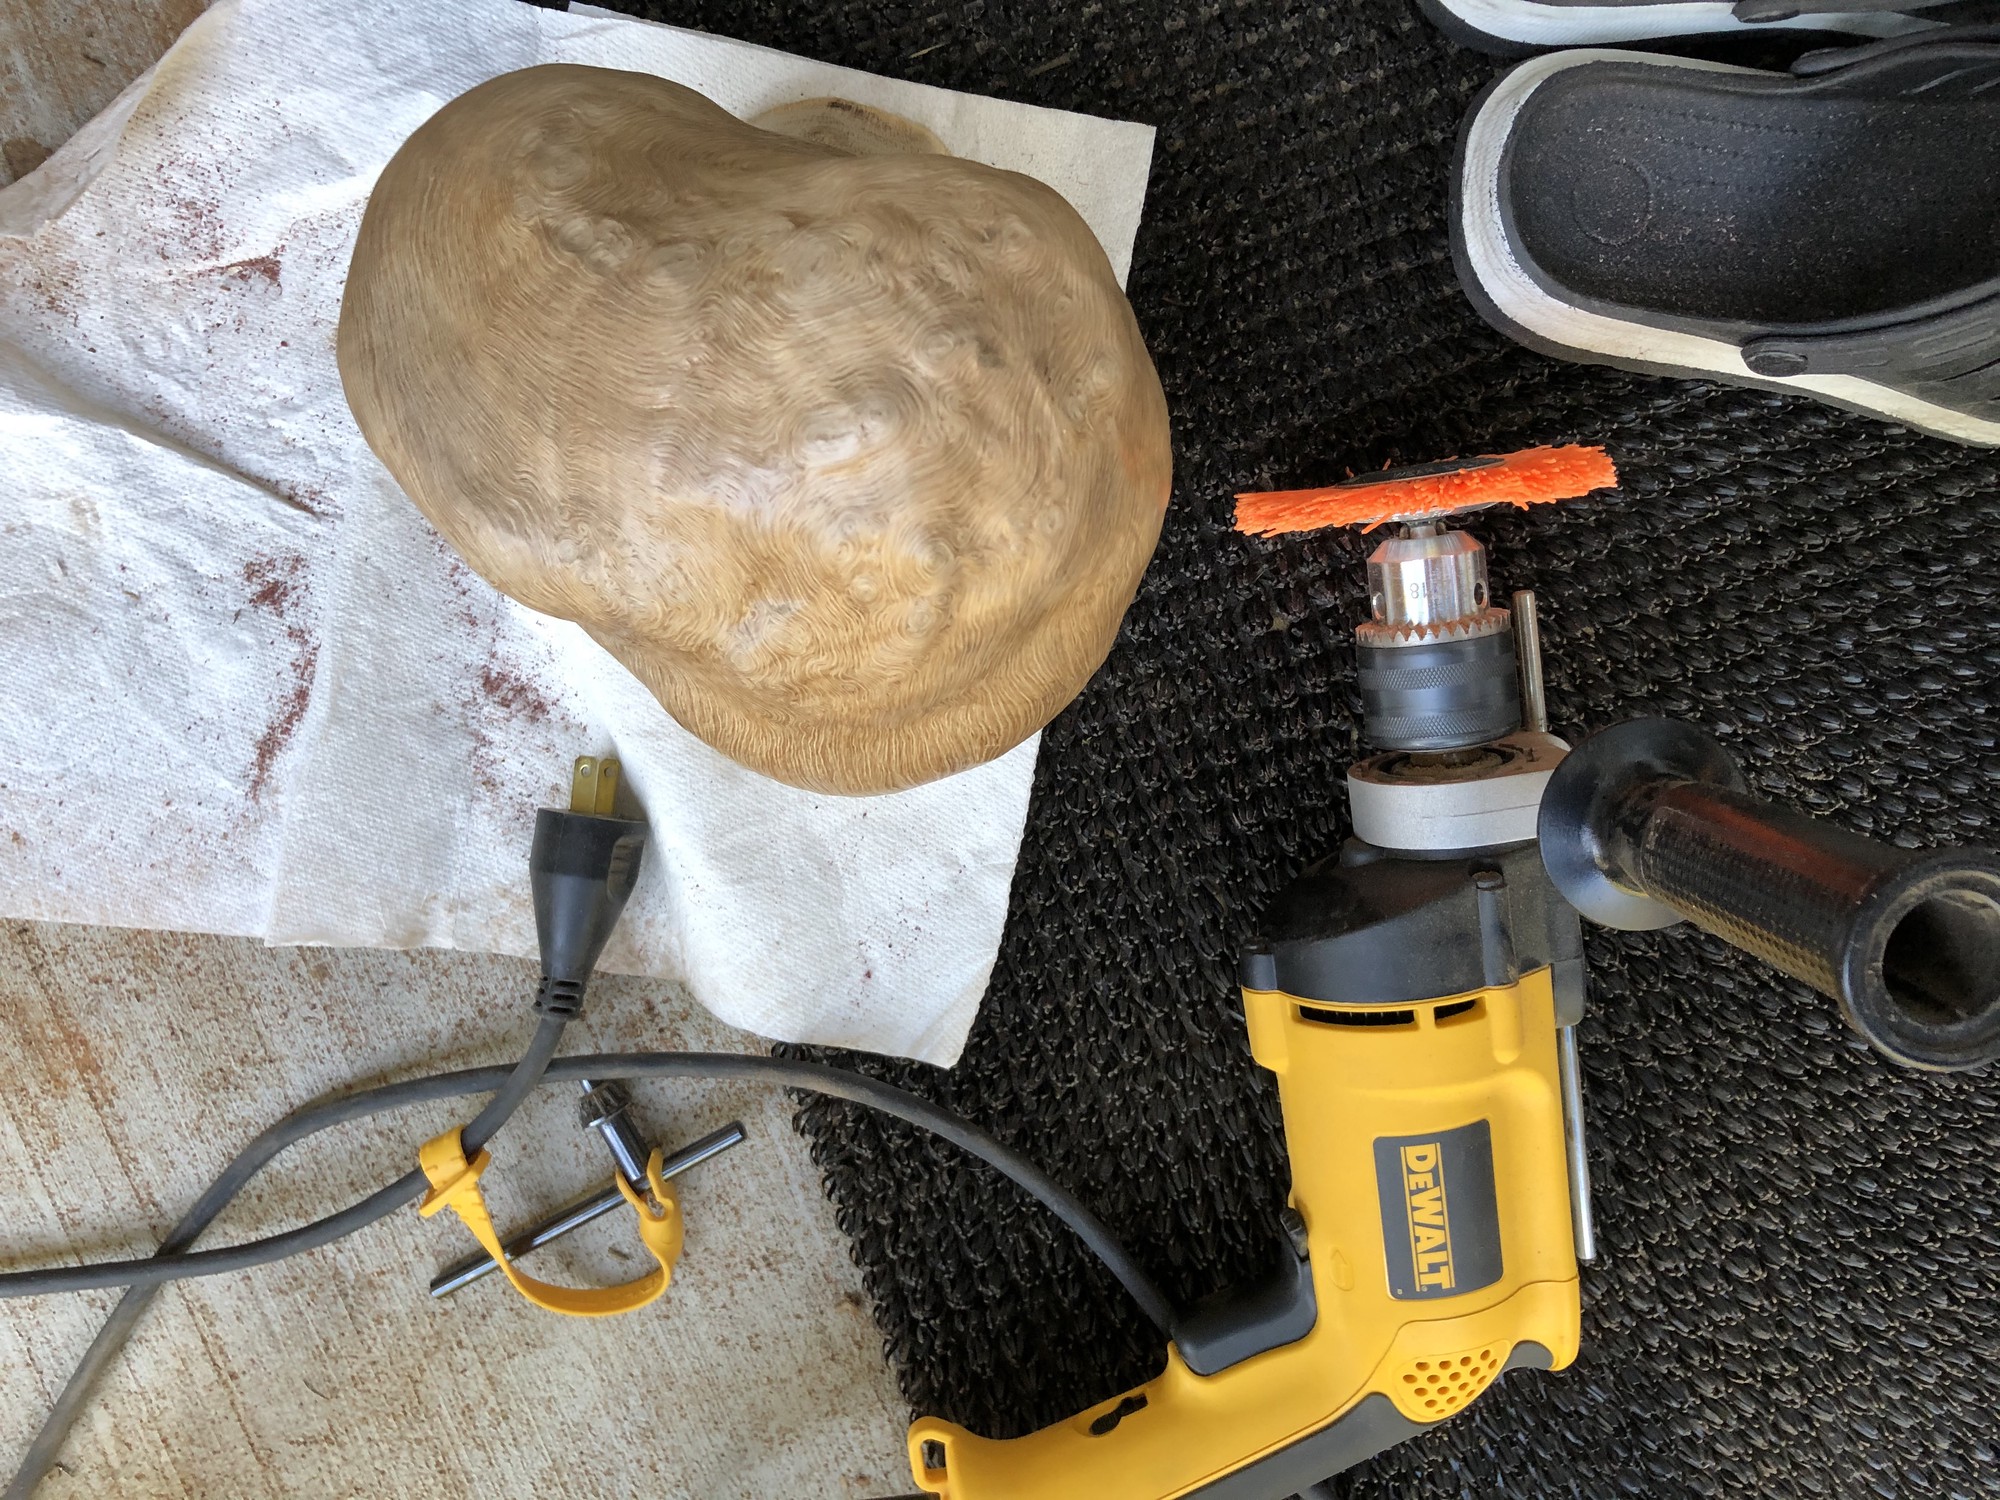
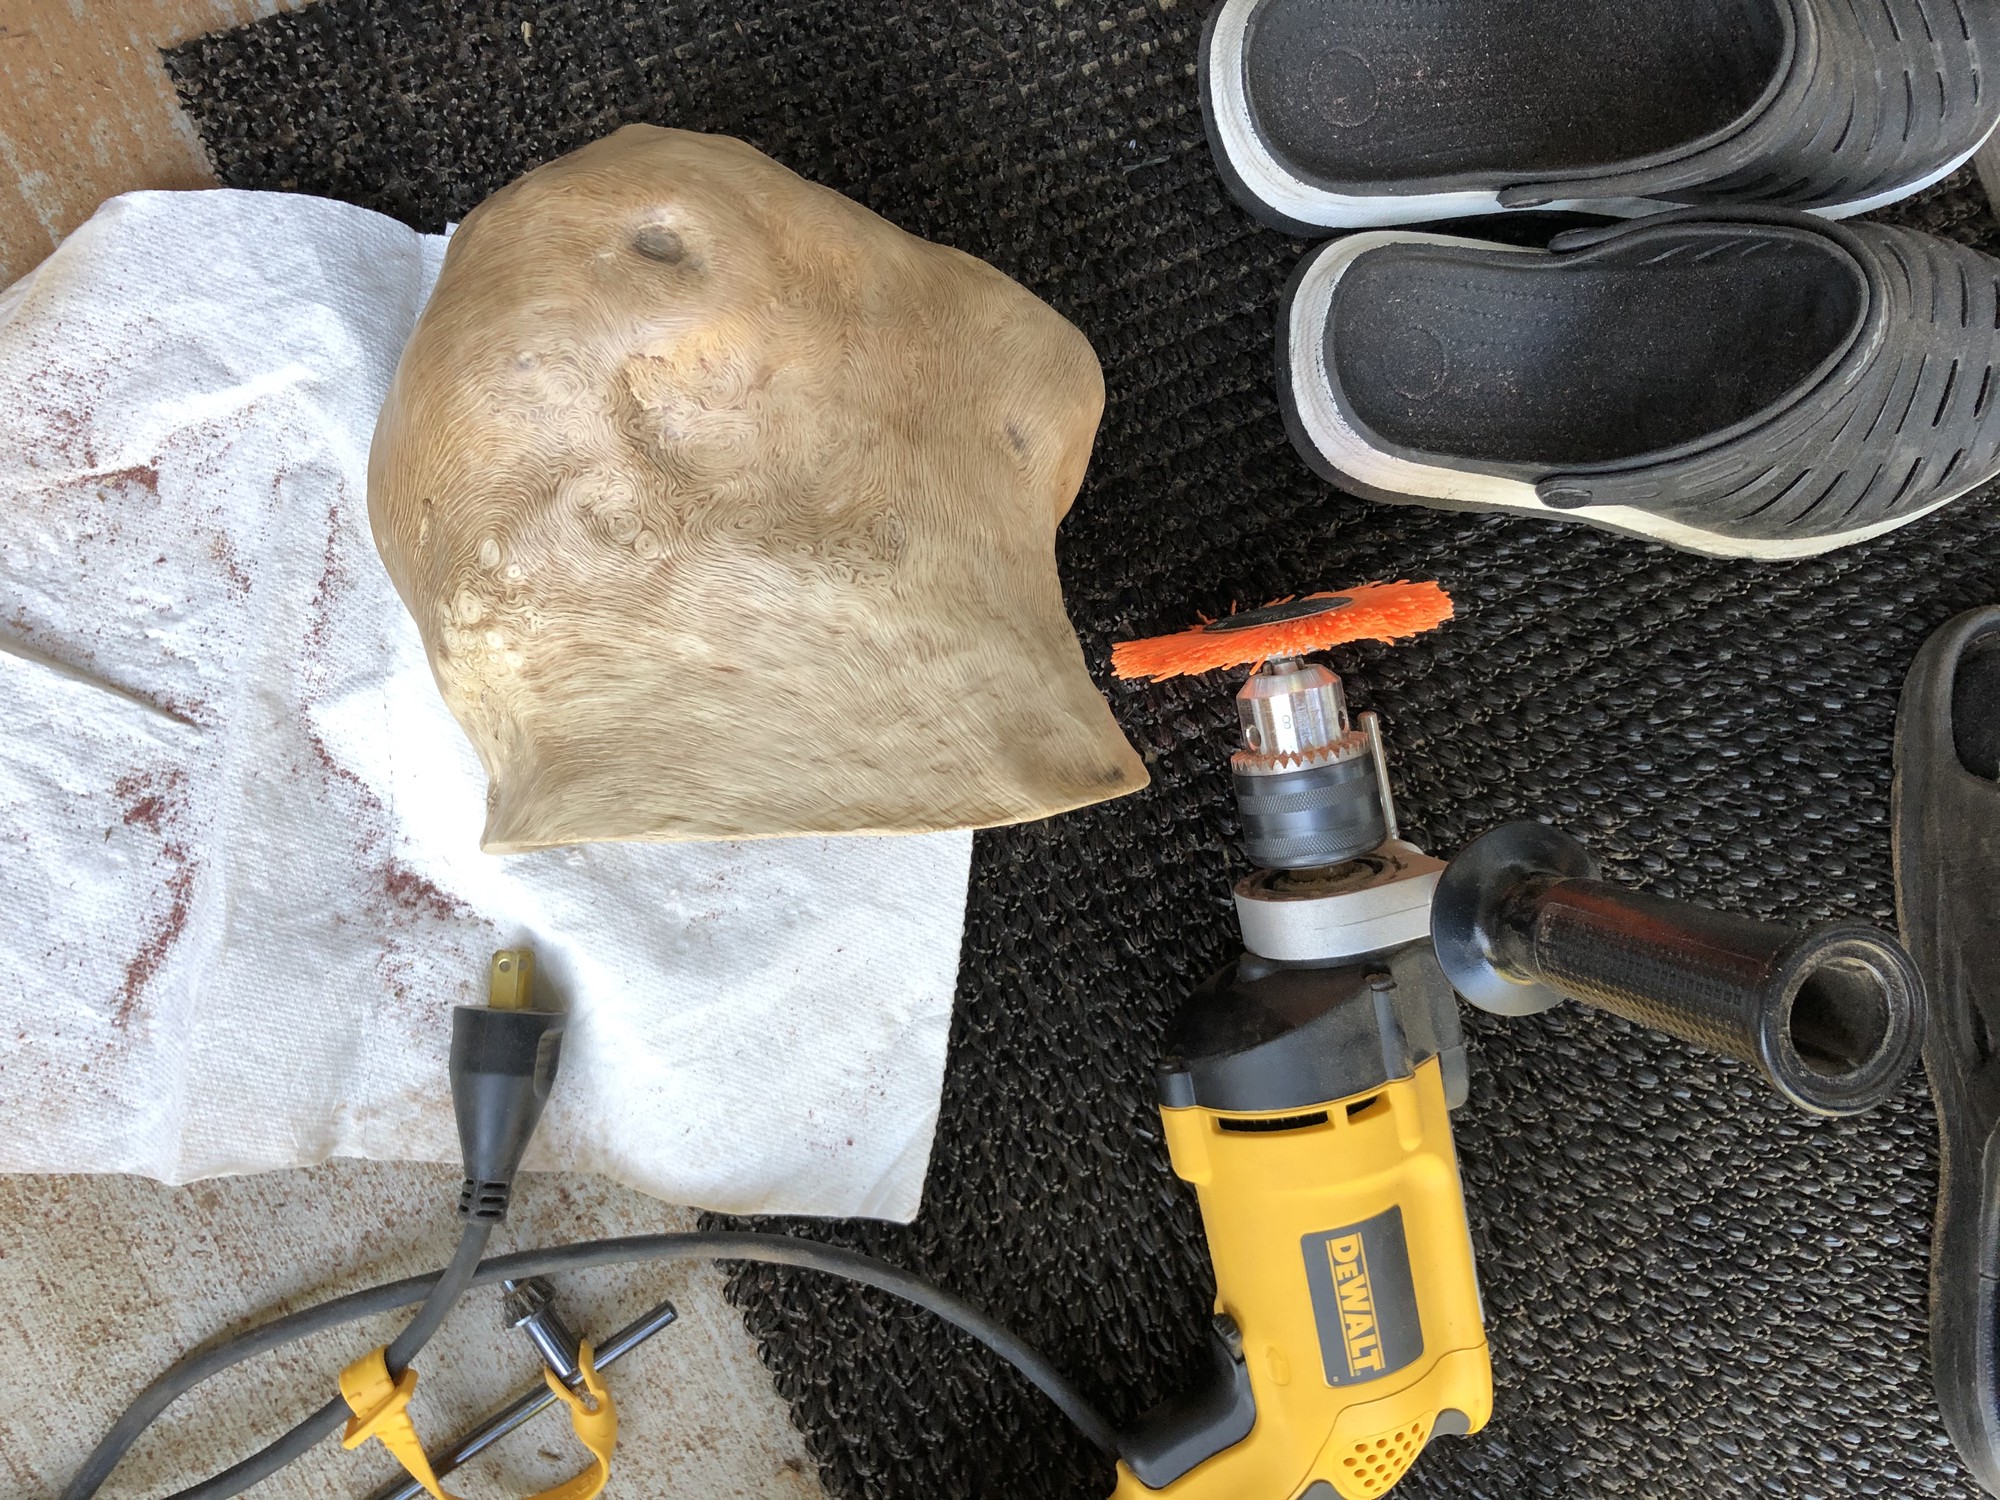
I then used a drill and red nylon drill brush1 to remove the remaining bark. The brush was soft enough to not damage the underlying wood.
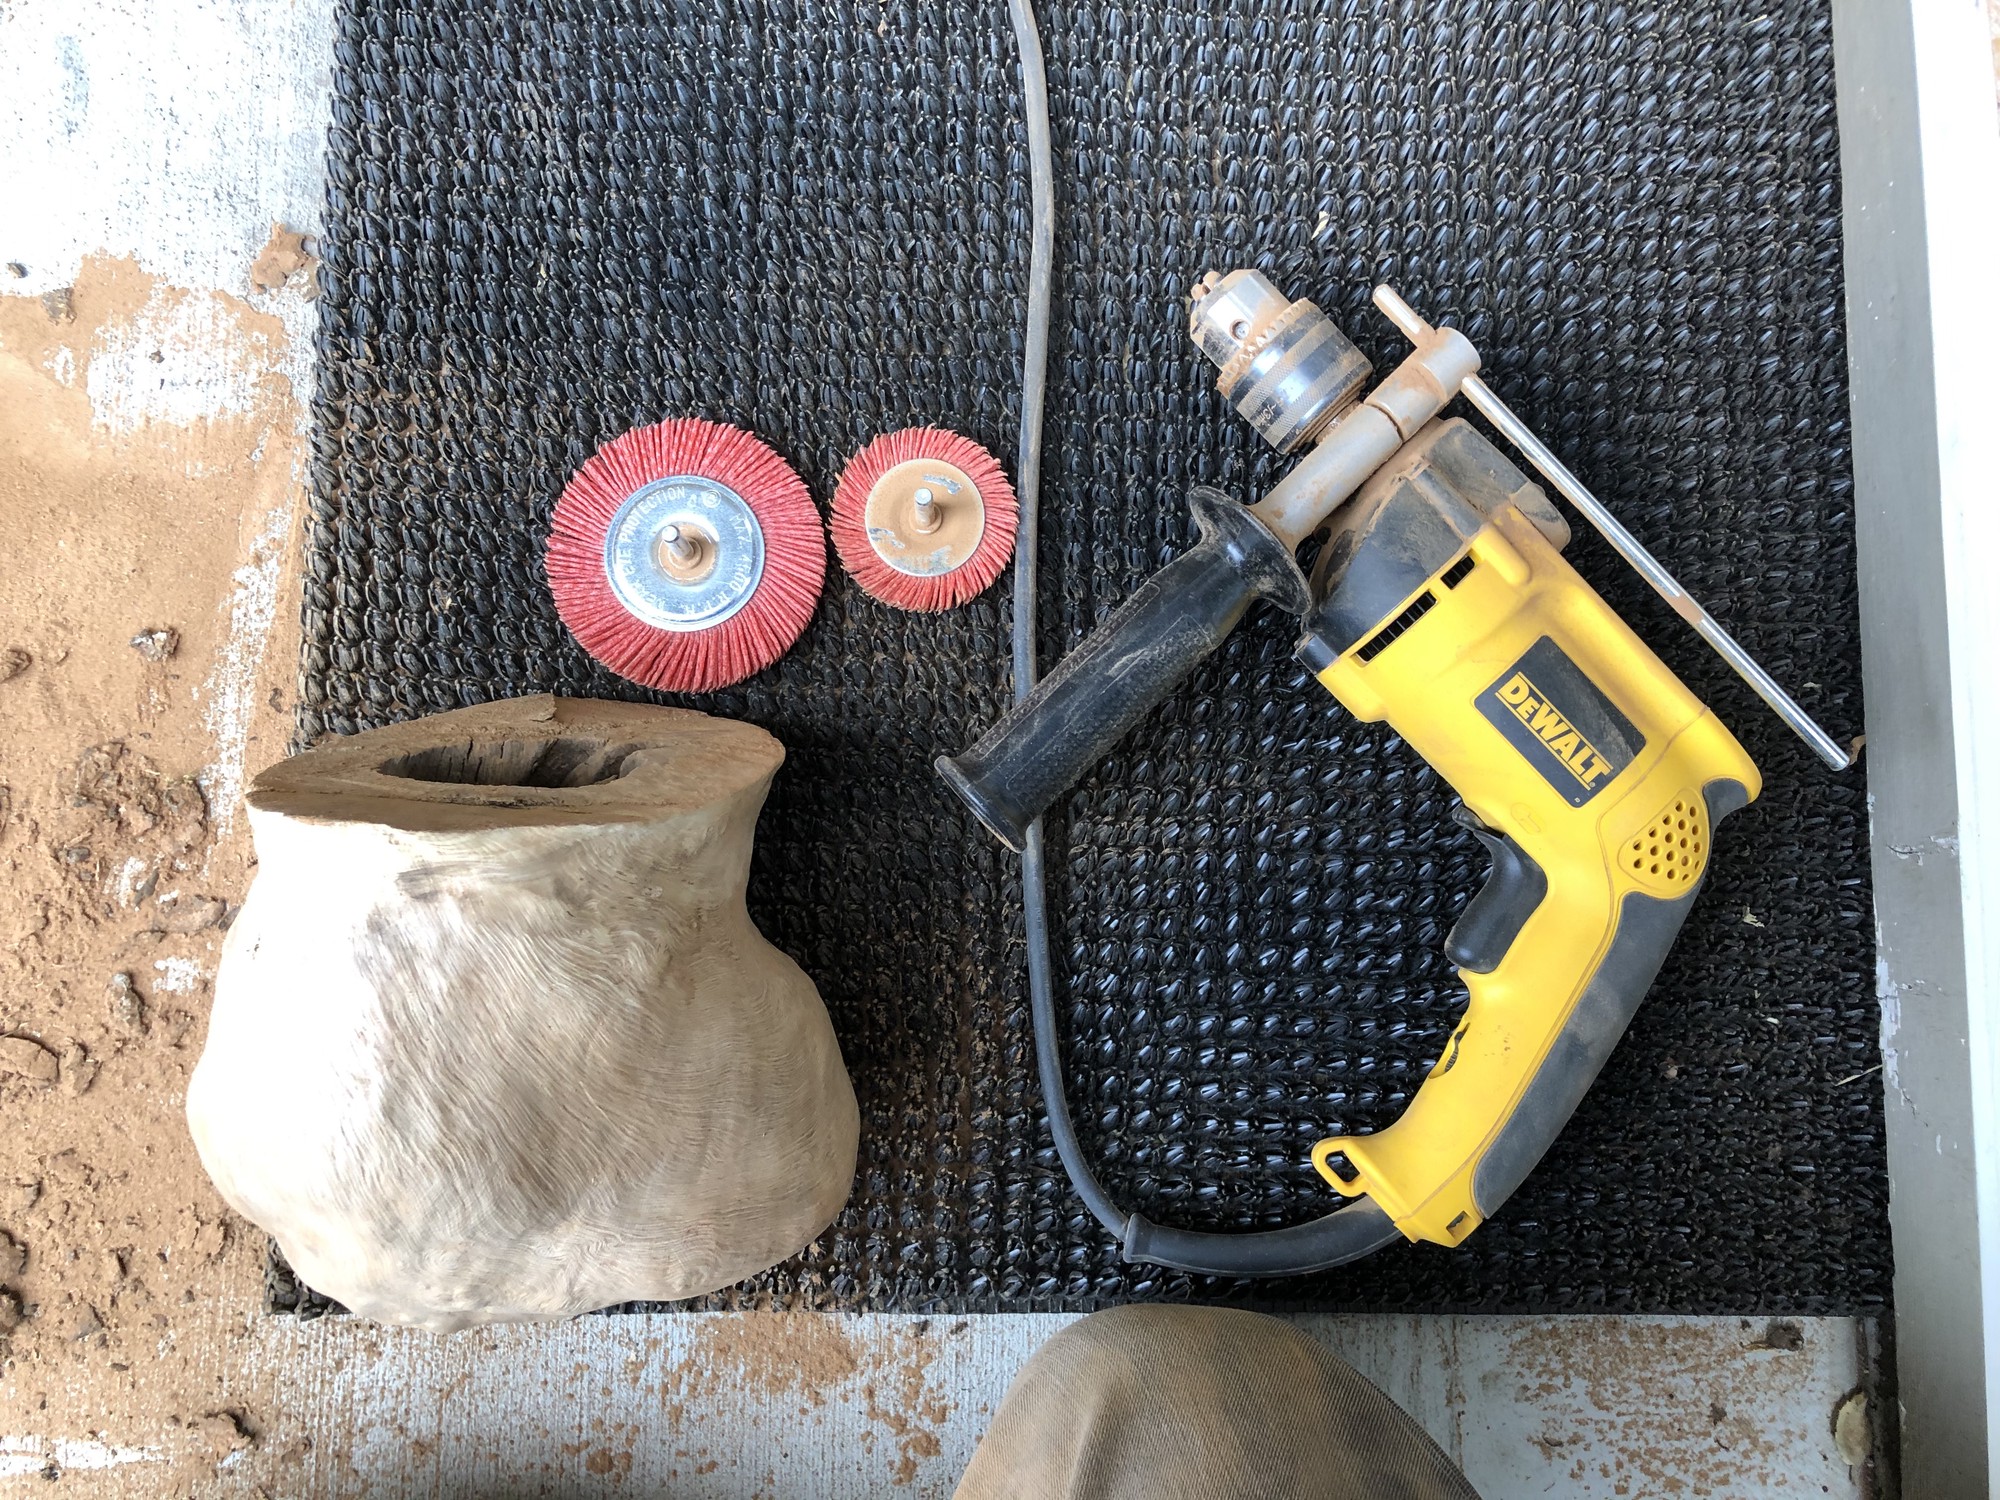
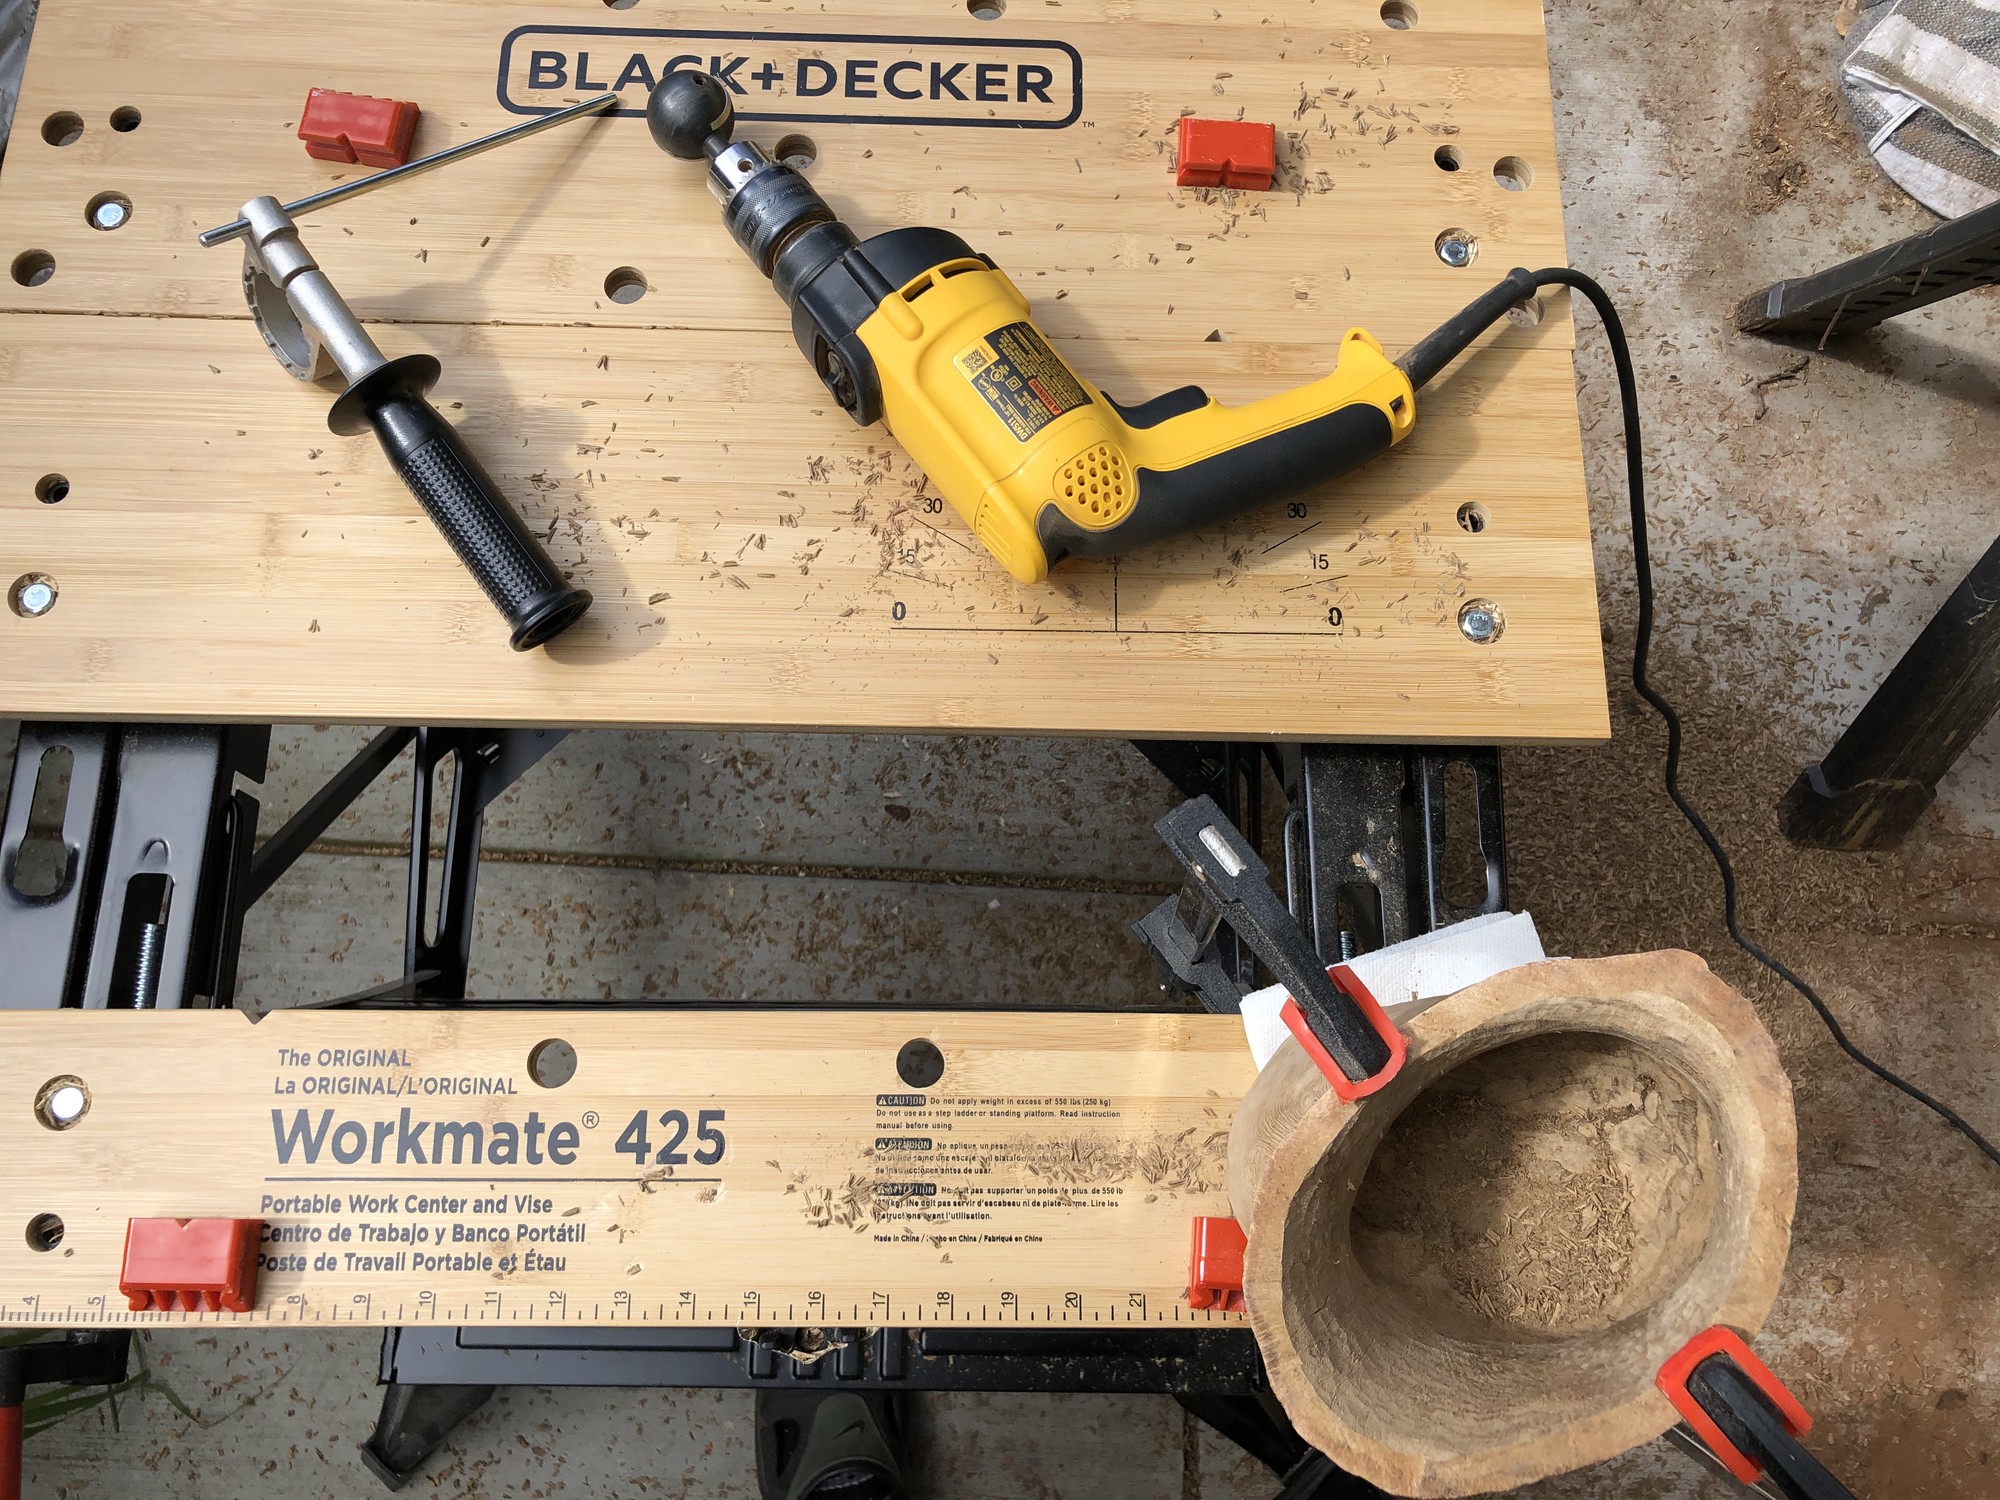
Carving
Next, I needed to find a way to safely and accurately hollow the bowl.
Precise control here was critical because penetrating through the bowl edge was a non-starter.
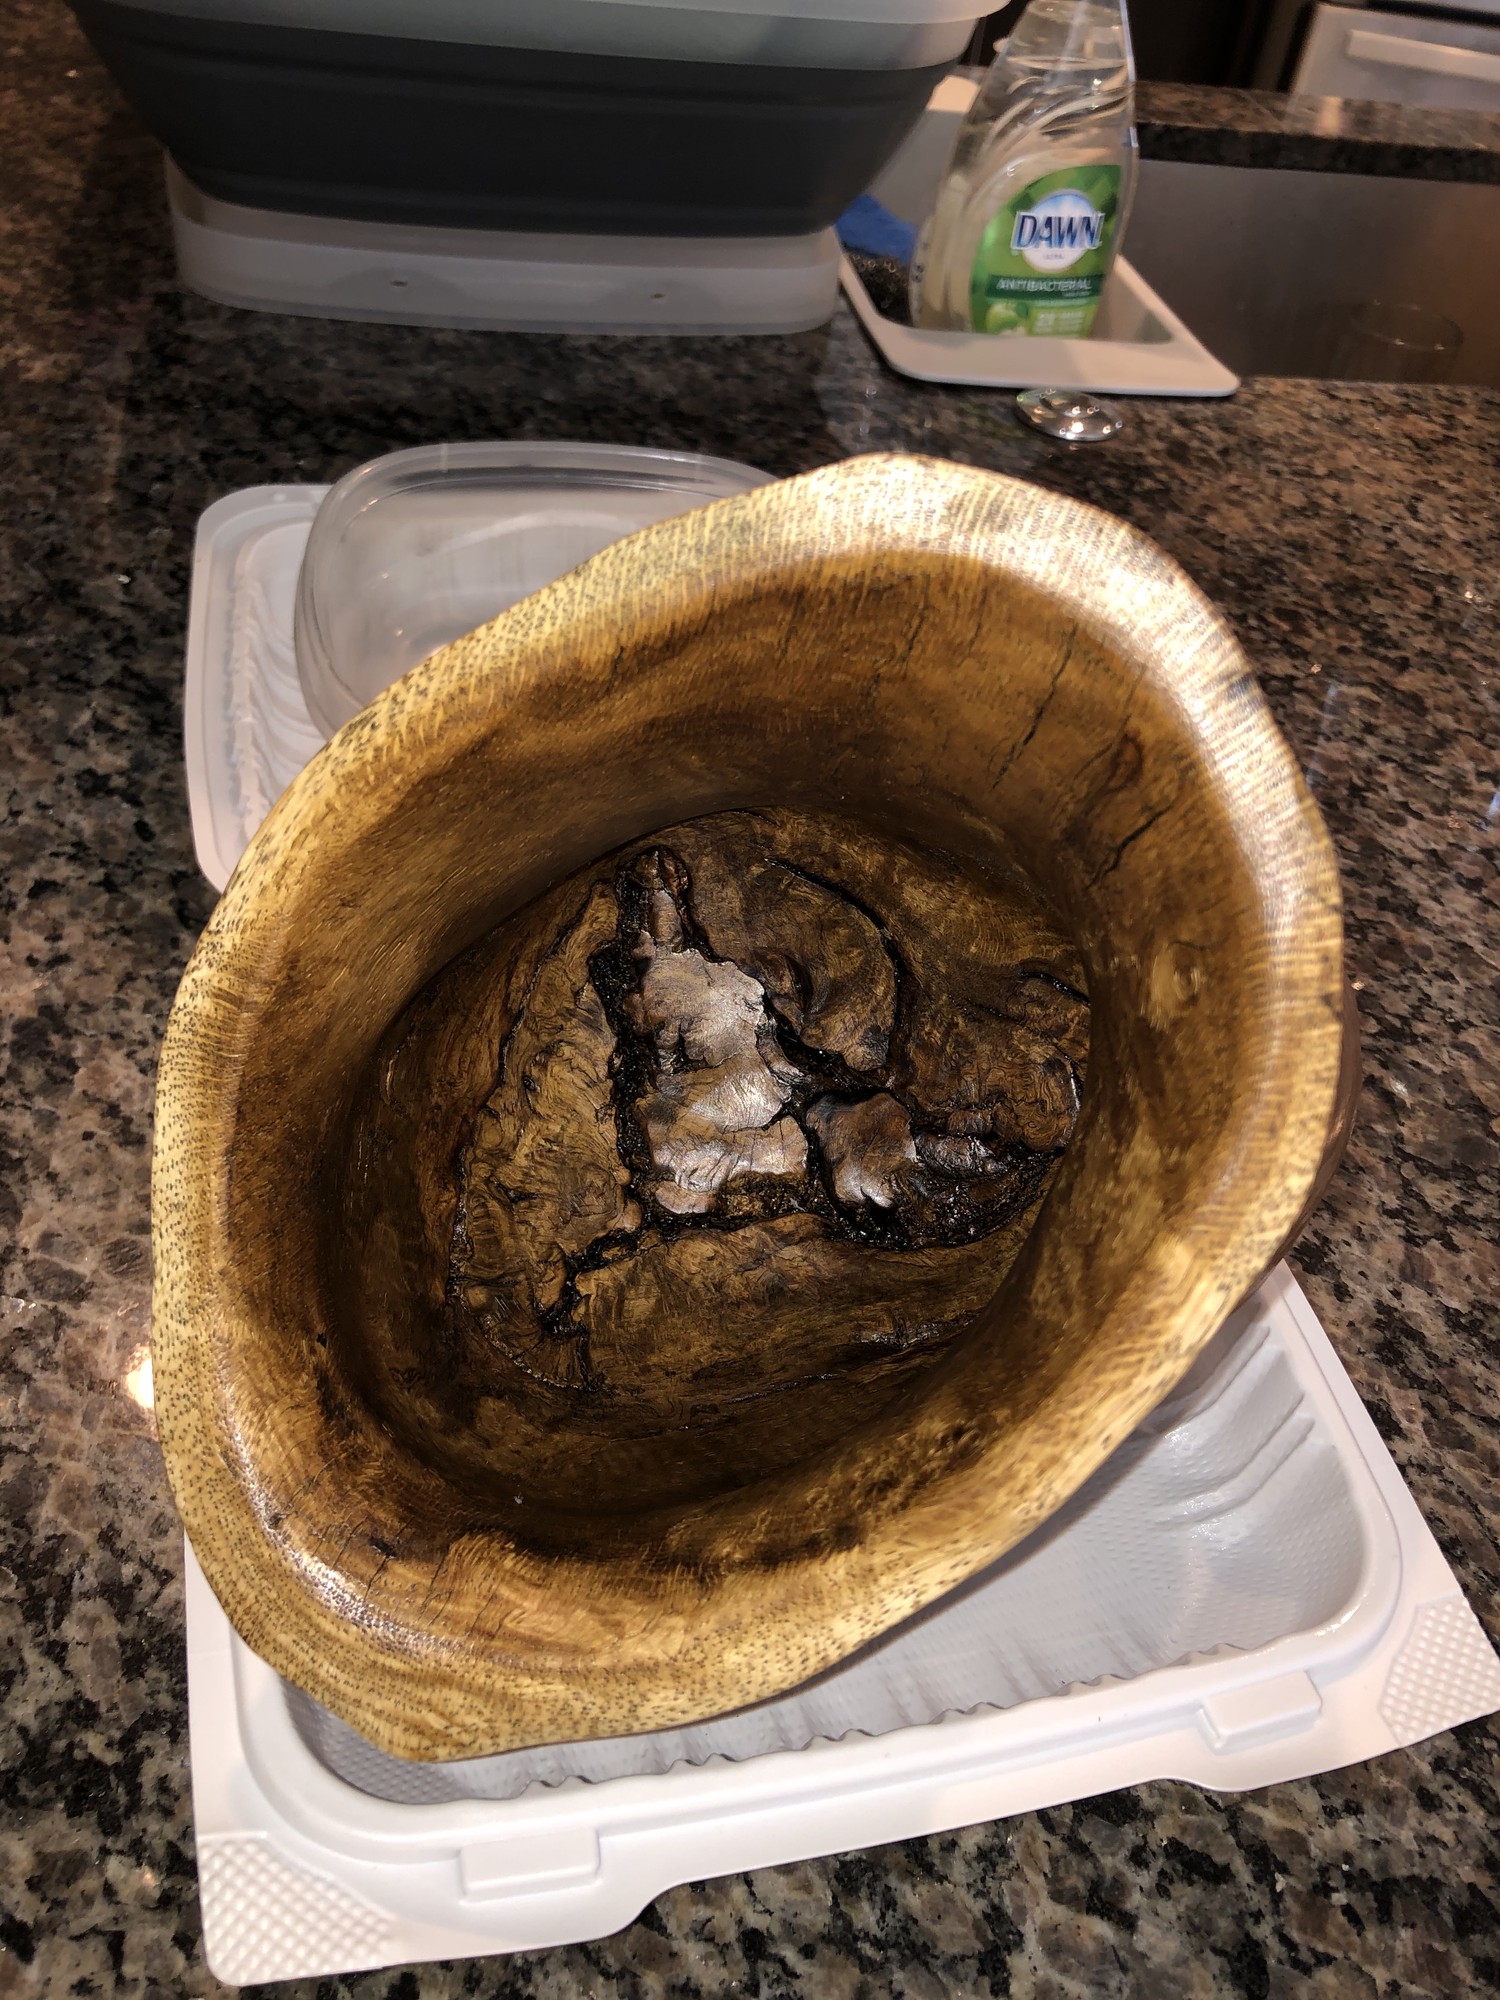
I used the Orbicut 40 bit2 to hollow the bowl.
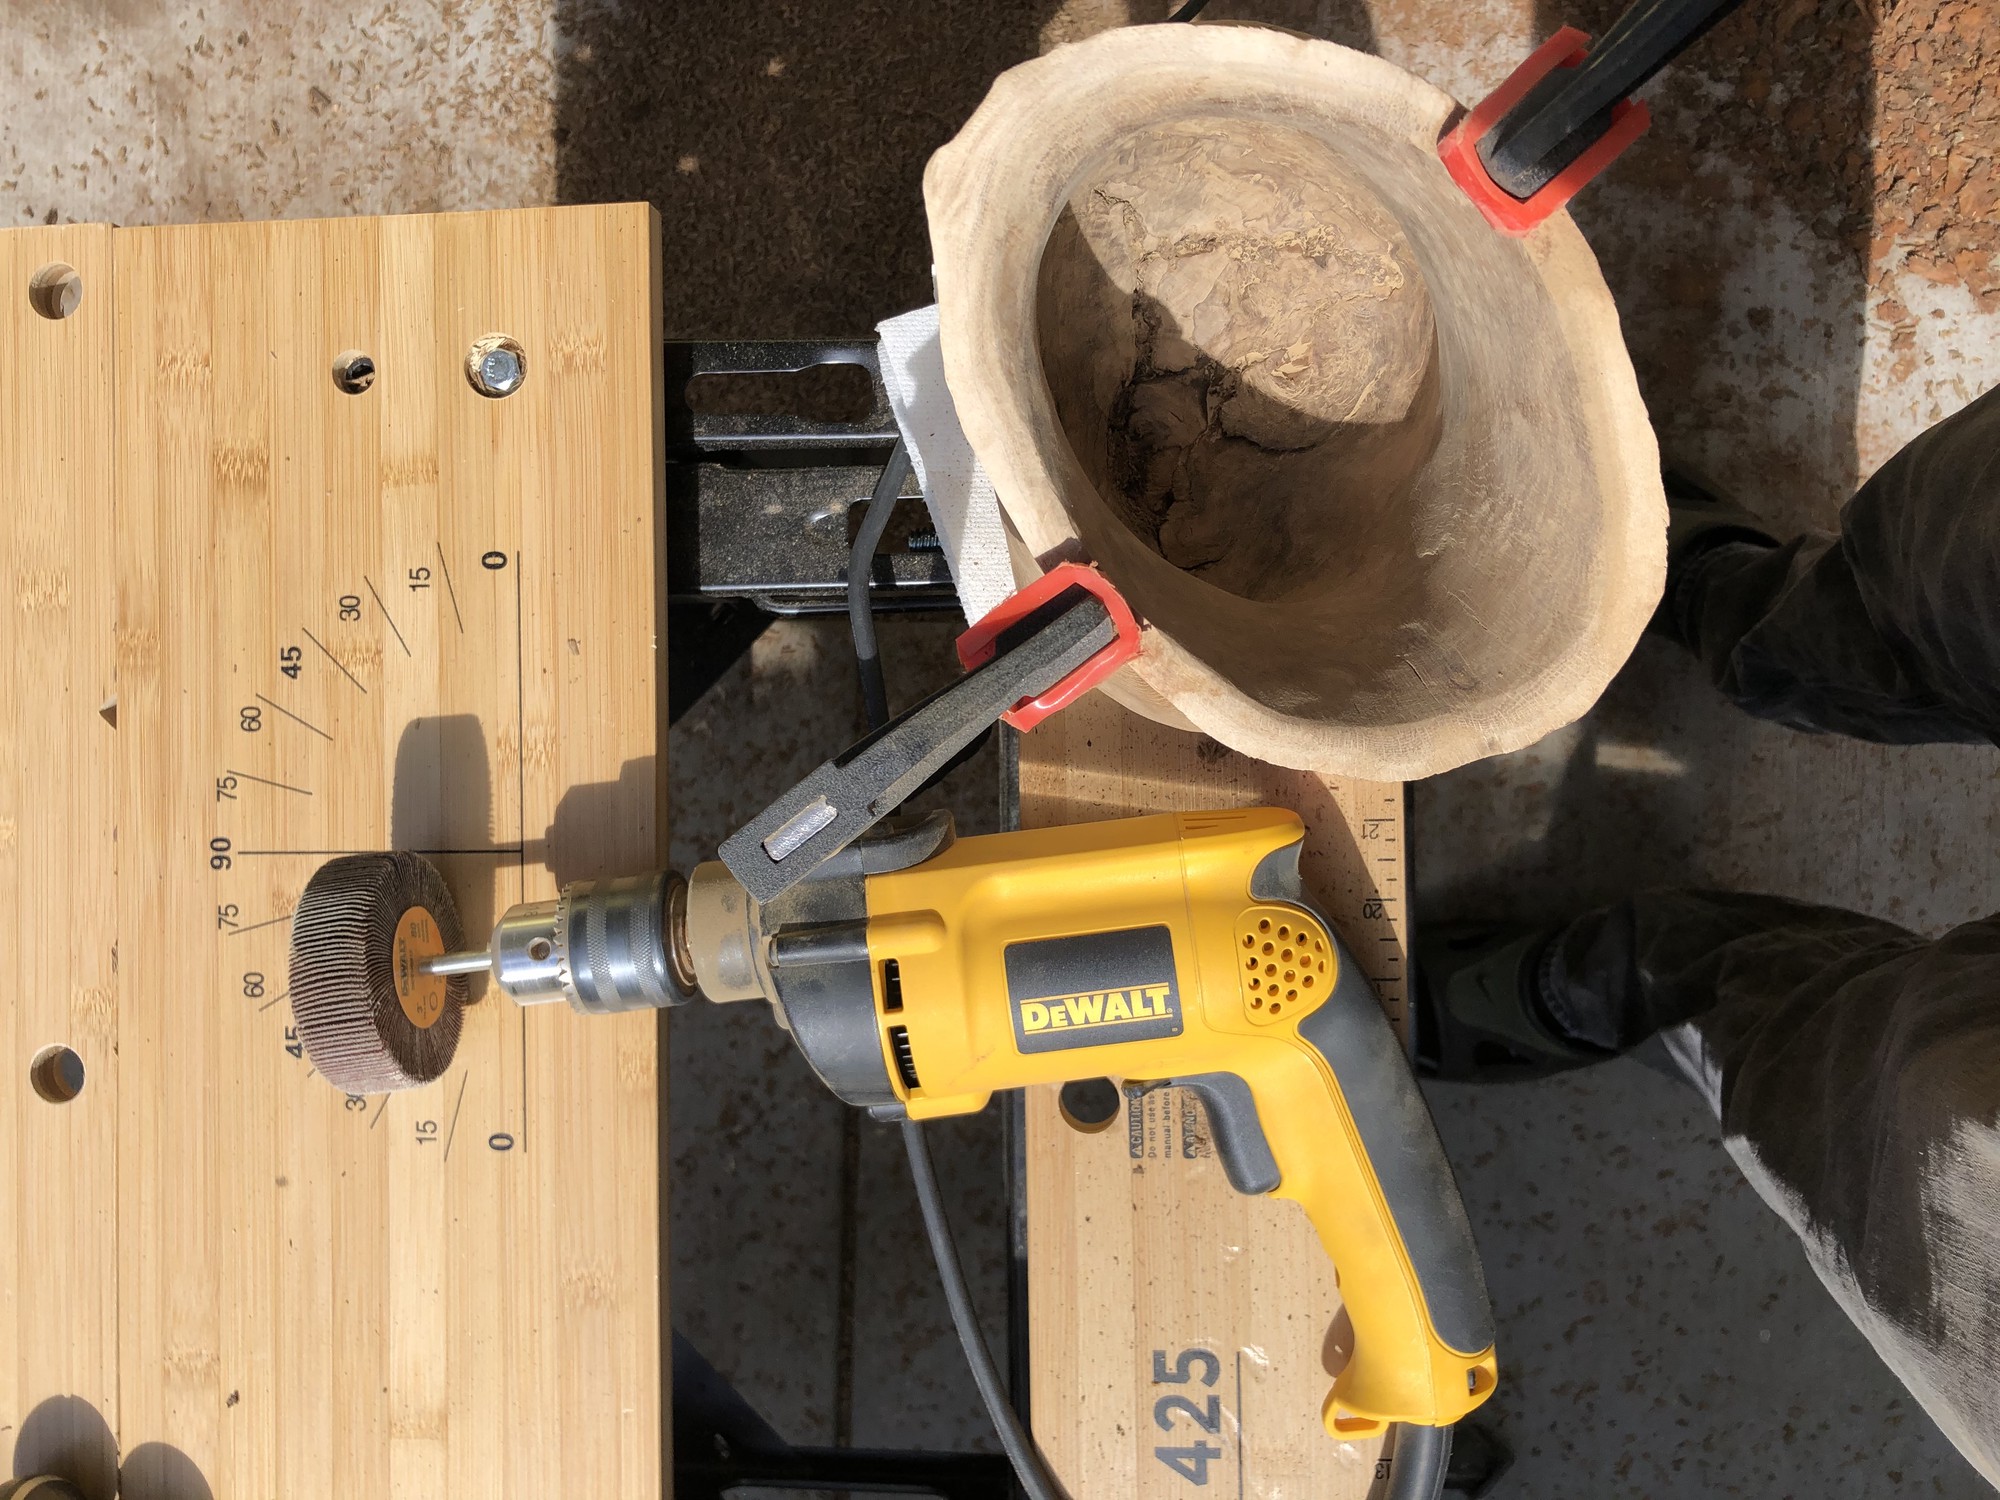
Inner Finish Work
Next, I moved on to sanding/polishing the inner surface of the burl, partially to even out the divots formed from the Orbicut 40’s spherical shape.
Coarse Sanding
I started with an 80 grit flap wheel3.
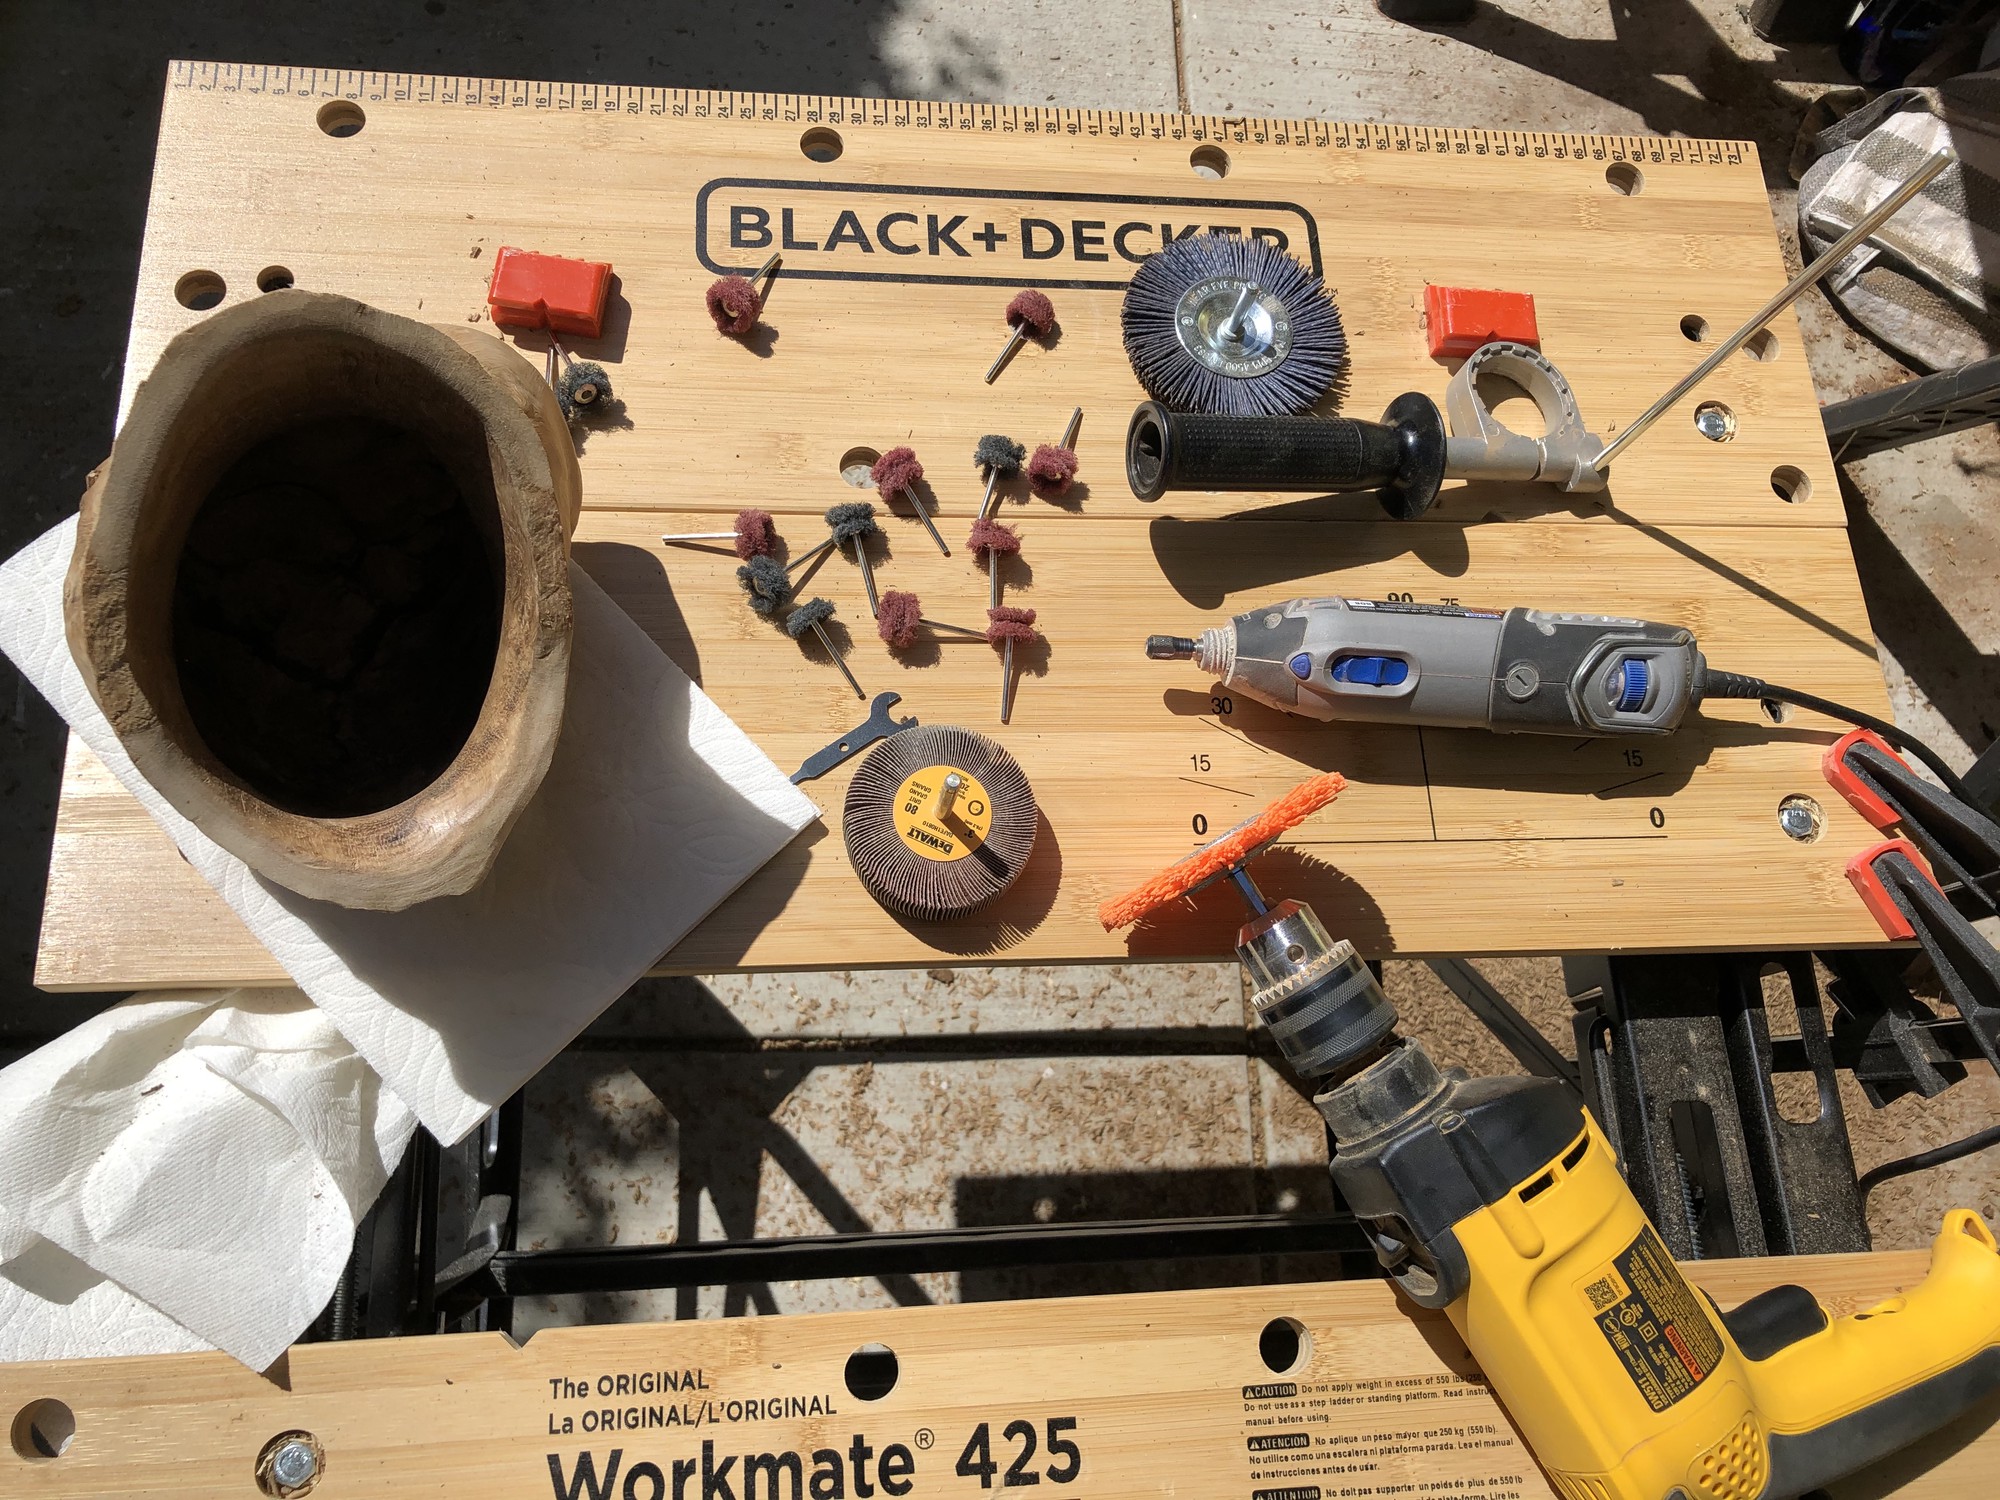
Fine Sanding/Polishing
On smaller bowls, I’ve used a dremel and several polishing wheels4, however it became apparent that I would use far too many of them and take far too long to complete a bowl of this size with them. I tried to use a black nylon wheel5, but it proved to aggressive and tended to leave melted residue easily. I arrived at using an orange nylon wheel6. This wheel didn’t appear to leave residue and was able to polish and sand minor carving scratches. Furthermore, it was highly effective at cleaning and polishing the large cracks and uneven features within the base of the bowl.

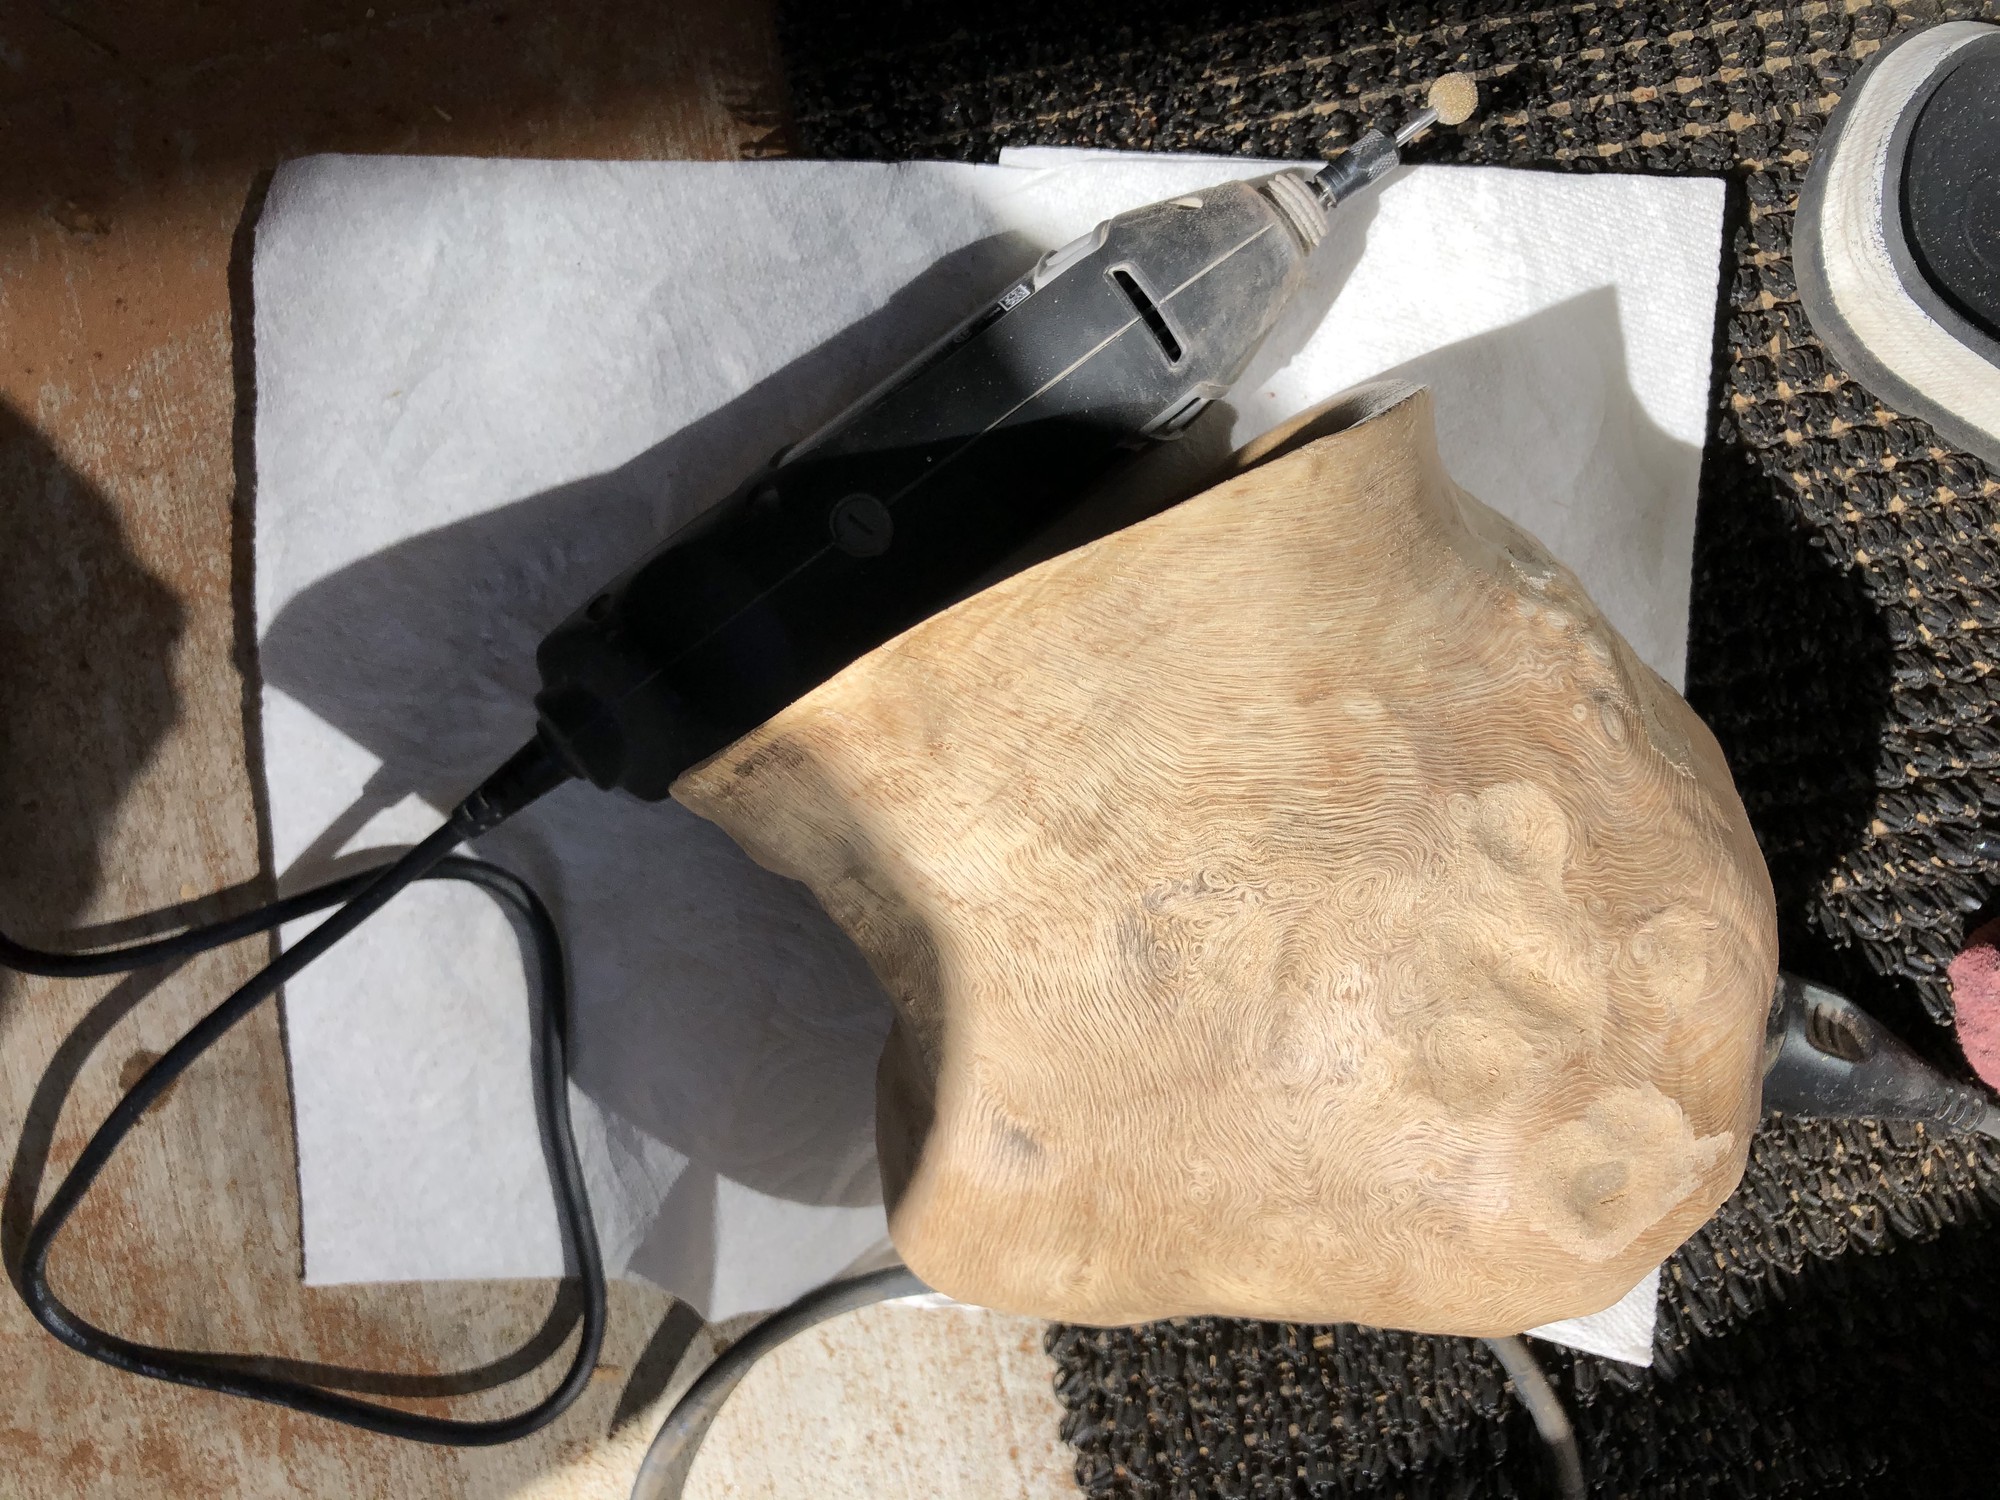
Outer Finish Work
I then moved on to sanding/polishing the outer surface of the burl, partially to even out the divots formed from the aggressive red nylon wheel1 as well as to remove gouges from the use of sharp tools to remove the outer bark.
Removal of Marks from Red Nylon Wheel
On smaller bowls, I’ve used a dremel and several polishing wheels4, however it became apparent that I would use far too many of them and take far too long to complete a bowl of this size with them. I tried to use a black nylon wheel5, but it proved to aggressive and tended to leave melted residue easily. I arrived at using an orange nylon wheel6.
Removal of Sharp Tool Gouges from Outer Bark Removal
Unfortunately, I had a few, deep gouges (penetrating into the sap wood) from the use of the wood chisel and screwdriver when removing the outer bark. These deep gouges proved fairly hard to remove. I had hoped that the orange nylon wheen6 would be sufficient but unfortunately it wasn’t able to remove large gouges. I also tried using large abrasive ball bits7 8 9 10 but they were unable to remove enough bulk material and also lost much of their abrasive material rather quickly.
I resorted to using a fine, rotary burr by Kutzall11 to even out the deep gouges.
I then used 320 grit sandpaper to sand the gouges as well rim of the bowl (to give the rim a rounded curvature for softer handling).
I then used the orange nylon wheel6 to sand/polish smoothed gouges.
Unfortunately, this means that these smoothed patches where the gouges once were, now possess a slightly different color compared to the rest of the bowl. This is because the gouges had penetrated into the sap wood (past the vascular cambrium) where as for the majority of the bowl, I had tried not go go deeper than the vascular cambrium layer.
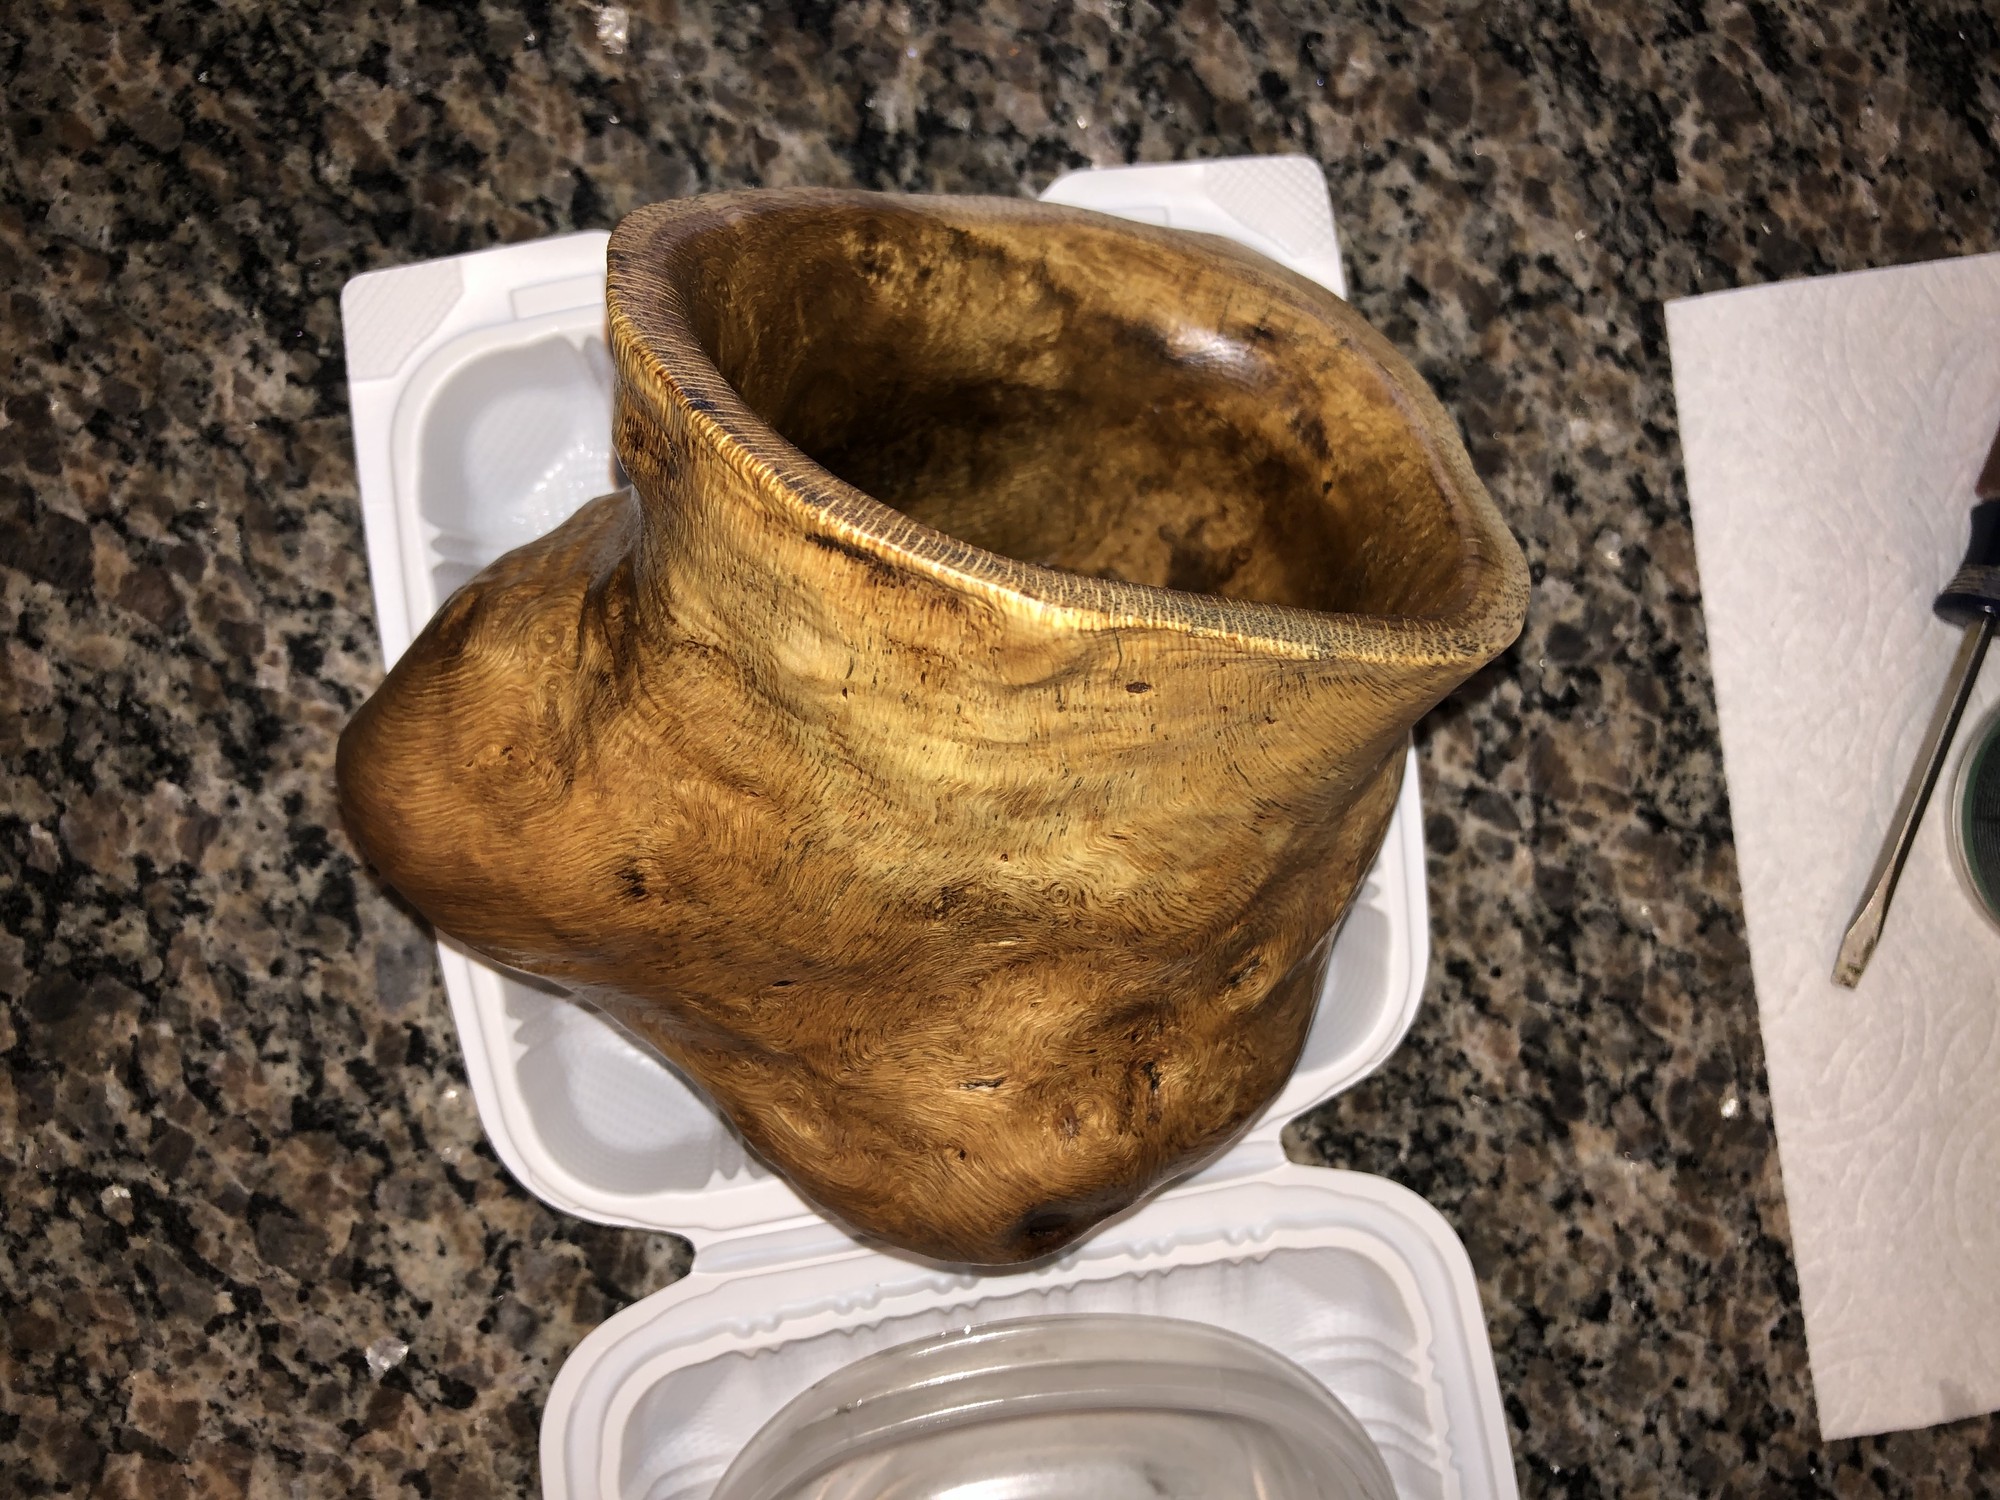
Wipe Down
Before applying the finish coats of oil, I wiped-off as much of the residual sawdust from the burl as possible using a lightly dampened, paper towel.
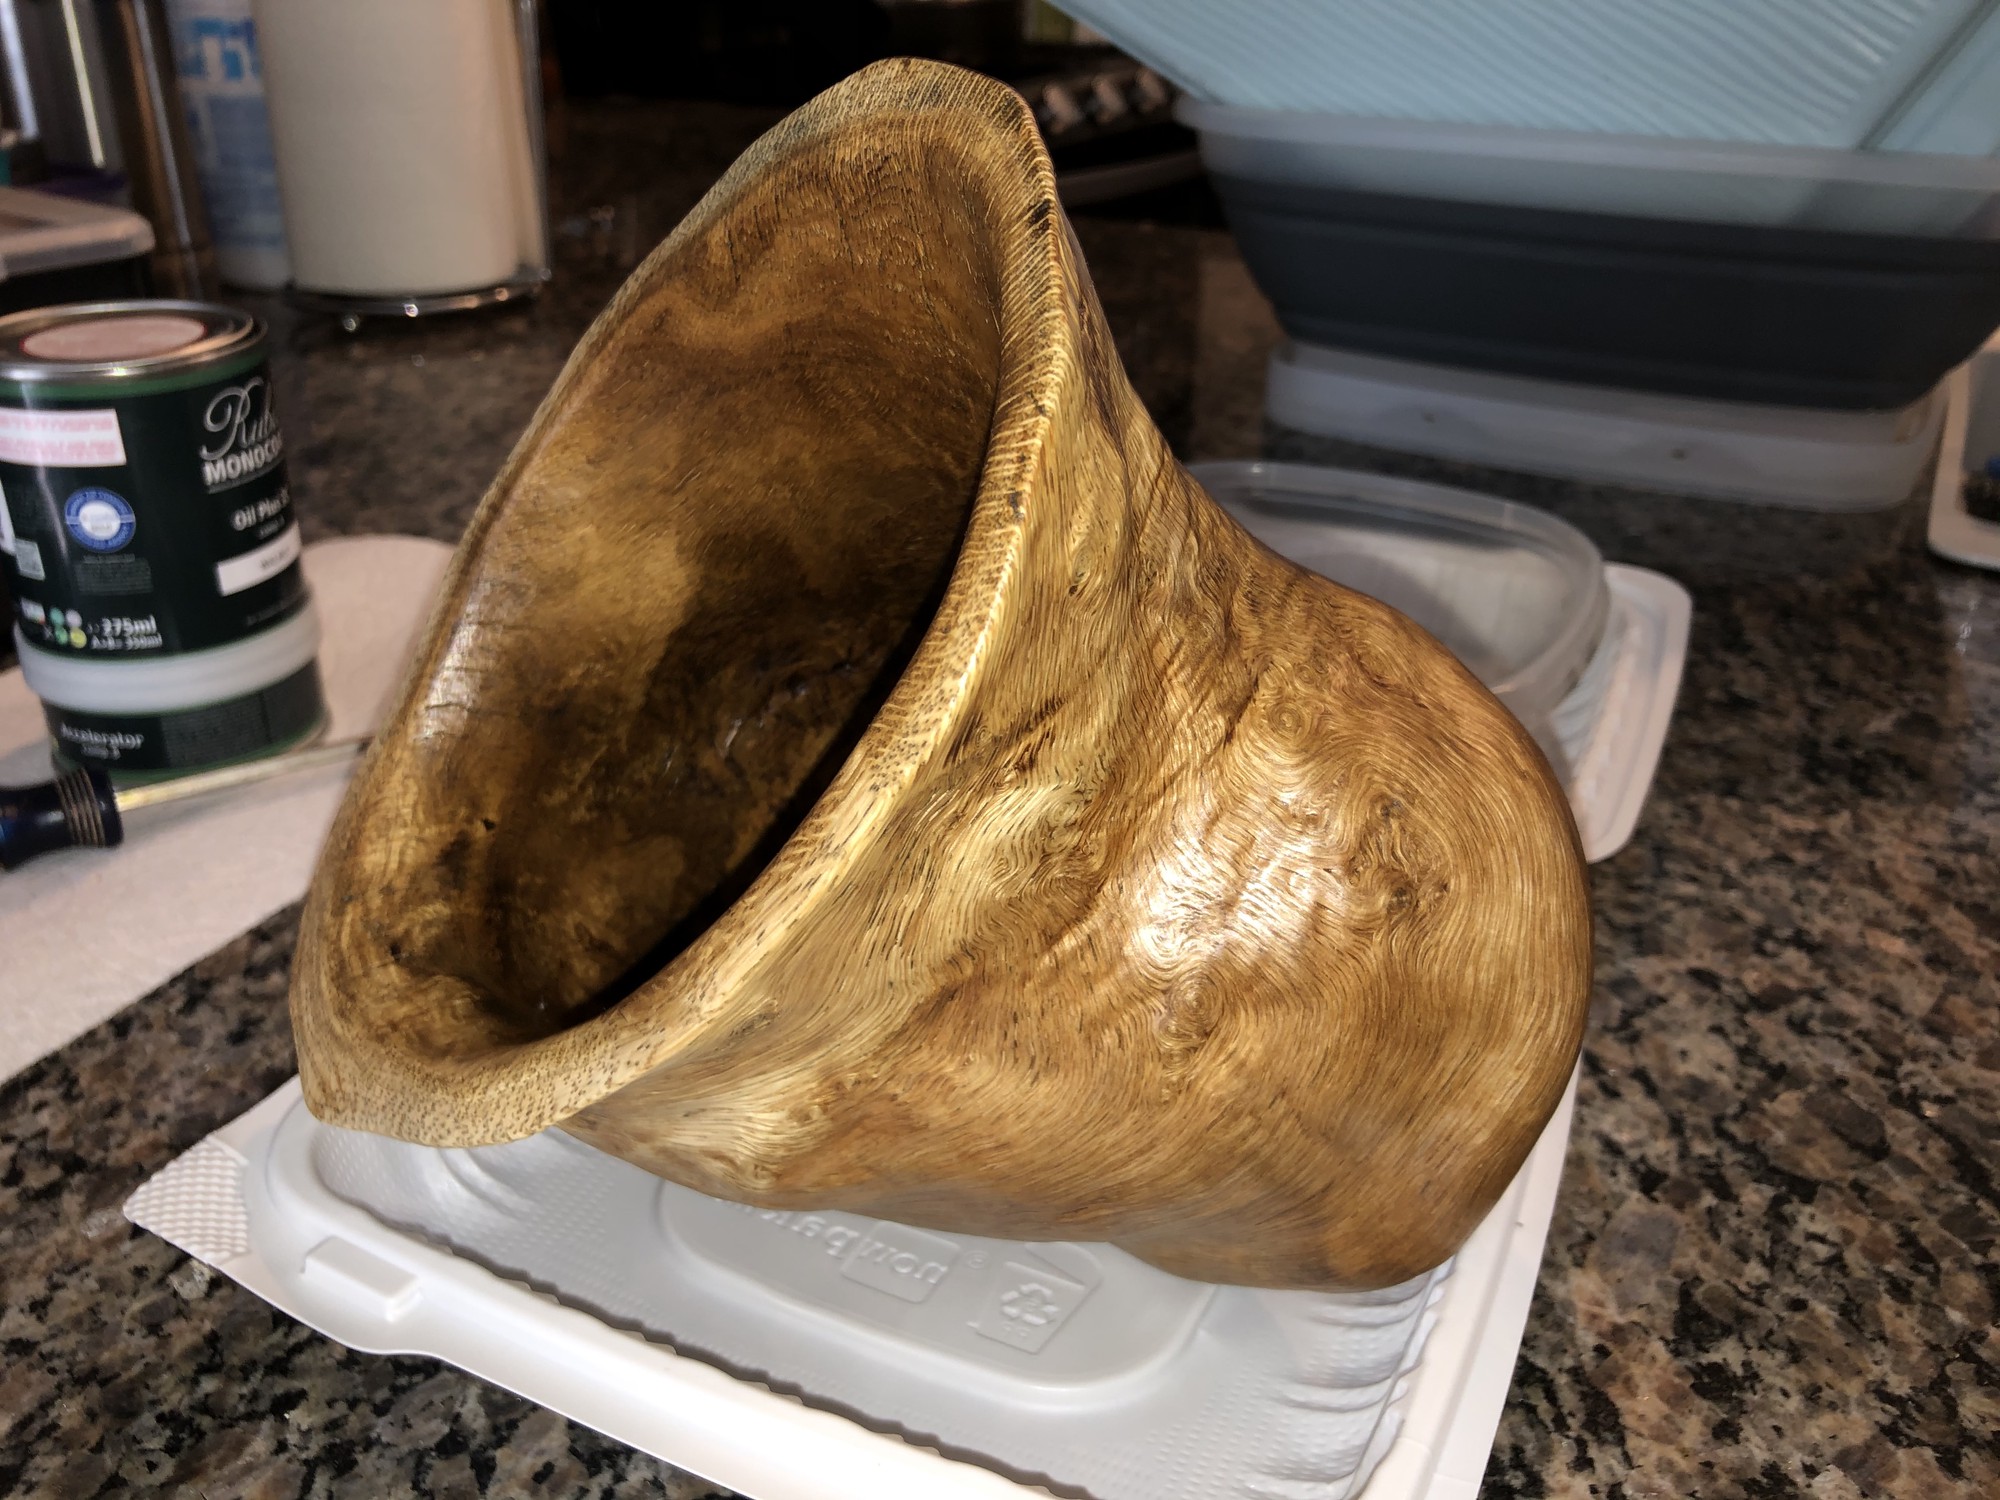
Finish Coats
The last step was to apply finish to stain and protect the bowl as well as to enhance the chatoyancy of the bowl. For this I used Walnut colored Rubio Monocoat12 following the instructions on the back of the can. This finish is highly respected in the woodworking community as it is in-grain, requires just one application that takes about 15 minutes to apply and once dried (after ~5 days), is food-safe.
Finished Bowl

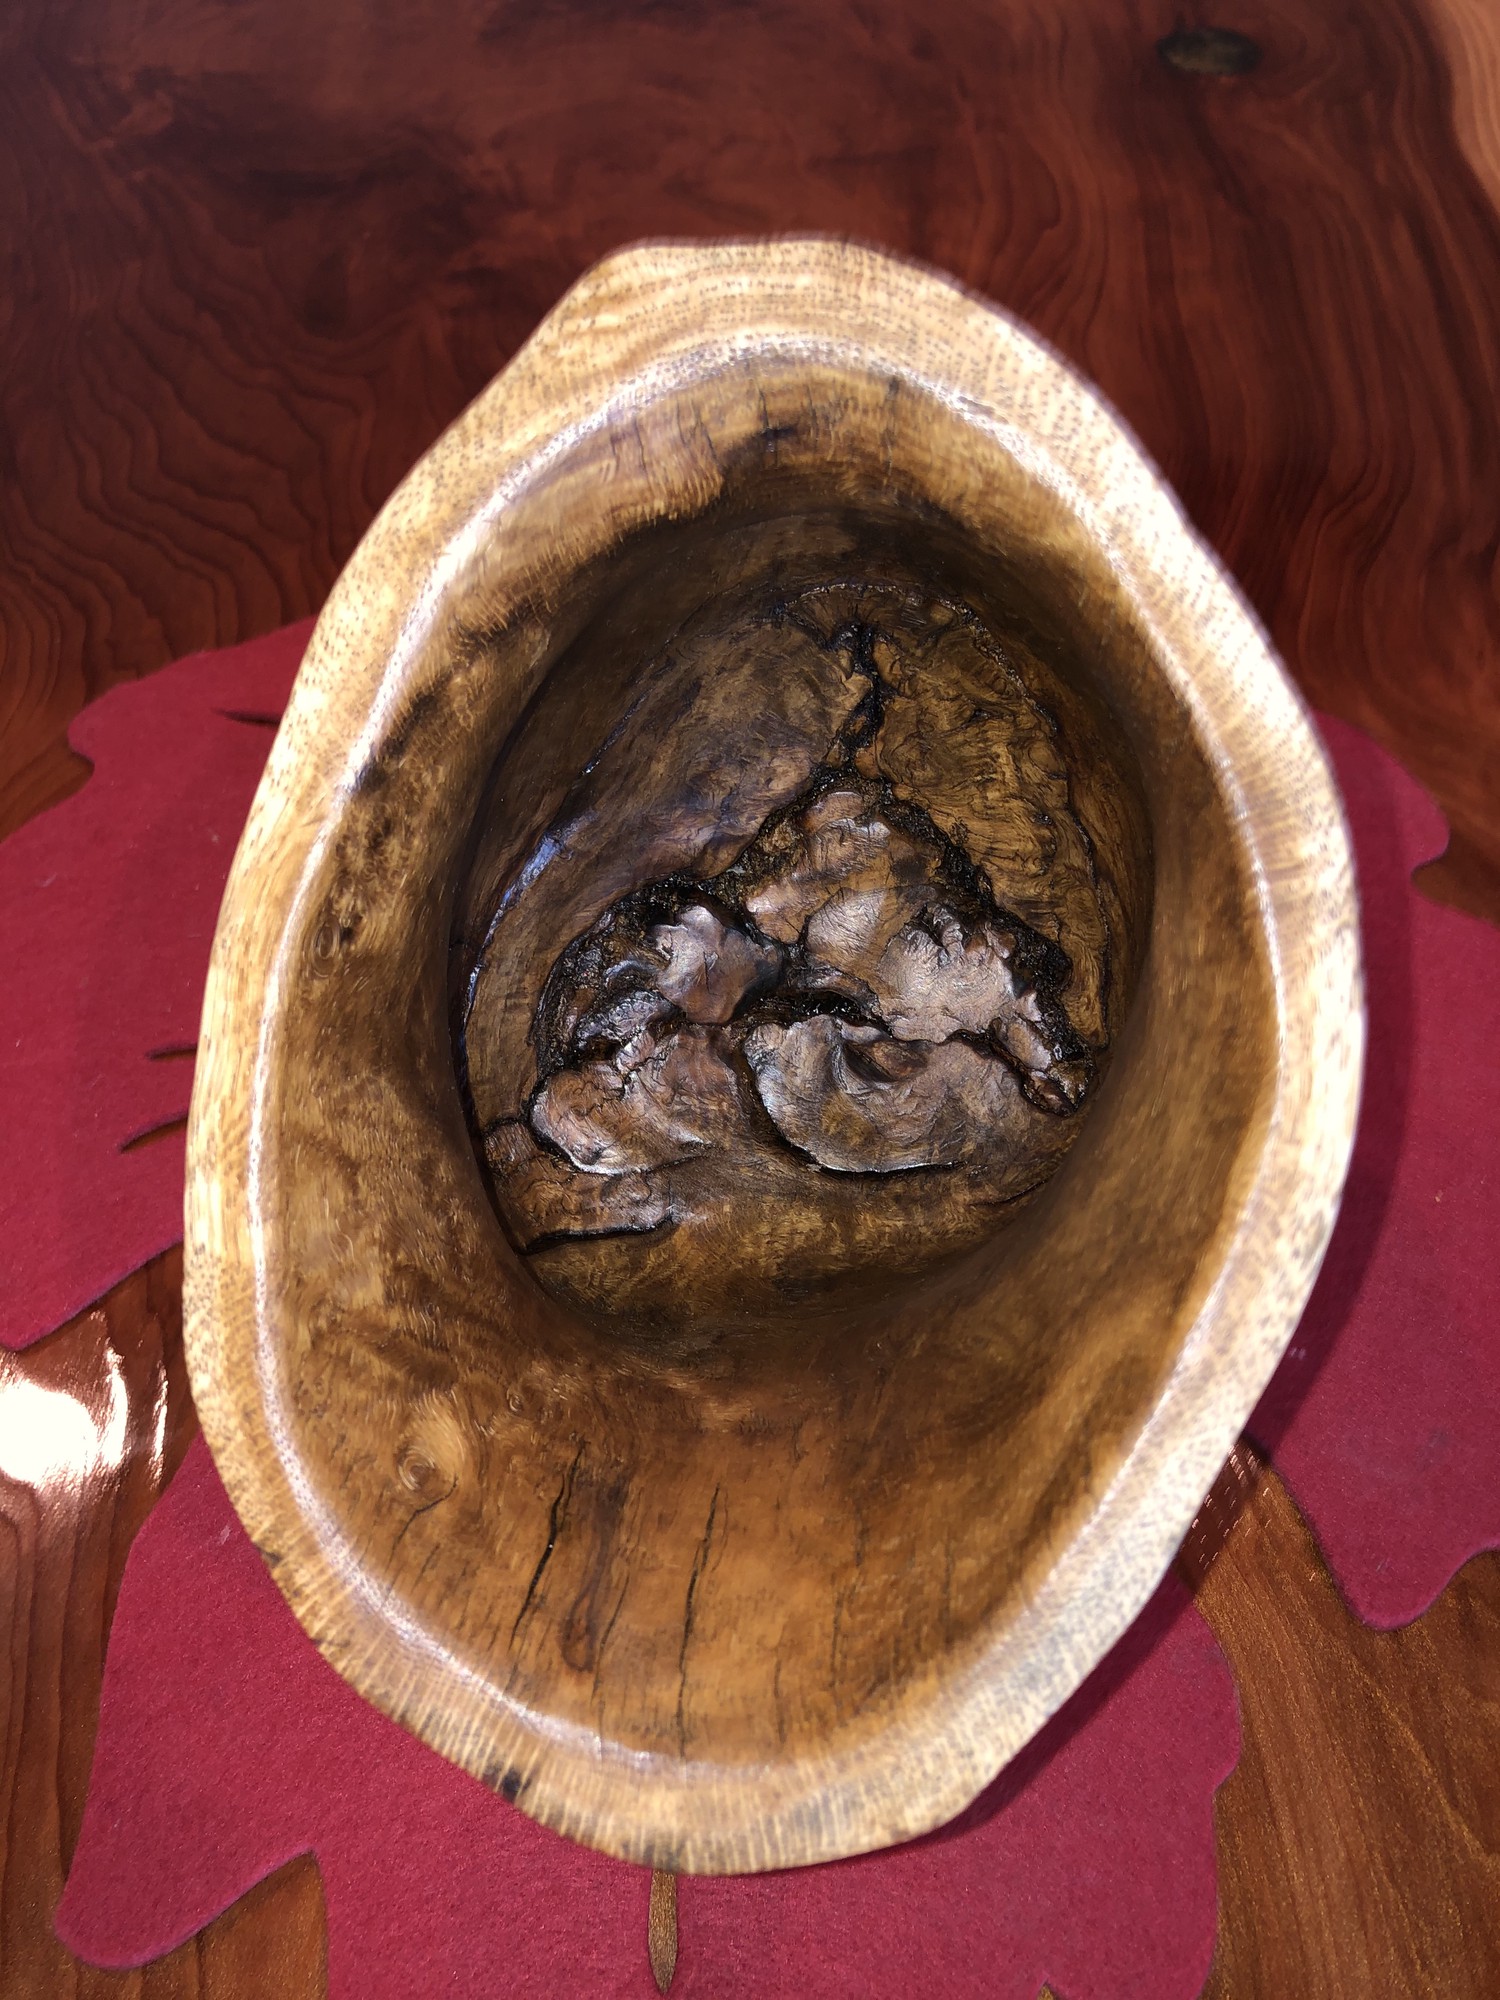

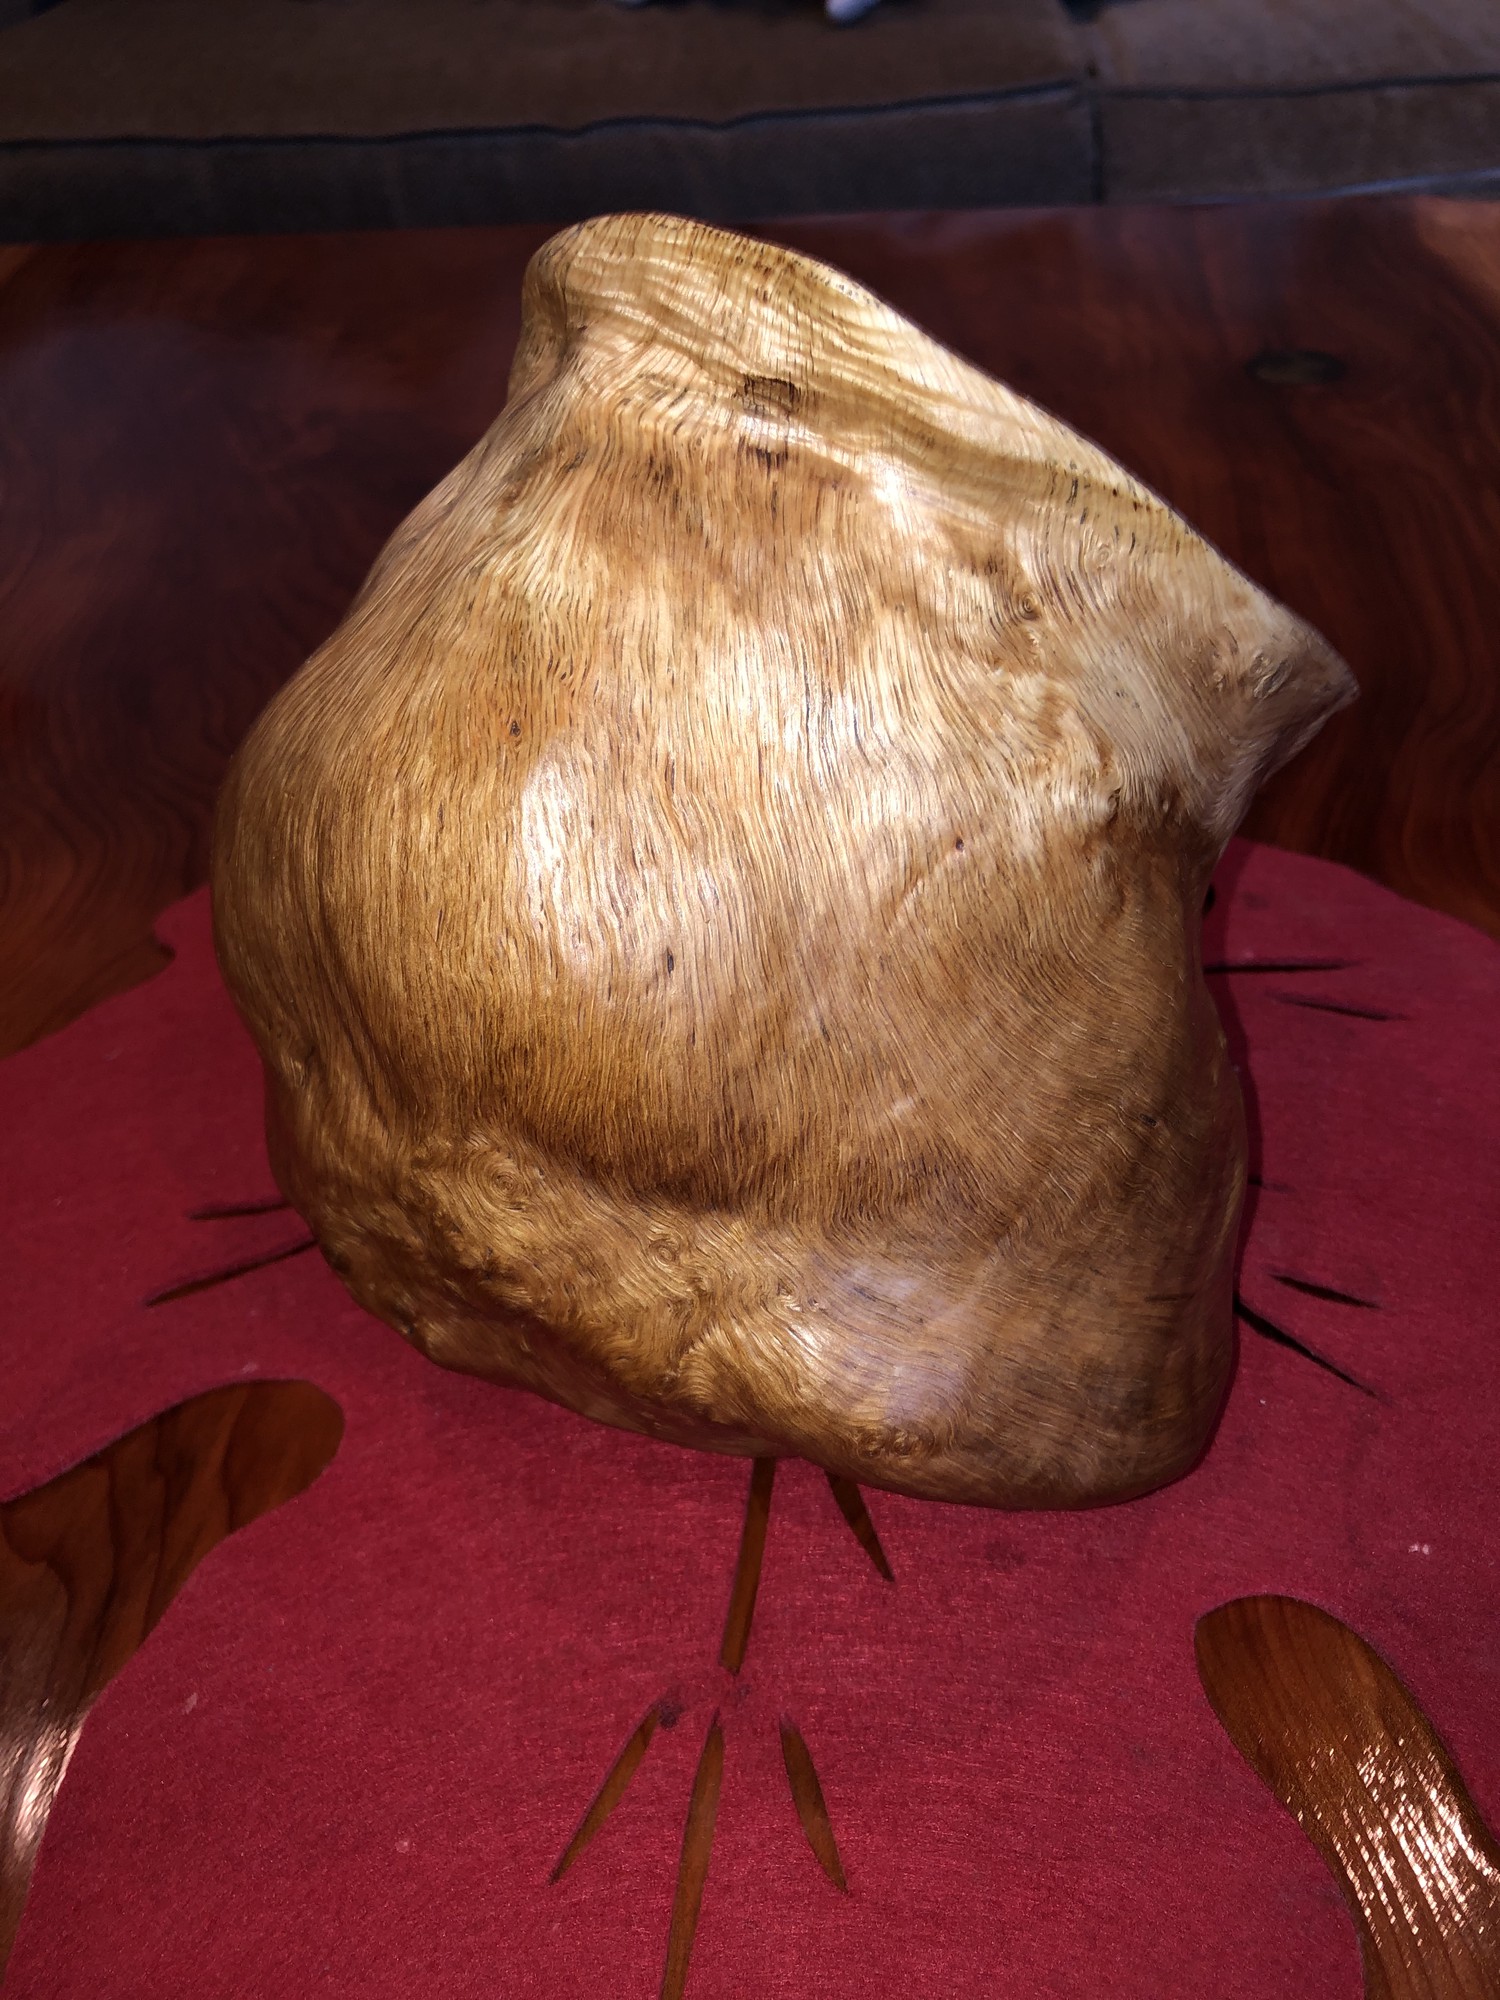
Cheers!
-
https://www.amazon.com/Nylon-Abrasive-Wheel-Brush-Shank/dp/B07QDRCBBT ↩︎
-
https://www.amazon.com/OrbiCut-Speed-Cutting-Tool-Plano/dp/B01N5YGI35 ↩︎
-
https://www.amazon.com/DEWALT-DAFE1H0810-3-Inch-1-Inch-4-Inch/dp/B003N9BT4Q/ref=sr_1_3?dchild=1&keywords=80+grit+dewalt+flap+wheel+sanding+drum&qid=1618952626&sr=8-3 ↩︎
-
https://www.amazon.com/gp/product/B075C72PGK/ref=ppx_yo_dt_b_asin_title_o00_s00?ie=UTF8&psc=1 ↩︎
-
https://www.amazon.com/Dico-50-3-Wheel-Assorted-Brushes/dp/B001F527SW/ref=sr_1_4?dchild=1&keywords=nylon+wheel&qid=1618946668&s=hi&sr=1-4 ↩︎
-
https://www.amazon.com/Dico-7200048-Medium-Nyalox-Wheel/dp/B002YDJU98/ref=psdc_2665581011_t1_B011ICDVJA?th=1 ↩︎
-
https://www.amazon.com/gp/product/B07K4Q24RH/ref=ppx_yo_dt_b_asin_title_o00_s00?ie=UTF8&psc=1 ↩︎
-
https://www.amazon.com/gp/product/B00CNEVTT2/ref=ppx_yo_dt_b_asin_title_o00_s00?ie=UTF8&psc=1 ↩︎
-
https://www.amazon.com/gp/product/B07GT96NDT/ref=ppx_yo_dt_b_asin_title_o00_s00?ie=UTF8&psc=1 ↩︎
-
https://www.amazon.com/gp/product/B00CNEV5P0/ref=ppx_yo_dt_b_asin_title_o00_s00?ie=UTF8&psc=1 ↩︎
-
https://www.amazon.com/gp/product/B0037MOAQS/ref=ppx_yo_dt_b_asin_title_o06_s00?ie=UTF8&psc=1 ↩︎