Wood Bowl

This is my fourth wood bowl!
Table of Contents
Overview
- Start: December 27, 2019
- End: June 7, 2020
- Wood Species: Jack Pine
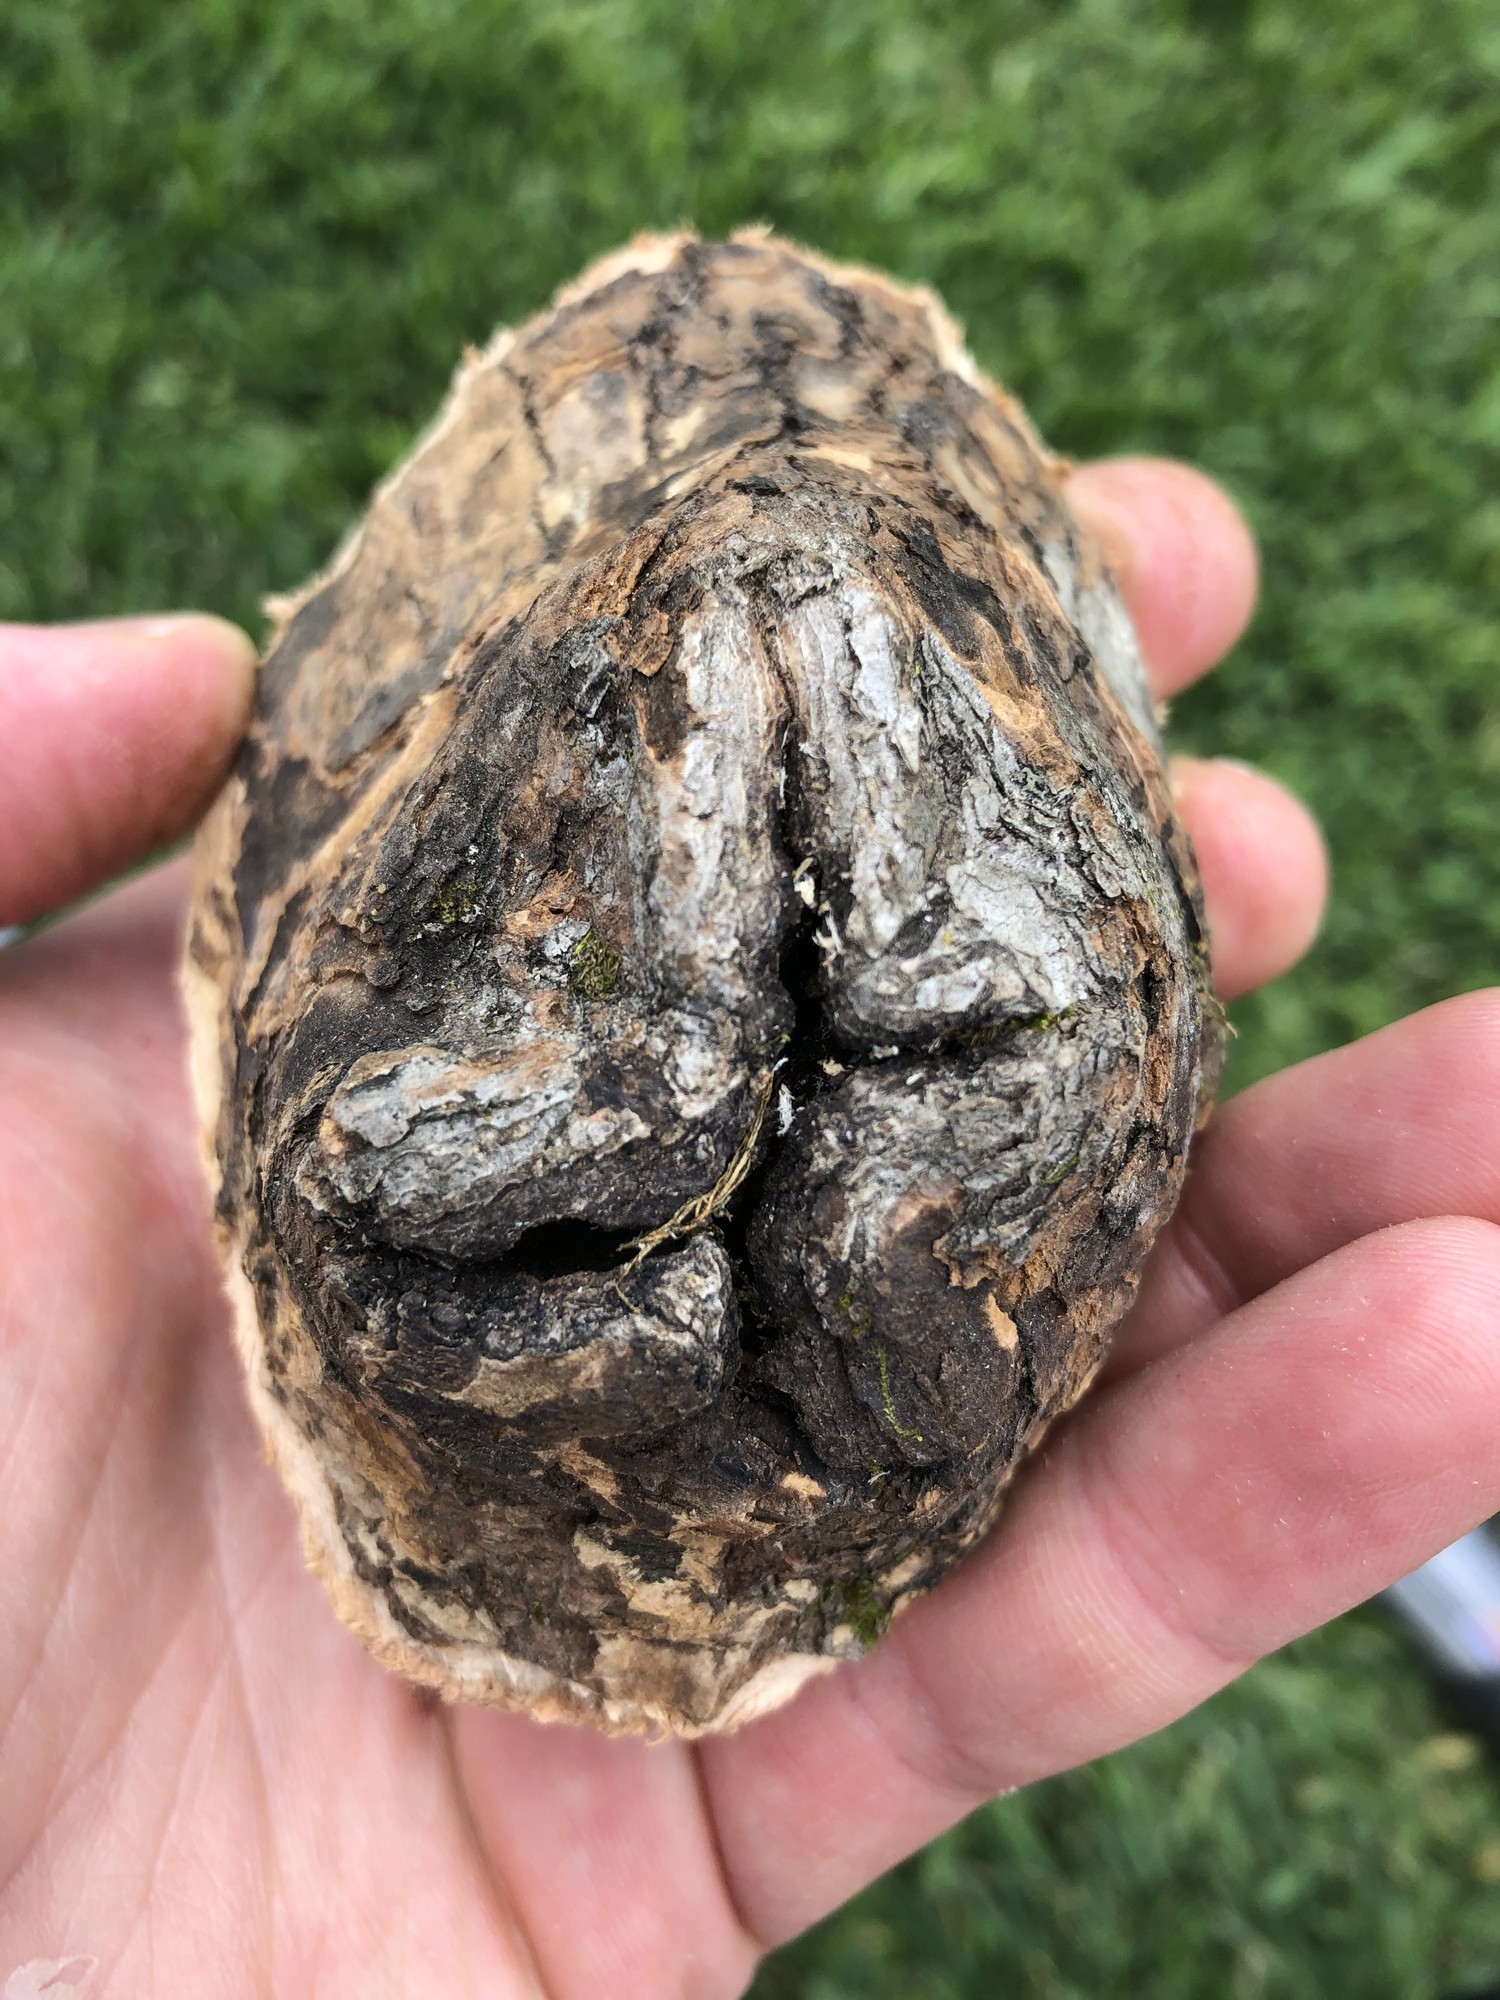
The burl for this bowl was collected at the same time and general location as the burl for a separate bowl project while in Minnesota. It was extracted and completed in the same manner as that burl/bowl.
Bark Removal
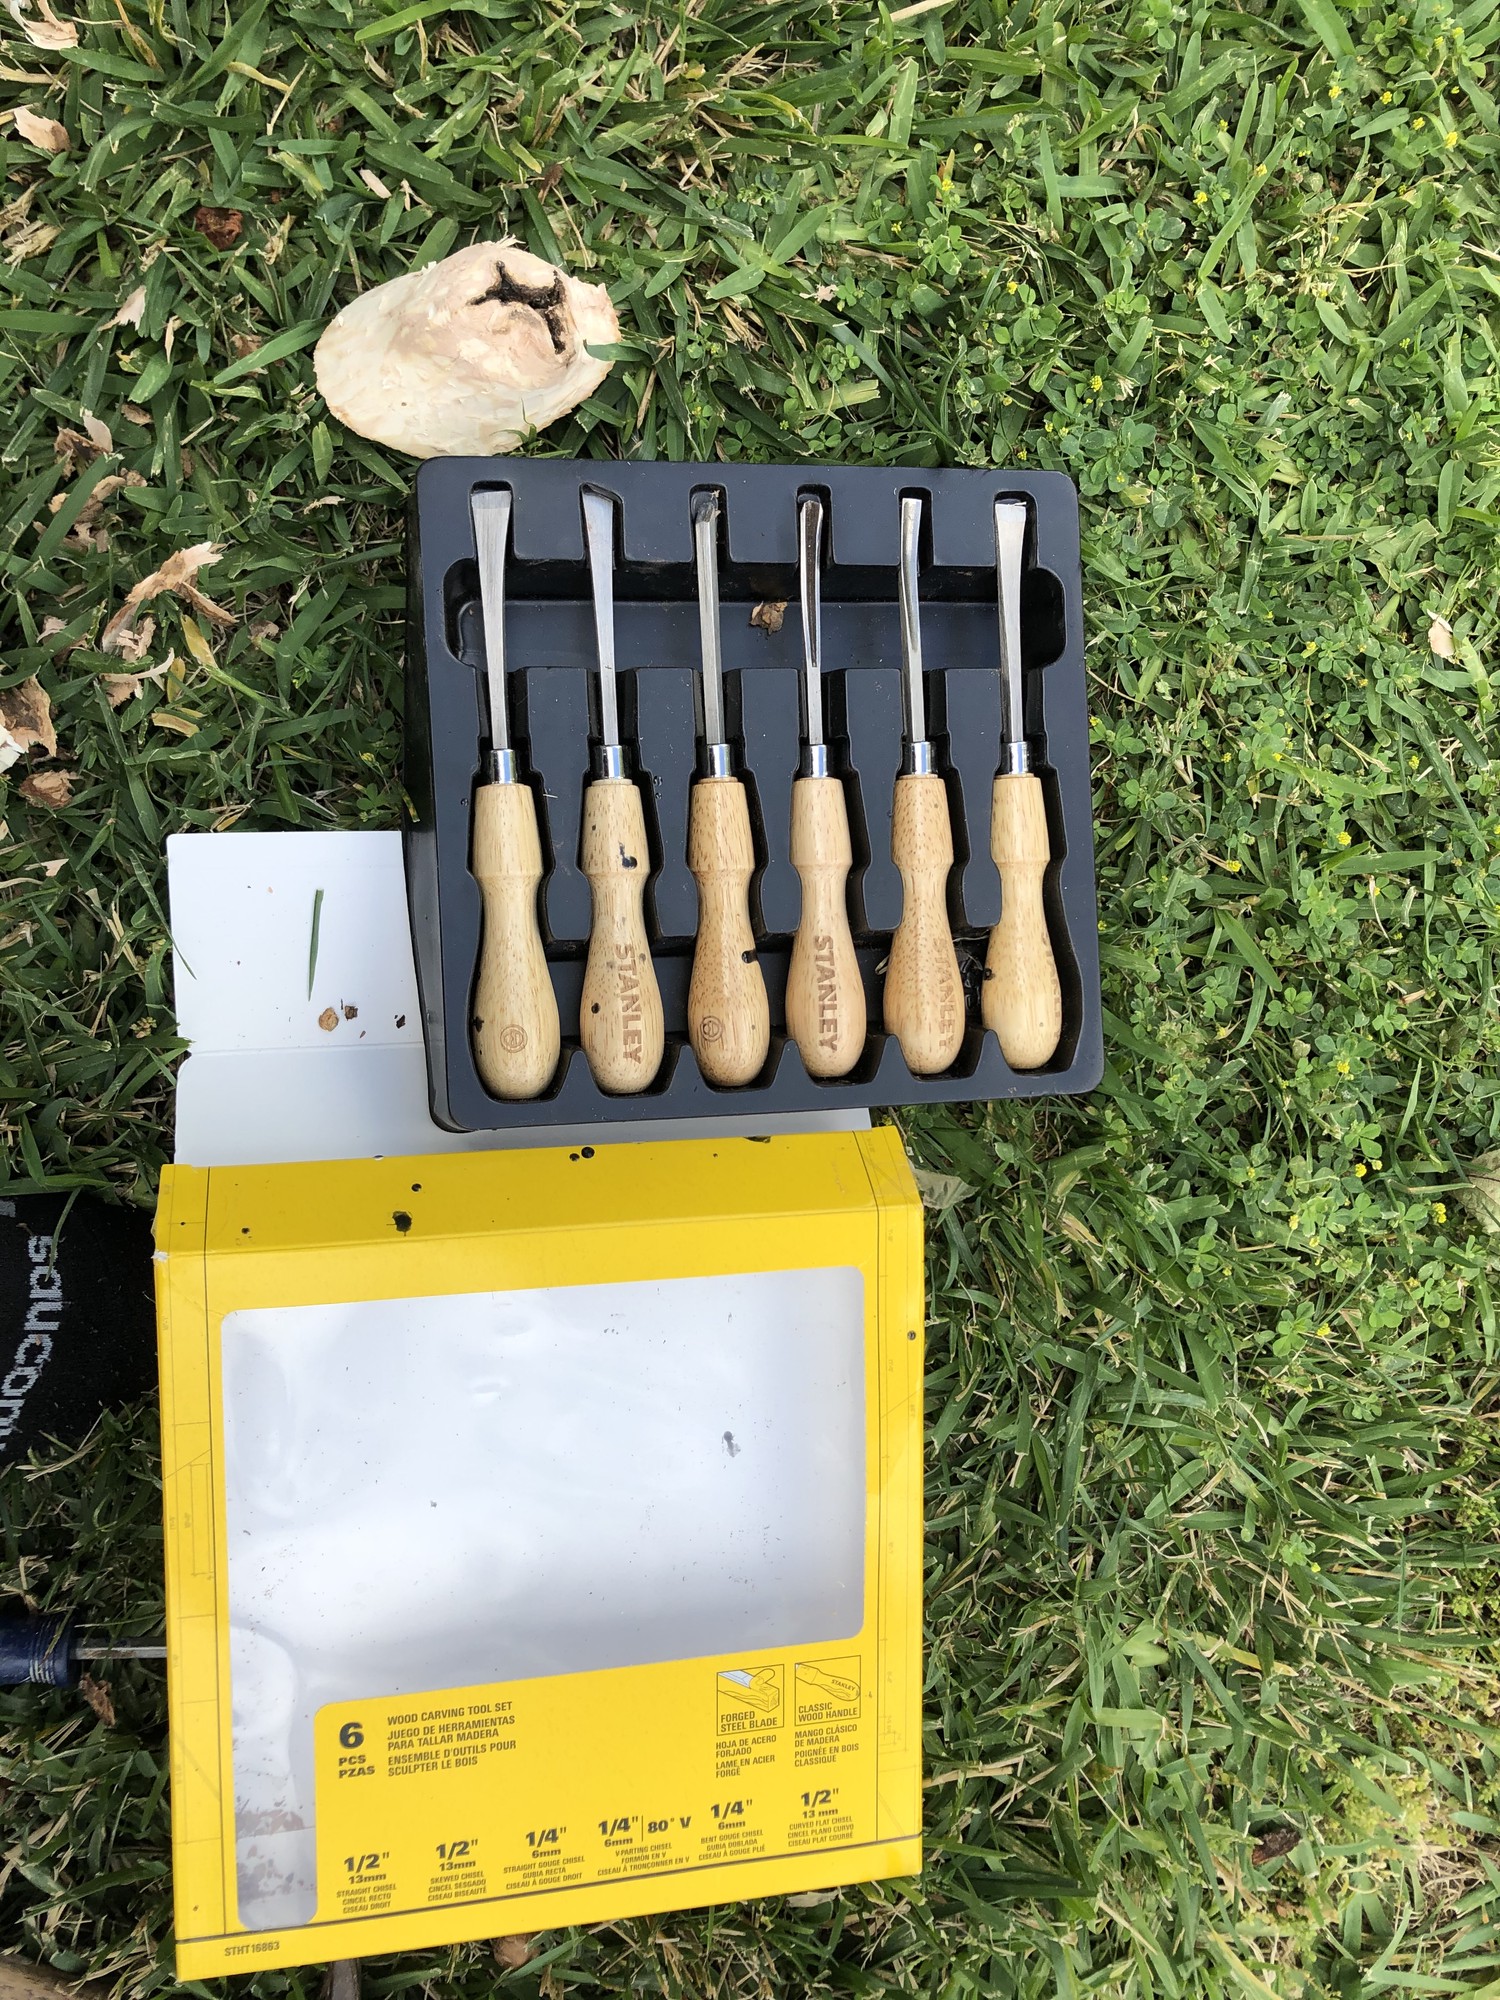
My first step was to remove the bark from the burl. Because I allowed the burl to dry with the bark attached, removing the bark was difficult. I had to progressively move from using a wood carving set1 and finer and finer sanding paper until I felt comfortable with the amount of bark removed.
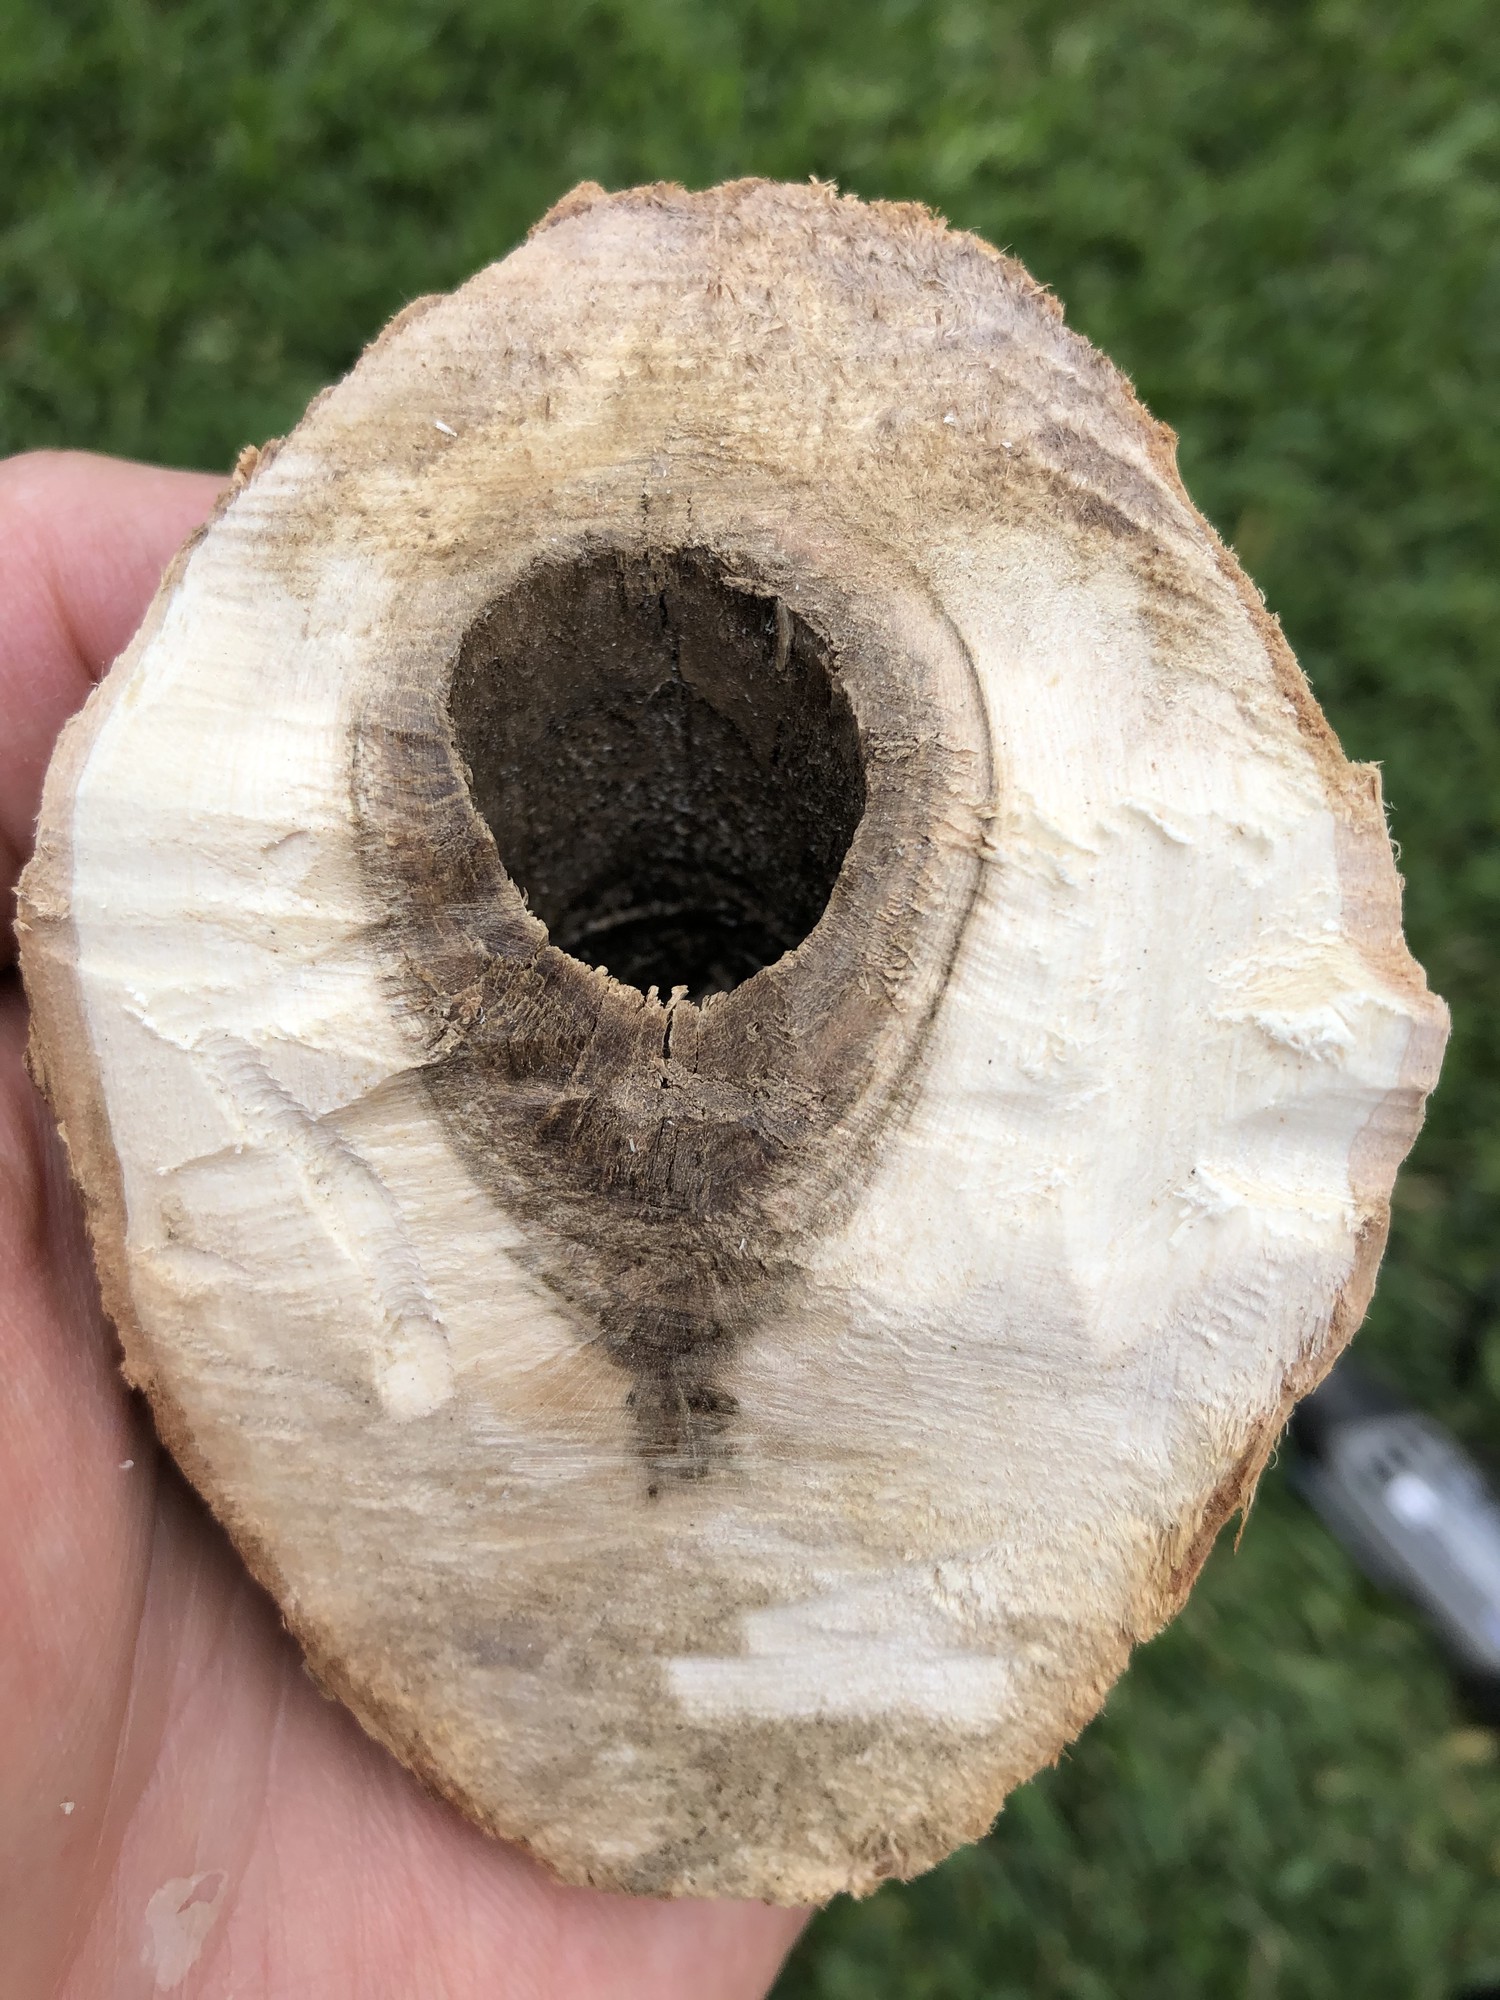
Carving
Next, I needed to find a way to safely and accurately remove any remaining bulk wood from the bowl and to evenly hollow it out.
Precise control here was critical because penetrating through the bowl edge was a non-starter.
I considered my dremel a prime tool for this task.
After experience on my
first burl bowl and inline with the
previously mentioned bowl, I used course-grain sanding drums2 and a diamond wheel from Home Depot3.
This task was tedious and required complete focus so as to avoid penetrating too deep through the wood.
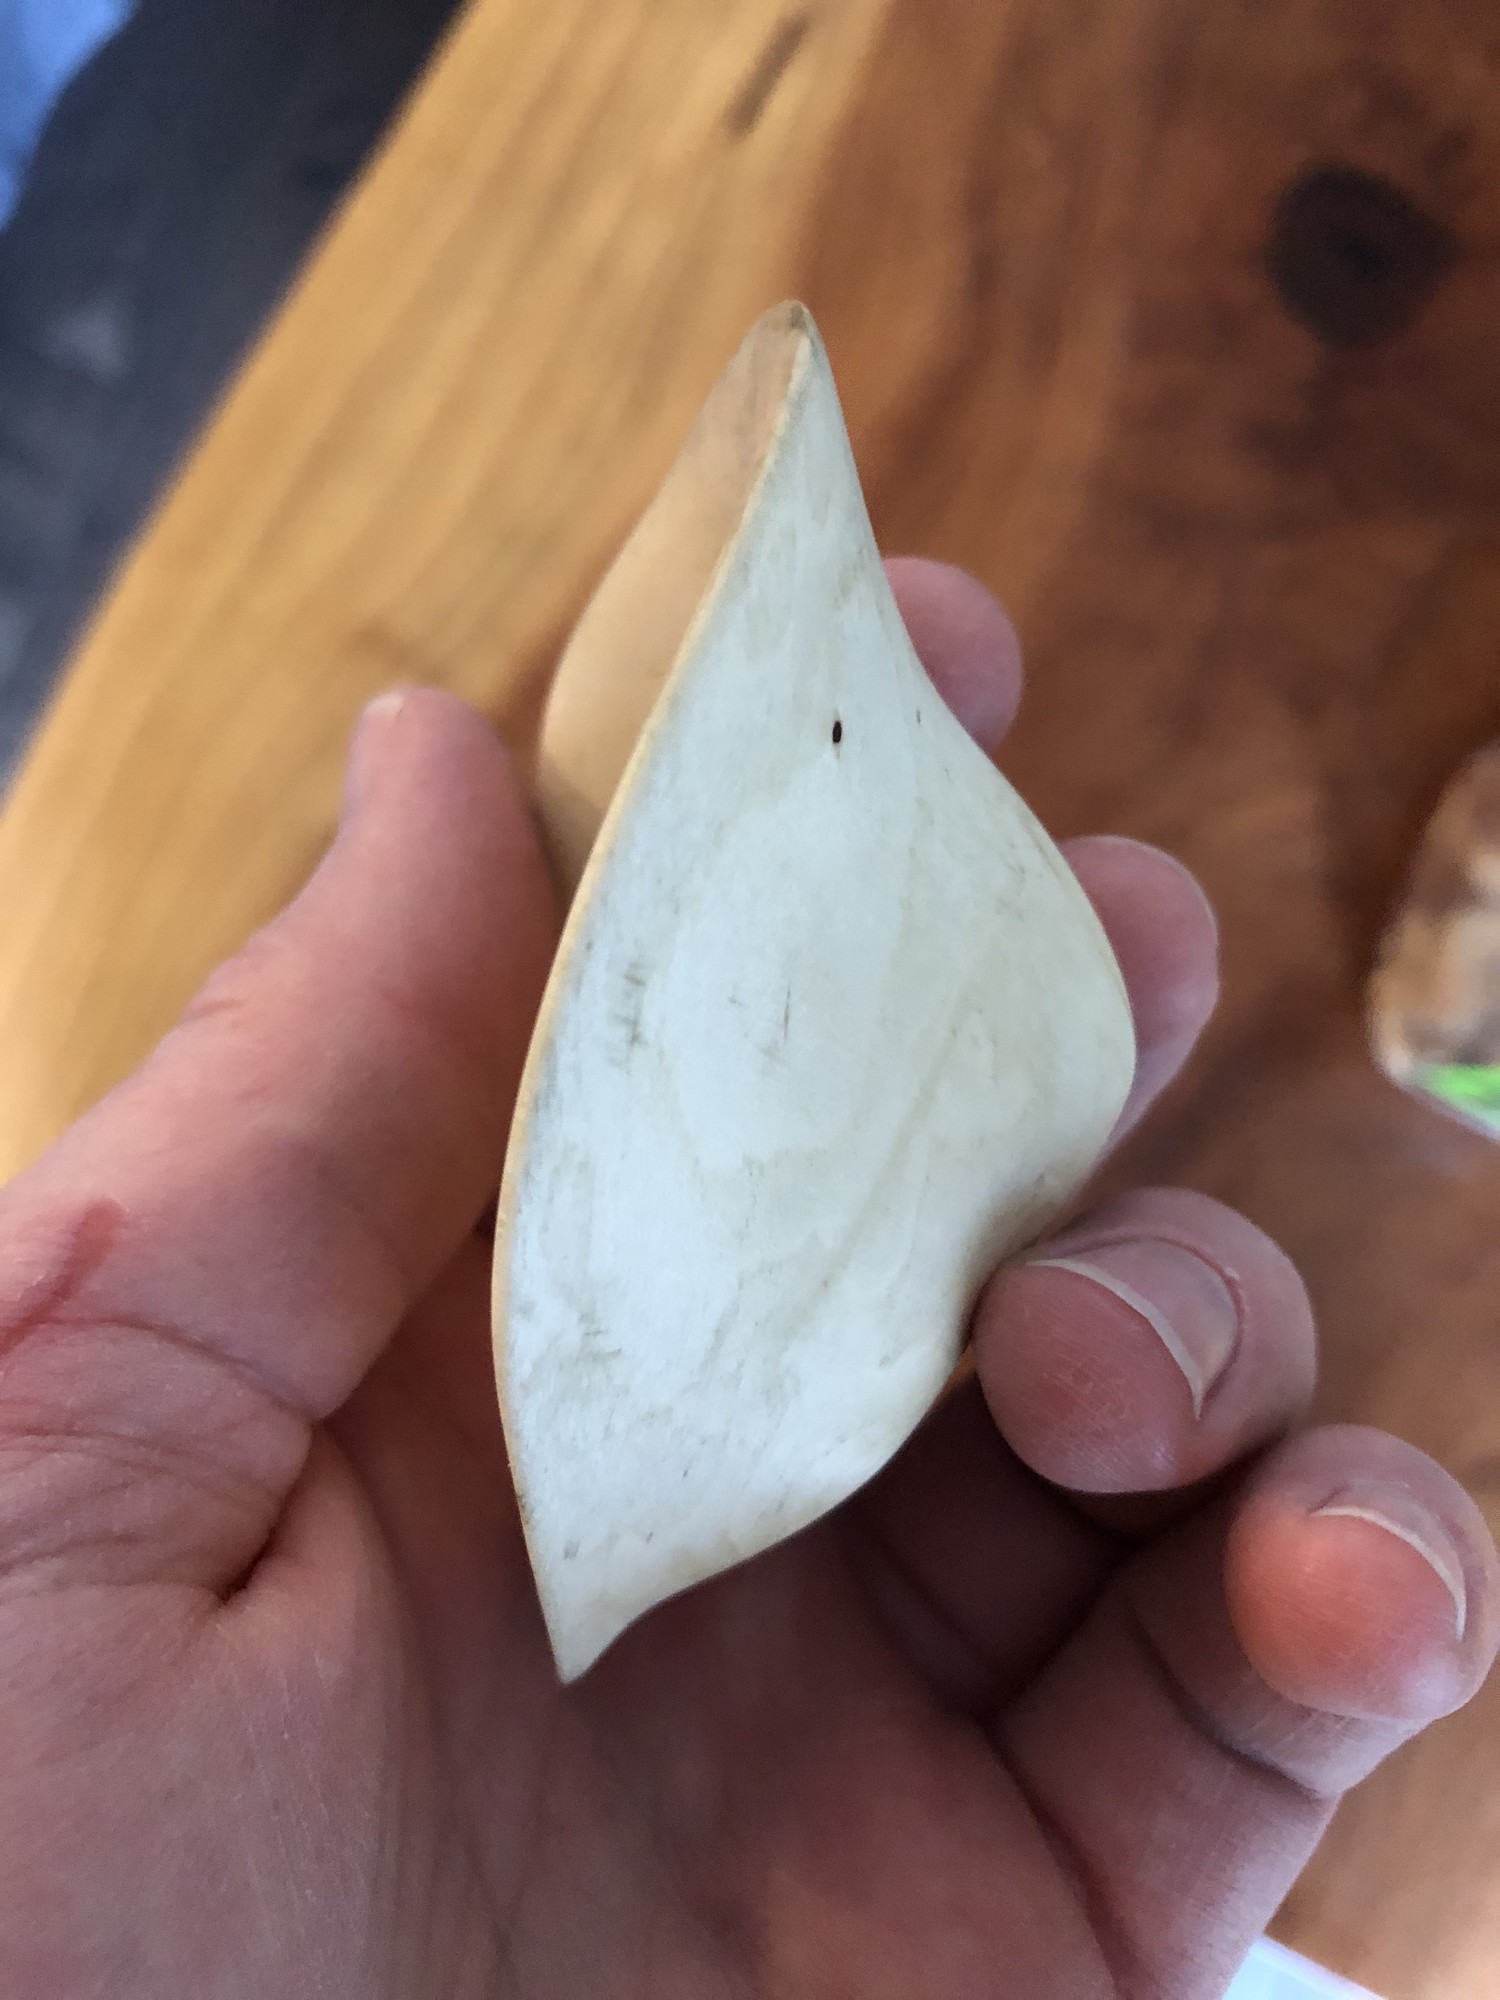
This burl is very small and as such, its small recesses were difficult to evenly extract material from.
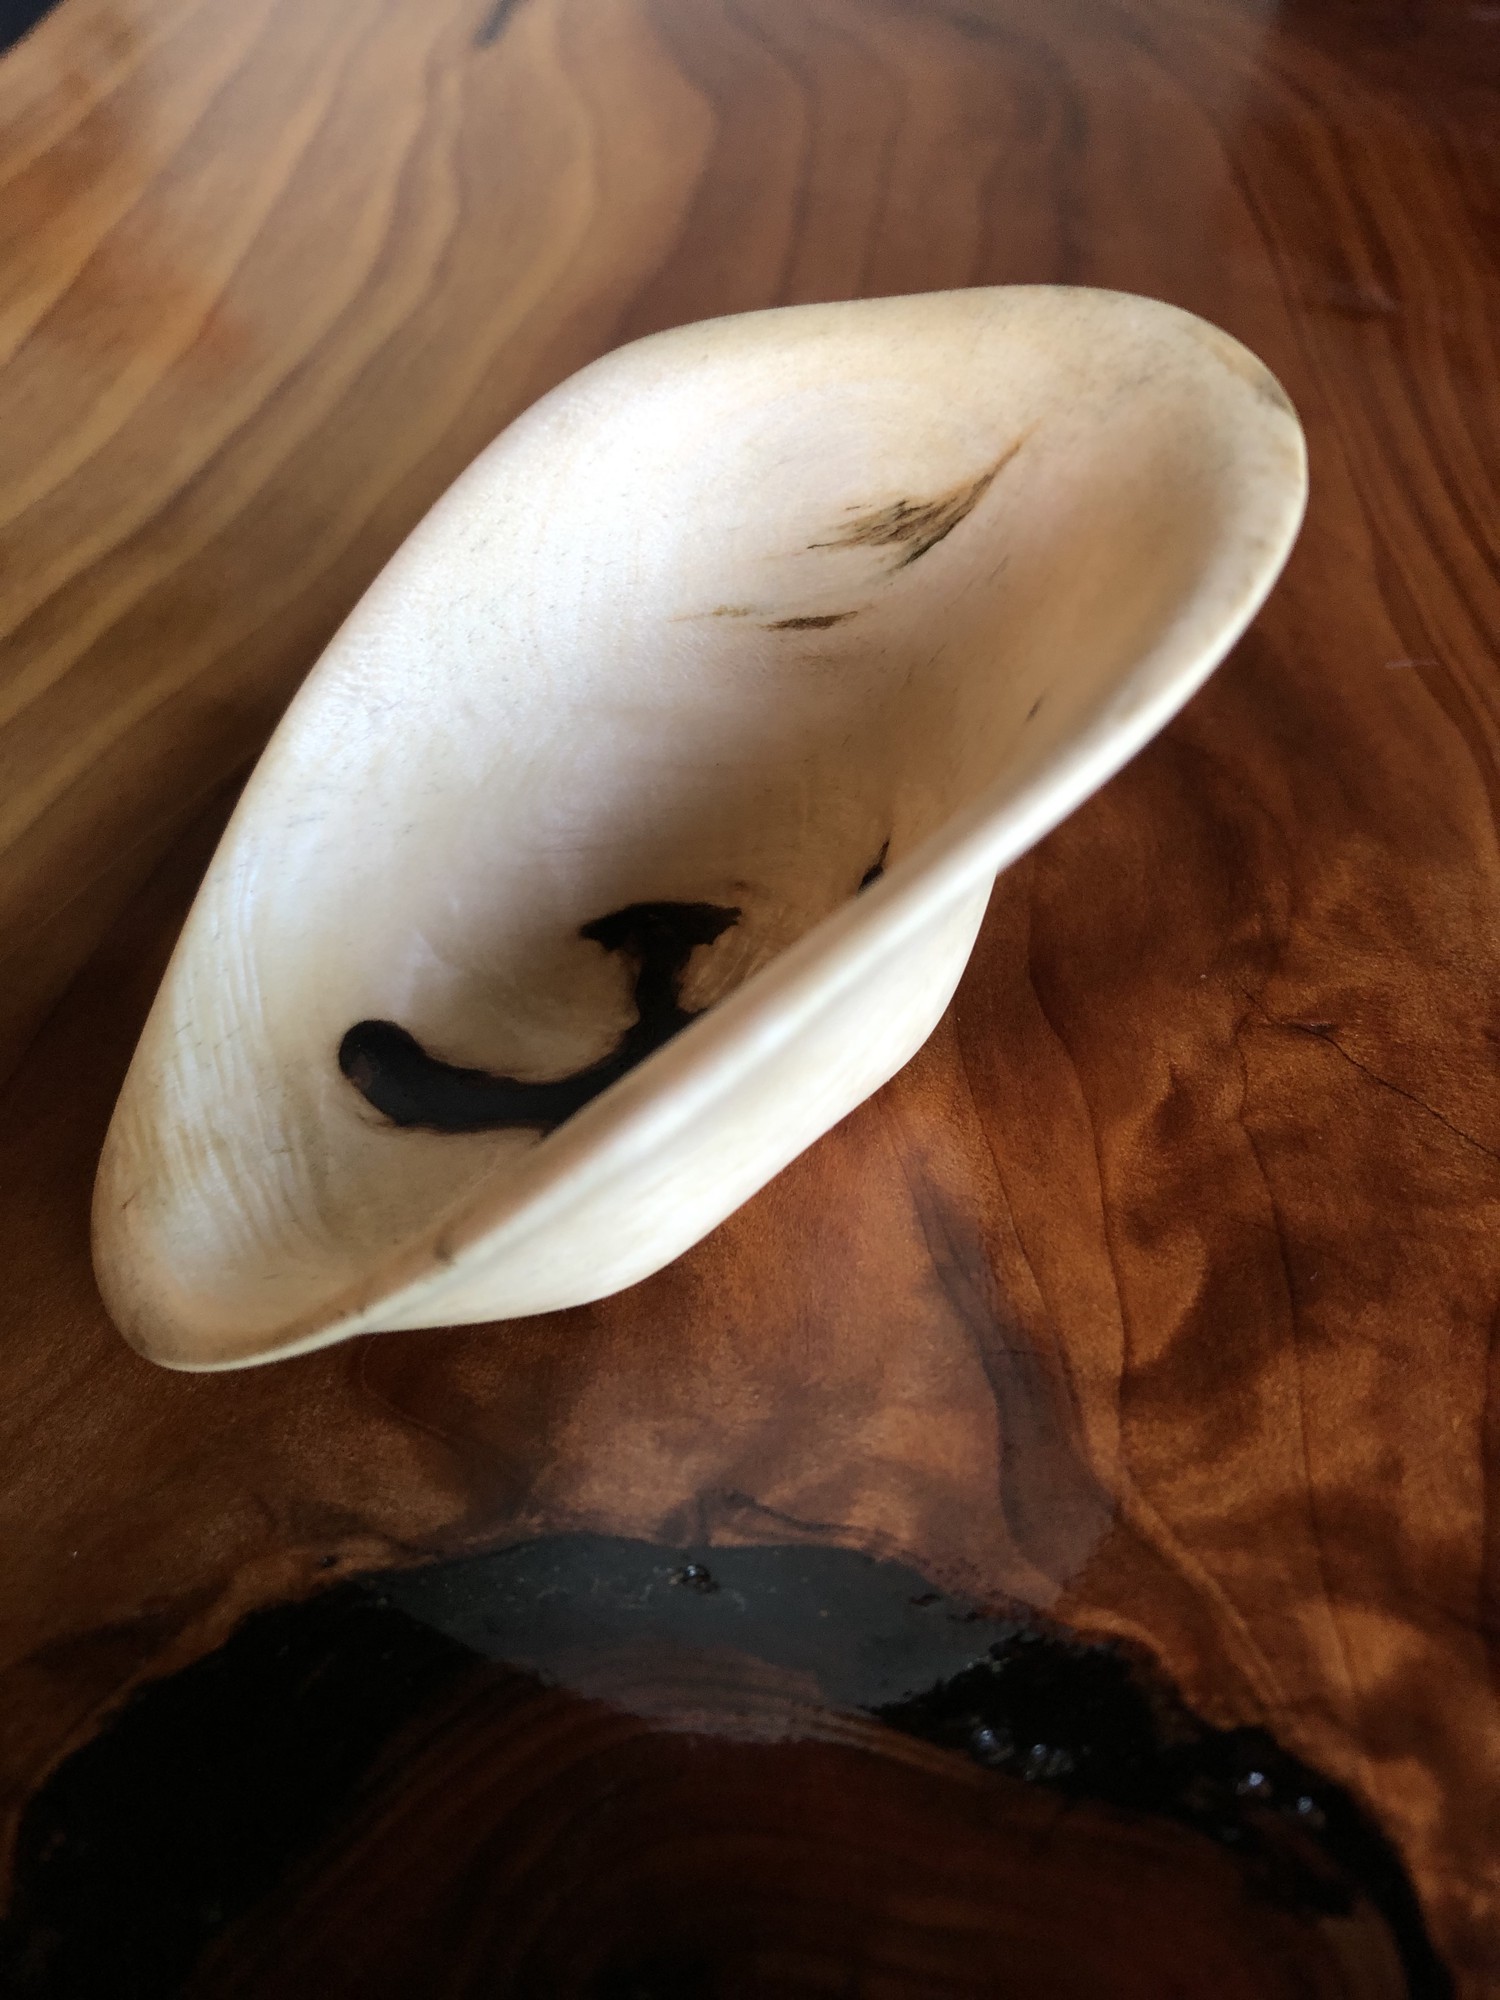
Unfortunately, the shape of the bowl was irregular enough that I couldn’t remove material in a way as to allow the bowl’s center of mass to be positioned such that it is balanced when rested on its bottom.
This step took ~4hrs.
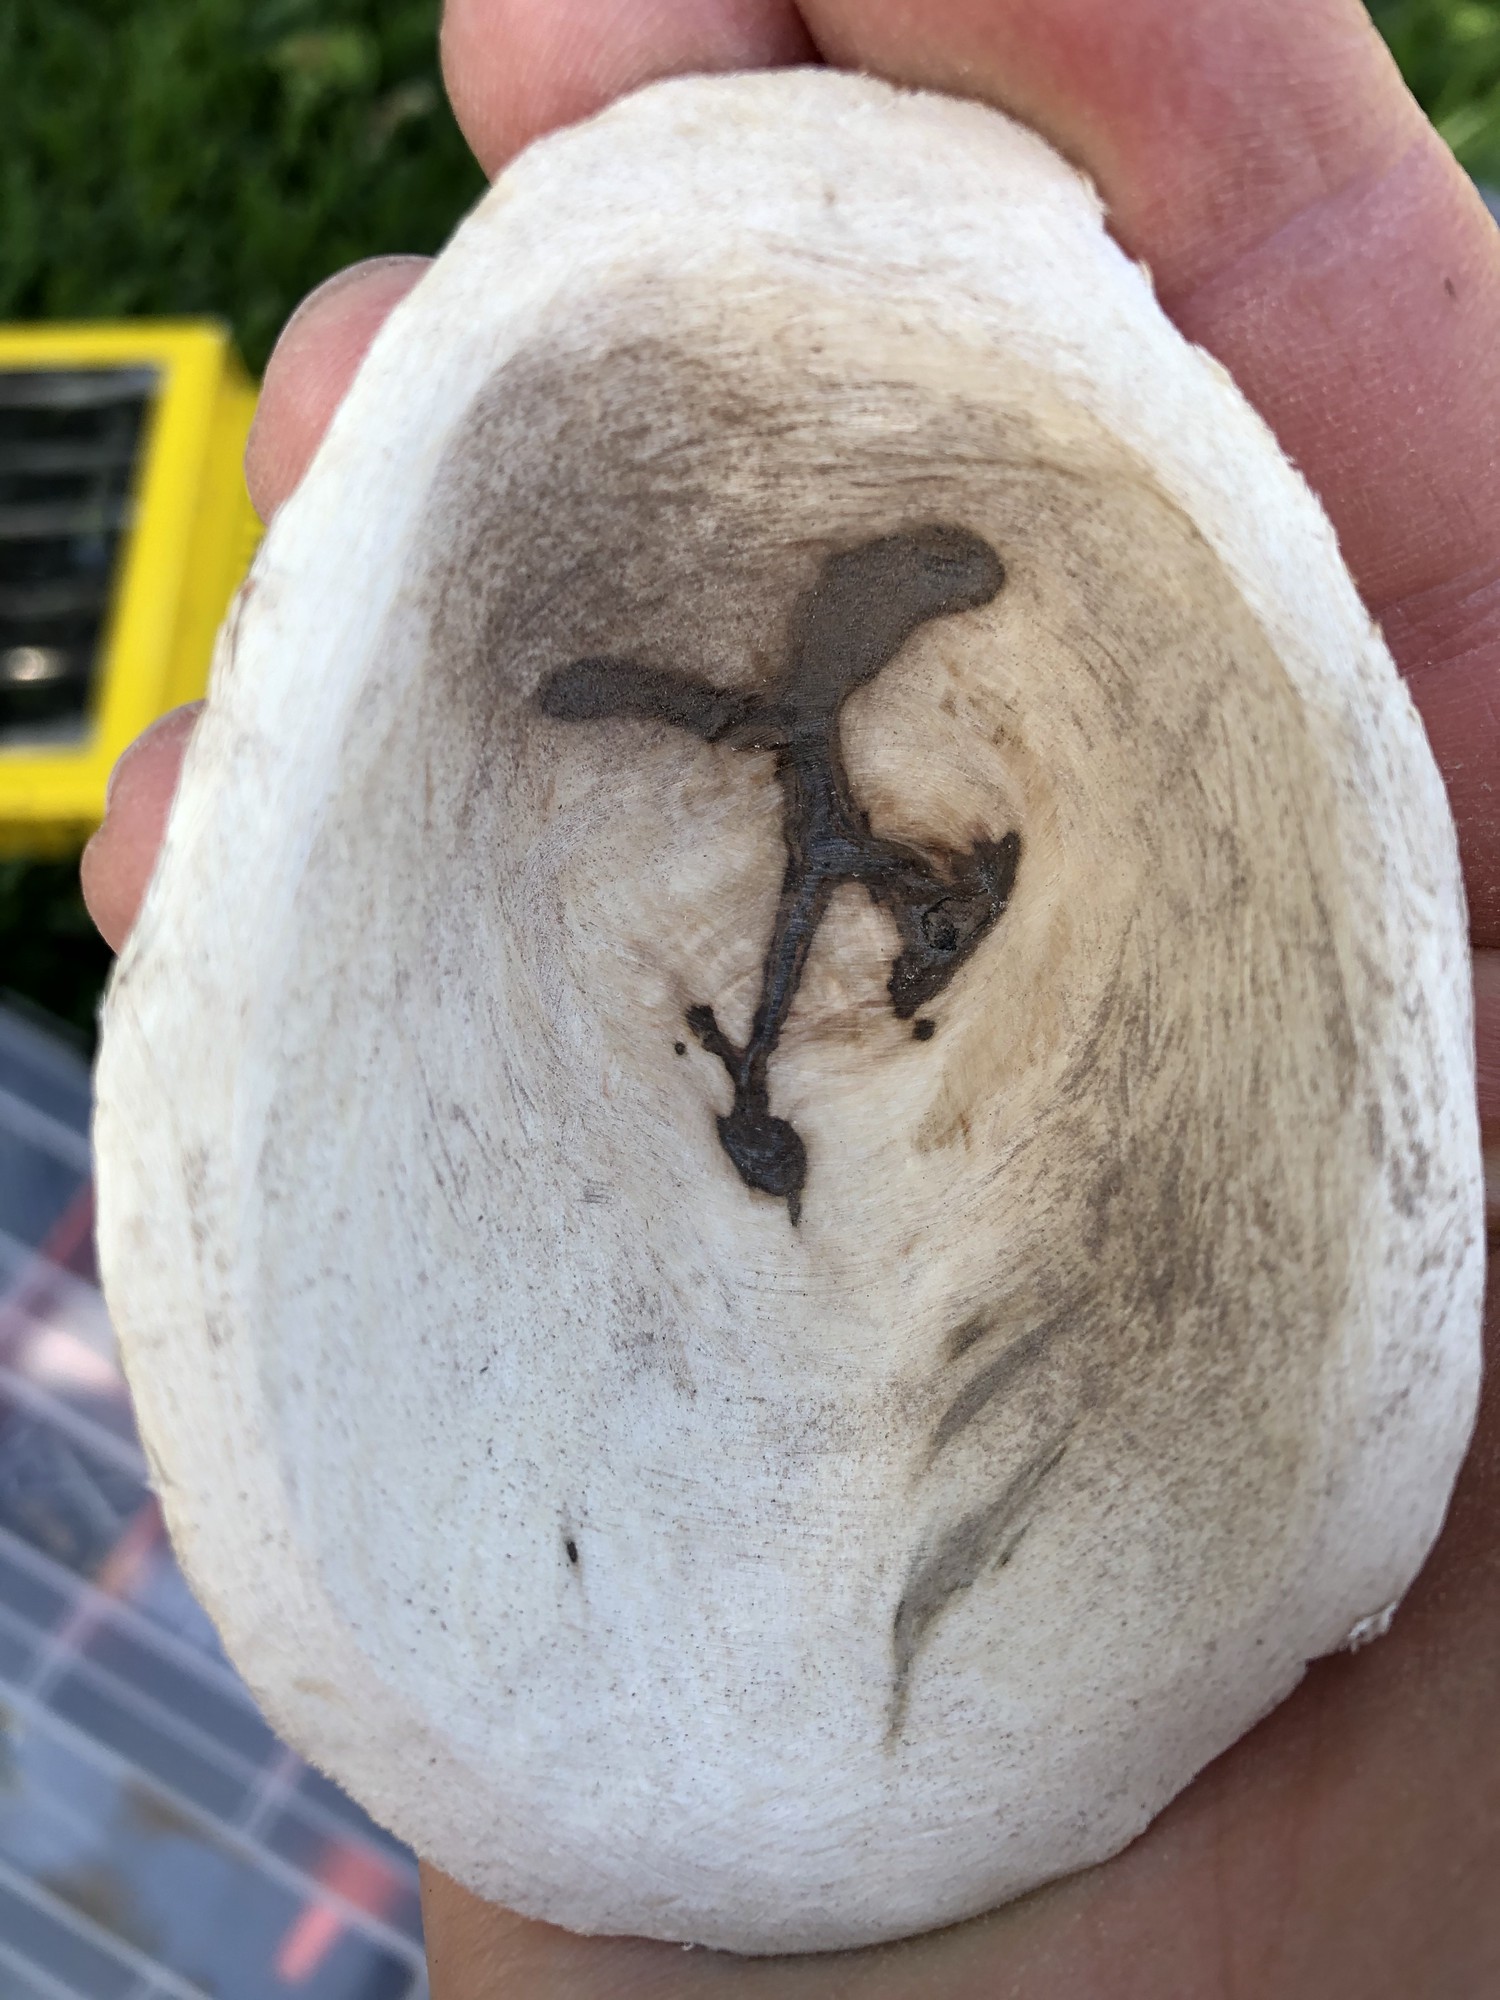
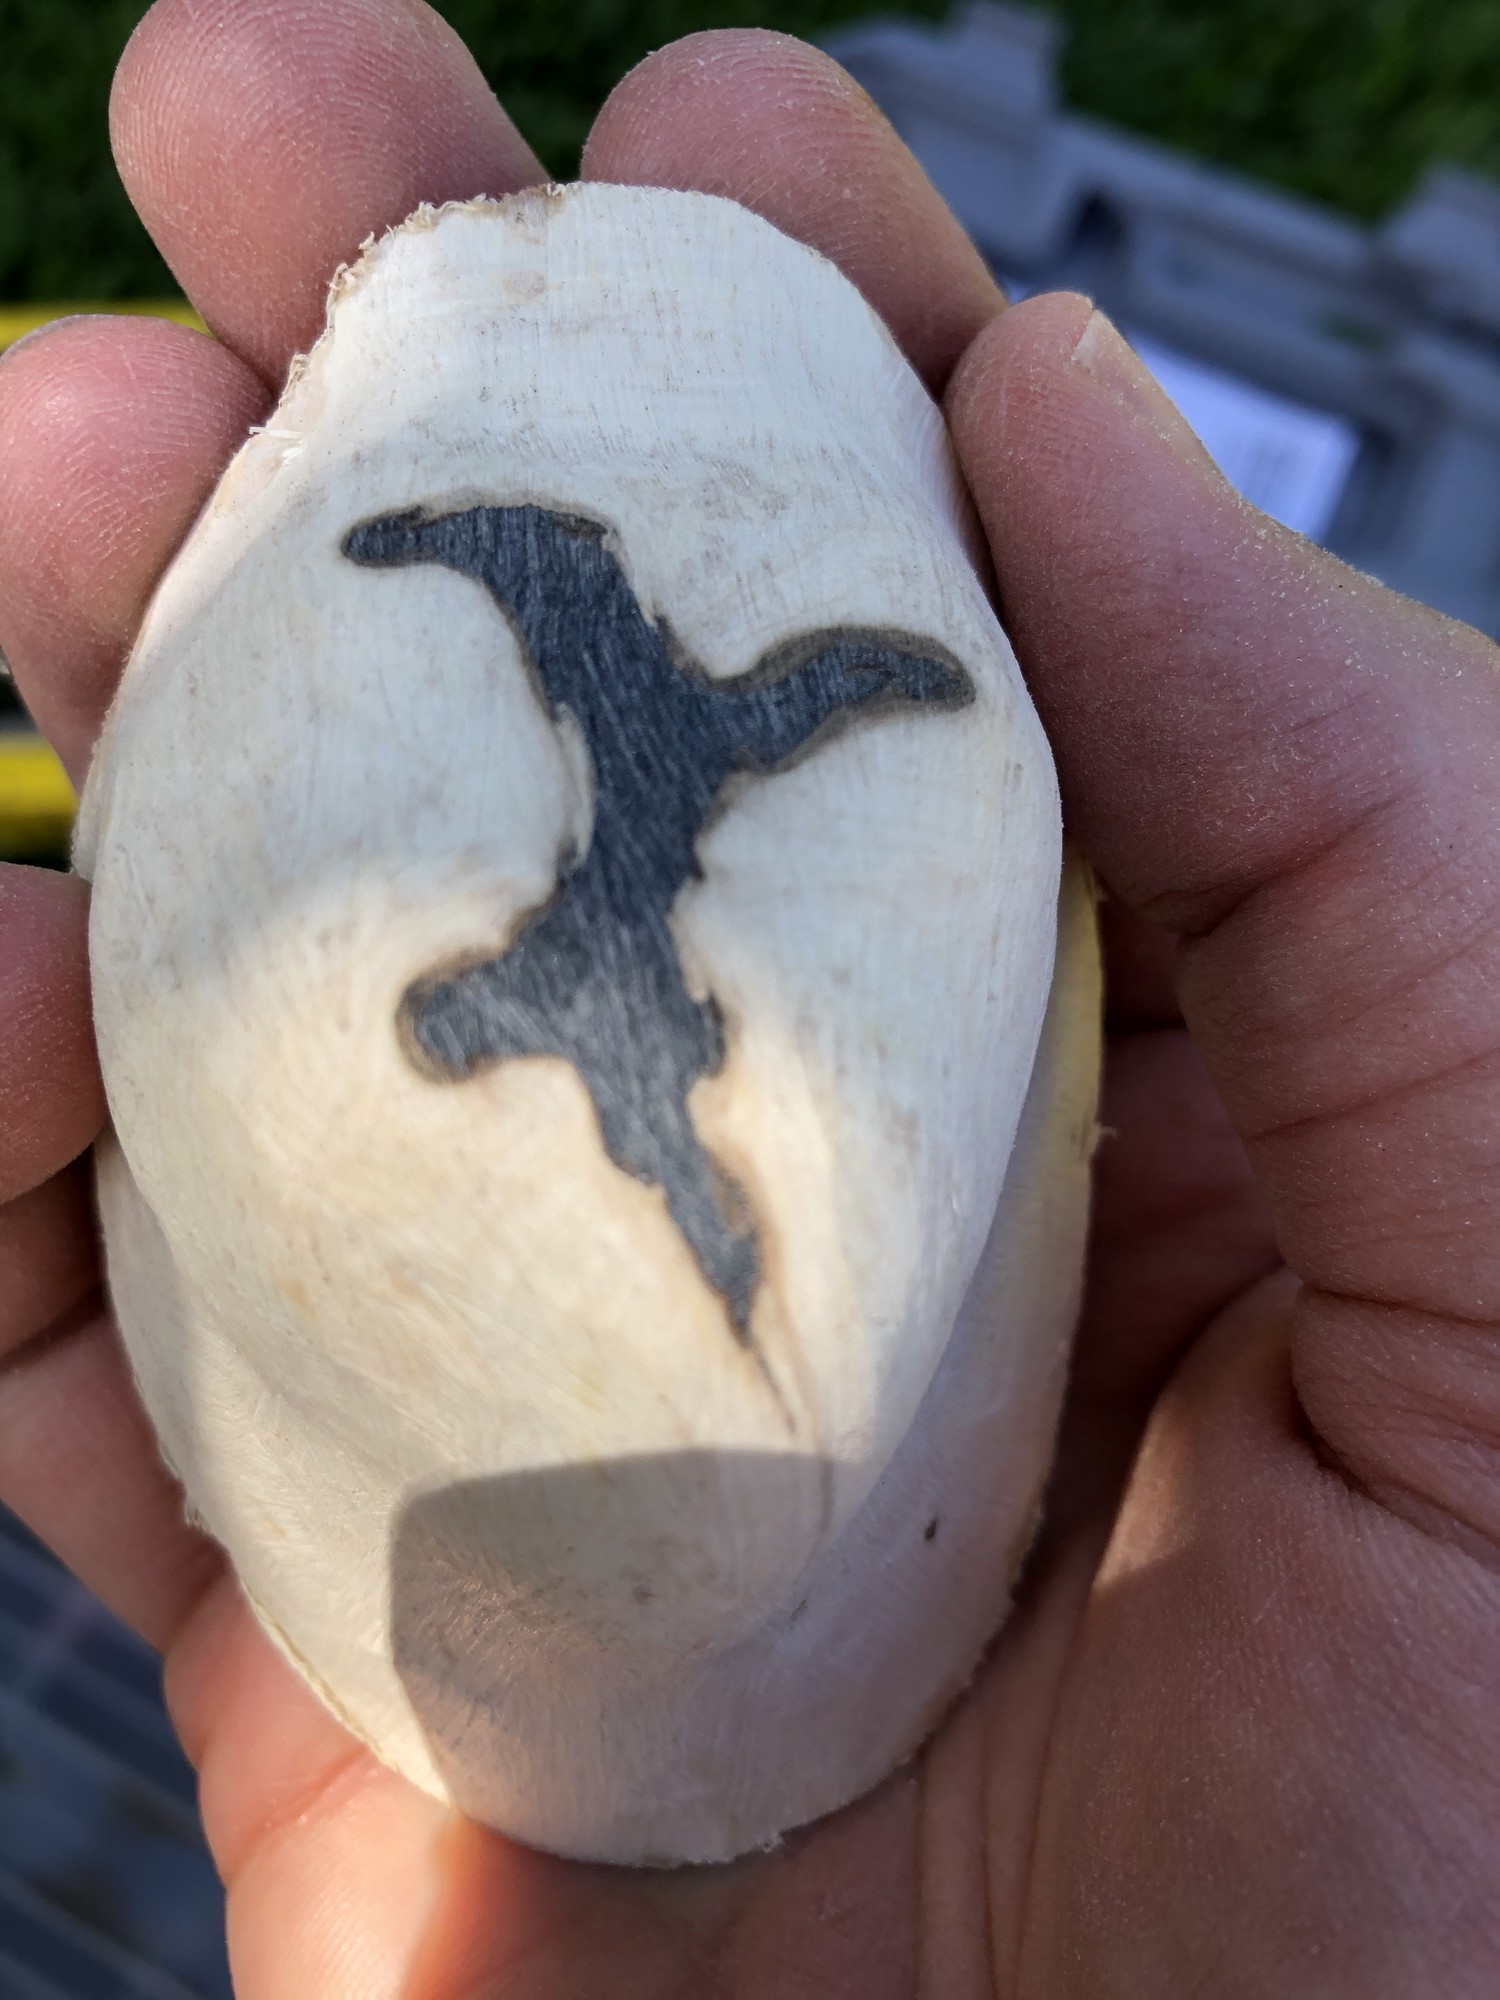
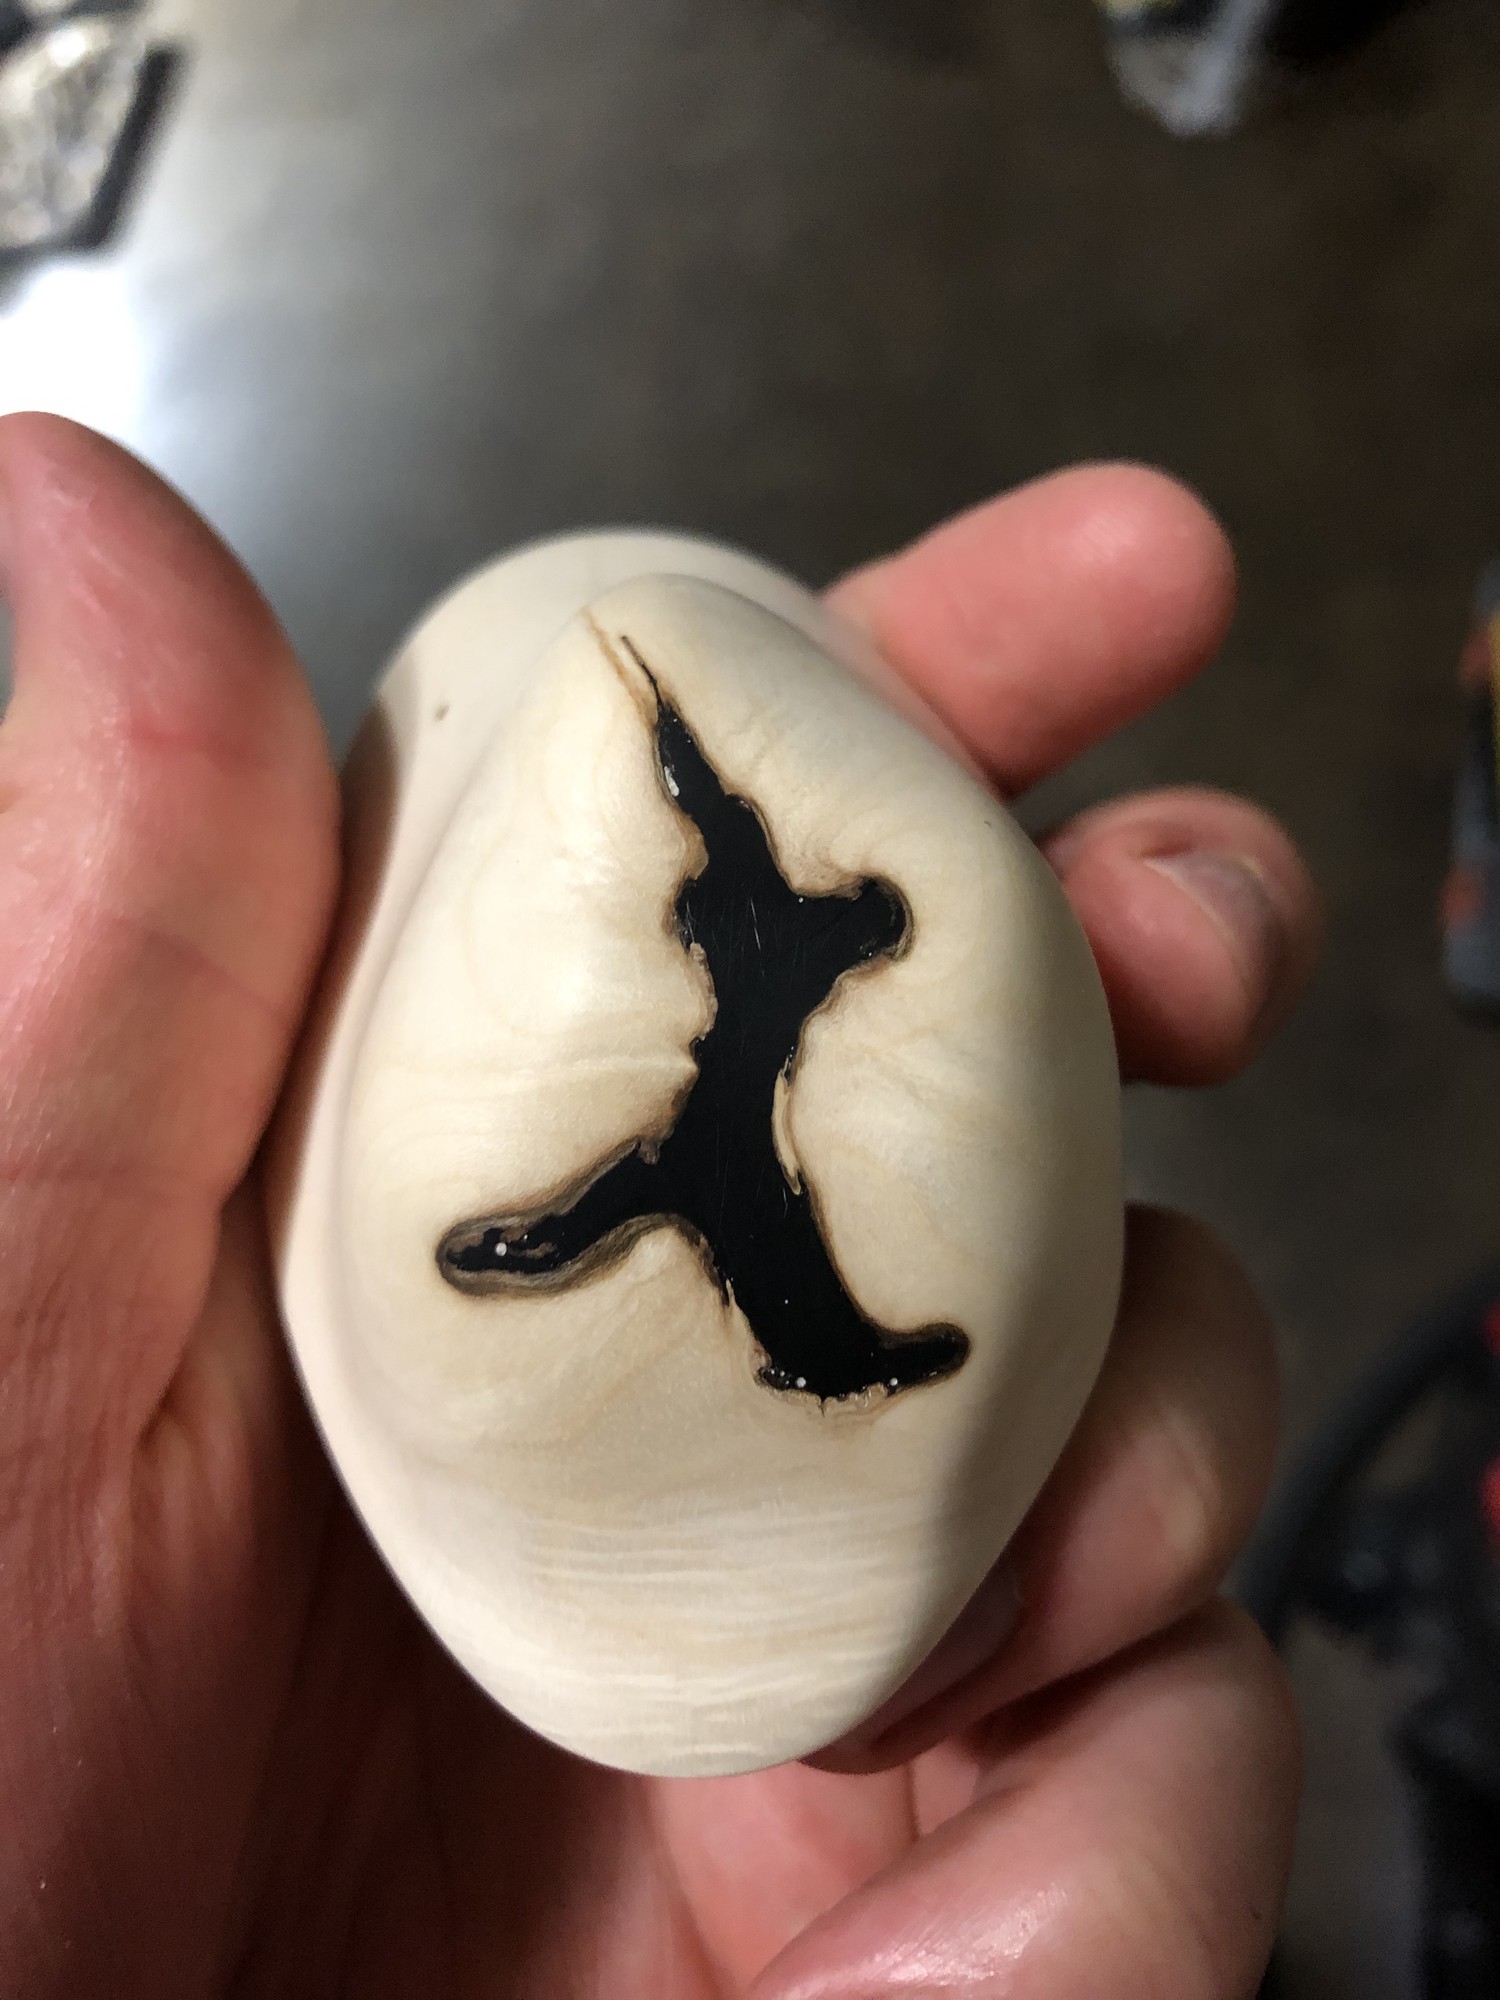
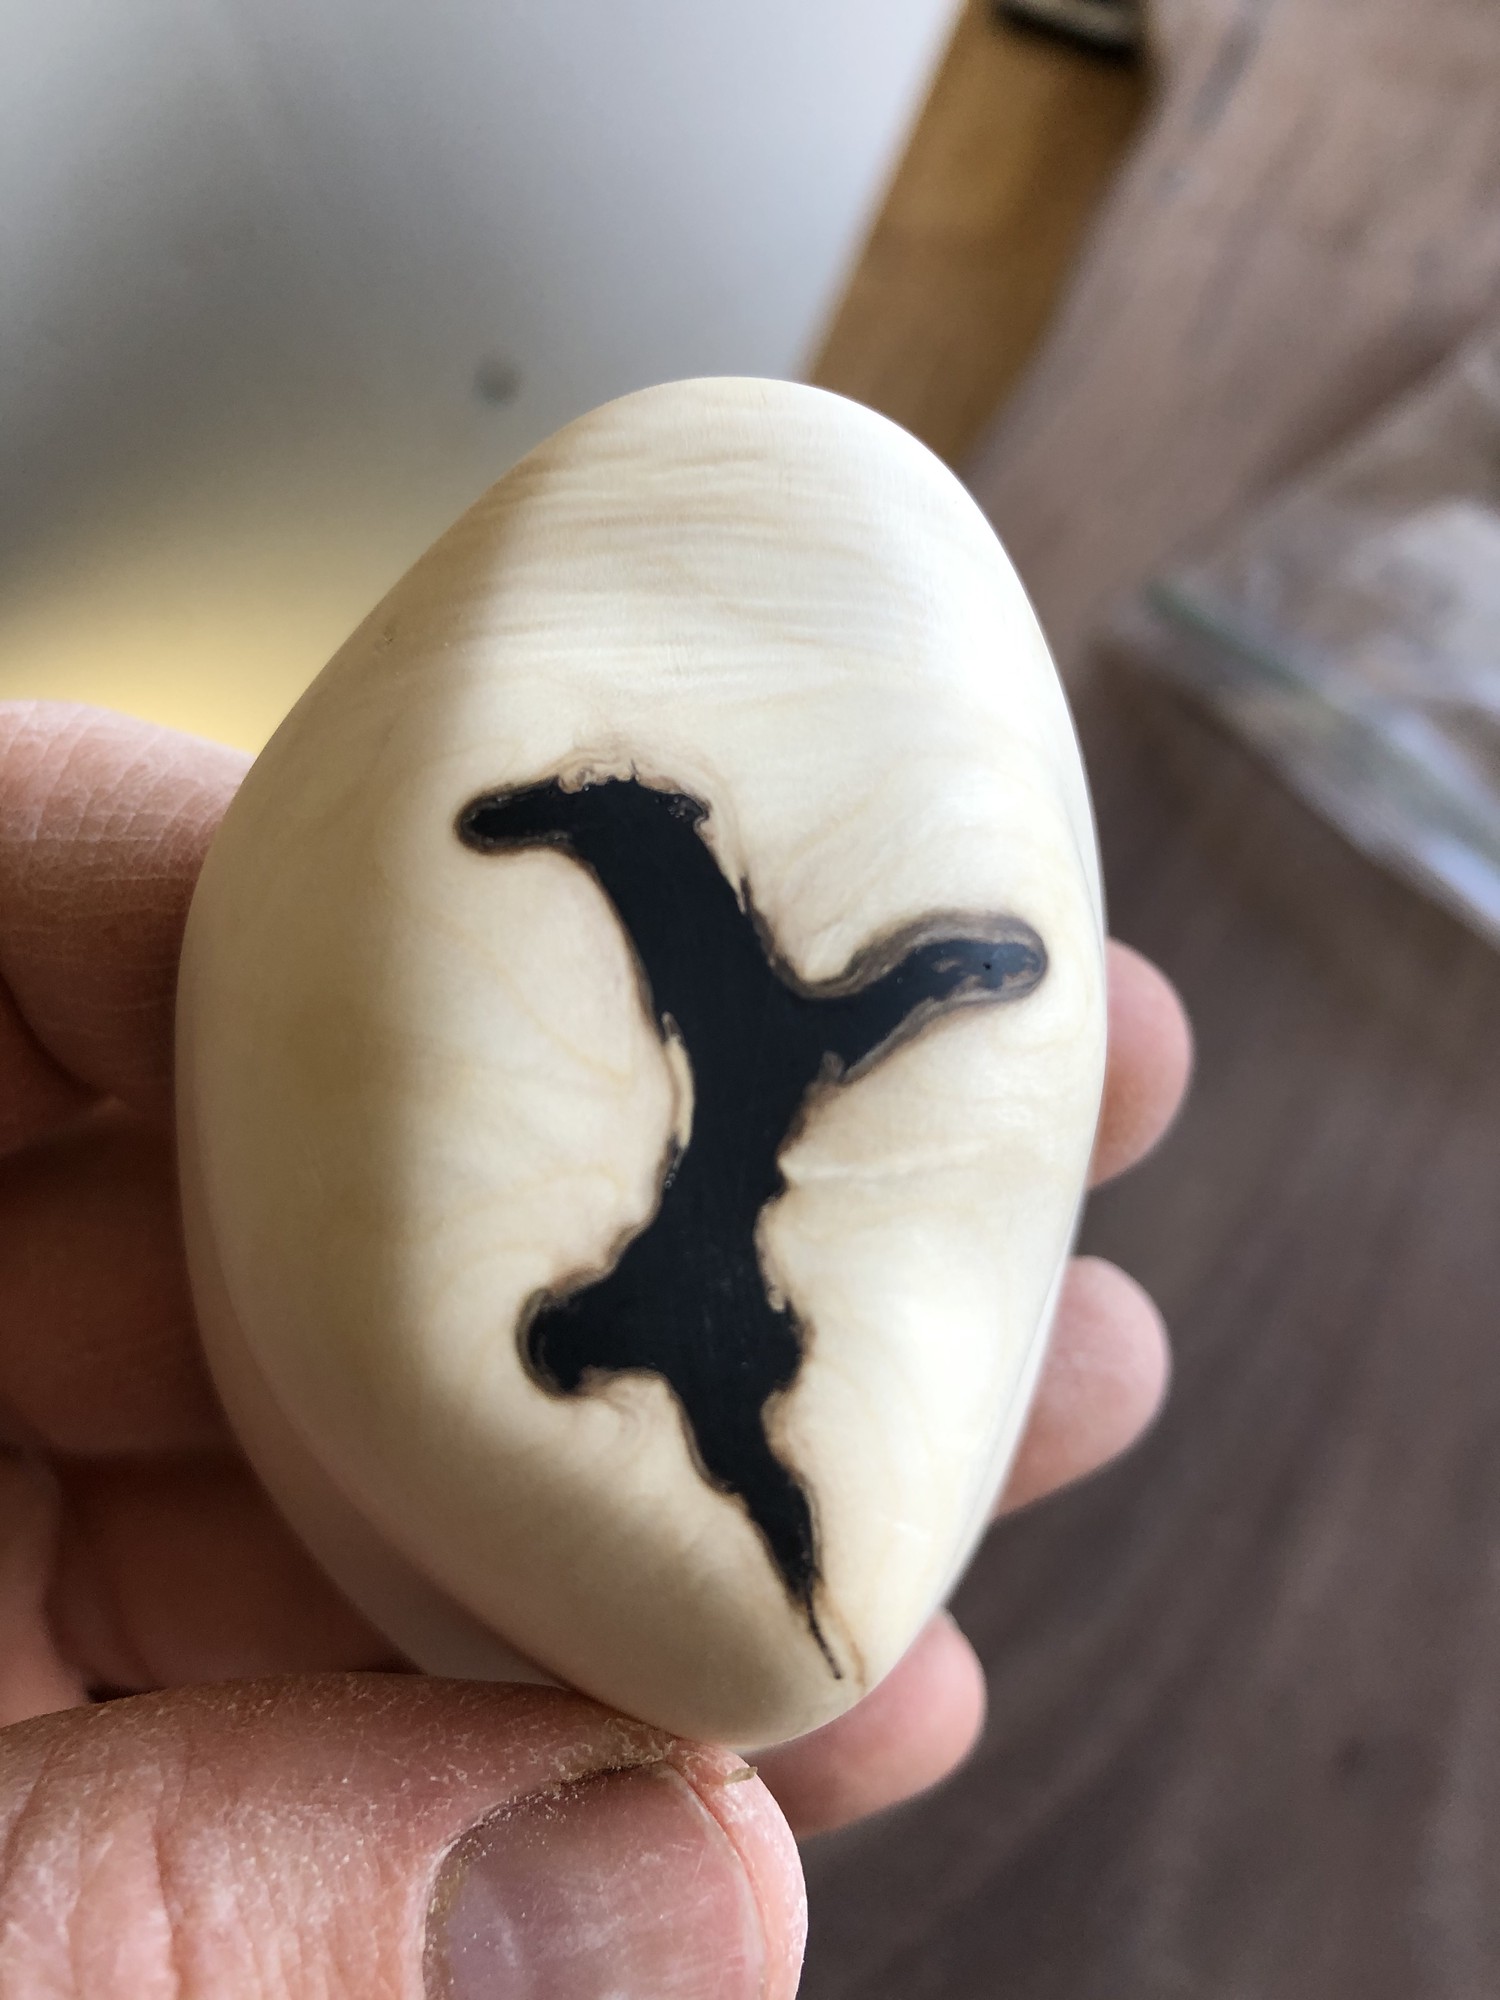
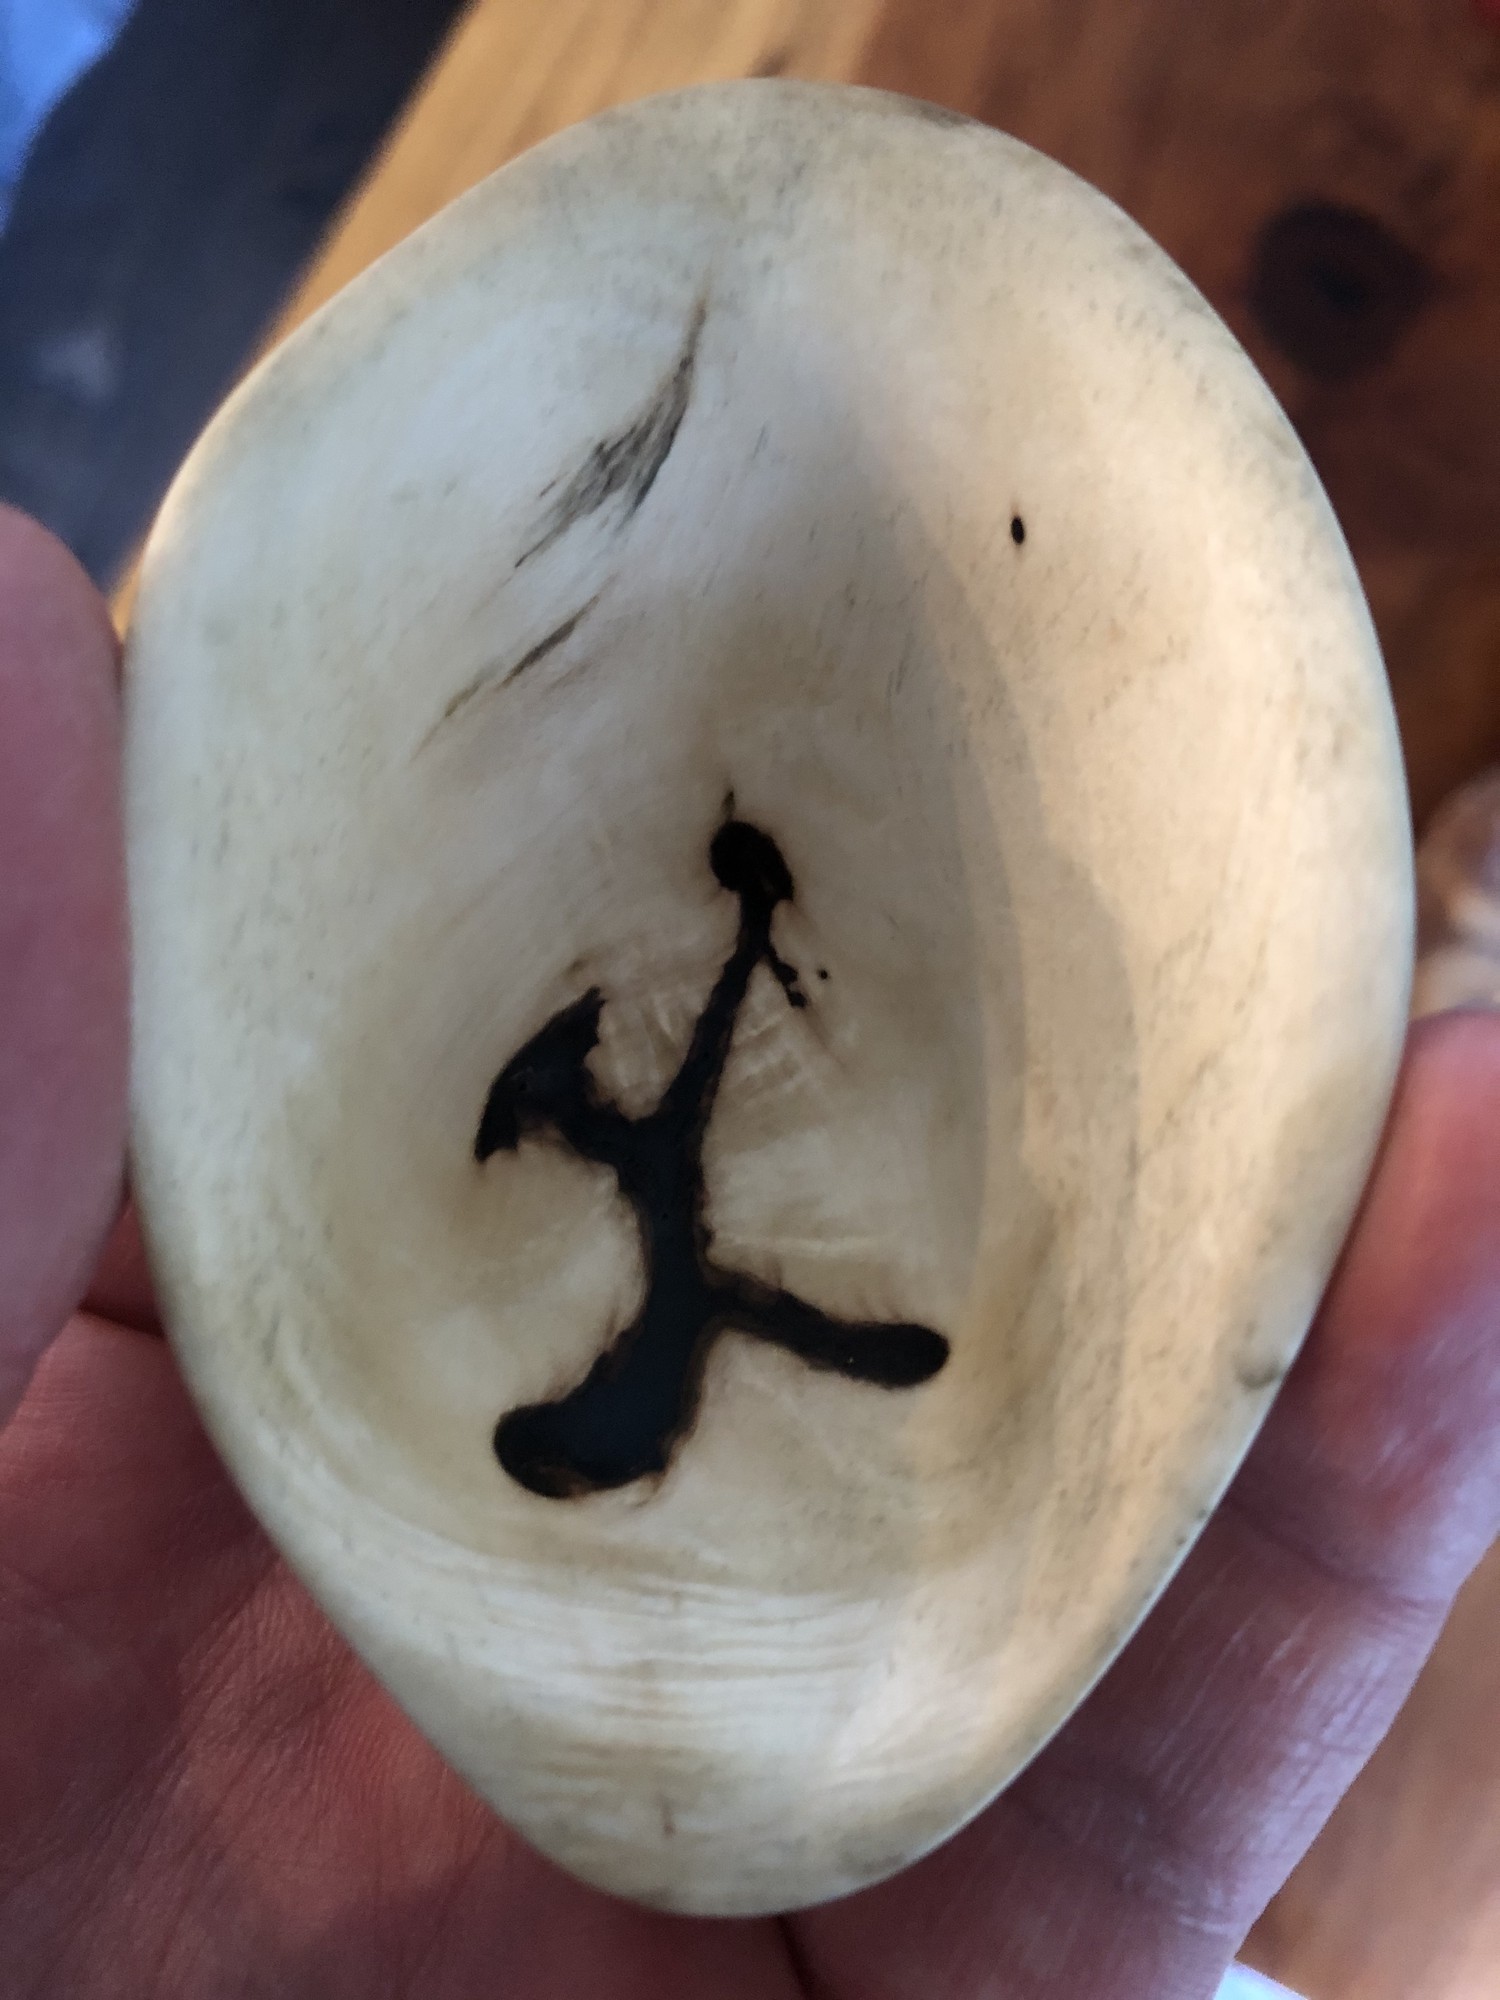
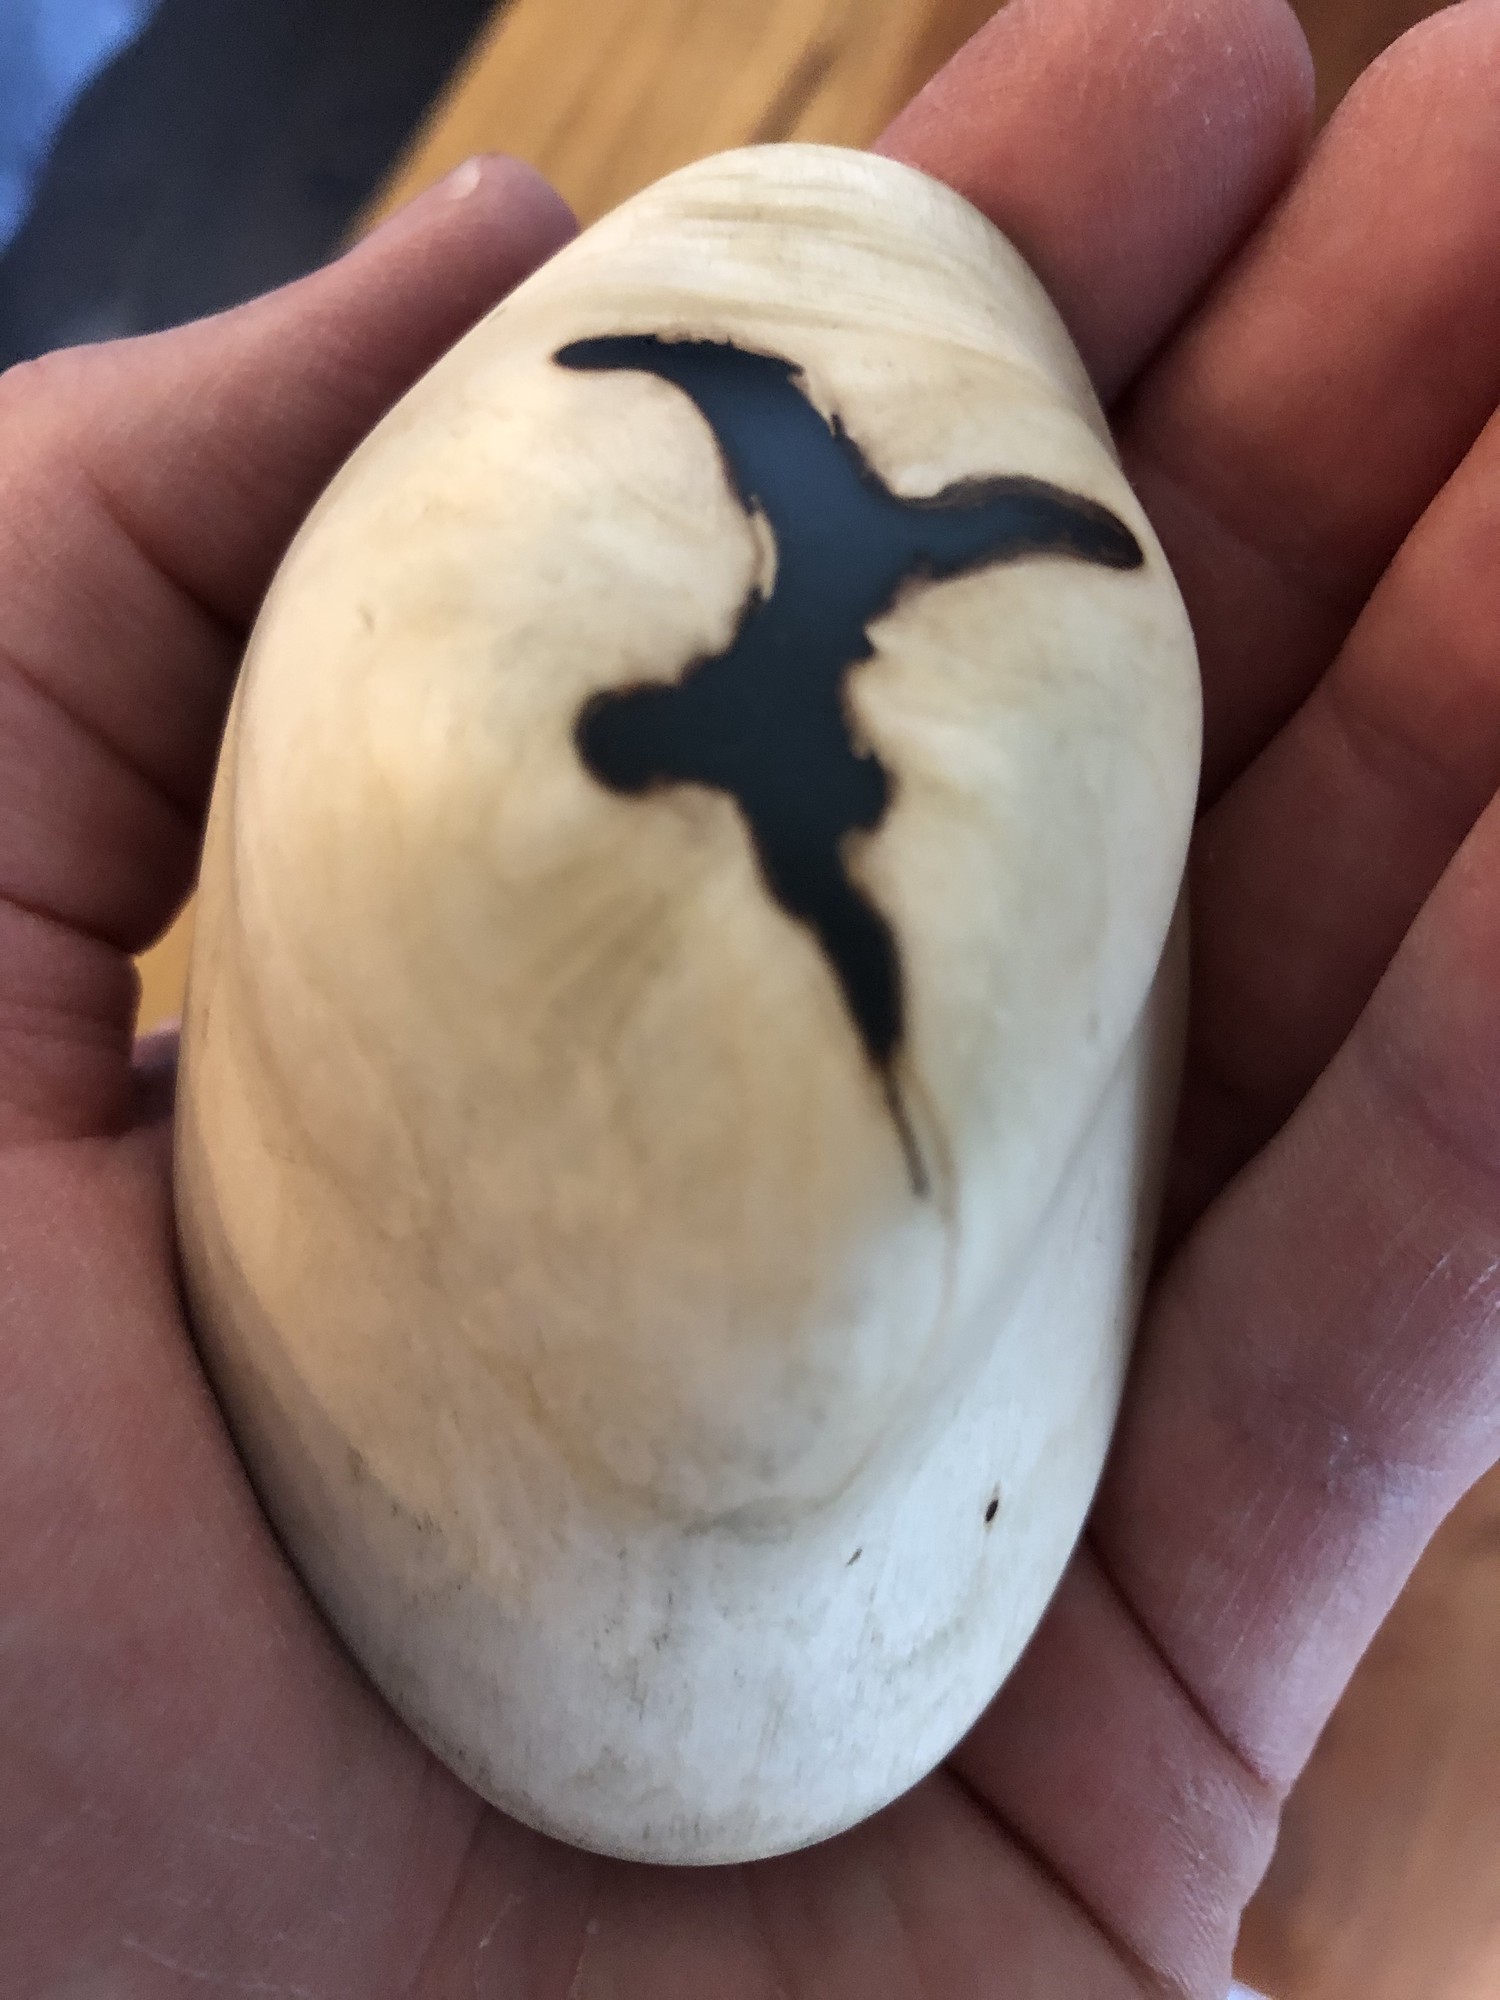
1st Pass Crack Filling
This burl contained a large network of cracks that formed as a result of the bark not fully enclosing the burl as the burl grew on the tree. To experiment with filling this kind of crack, I used West Systems 105 resin4 and West Systems 205 hardener5 along with a black epoxy pigment6 (the natural color of the cured epoxy is yellow and hence, slightly ugly).
Sanding
Next, I moved on to sanding the cored out burl using 220, 320 and 600 grit wet/dry sand paper (in that order). This sanding was all done by hand and took ~4hrs.
2nd Pass Crack Filling
Once the first pass of sanding was completed, it became apparent that the epoxy fill had small air gaps that formed as it cured.
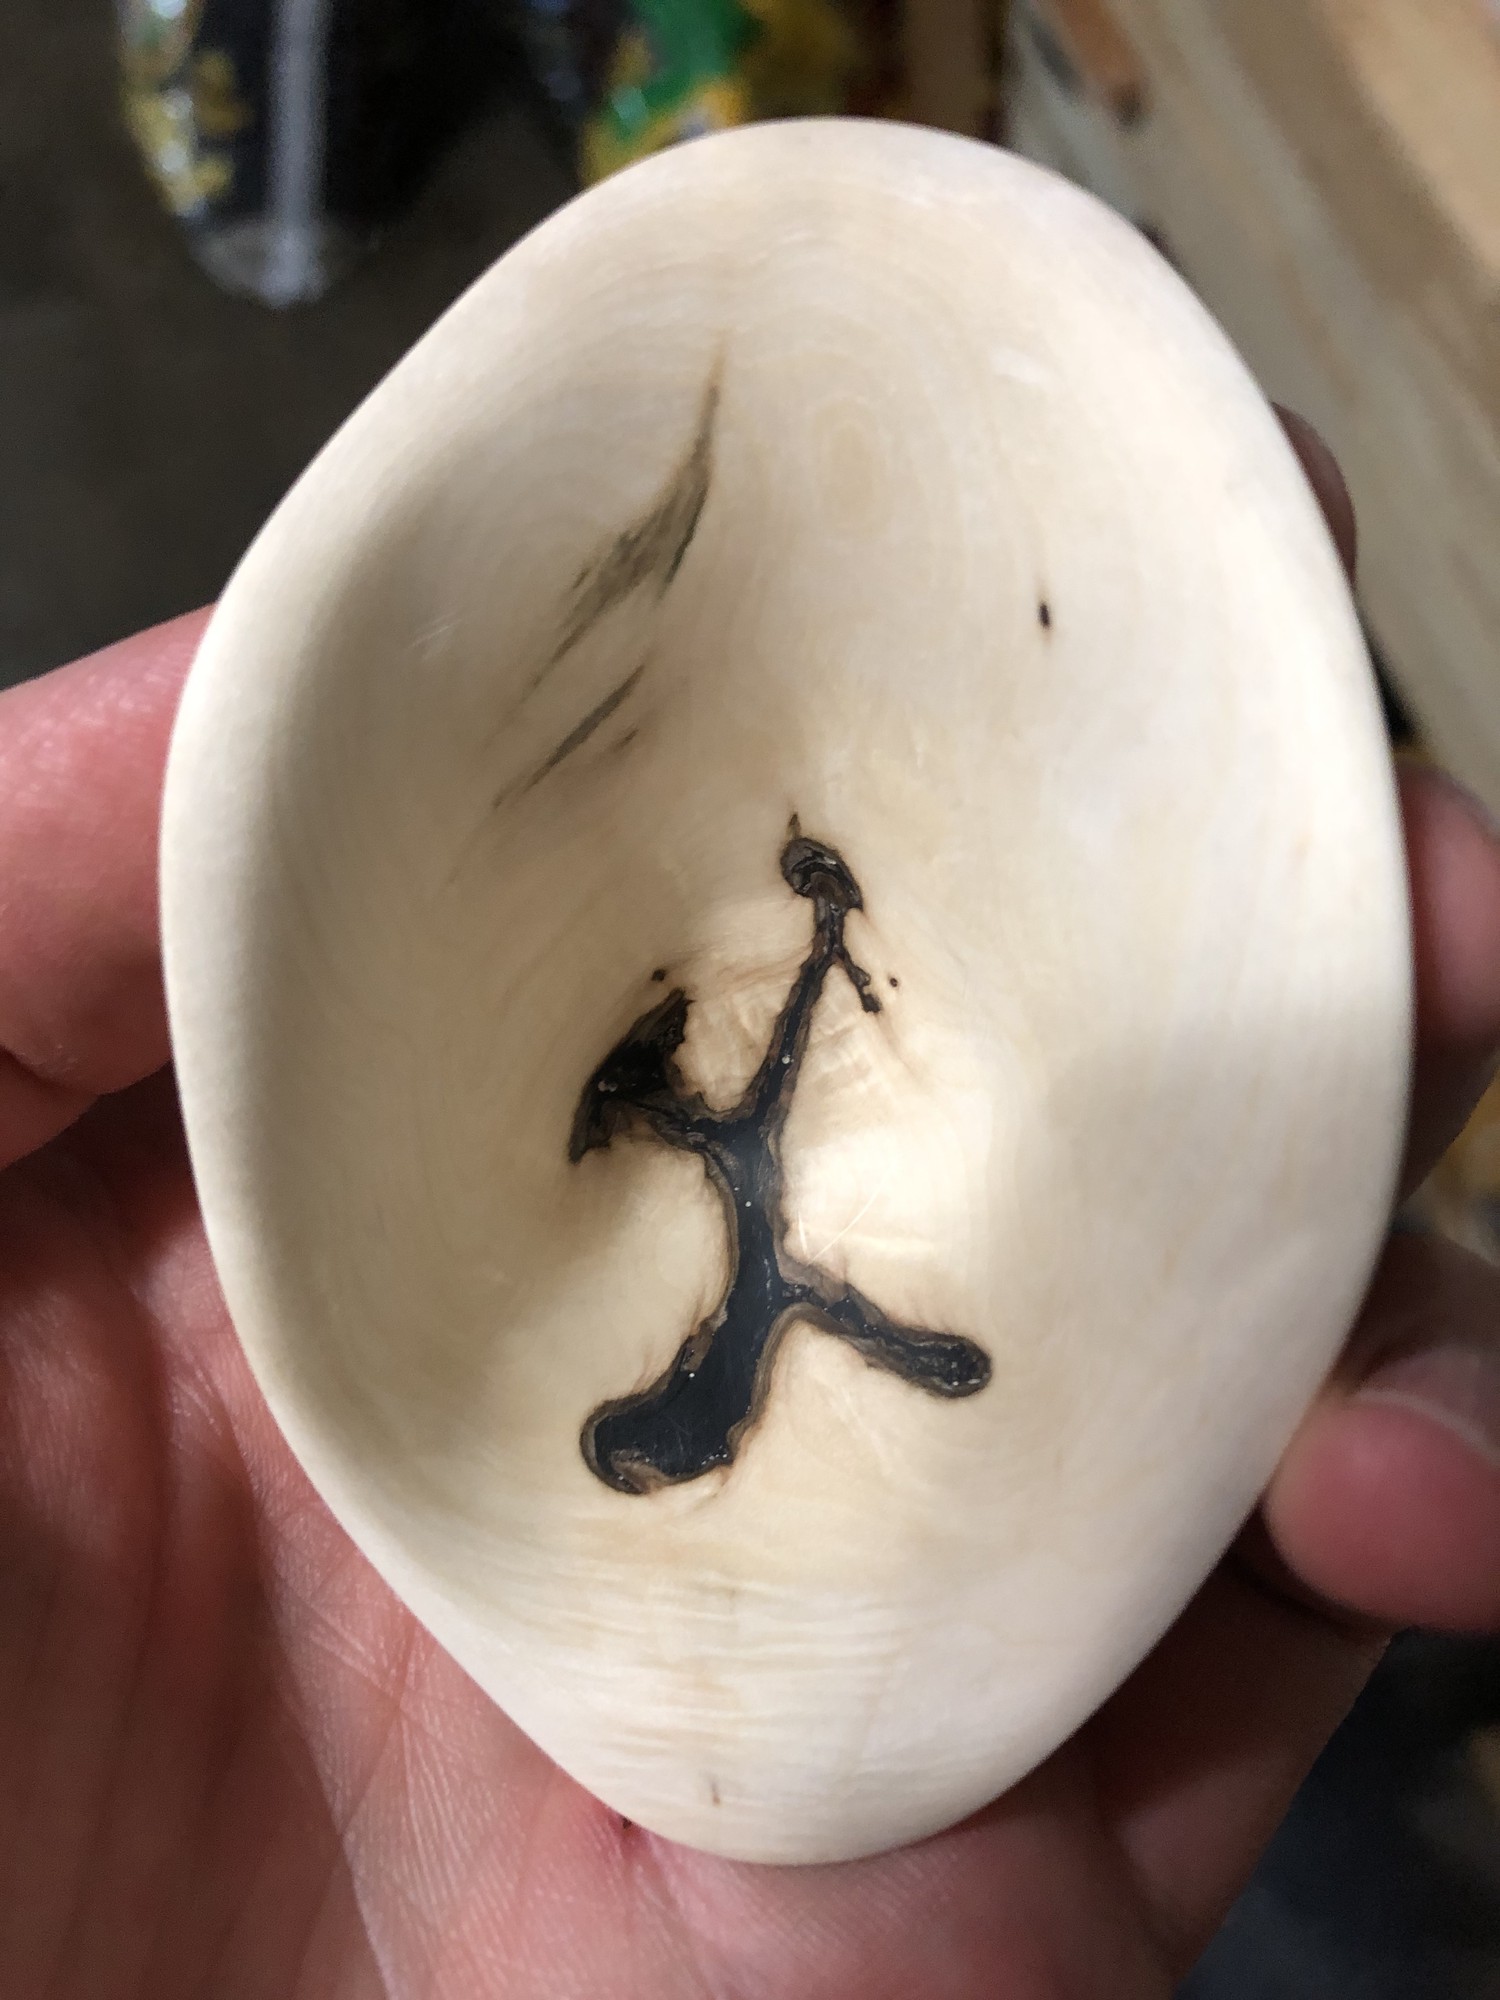
I decided that I would fill these small holes to improve the aesthetic appeal of the bowl. Before filling these small holes, I removed the sawdust from them using a toothbrush and lightly dampened paper towel.
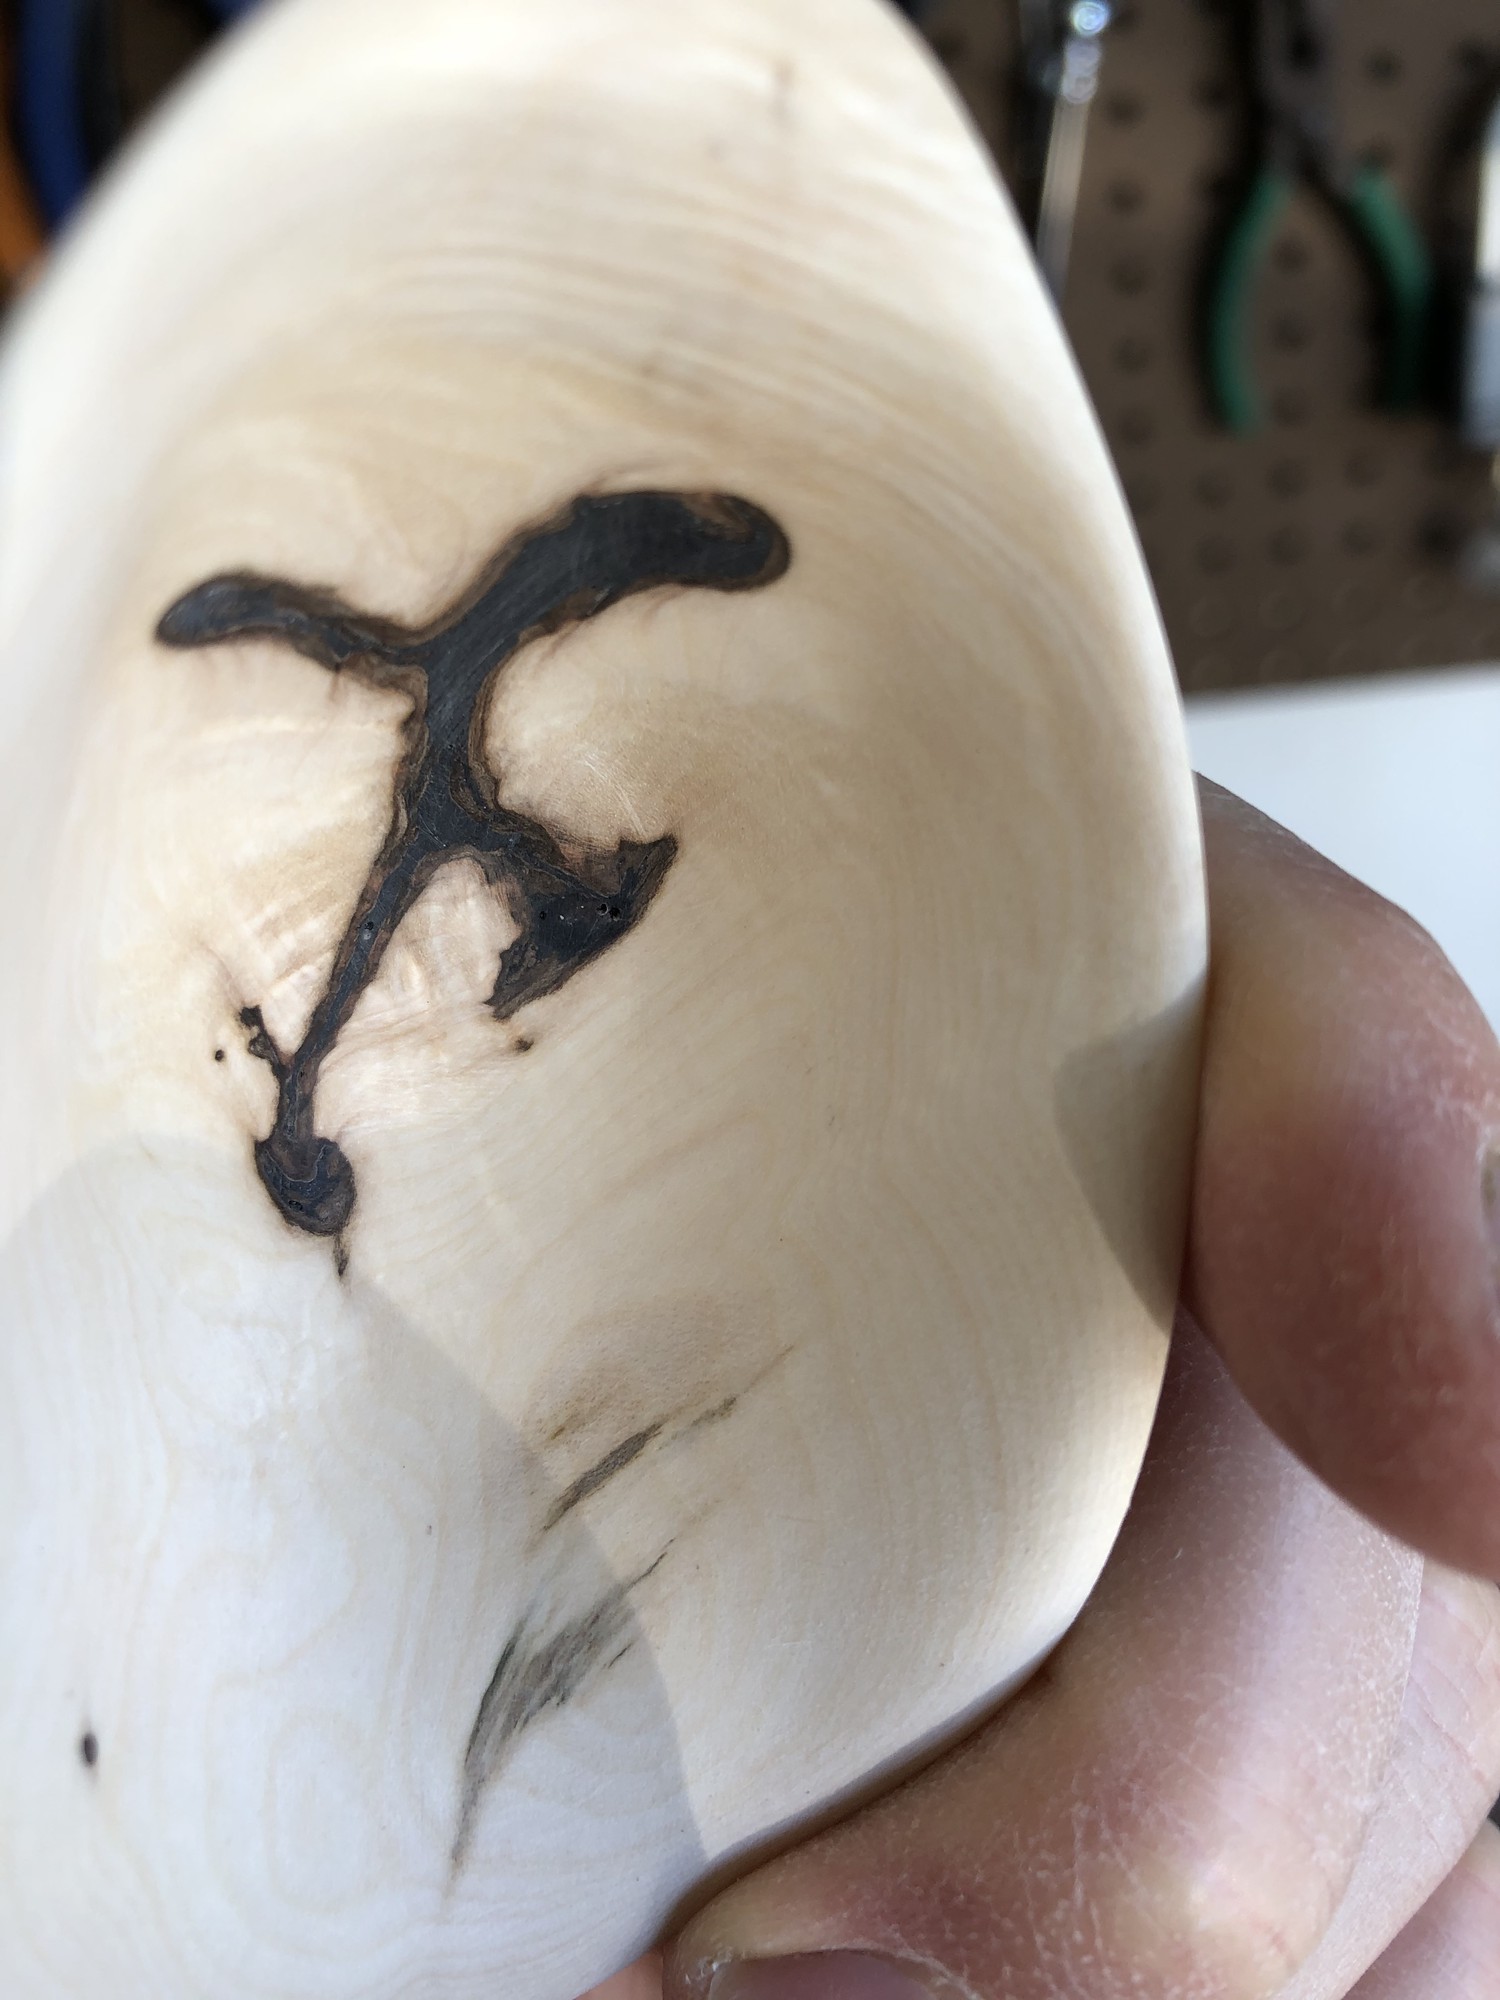
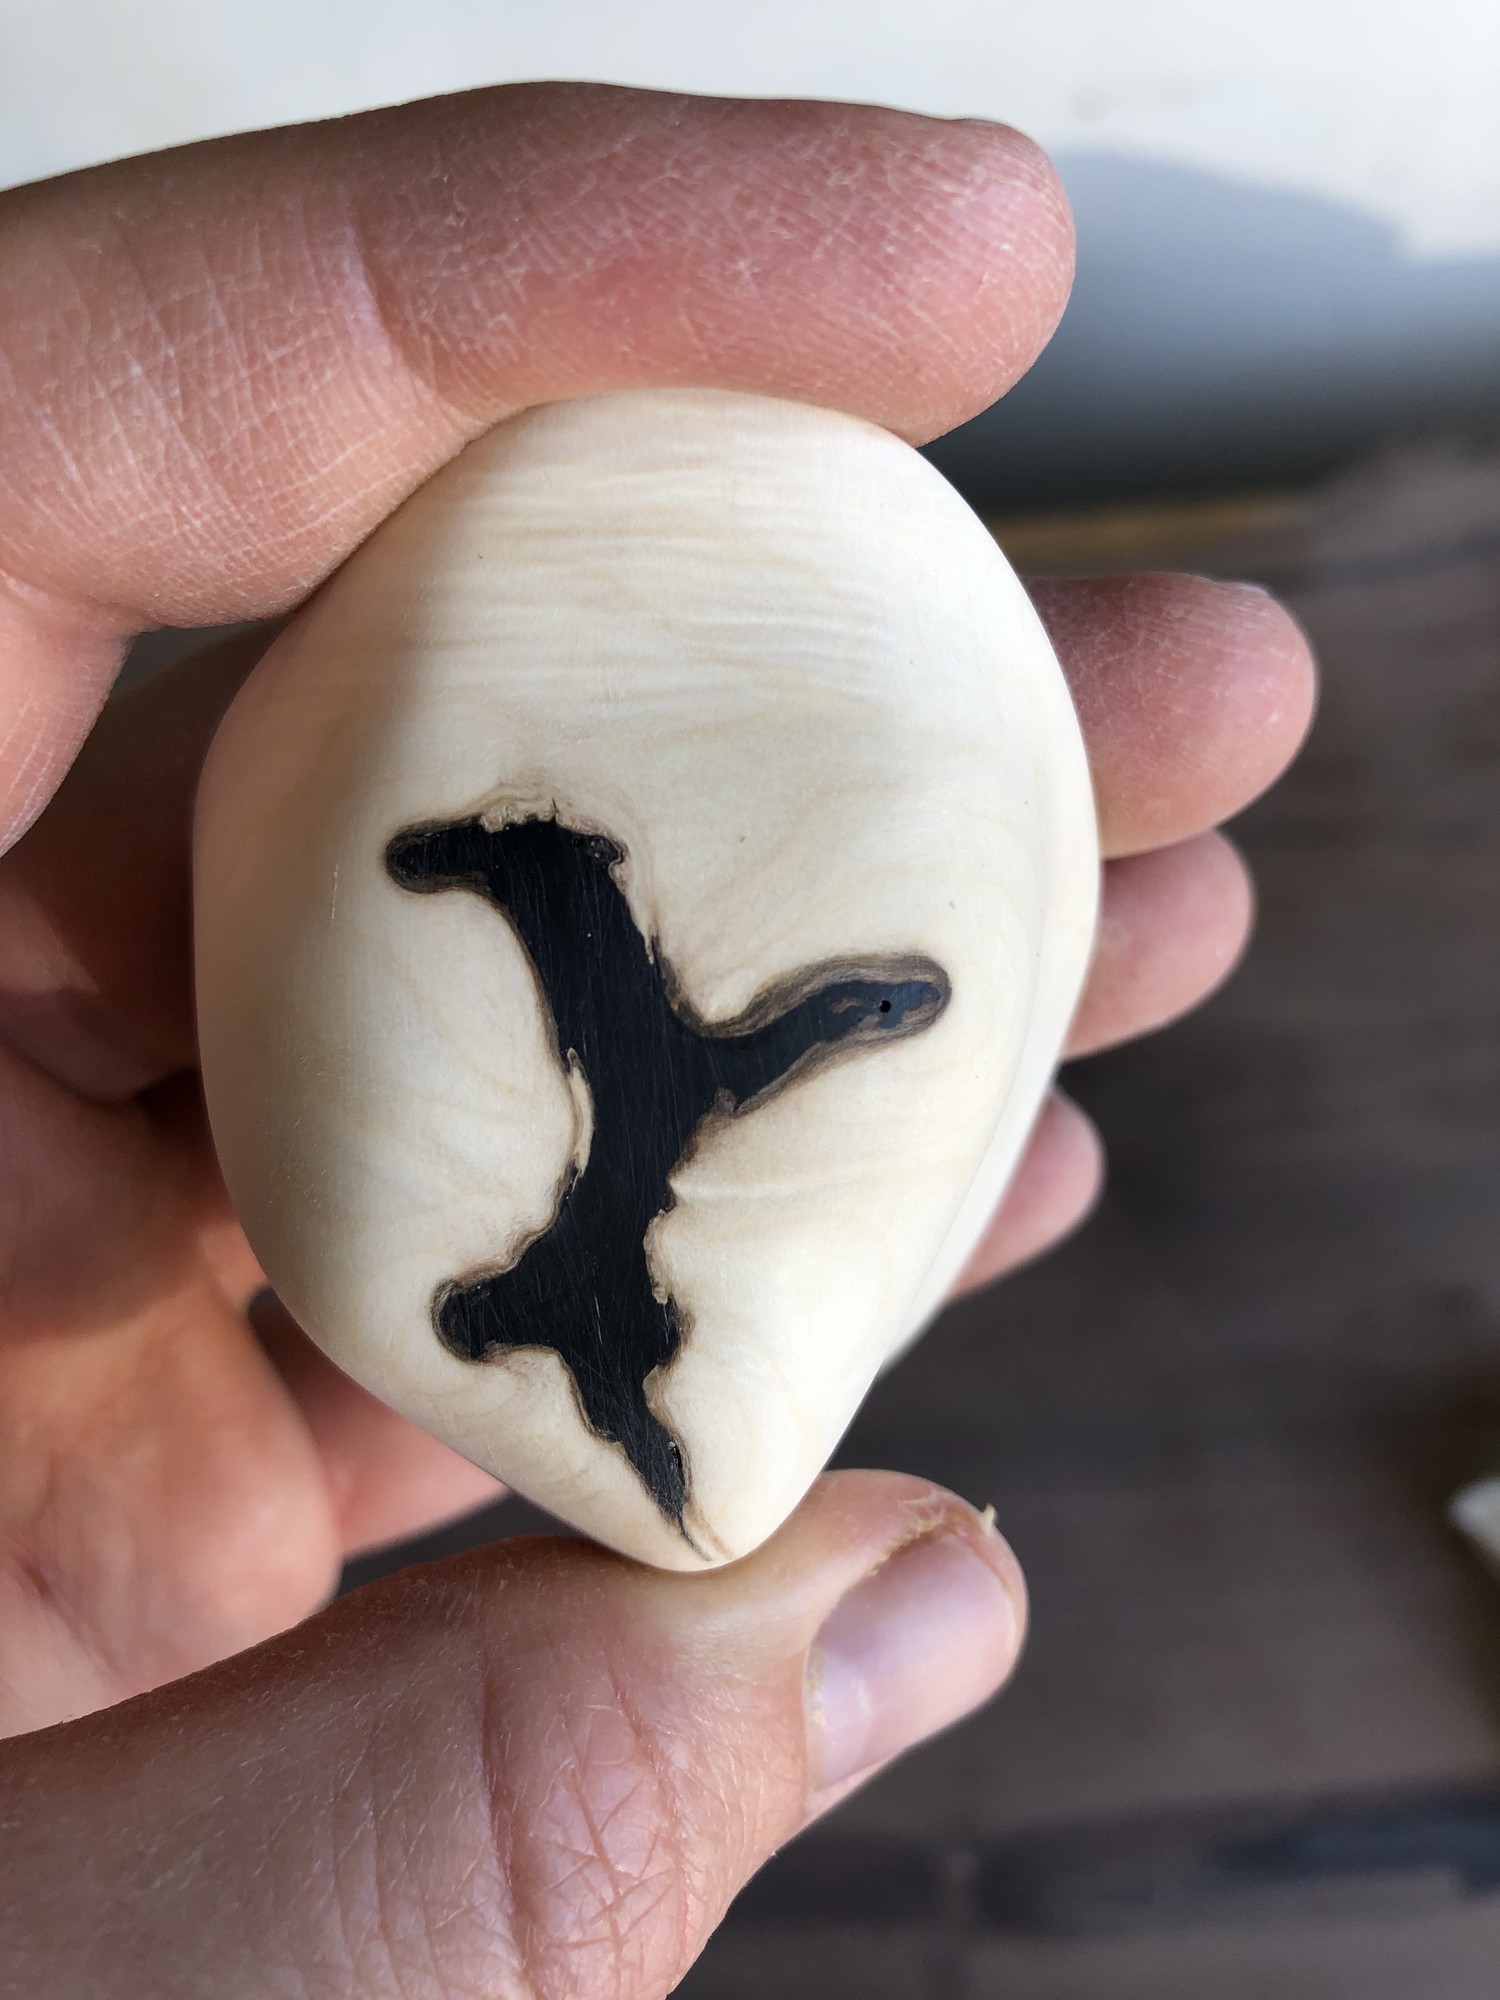
I filled these smaller holes with cyanoacrylate glue and a fast hardener7.
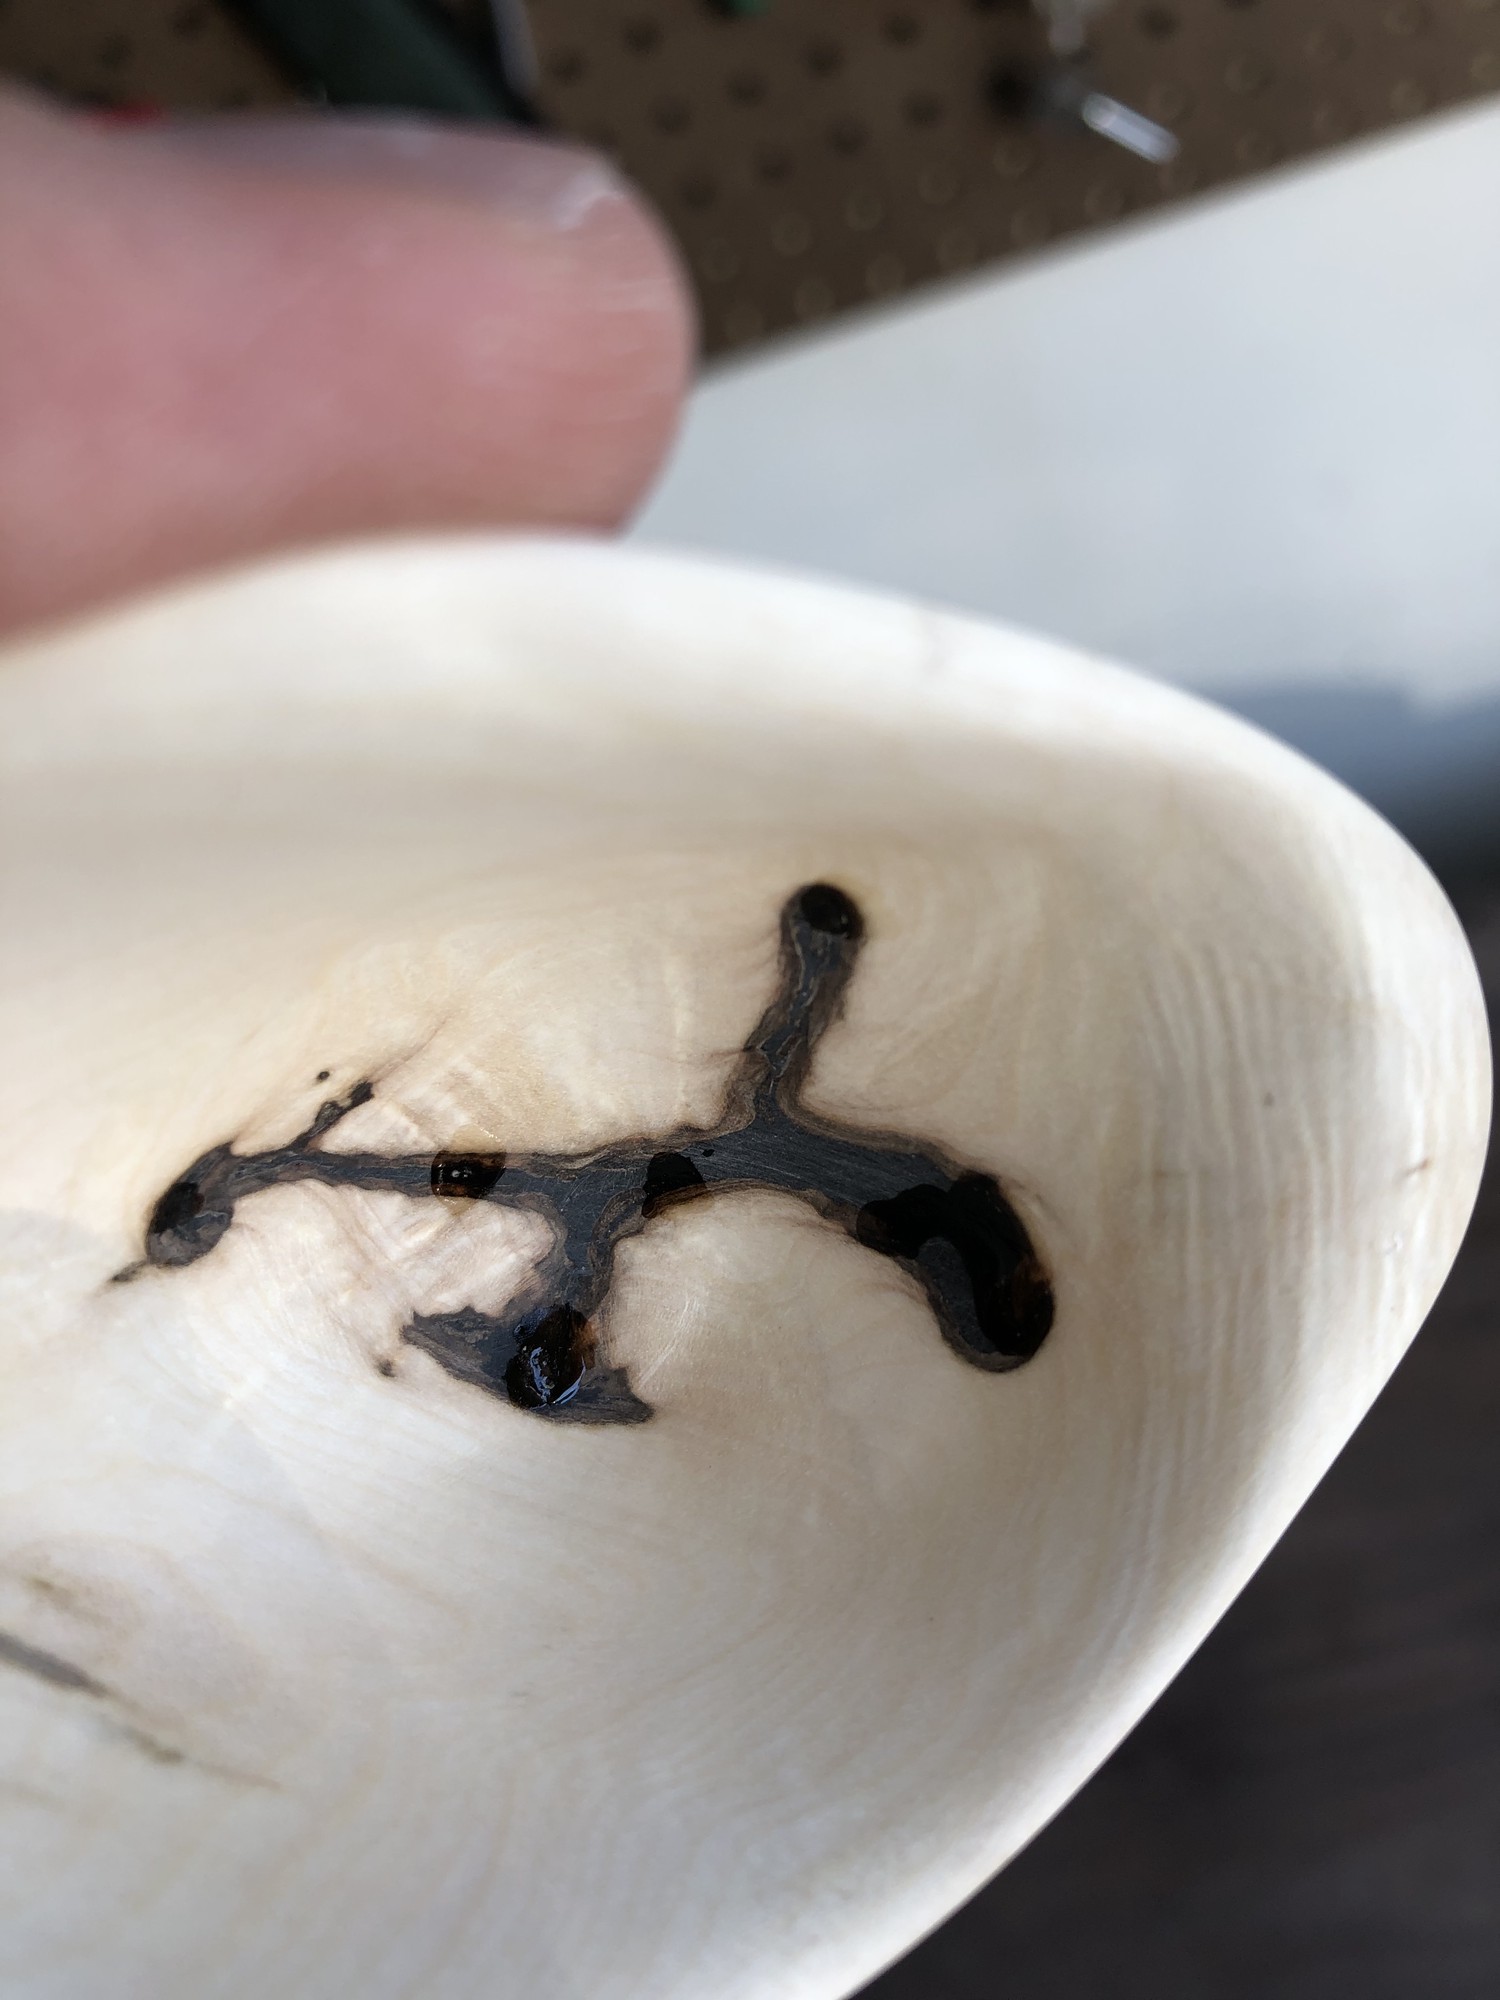
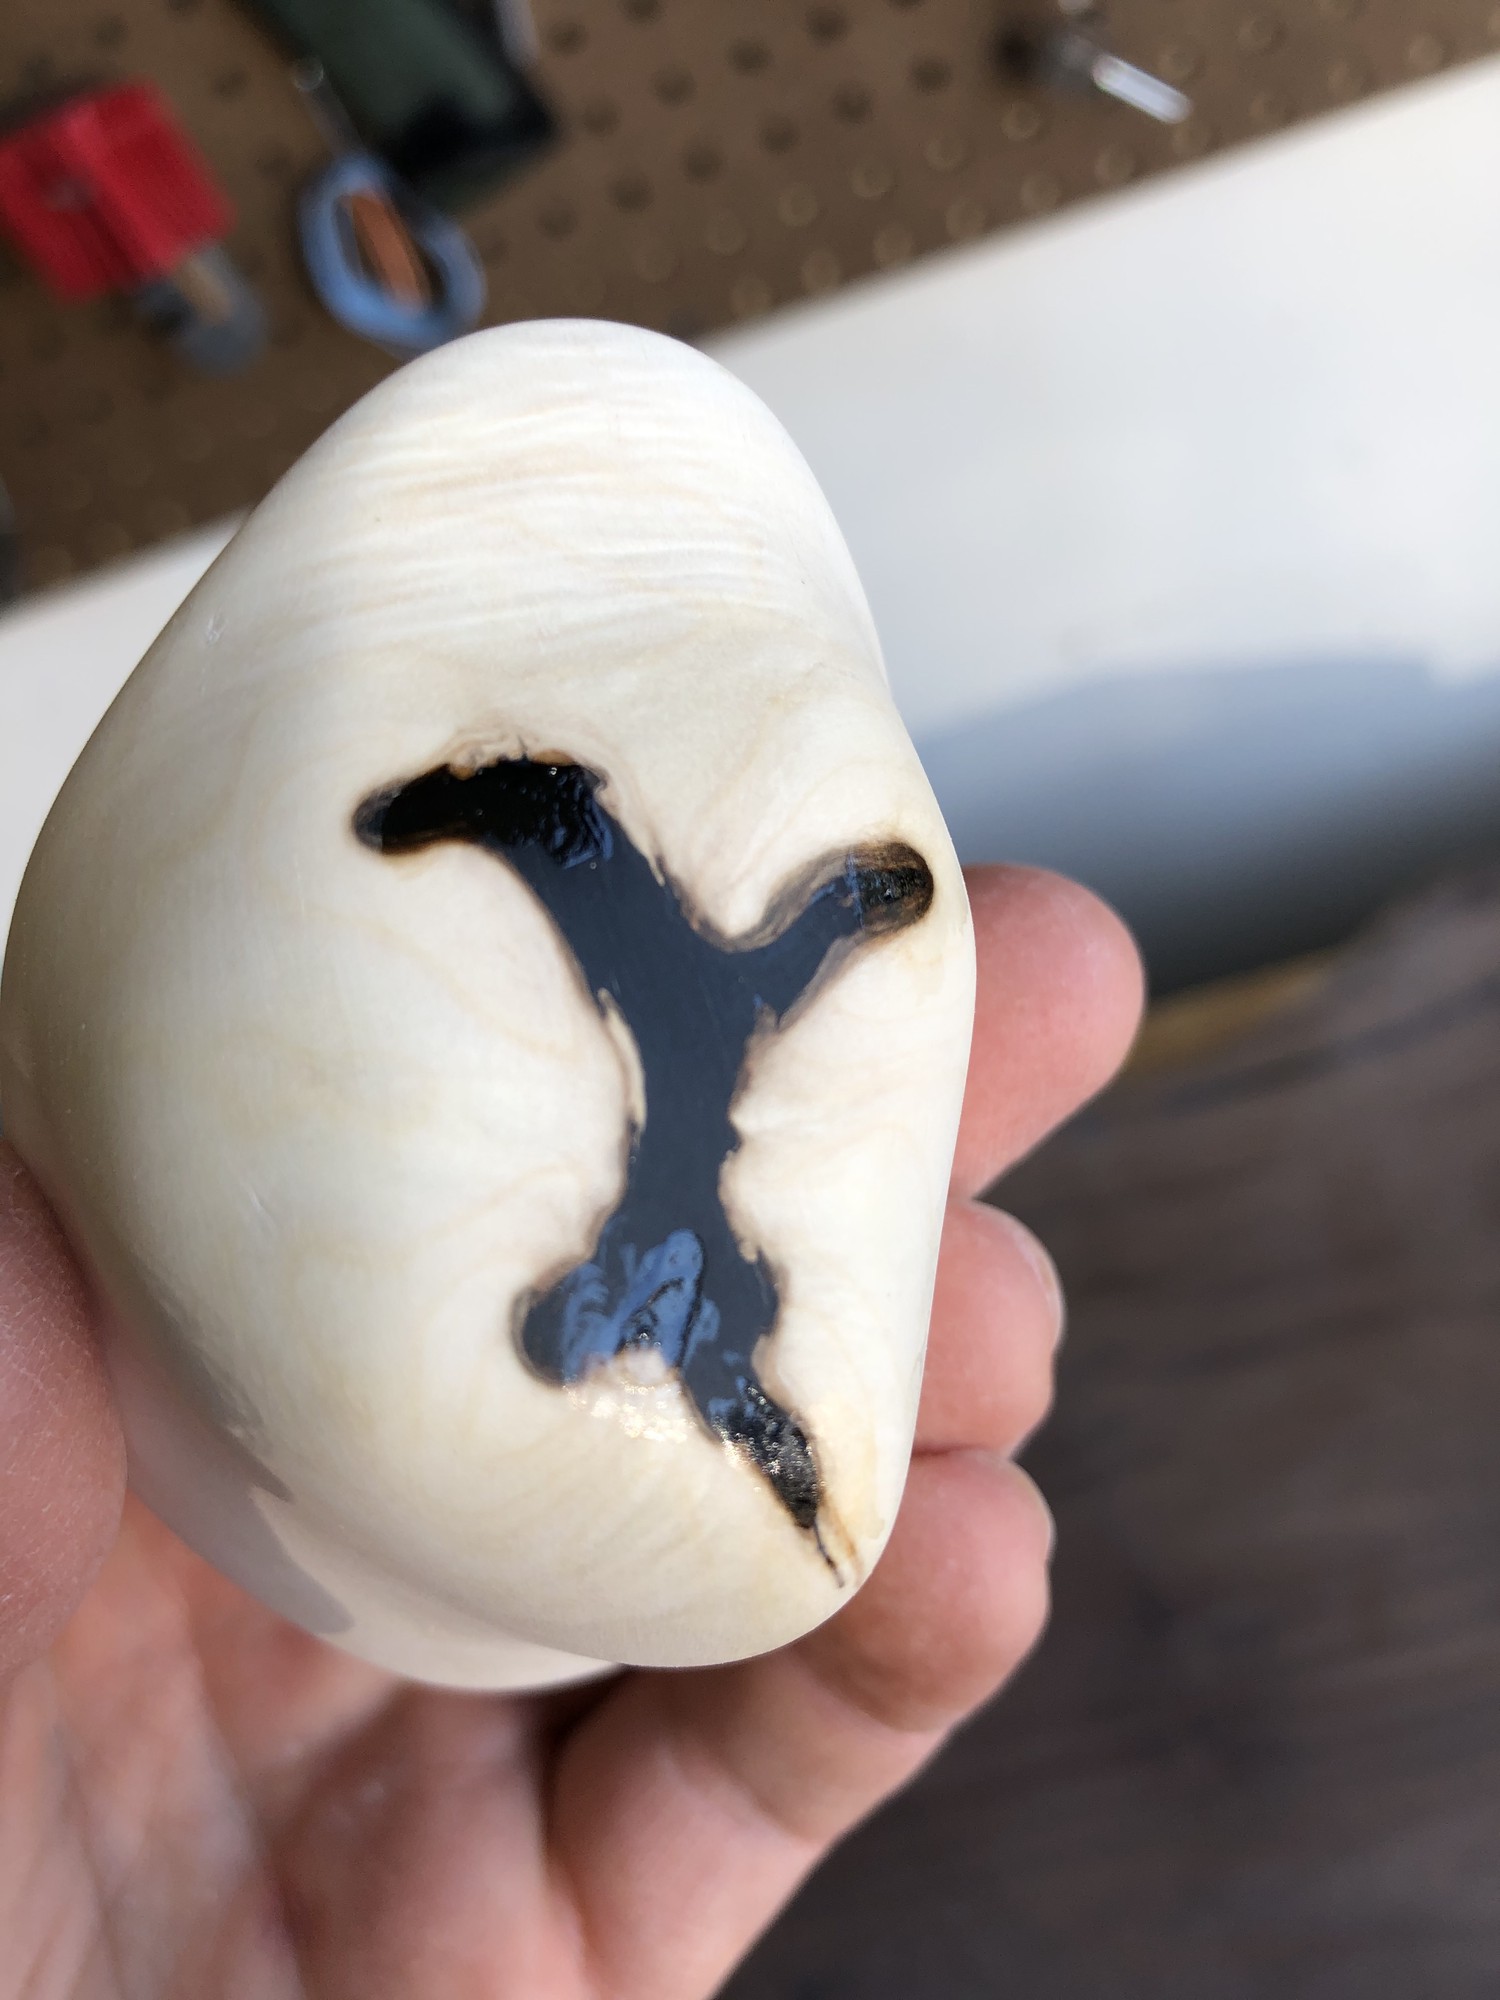
I then proceeded to resand these small fills with 600 grit paper until they blended smoothly with the surrounding epoxy.
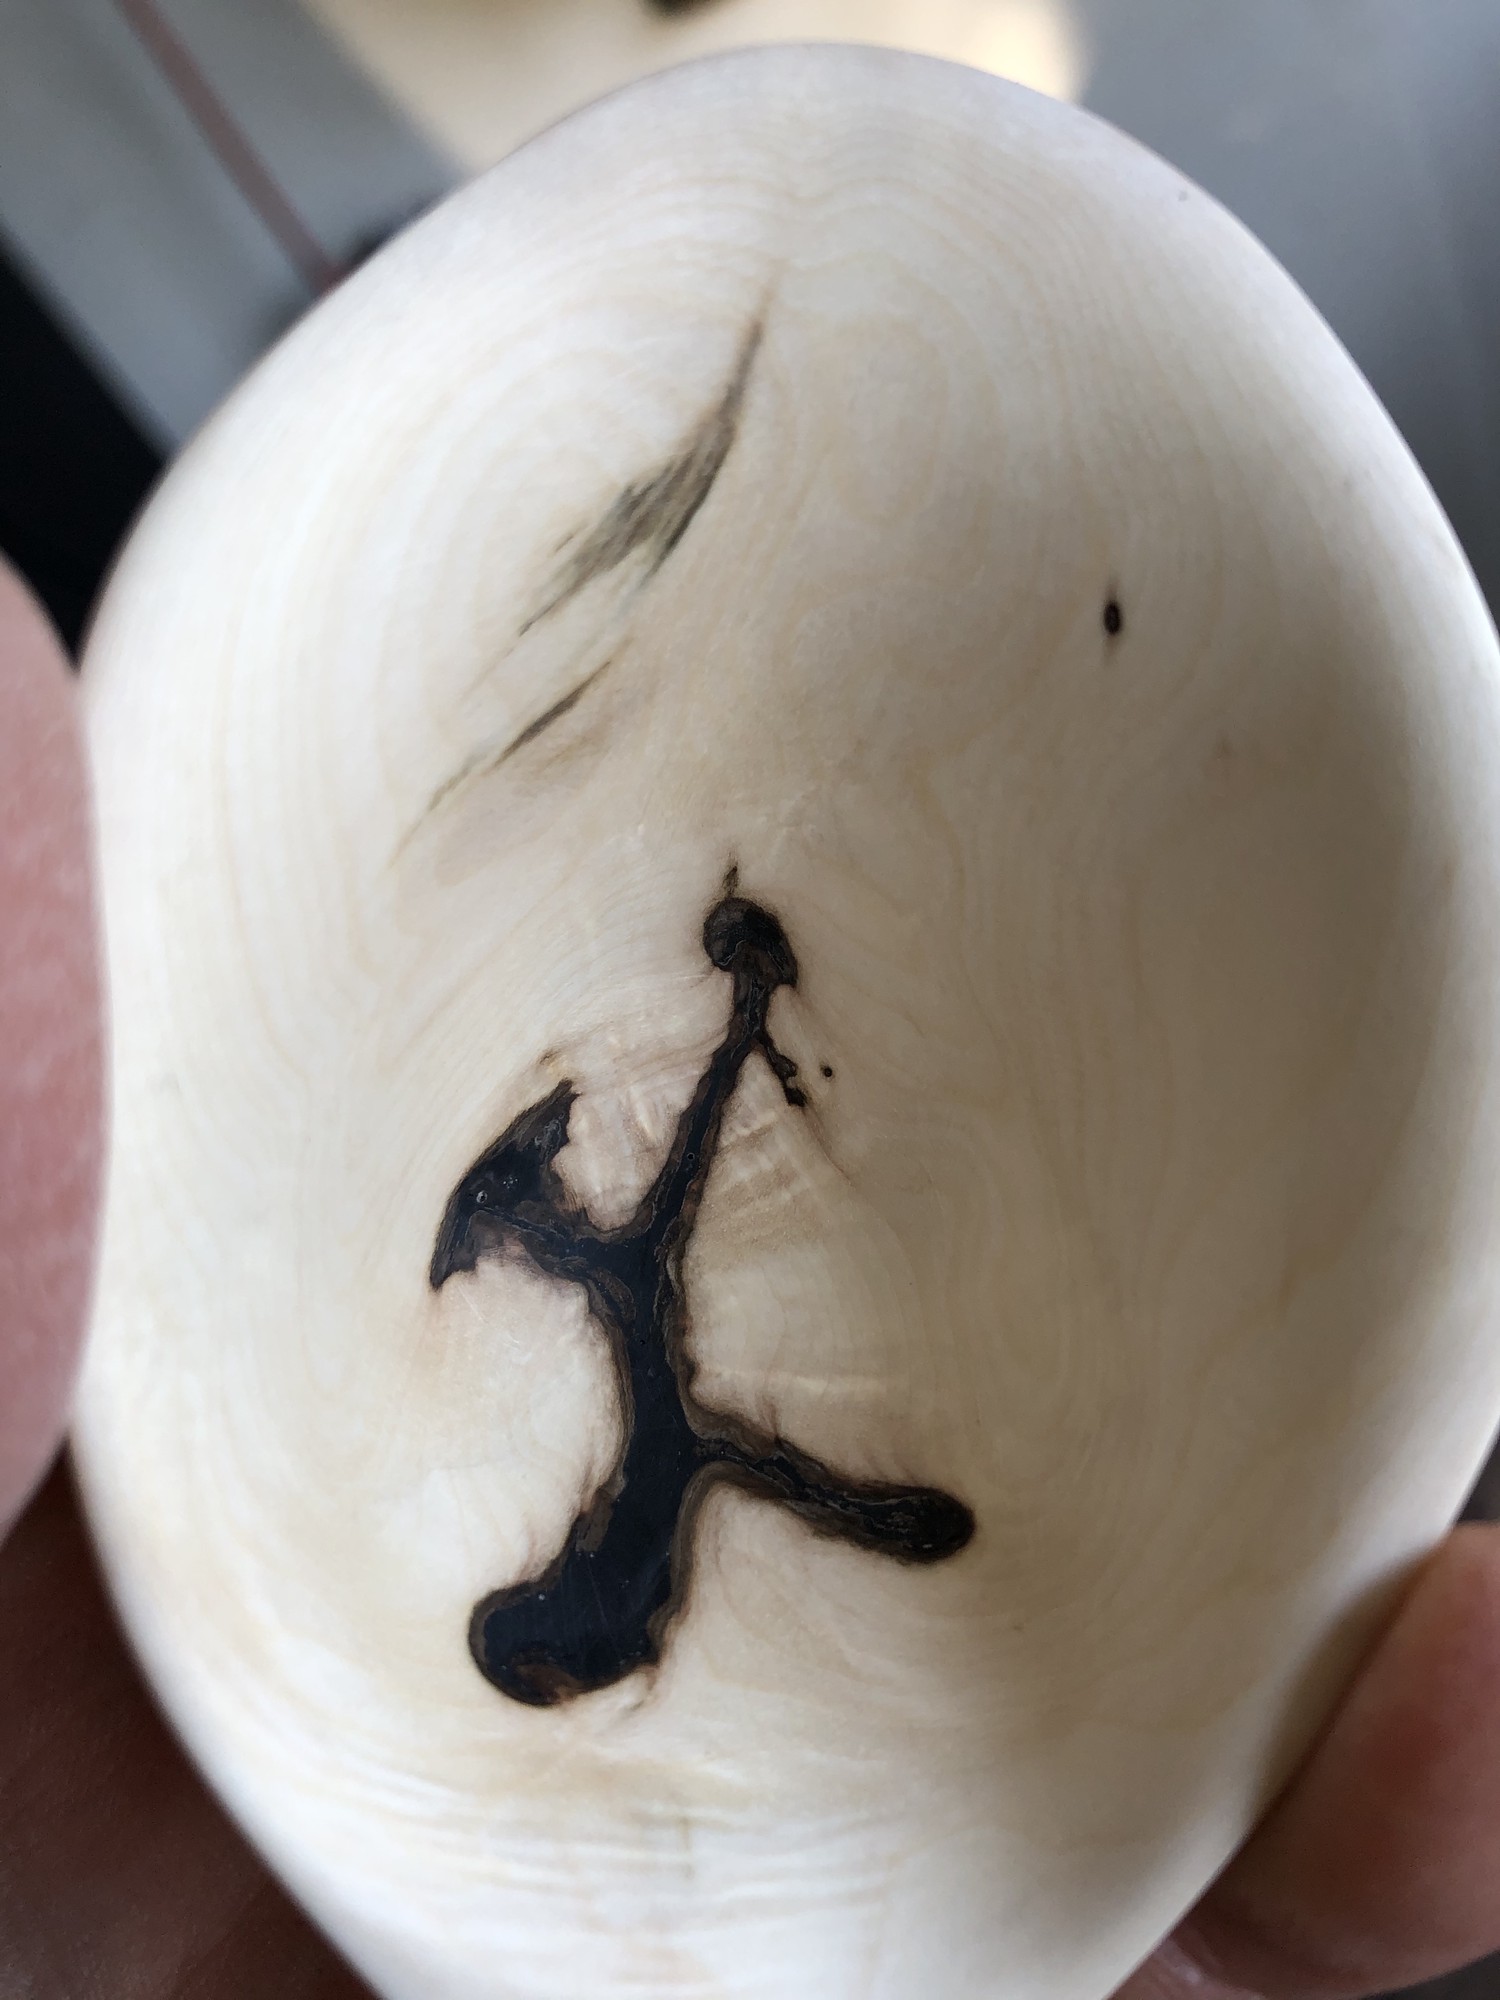
I am quite happy with the refill results as the majority of the small hole fills blended very well with their surrounding epoxy.
Wipe Down
Before applying the finish coats of oil, I wiped-off as much of the residual sawdust from the burl as possible using a lightly dampened, paper towel.
Finish Coats
The last step was to apply finish to stain and protect the bowl as well as to enhance the chatoyancy of the bowl. For this I used Walnut colored Rubio Monocoat8 following hte instructions on the back of the can. This finish is highly respected in the woodworking community as it is in-grain, requires just one application that takes about 15 minutes to apply and once dried (after ~5 days), is food-safe.
Finished Bowl
Cheers!
-
https://www.homedepot.com/p/Stanley-Wood-Carving-Set-6-Piece-STHT16863/308728572 ↩︎
-
https://www.amazon.com/Dremel-407-Drum-Sander/dp/B00004UDGV/ref=sr_1_6?dchild=1&keywords=dremel+sanding+drum&qid=1588277399&sr=8-6 ↩︎
-
https://www.homedepot.com/p/Dremel-7-8-in-Rotary-Tool-Diamond-Wheel-for-Marble-Concrete-Brick-Porcelain-Ceramics-and-Epoxies-545/100346850 ↩︎
-
https://www.westmarine.com/buy/west-system---105-a-epoxy-resin--323733?cm_sp=Onsite-Recs-_-Related-Items-_-Desktop ↩︎
-
https://www.westmarine.com/buy/west-system---205-a-fast-hardener--318360?cm_sp=Onsite-Recs-_-Related-Items-_-Desktop ↩︎
-
https://www.westmarine.com/buy/evercoat--resin-coloring-agent--P004_120_004_002?recordNum=4 ↩︎
-
https://www.amazon.com/Bob-Smith-Industries-BSI-157H-Insta-Set/dp/B0166FFCHS/ref=sr_1_1?c=ts&dchild=1&keywords=Cyanoacrylate+Adhesives&qid=1594753591&refinements=p_89%3ABob+Smith+Industries&sr=8-1&ts_id=256243011 ↩︎