Wood Bowl
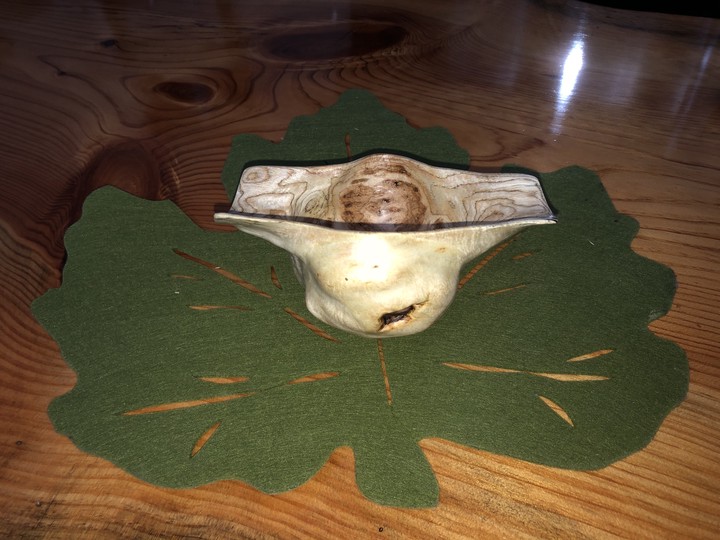
This is my fifth wood bowl!
Table of Contents
Overview
- Start: May 21, 2020
- End: Feb 16, 2021
- Wood Species: Jack Pine
The burl for this bowl was collected at the same time and general location as the burl for a separate bowl project while in Minnesota. It was extracted and completed in the same manner as that burl/bowl.
Bark Removal
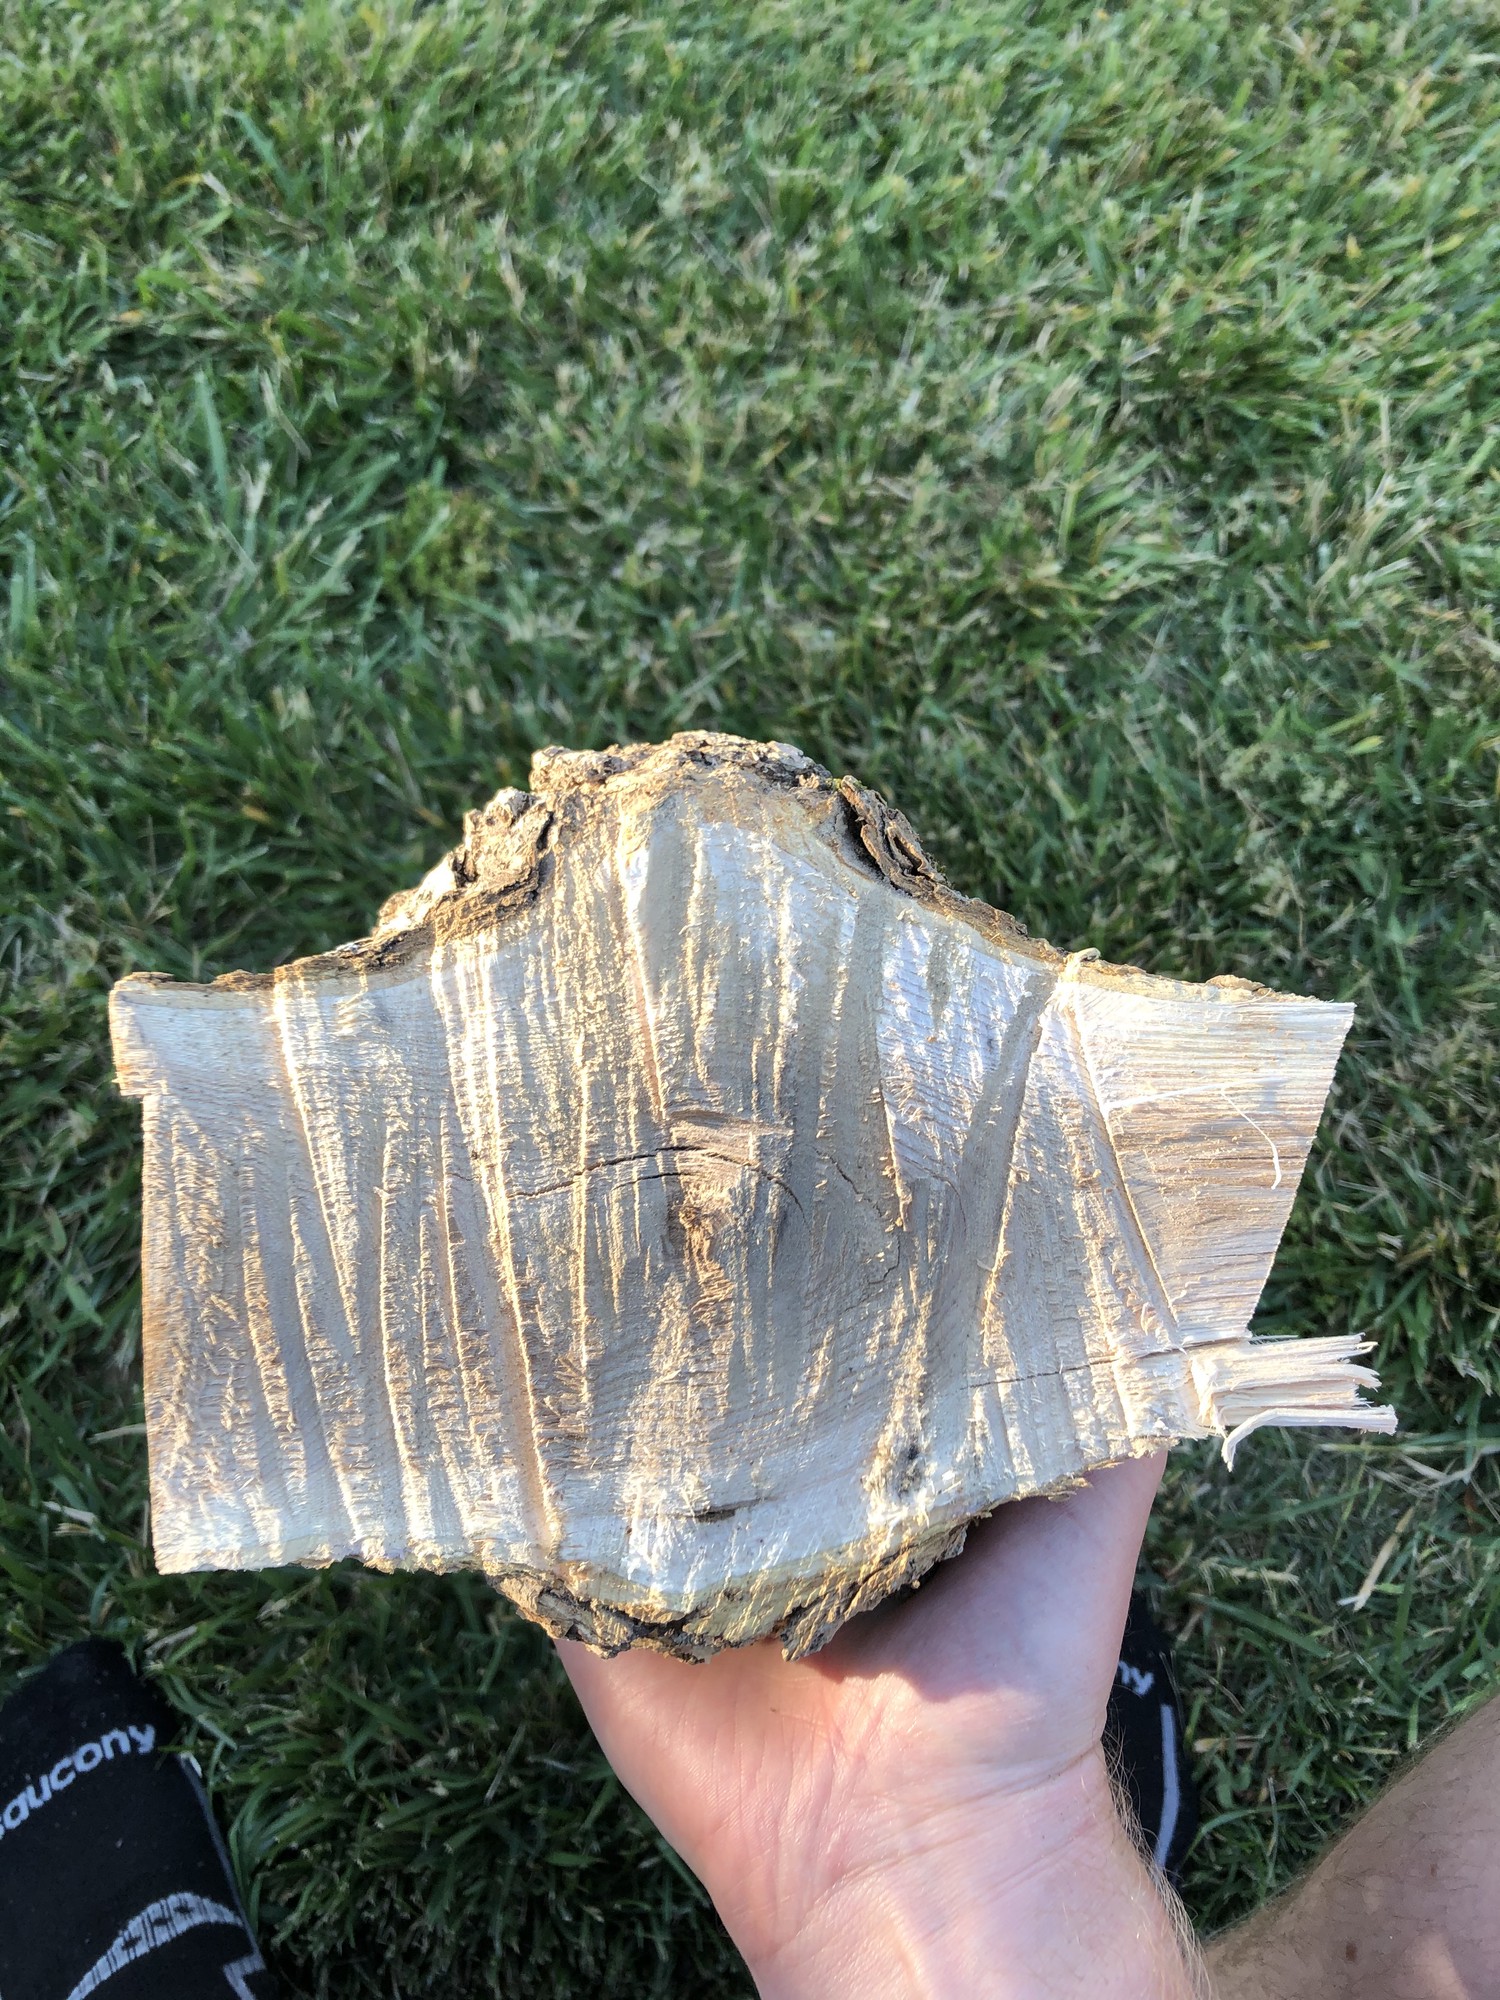
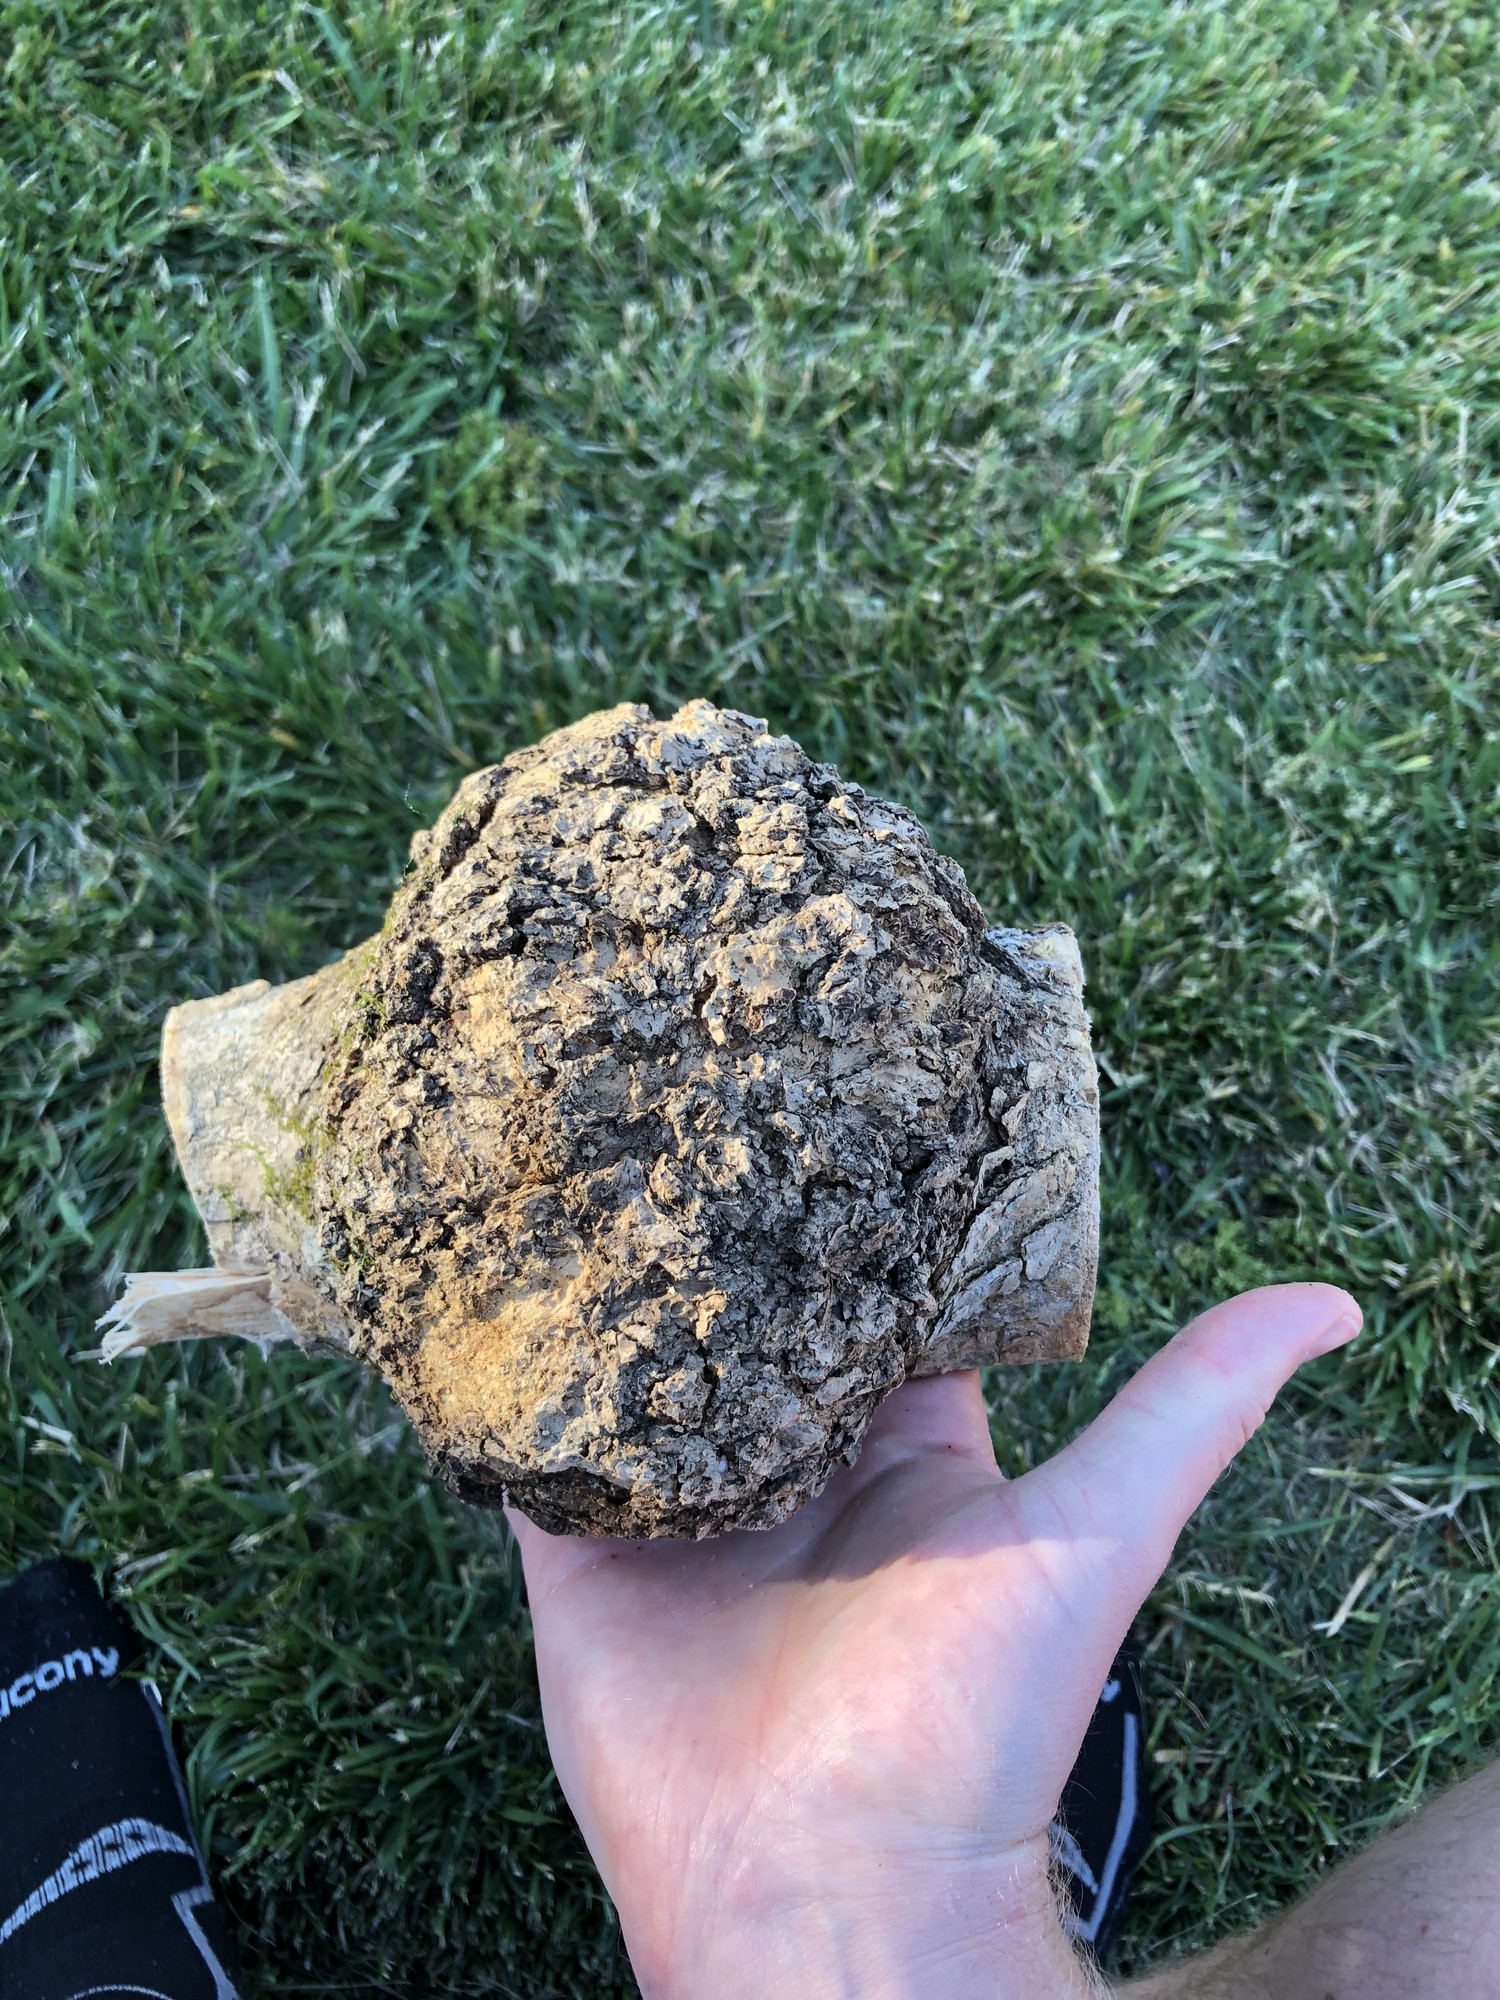
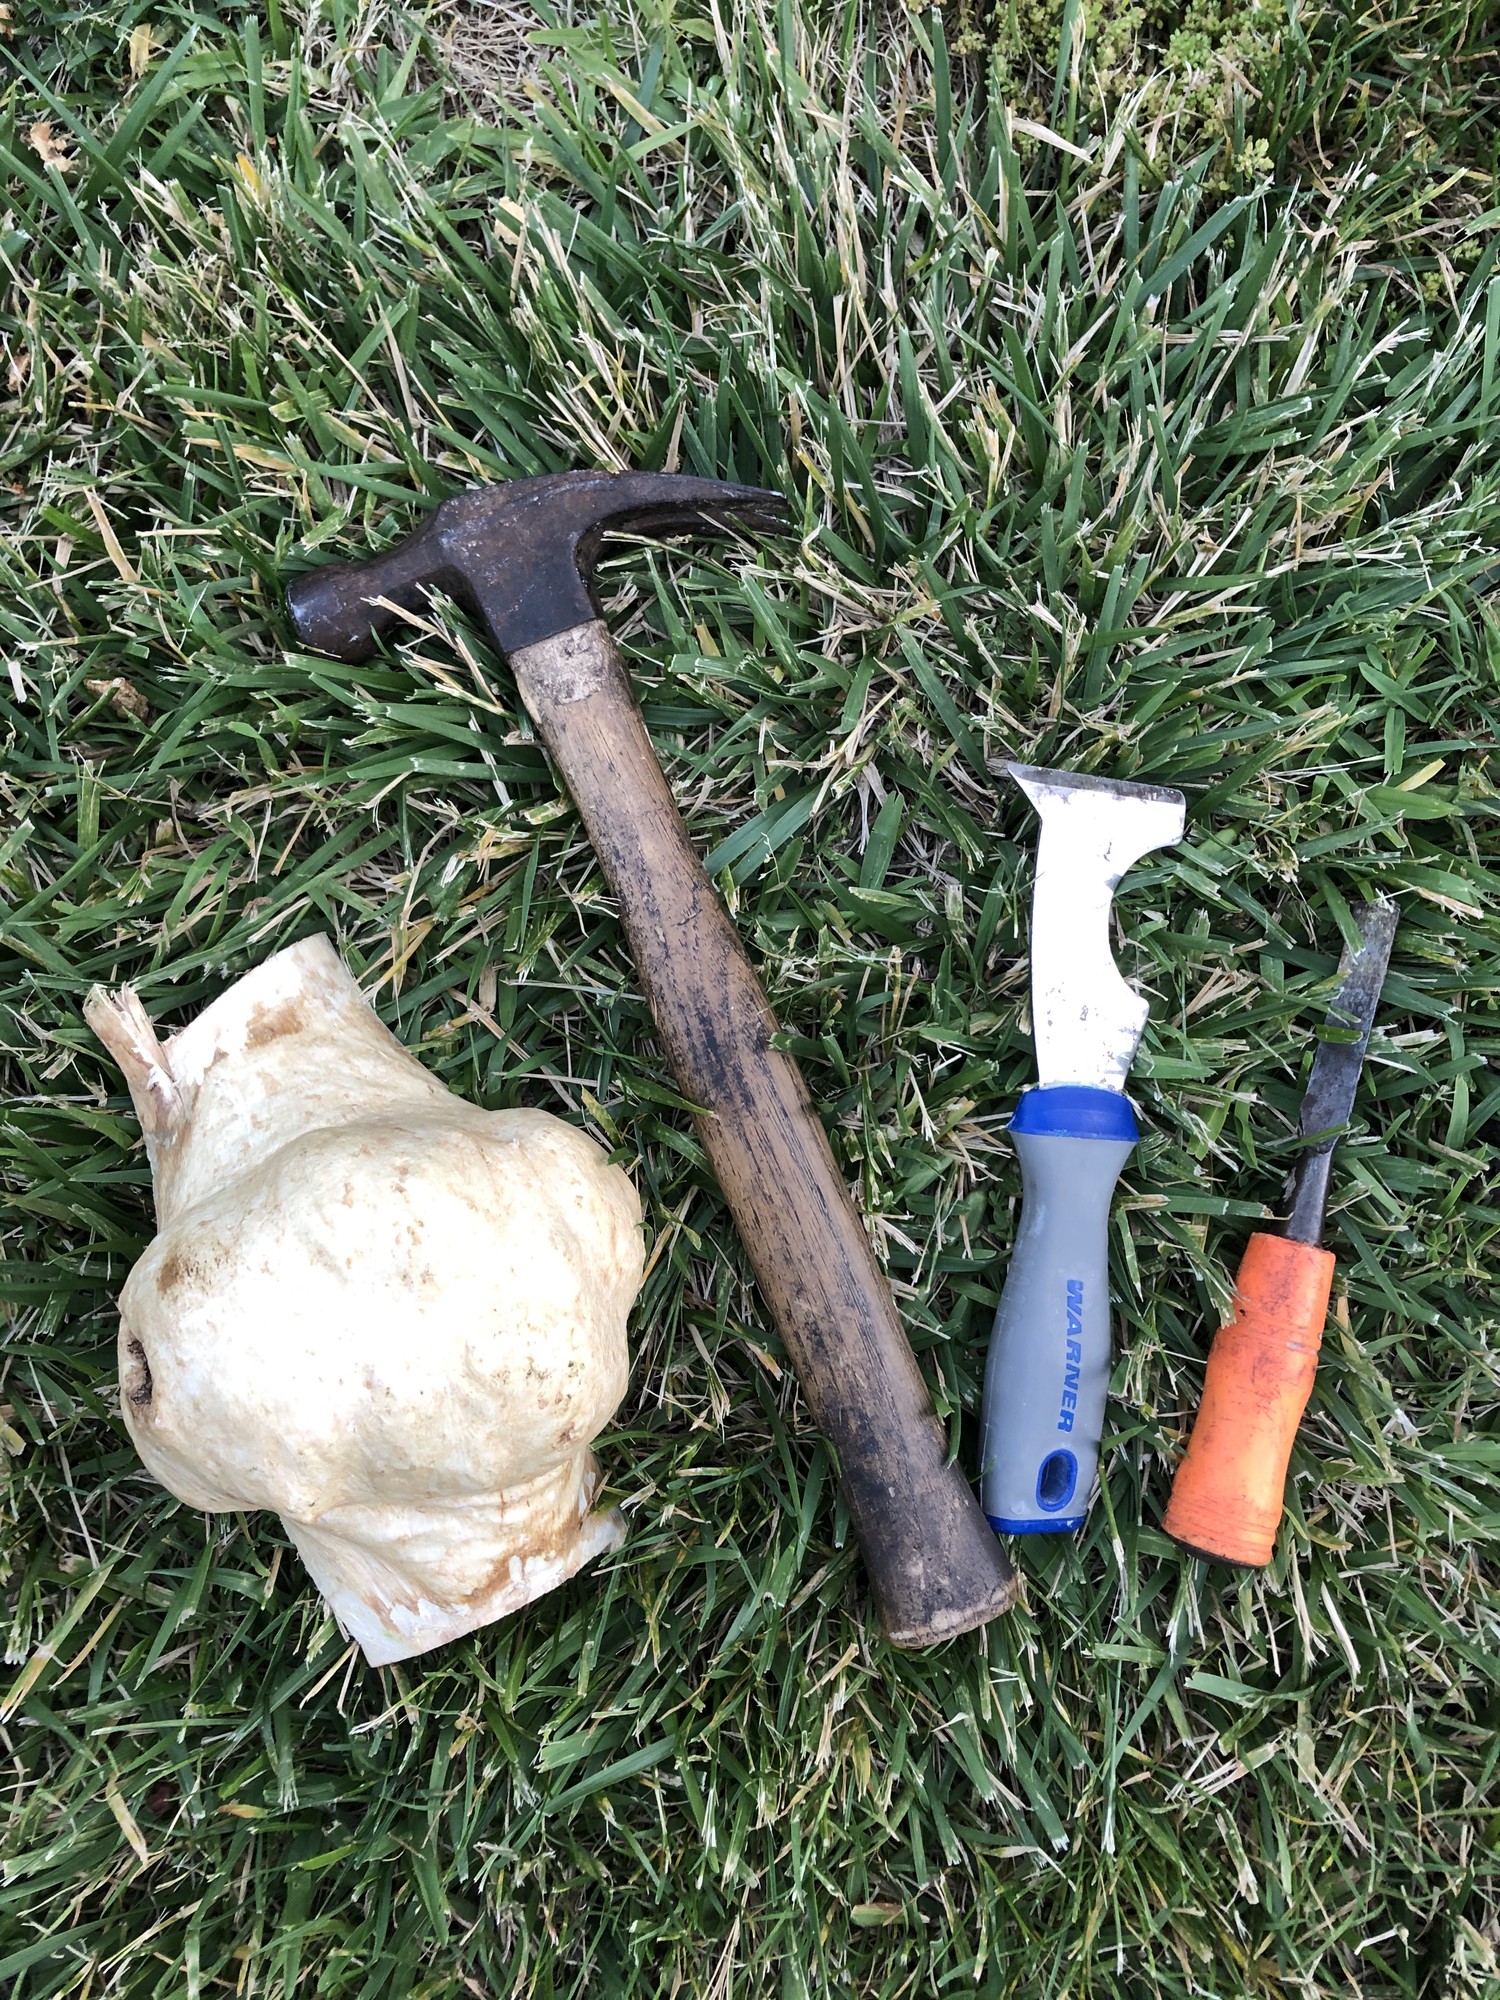
My first step was to remove the bark from the burl. Because I allowed the burl to dry with the bark attached, removing the bark was difficult. I had to use a chisel and paint scraper until I felt comfortable with the amount of bark removed.
Carving
Next, I needed to find a way to safely and accurately hollow the bowl.
Precise control here was critical because penetrating through the bowl edge was a non-starter.
I used a dremel in past bowls, but have found that that process takes several hours.
I conducted some research on hollowing bits and discovered that professionals often use ball bits by Orbicut.
I purchased the platinum package that contained both the 20mm and 40mm diameter bits1.
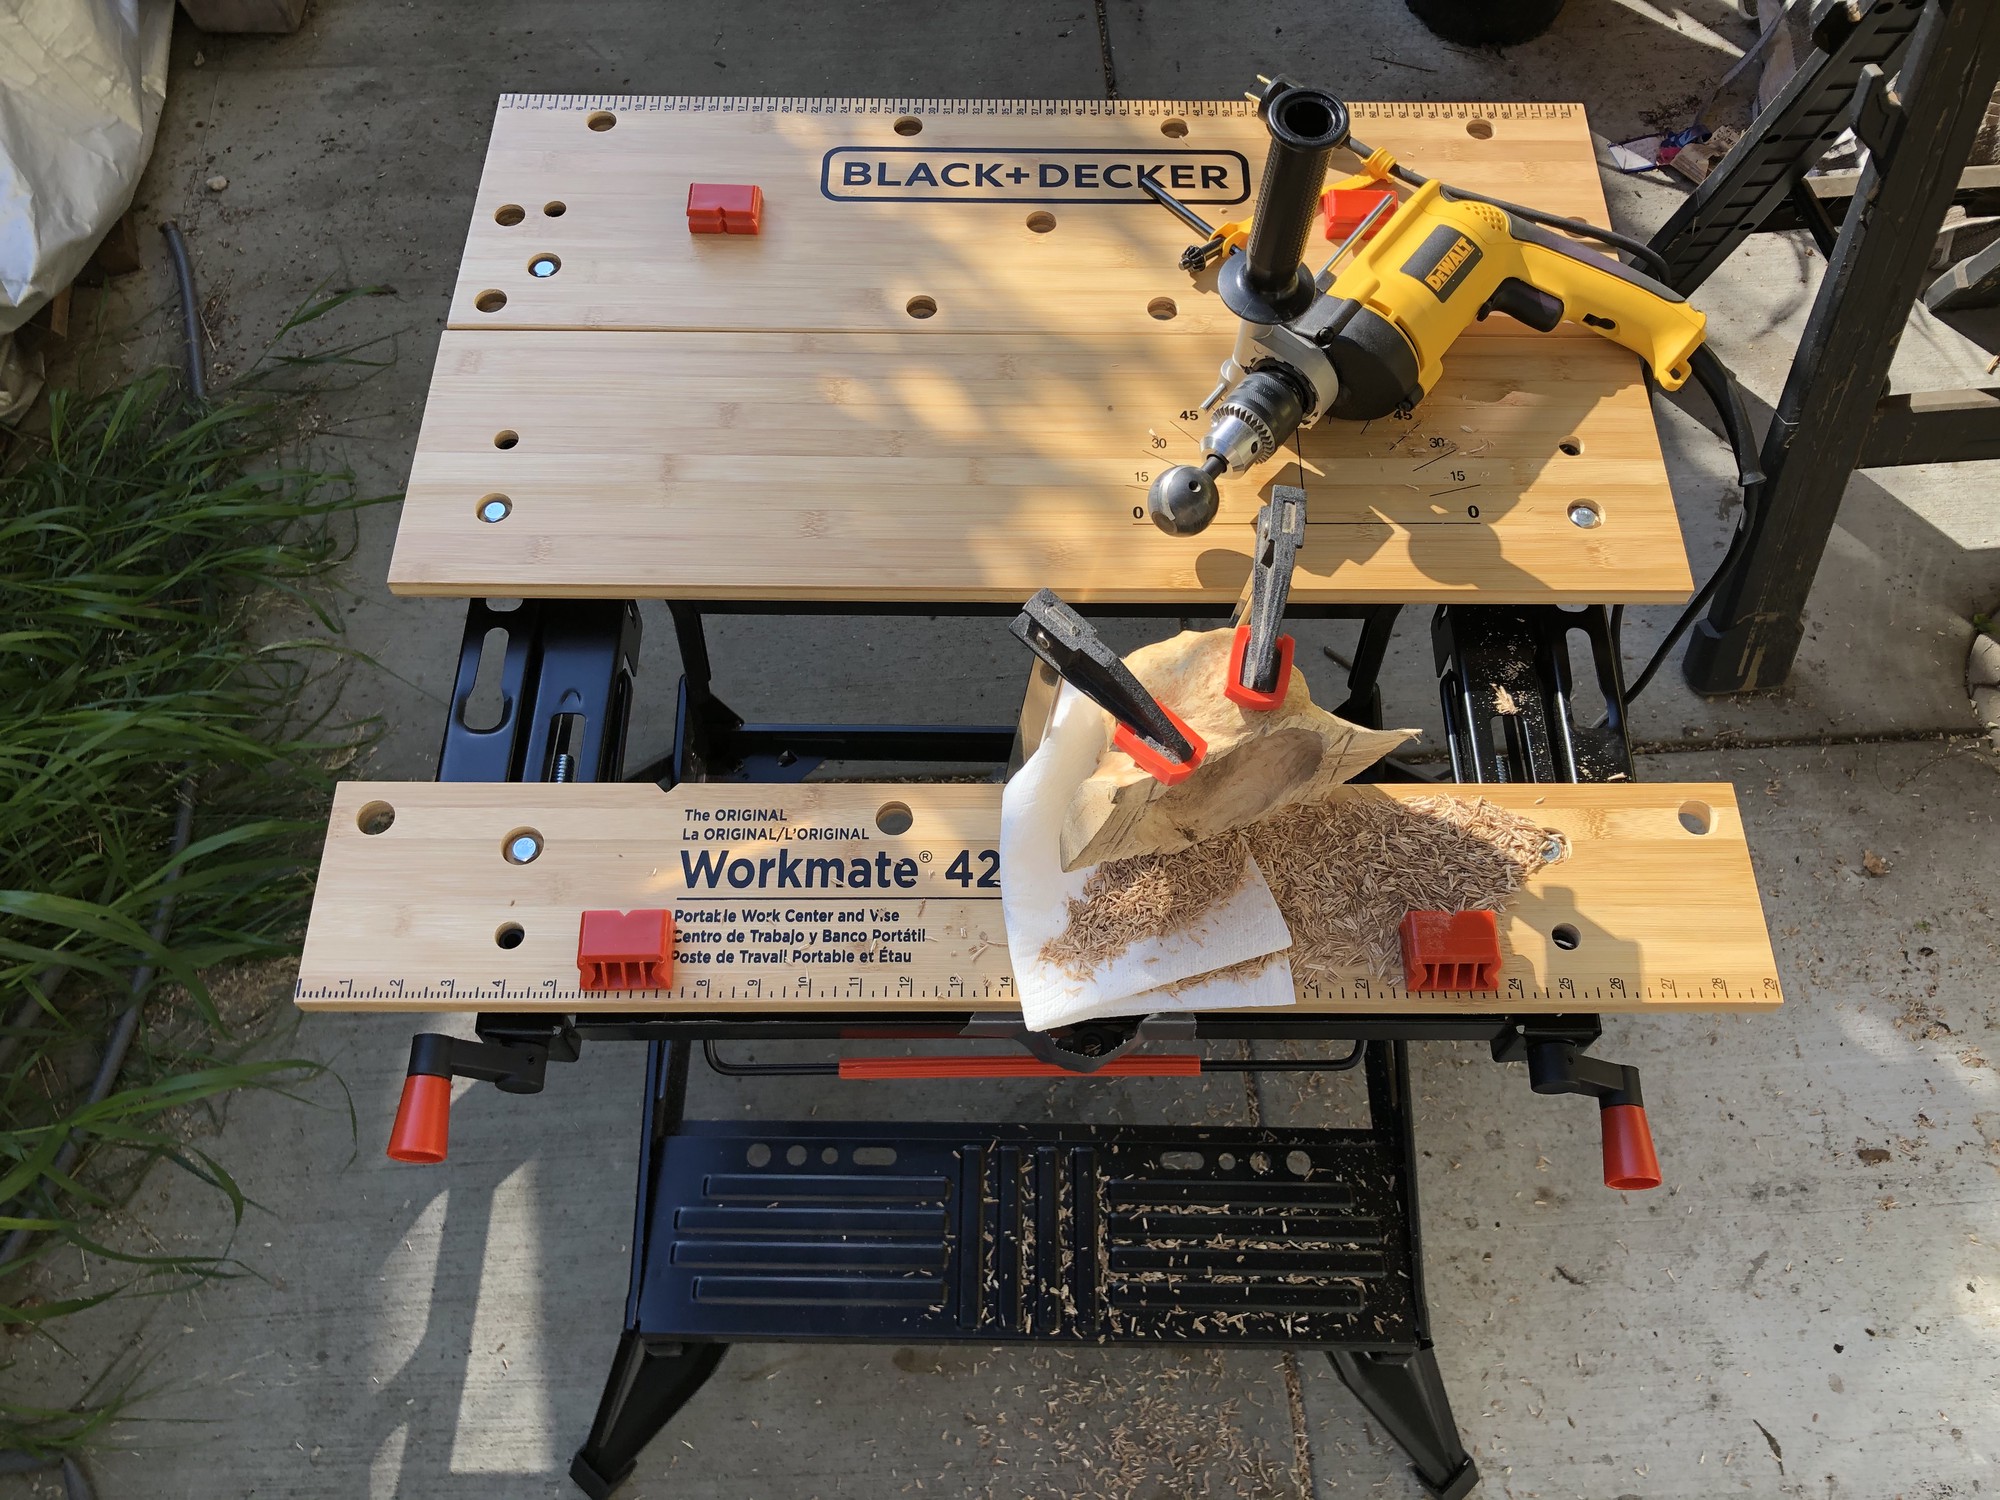
I had hoped to be able to use my dremel to power these bits but unfortunately had to purchase a Dewalt 1/2in hammer drill2.
These kinds of drills were the only drills that I could find whose chucks could accomodate the shaft diameter of the Orbicut bits.
Because the drill and bits were rather large and required force to hold steady, I had to purchase a workbench3 to clamp the bowl to in order to keep it immobile.
Using these bits, the bulk of the hollowing of the bowl was completed in just about an hour.
I then used course-grain sanding drums4 and a diamond wheel from Home Depot5 to refine the thickness of the bowl.
1st Pass Crack Filling
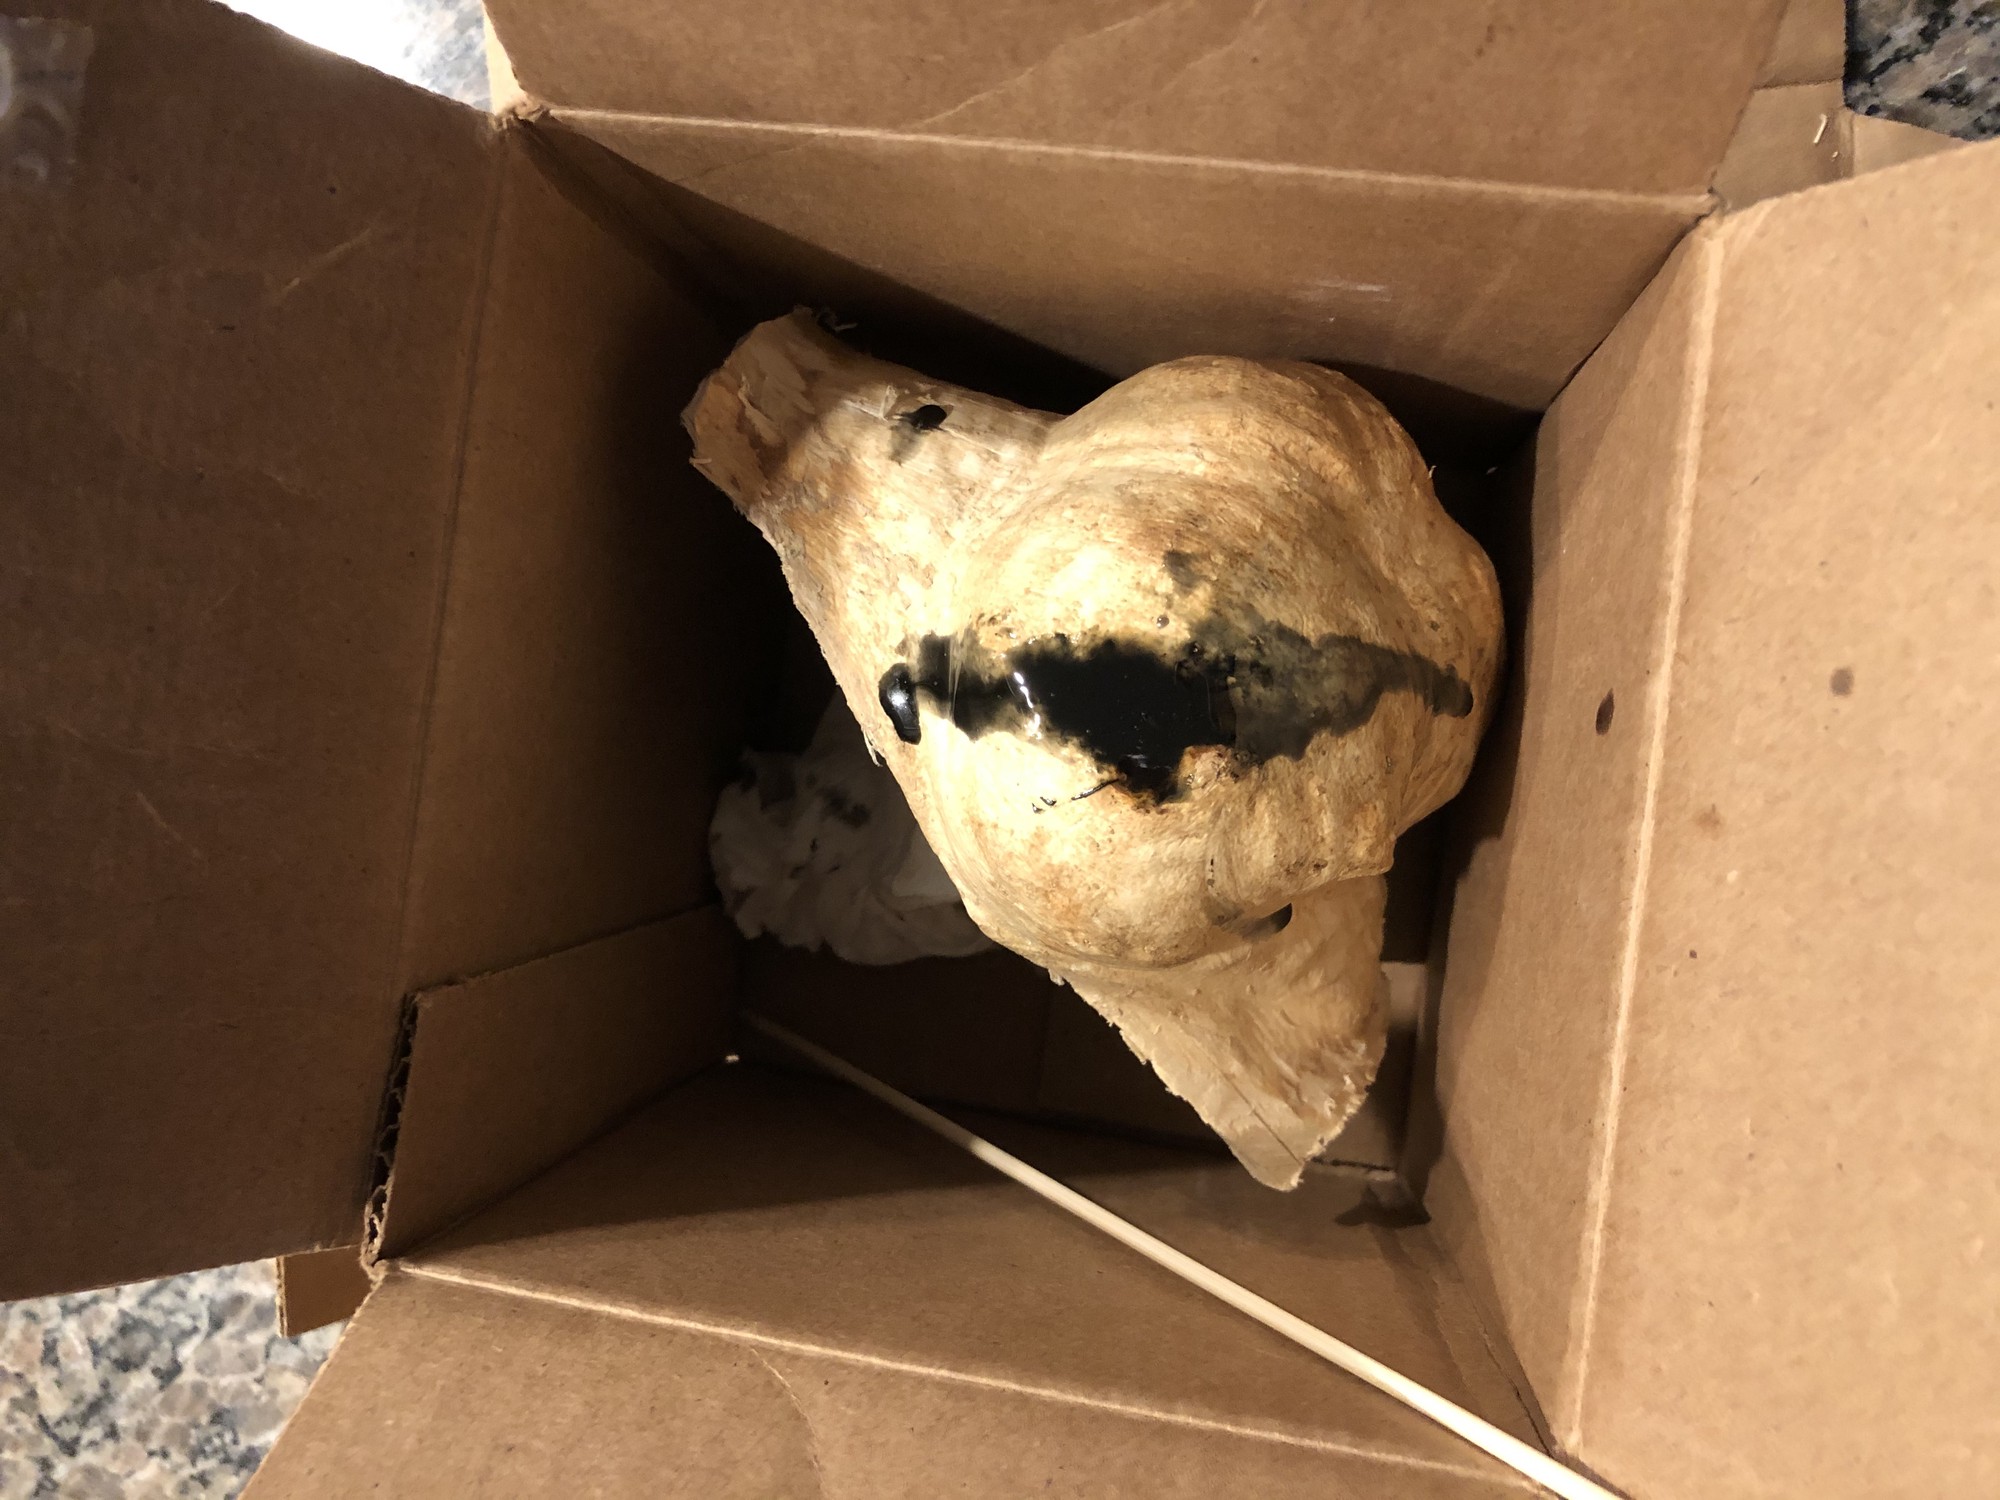
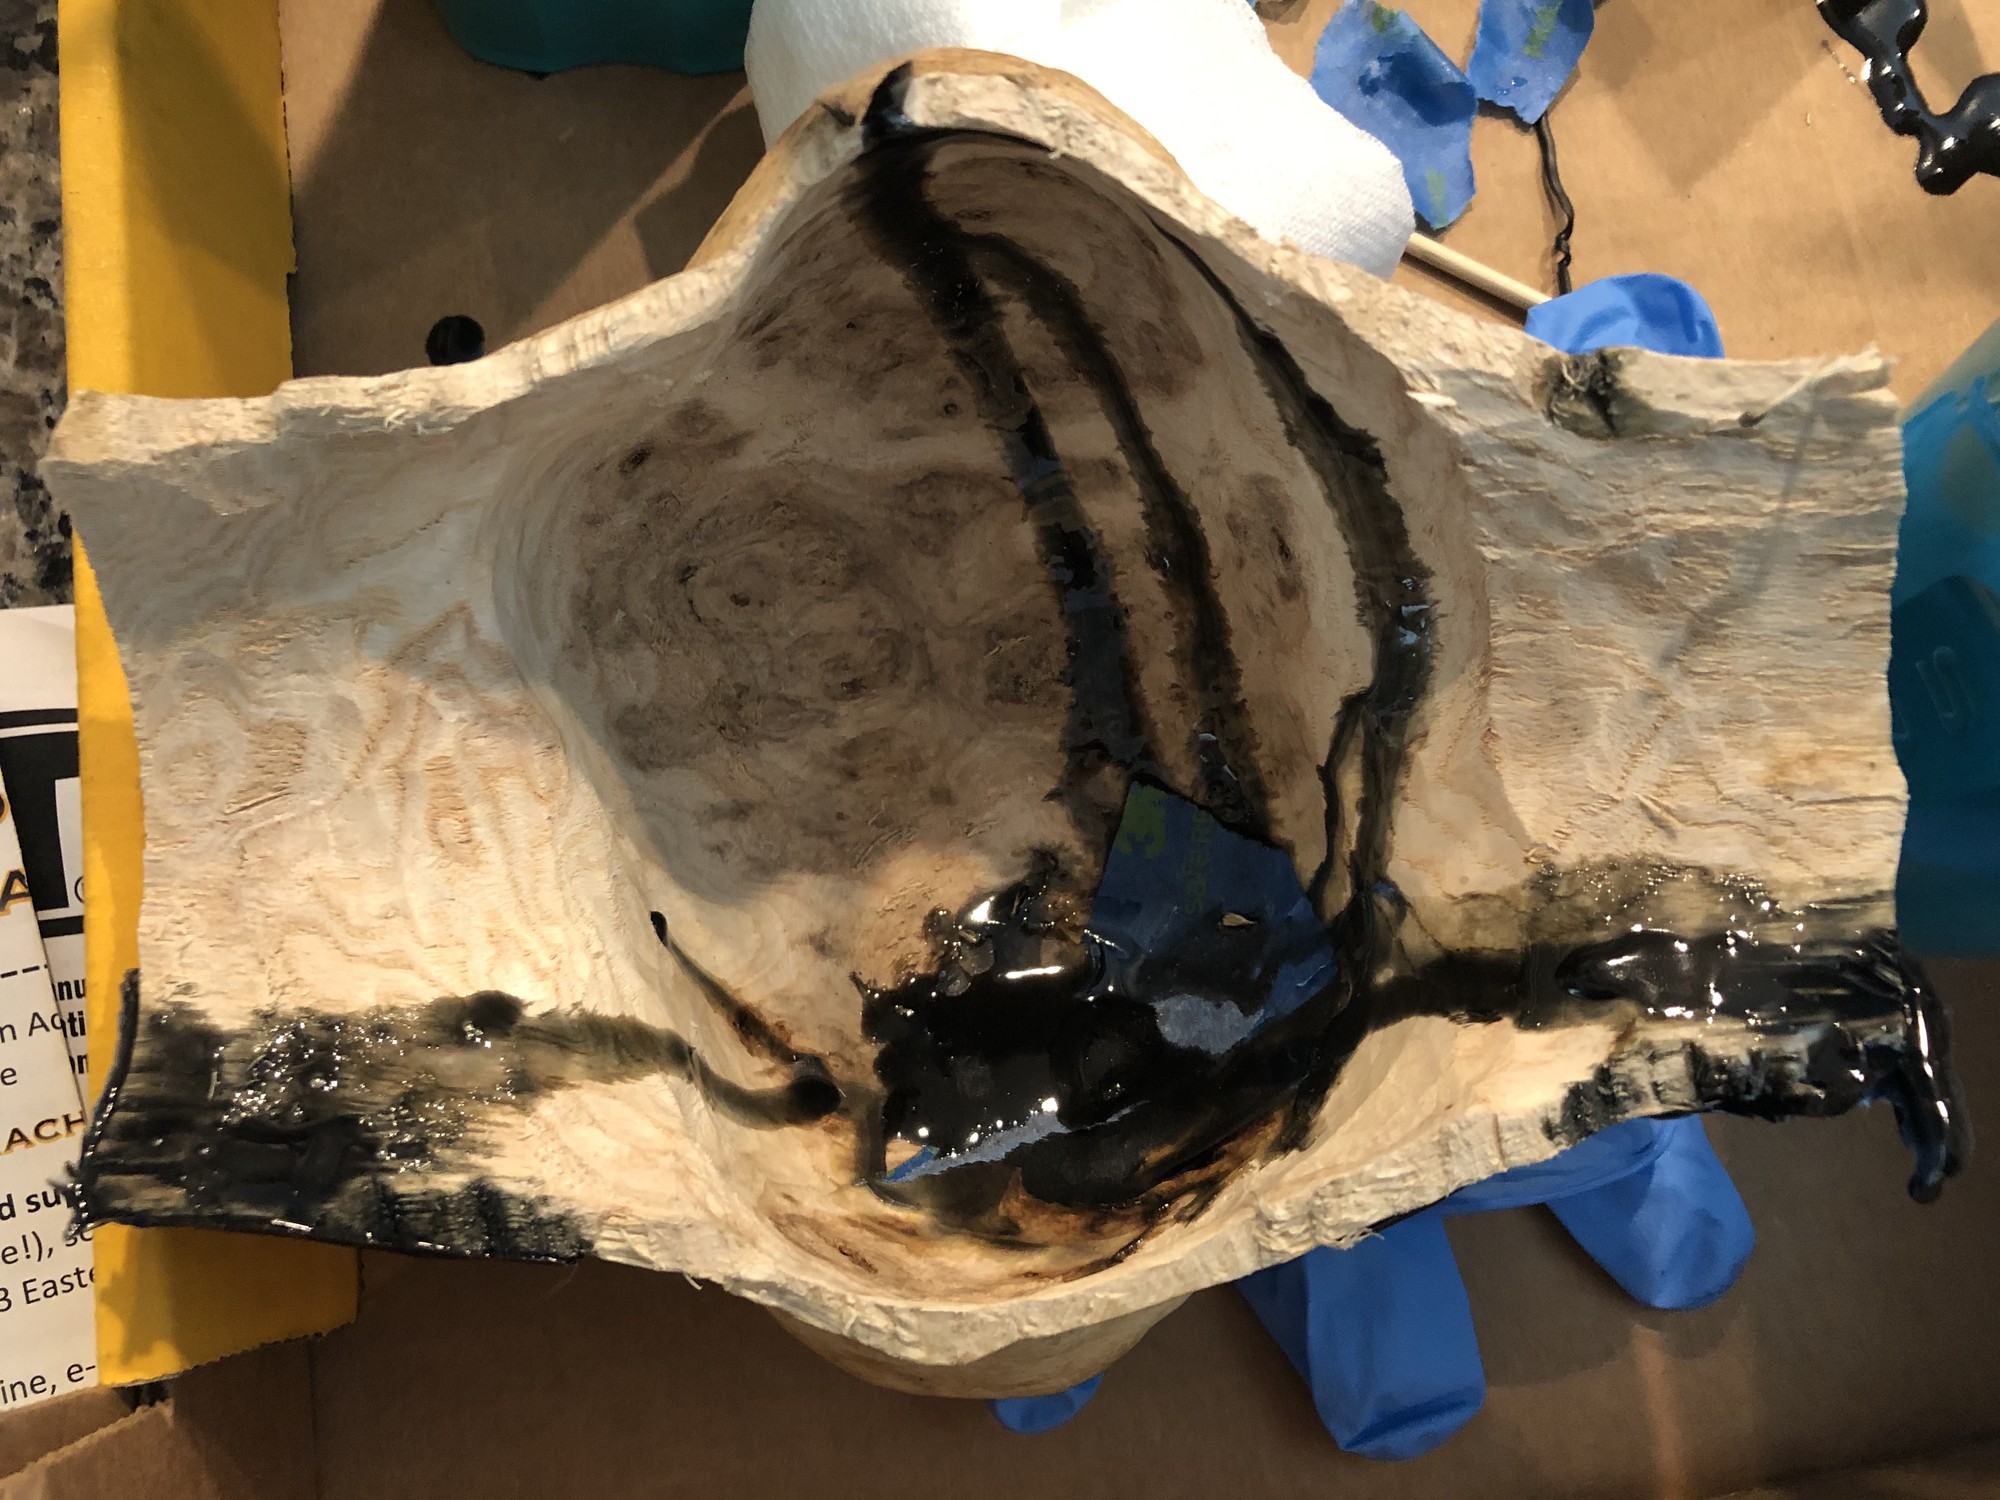
This burl contained a few cracks on its edge and a large, natural hole. Given that I had successfully filled cracks in a previous bowl, I decided to attempt to fill this large hole. I used West Systems 105 resin6 and West Systems 205 hardener7 along with a black epoxy pigment8 (the natural color of the cured epoxy is yellow and hence, slightly ugly).
1st Pass Sanding
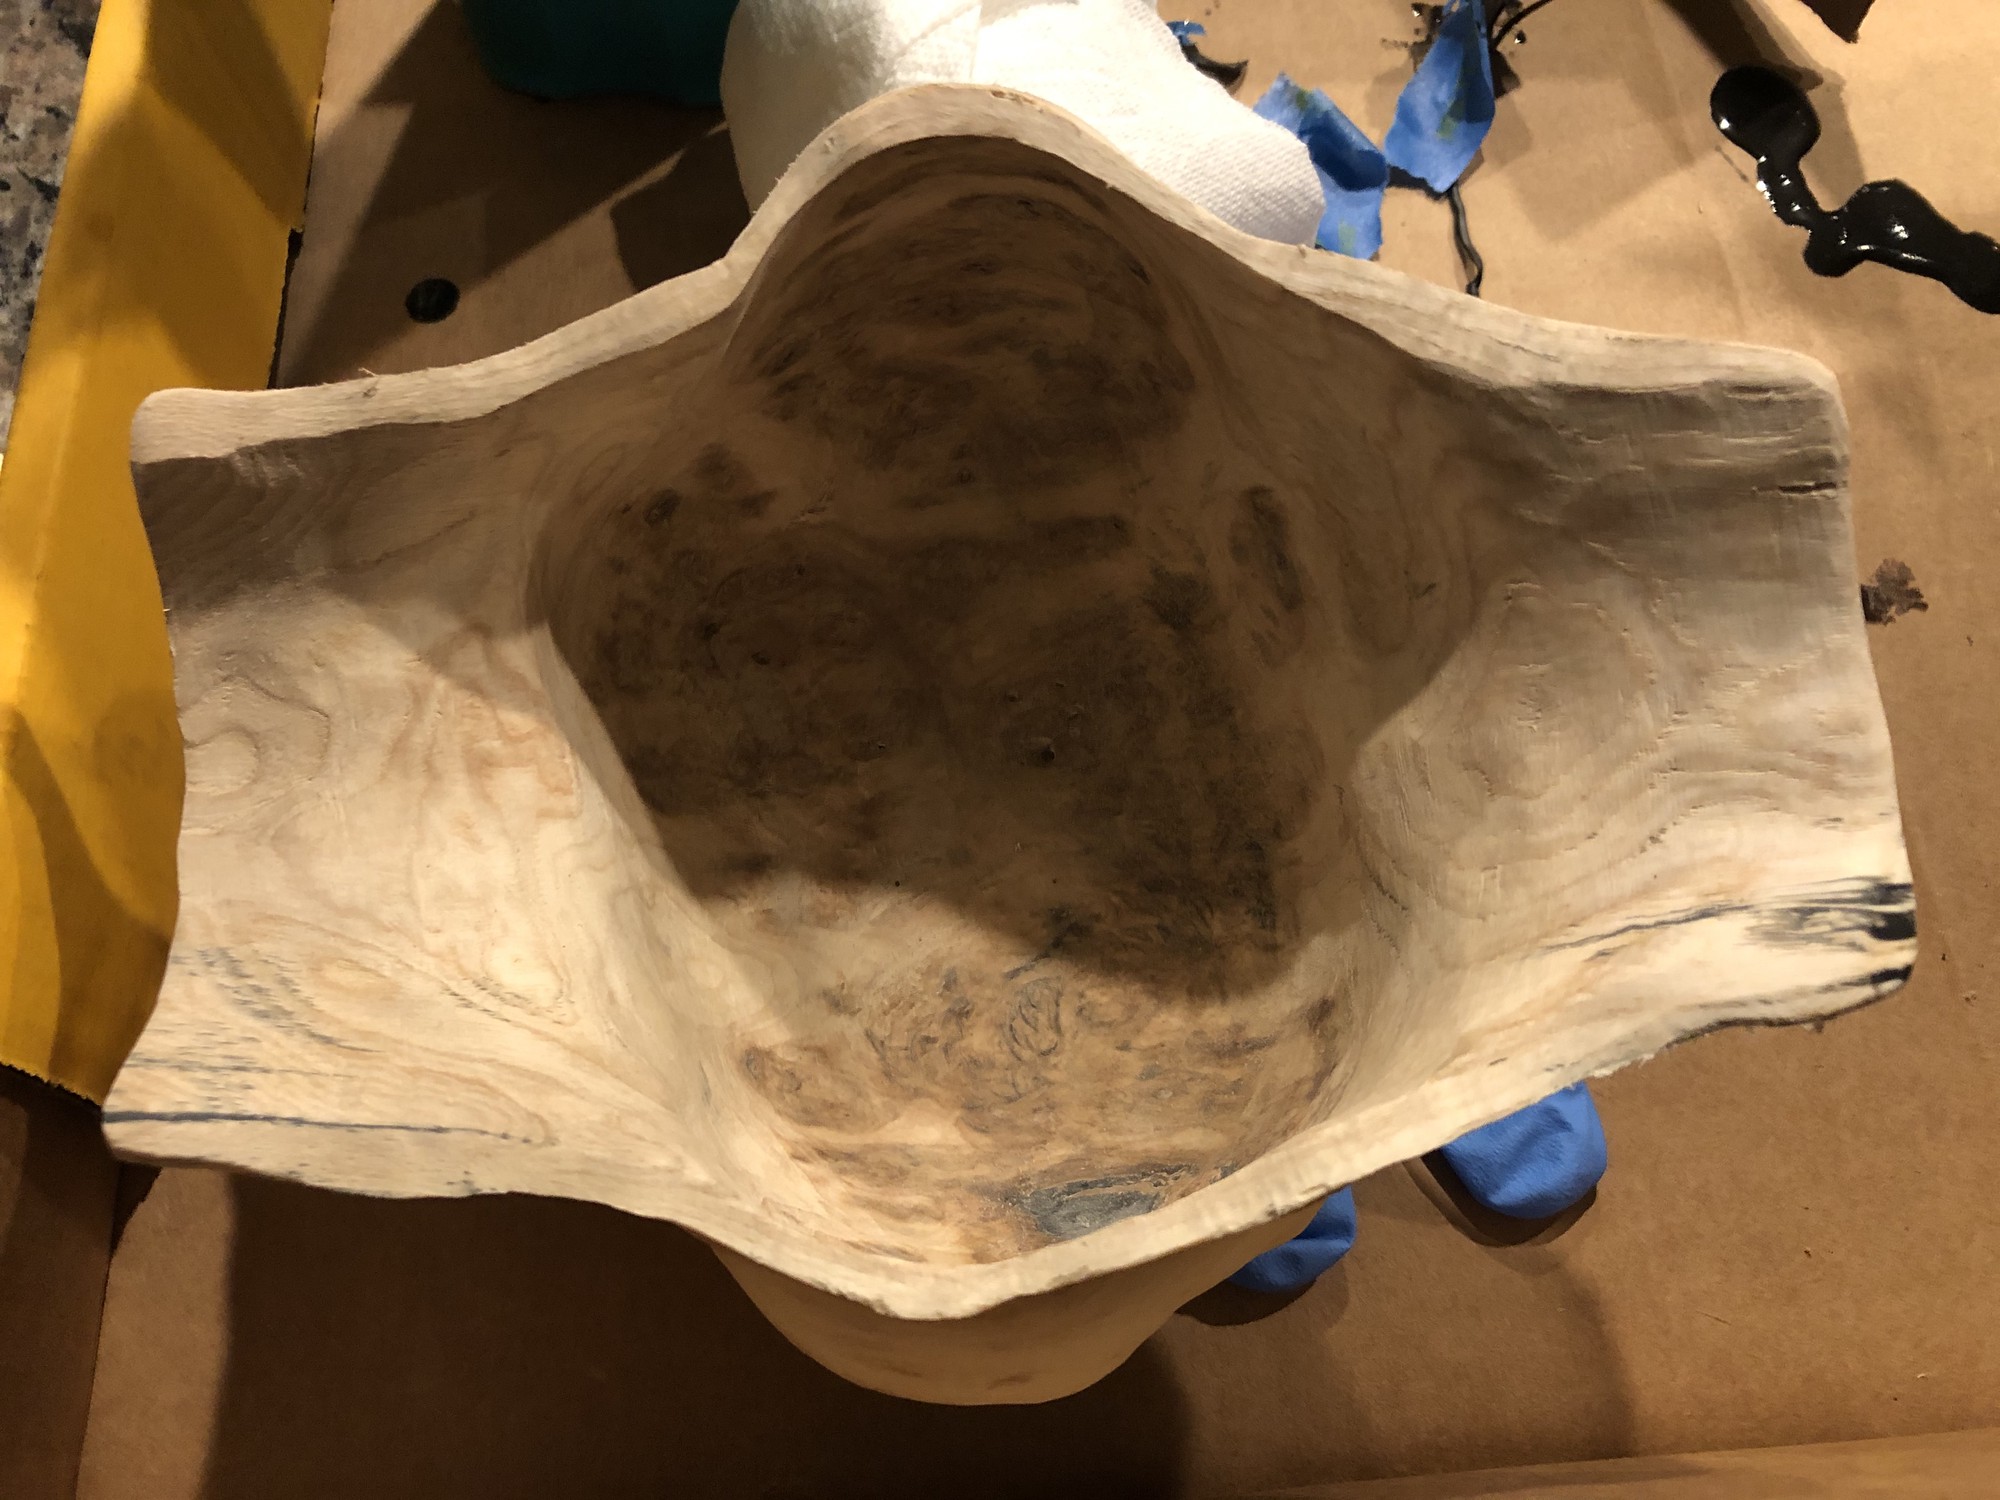
Next, I moved on to sanding the cored out burl using a dremel and the aforementioned sanding drums.
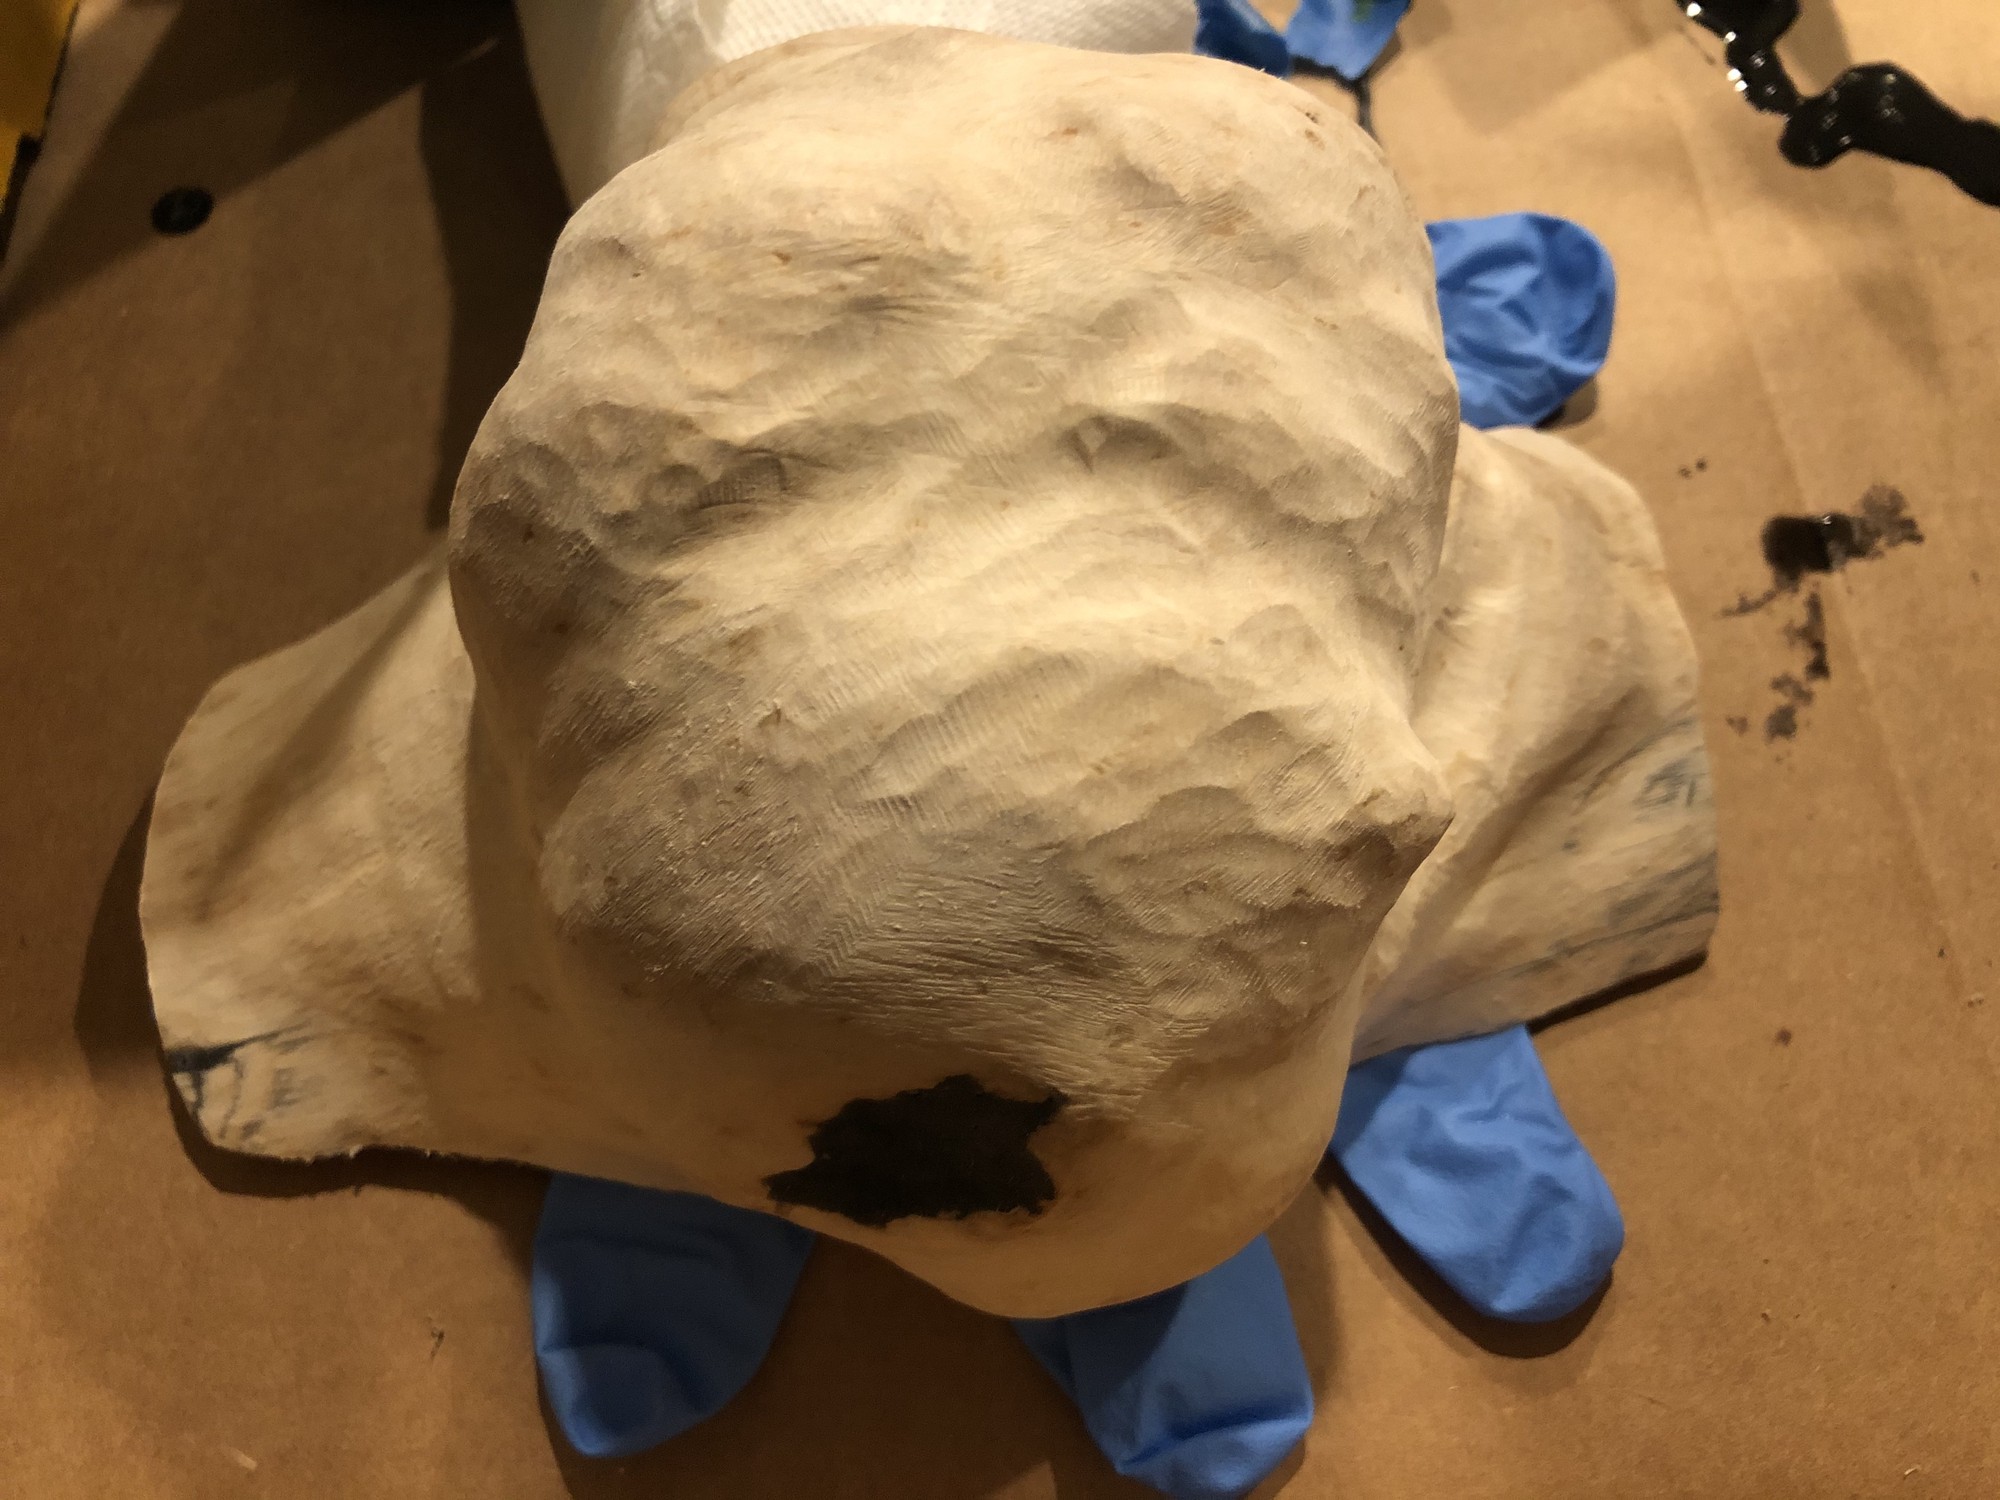
2nd Pass Crack Filling
Once the first pass of sanding was completed, it became apparent that the epoxy fill of the large hole had small air gaps that formed as it cured.
I decided to perform a second pass filling of the hole in the same manner as the first.
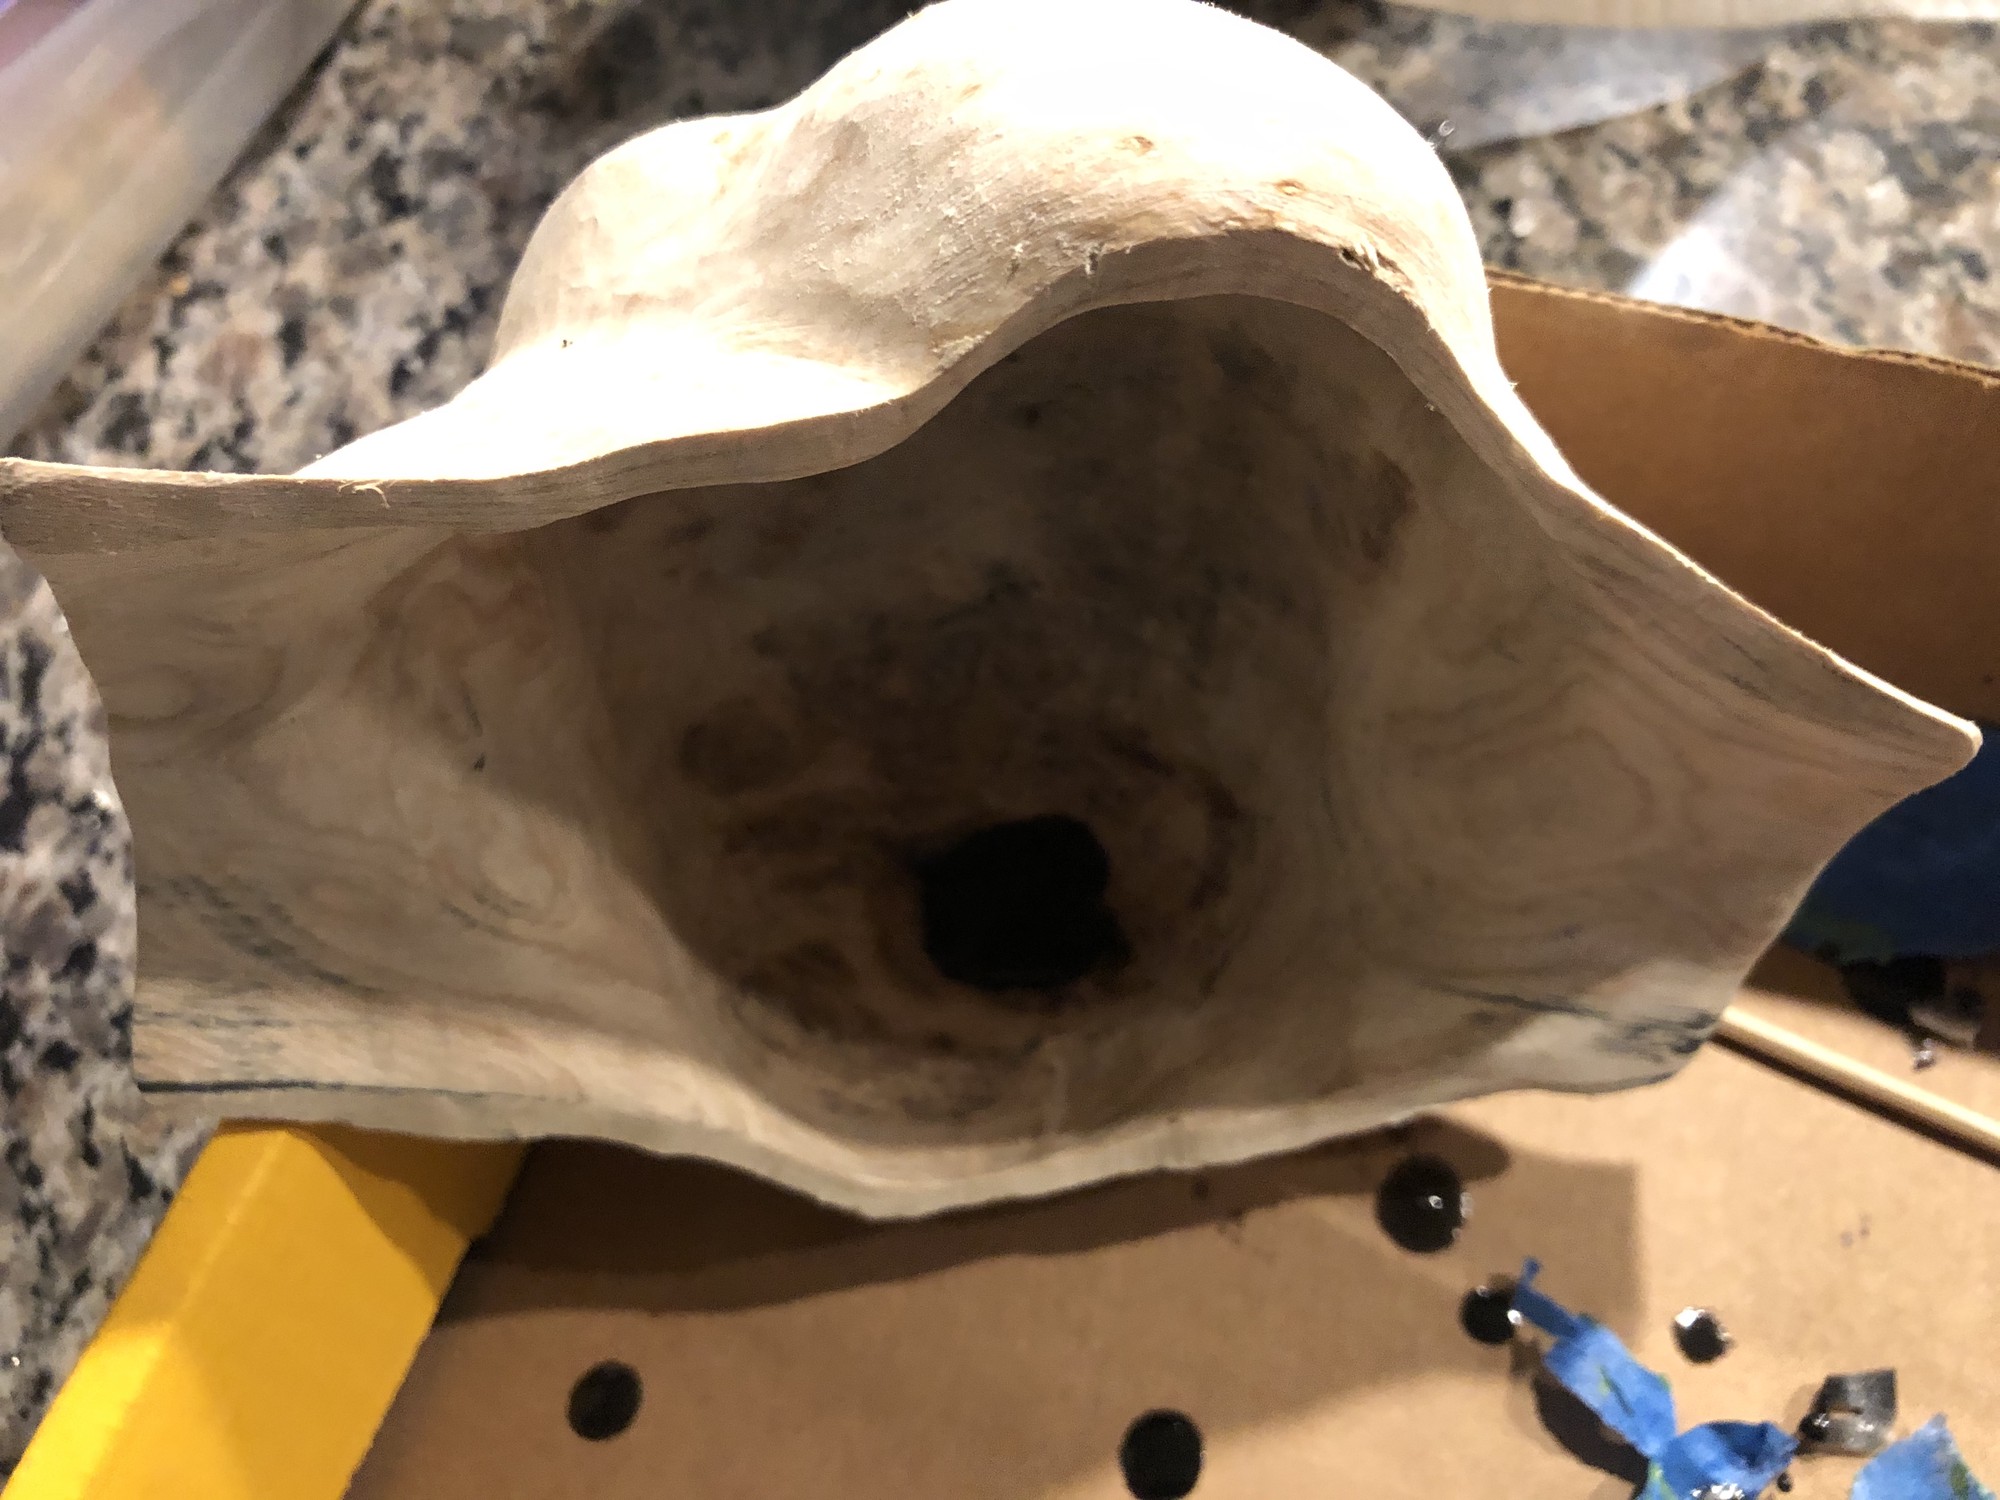
2nd Pass Sanding
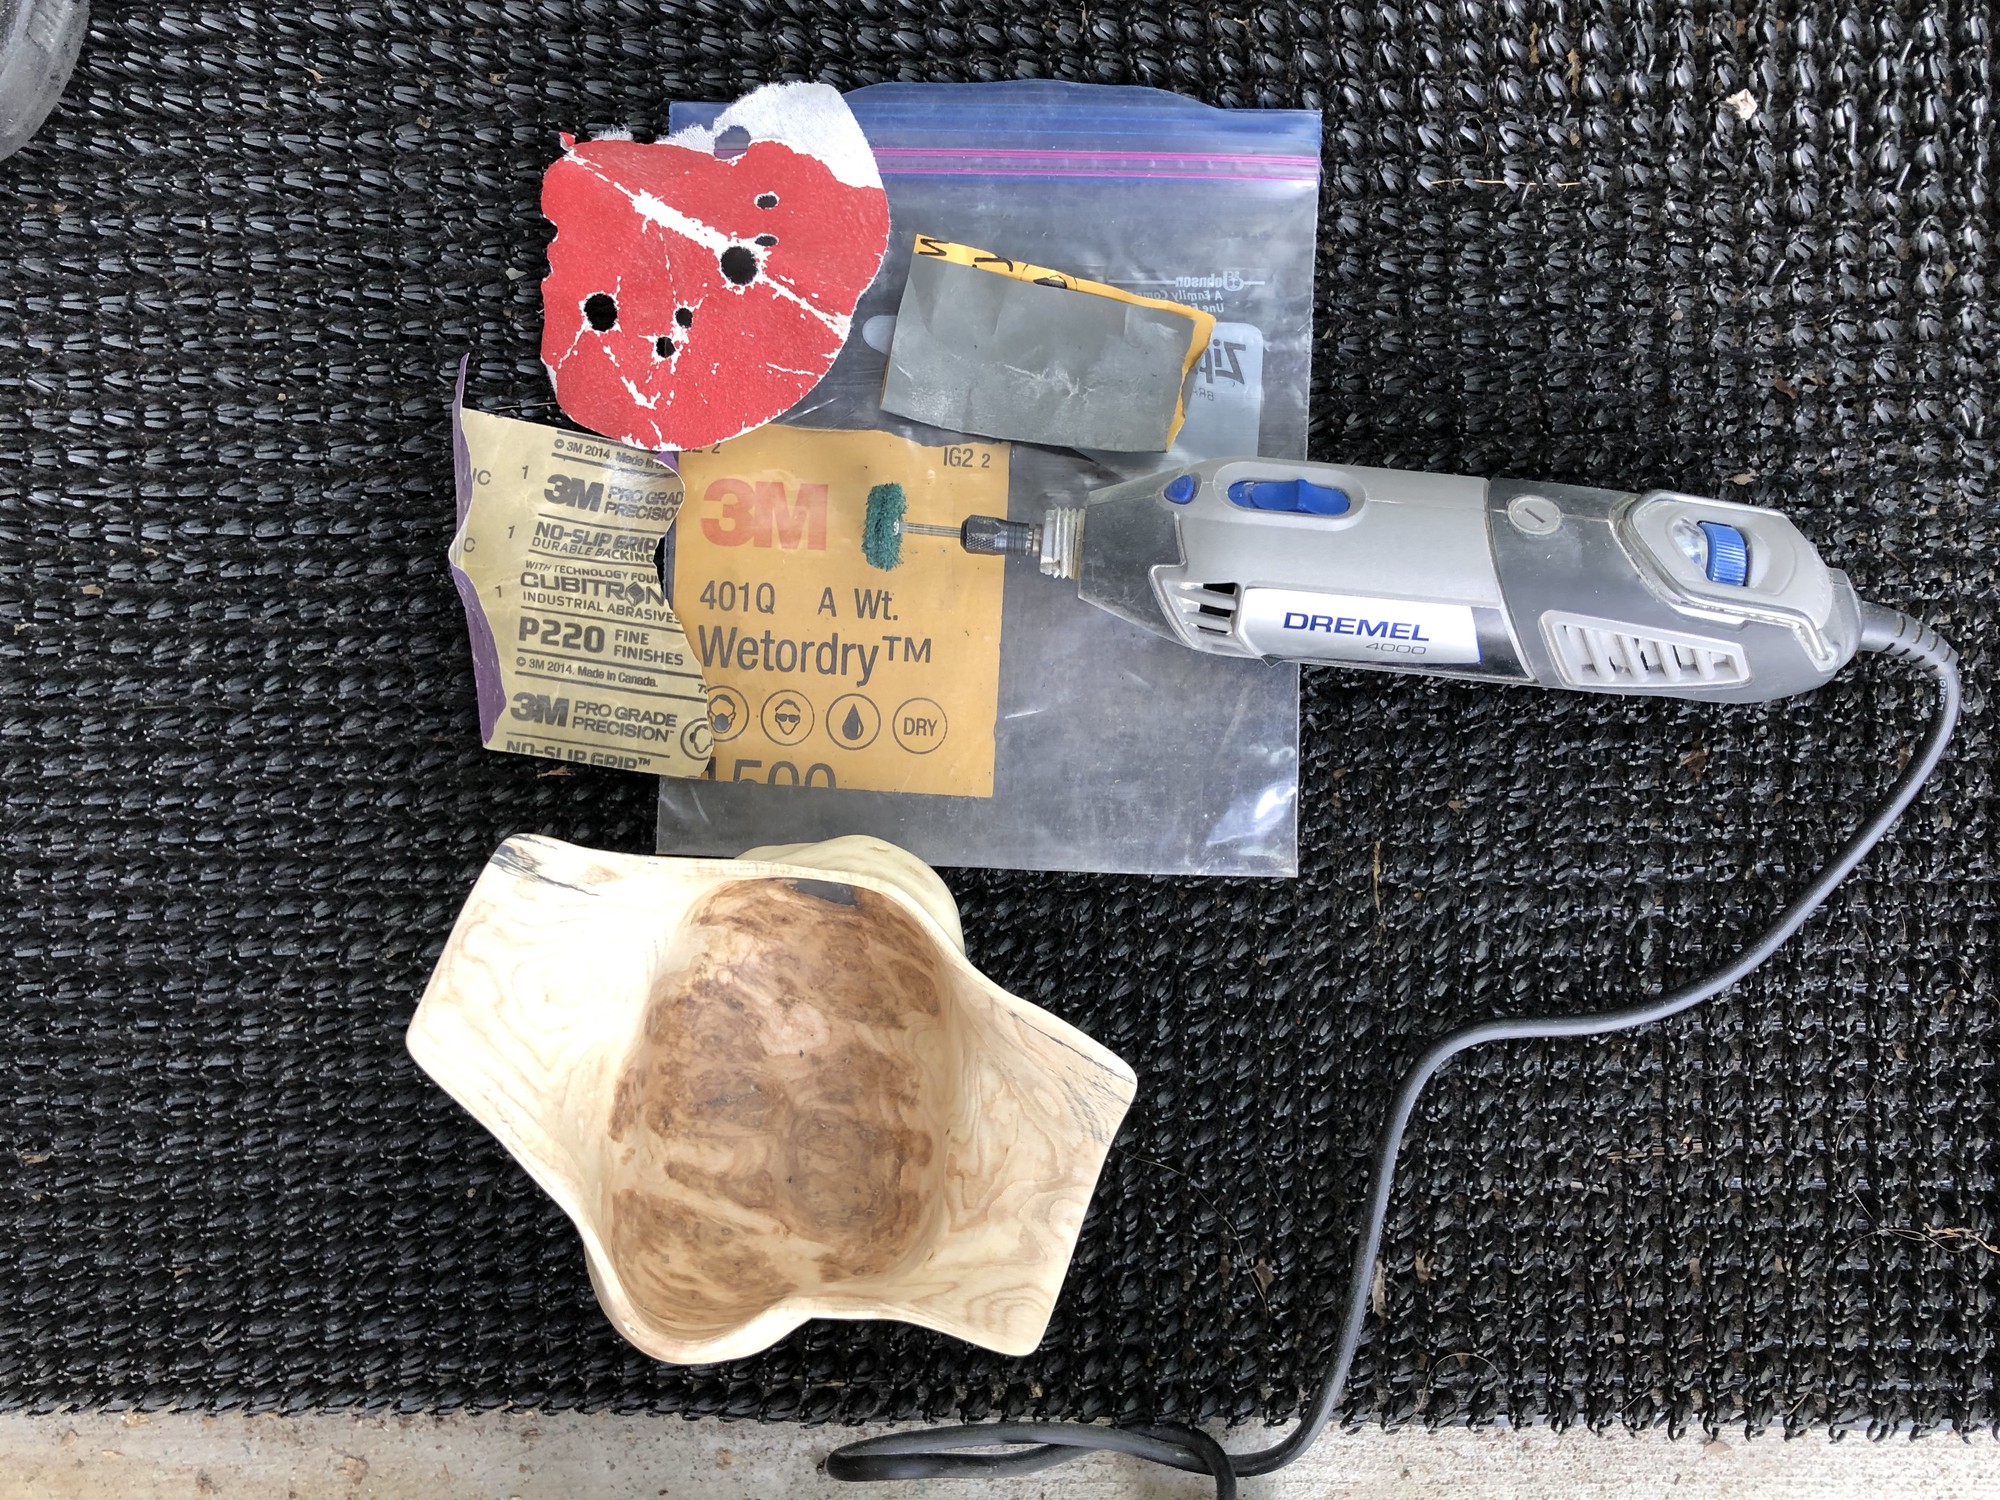
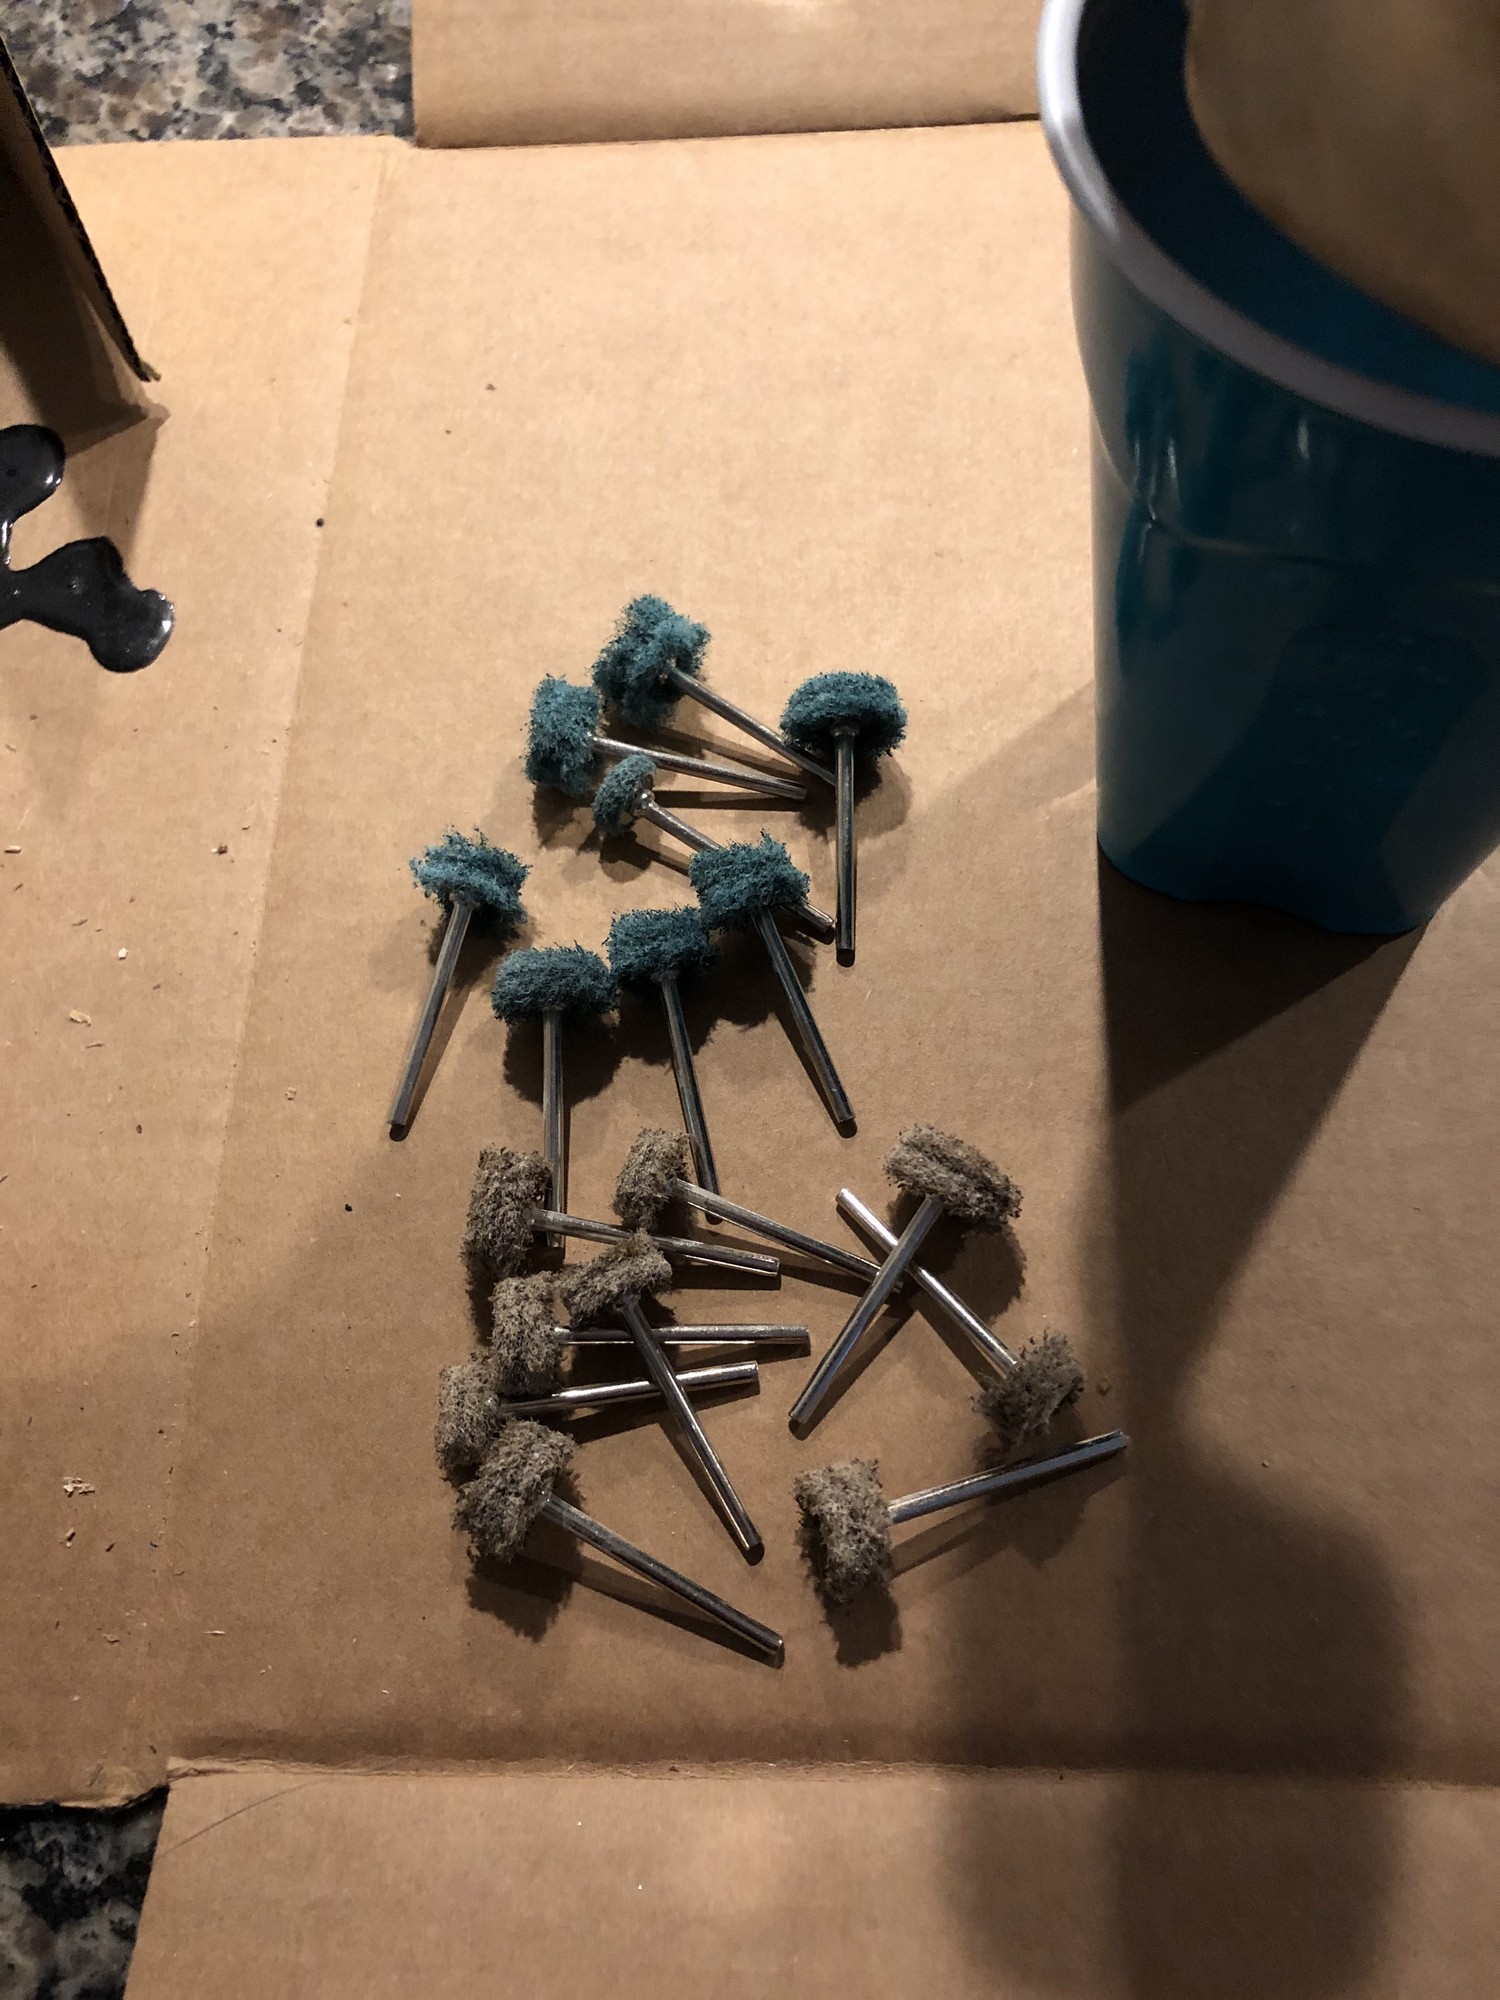
I then progressively sanded the bowl using 80, 220 and 1500 grit paper by hand and then used the gray and green polishing wheels from a polishing set9 found on Amazon.
The gray and green polishing wheels proved very effective at simultaneously sanding and polishing the bowl (I didn’t try the other wheels as they seemed the softest in grit).
The gray wheels are slightly higher grit but actually wore out faster than the green wheels.
Thus, the green wheels proved to be about as or slightly more effective than the gray wheels.
Hole Fill Removal
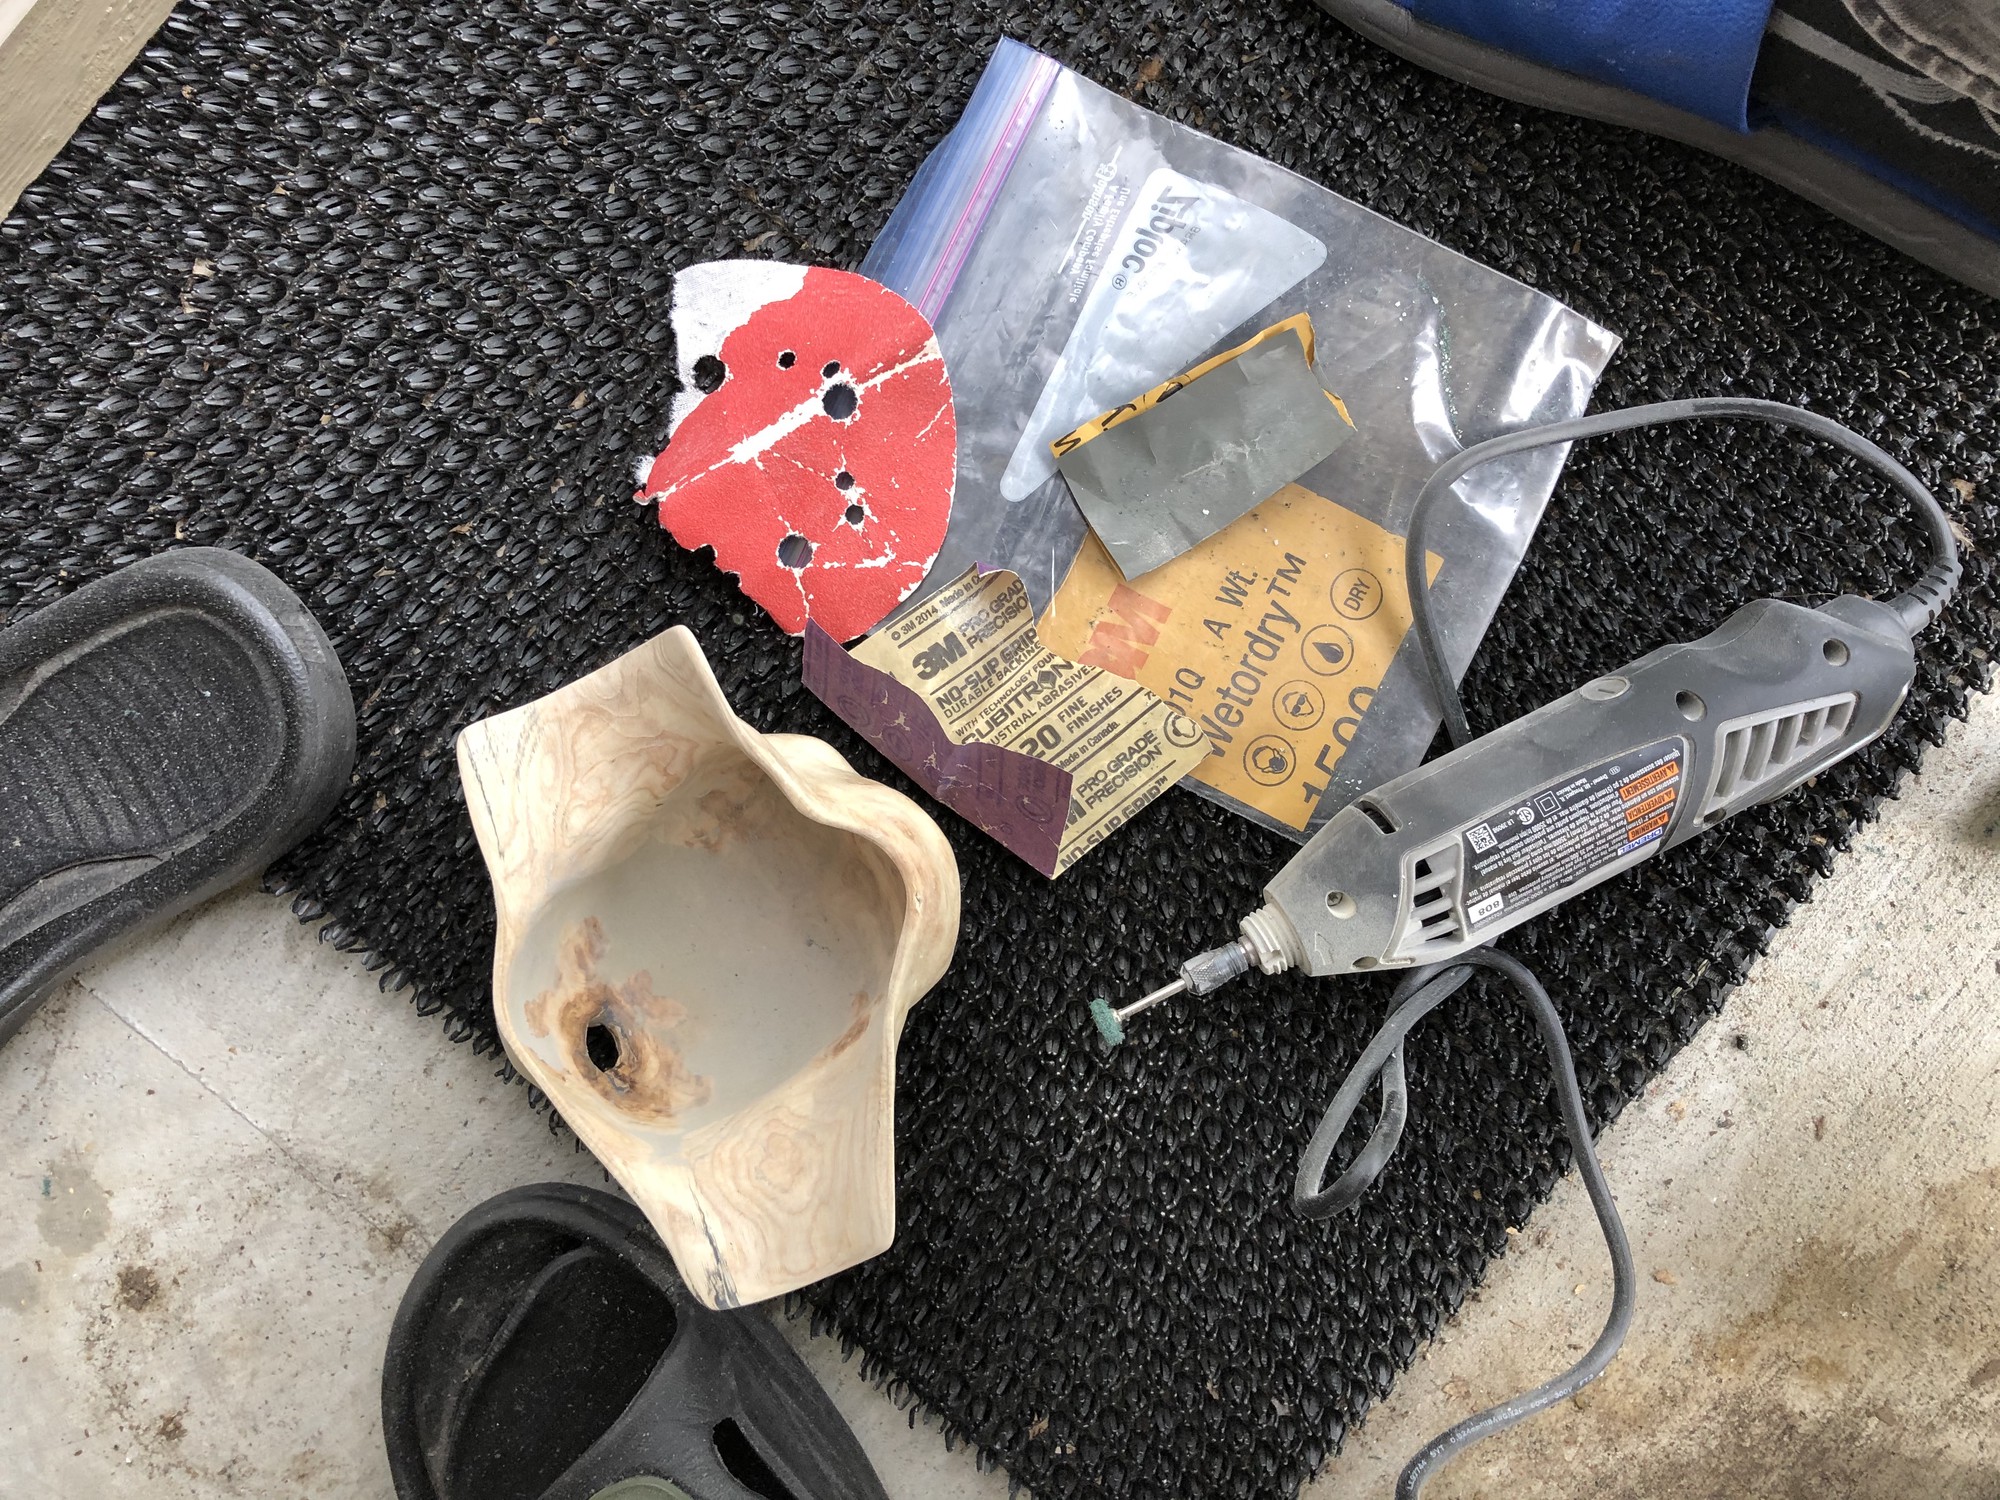
After inspecting the bowl’s hole after the 2nd pass sanding, I decided that the fill didn’t look natural enough for my taste. I removed the resin fill using the green polishing wheels. Both the gray and green polishing wheels were very effective at removing the resin (they removed the resin faster than the wood).
3rd Pass Crack Filling
I noticed that one of the filled cracks on the edge of the bowl had small holes where air had been trapped during the curing process. I filled these smaller holes with cyanoacrylate glue and a fast hardener10.
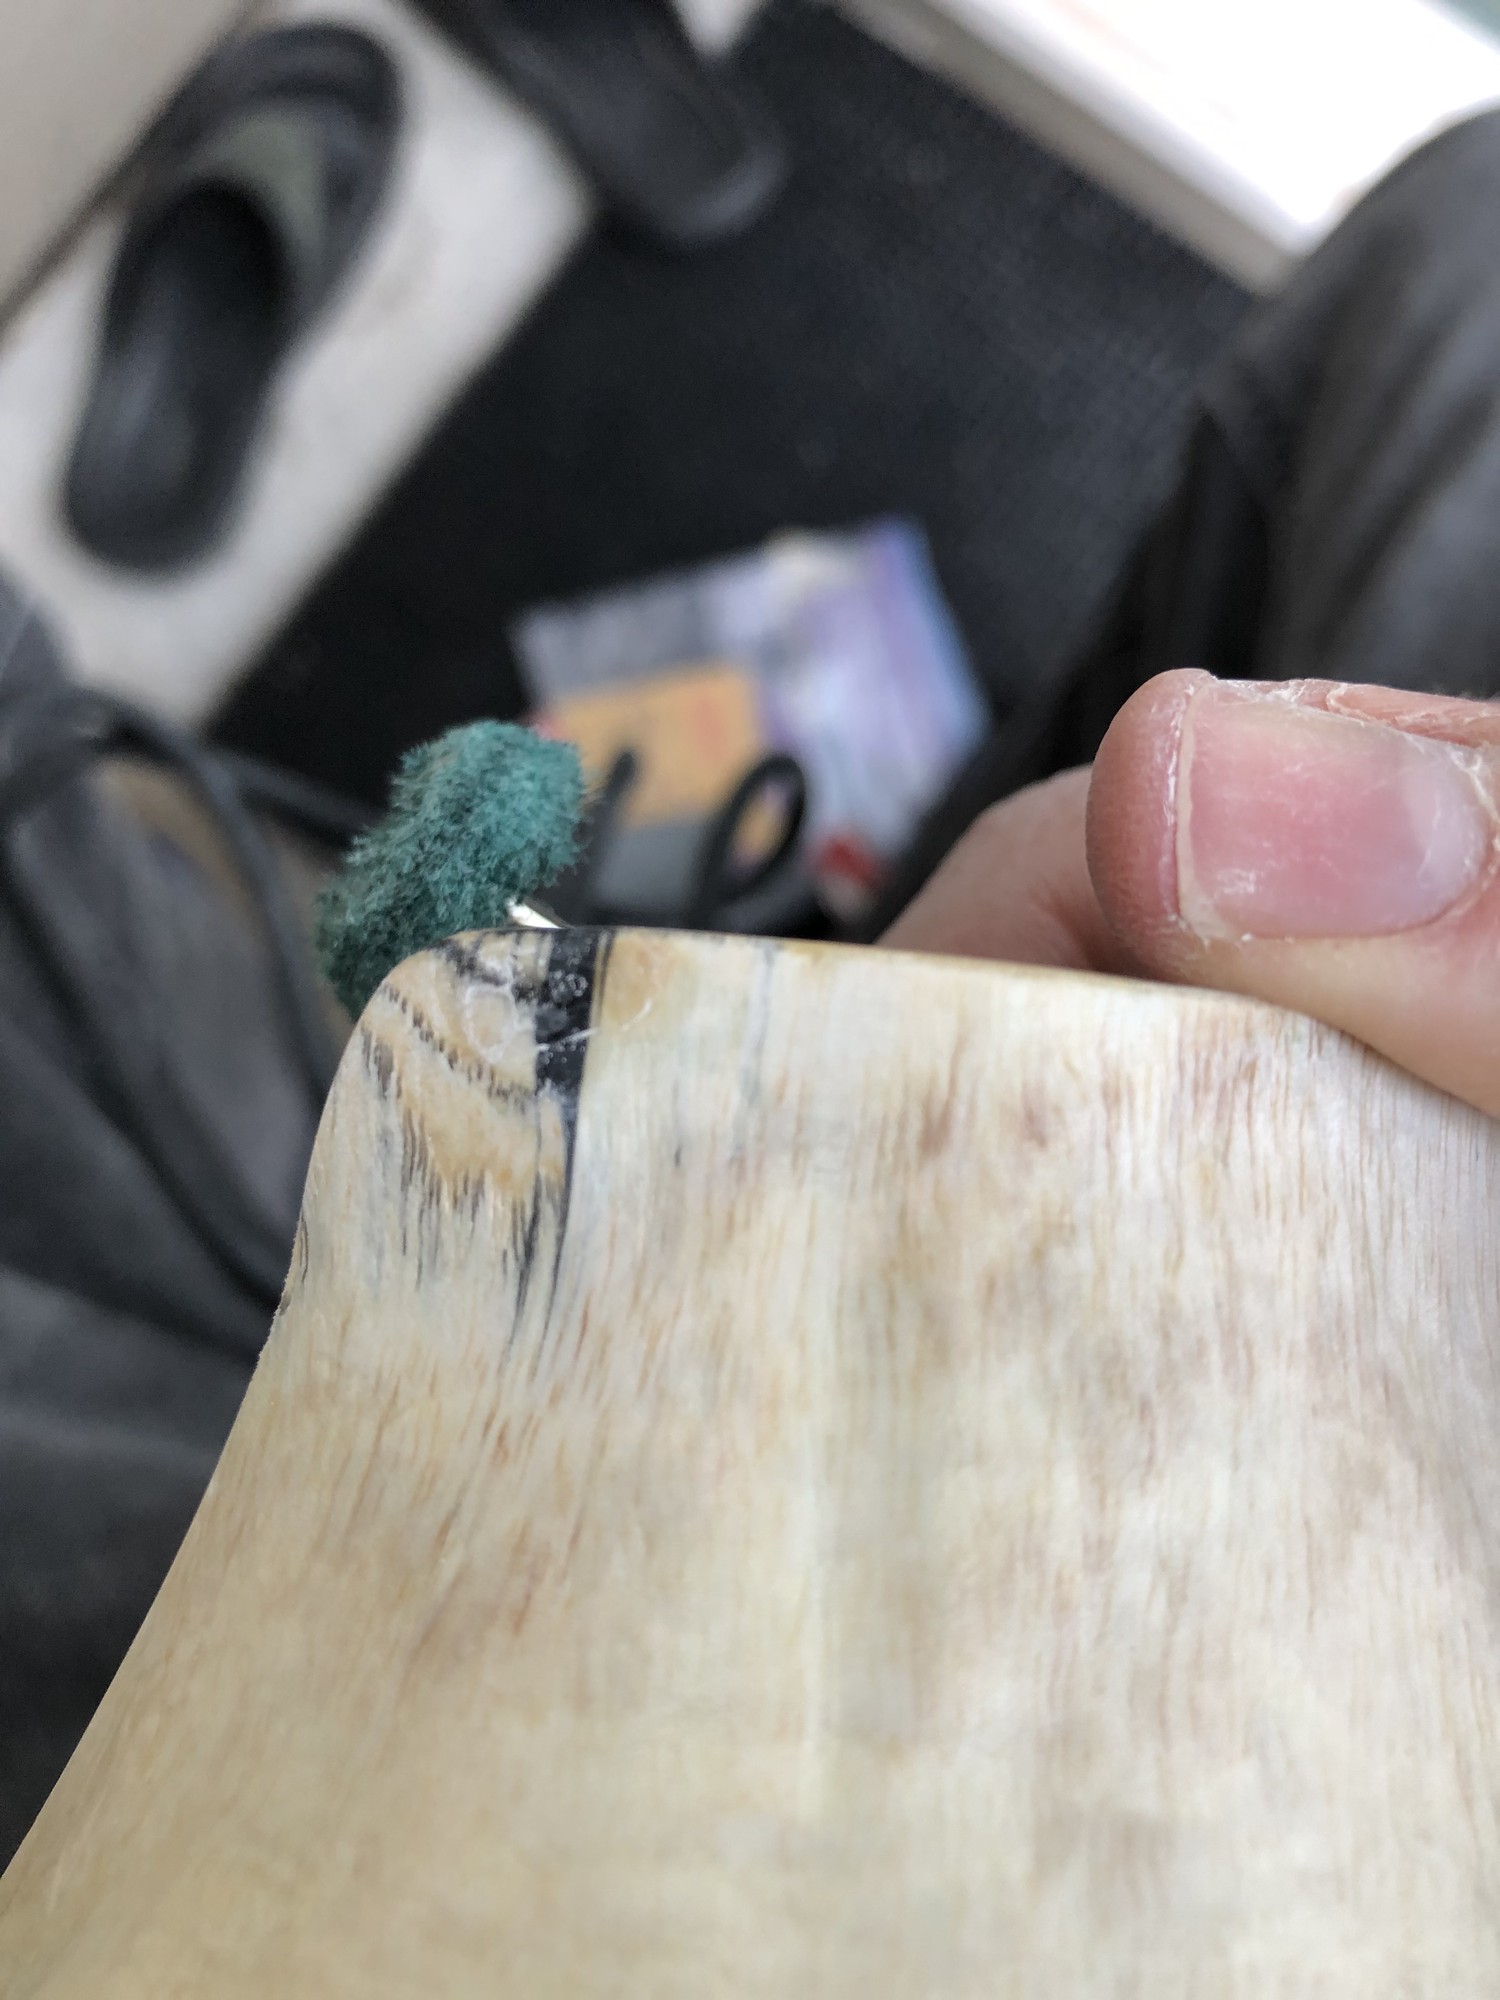
I then proceeded to resand these small fills with the green polishing wheels until they blended smoothly with the surrounding epoxy.
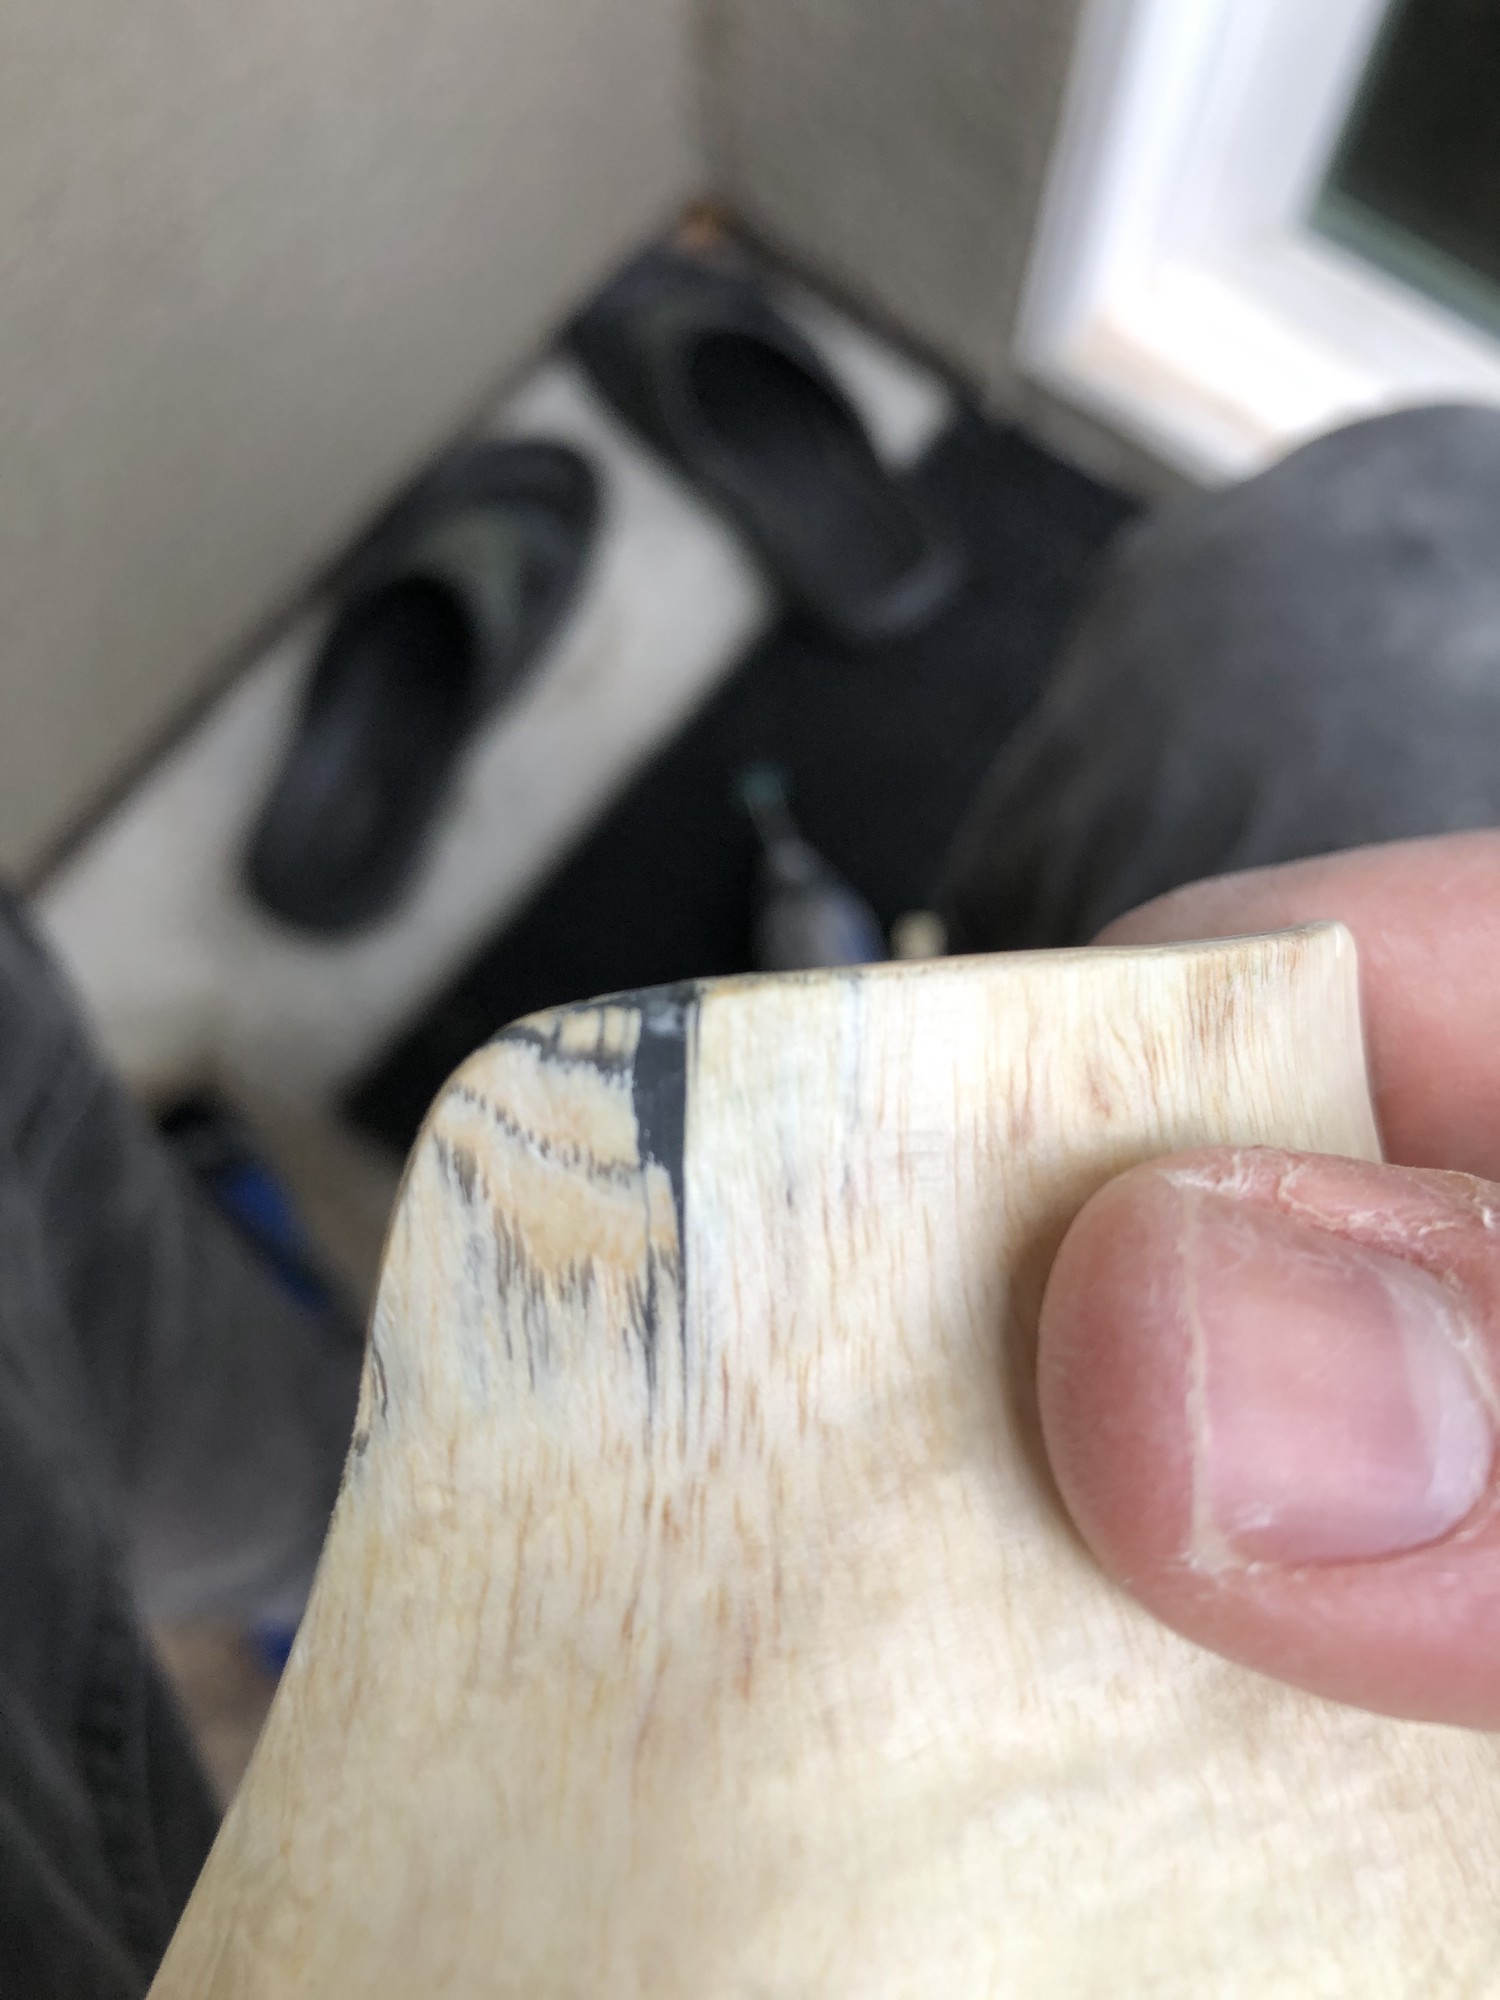
I am quite happy with the refill results as the majority of the small hole fills blended very well with their surrounding epoxy.
Wipe Down
In total, I used several gray and green polishing wheels to arrive at a state that I felt comfortable with as a finished product.
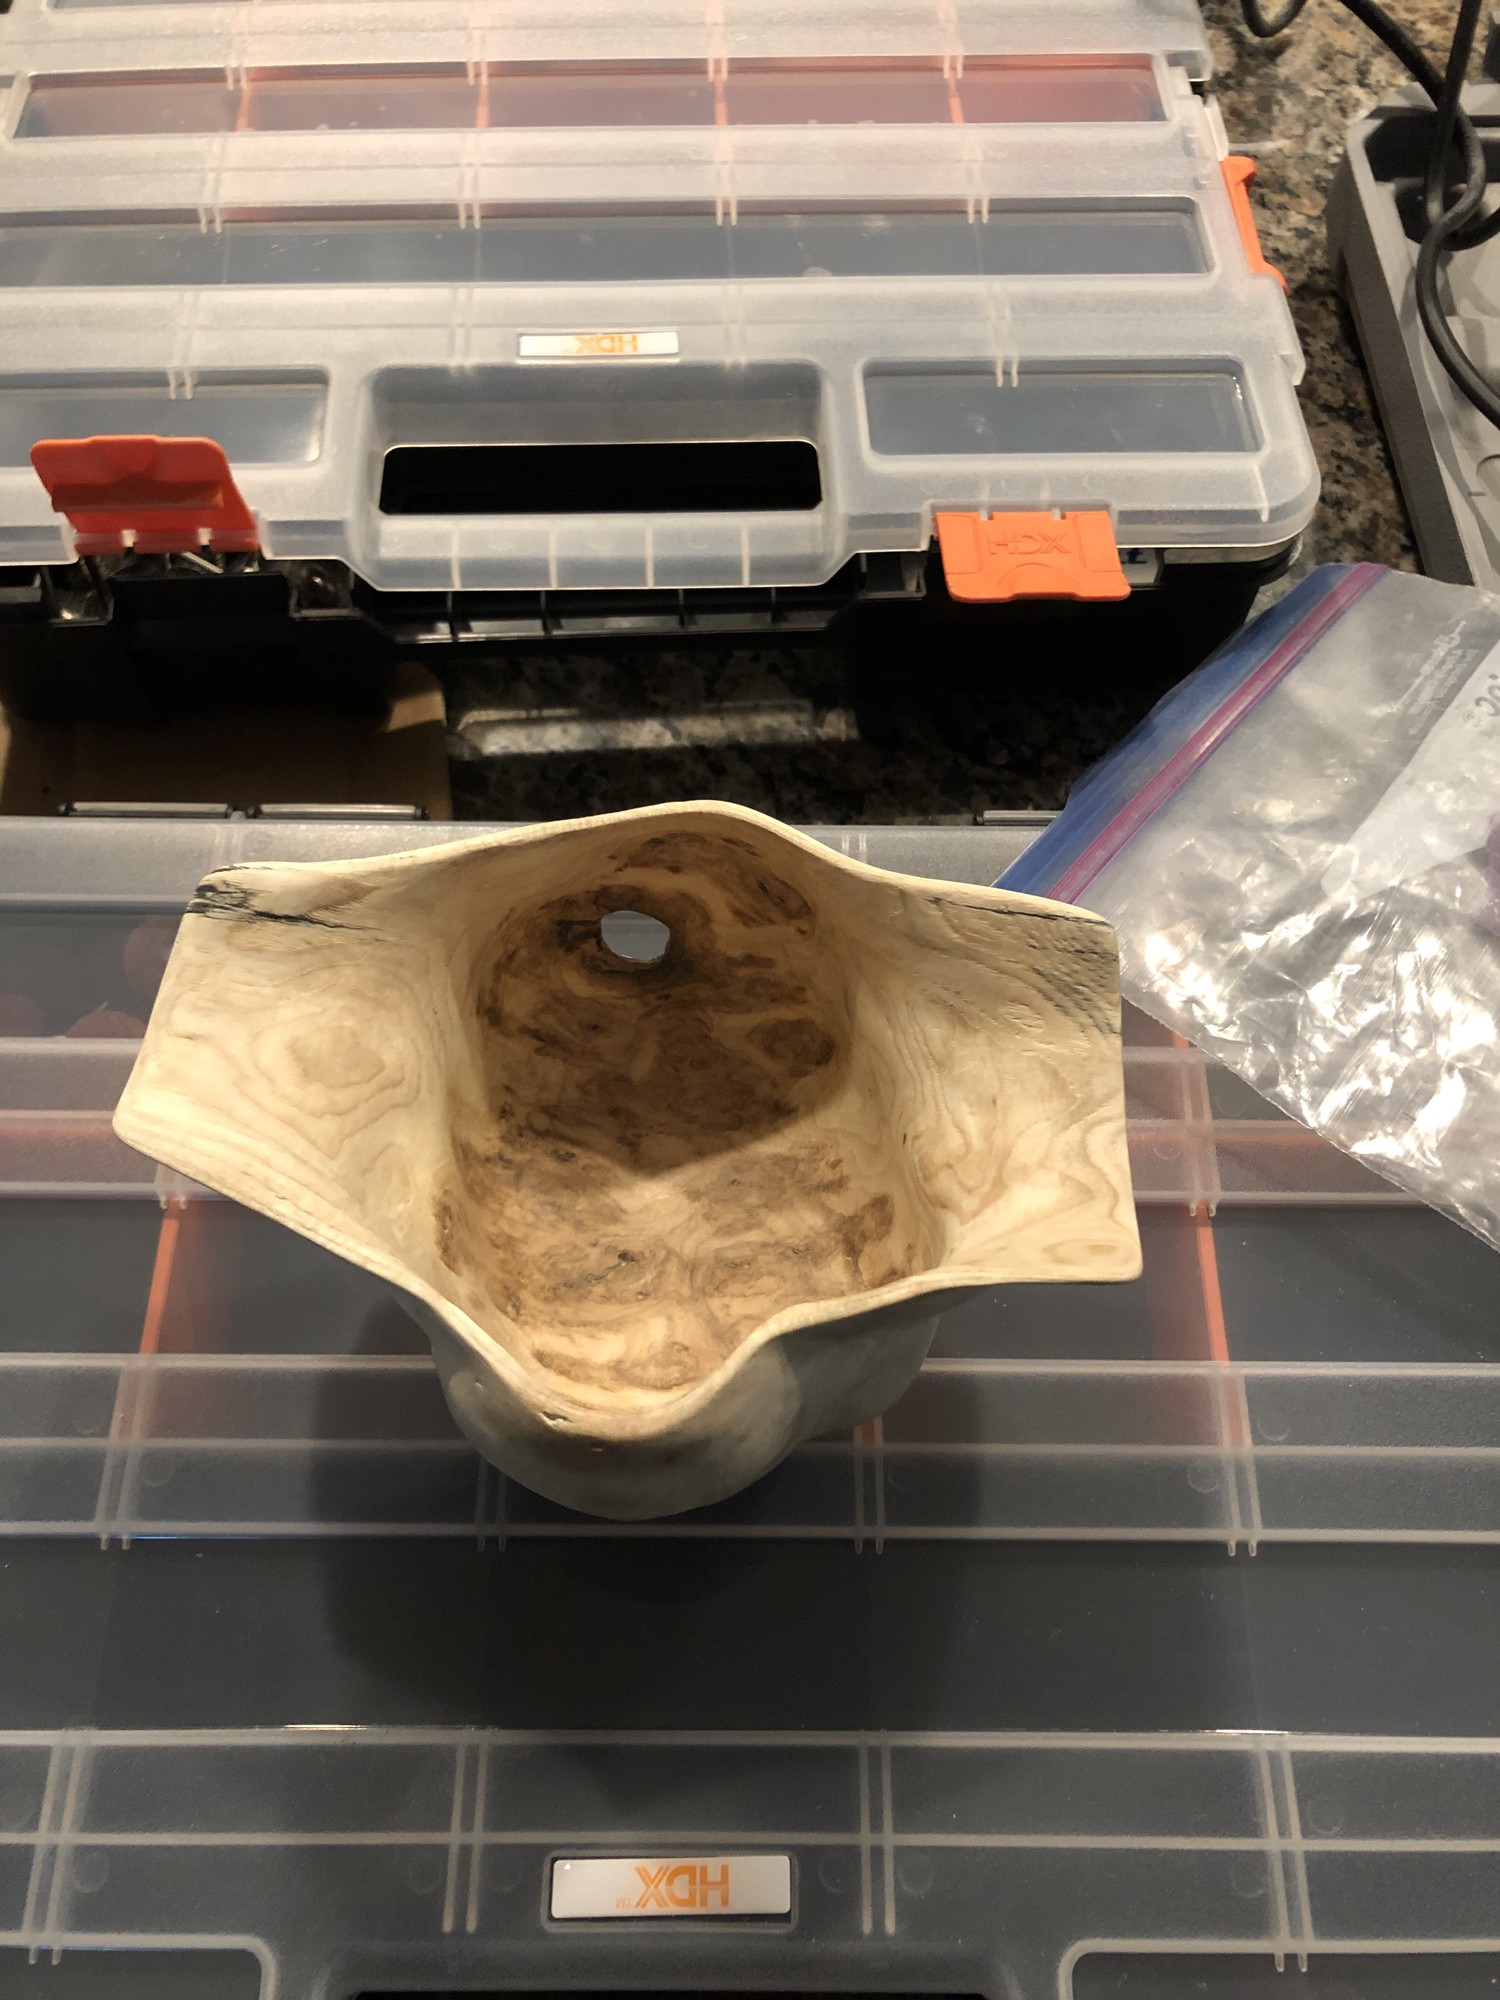
Before applying the finish coats of oil, I wiped-off as much of the residual sawdust from the burl as possible using a lightly dampened, paper towel.
Finish Coats
The last step was to apply finish to stain and protect the bowl as well as to enhance the chatoyancy of the bowl. For this I used Walnut colored Rubio Monocoat11 following the instructions on the back of the can. This finish is highly respected in the woodworking community as it is in-grain, requires just one application that takes about 15 minutes to apply and once dried (after ~5 days), is food-safe.
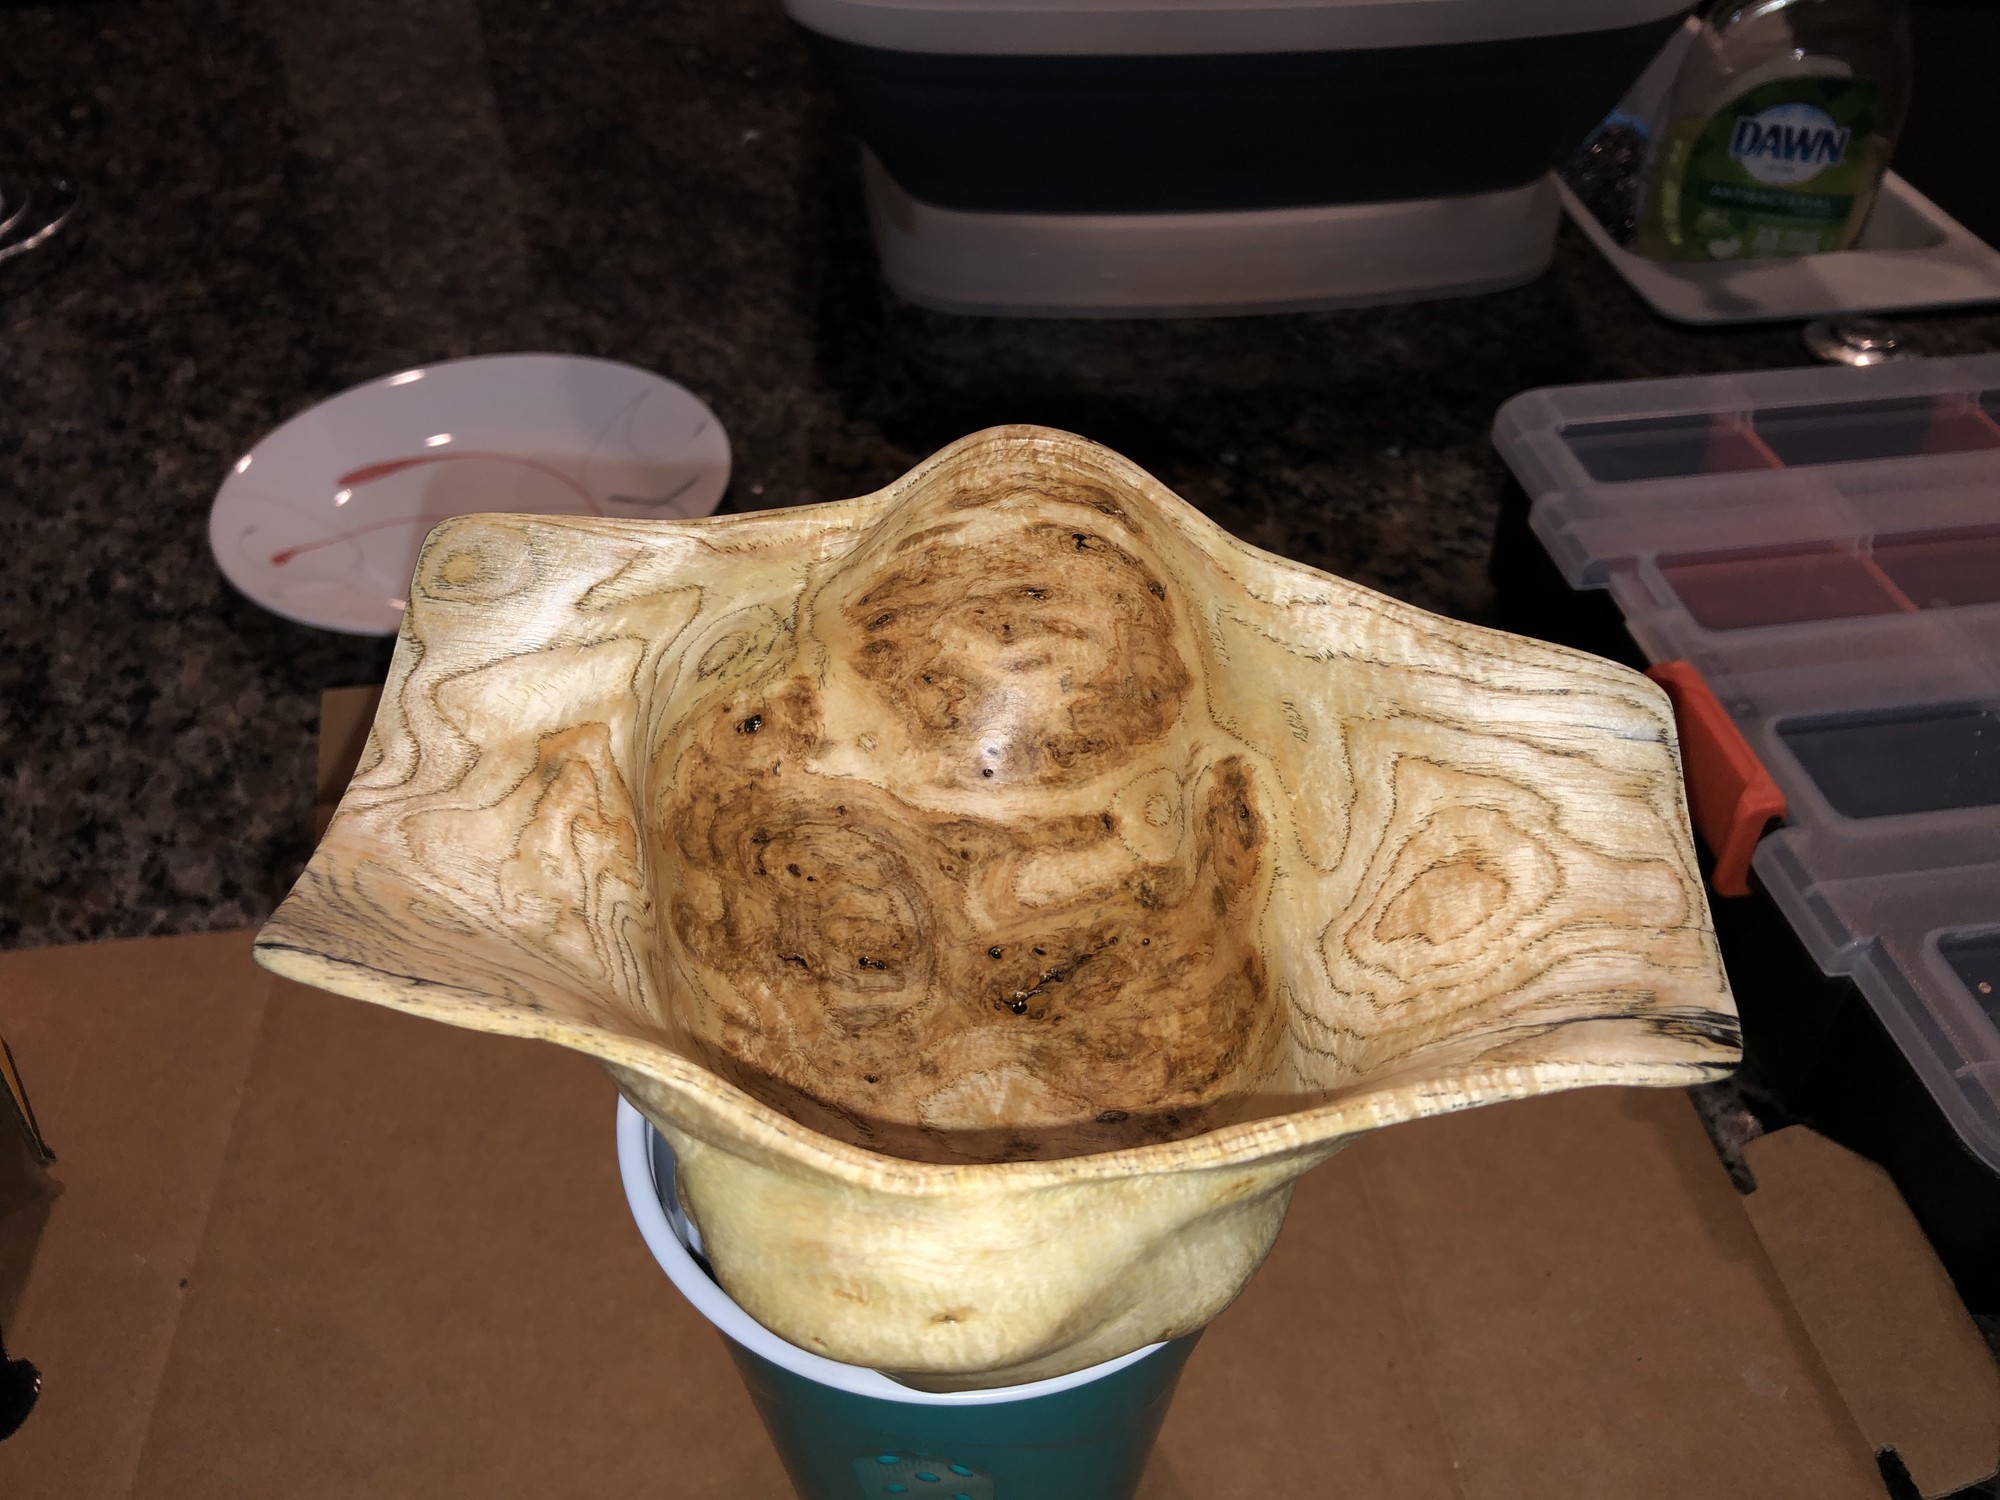
Finished Bowl
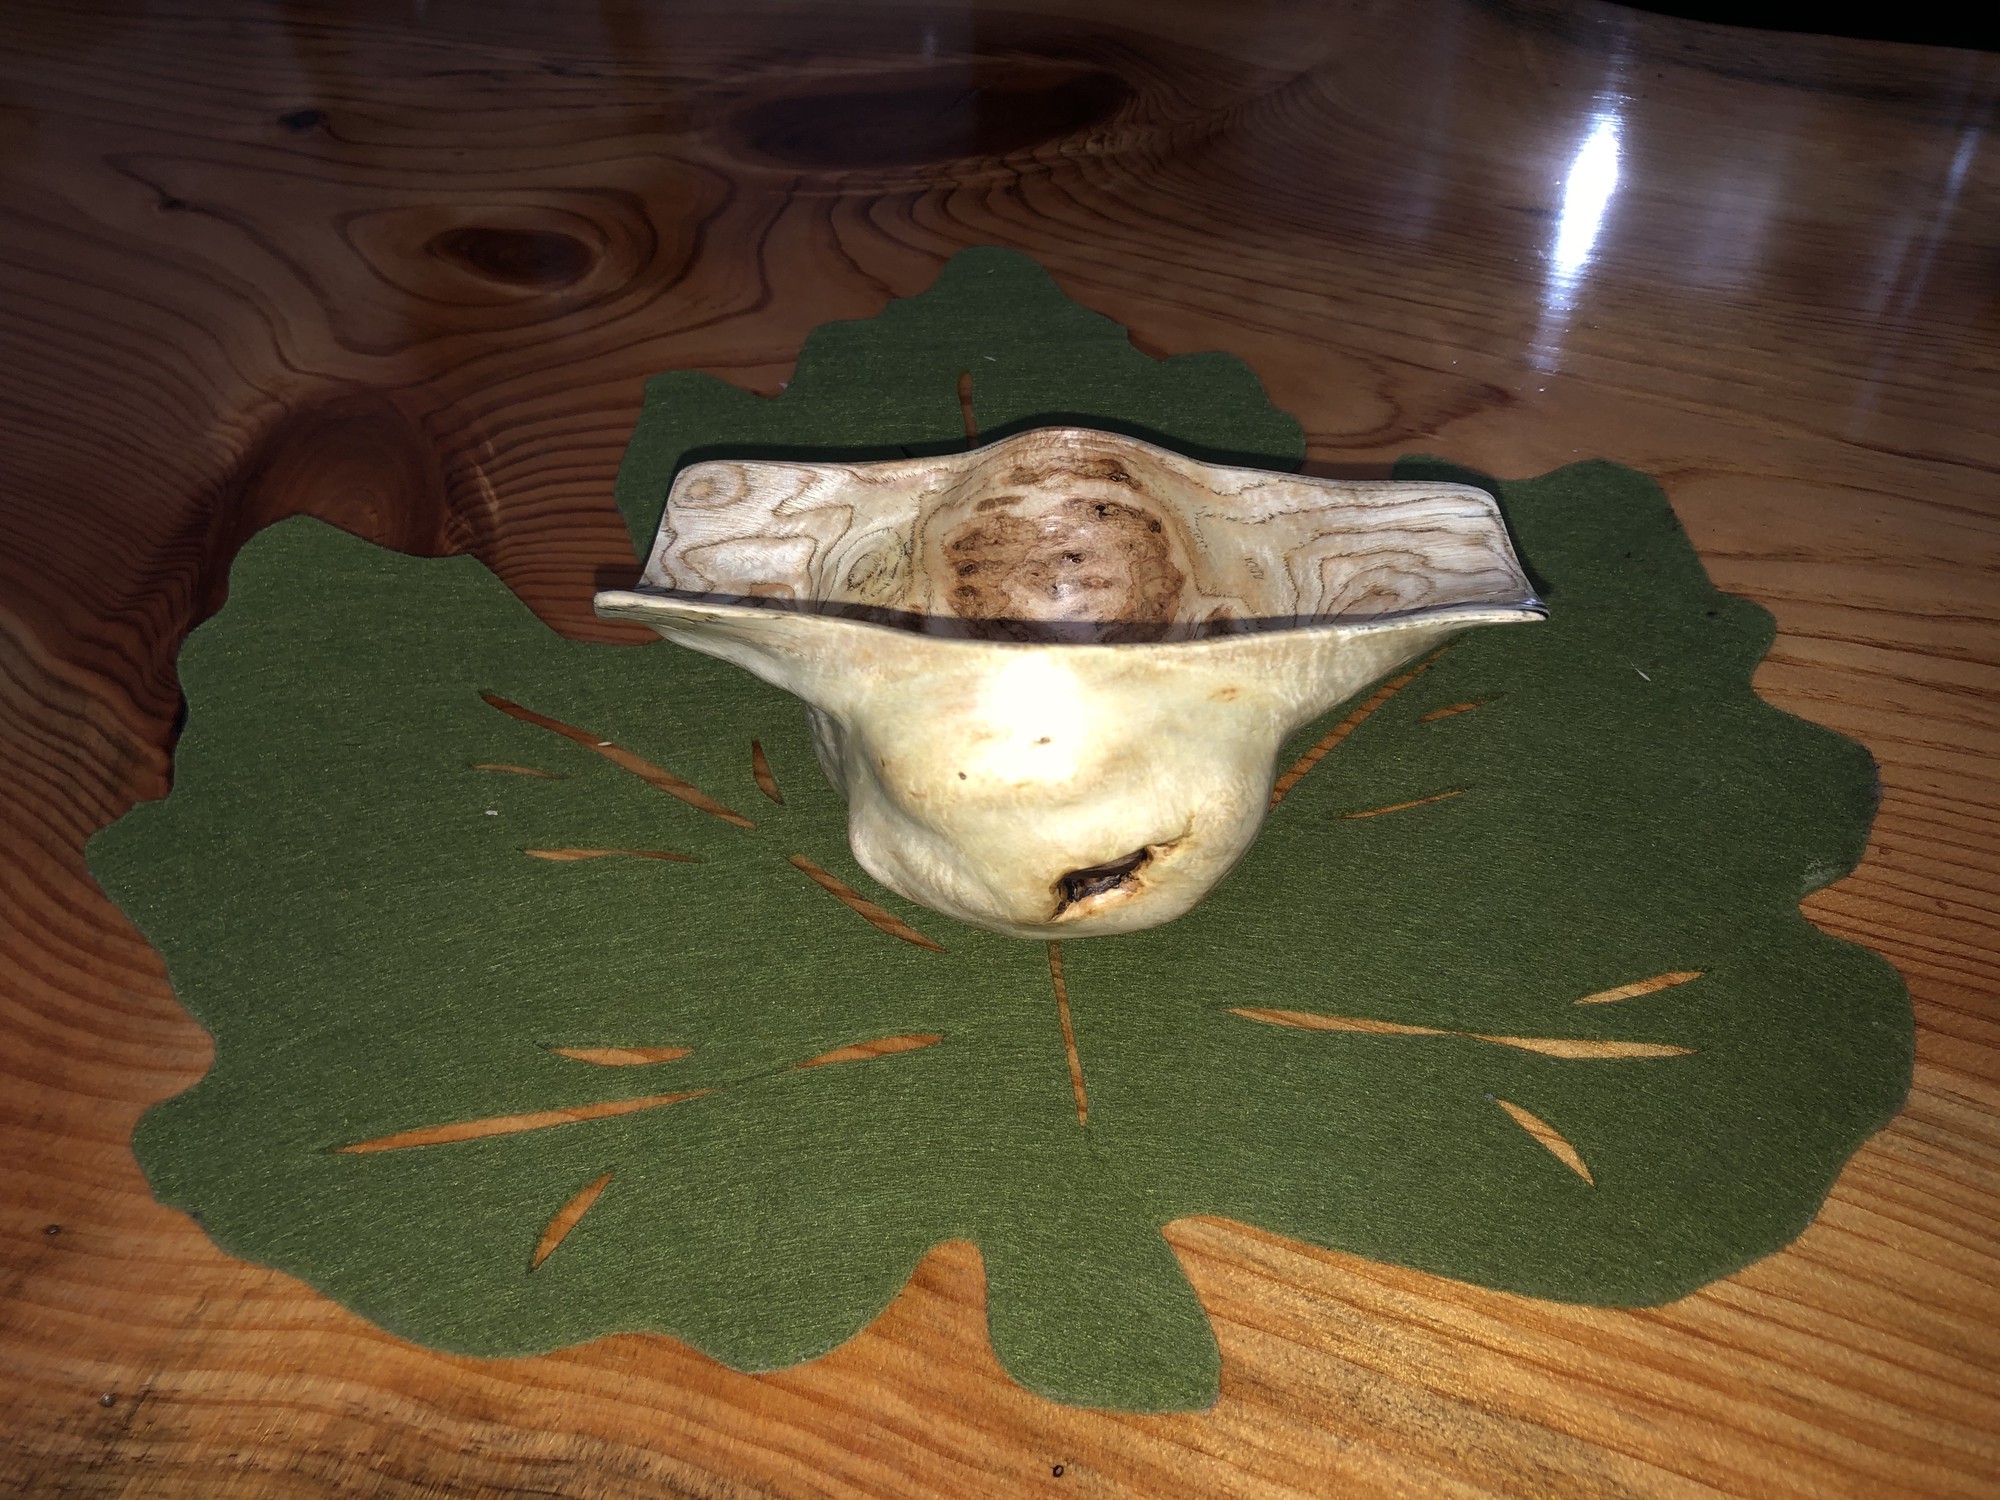
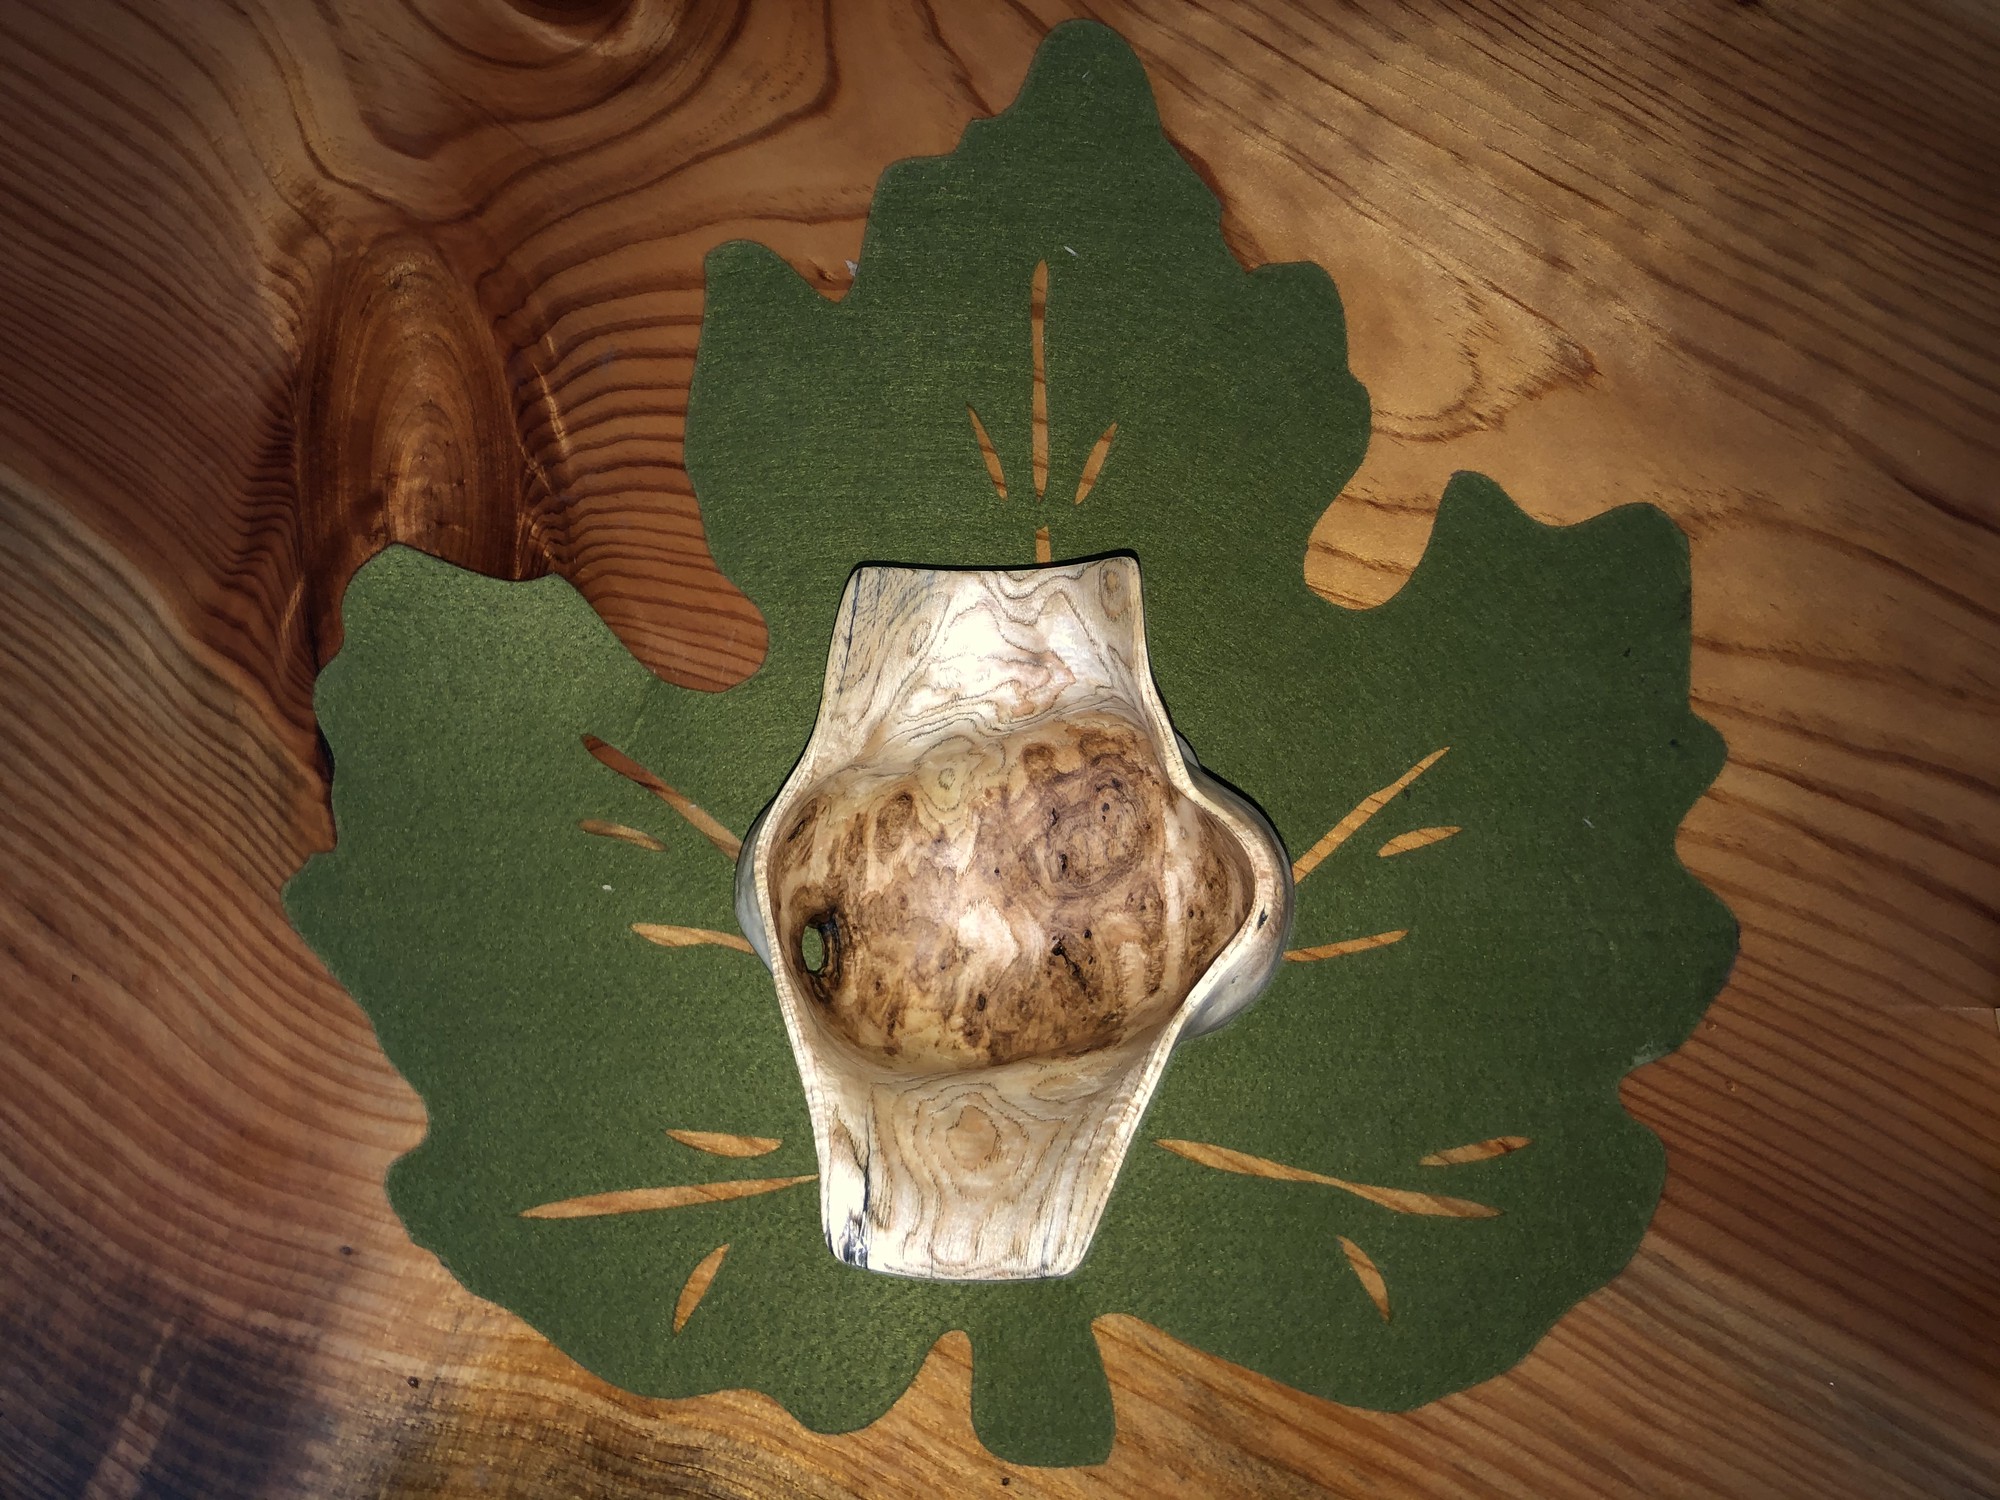
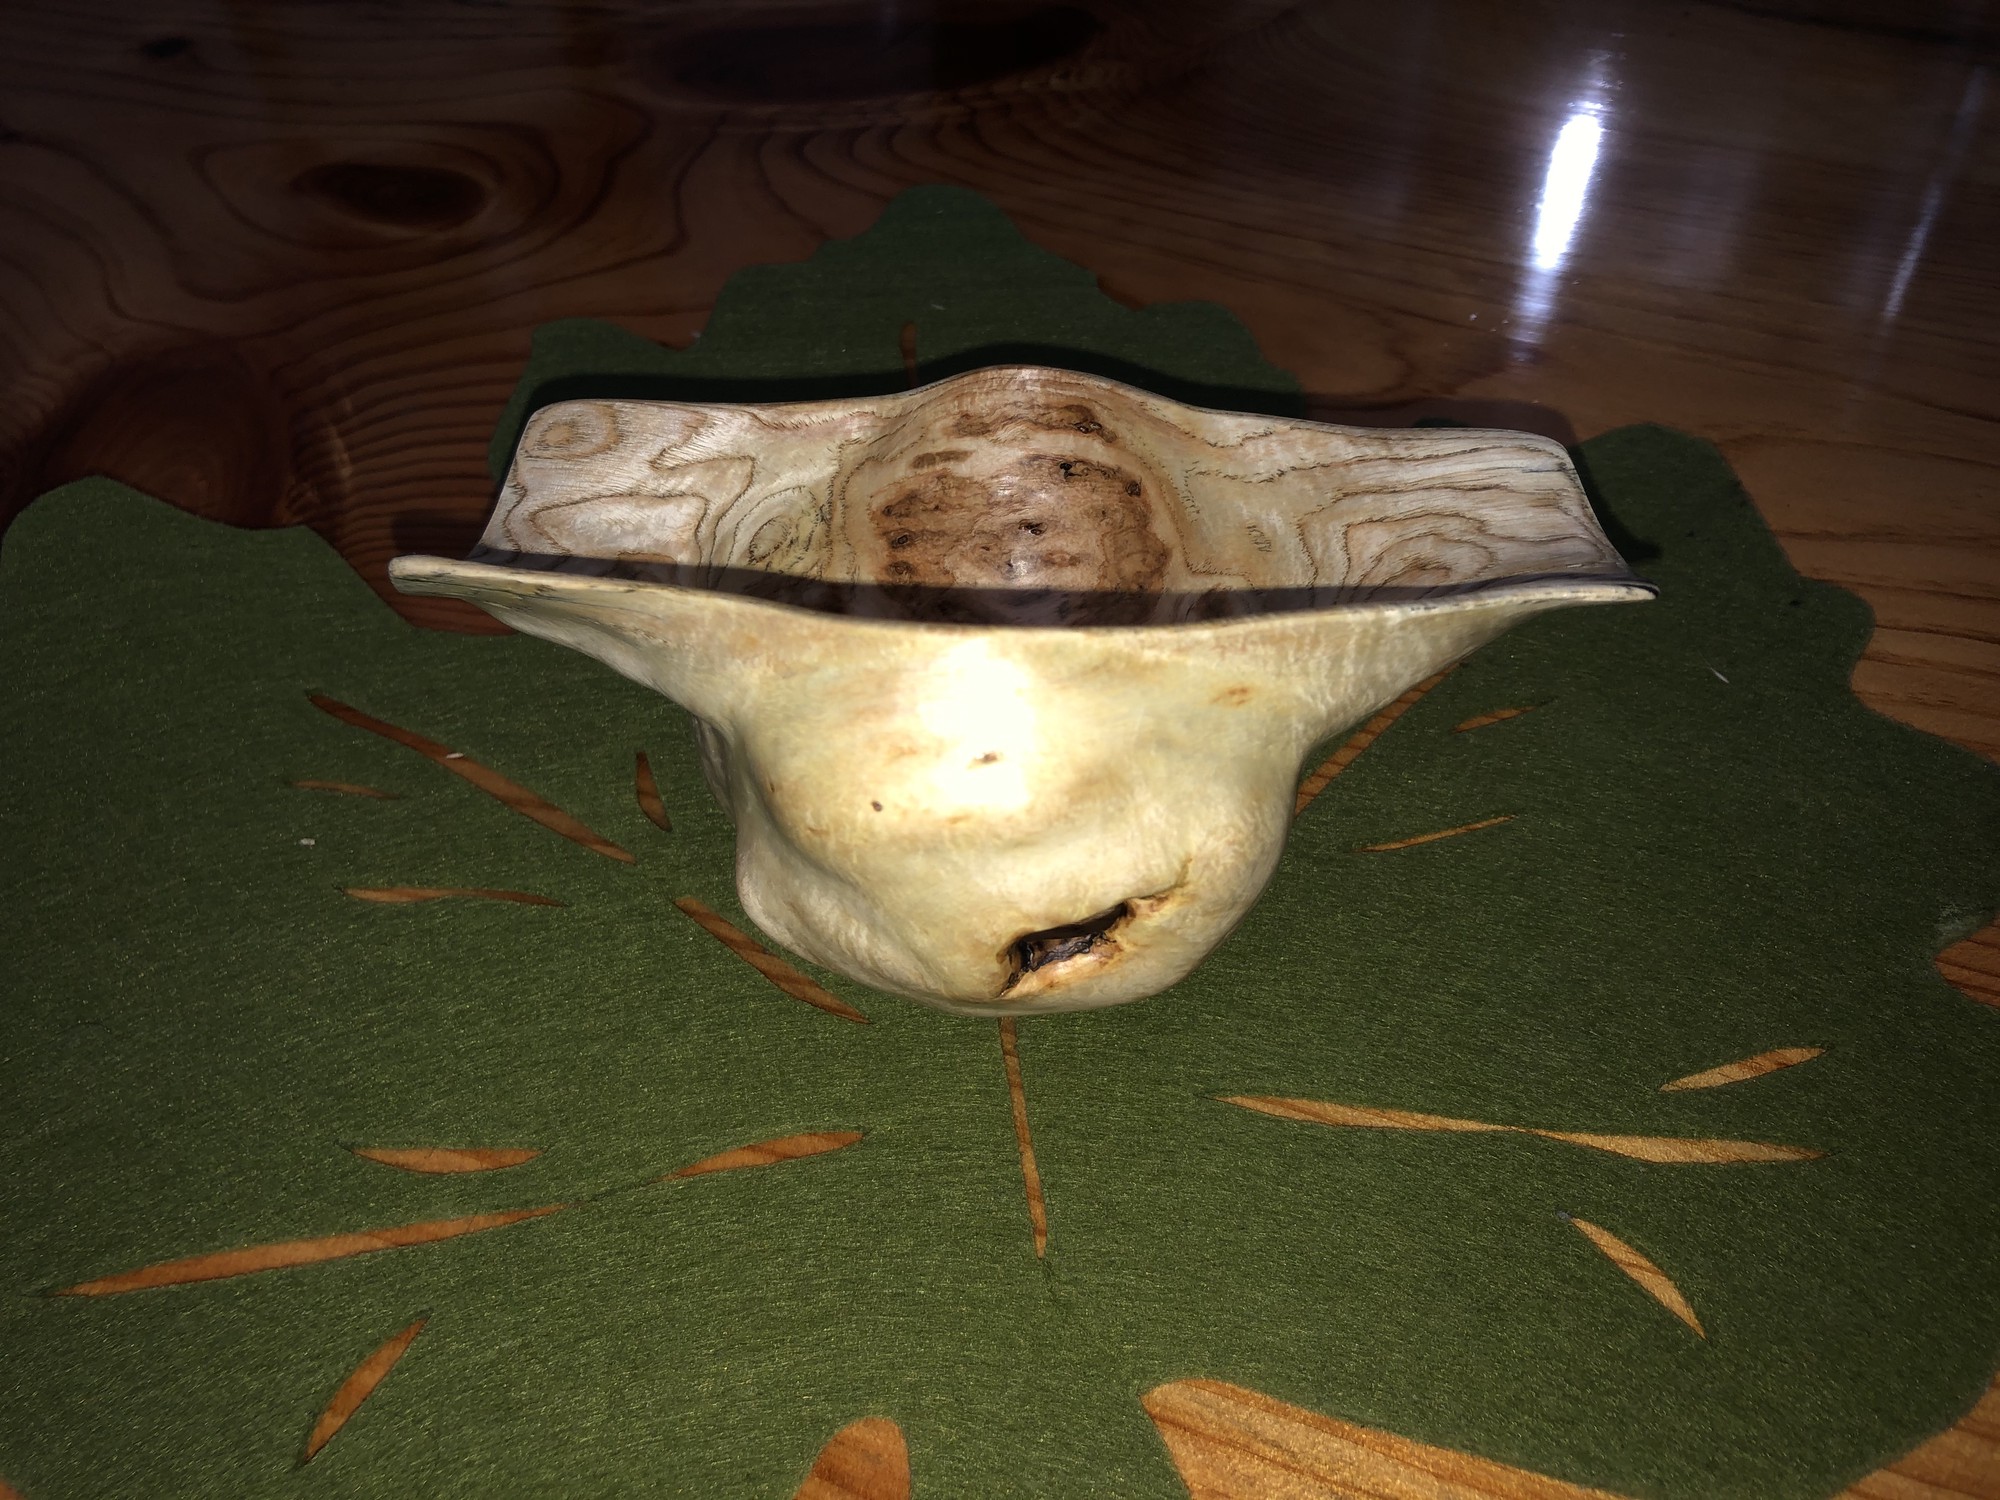
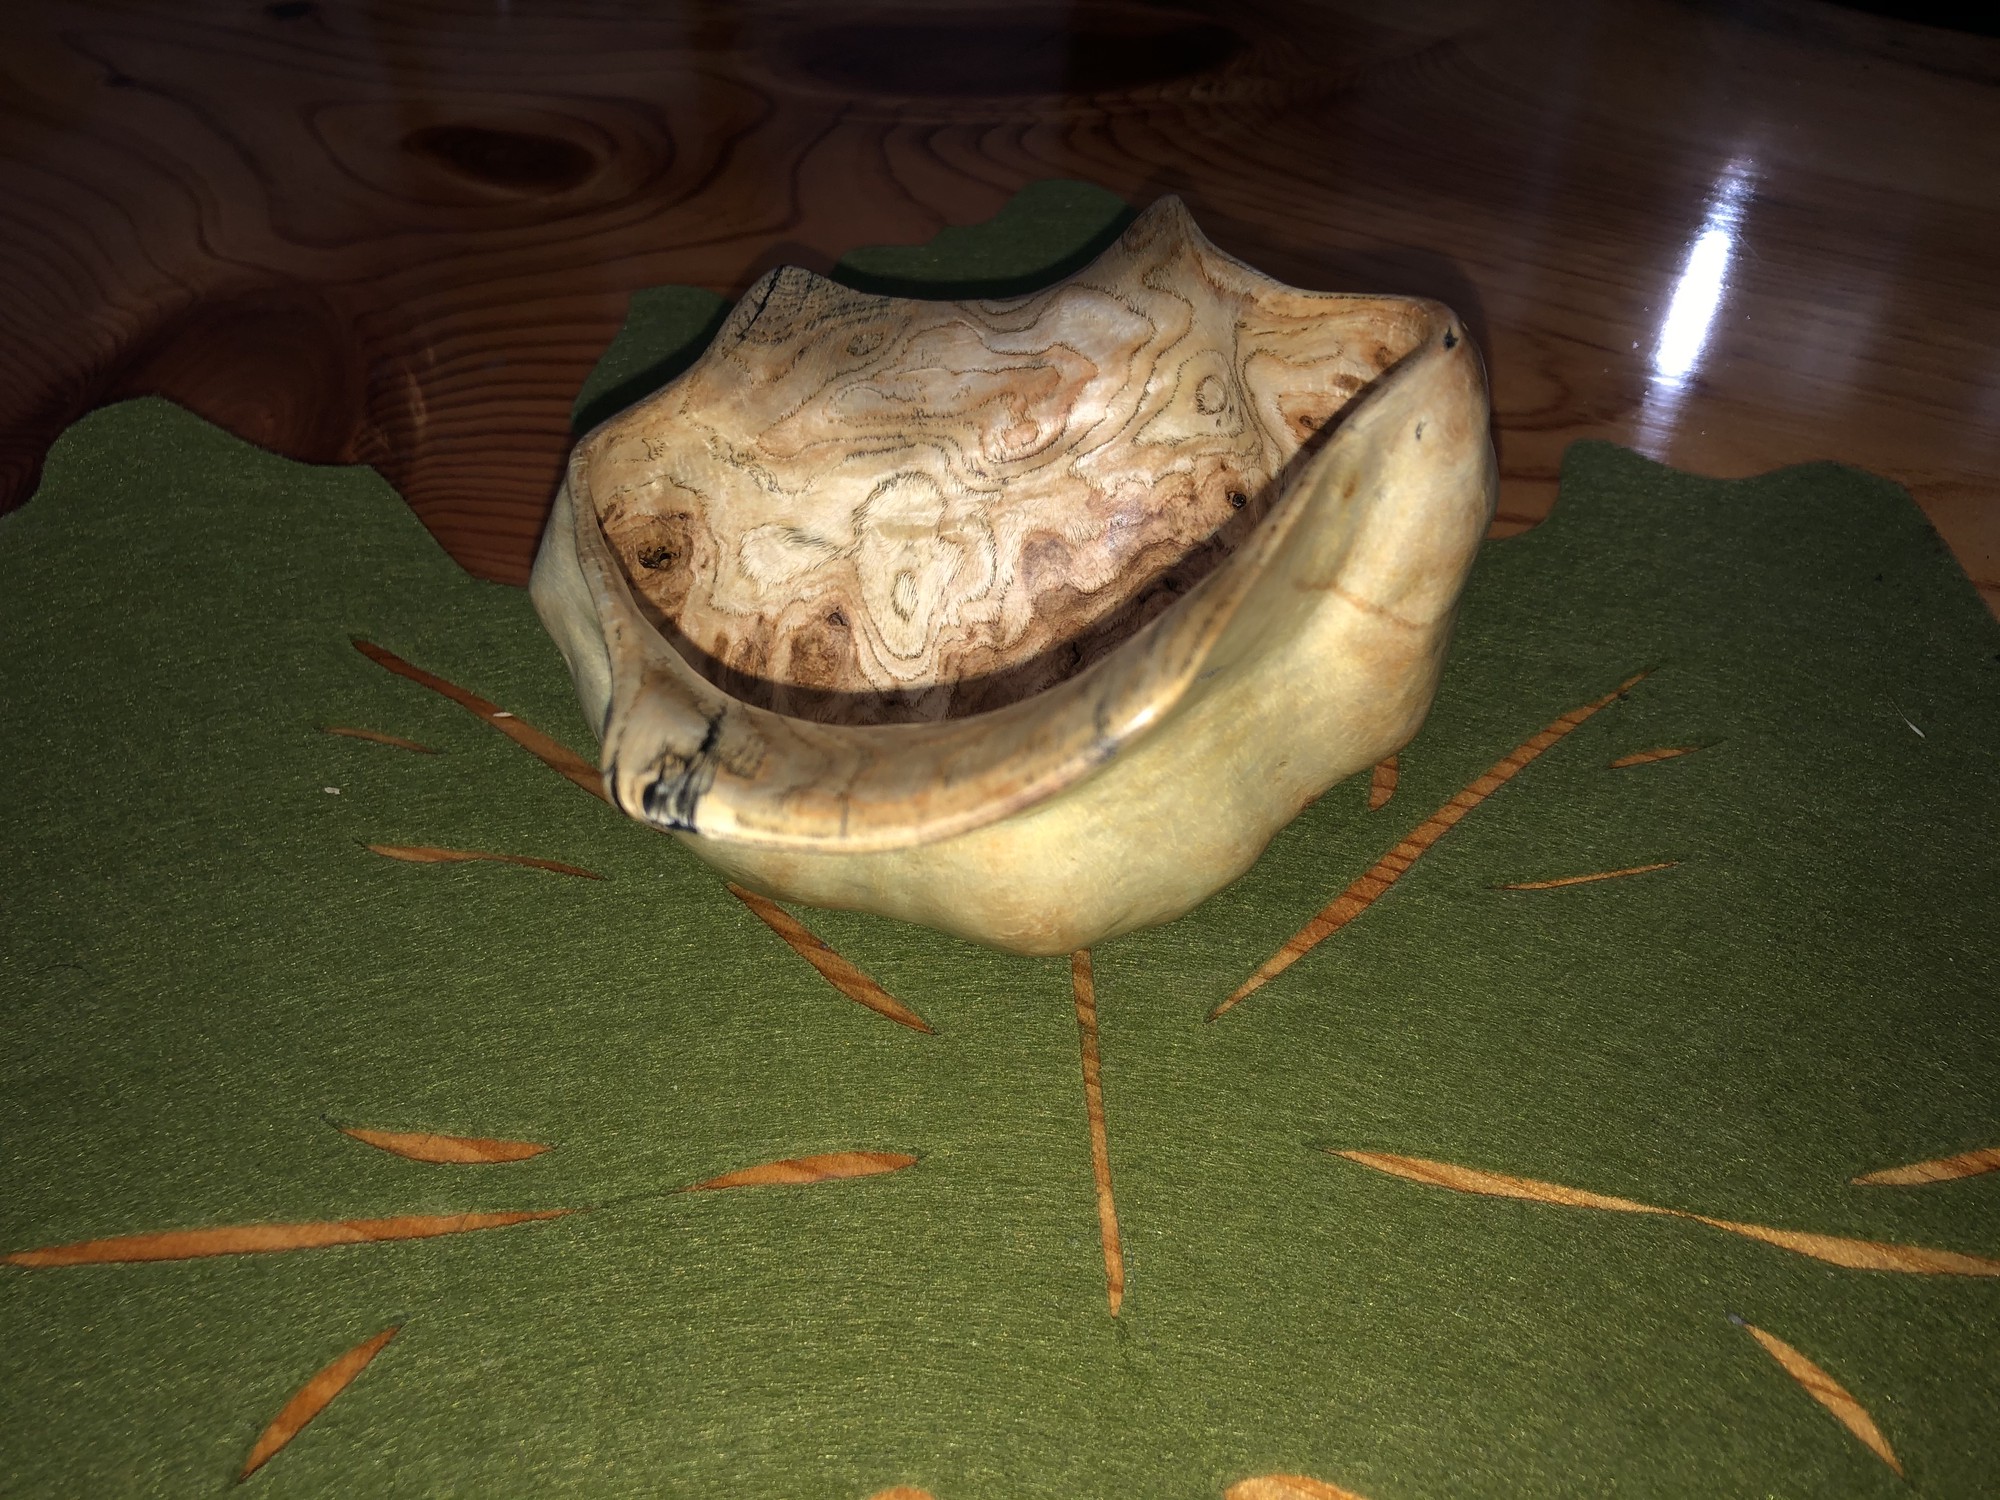
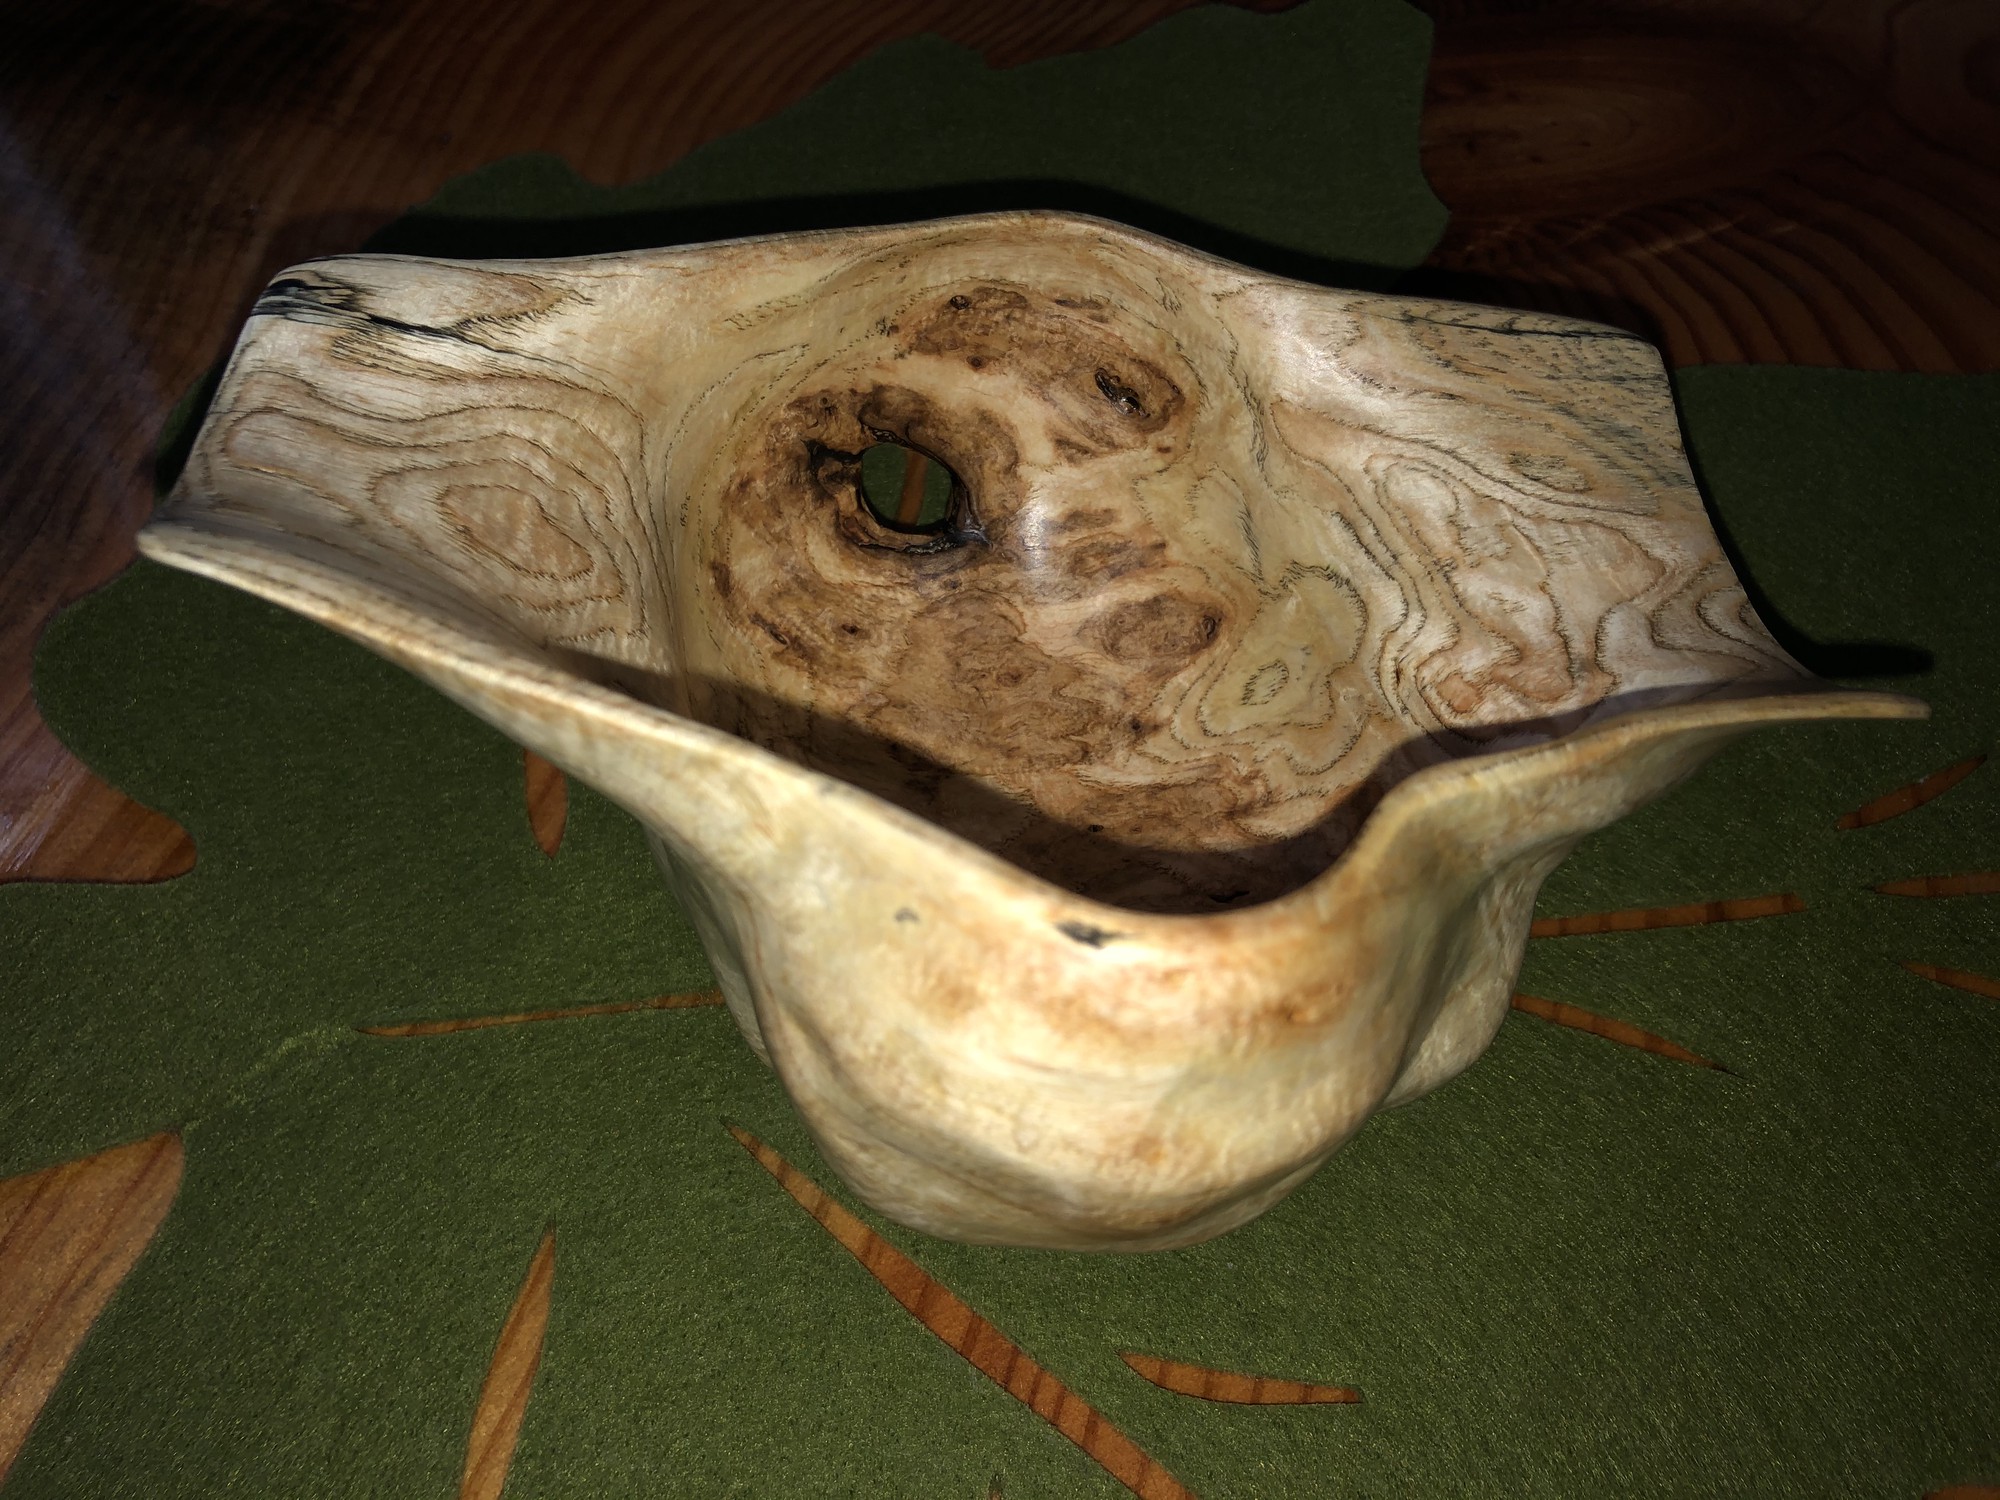
Cheers!
-
https://advanced-machinery.myshopify.com/products/orbicut-low-speed-cutting-tool-by-plano?variant=33578585350 ↩︎
-
https://www.homedepot.com/p/DEWALT-7-8-Amp-Corded-1-2-in-Variable-Speed-Reversible-Hammer-Drill-DW511/100037000?source=shoppingads&locale=en-US&mtc=Shopping-B-F_D25T-G-D25T-25_9_PORTABLE_POWER-Multi-NA-Feed-LIA-NA-NA-PortablePower_LIA&cm_mmc=Shopping-B-F_D25T-G-D25T-25_9_PORTABLE_POWER-Multi-NA-Feed-LIA-NA-NA-PortablePower_LIA-71700000044155732-58700004615424082-92700060764889459&gclid=Cj0KCQiA7NKBBhDBARIsAHbXCB4tcNPSZBOM6gZ0fkhSmqKd6gNGG4iFauQ3XIkOB8QV6QCmBNY8x70aAjrDEALw_wcB&gclsrc=aw.ds ↩︎
-
https://www.homedepot.com/p/BLACK-DECKER-Workmate-425-30-in-Folding-Portable-Workbench-and-Vise-WM425/202516382 ↩︎
-
https://www.amazon.com/Dremel-407-Drum-Sander/dp/B00004UDGV/ref=sr_1_6?dchild=1&keywords=dremel+sanding+drum&qid=1588277399&sr=8-6 ↩︎
-
https://www.homedepot.com/p/Dremel-7-8-in-Rotary-Tool-Diamond-Wheel-for-Marble-Concrete-Brick-Porcelain-Ceramics-and-Epoxies-545/100346850 ↩︎
-
https://www.westmarine.com/buy/west-system---105-a-epoxy-resin--323733?cm_sp=Onsite-Recs-_-Related-Items-_-Desktop ↩︎
-
https://www.westmarine.com/buy/west-system---205-a-fast-hardener--318360?cm_sp=Onsite-Recs-_-Related-Items-_-Desktop ↩︎
-
https://www.westmarine.com/buy/evercoat--resin-coloring-agent--P004_120_004_002?recordNum=4 ↩︎
-
https://www.amazon.com/gp/product/B075C72PGK/ref=ppx_yo_dt_b_asin_title_o00_s00?ie=UTF8&psc=1 ↩︎
-
https://www.amazon.com/Bob-Smith-Industries-BSI-157H-Insta-Set/dp/B0166FFCHS/ref=sr_1_1?c=ts&dchild=1&keywords=Cyanoacrylate+Adhesives&qid=1594753591&refinements=p_89%3ABob+Smith+Industries&sr=8-1&ts_id=256243011 ↩︎