Bar Tap

This is my first wood bar tap! Let’s first cover the basics:
- Start: Fall 2016
- End: November 2017
- Wood Species: New Growth Redwood
- Wood Supplier: Ponderosa Millworks1
- Construction time: ~3 days
One day while looking around Pinterest I stumbled upon the idea of using a block of wood as a bar tap2. So, while purchasing the slab used in this project, I kept an eye out for any candidate wood scraps that the supplier1 had laying around. It turns out since the supplier1 is also a tree removal service, they had plenty of scrap wood. I spotted two blocks of scrap wood lying in the mud and for $20 (likely only charged because I showed desire in it) found myself a tangible starting point for this project.
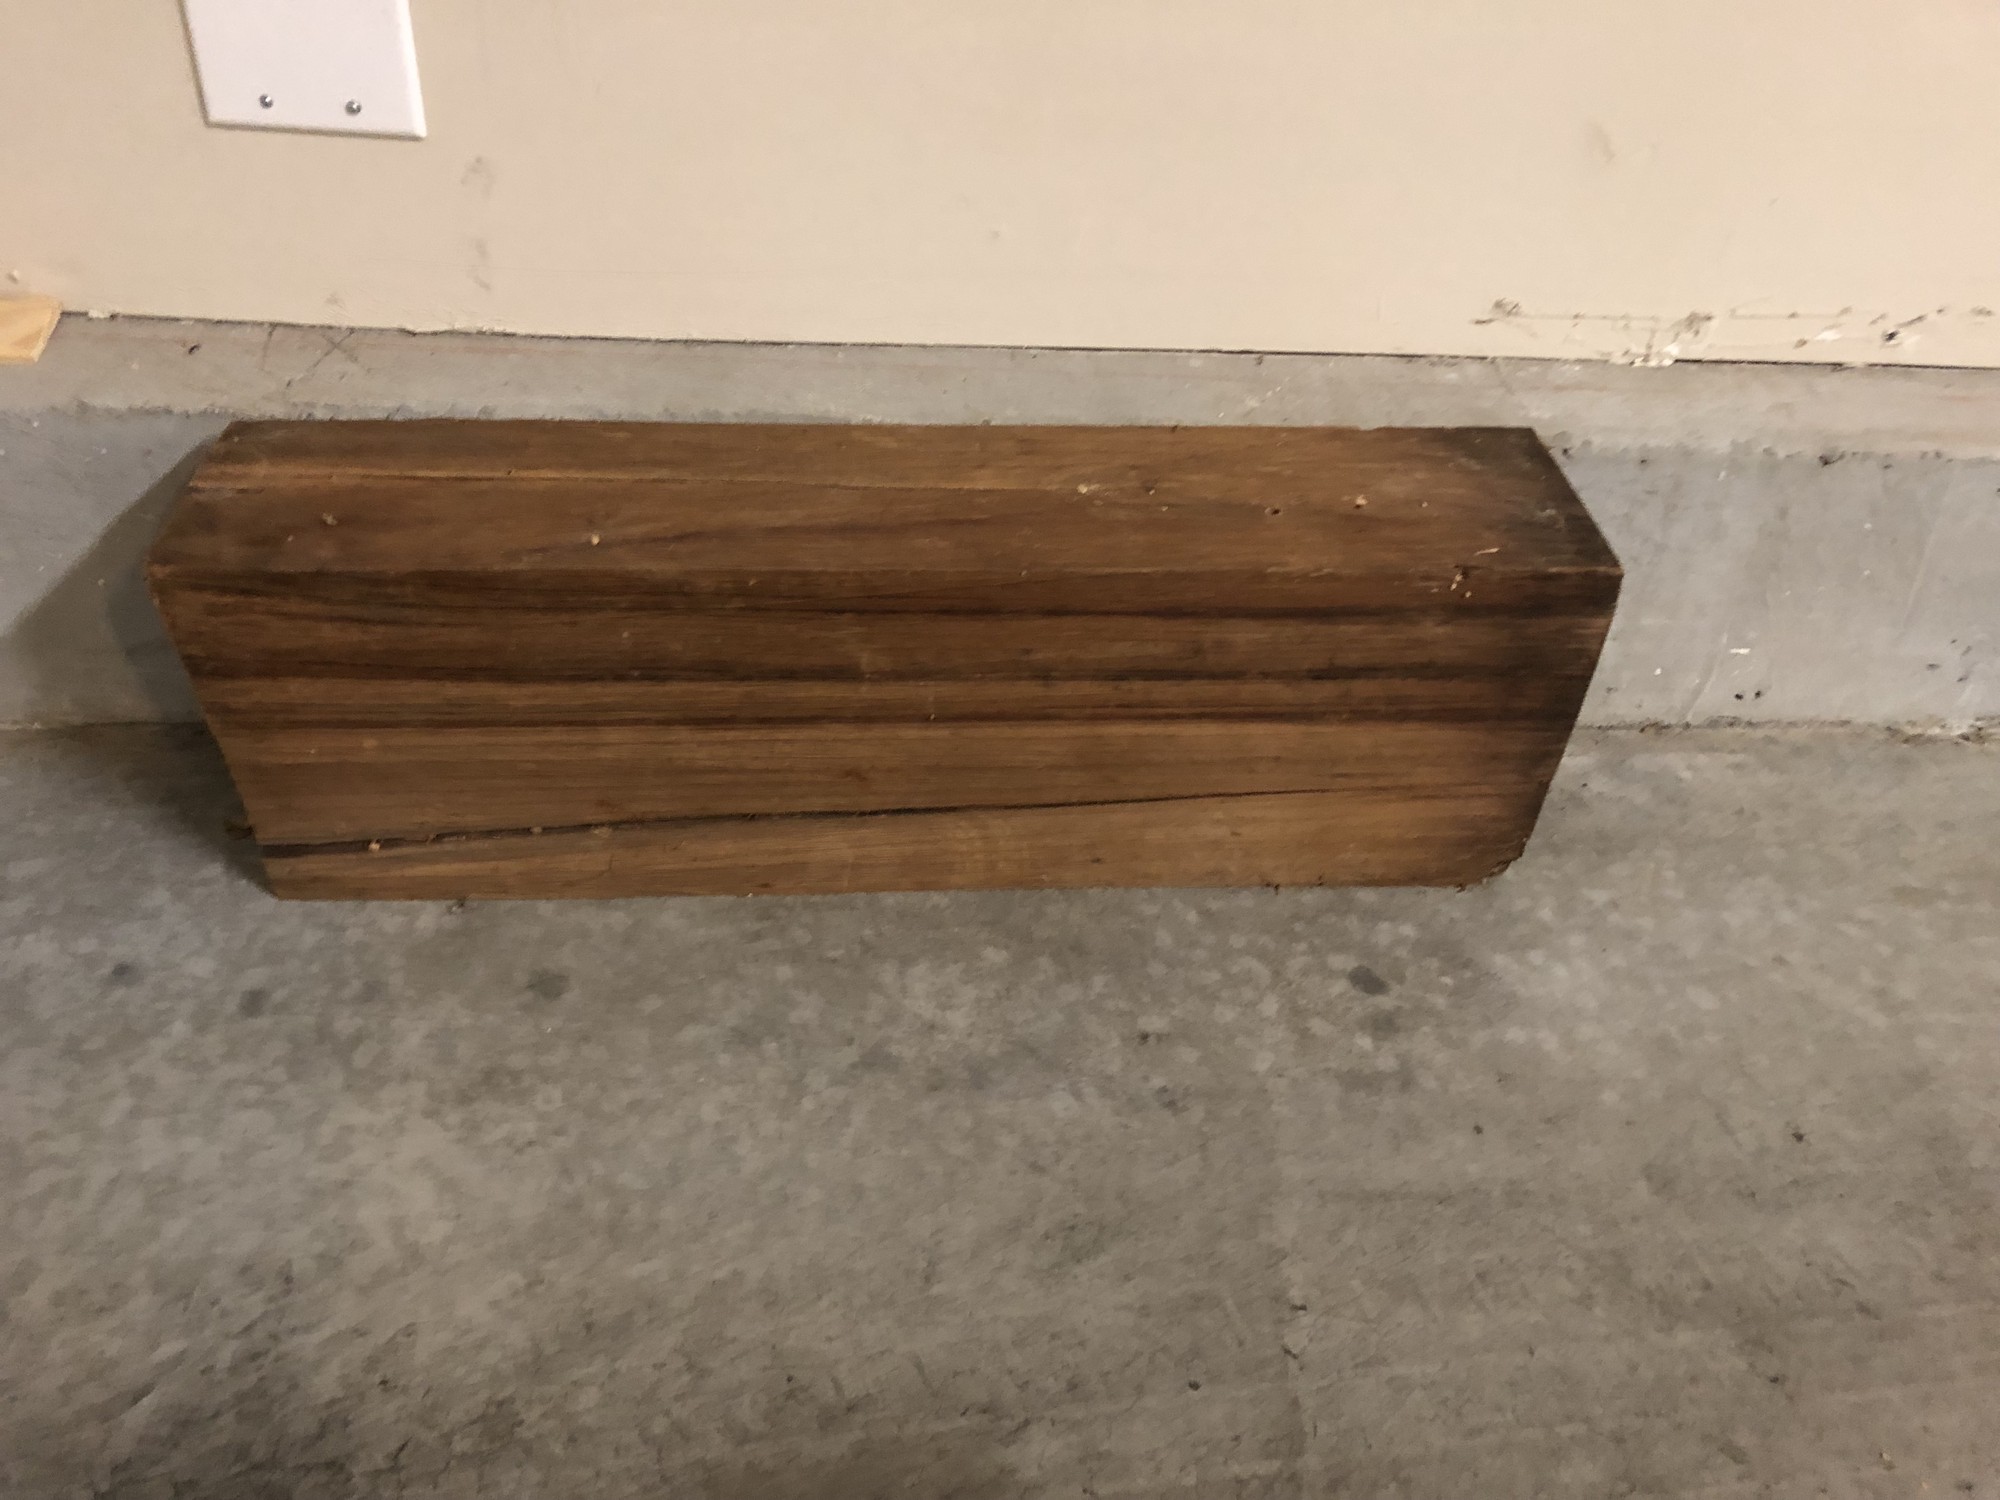
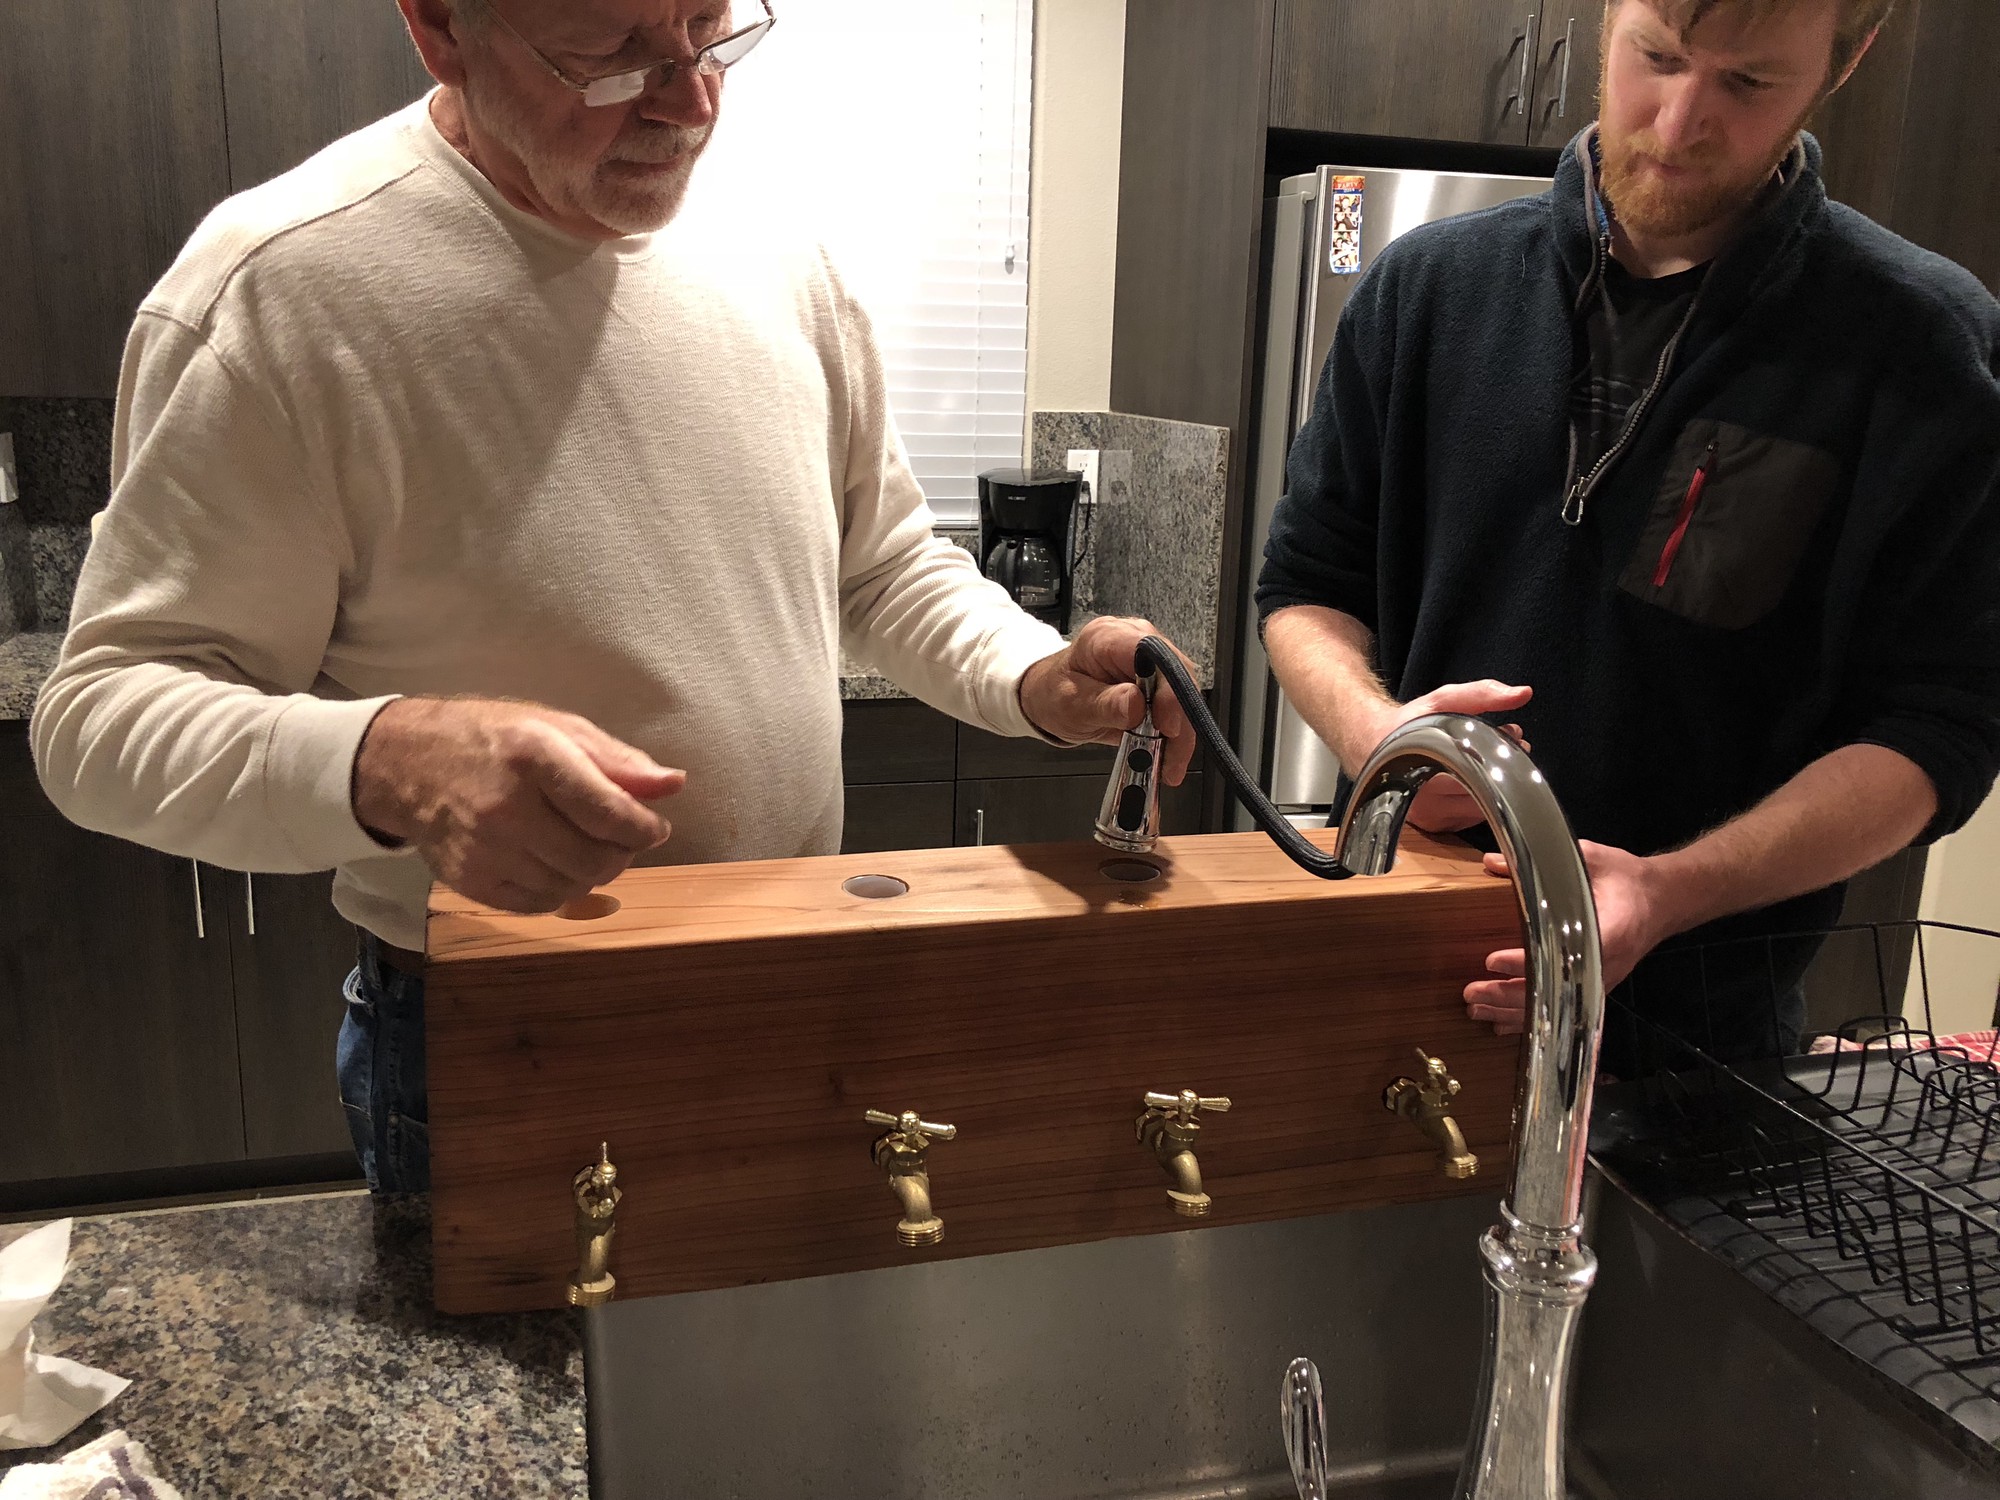
These two blocks sat in my garage for some time until during a minor surgery, I had some down time and decided to embark upon the project with family members.
Since there were no guides to making a gravity fed bar tap (to the best of my googling), we had to invent the fabrication techniques on the spot. What’s more challenging is that because my family was visiting for only ~7 days, there was a very short window to both gather materials and actually fabricate the end product.
The first step was to figure out the general mechanisms governing how this contraption would operate. We settled on a gravity fed system in which the bottles would sit upside down in the top of the block with their nozzles docked in some kind of receptical mount. This receptical mount would have hosing connecting it to a valve on the front of the block. The hosing was necessary as we needed something flexible yet rigid enough to not crease closed when making the 90o turn from the receptical to the valve. Finally, the valve would be hand operated and serve as the fill point for glasses.
Next, we leveled the block’s surfaces by sanding it progressing from 80 grit to 400 grit.
Using the rough outline above, our next step was to find a suitable receptical mount to be embedded within the block. We knew the general shape of the receptical had to be cylindrical, drillable and made from food safe materials. Looking at various hardware stores and finally visiting a Michaels, we disovered the icing bottle set shown below.
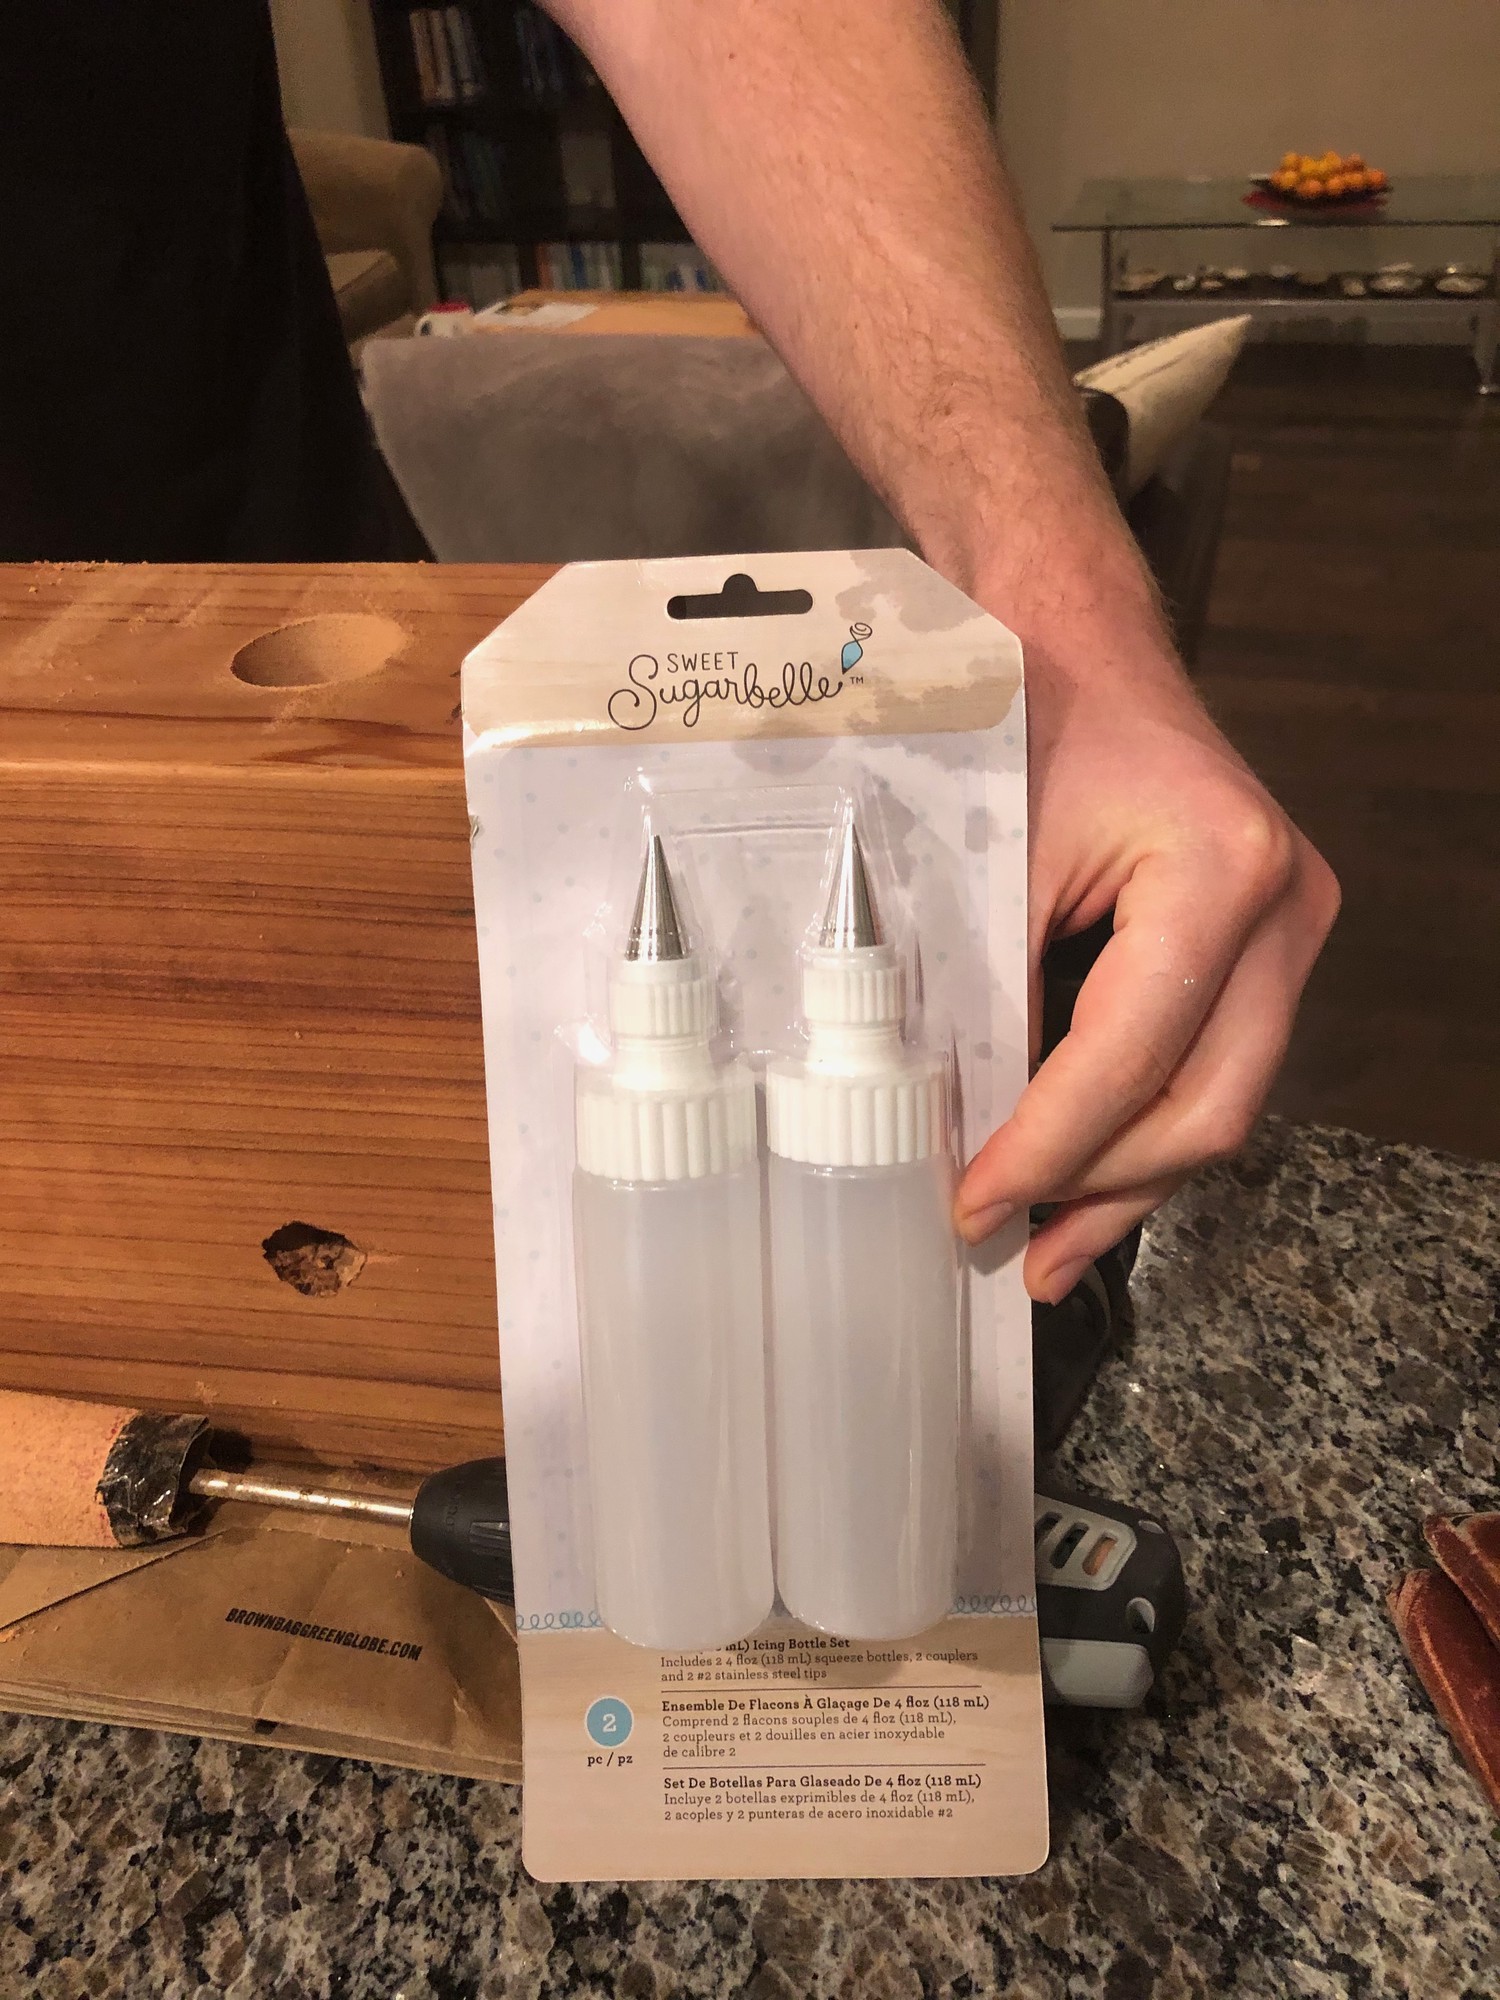
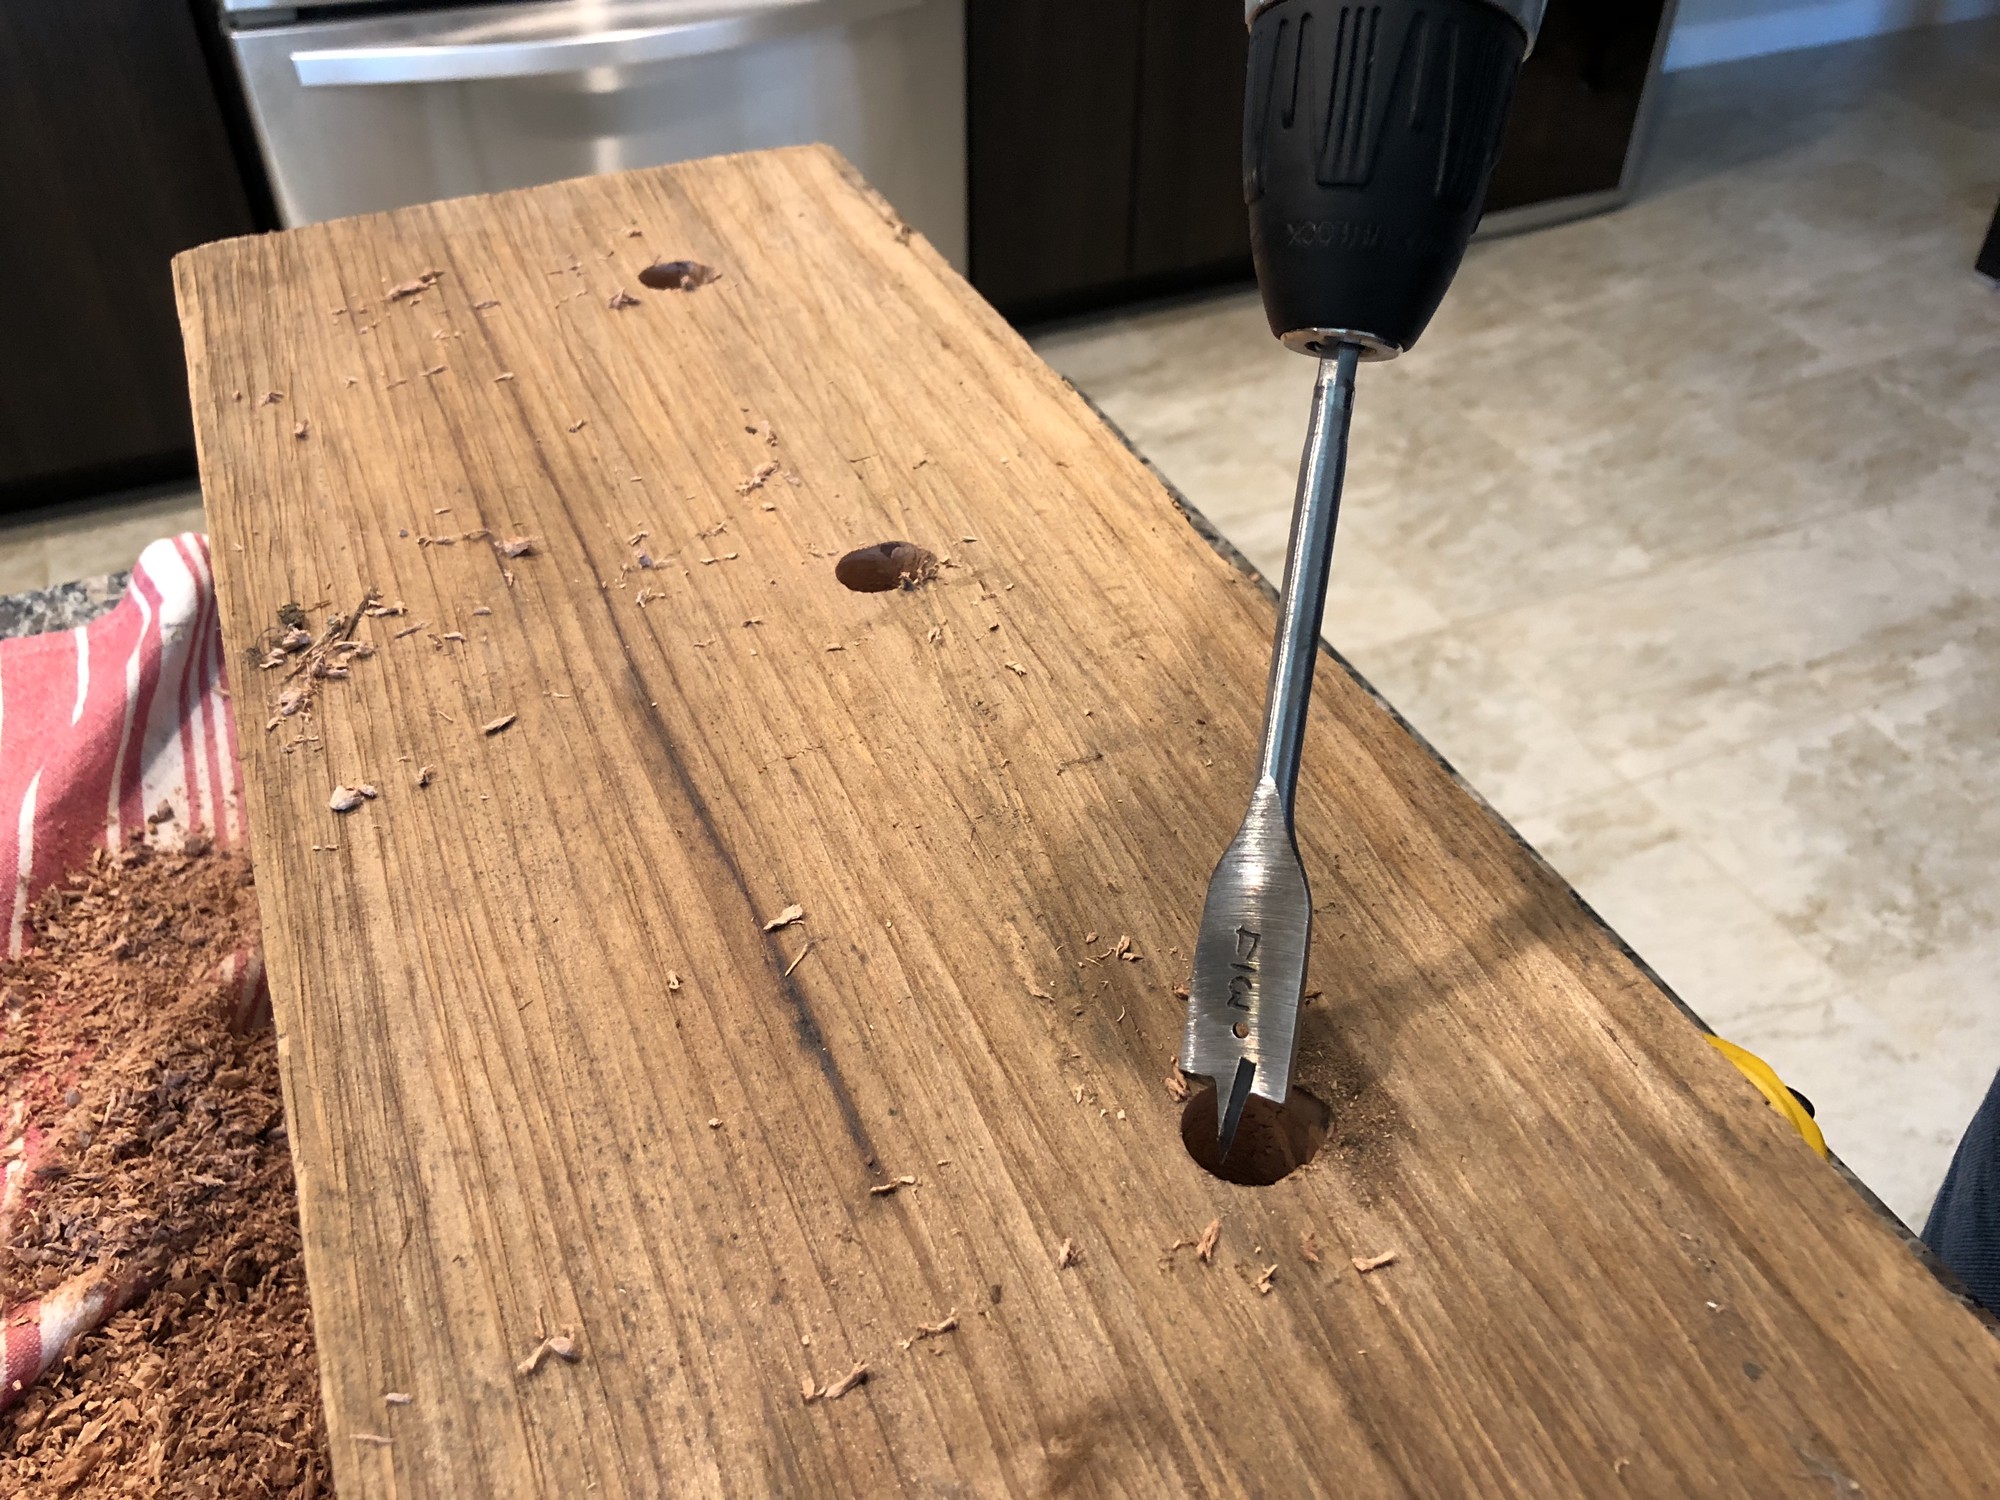
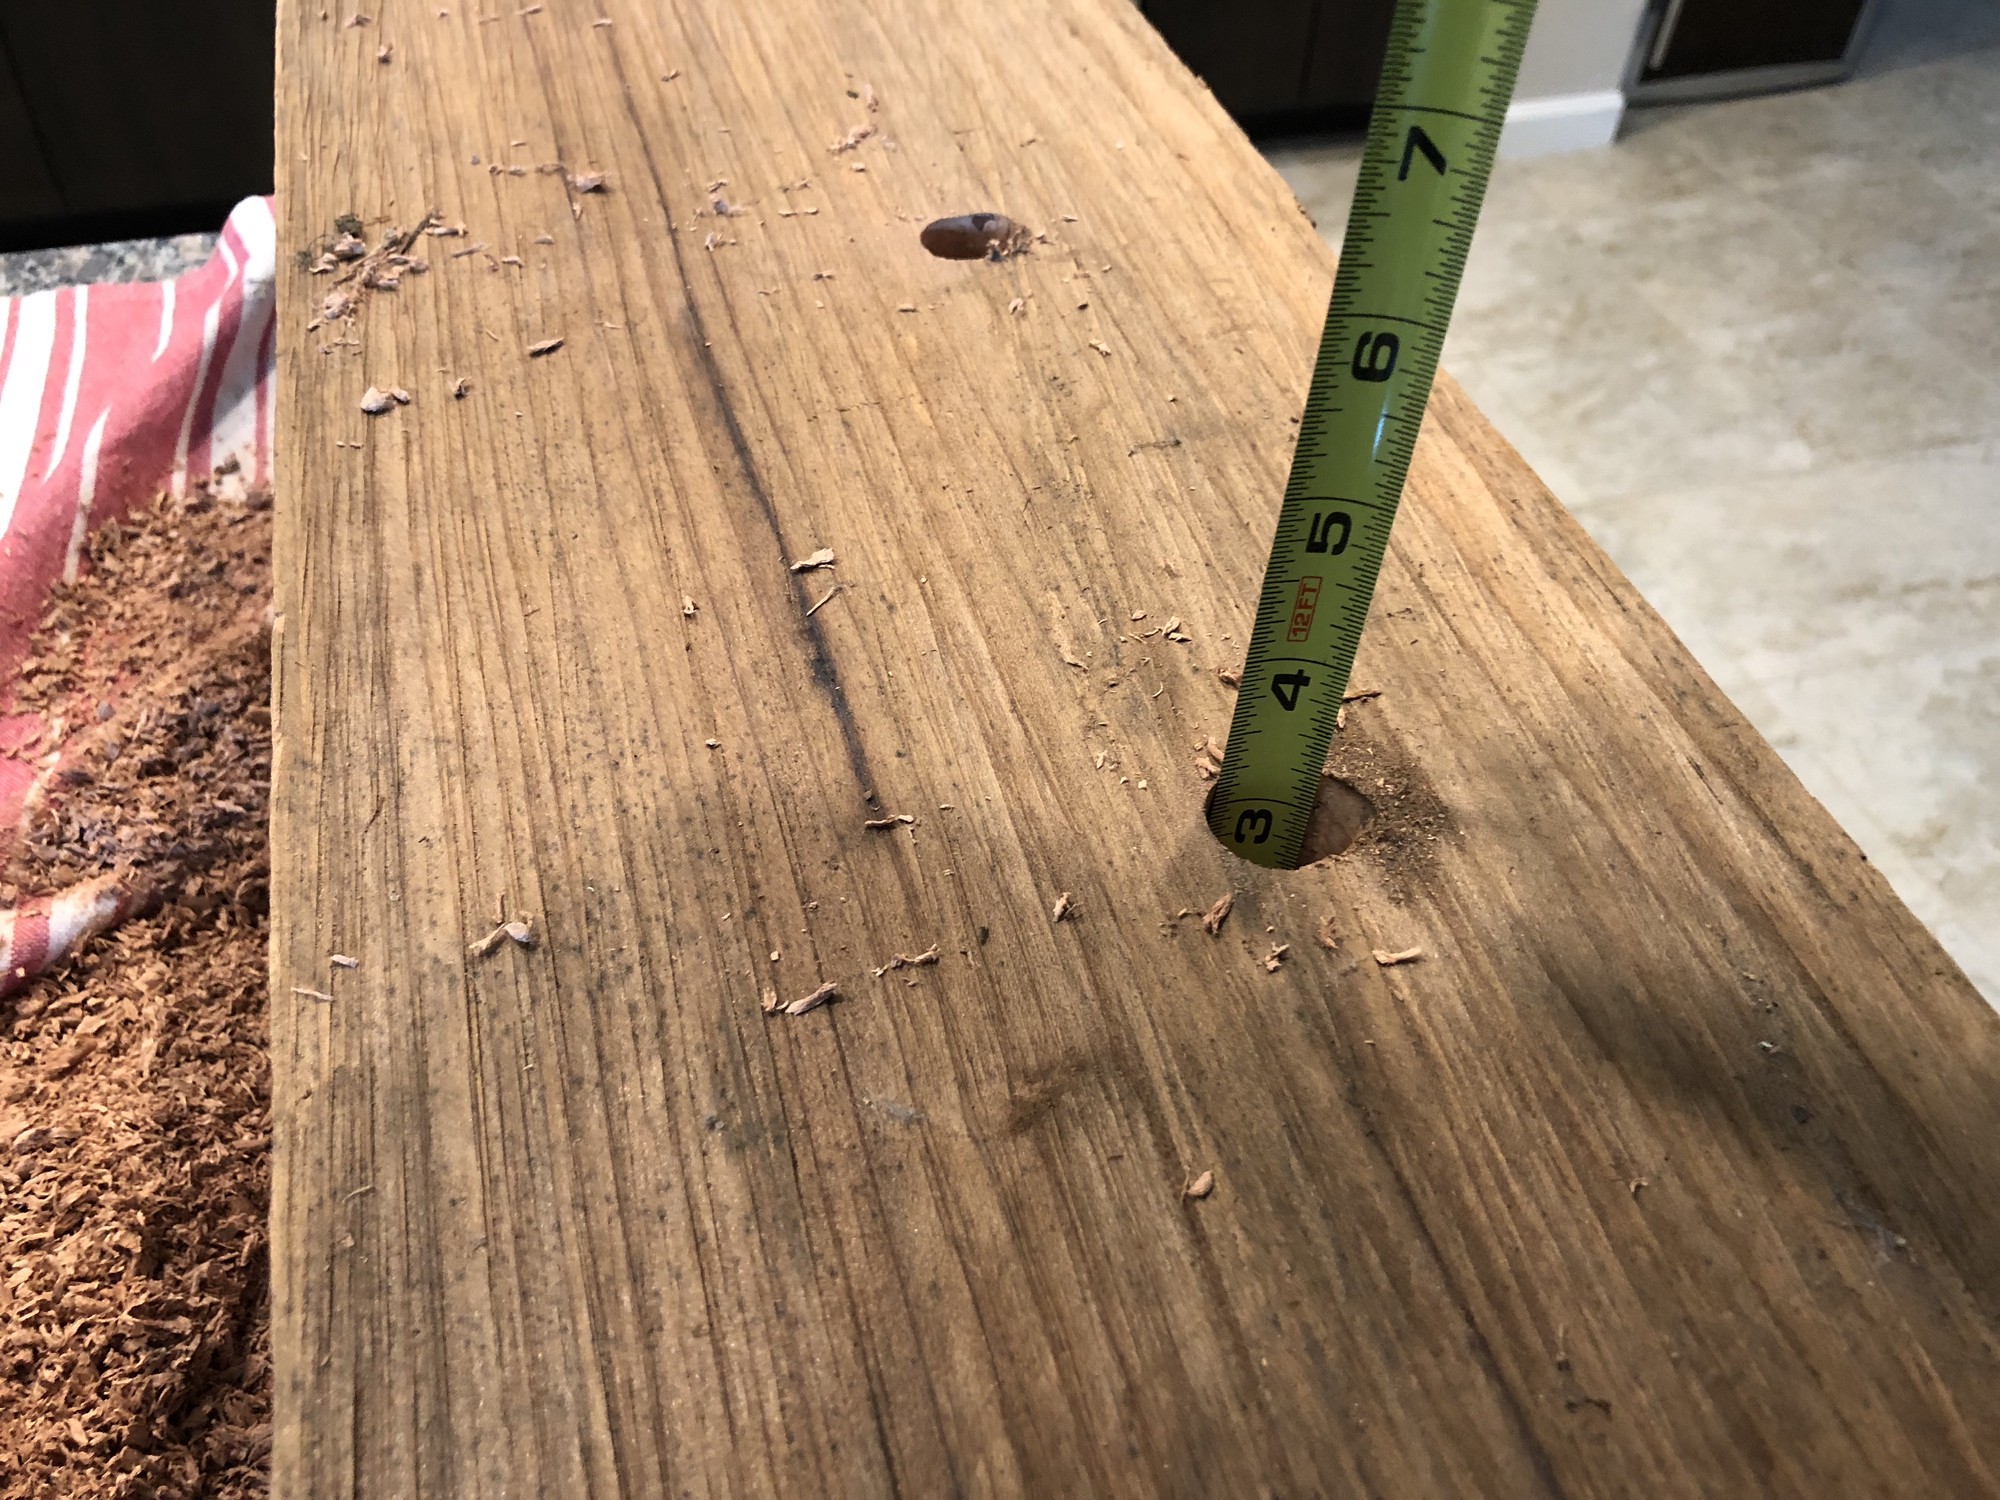
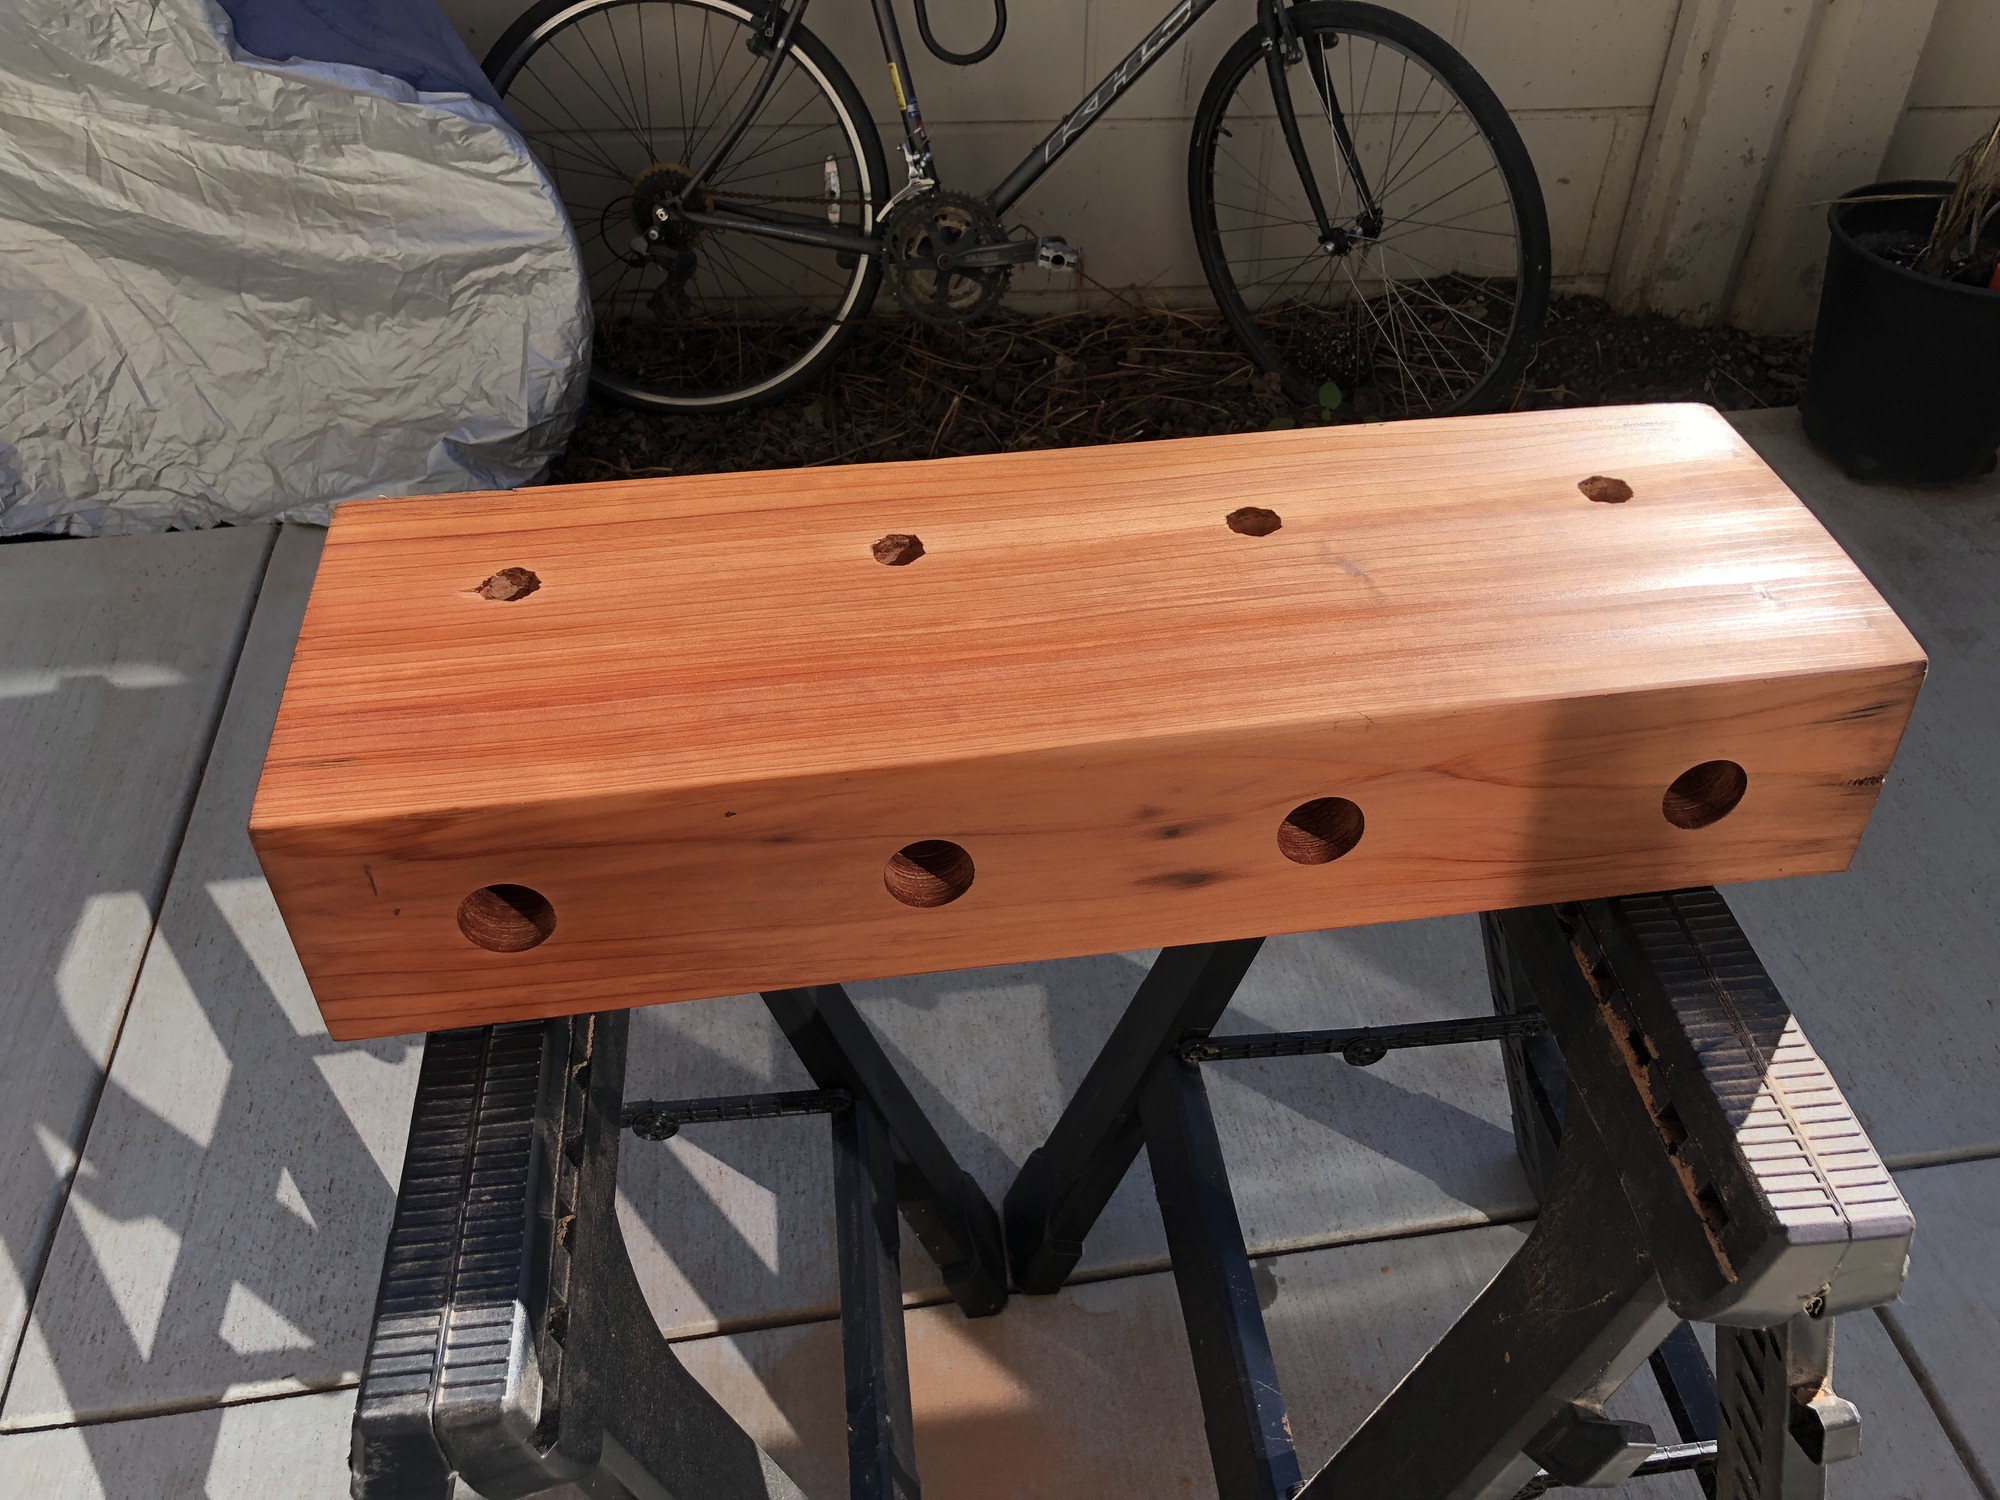
We picked up four icing bottles since the block was large enough to easily accomodate four large alcohol bottles side-by-side. The diameter of the bottles was close to 1/2" but slightly wider. The recepticals needed to fit snuggly into the wood holes that we would drill for them so as to prevent movement. Thus, we drilled out a preliminary hole using a 1/2" bit to a depth of 3 1/2".
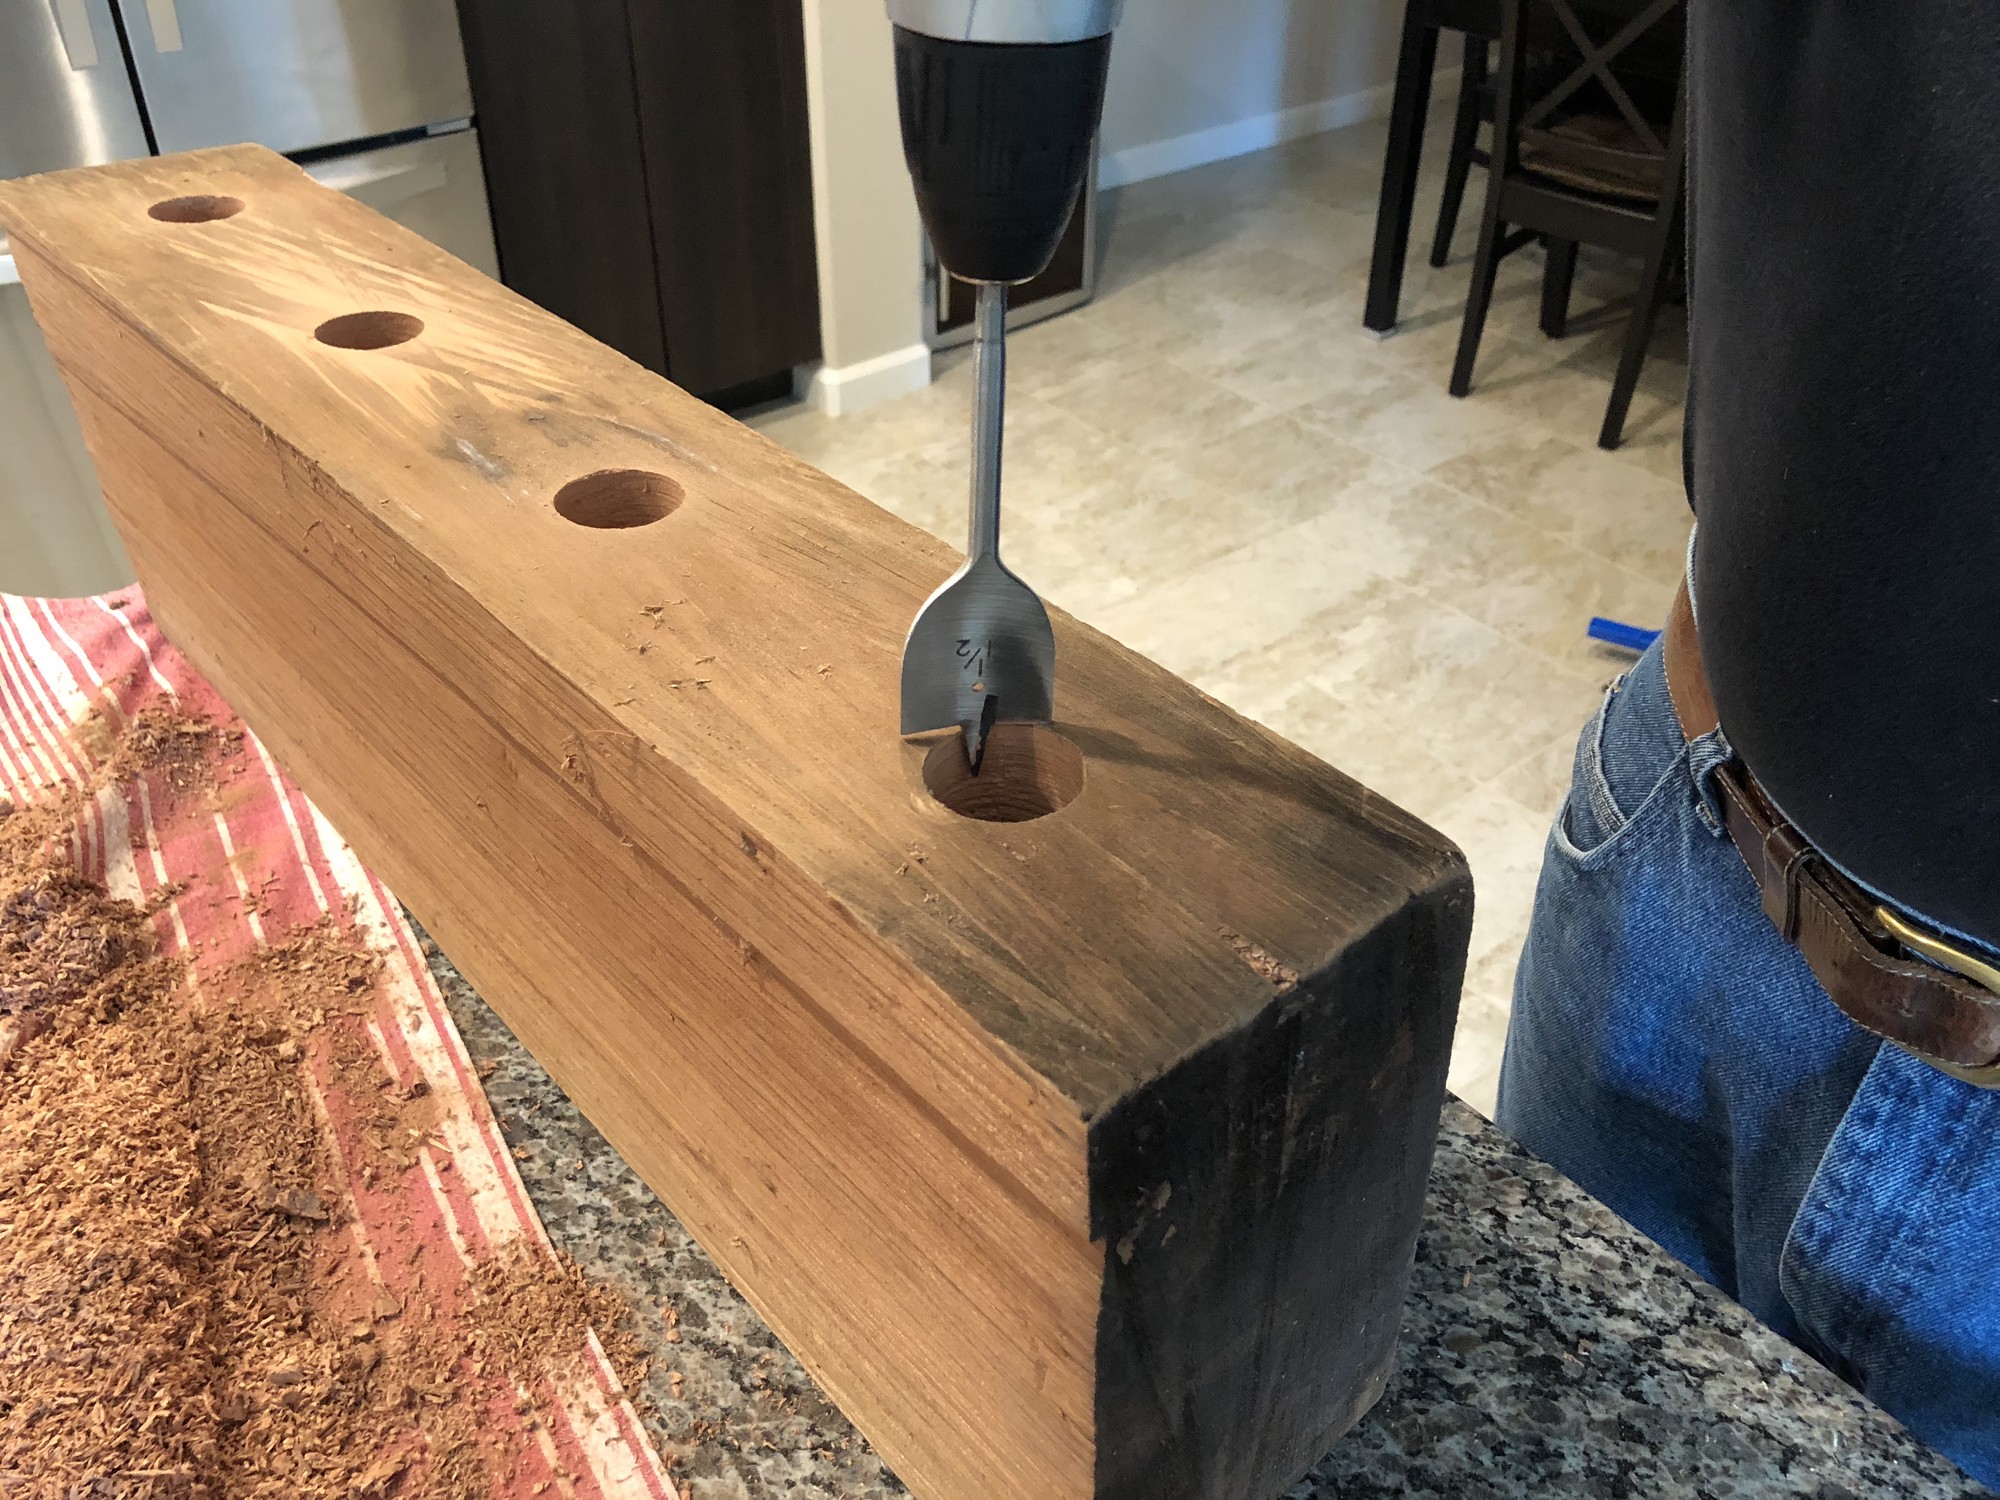
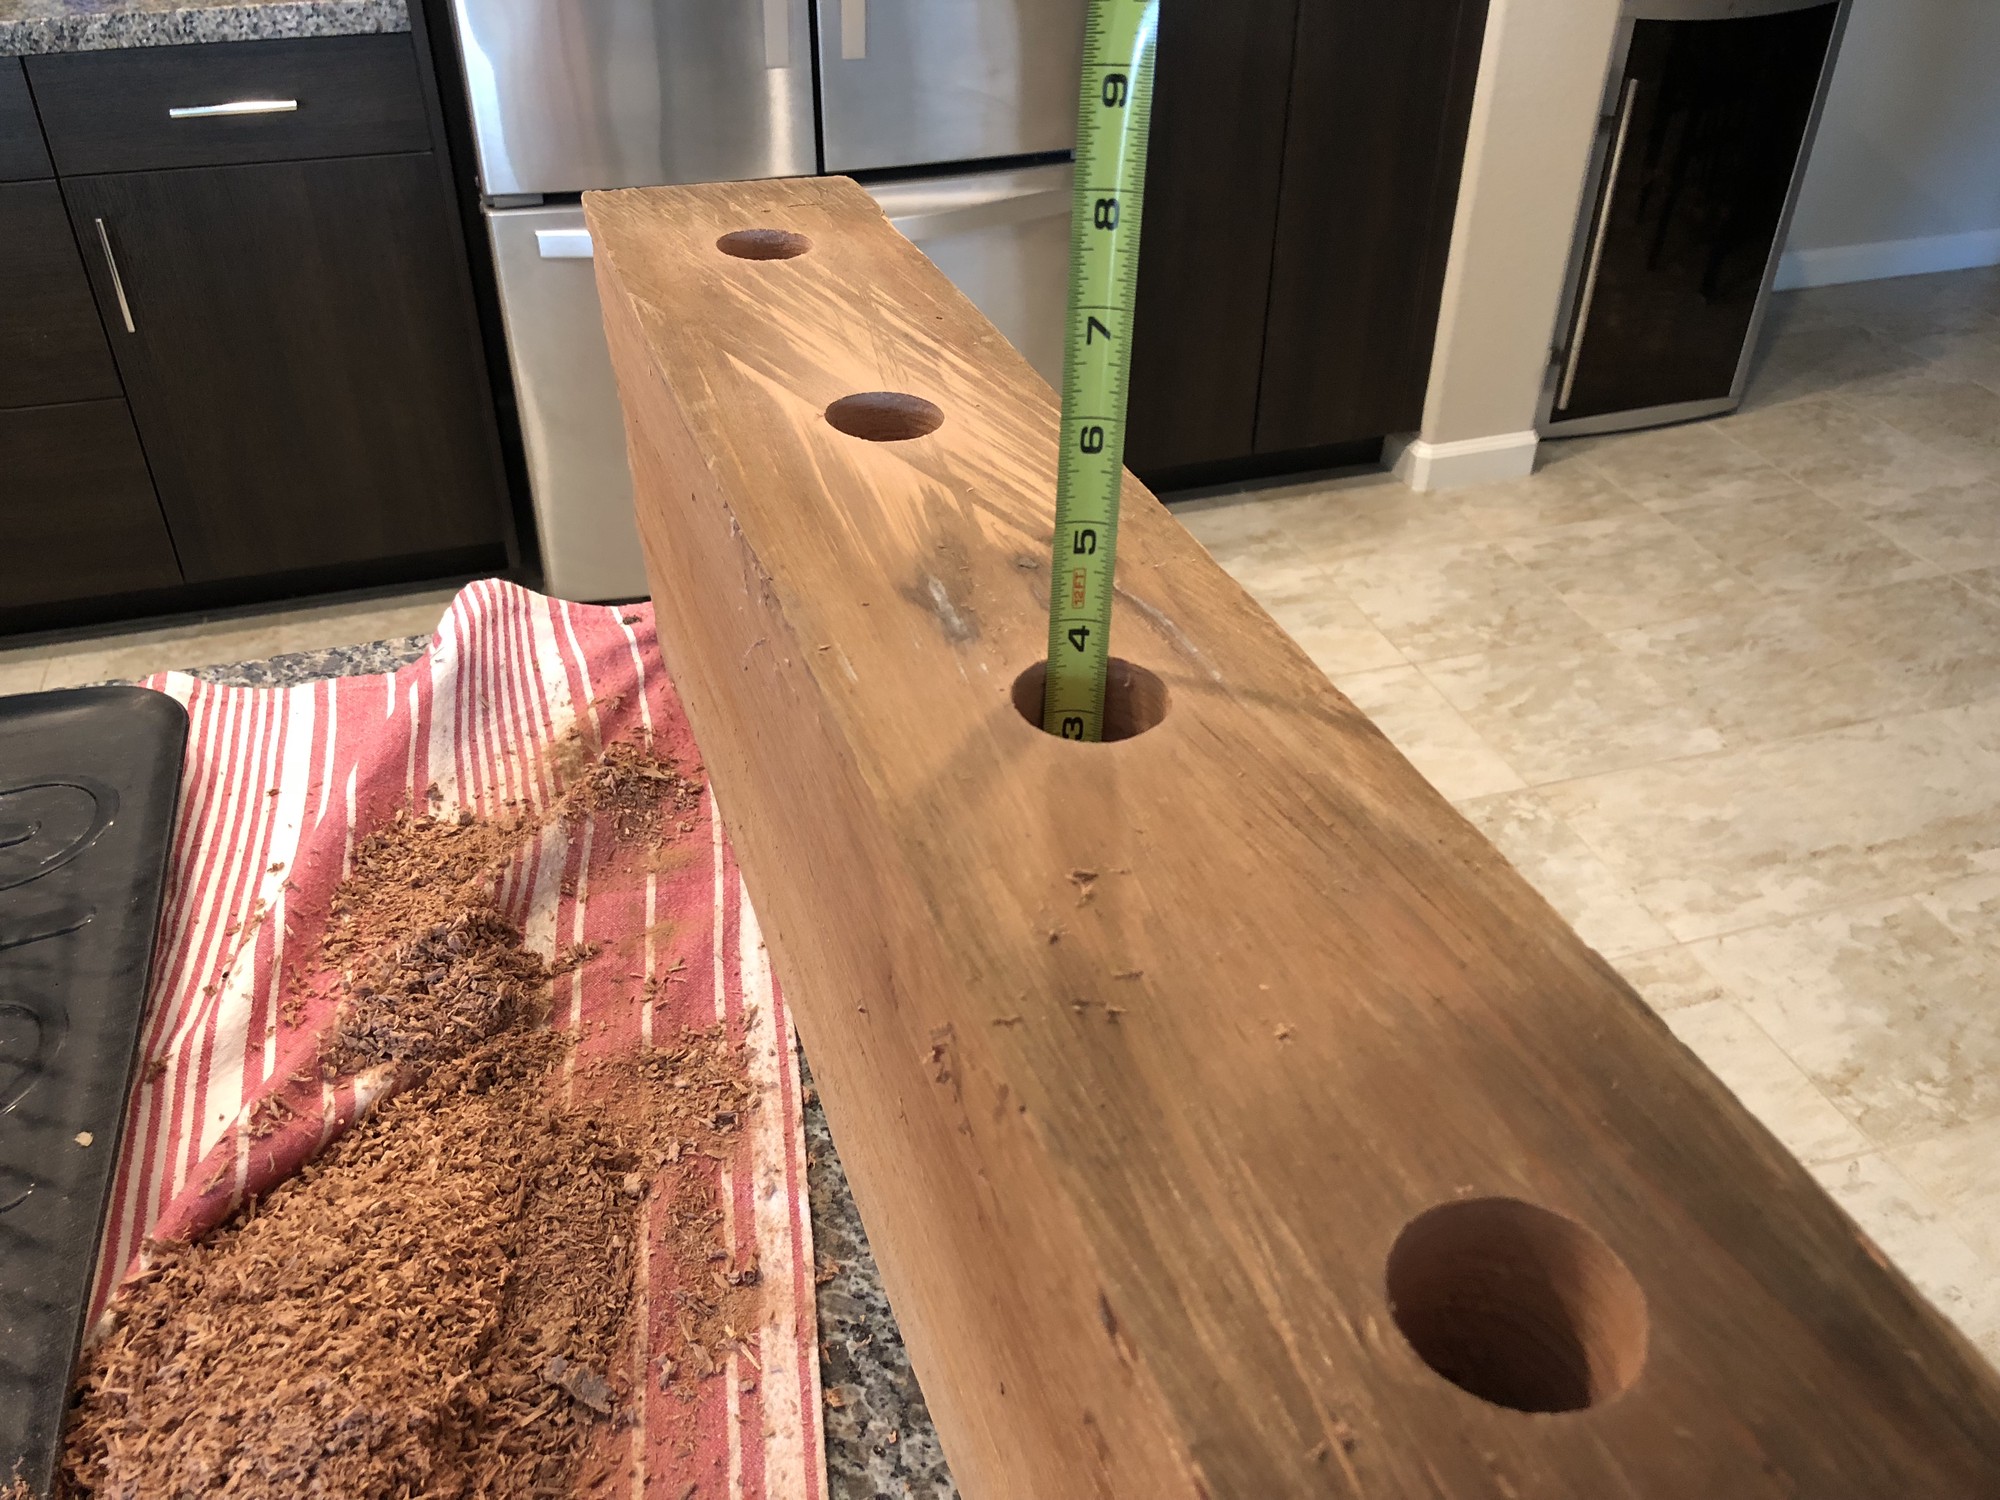
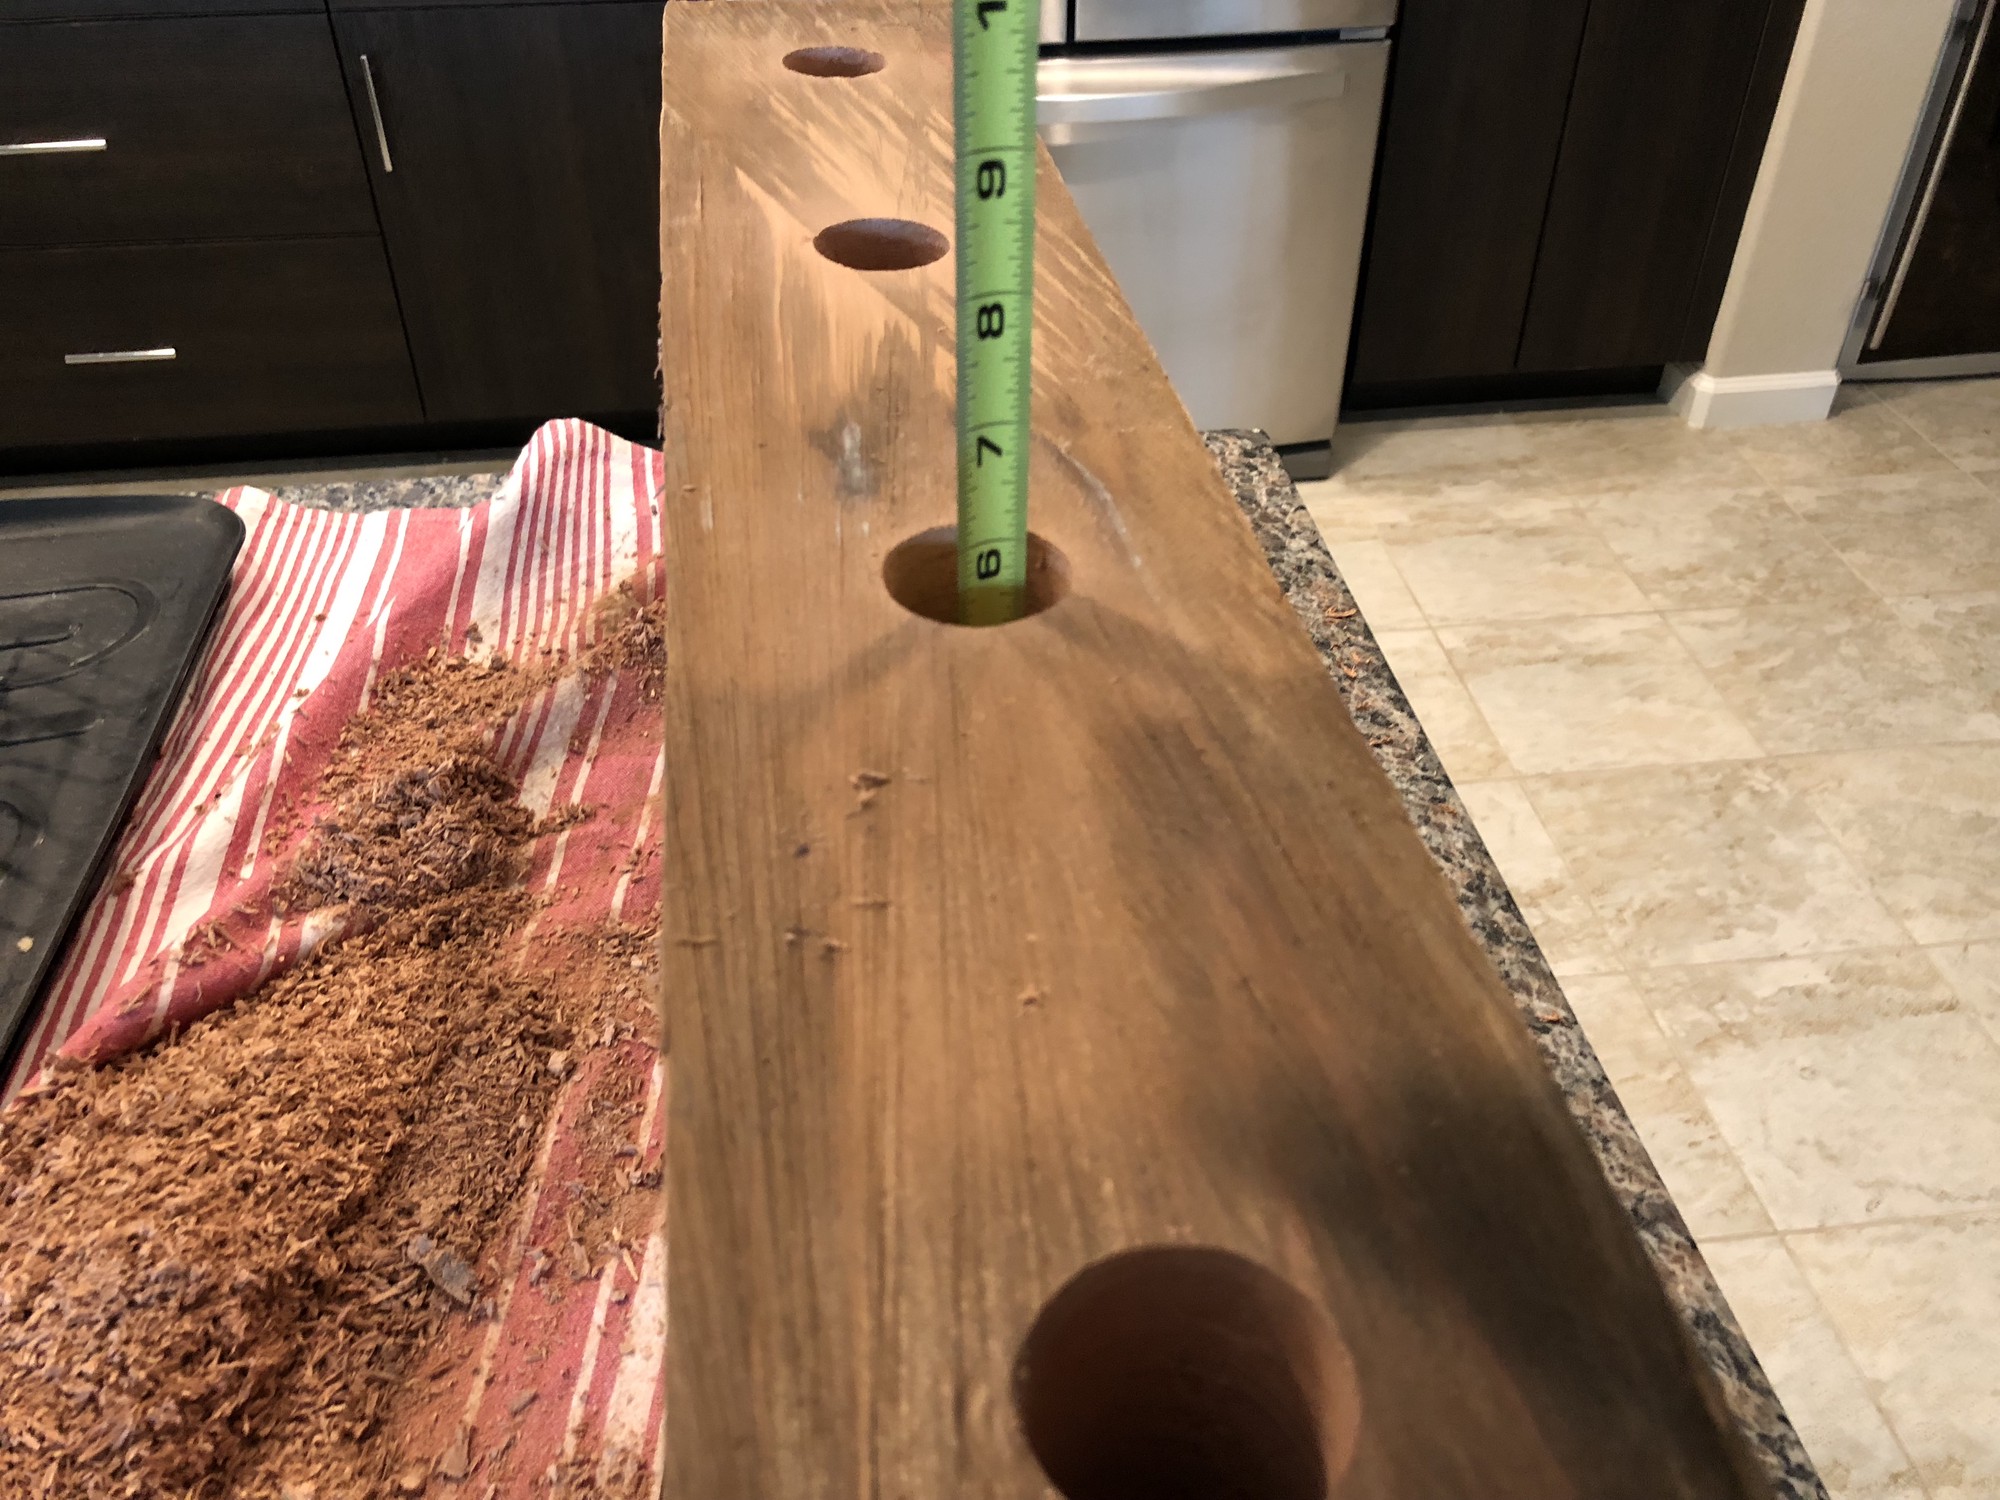
Next, we needed to make a pathway for the tubing that would carry the fluid from the receptical to the valve. To achieve this, we used a 3/4" drill bit to first extend the depth of the top hole deeper into the block to approximately level with where we thought the valve on the face of the wood block would be (largely dependent on personal taste and height of block). The resulting depth was about 6 1/4".
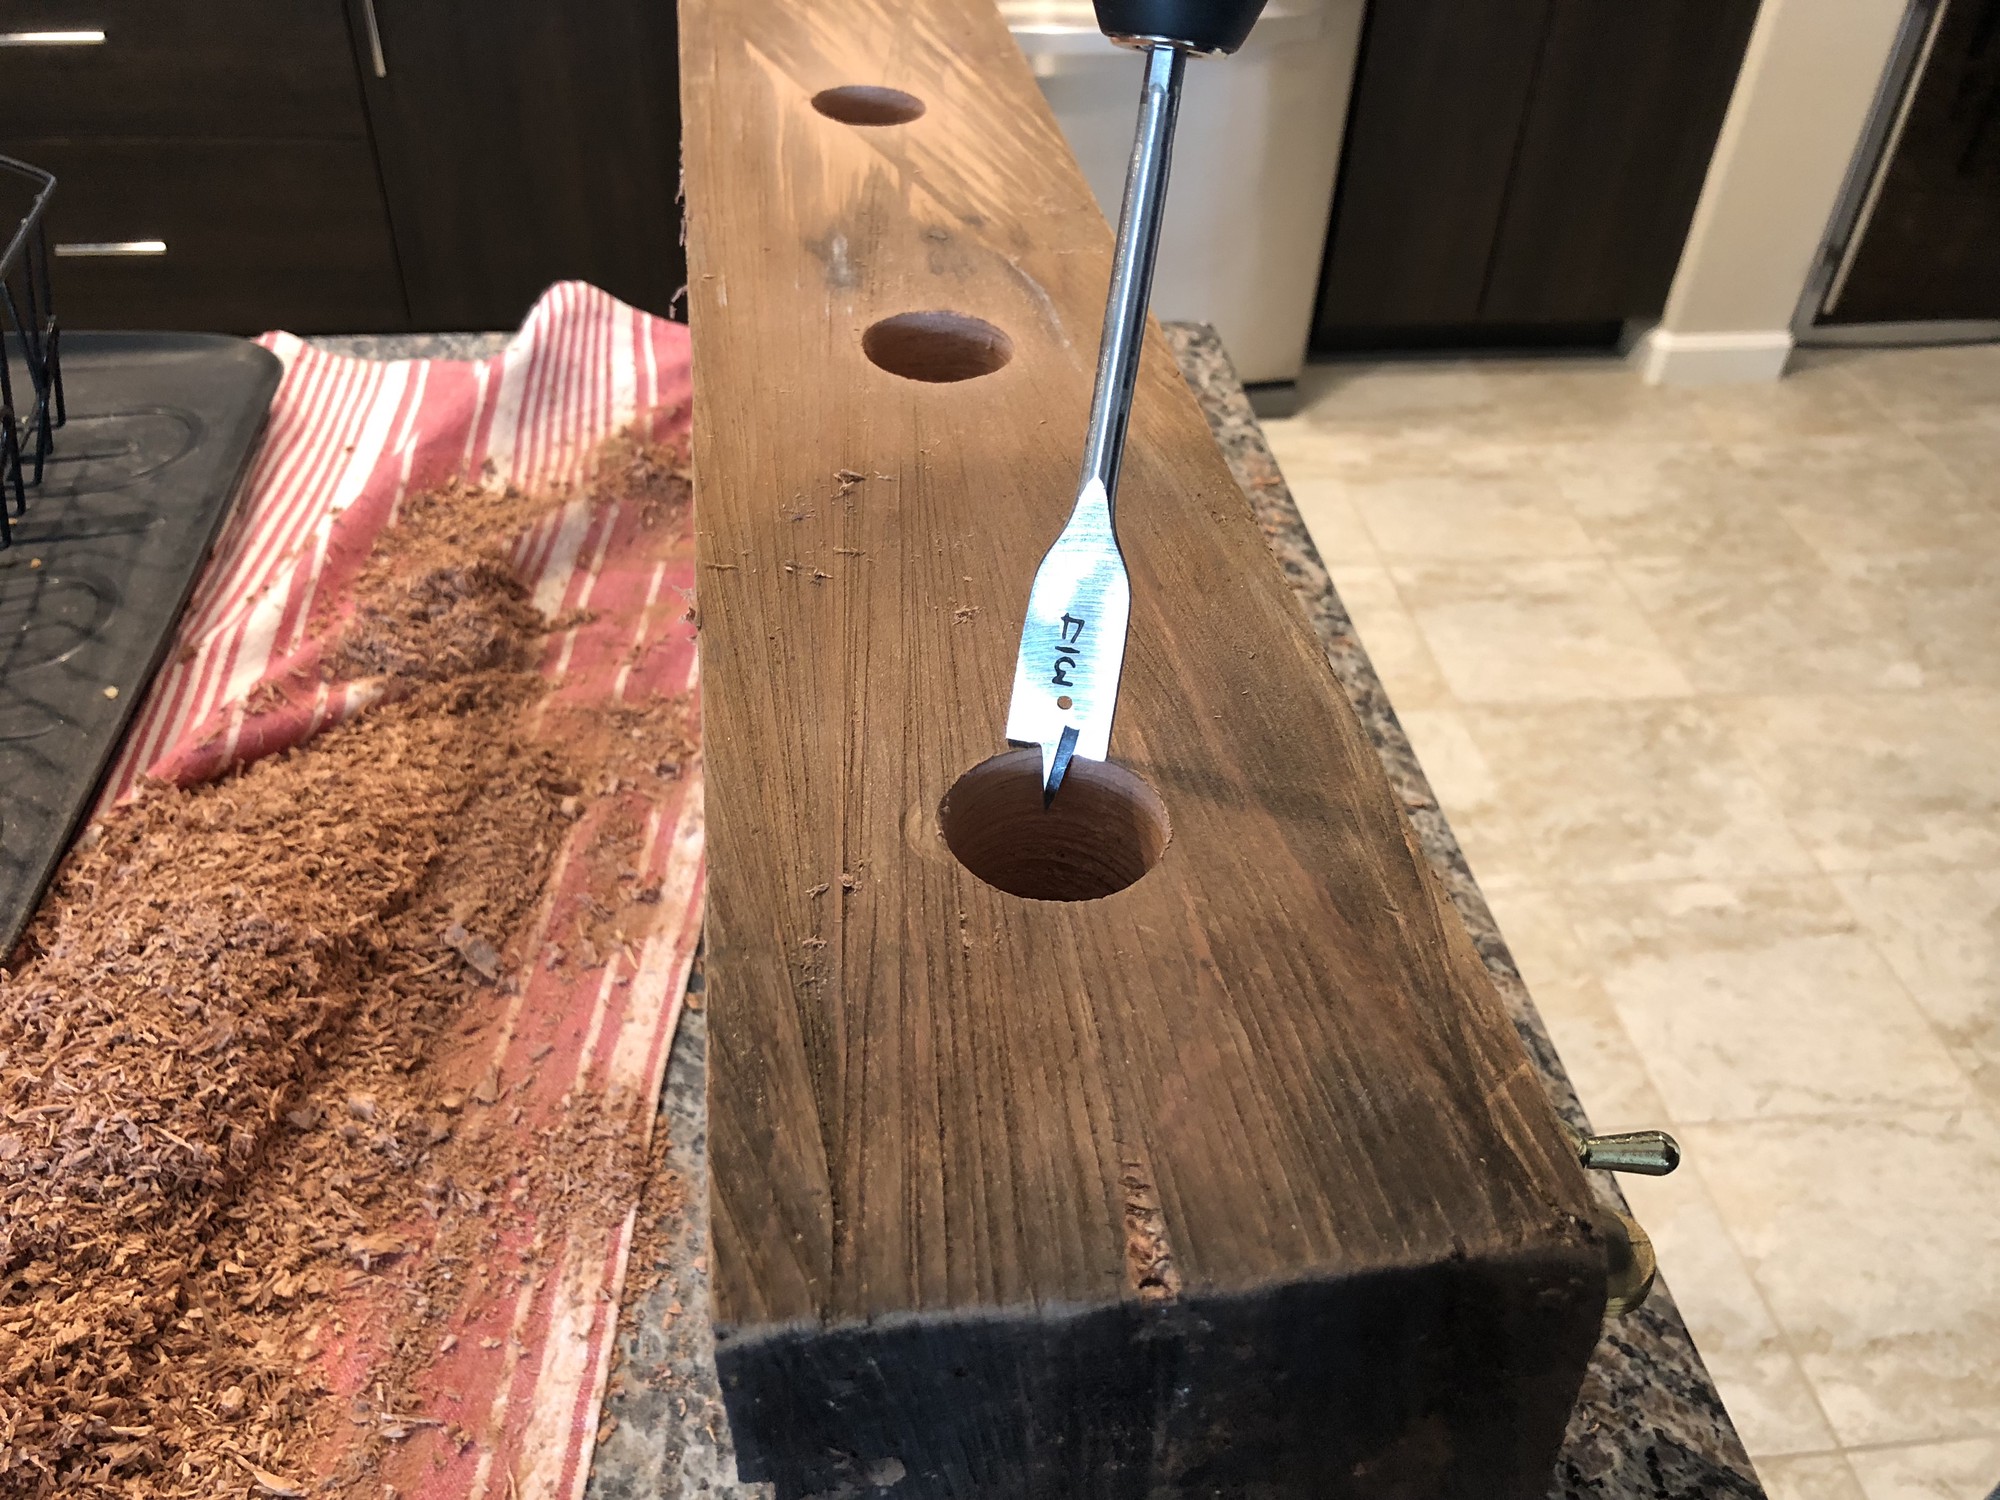
Then we proceeded to drill the valve holes. We started from the resulting depth above (~6 1/4") on the face of the block and proceeded into the block until we hit the previous hole drilled from the top.
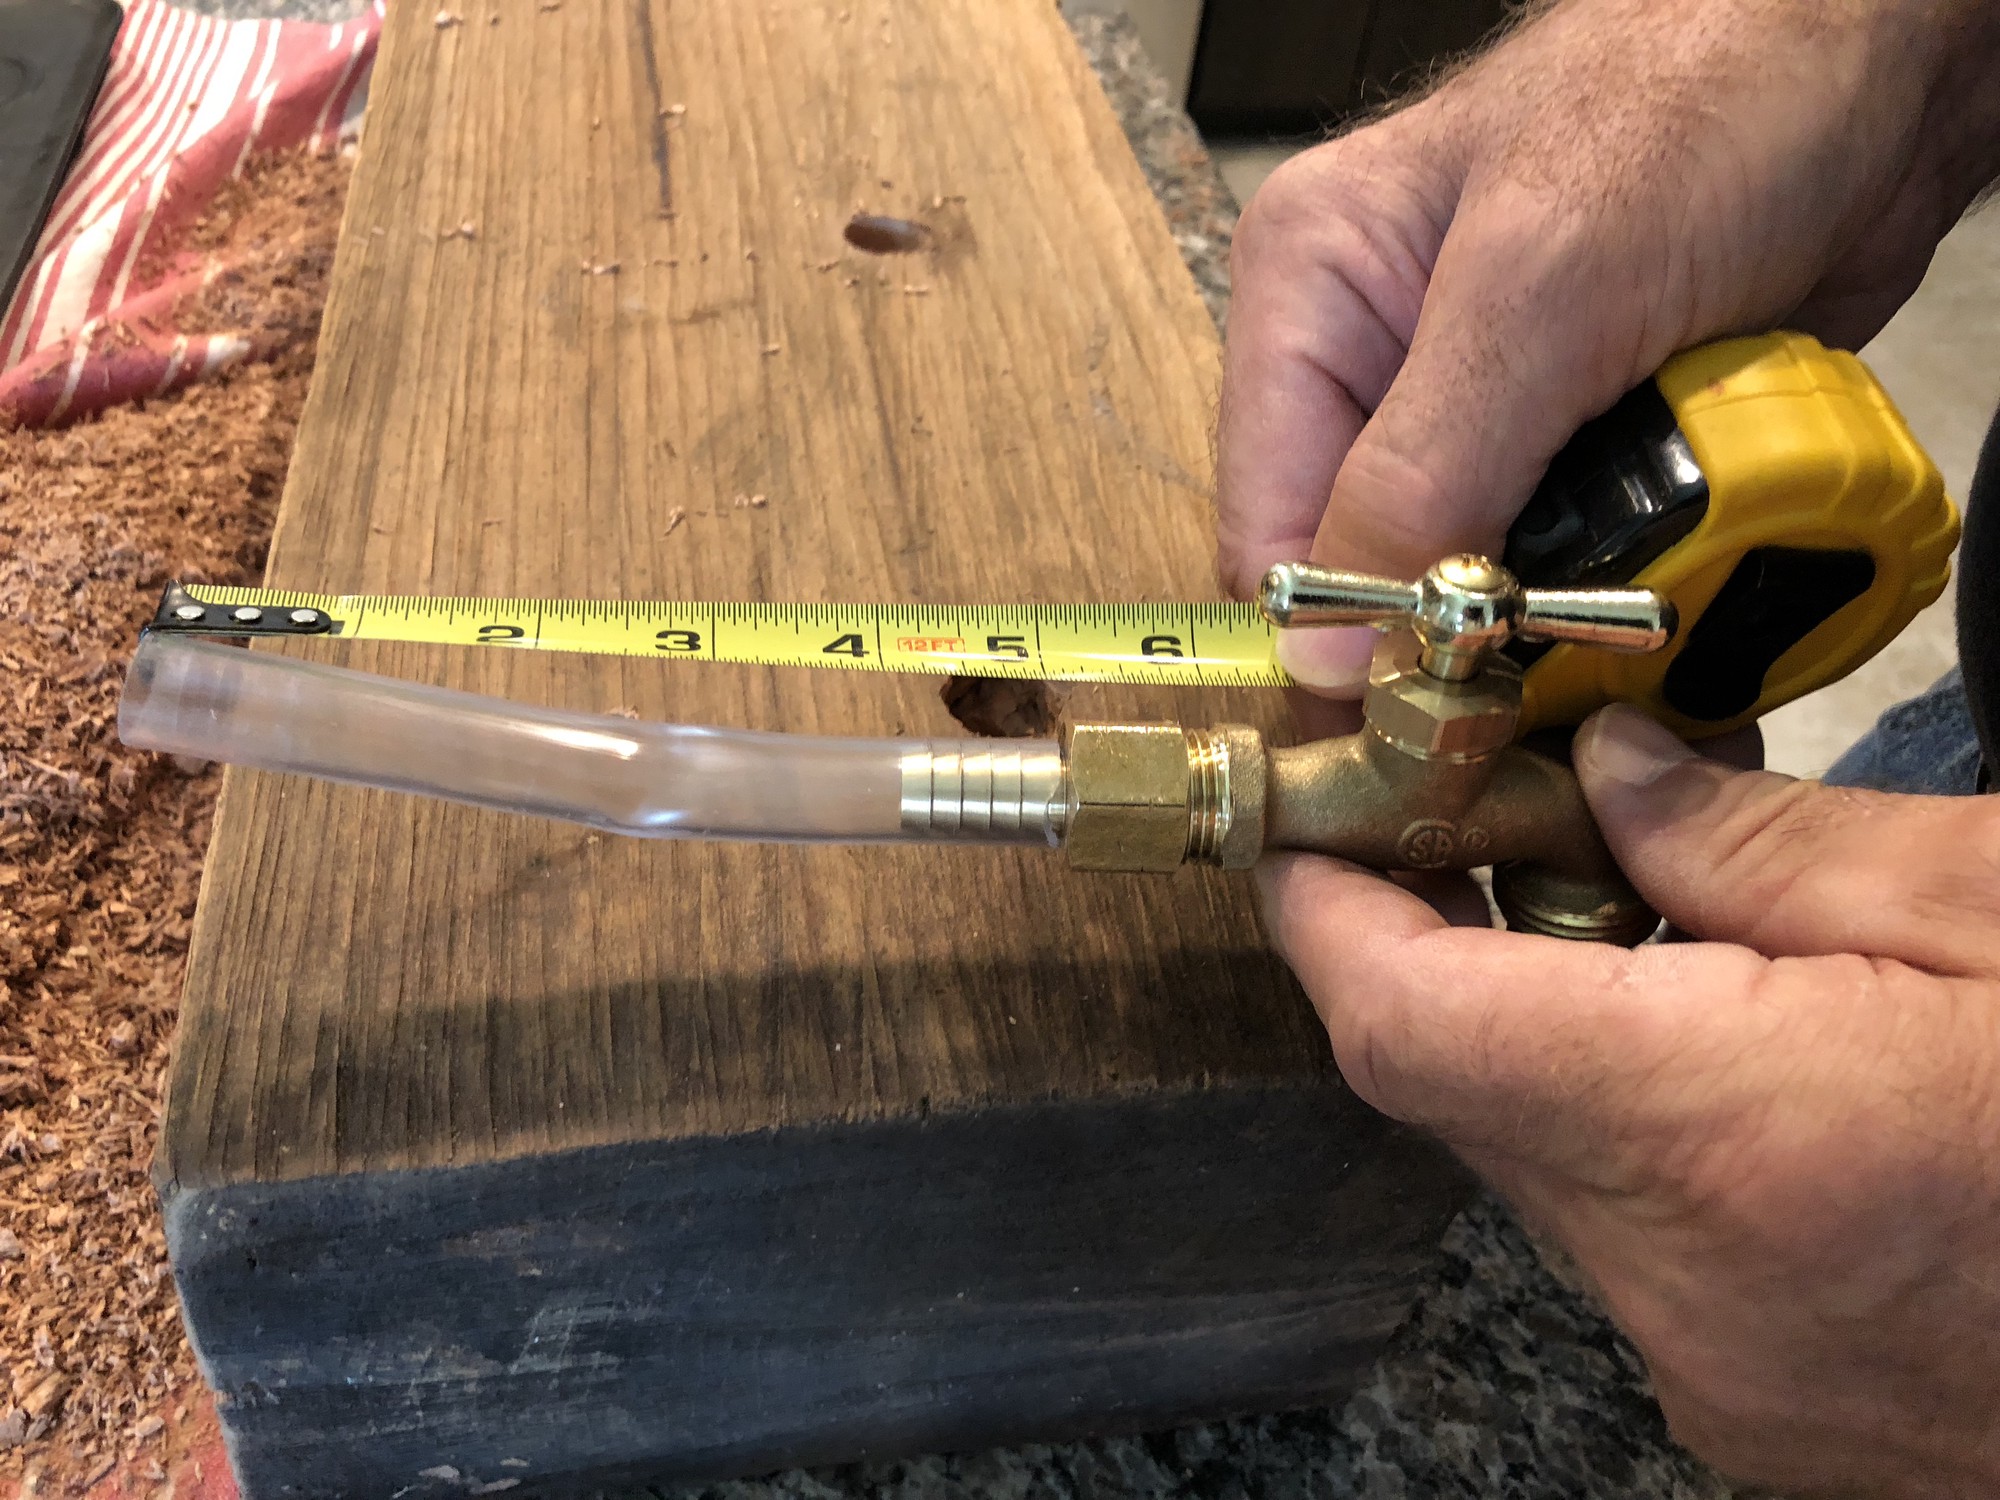
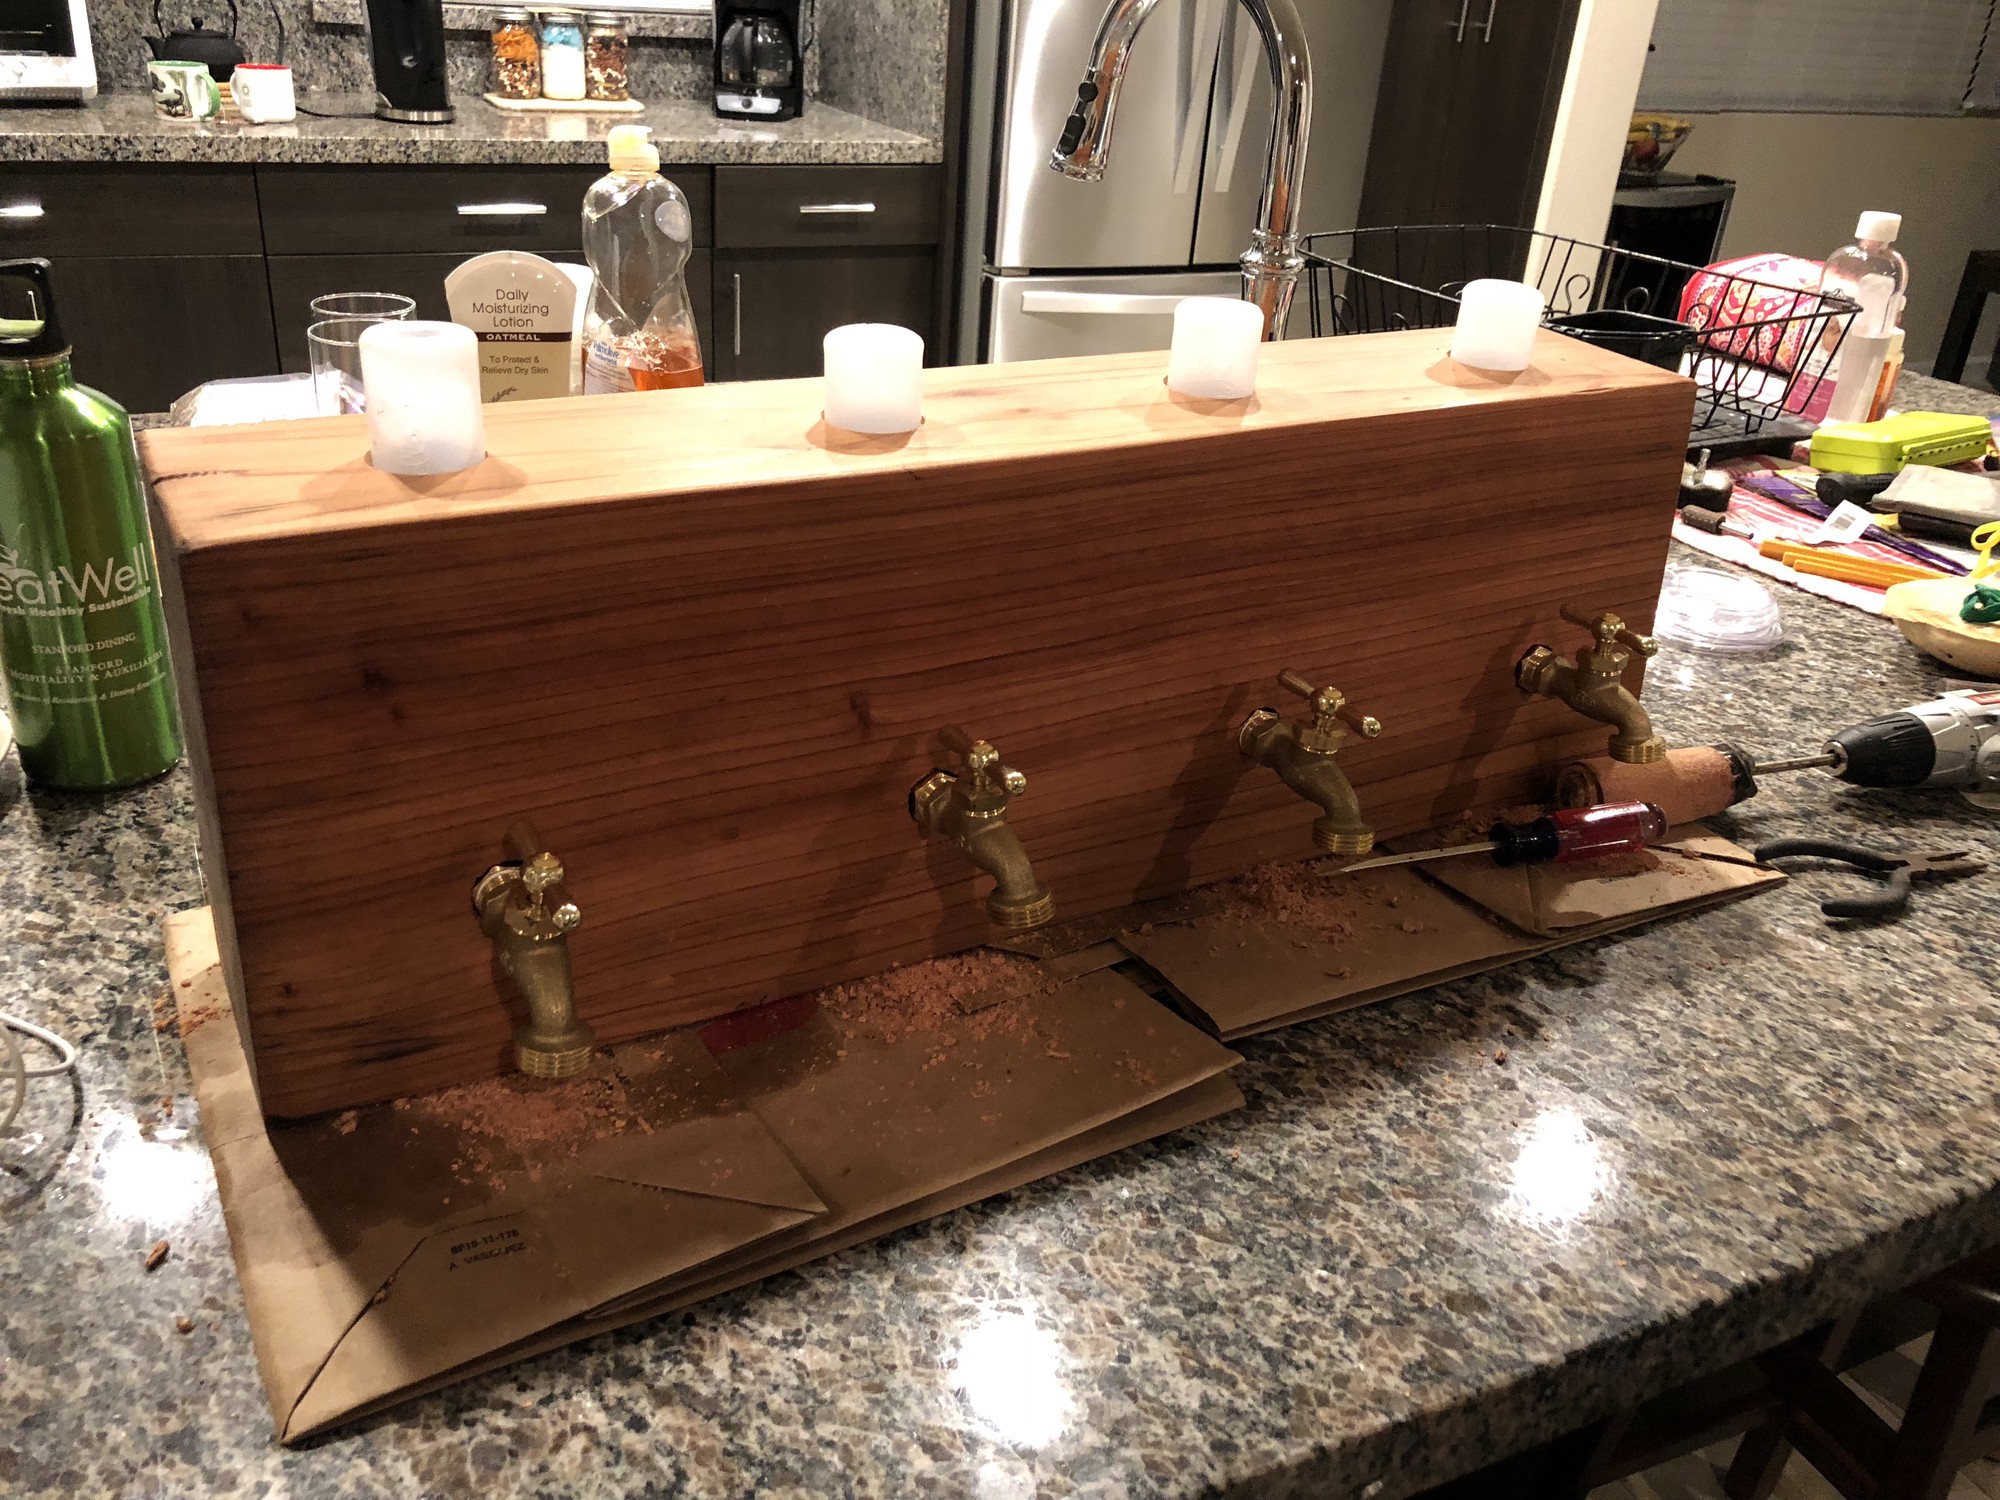
For the tubing itself, we decided to use simple 1/2" diameter water tubing from Home Depot. For the valve, we found some tasteful water hose valves from Home Depot along with 1/2" tubing adapters also from Home Depot.
We knew approximately how much length of tubing was necessary from the previous drill for the pathway of the tubing.
Because we wanted as little as possible of the valve adapters to be visible, we chiseled out their general shape in the face of the block where they would be mounted.
Once, we thought all major carving and drilling operations were complete, the next step was to enhance the grain of the wood. We did this by applying baby oil3. This oil is food safe and still gives mild in-grain protection to the wood while “popping the grain”.
As mentioned previously, the 1/2" top holes were not quite large enough for the recepticals we had found. So, using an inverted hand screw driver with sand paper loosely wrapped around the handle serving as a giant sanding bit, we further widened the holes until the recepticals just fit.

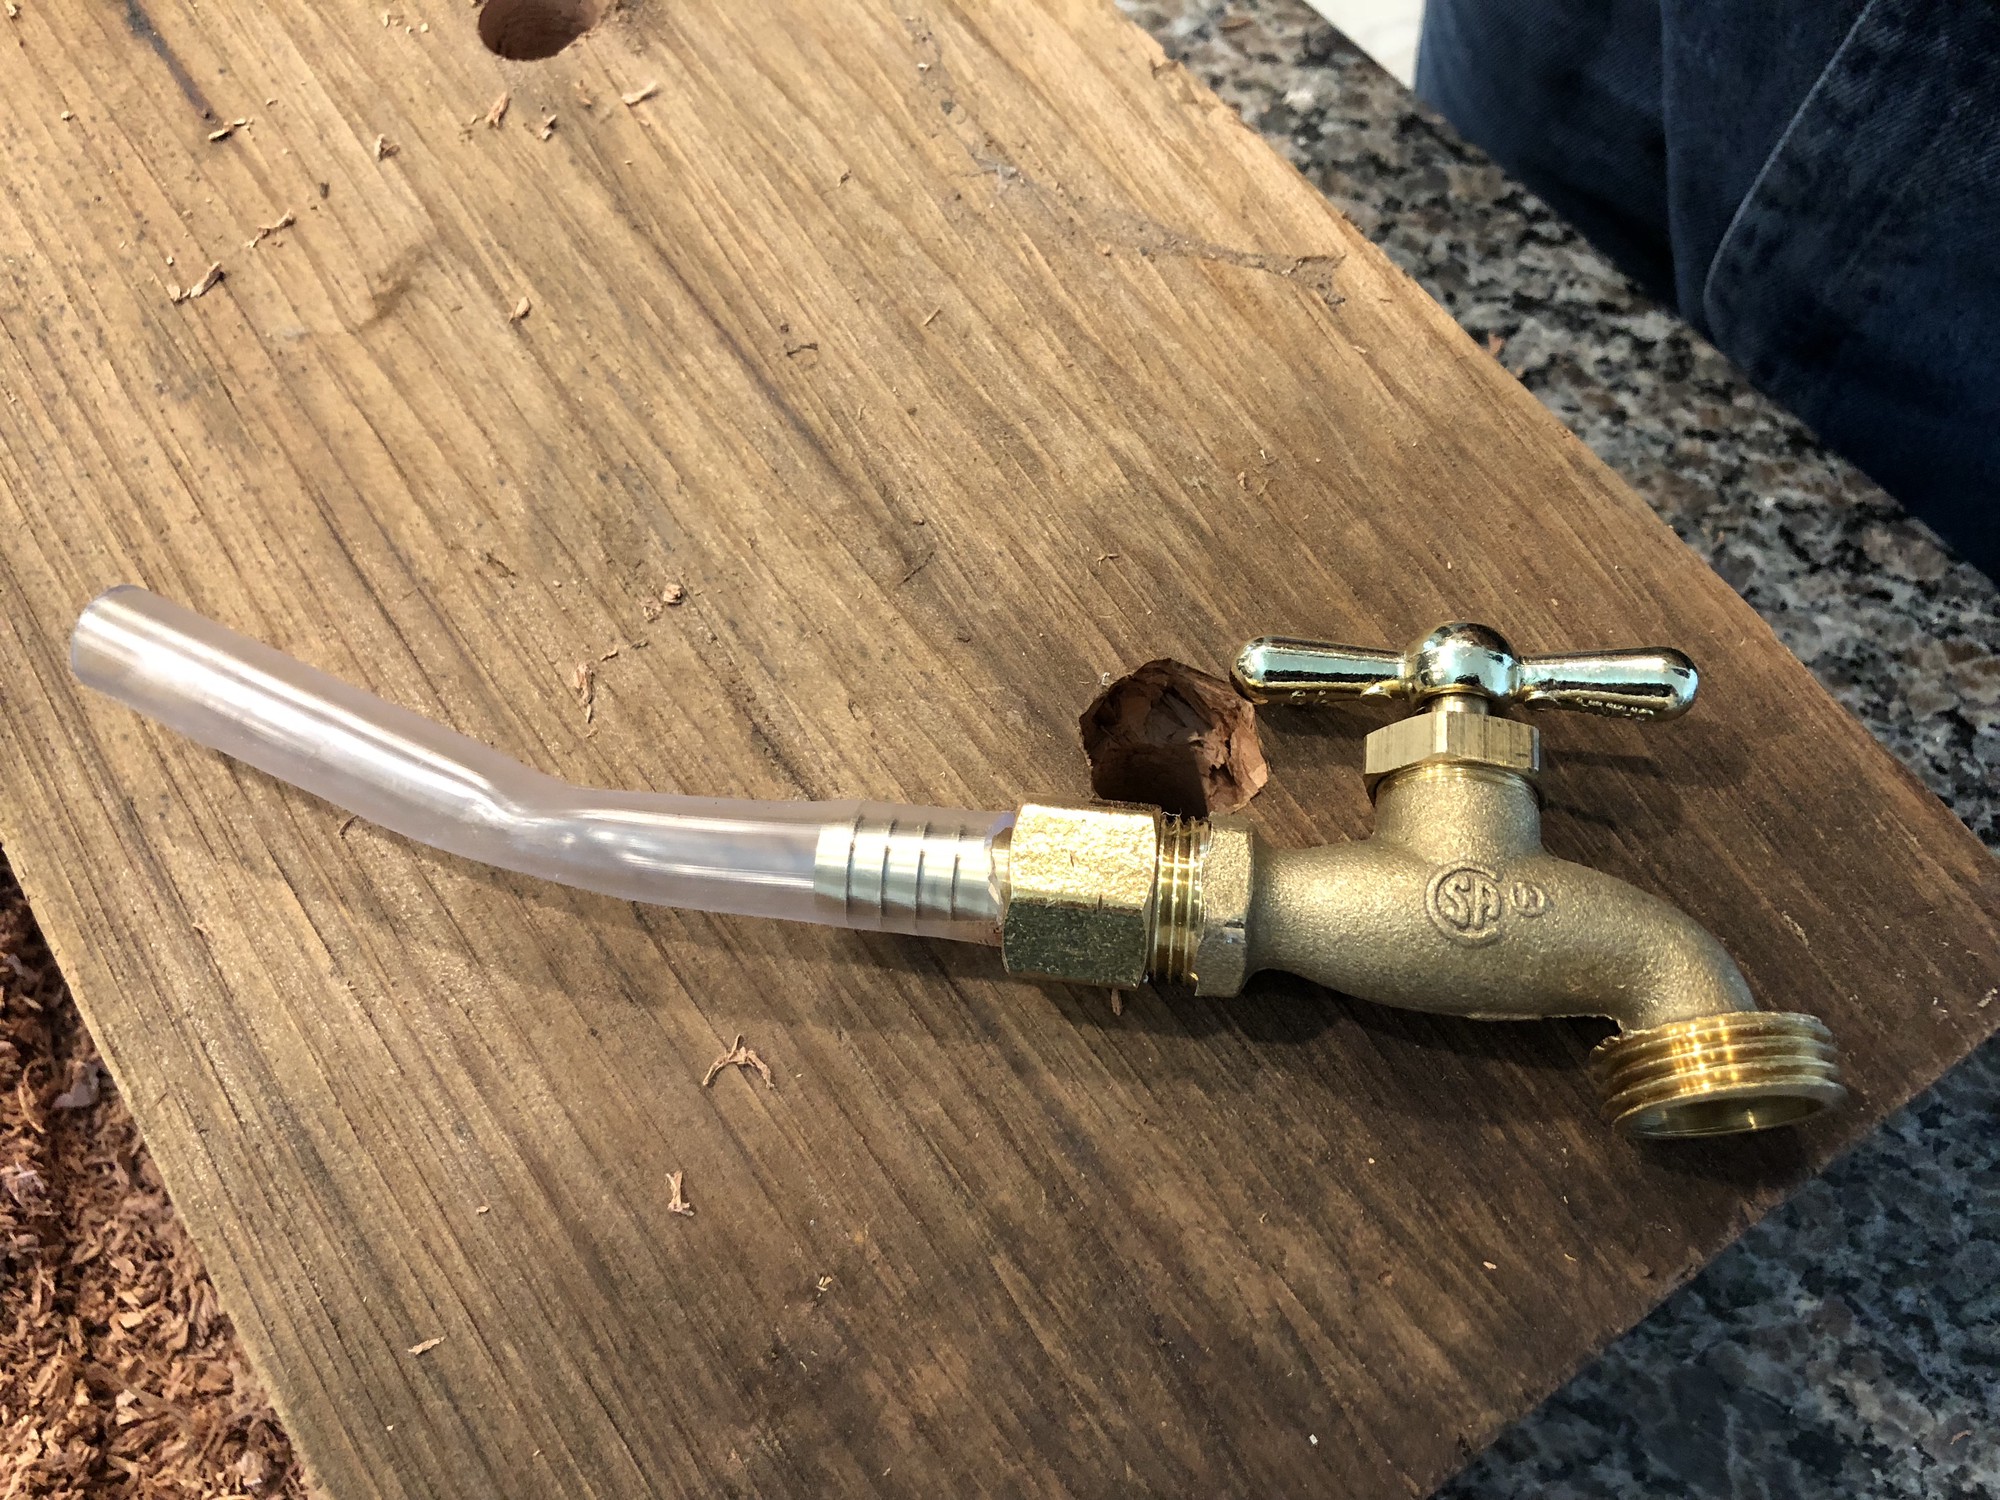
Next, we needed to complete the receptical assembly. We realized that the tubing would have to be inserted attached to the receptical due to the precarious angles and tight pathway from the receptical to the valve. Thus, we removed the tubing from the valves and secured it to the nozzle of the icing bottle with cyanoacrylate glue as shown.
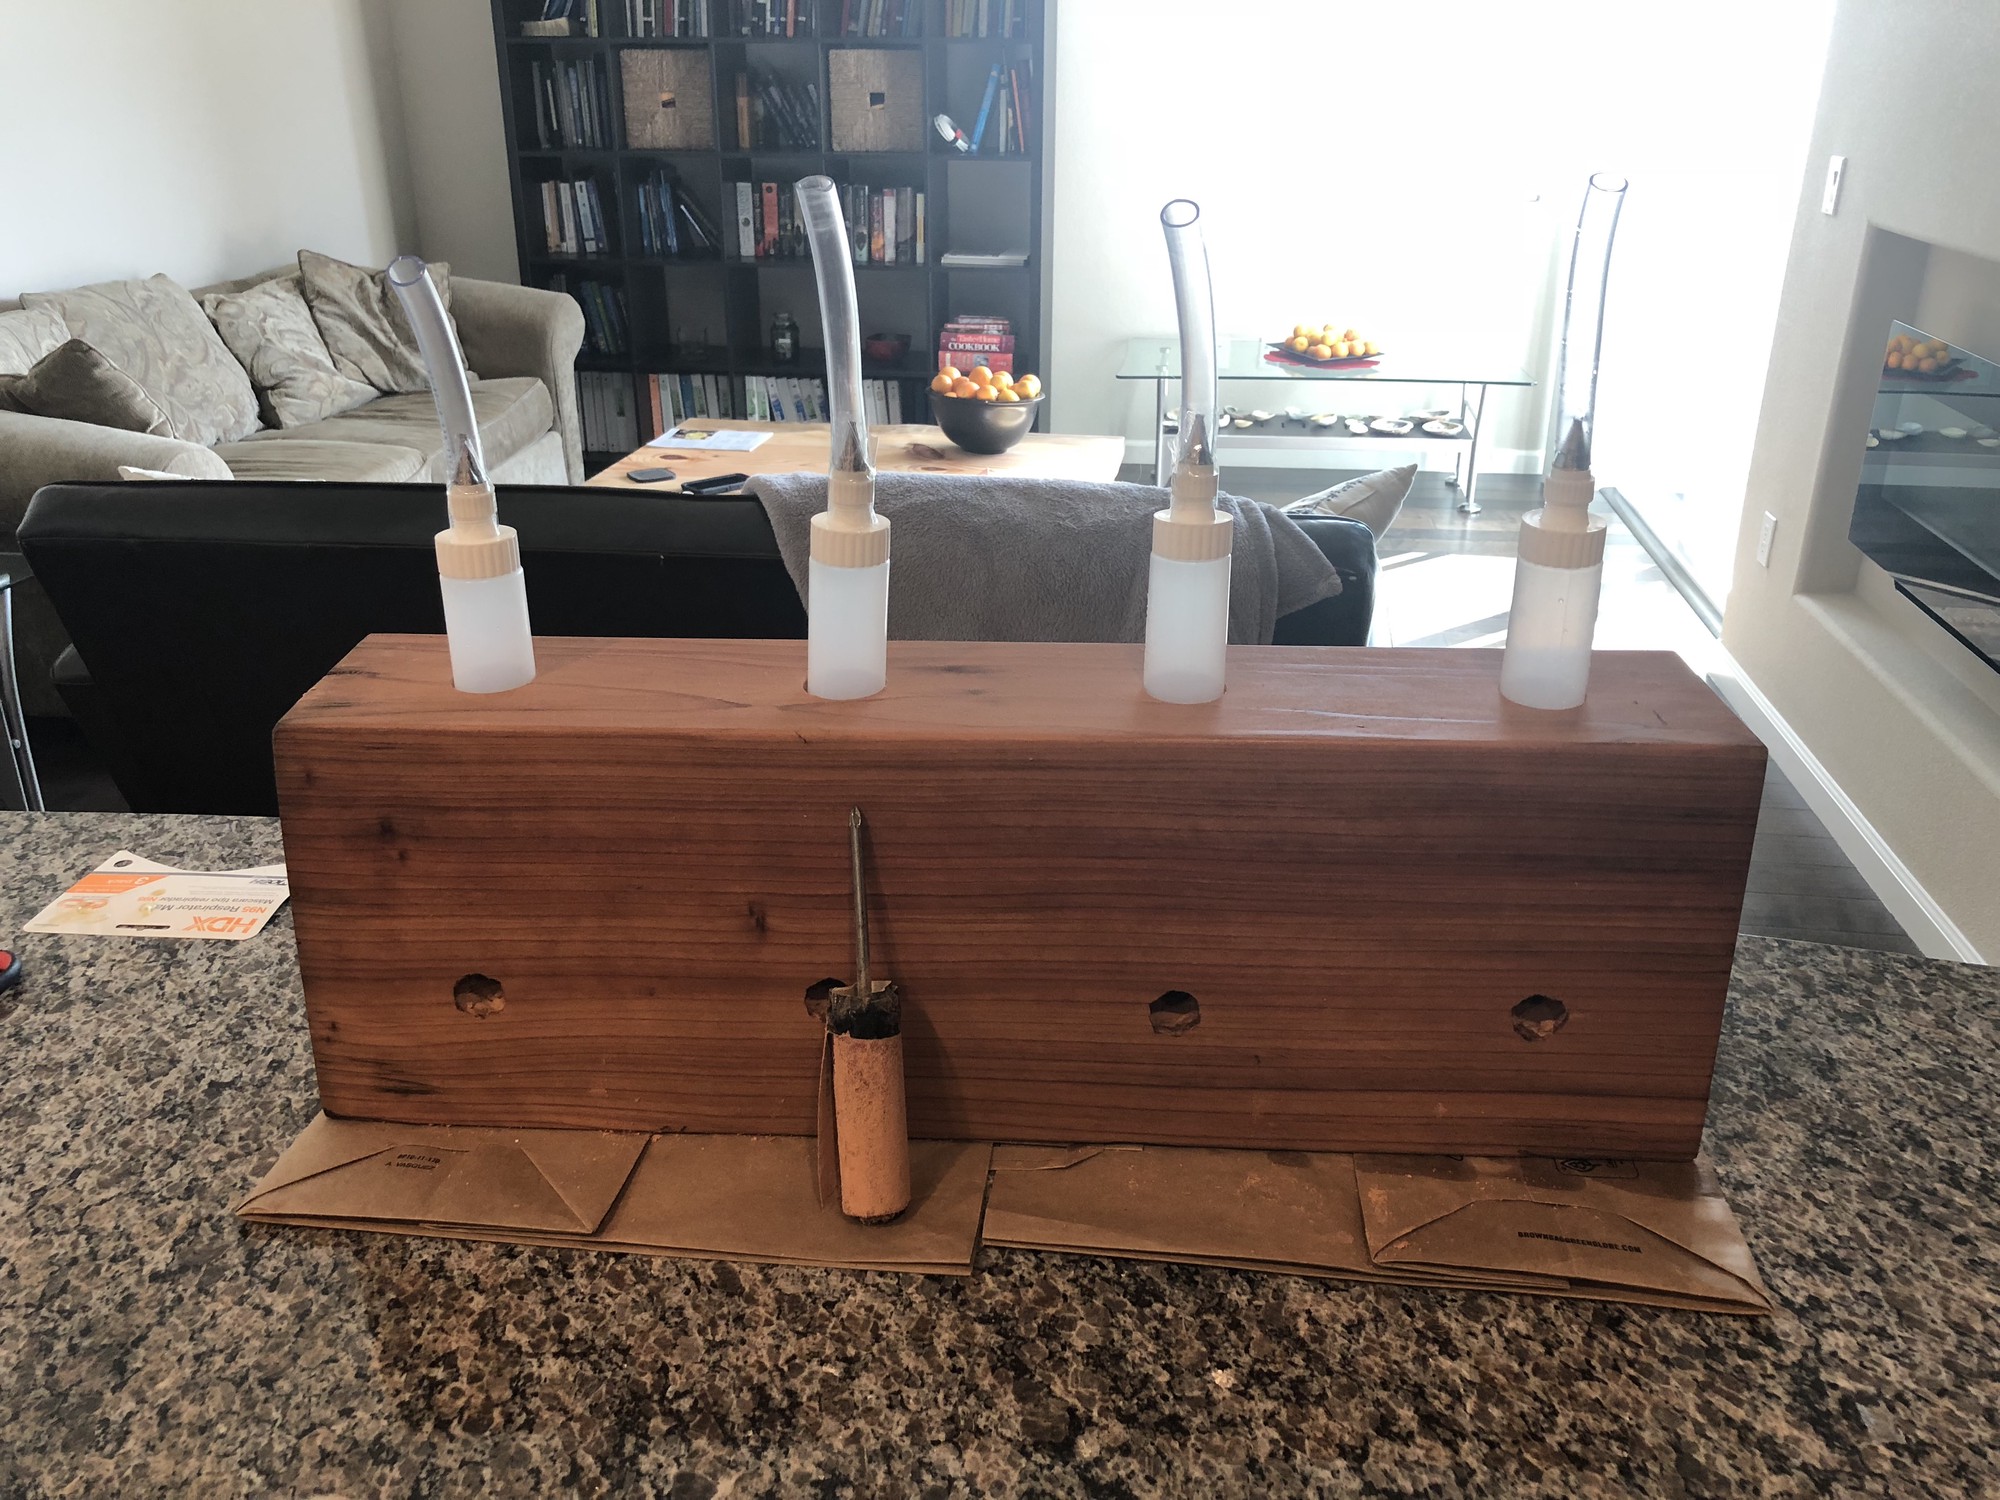
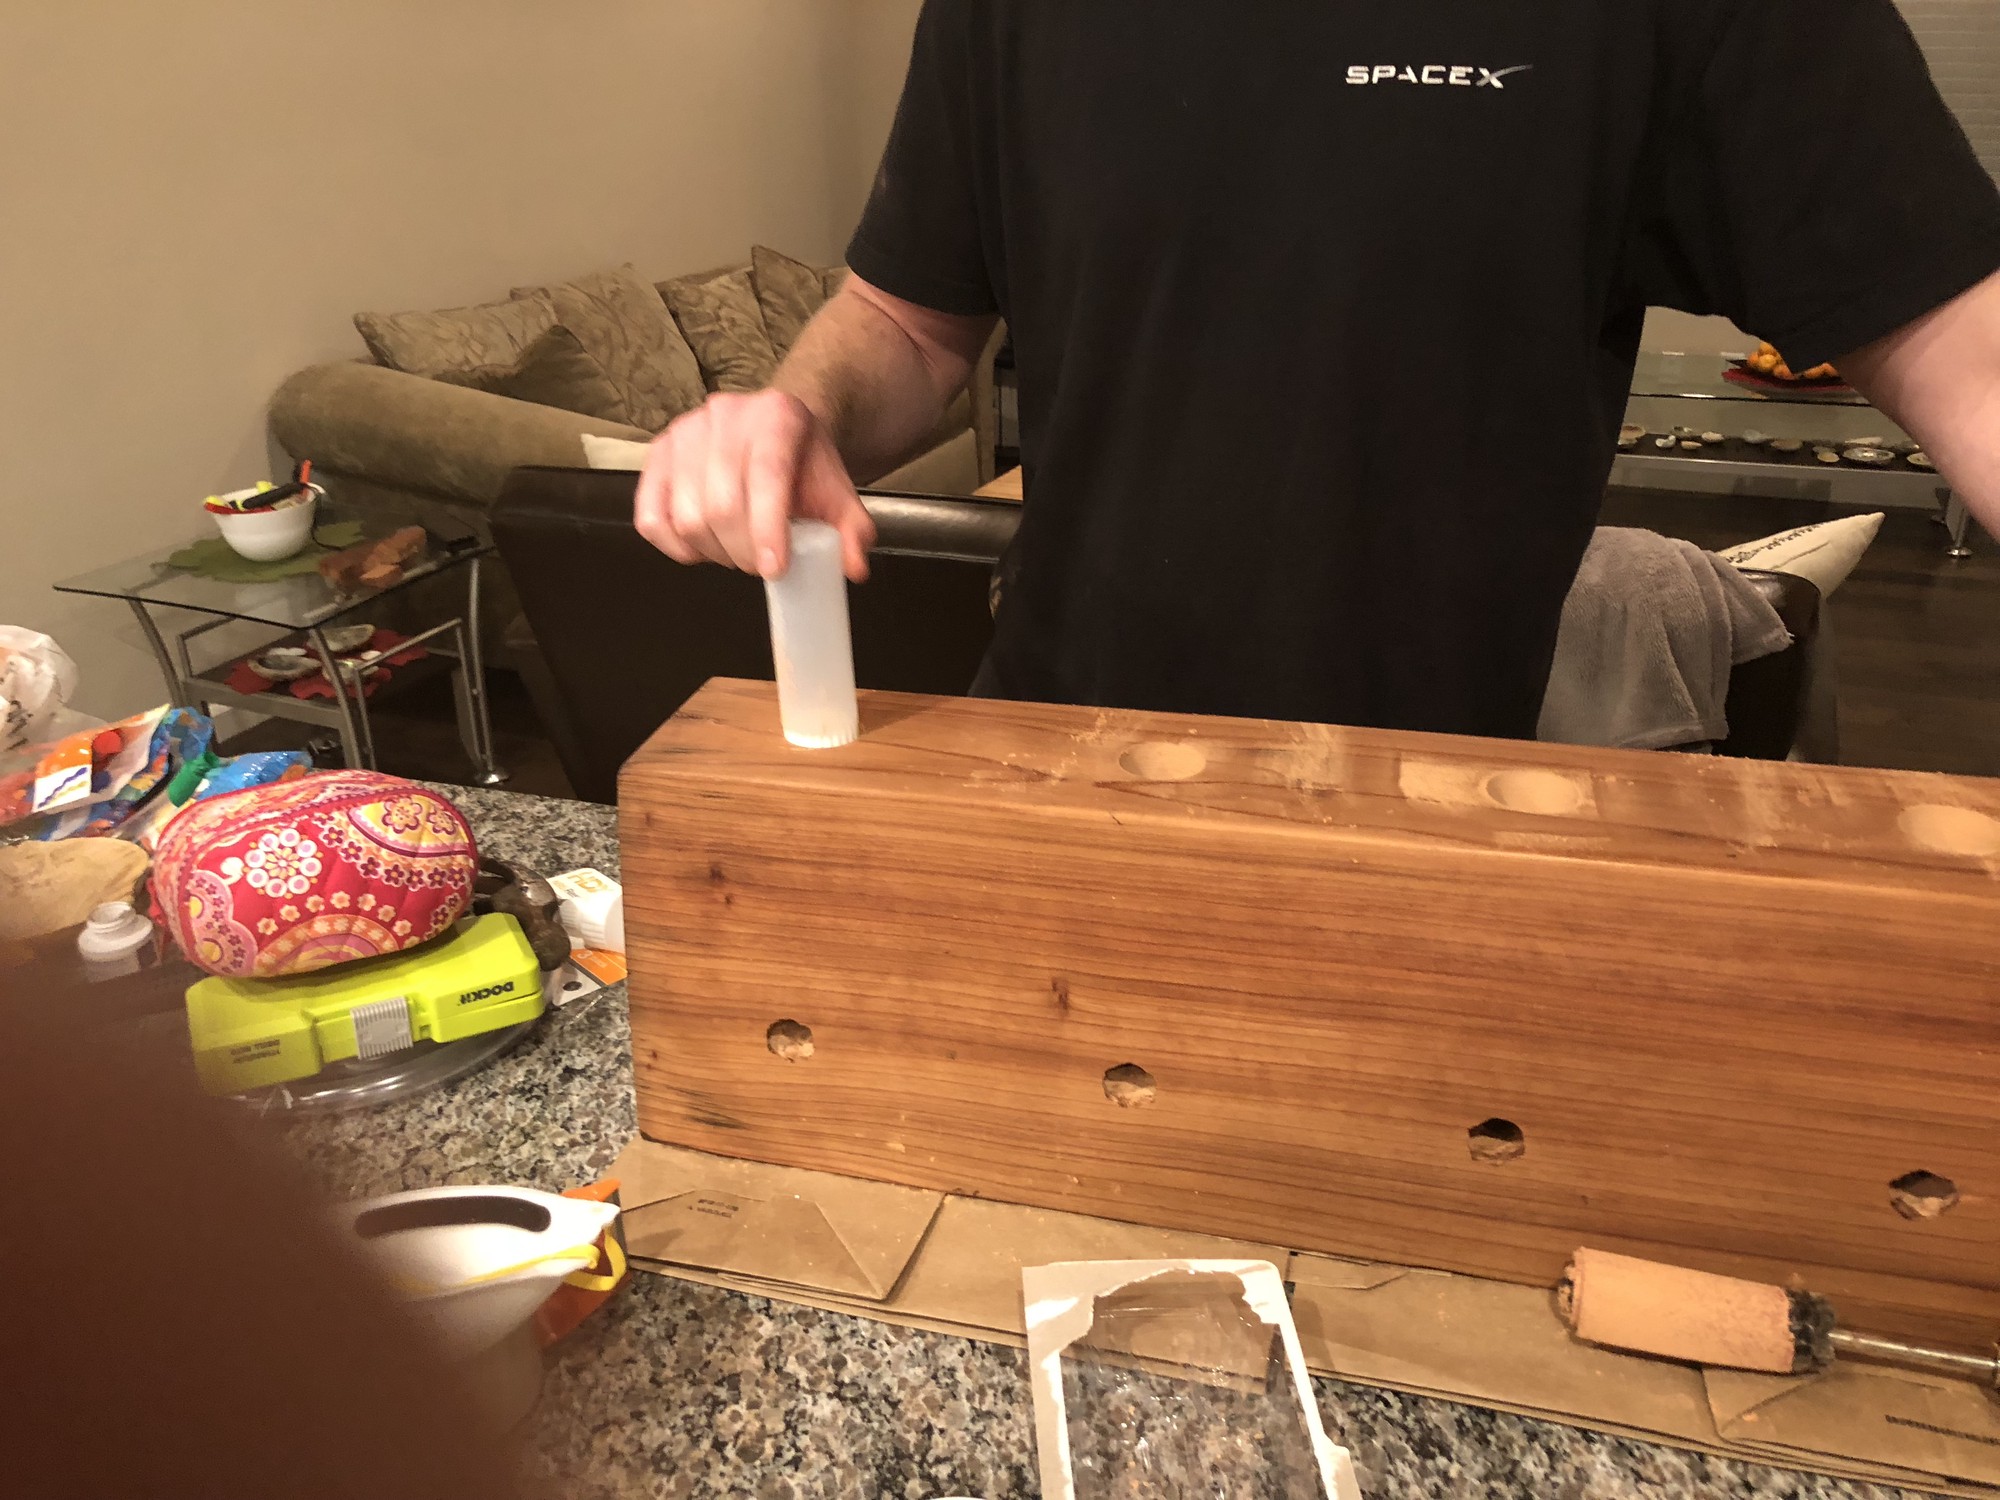
We then proceeded to route the receptical/tubing asssembly through the top hole of the block. This was difficult and had to be attempted several times due to left over debris from the drill process as, inaccurate tolerances in the drilling process as well as weak glue bonds between the nozzel of each icing bottle and its tubing breaking during routing.
Once, the tubing had been successfully fed through its pathway, we could move on to securing the valves to the exposed tubing on the face of the block. We initially had too much tubing exposed in some of the pathways (each pathway is slightly different due to inconsistent drilling) and so had to remove, trim and reinsert the tubing multiple times before it was just right for all pathways.
As is shown above, we still had the icing bottles exposed at the top of the block. We simply trimmed them in-place level to the surface of the block using a razor.
Next, we water tested each receptical/valve assembly, making sure that the receptical would hold water without leaking when the valve was closed and would properly release water (at an acceptible rate) when the valve was open.
This water testing exposed some leaks, creased tubing lines and clogged lines from debris (mentioned above). Thus, even once reaching this step we had to remove, adjust and reinsert some of the receptical/valve assemblies until each one worked as desired.
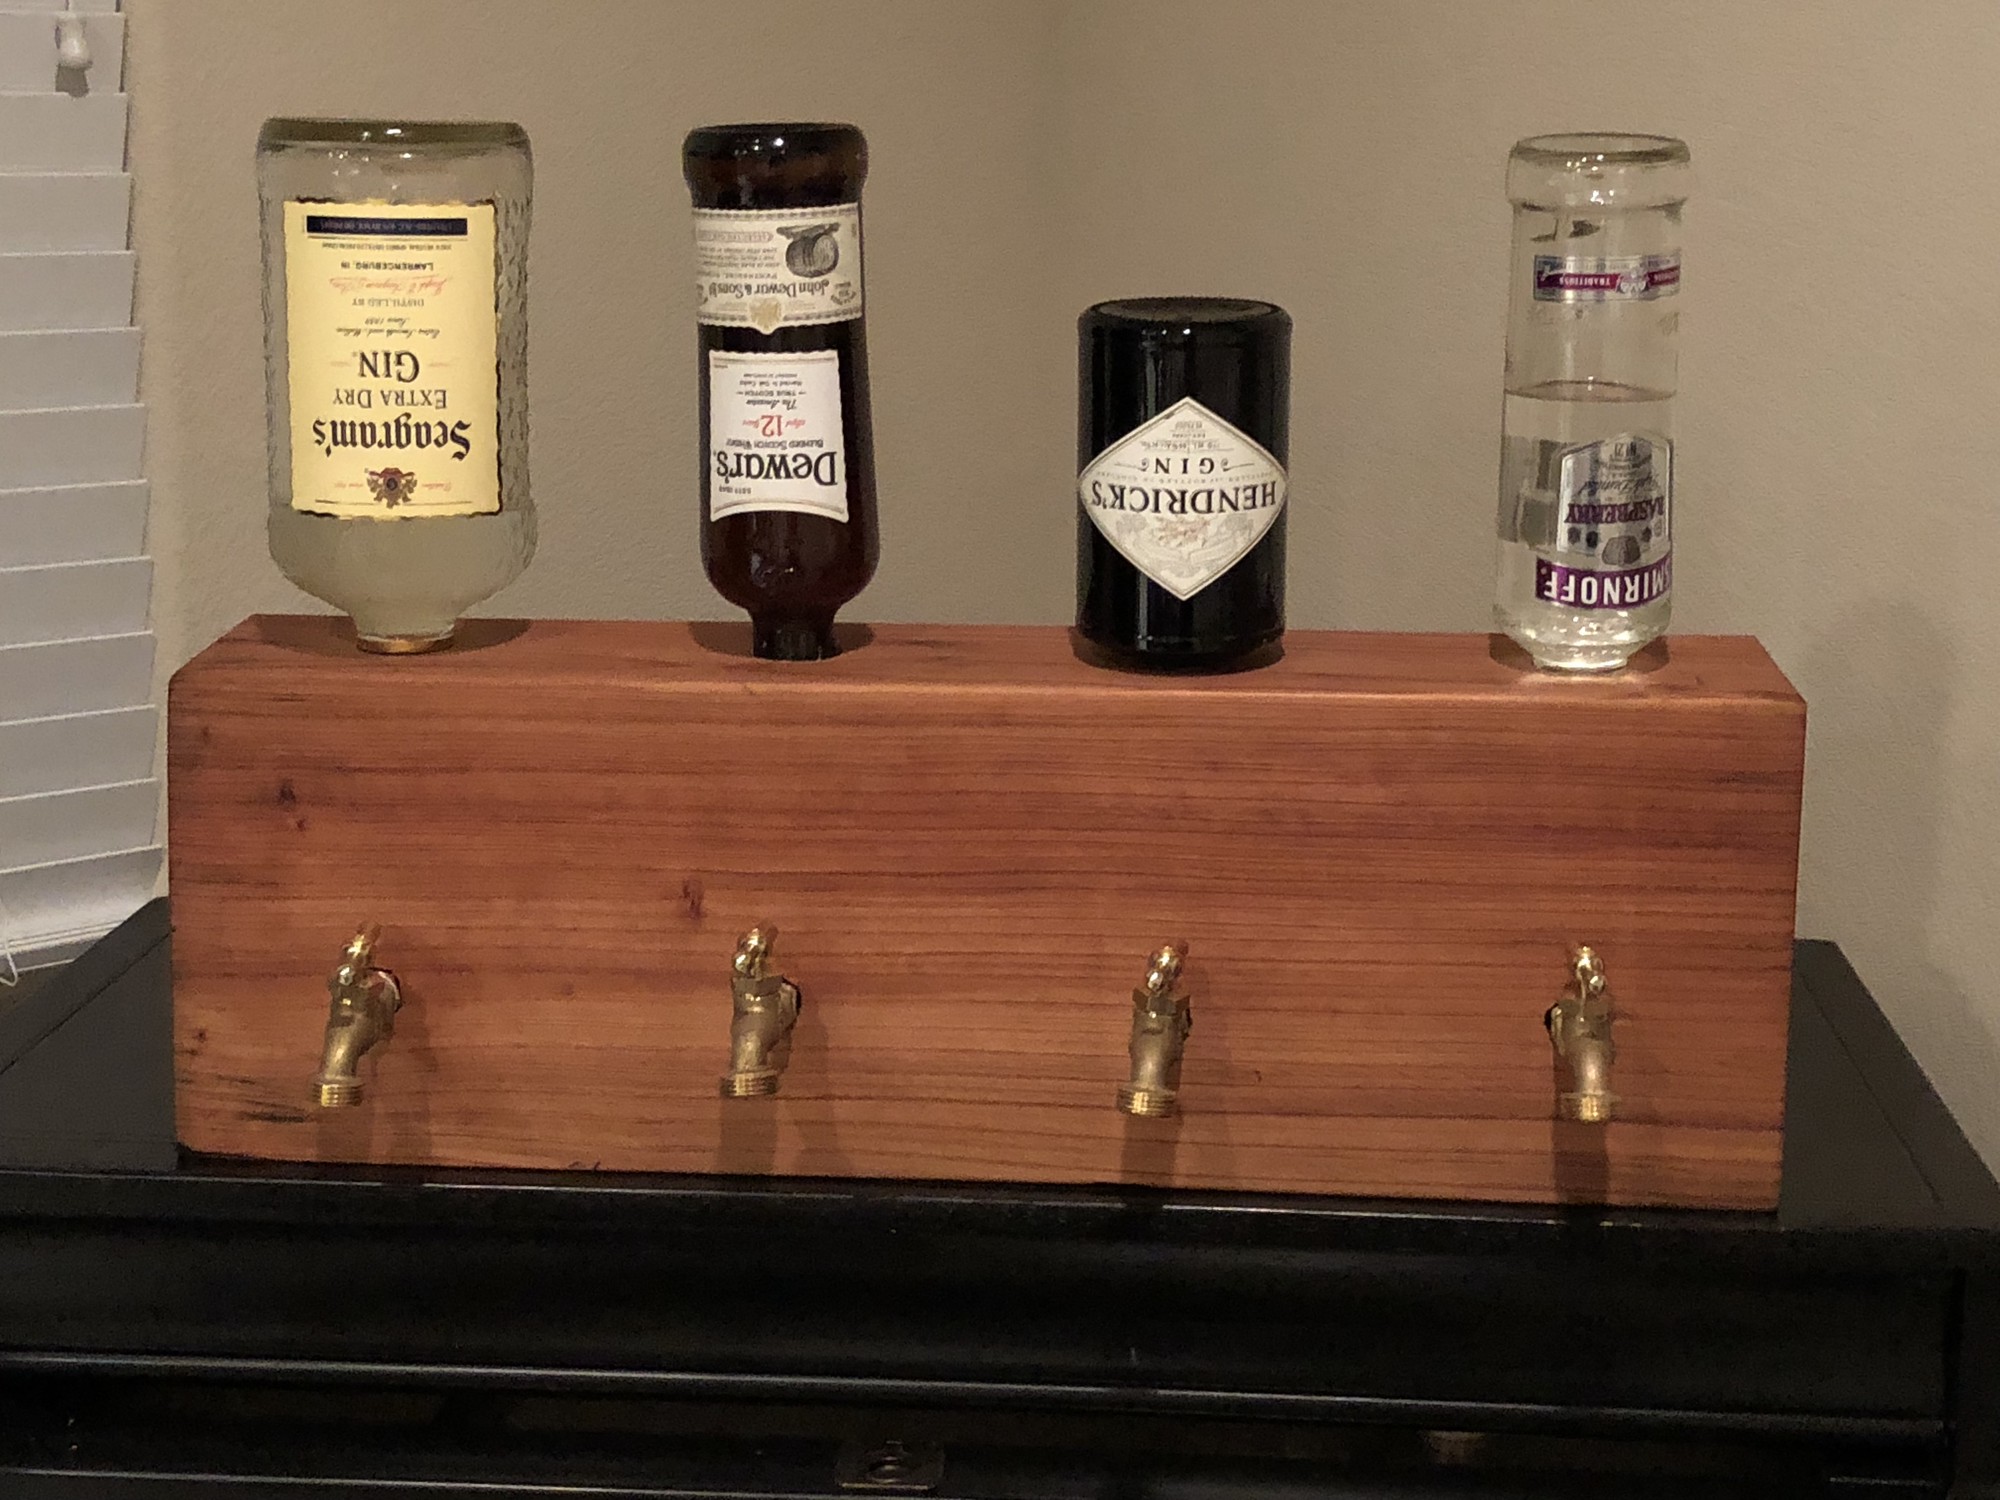
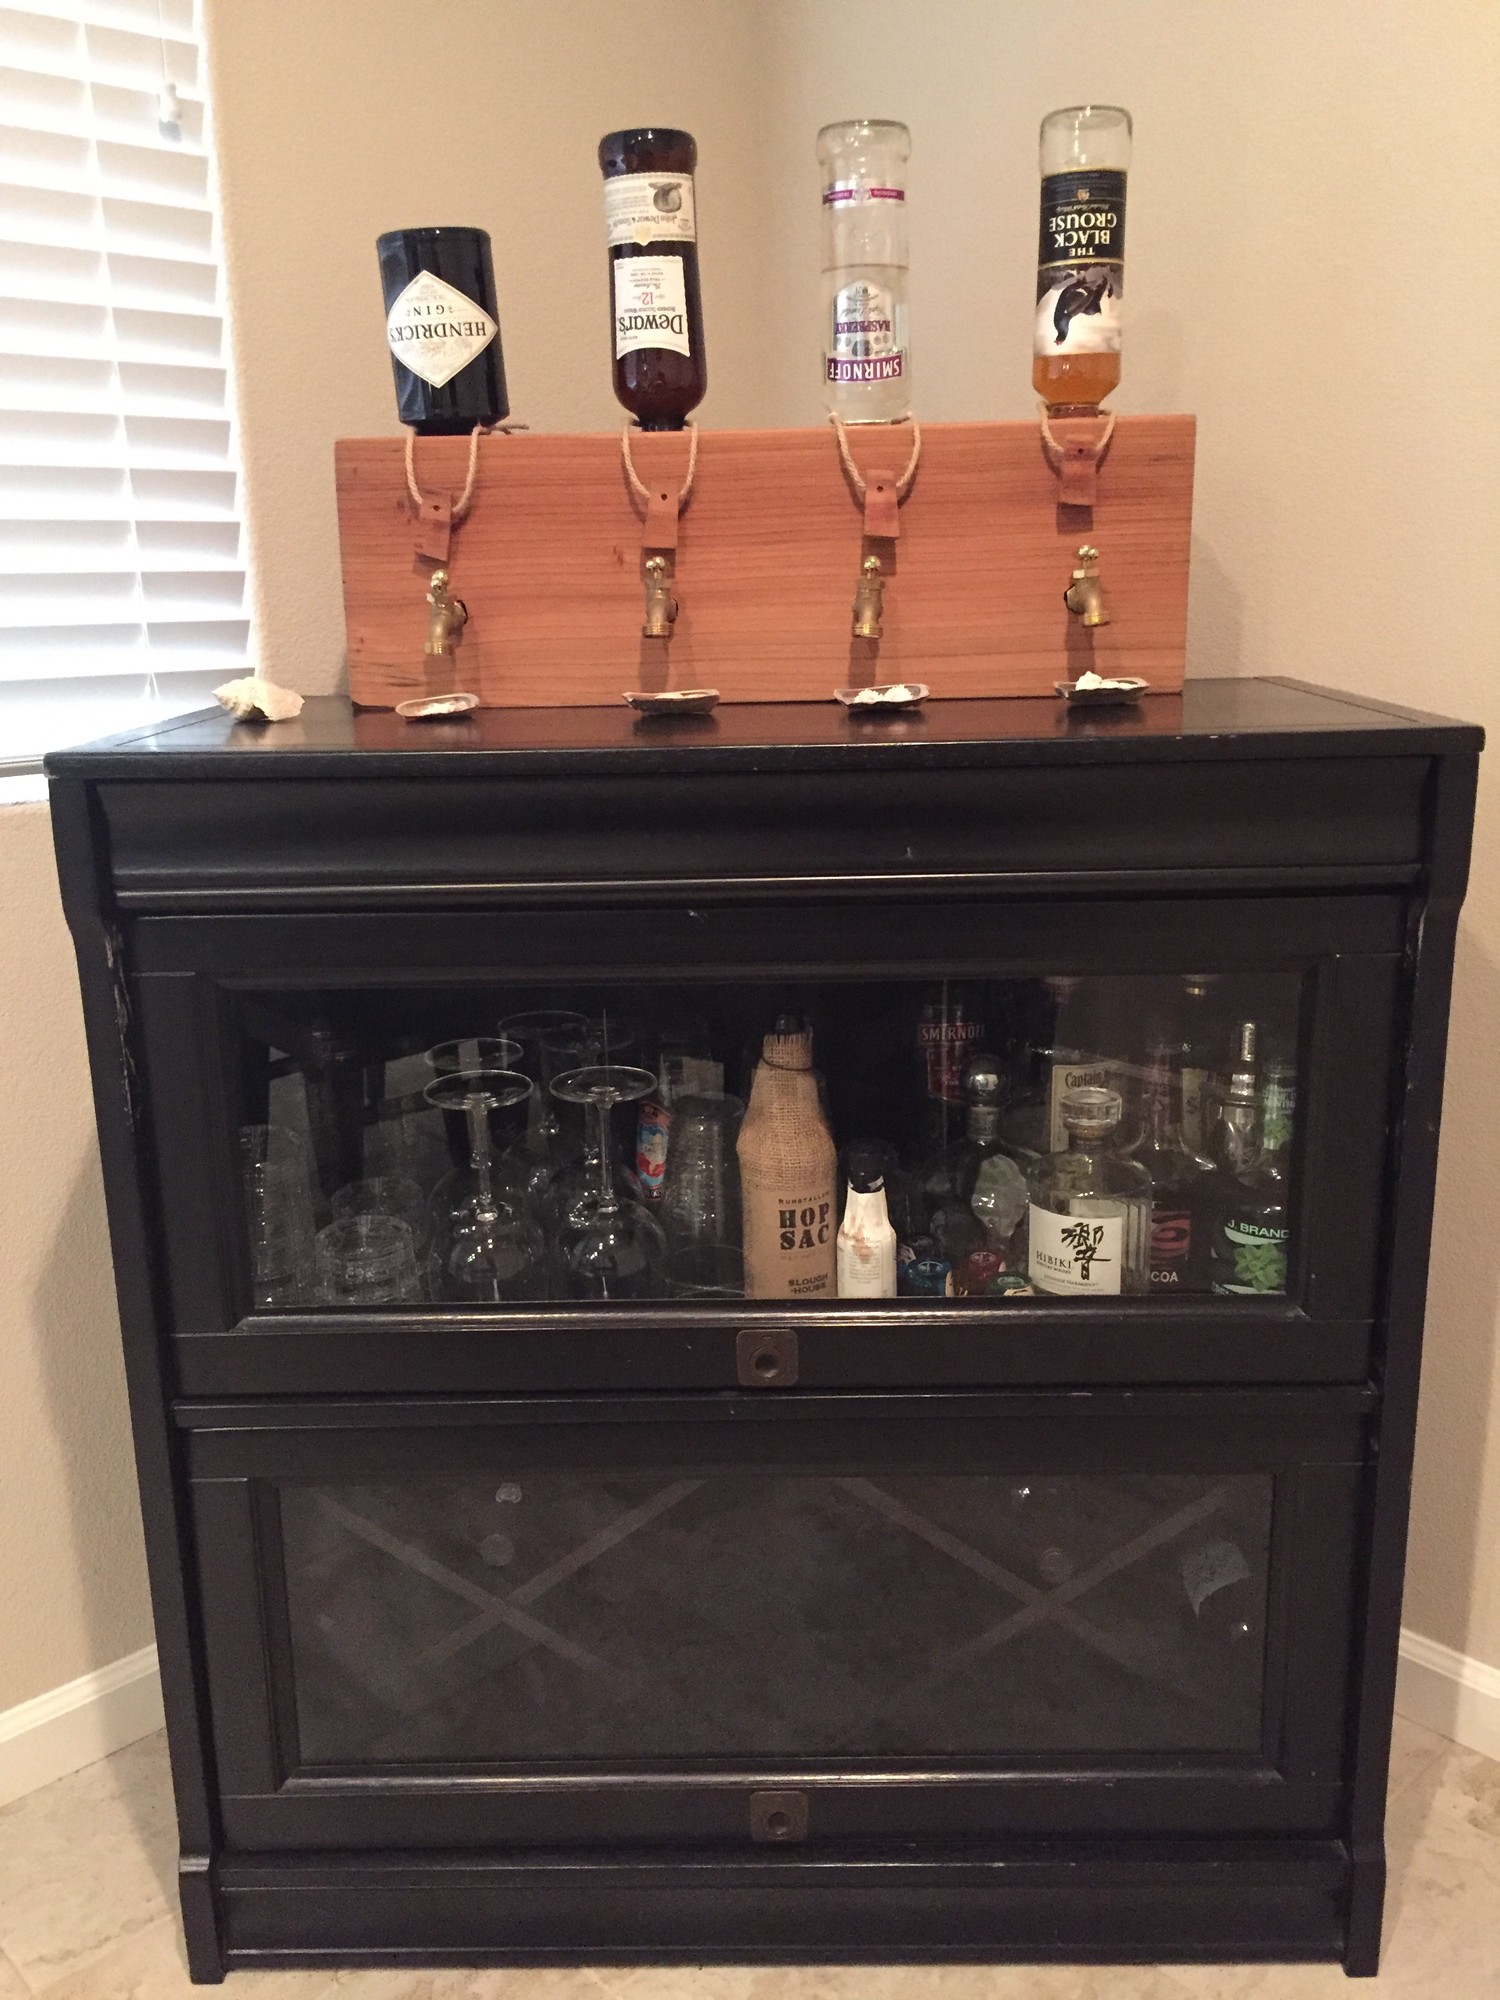
The end result is quite pleasing and there are likely more bar taps to follow as I have more scrap wood blocks laying around :)
Even though the bulk of the project has ended, I’m still considering ways to improve upon the design. One of which is a receptical/valve system thats more efficient in number of parts and easier to install. Ideas for this are currently in the works so stay tuned!
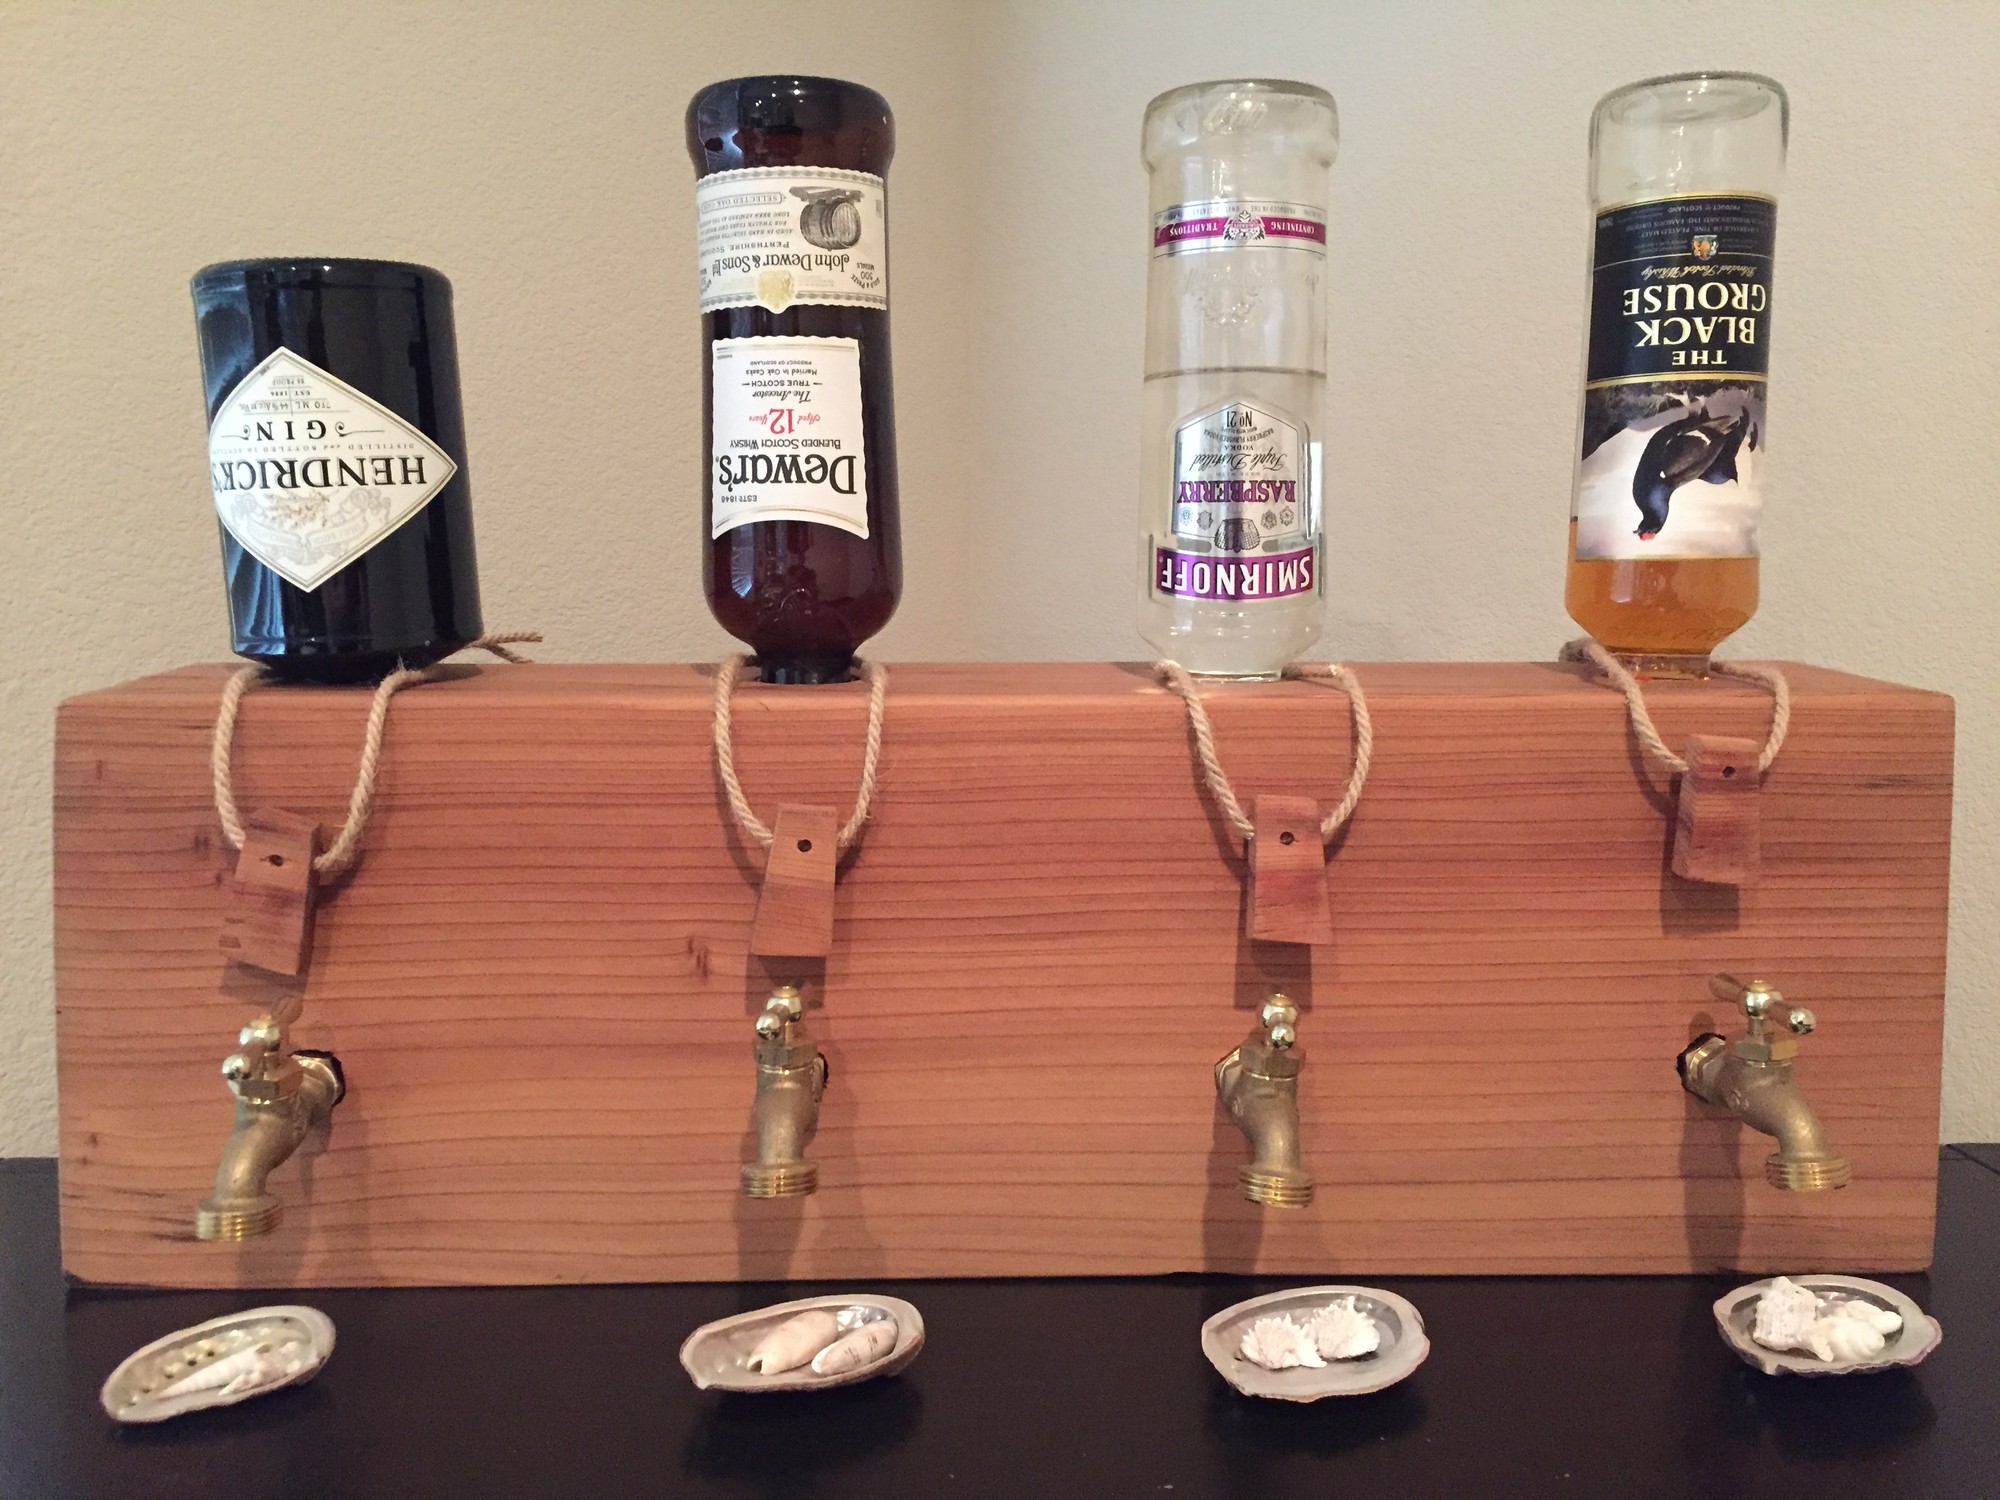
One ongoing modification is decorating the bar tap with some nice yarn and wood markers that I sanded into pleasing shapes. I will eventually print interesting glyphs onto, but they are already taking form as shown below.
Thanks for reading and stay tuned for updates to this!
-
https://www.pinterest.com/pin/785385622486826945/?lp=true ↩︎
-
https://www.google.com/search?q=mom+to+mom+baby+oil+mild&tbm=isch&source=iu&ictx=1&fir=v4SFlX9gn1bbJM%253A%252Cg46SyWNECSd6JM%252C_&usg=AI4_-kQsCngIfhaPPoybk-cdDfdtaRkt0w&sa=X&ved=2ahUKEwiDruXCrsbgAhWPHXwKHXBeAoQQ9QEwAXoECAEQBA#imgrc=v4SFlX9gn1bbJM: ↩︎