Wood Bowl

This is my third wood bowl!
Table of Contents
Overview
- Start: May 9, 2019
- End: May 20, 2020
- Wood Species: Walnut
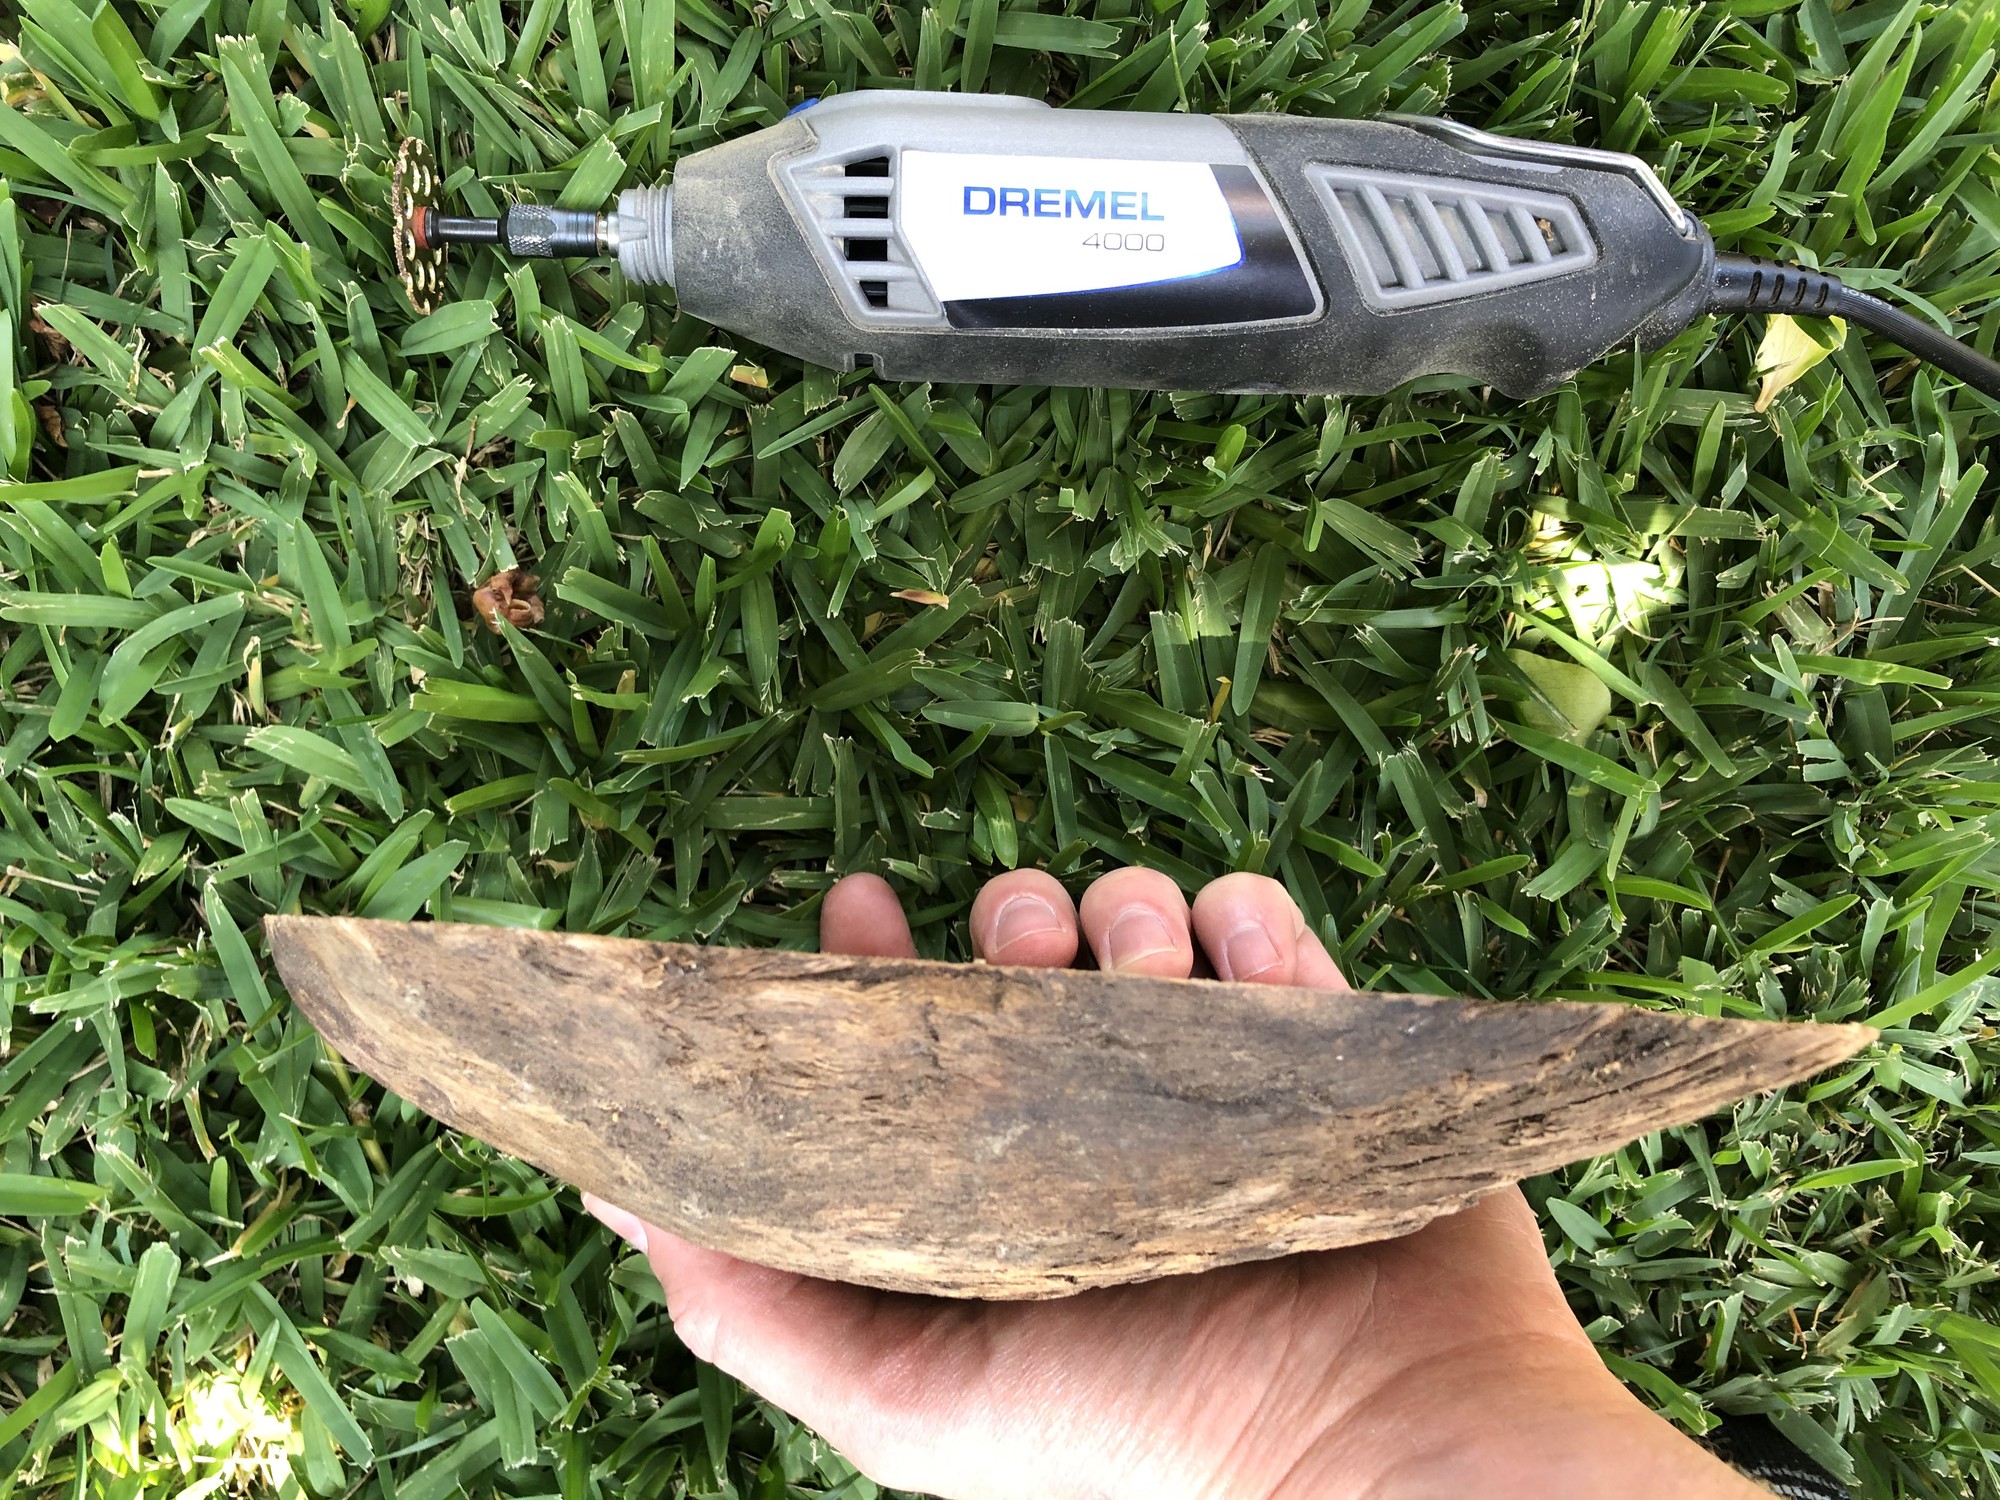
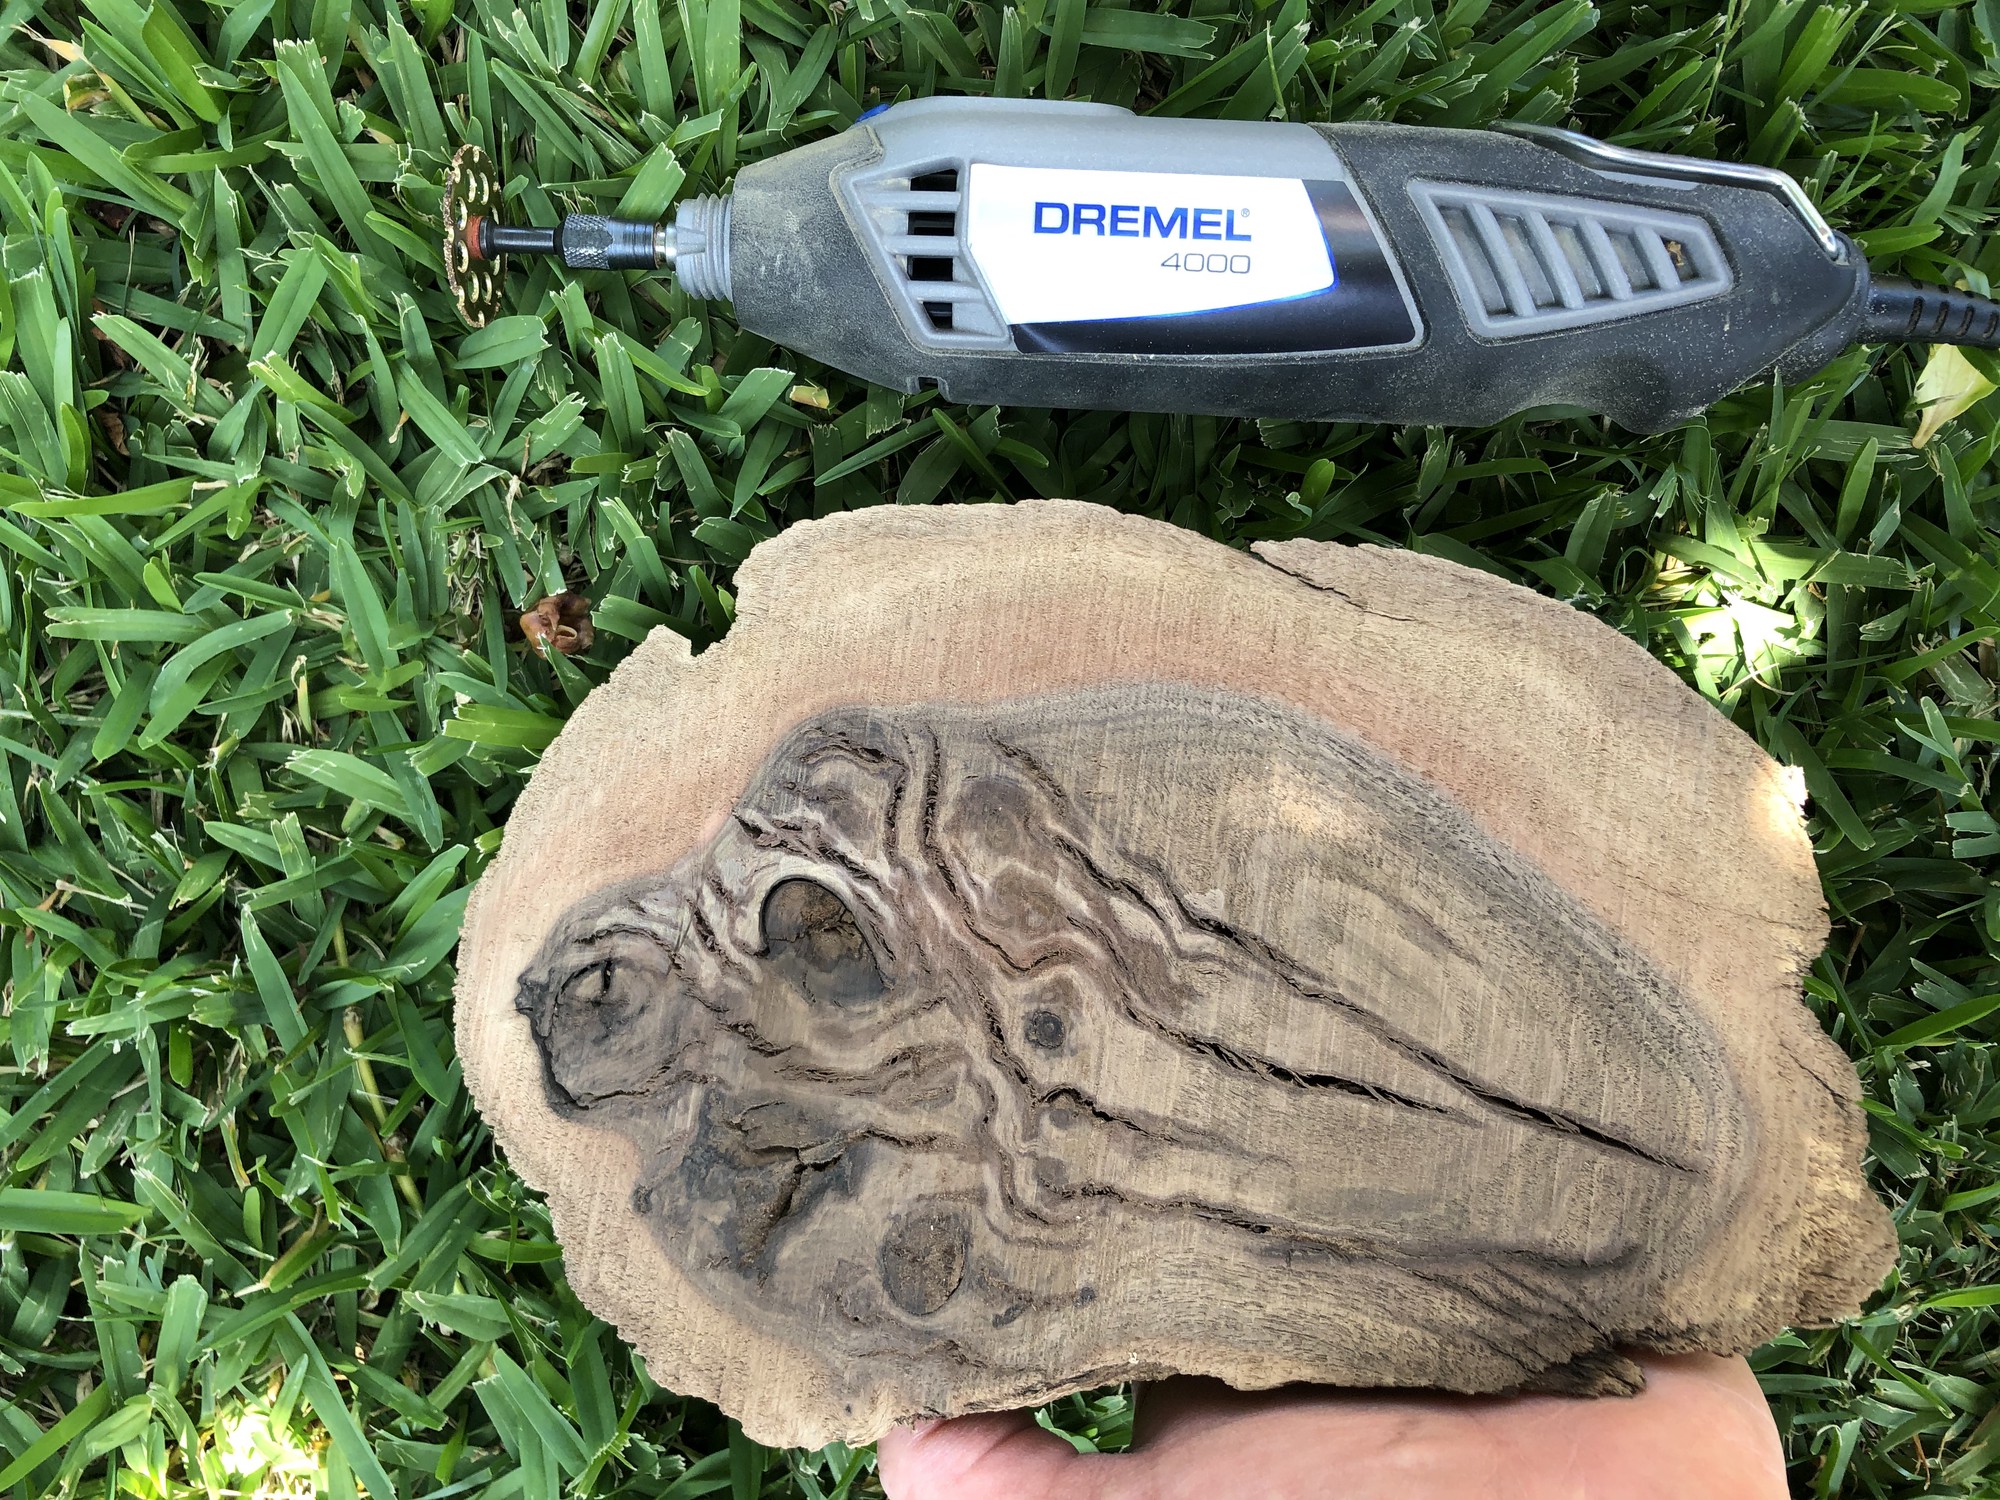
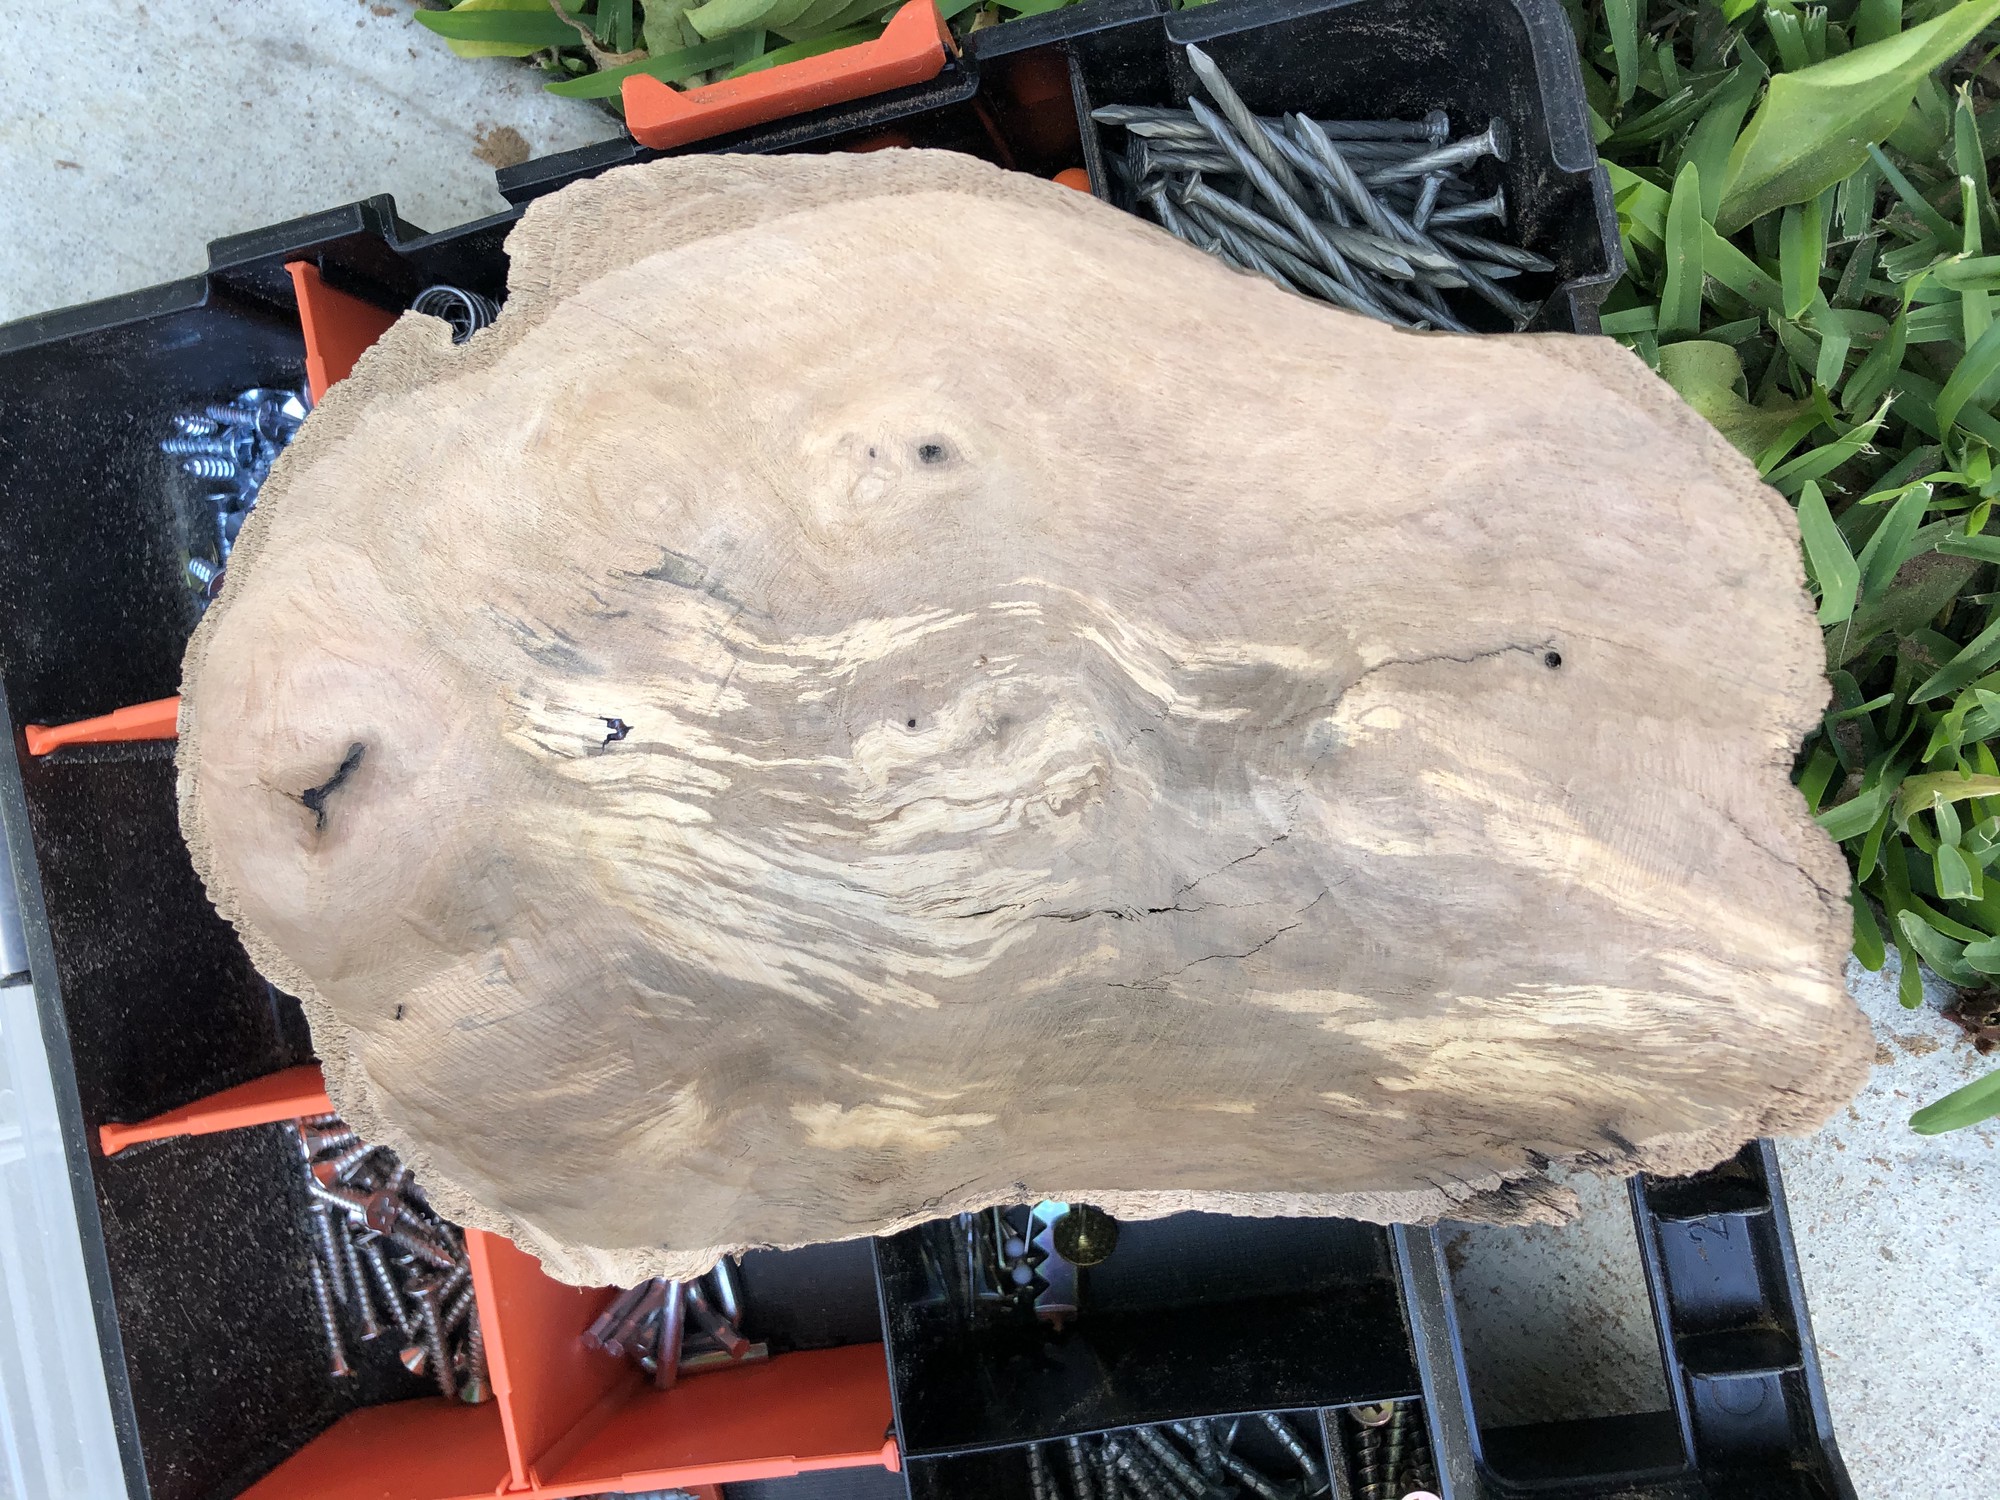
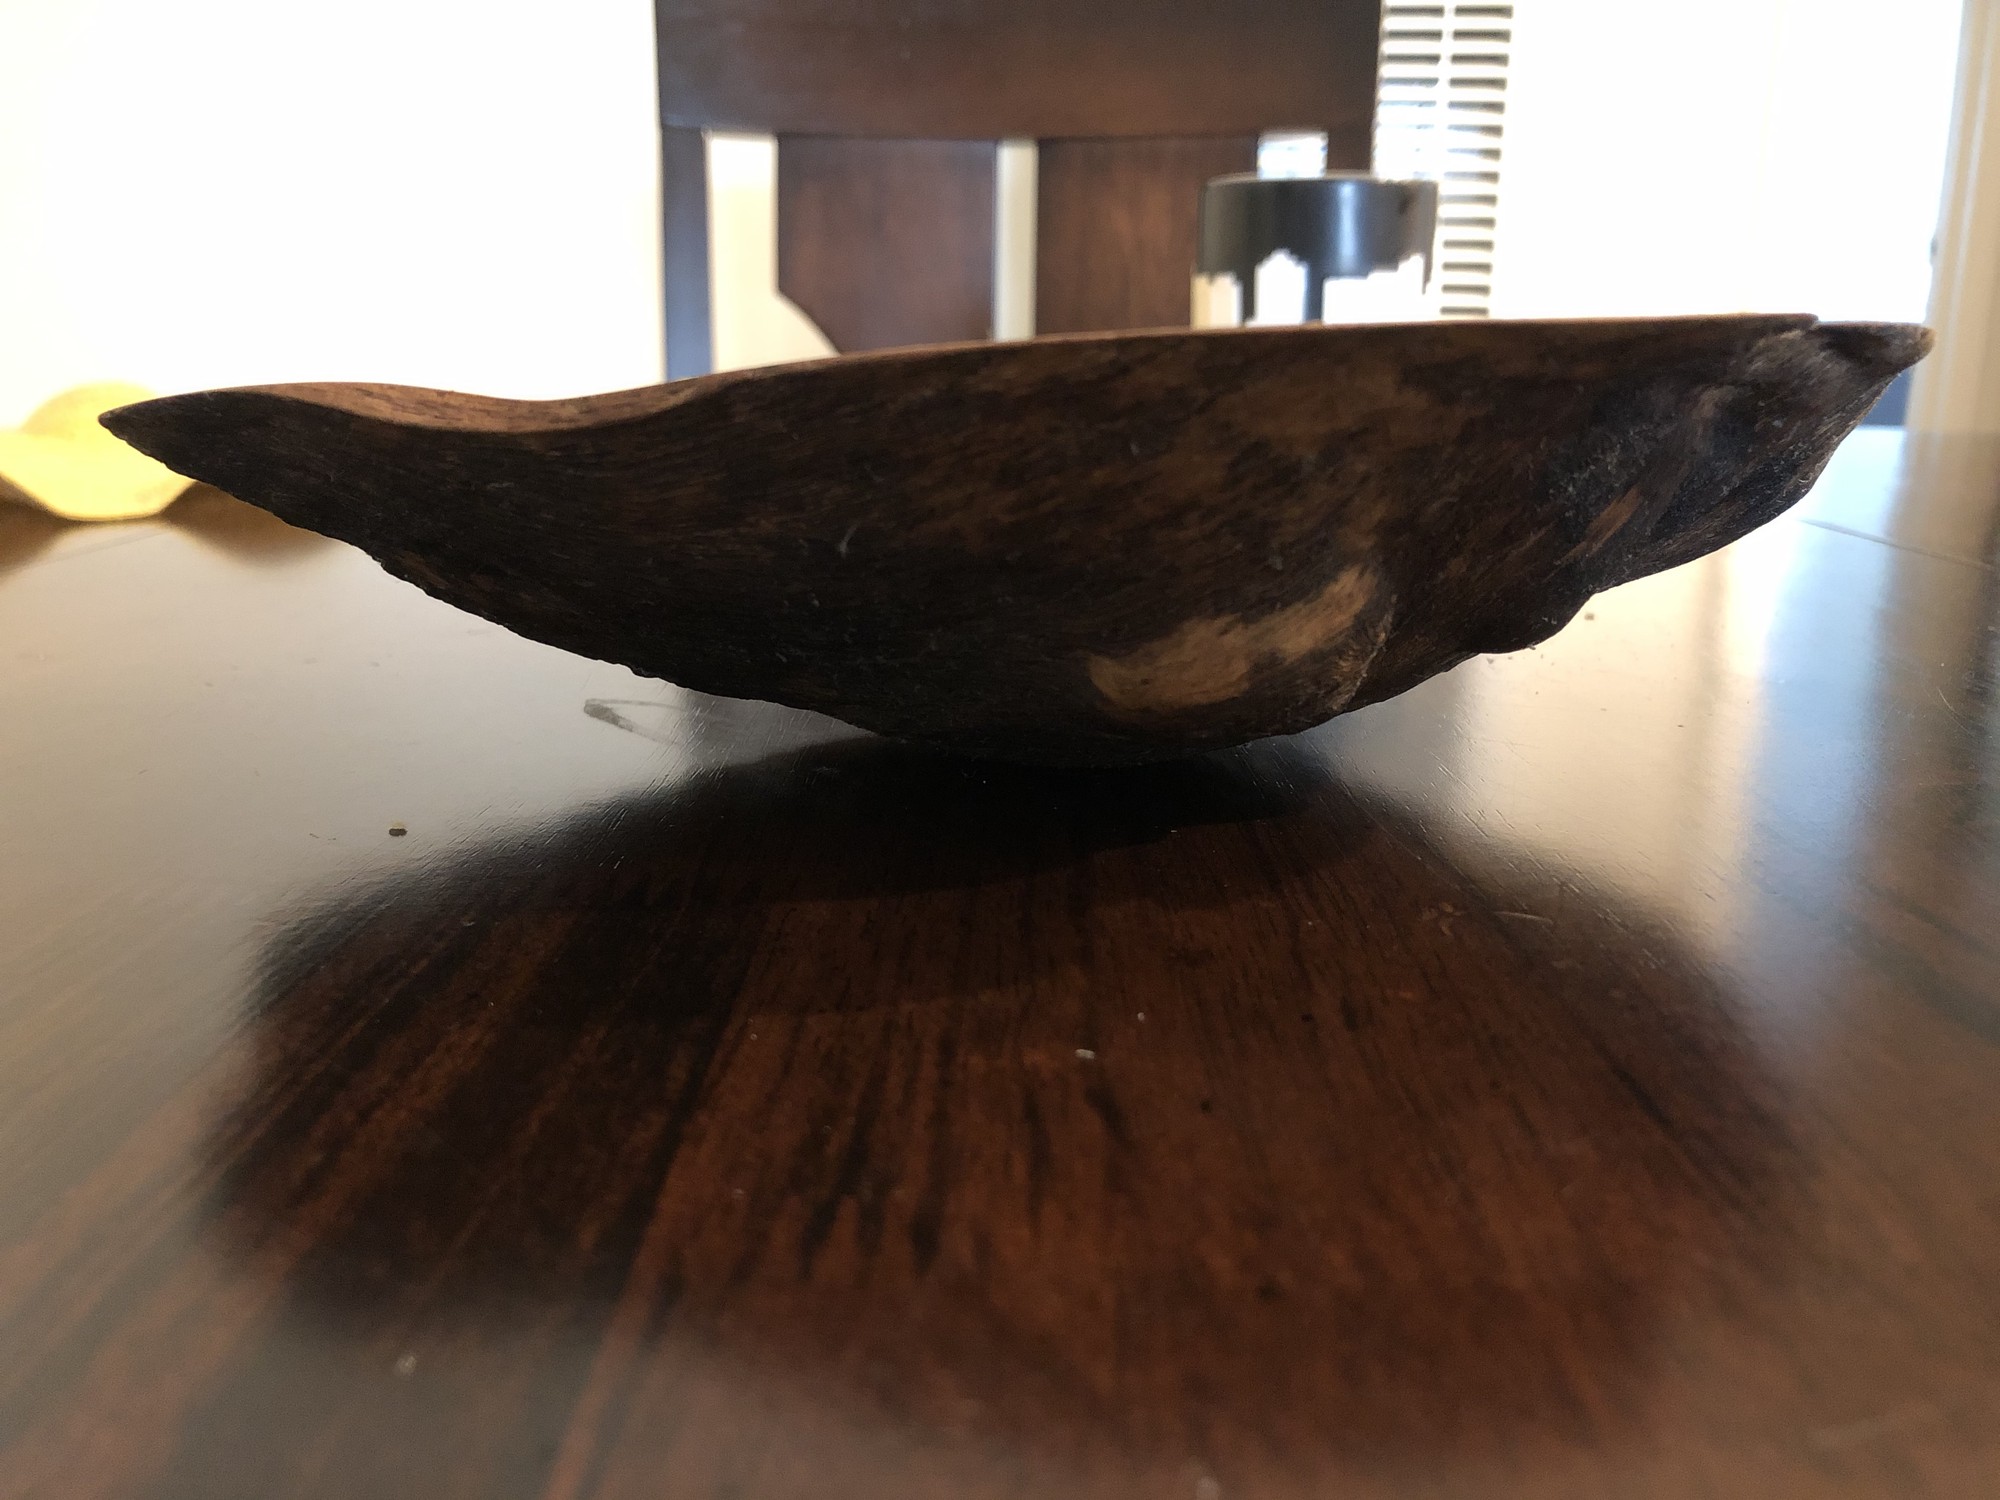
I was helping family pick out a walnut slab for a living room table at Ponderosa Millworks1 and came across a small, walnut burl in one of their scrap buckets. For its low price of just $5, I couldn’t resist the urge to turn it into a bowl to complement my family’s table.
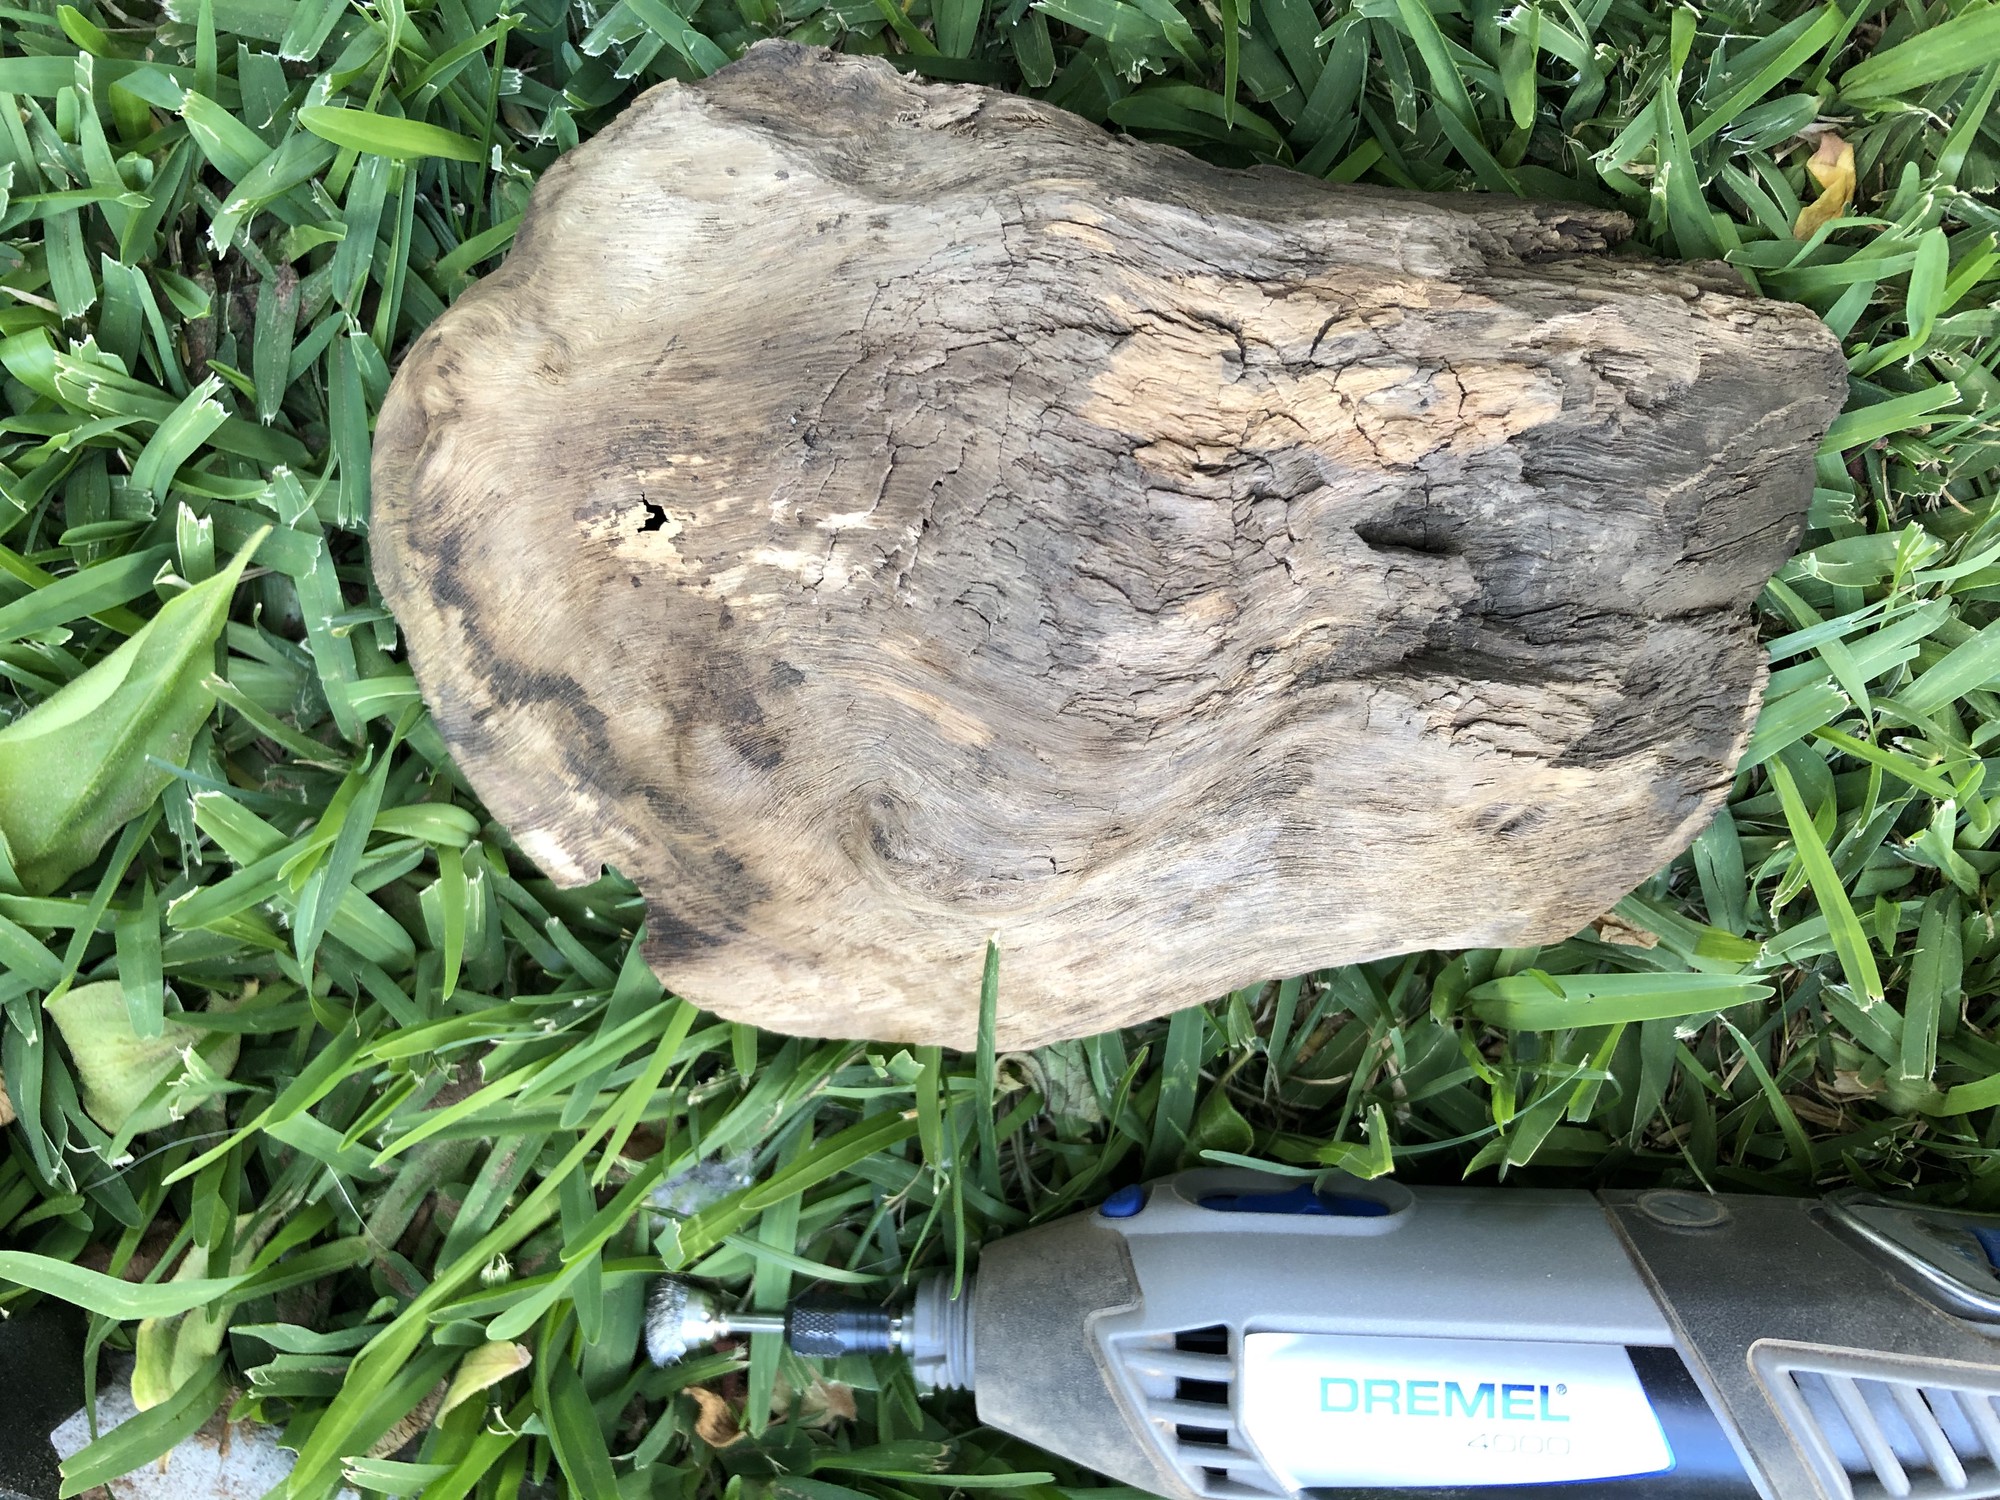
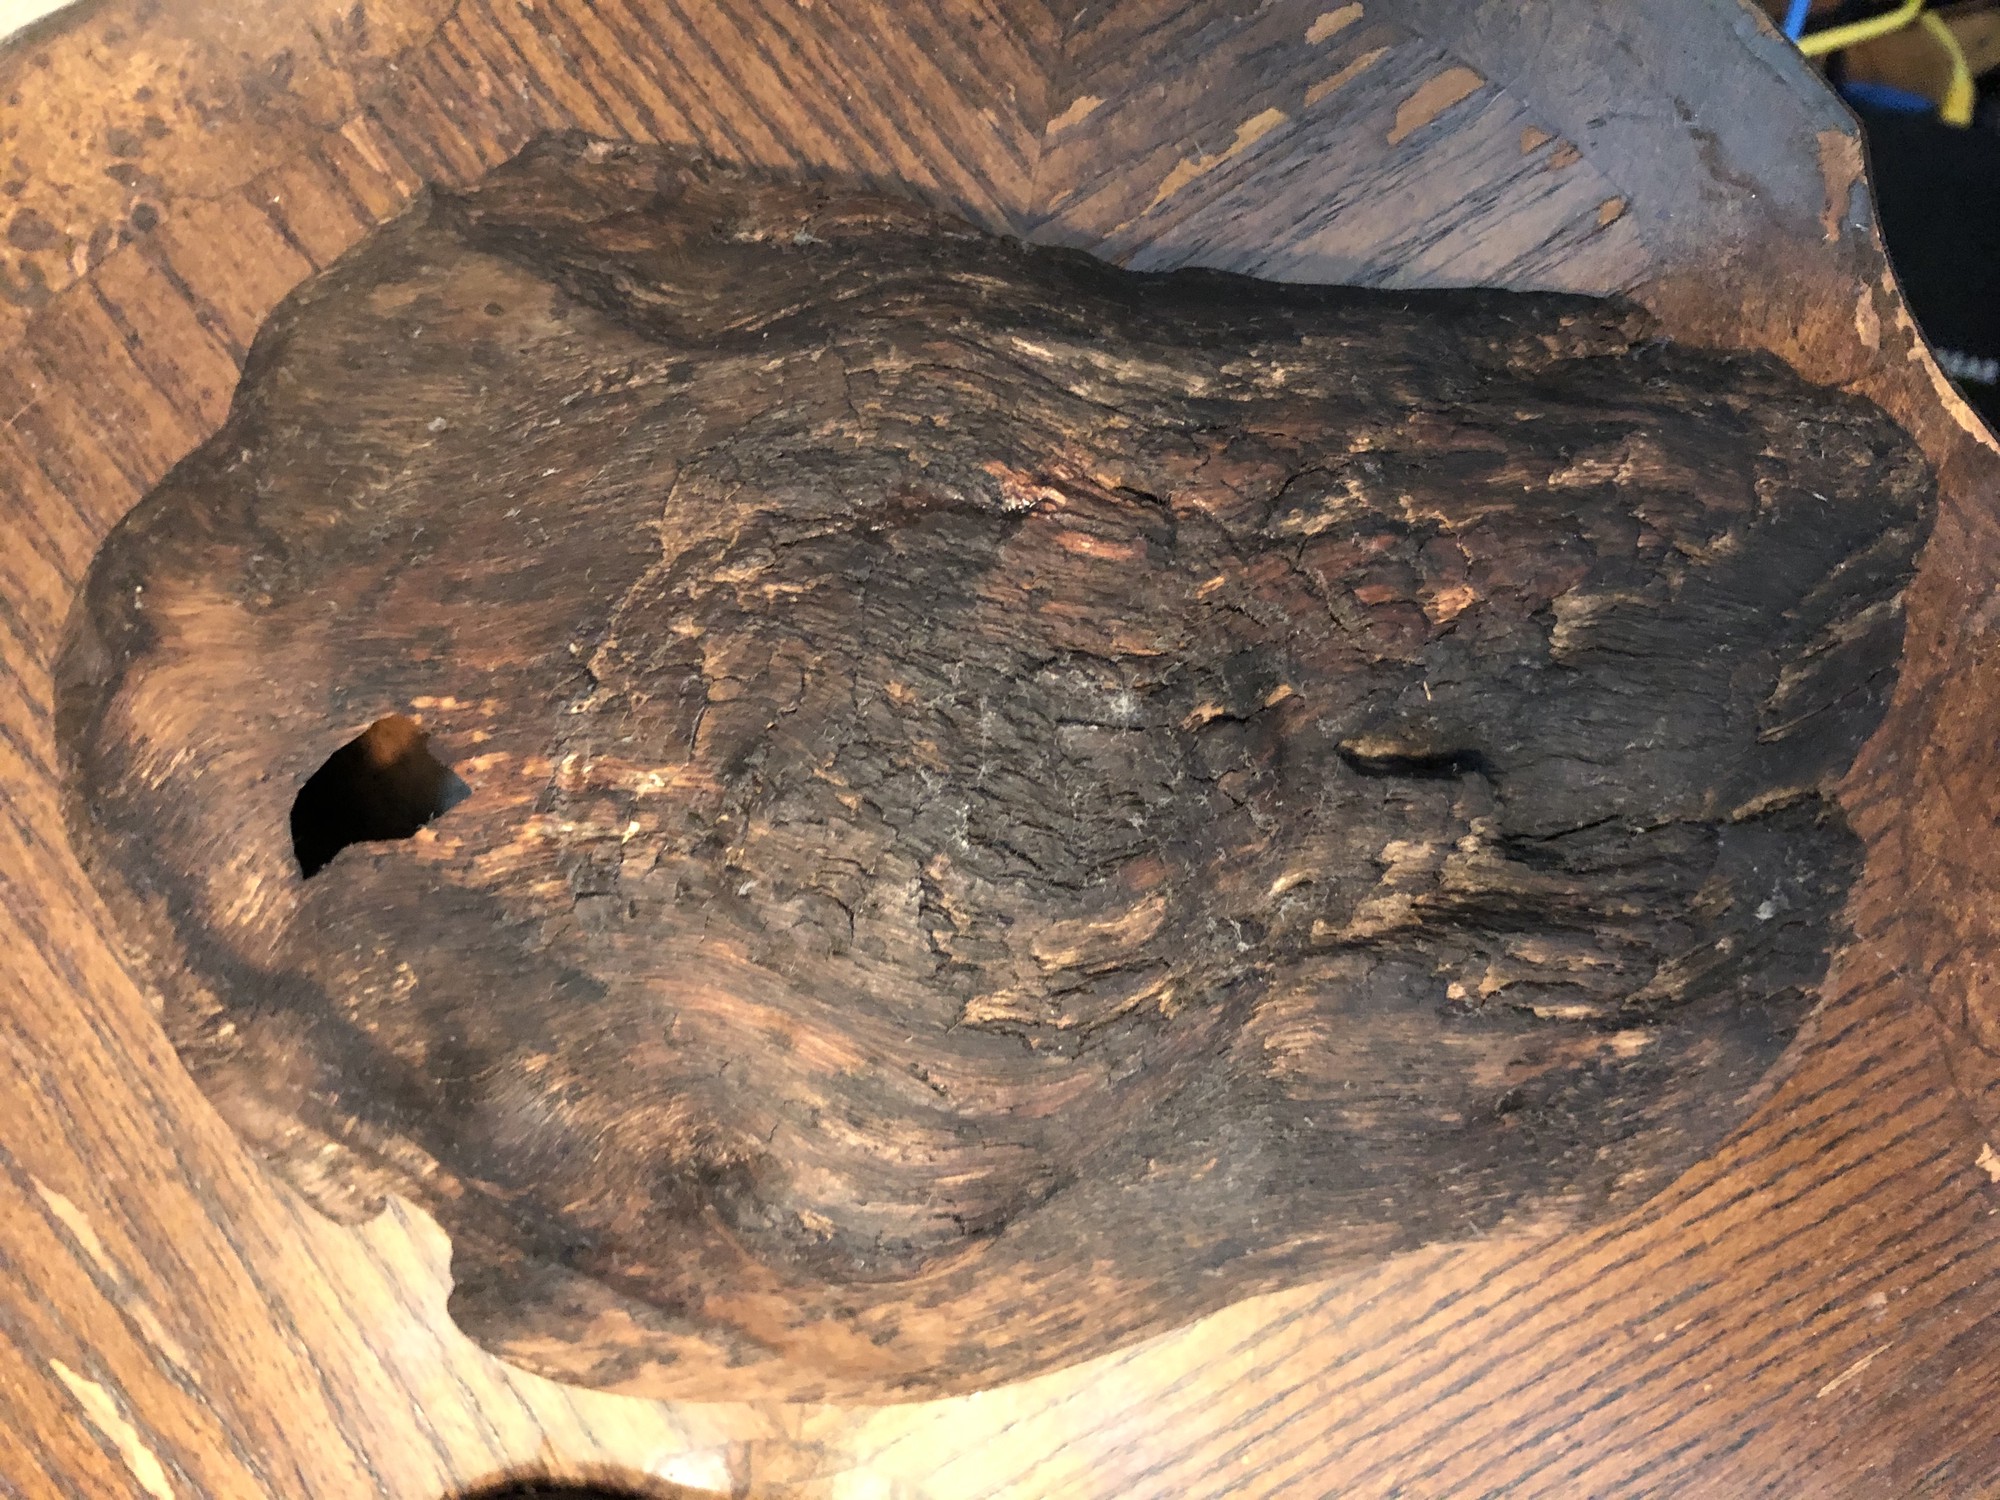
Bark Removal
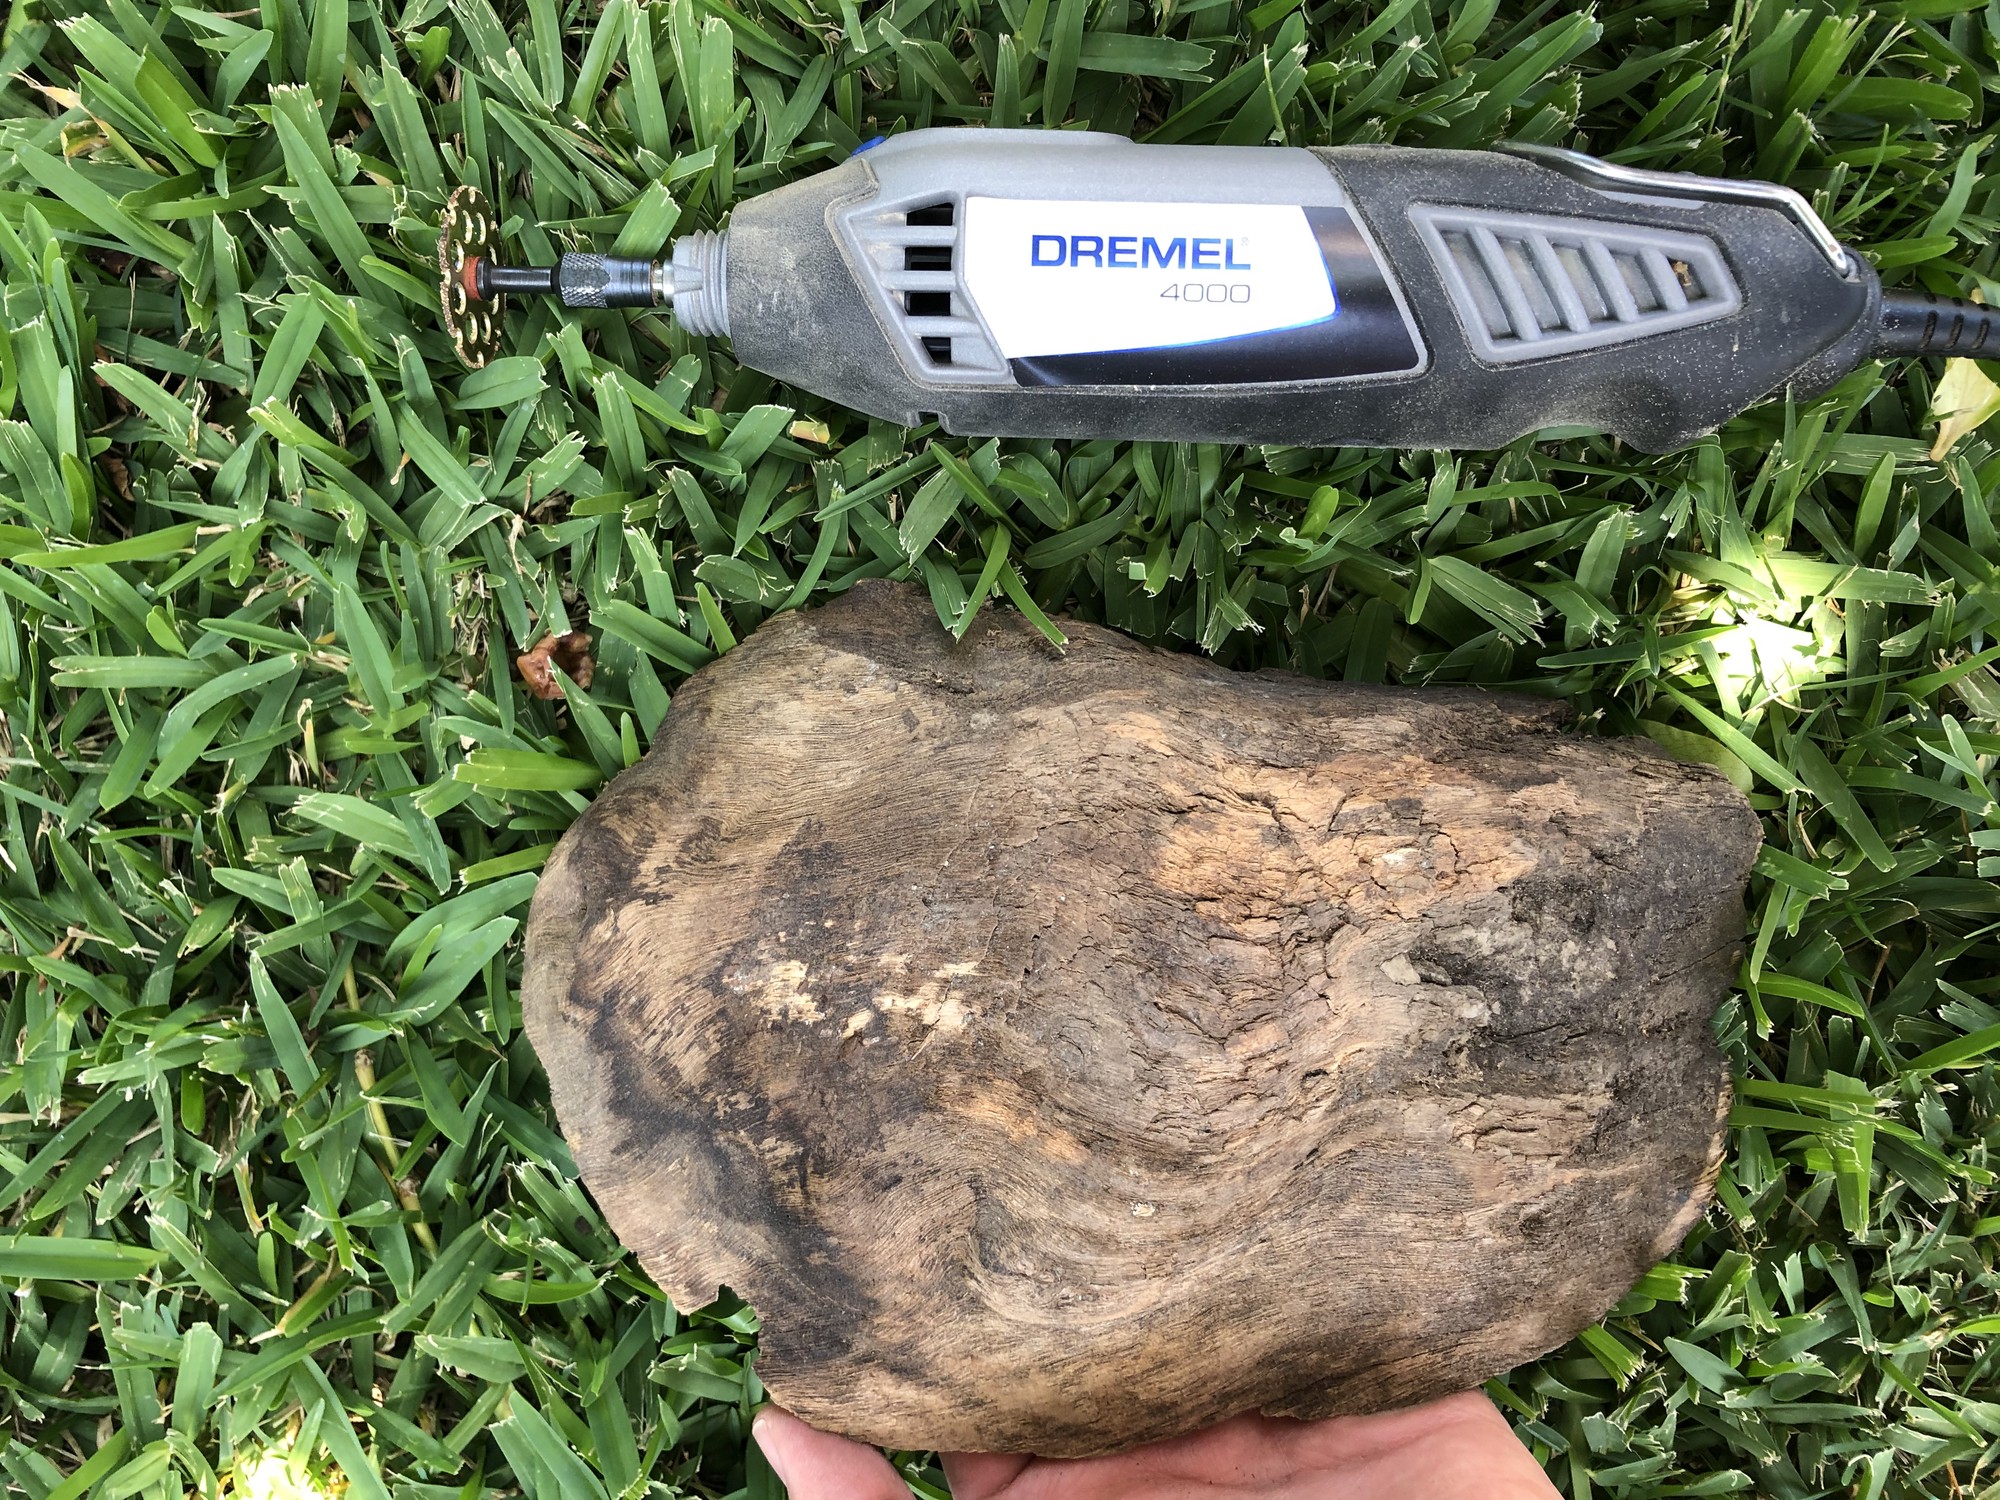
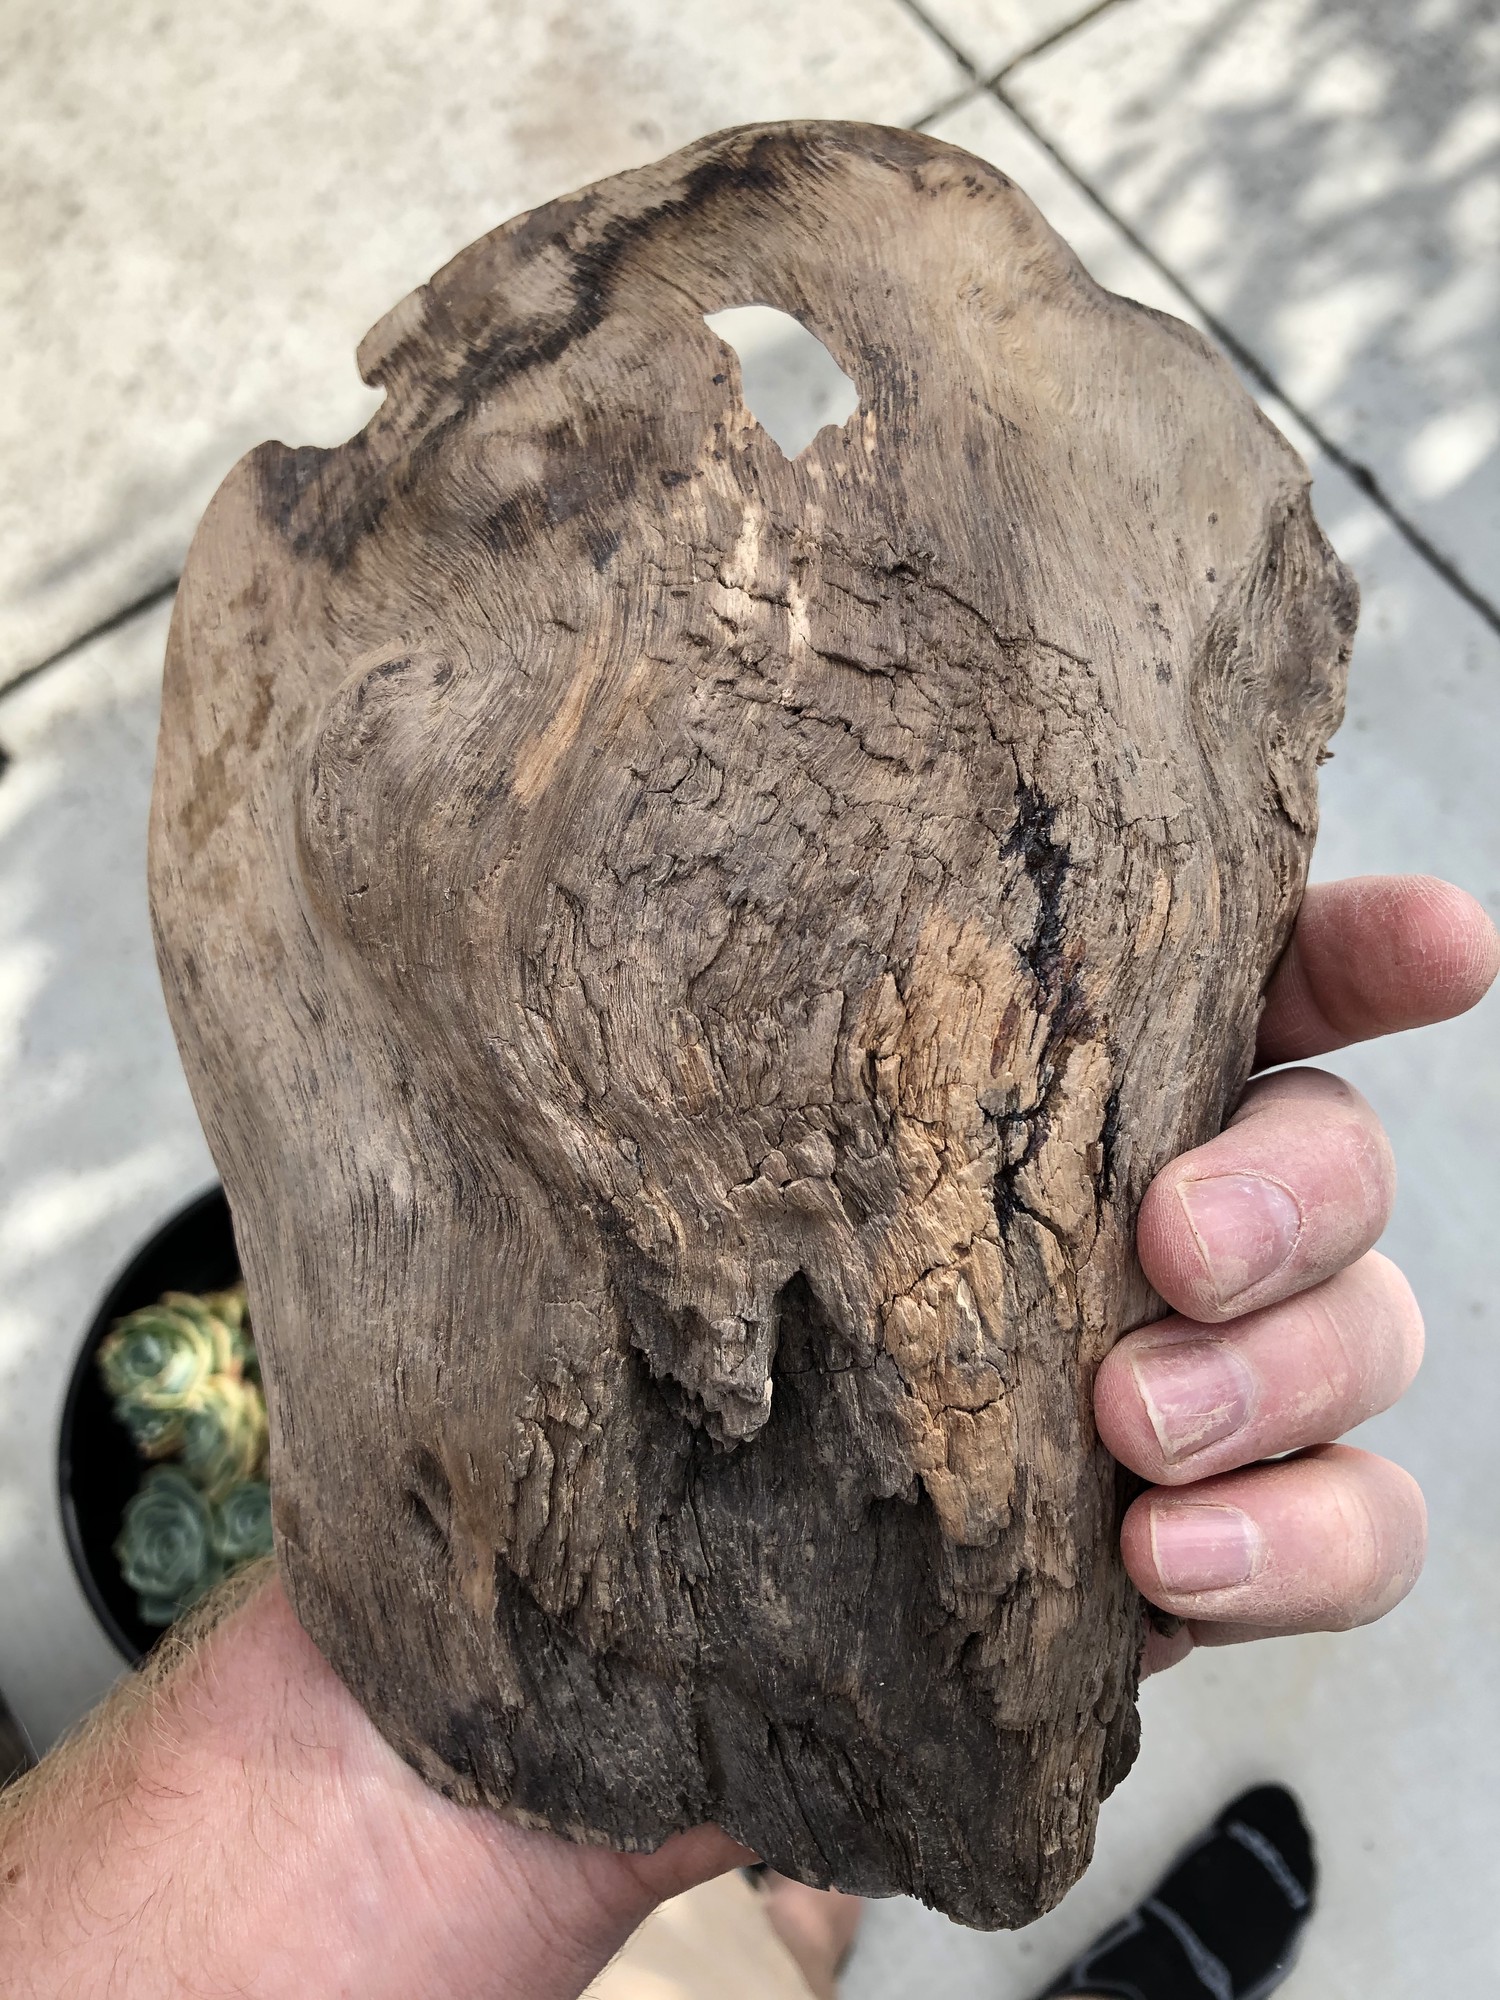
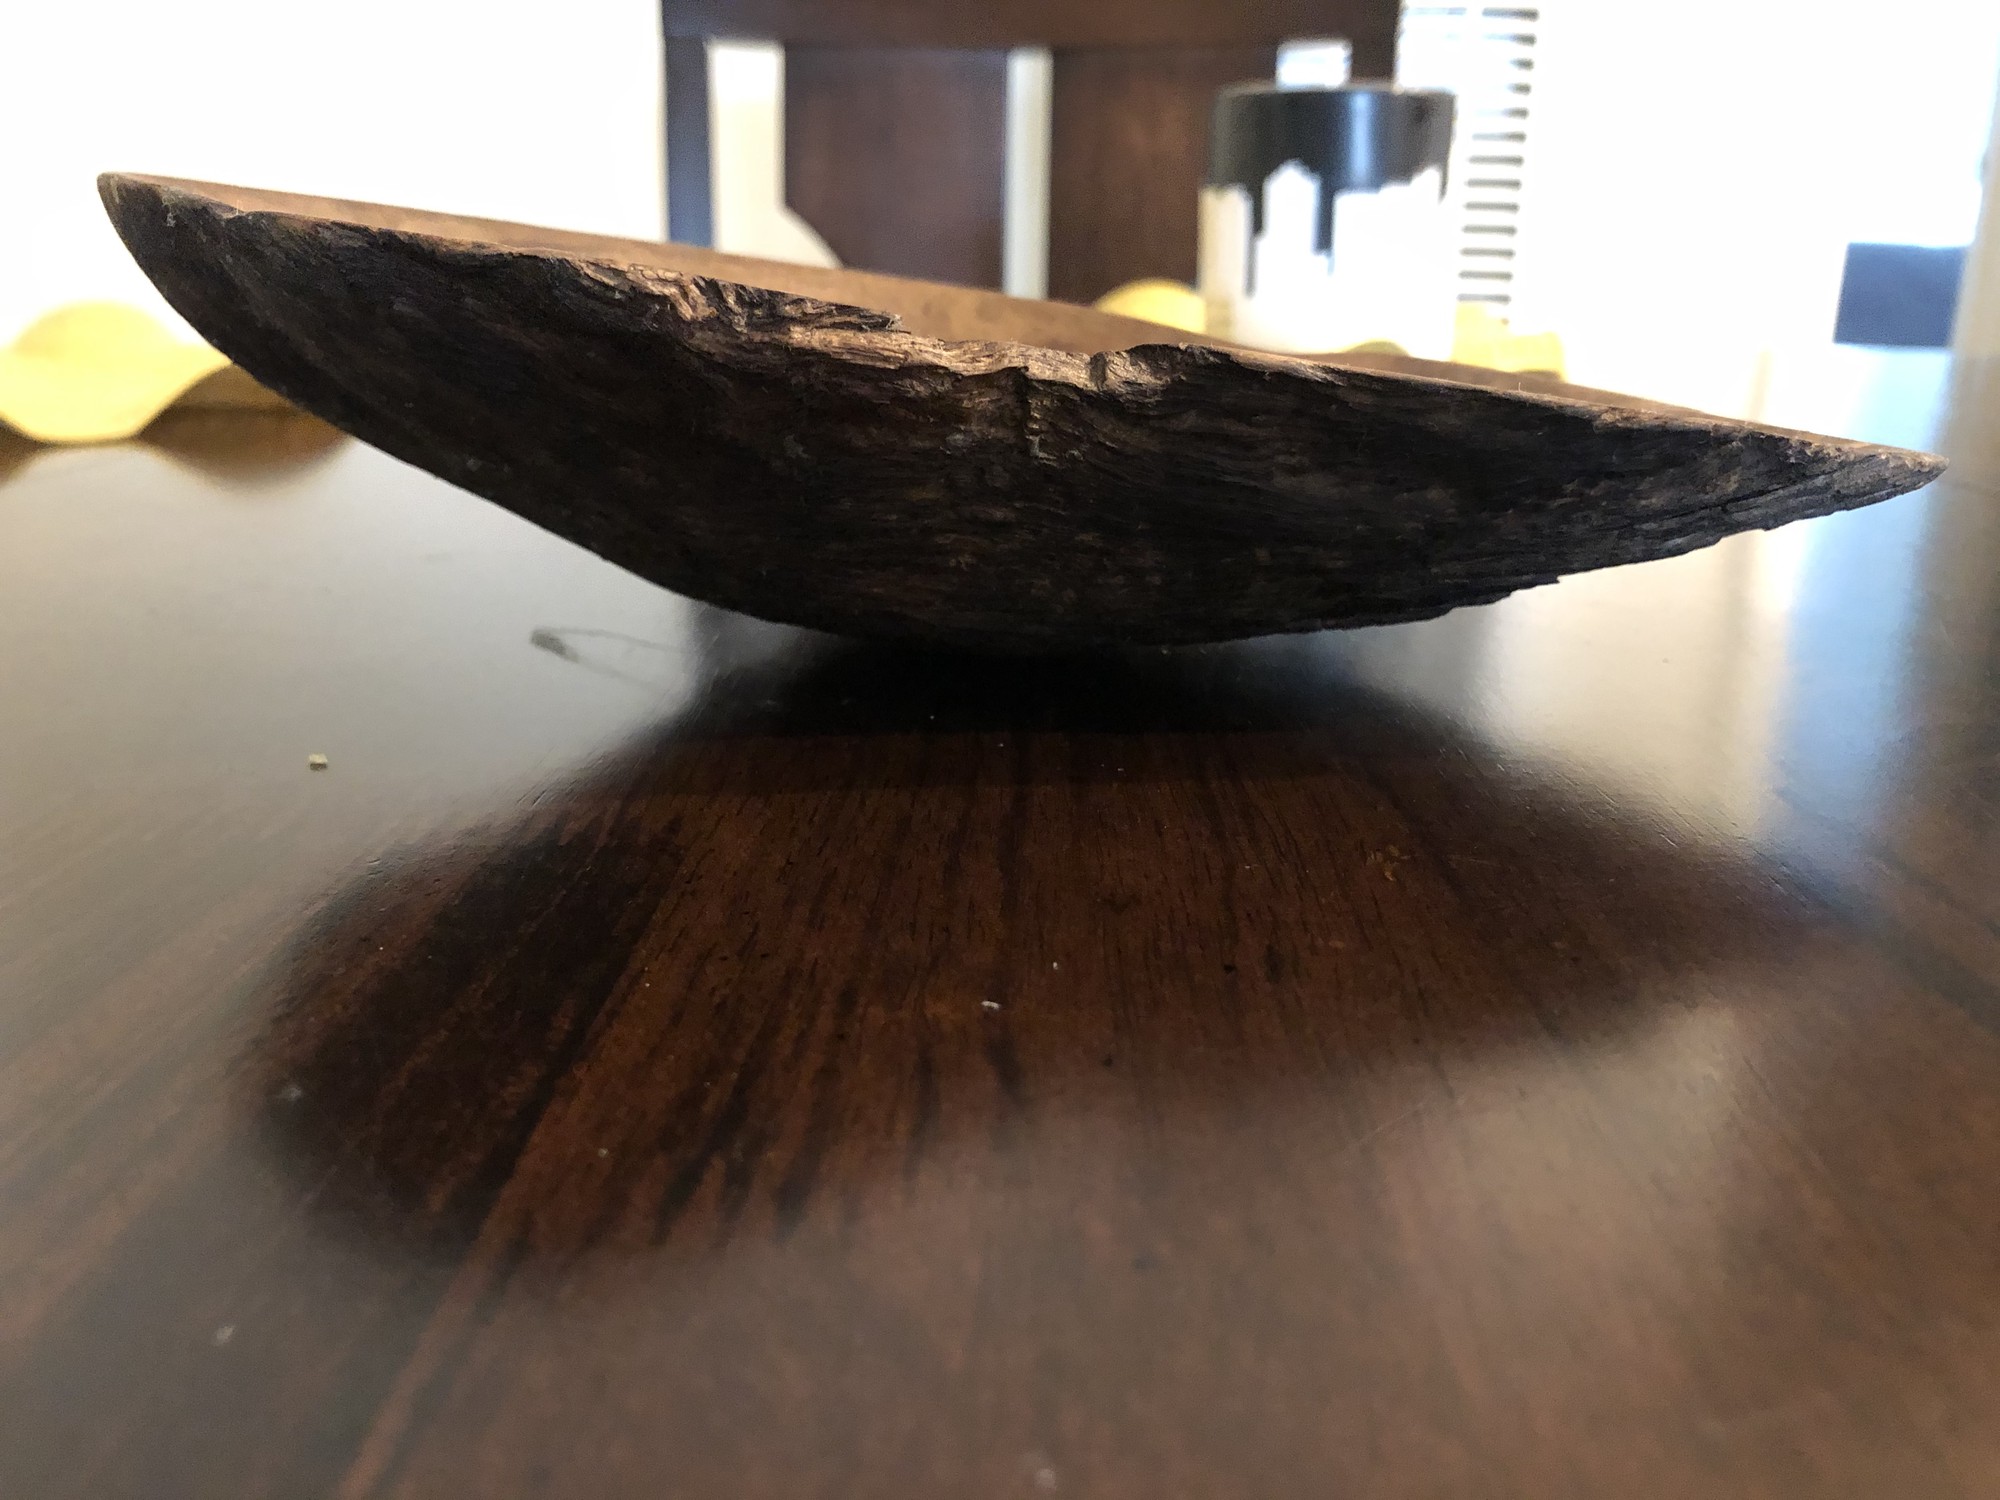
Unlike previous bowl projects of mine, 1 and 2, I decided to retain the bark on the burl since it seemed well fastened to the core of the burl wood and to experiment with carving burls with bark present.
Carving
Next, I needed to find a way to safely and accurately remove any remaining bulk wood from the bowl and to evenly hollow it out.
Precise control here was critical because penetrating through the bowl edge was a non-starter.
Similar to my previous bowls, I considered my dremel a prime tool for this task.
After my experience gained on my previous bowls,
1 and
2, with various bits (smoother wheels tended to simply burn the wood), I used course-grain sanding drums2 and a diamond-edge cutting wheel from Home Depot1.
This task was tedious and required complete focus so as to avoid penetrating too deep through the wood.
The bowl, even though not large, presented a challenge to the carving step as this wood is quite hard (walnut).
Thus, the carving took longer than hoped.
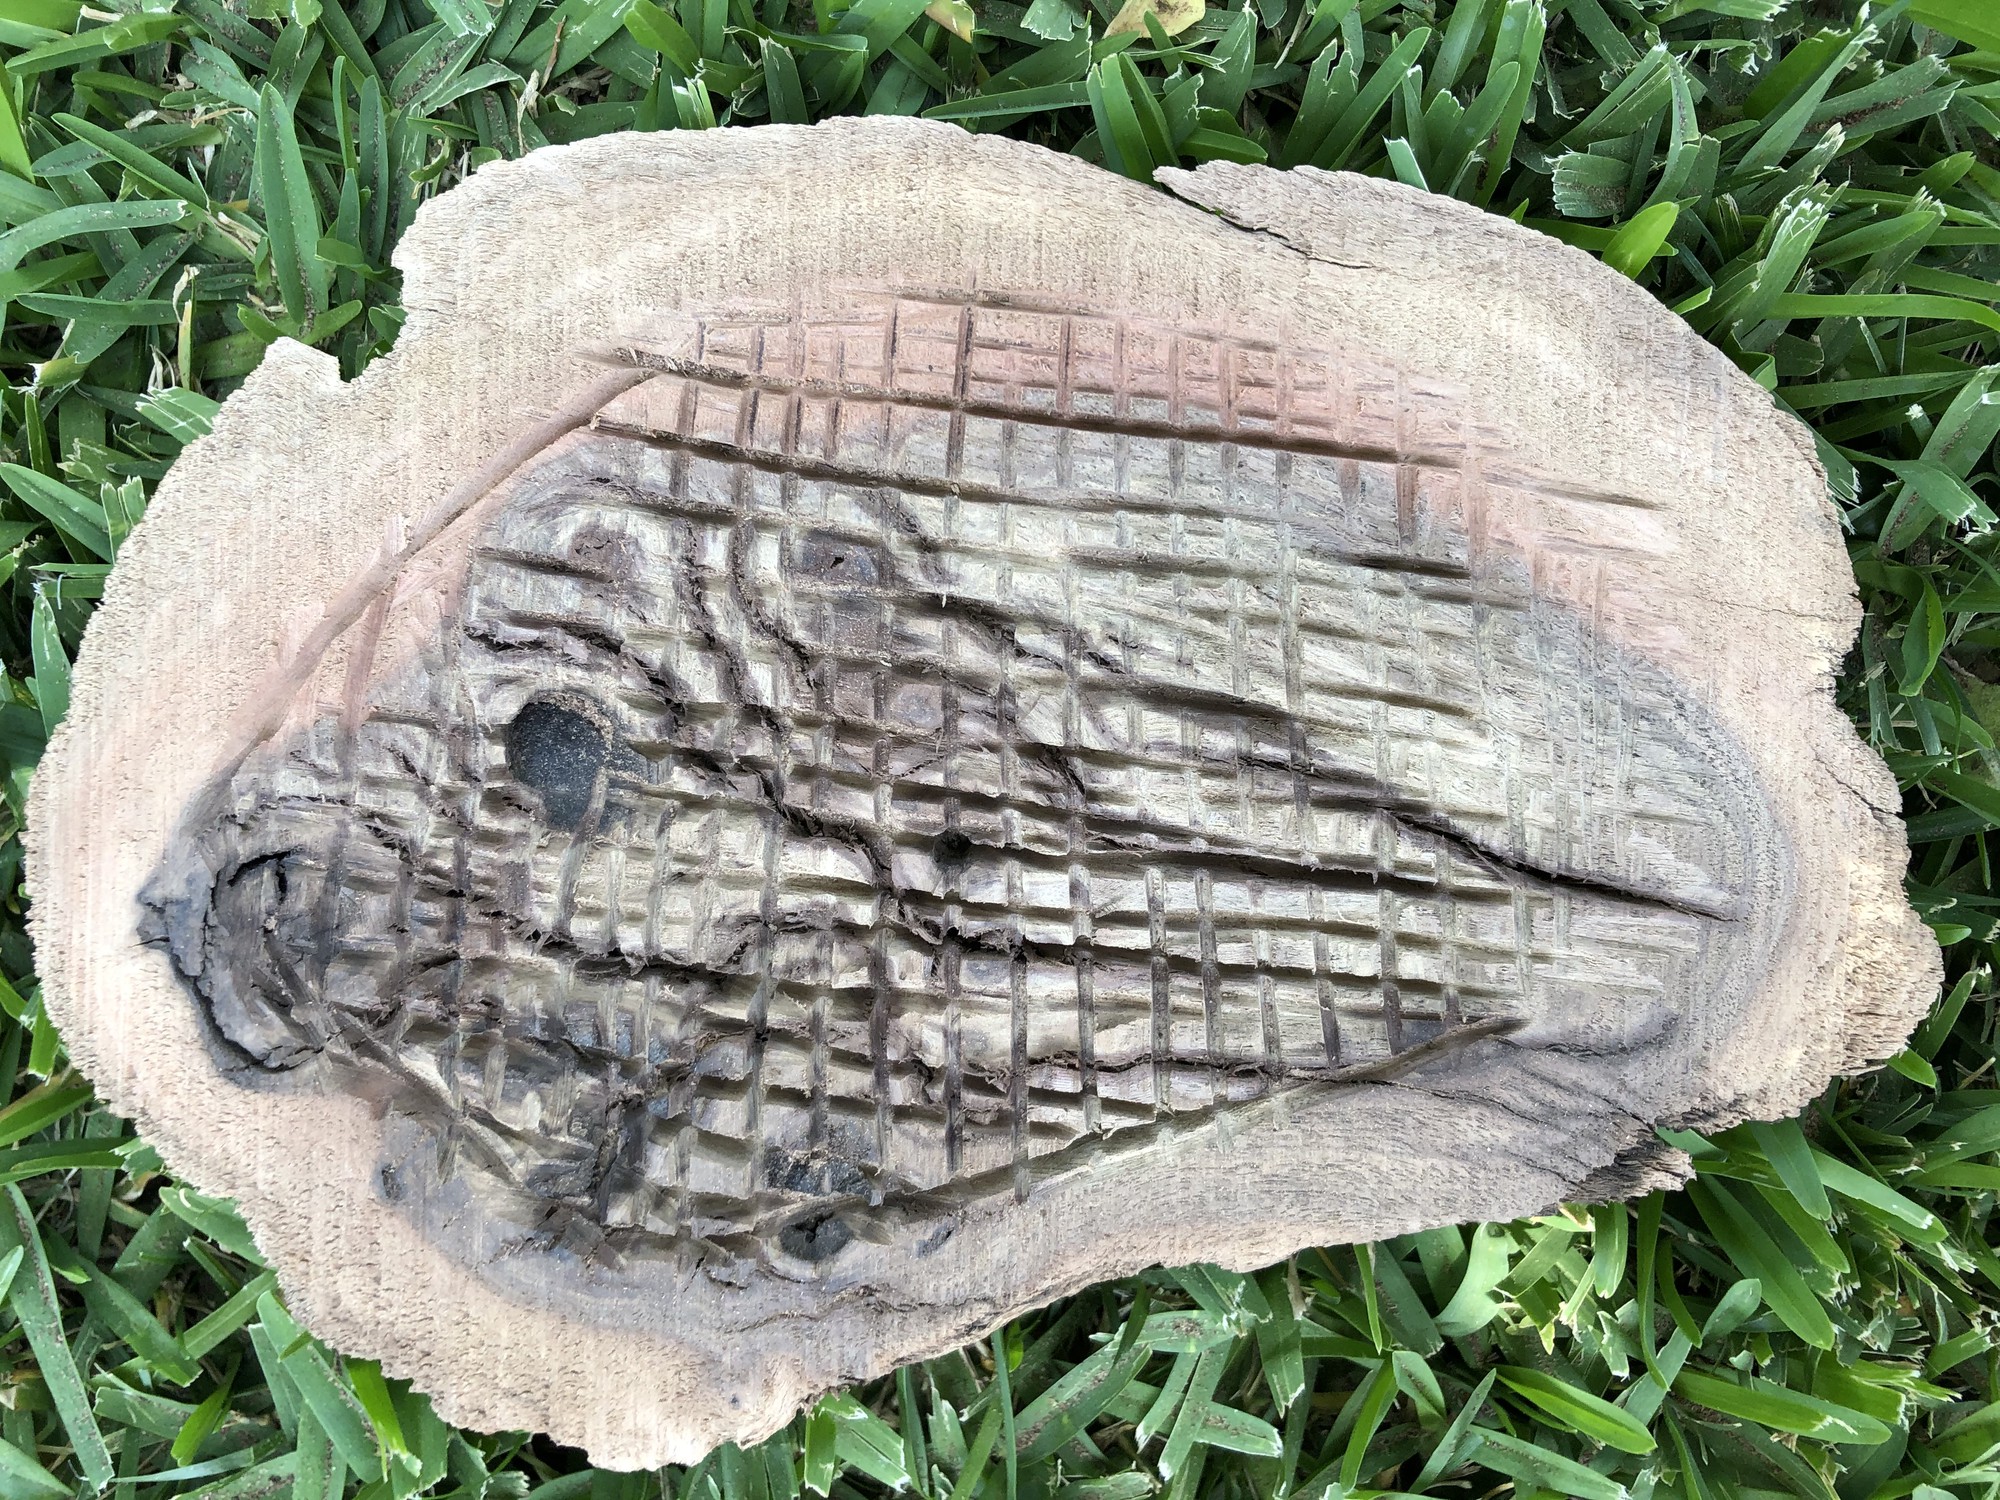
To clear as much bulk material as quickly possible, I alternated between the diamond-edge cutting wheel3 and the sanding barrel2.
I repeated the following process until I had sufficient bulk material removed: carve deep grooves using the diamond-edge cutting wheel3 in a patch-work pattern, then break off patches of uncarved, tall wood chunks using the diamond-edge cutting wheel3 and then smooth the residual uneveness using the barrel sanding bit2.
In total, this step took ~6hrs.
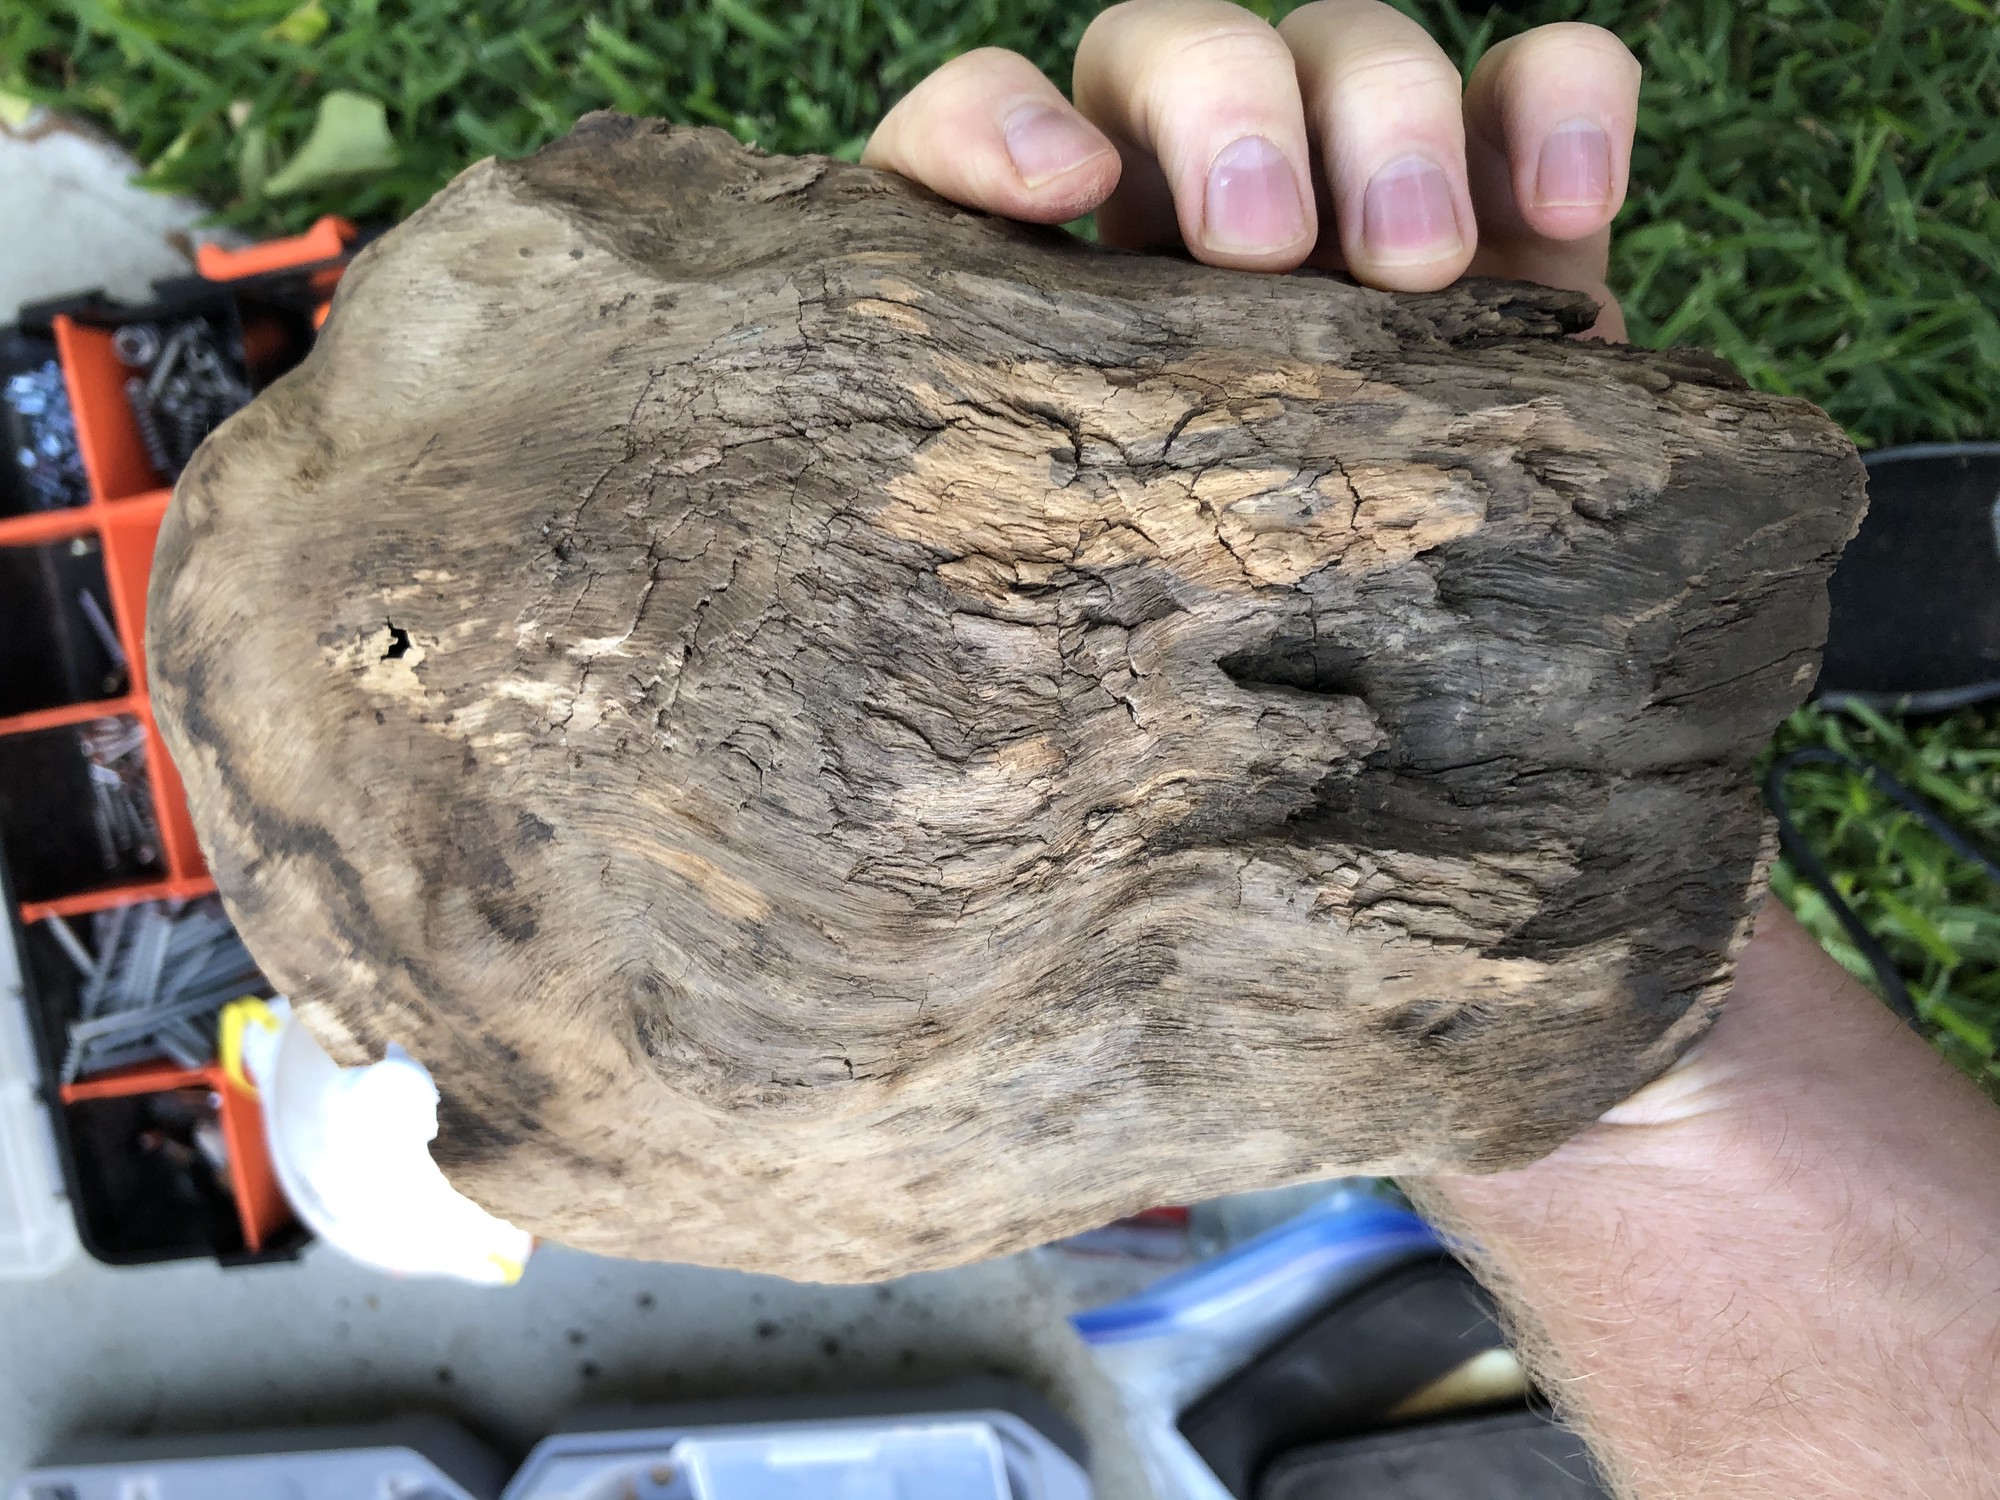
After the main bulk was carved, I quickly touched up the bark side of the burl using a small dremel steel cup brush4 to remove the small bits of dust and loose material.
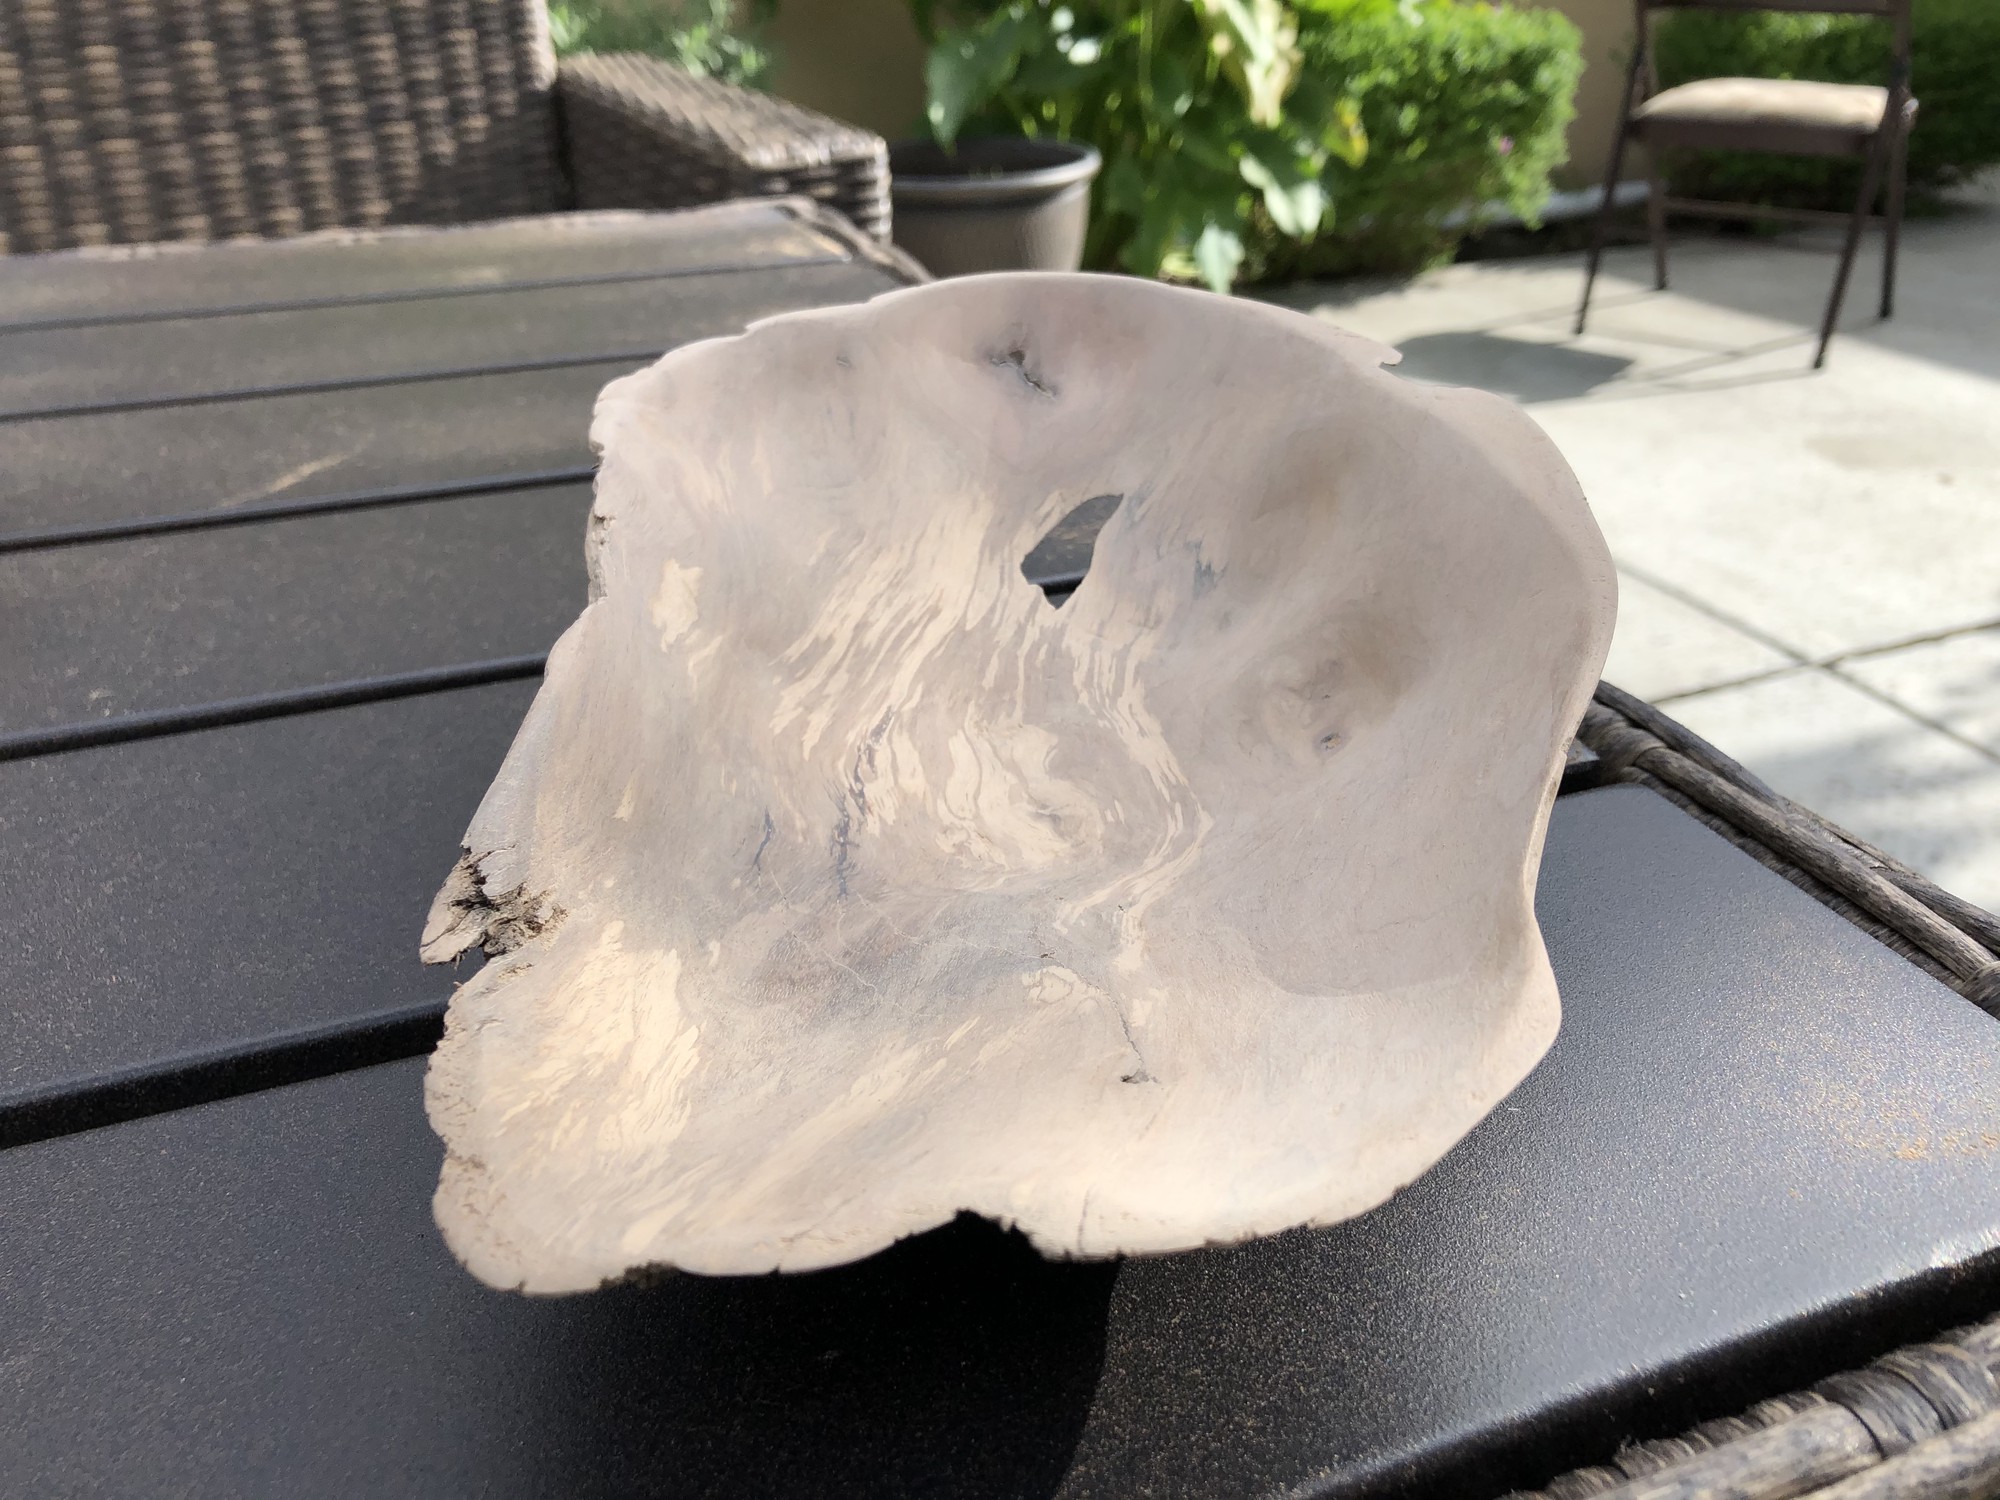
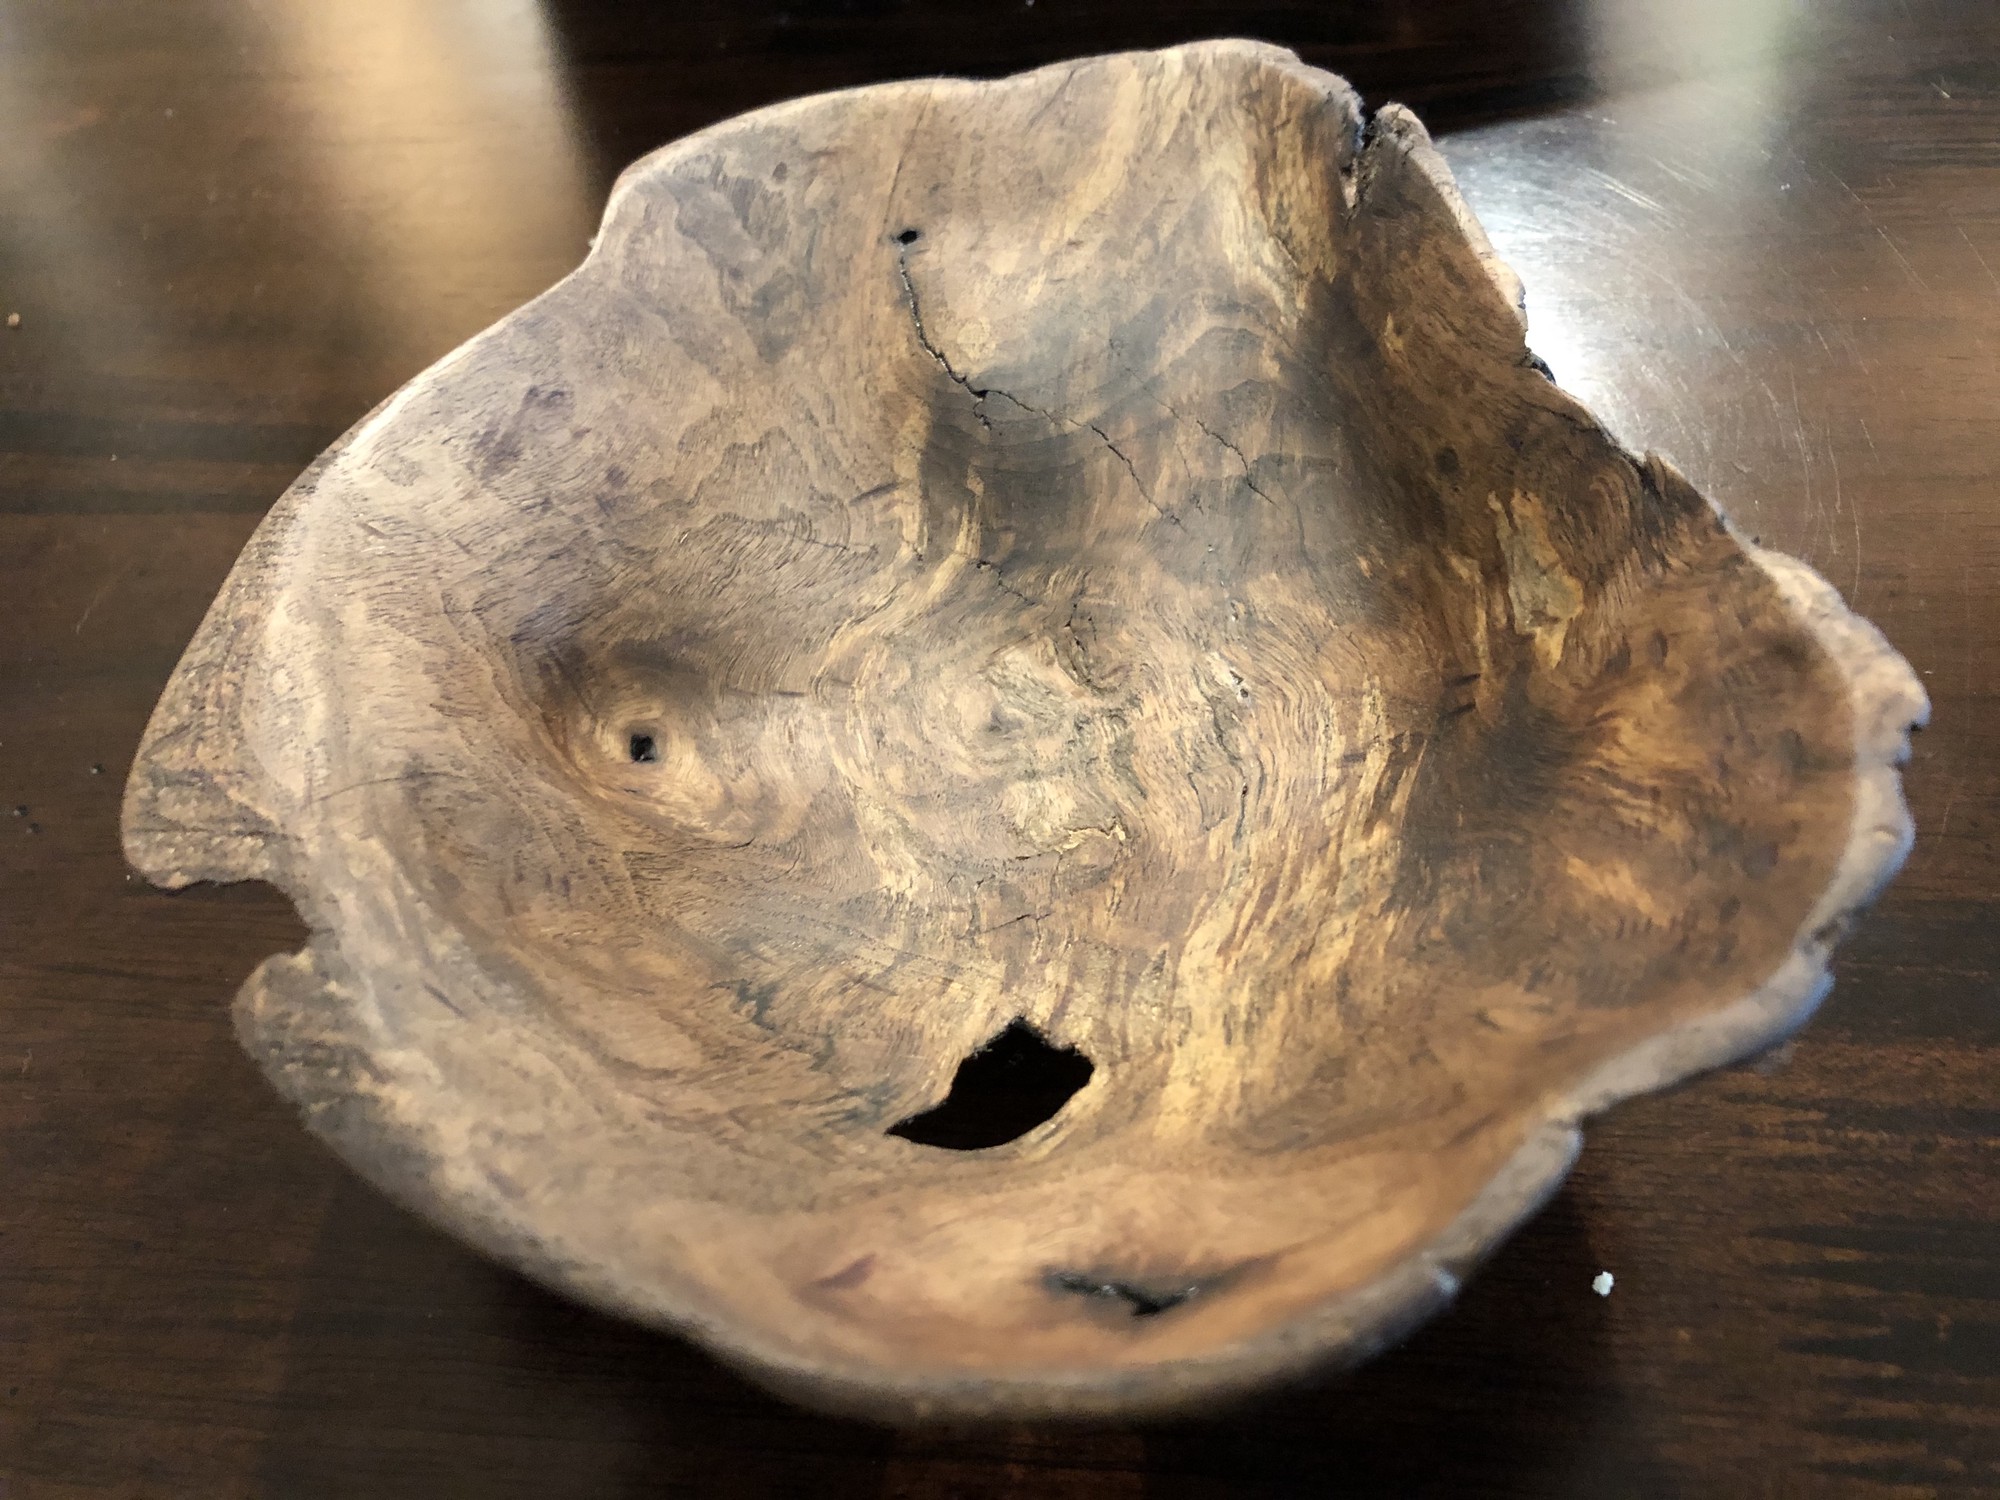
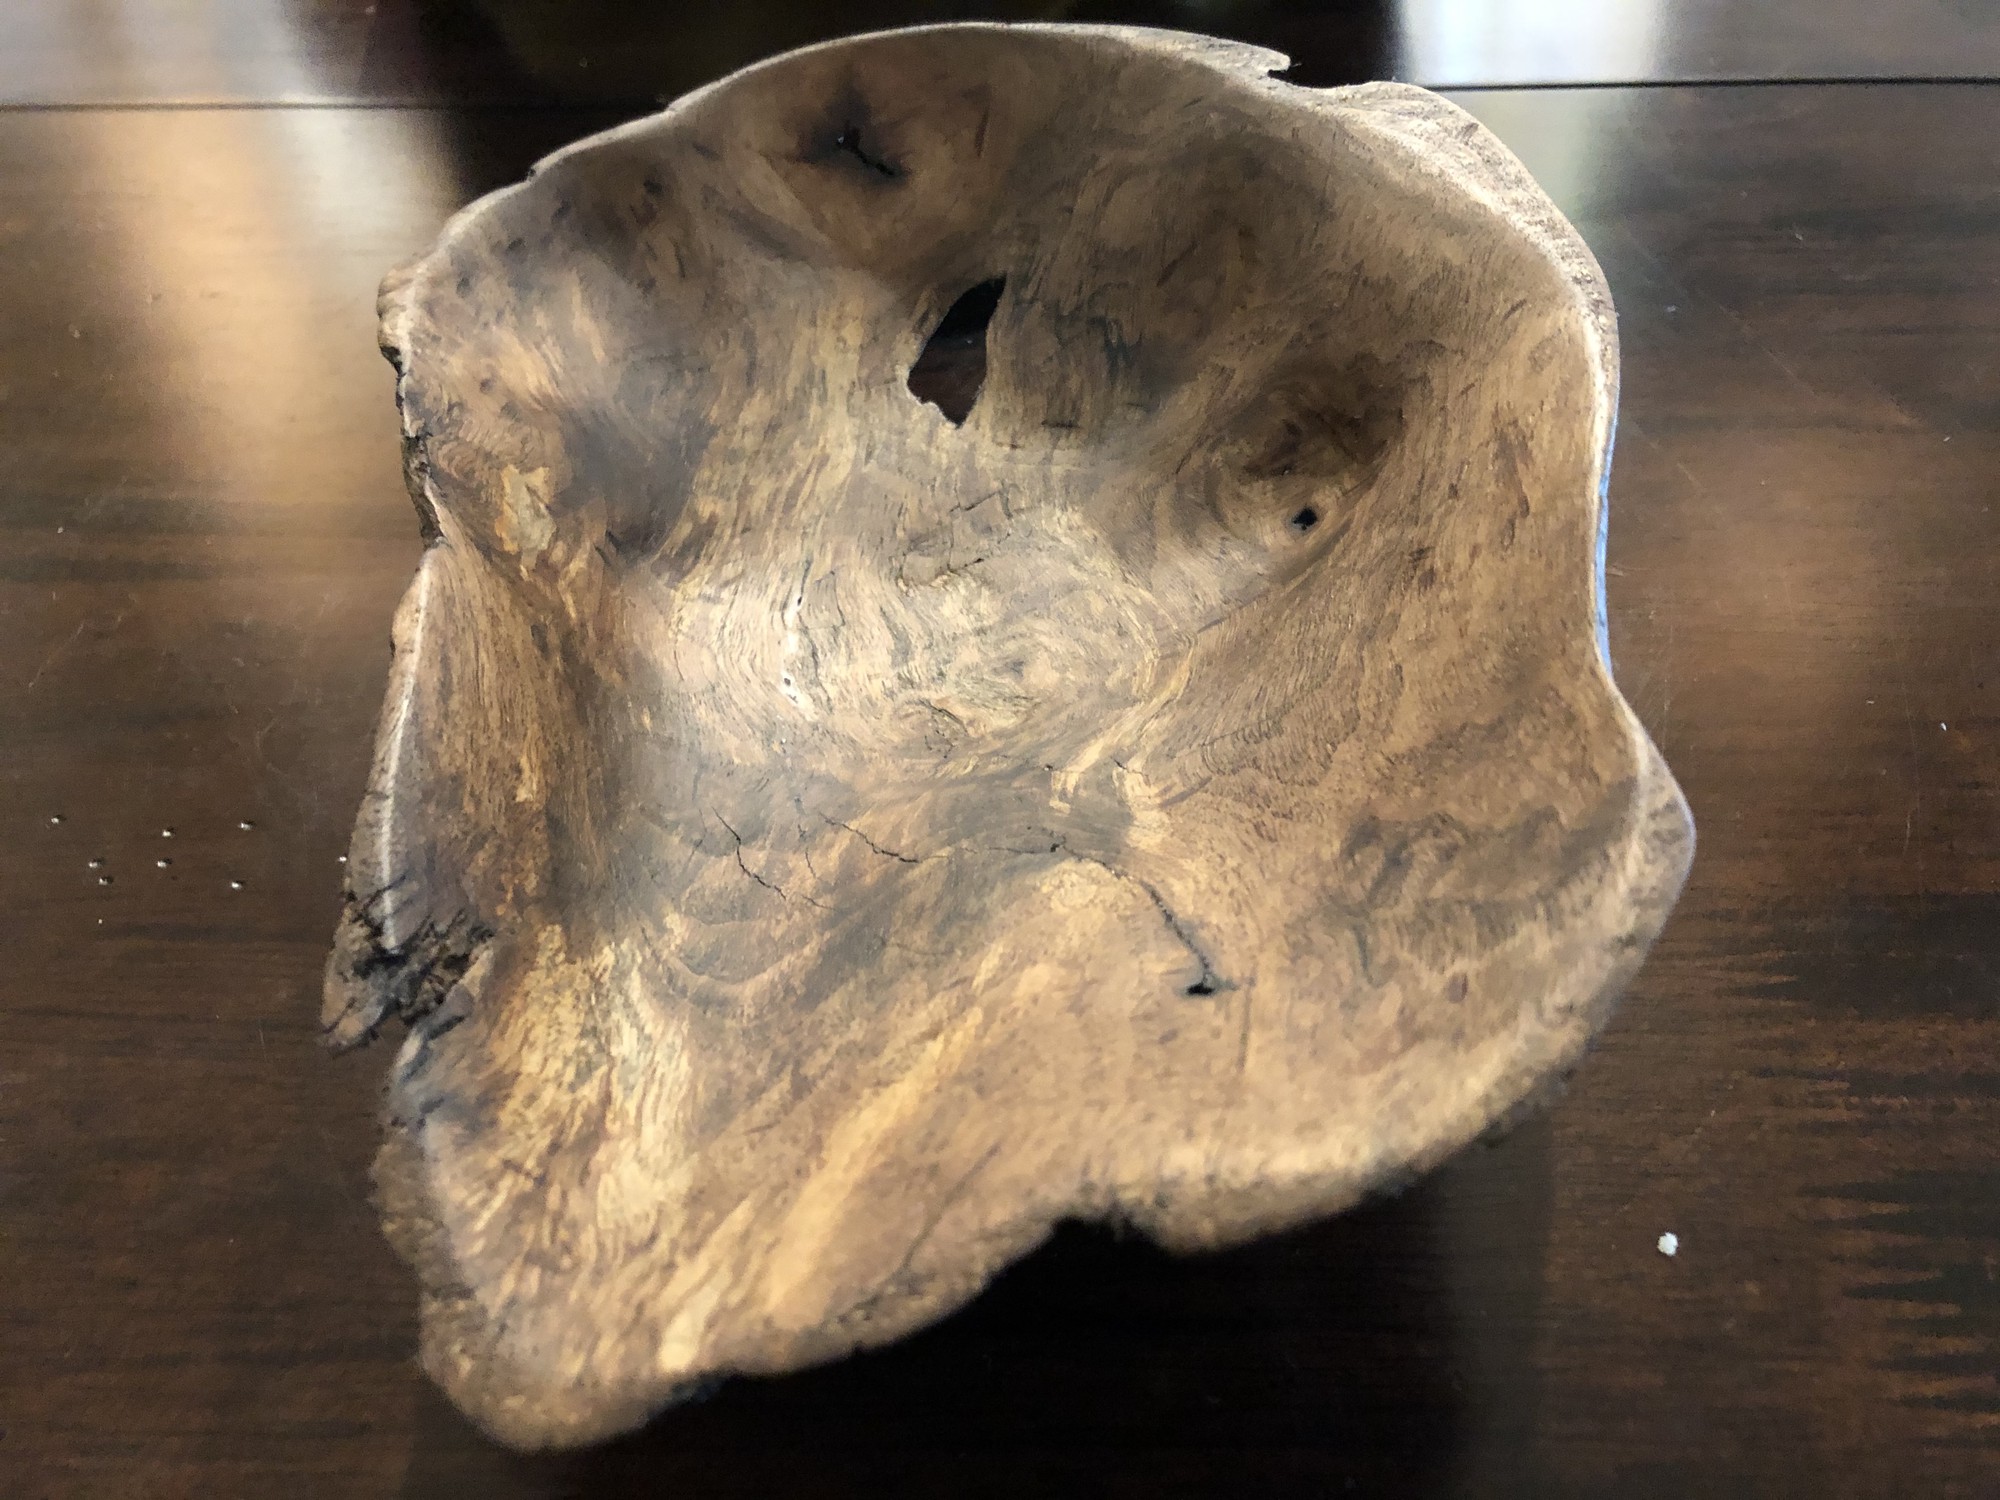
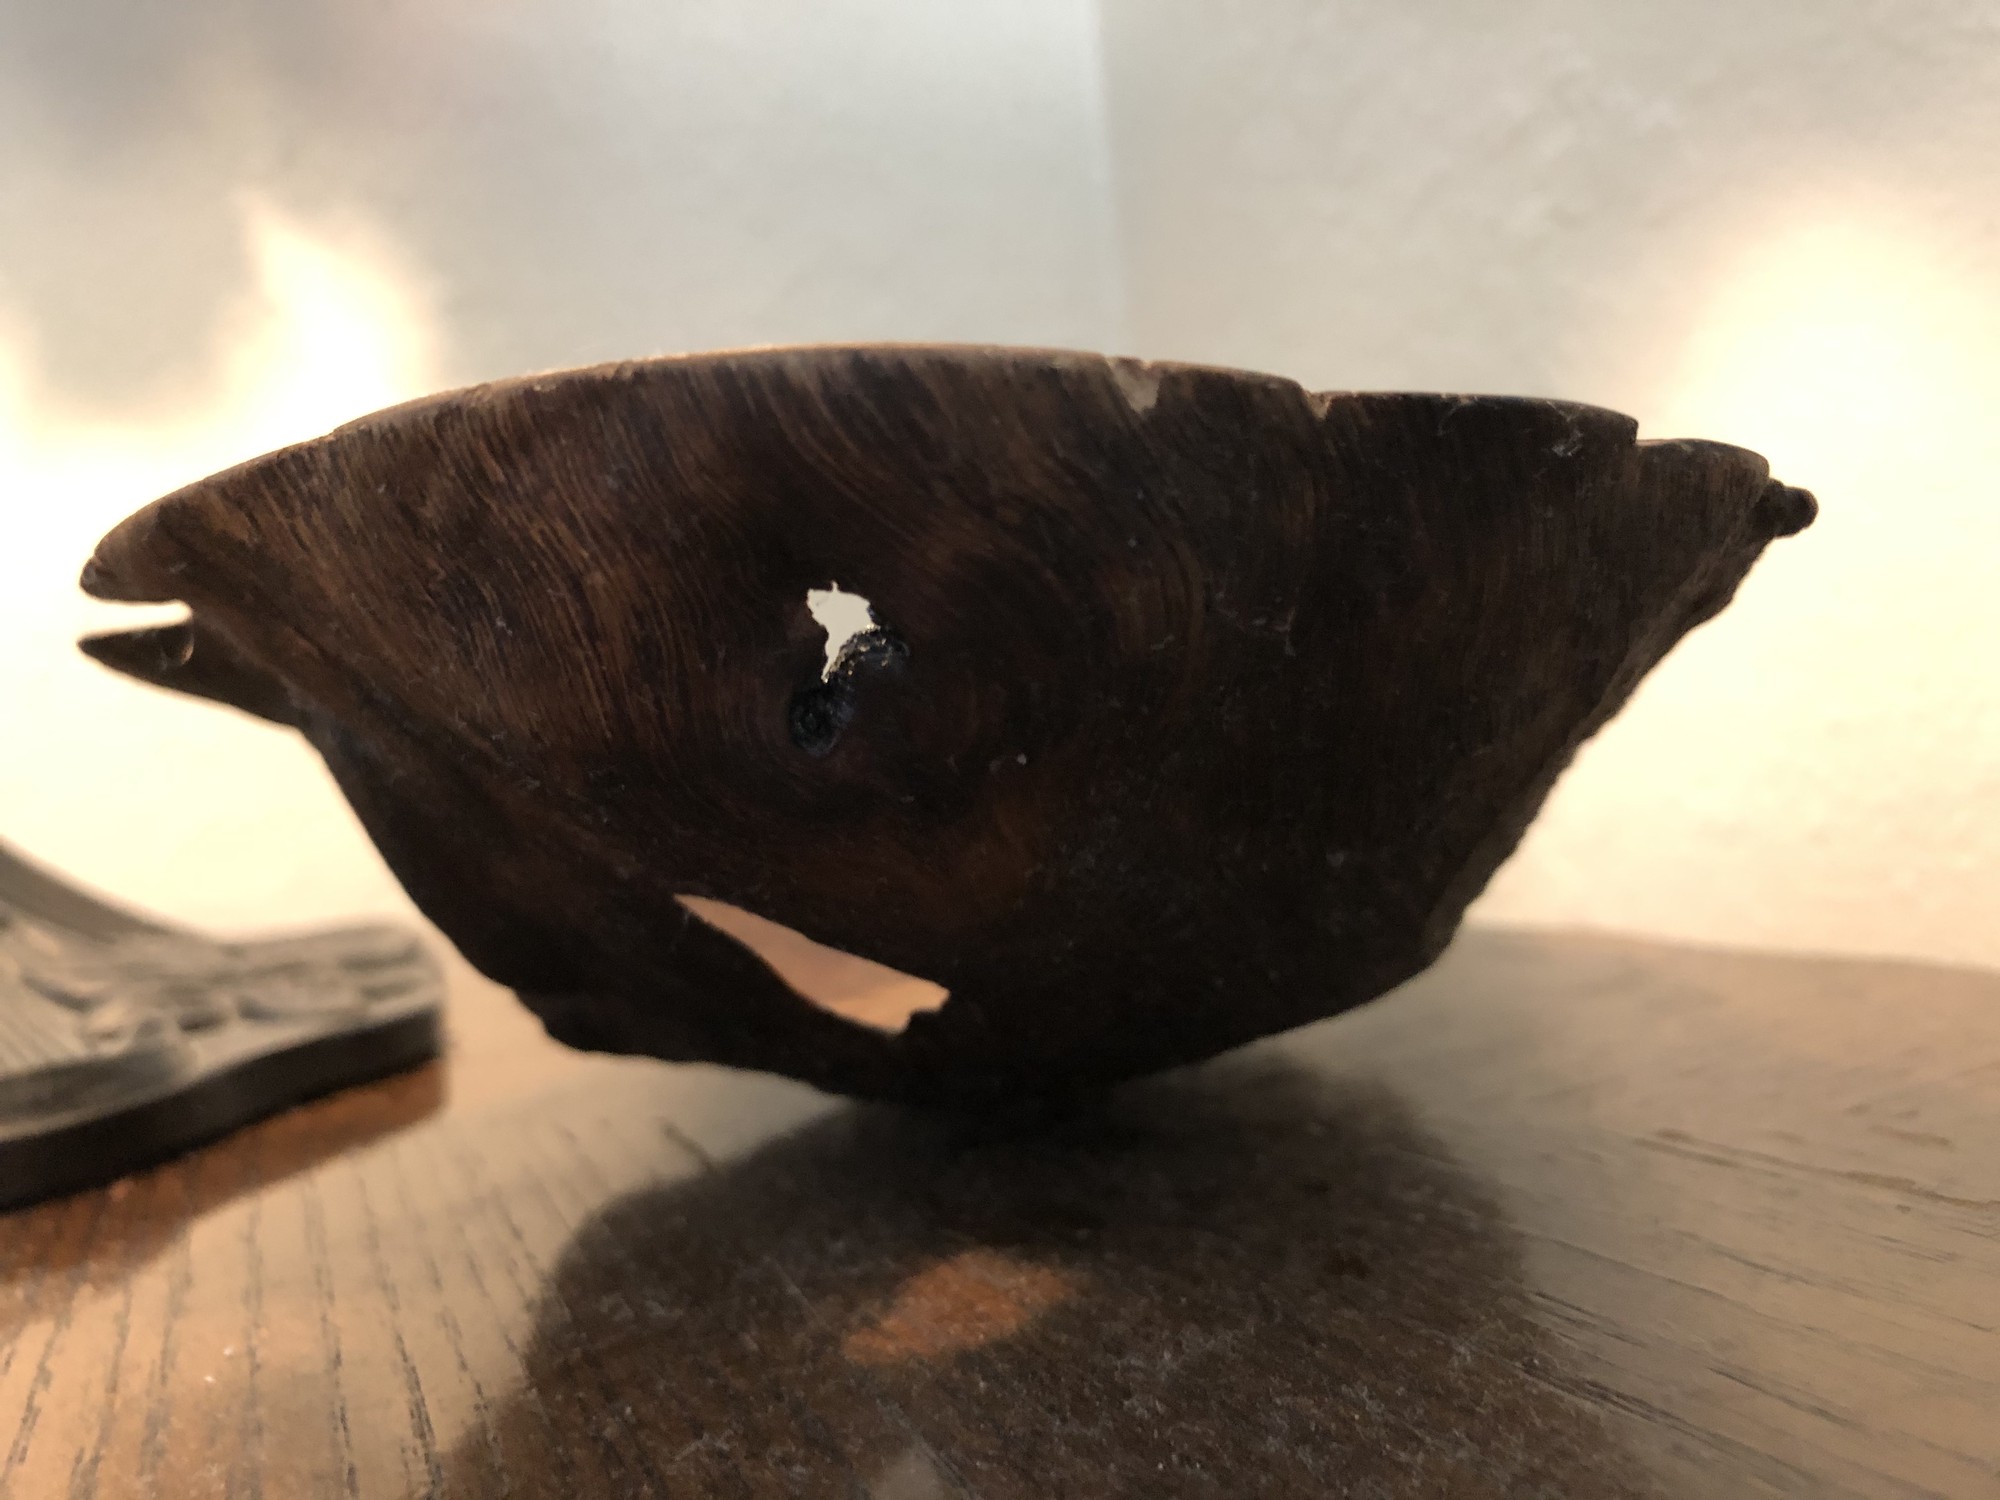
Oops!
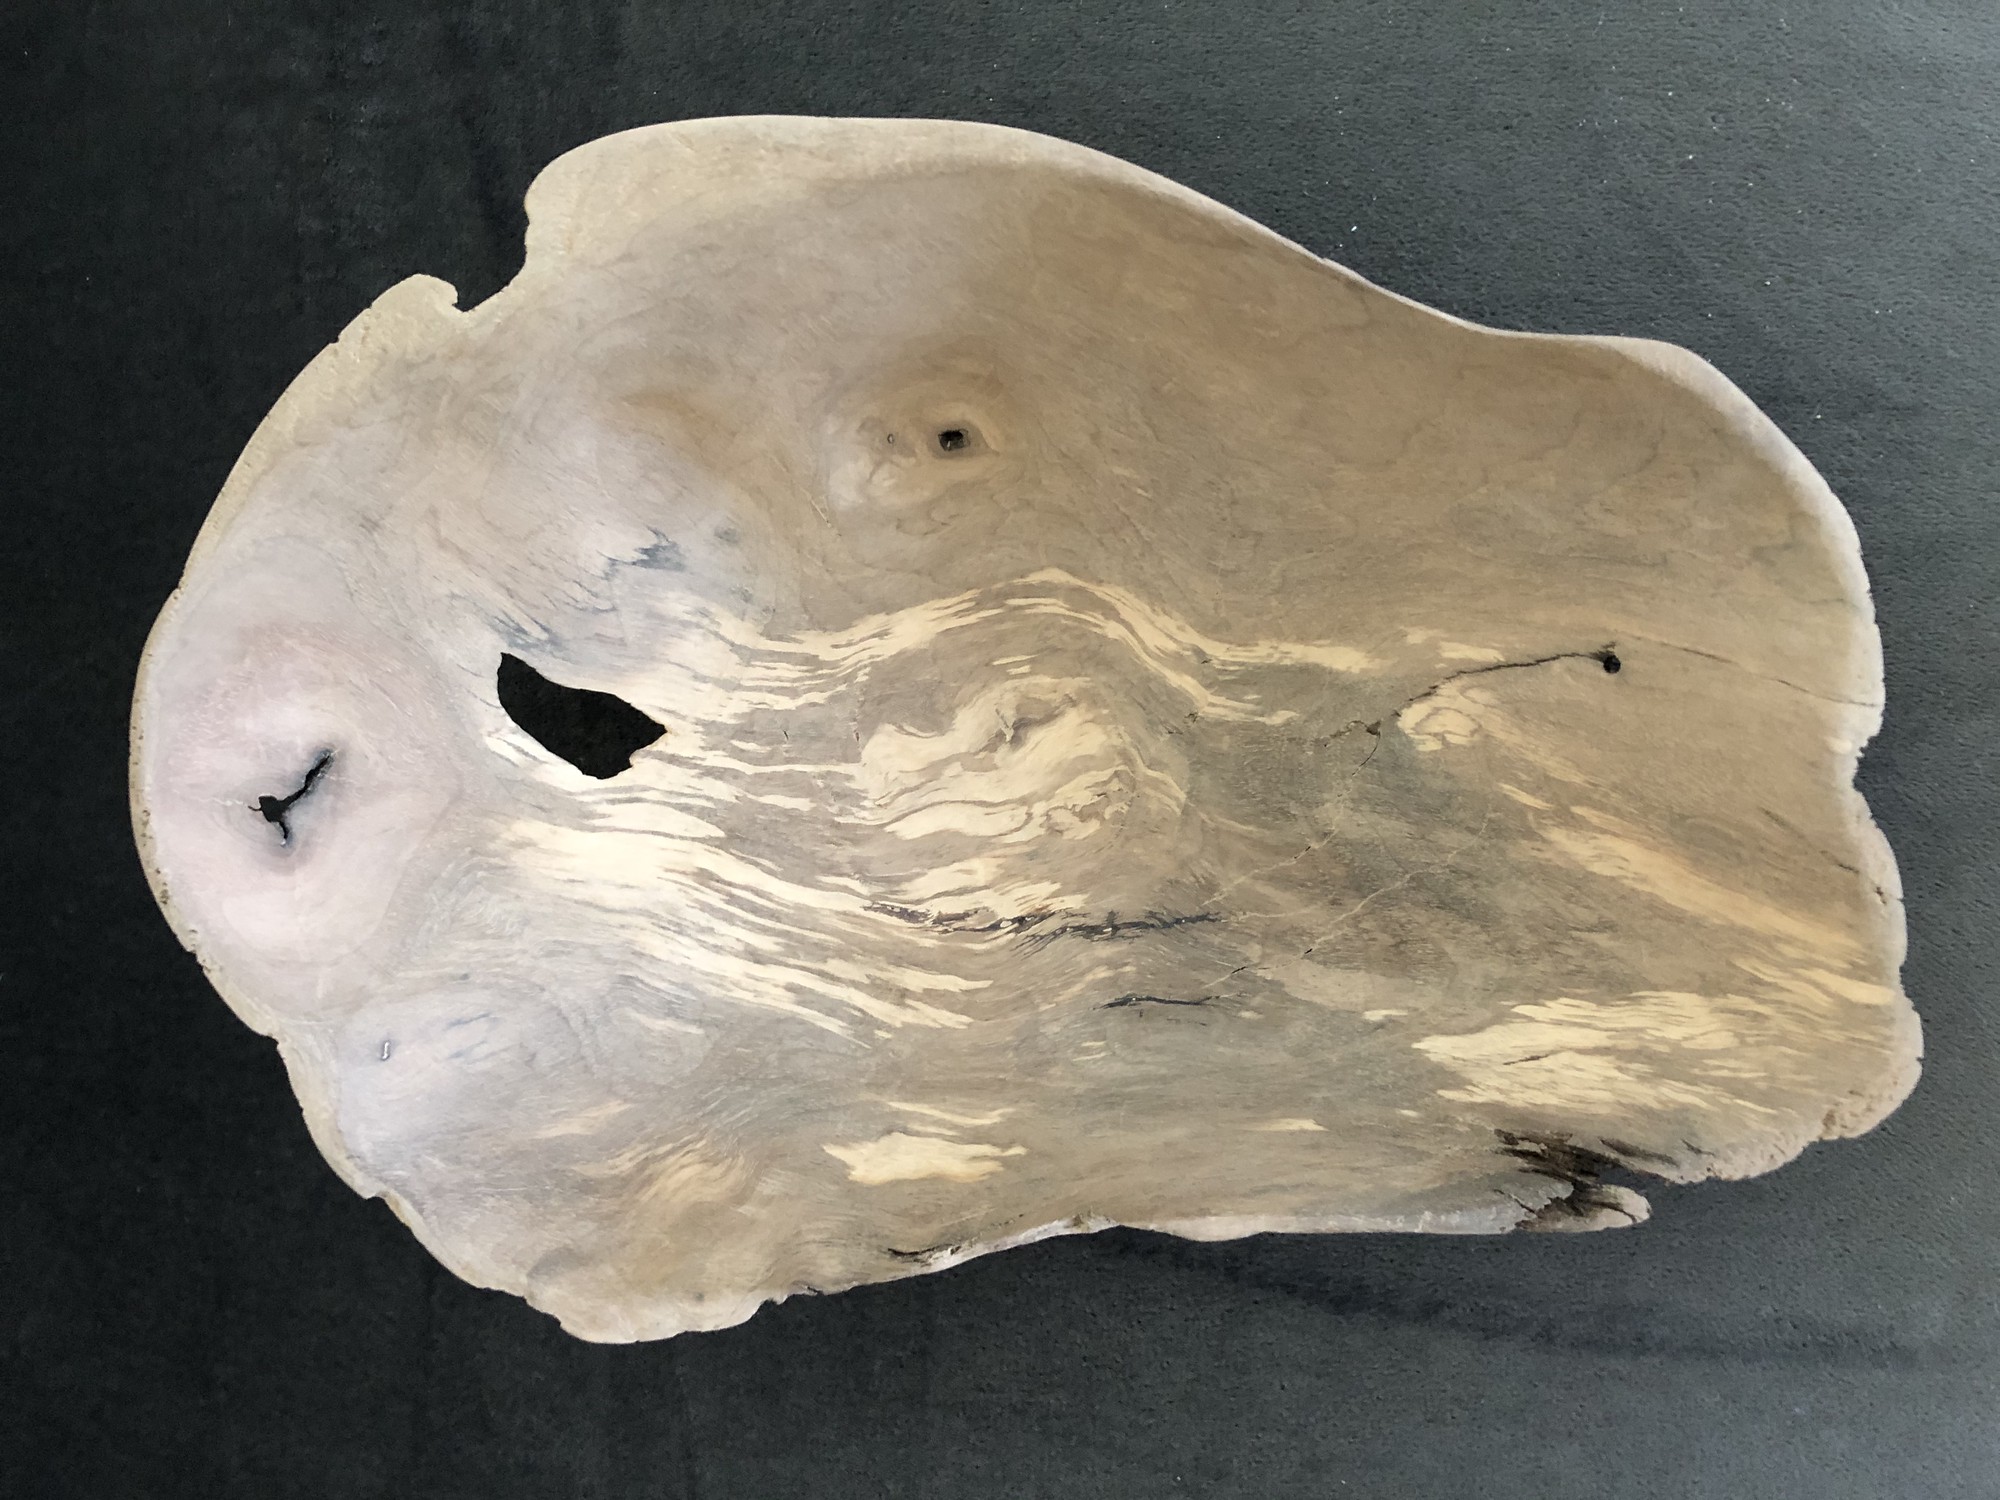
Unfortunately, the bowl’s bark presented an inconsitent depth measurement (when using touch) and I carved the bowl too thin in one spot as shown below.

I decided to keep going with the bowl and simply carve out the hole until its side walls became structurely, significantly thick.
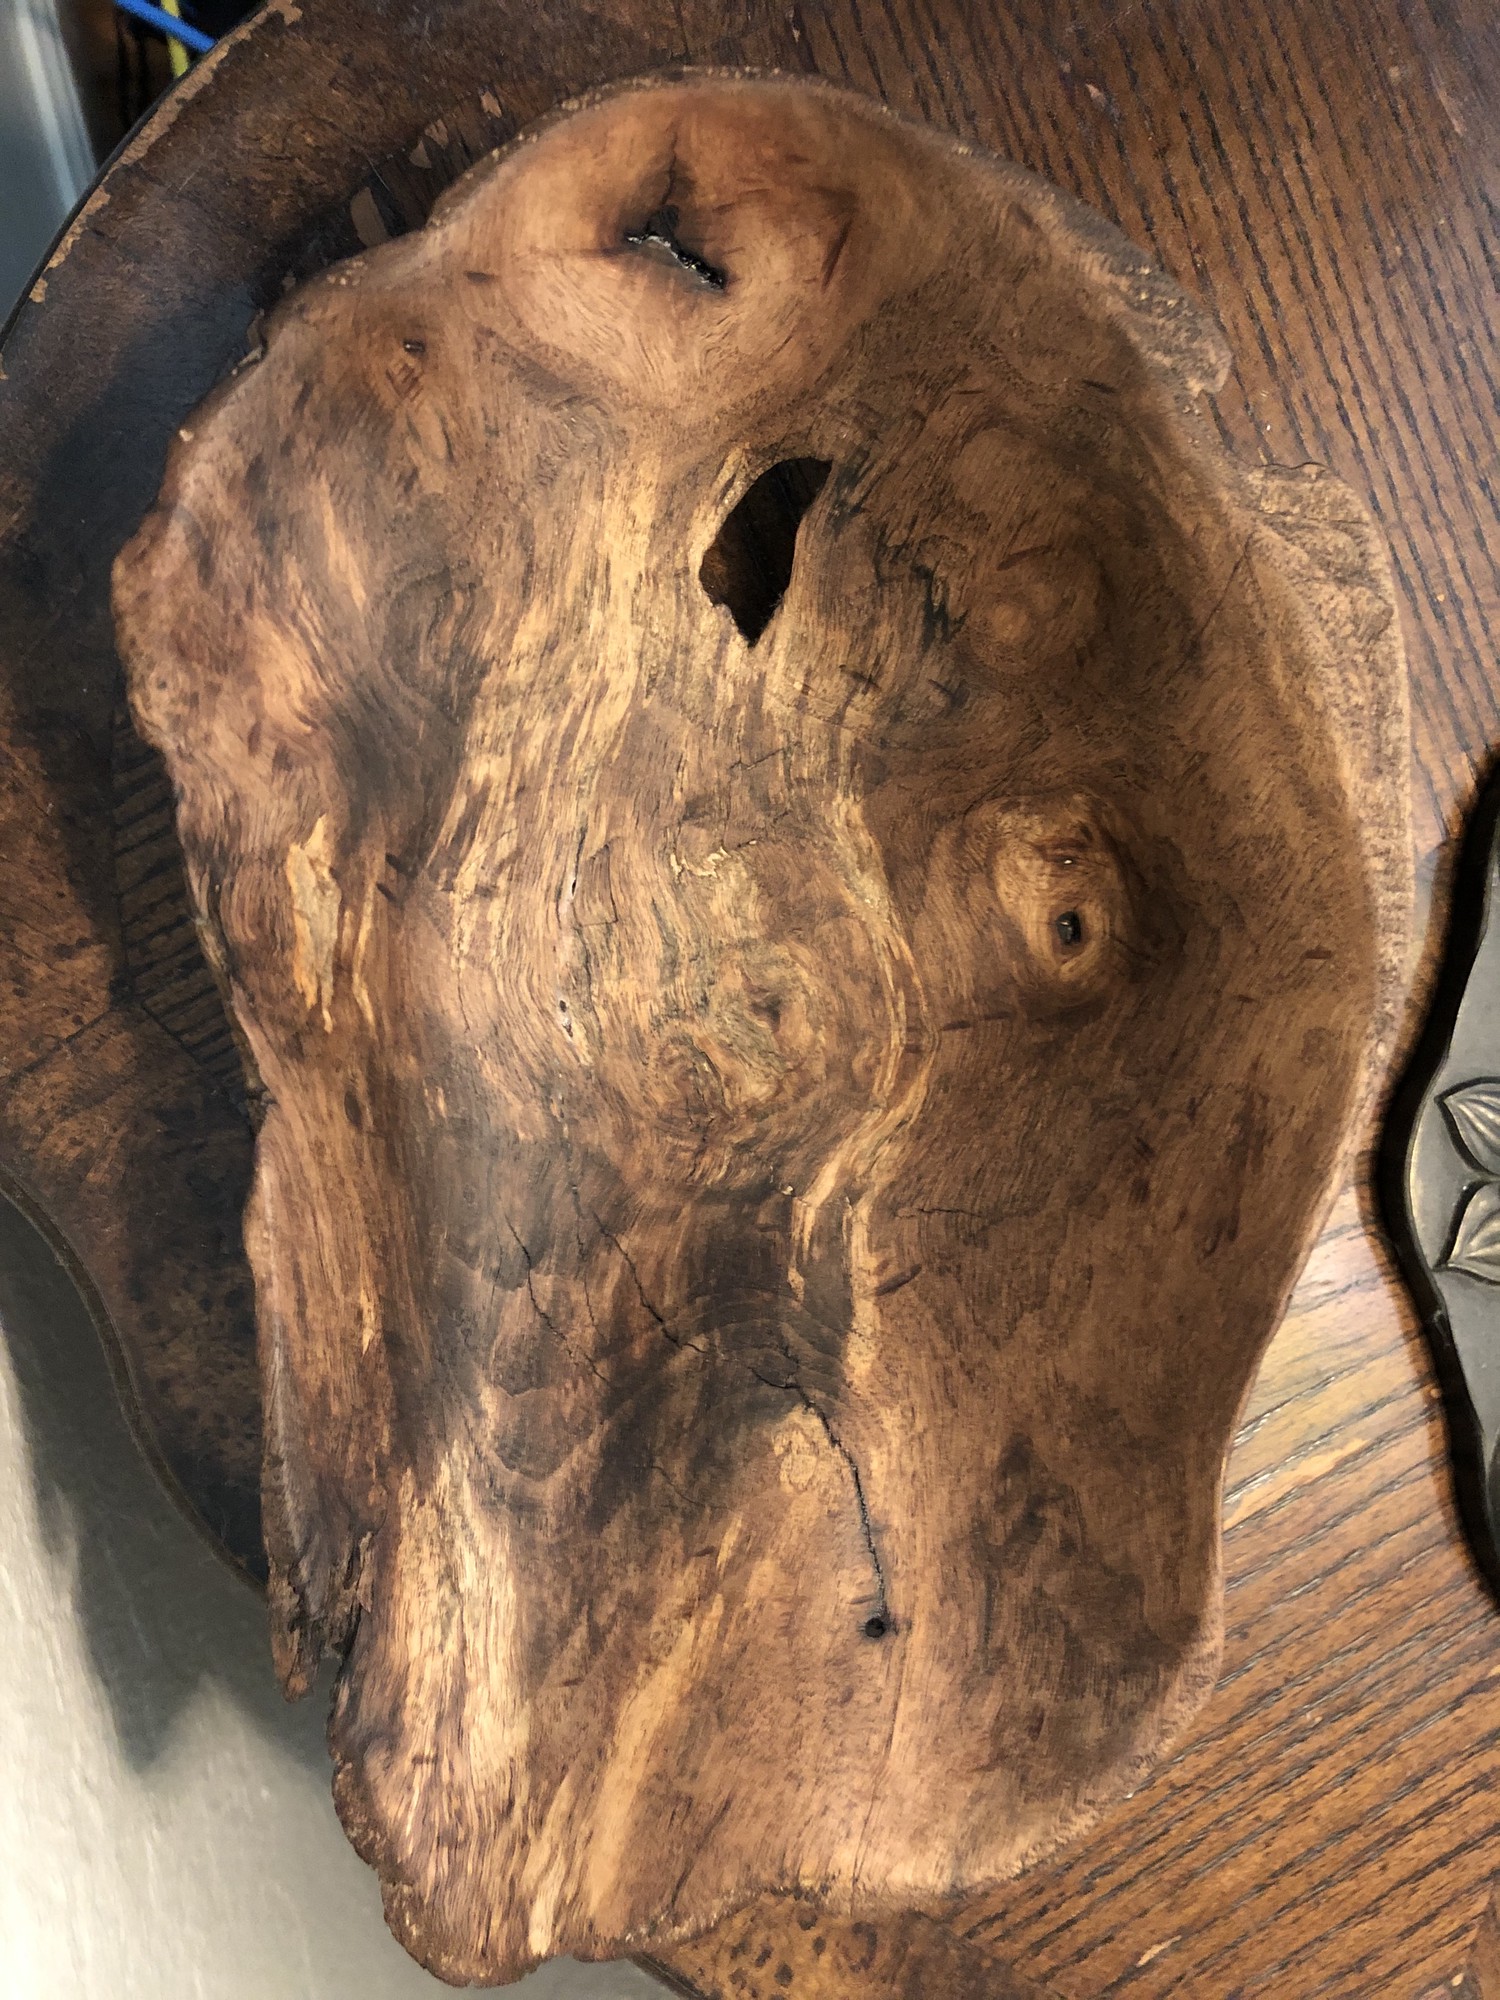
Sanding
Next, I moved on to sanding the cored out burl using 220, 320 and 600 grit wet/dry sand paper (in that order). This sanding was all done by hand and took ~4hrs.
Finish Coats
The last step was to apply a finish to stain, protect and as well as enhance chatoyancy (i.e. “pop the grain”) in the bowl. For this I used Walnut colored Rubio Monocoat5 following the instructions on the back of the can. This finish is highly respected in the woodworking community as it is in-grain, requires just one application that takes about 15 min to apply and once dried (after ~5 days), is food-safe.
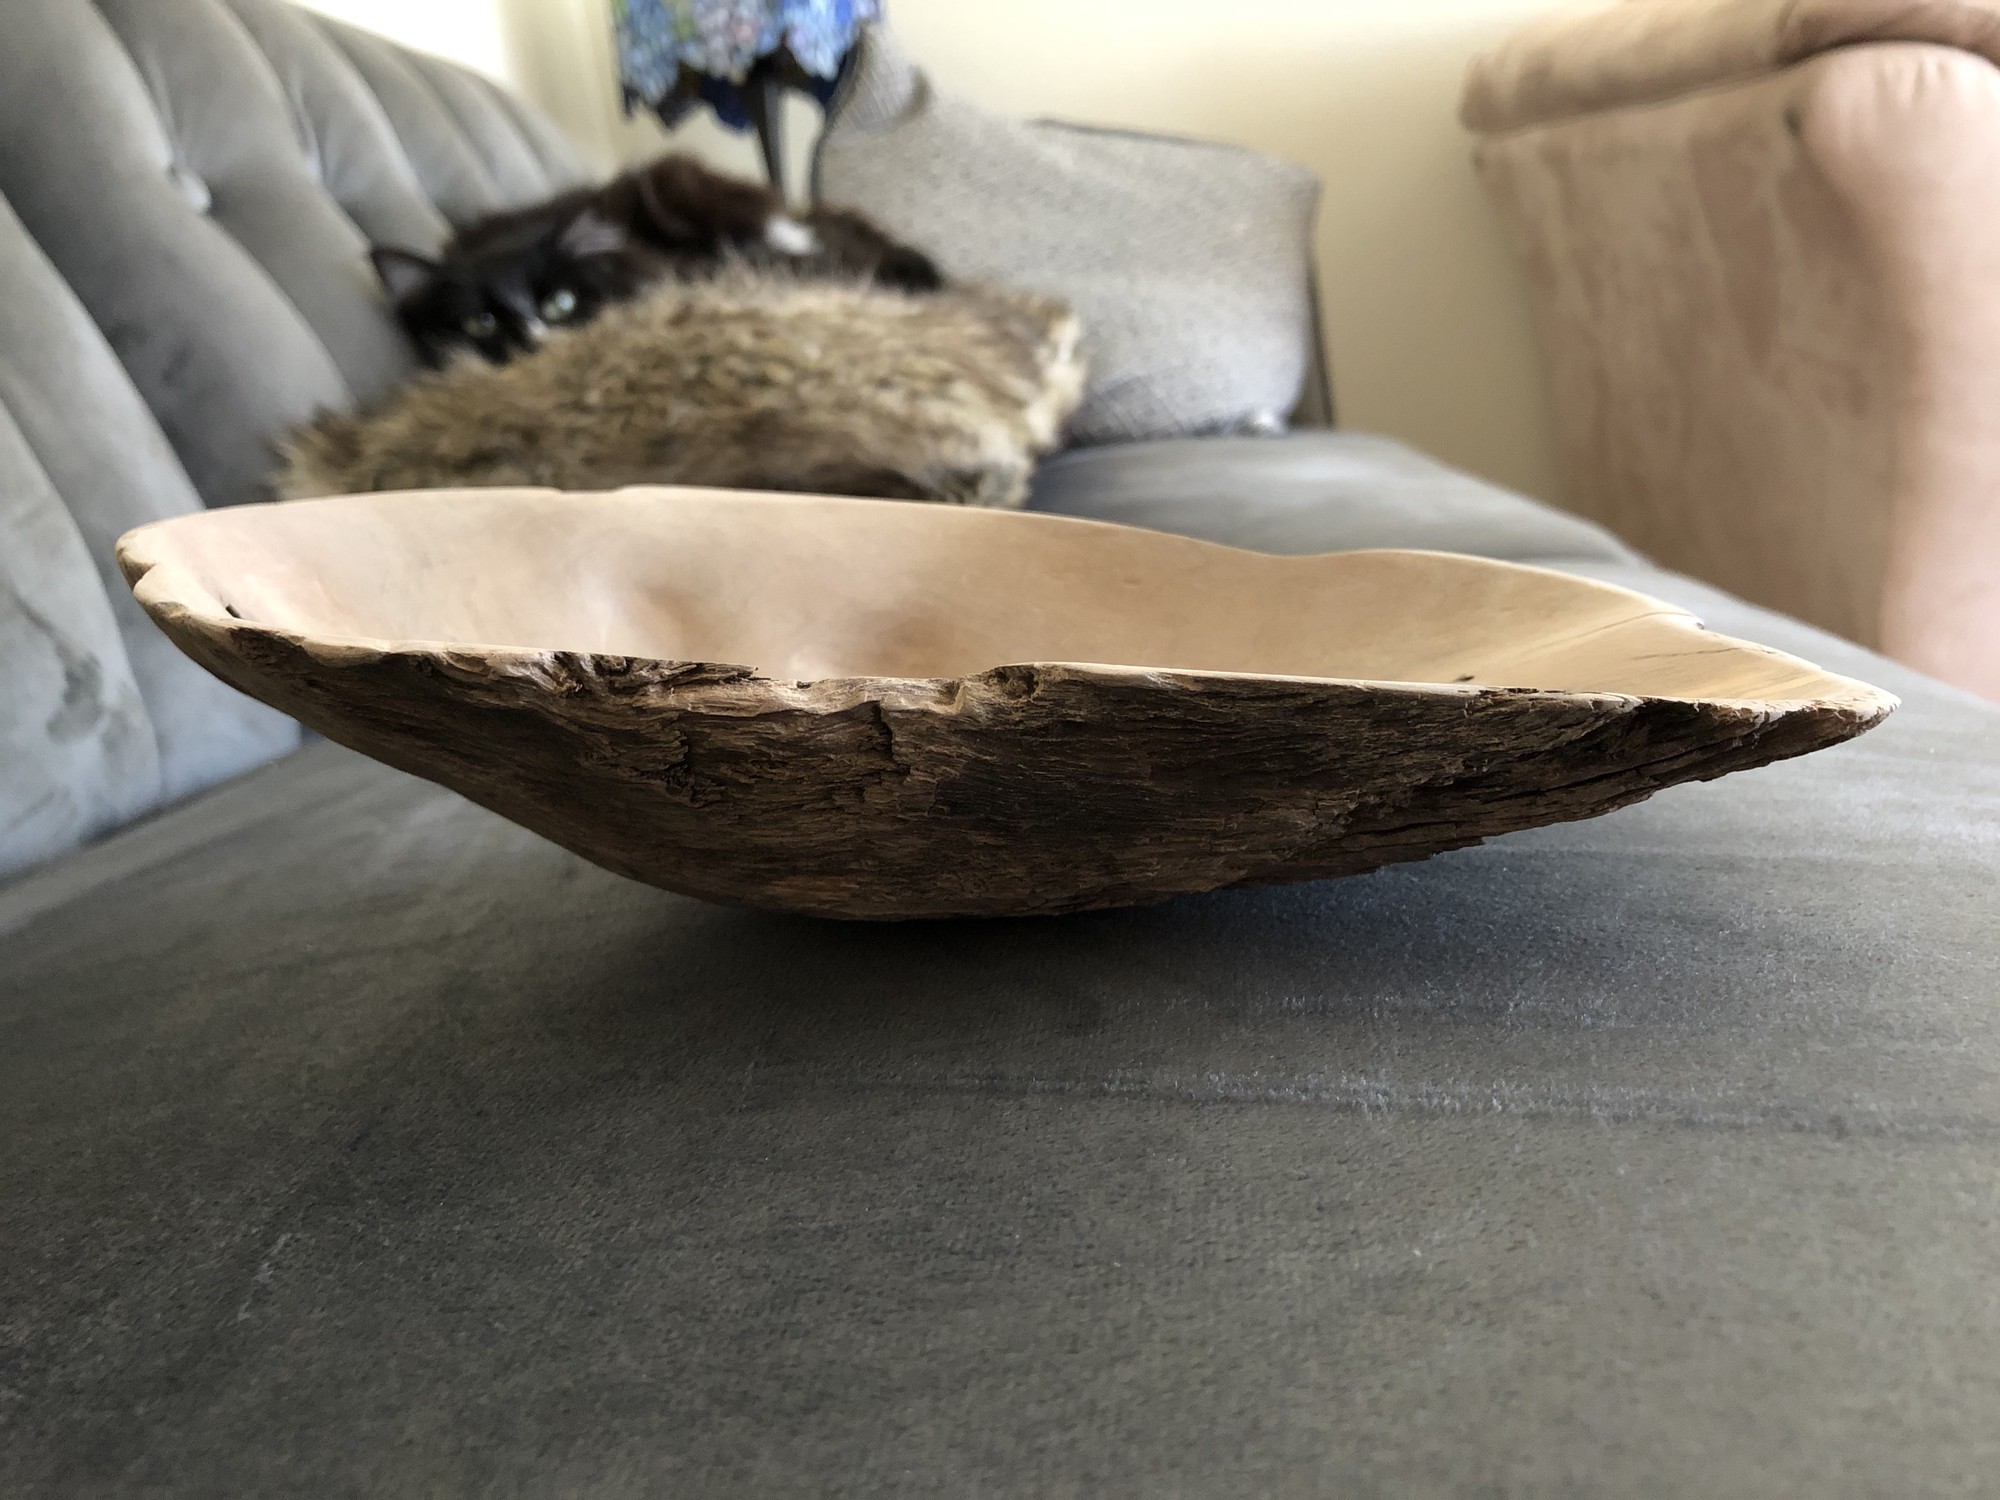
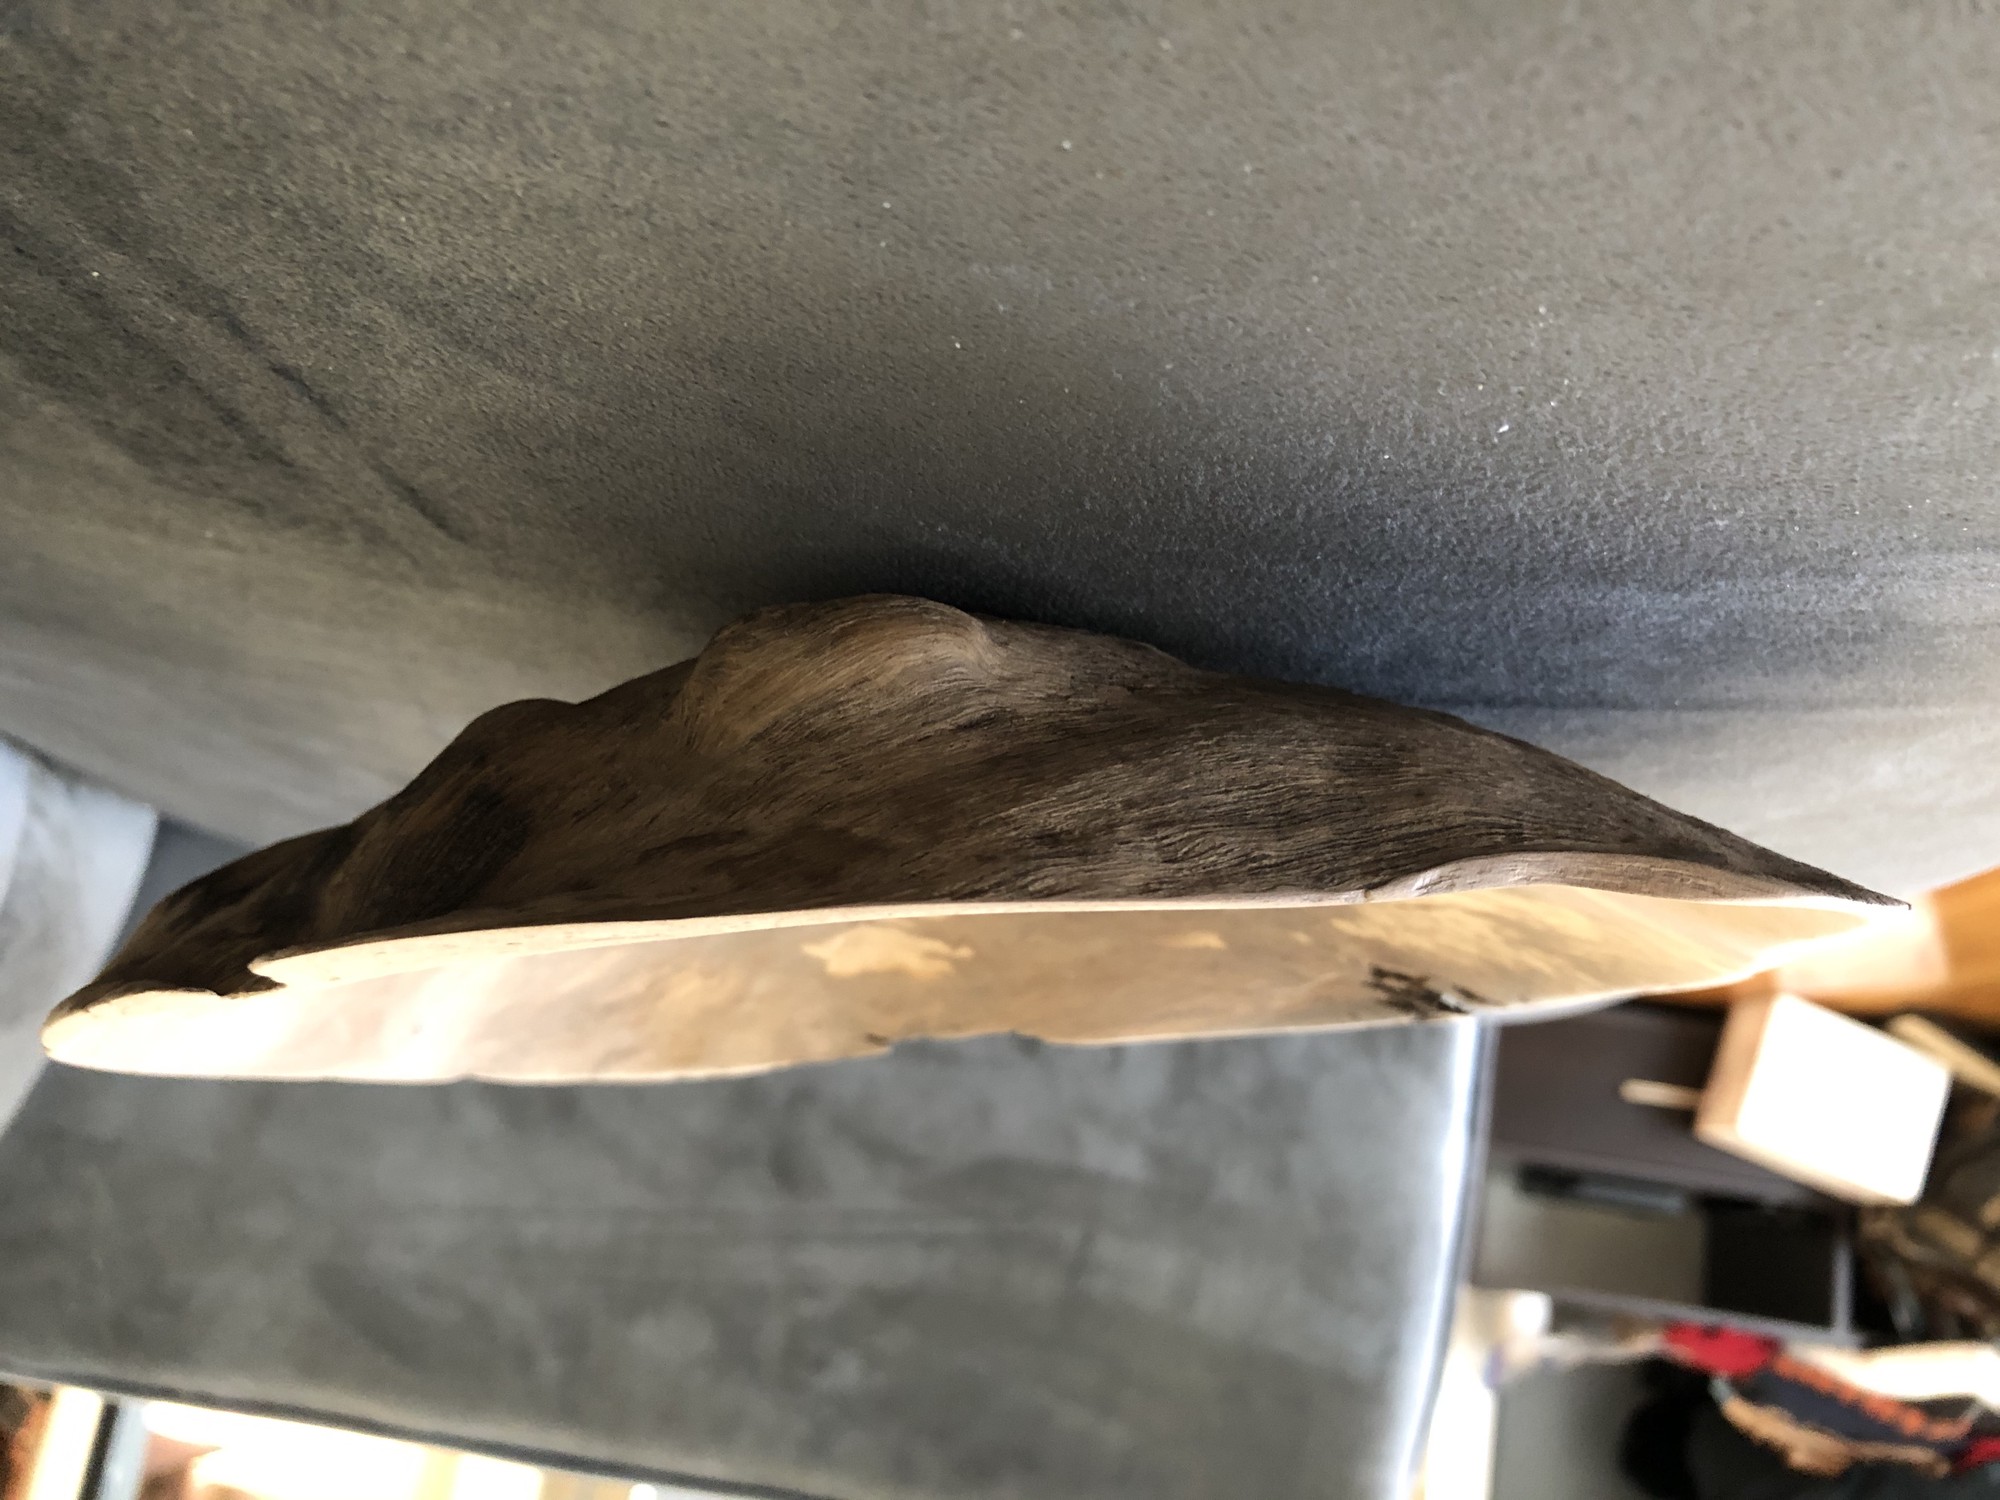
Finished Bowl
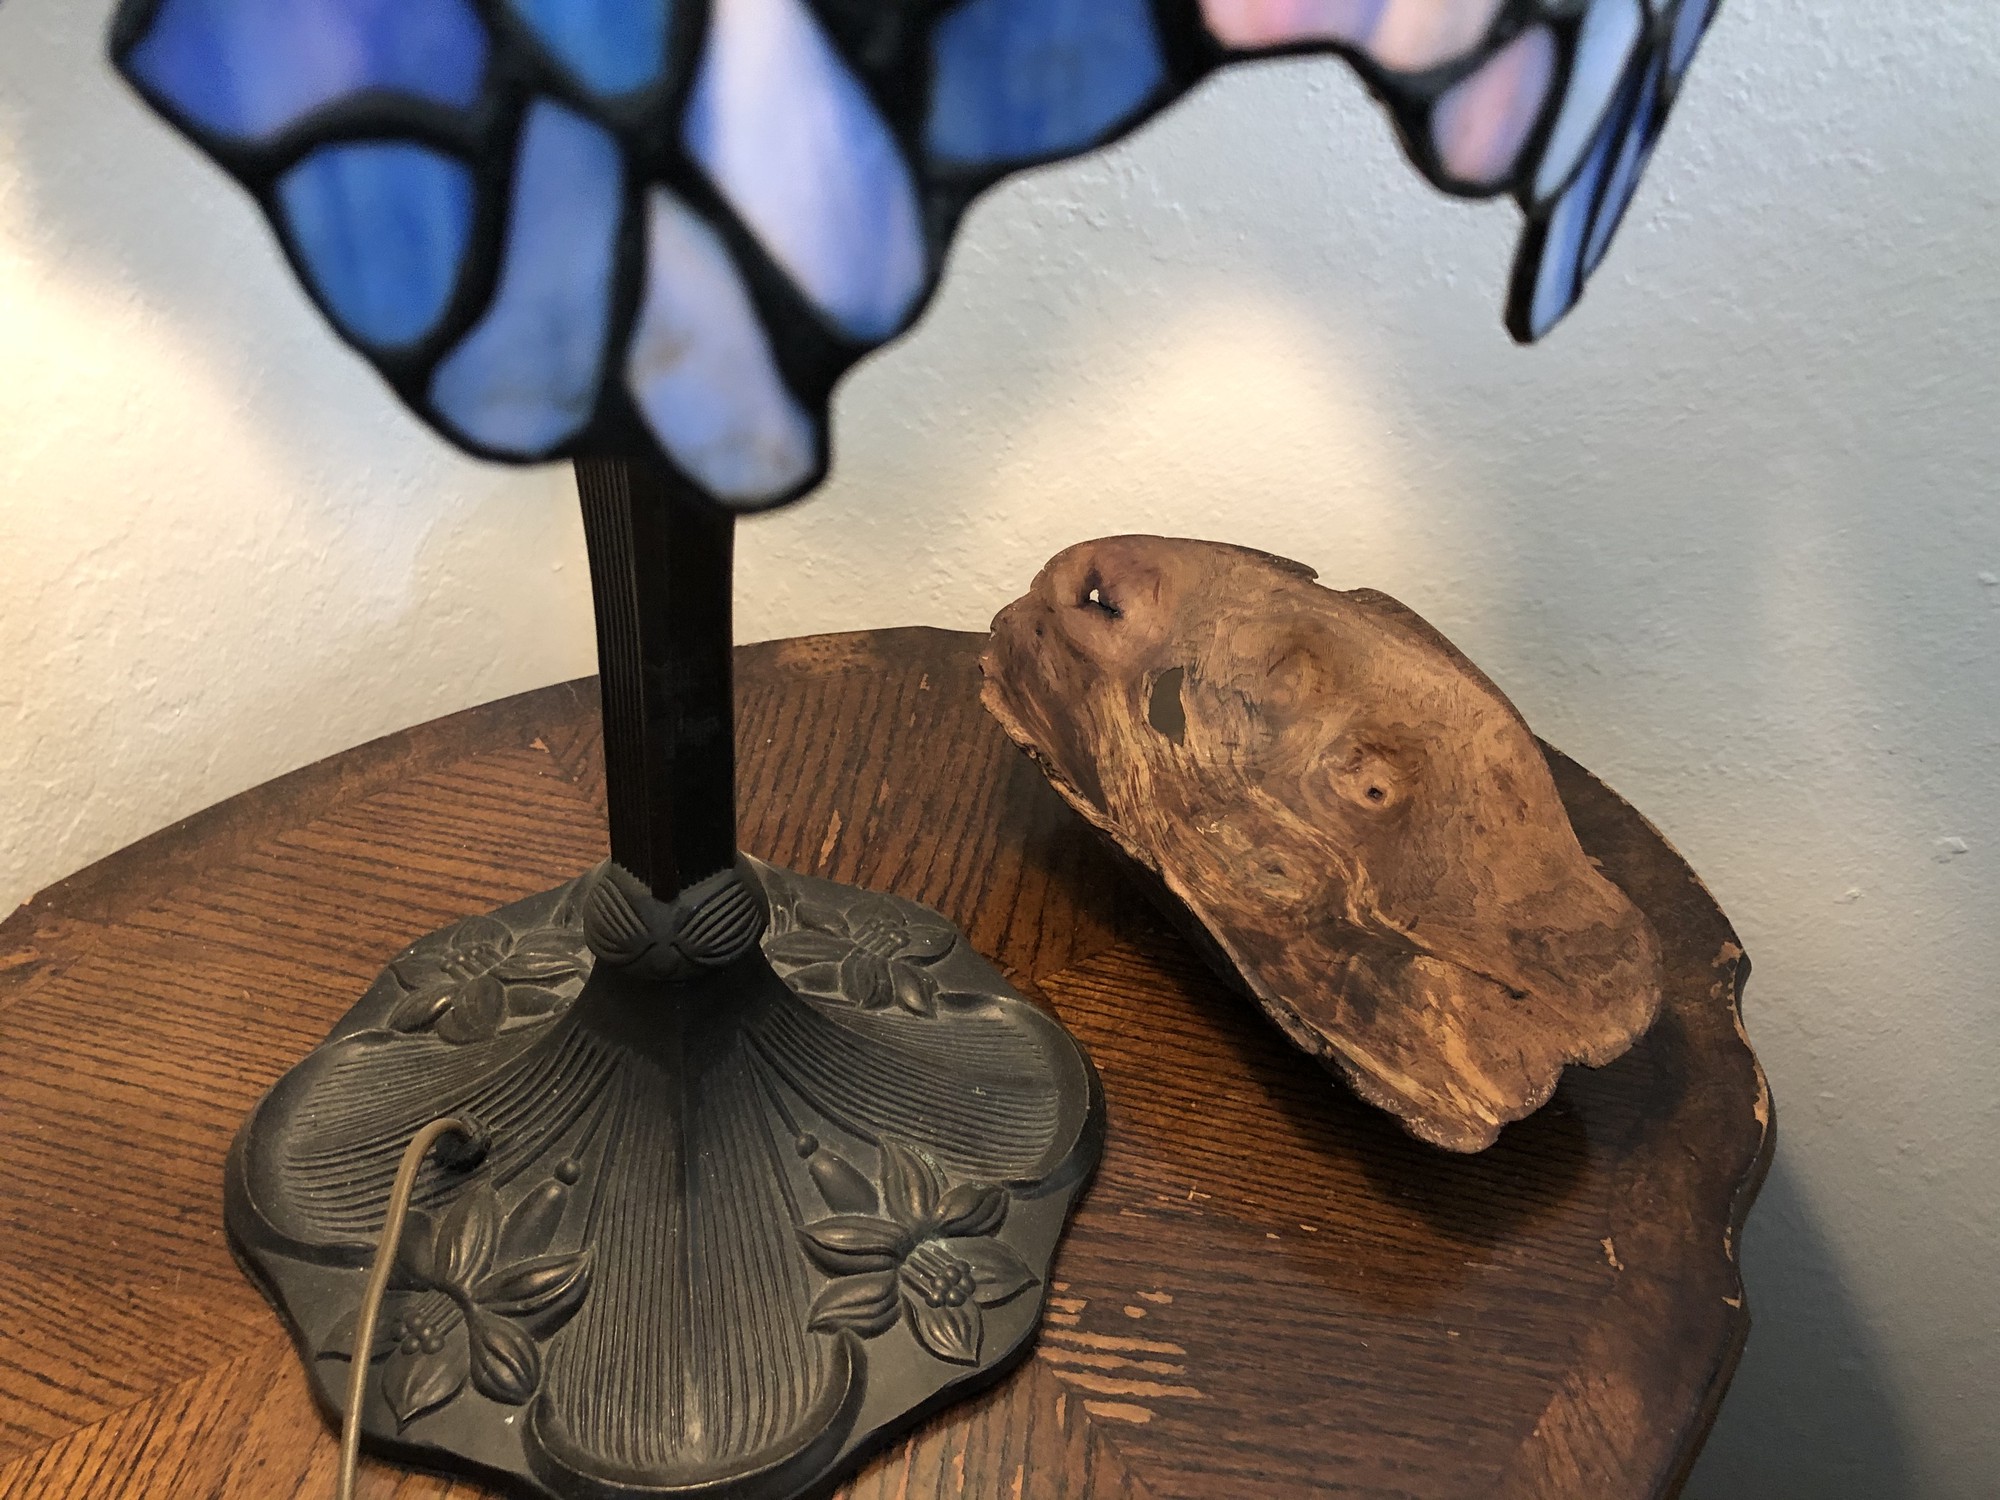
Cheers!
-
https://www.amazon.com/Dremel-407-Drum-Sander/dp/B00004UDGV/ref=sr_1_6?dchild=1&keywords=dremel+sanding+drum&qid=1588277399&sr=8-6 ↩︎
-
https://www.homedepot.com/p/Dremel-1-1-4-in-Rotary-Tool-Carbide-Cutting-Shaping-Wheel-for-Use-on-Woods-Fiberglass-Plastics-and-Laminates-543/202315728 ↩︎
-
https://www.homedepot.com/p/Dremel-1-2-in-Rotary-Tool-Carbon-Steel-Cup-Brush-for-Removing-Corrosion-from-Metal-and-Polishing-Metal-442/100531730?g_store=6635&mtc=Shopping-B-F_D25T-G-D25T-25_7_POWER_TOOL_ACCESSORIES-Multi-NA-Feed-LIA-NA-NA-PowerToolAccessories_LIA&cm_mmc=Shopping-B-F_D25T-G-D25T-25_7_POWER_TOOL_ACCESSORIES-Multi-NA-Feed-LIA-NA-NA-PowerToolAccessories_LIA-71700000043746545-58700004596952413-92700049573927185&gclid=CjwKCAjwqpP2BRBTEiwAfpiD-1F3TiuEMrkWU3fAFCozsX7nwy-BF_xsx2z1zWoFQLcc4q1uSDA2NxoCT7QQAvD_BwE&gclsrc=aw.ds ↩︎